
Quiche Cravings
I have to admit that I was planning on baking this quiche for several weeks now. I can't remember ever baking one before, but I may have forgotten as well. Either way, I decided several weeks ago that I was going to make a quiche and when I was ordering online groceries and saw a 500 grams bag of grated cheese for 50% off, I saw this as my sign. This store tries to avoid food waste and therefore offers food close to consumption date for a lower price. In the case of fresh meat and fish, they mention the latest consumption date as well. This bag of cheese was actually still good for consumption for another week, but I guess they had too many of them so, therefore, started discounting them earlier. In the end, I waited until the very last day to make this quiche. But it was worth the wait even though I made a beginner's error by not pre-baking the crust, it turned out fine!

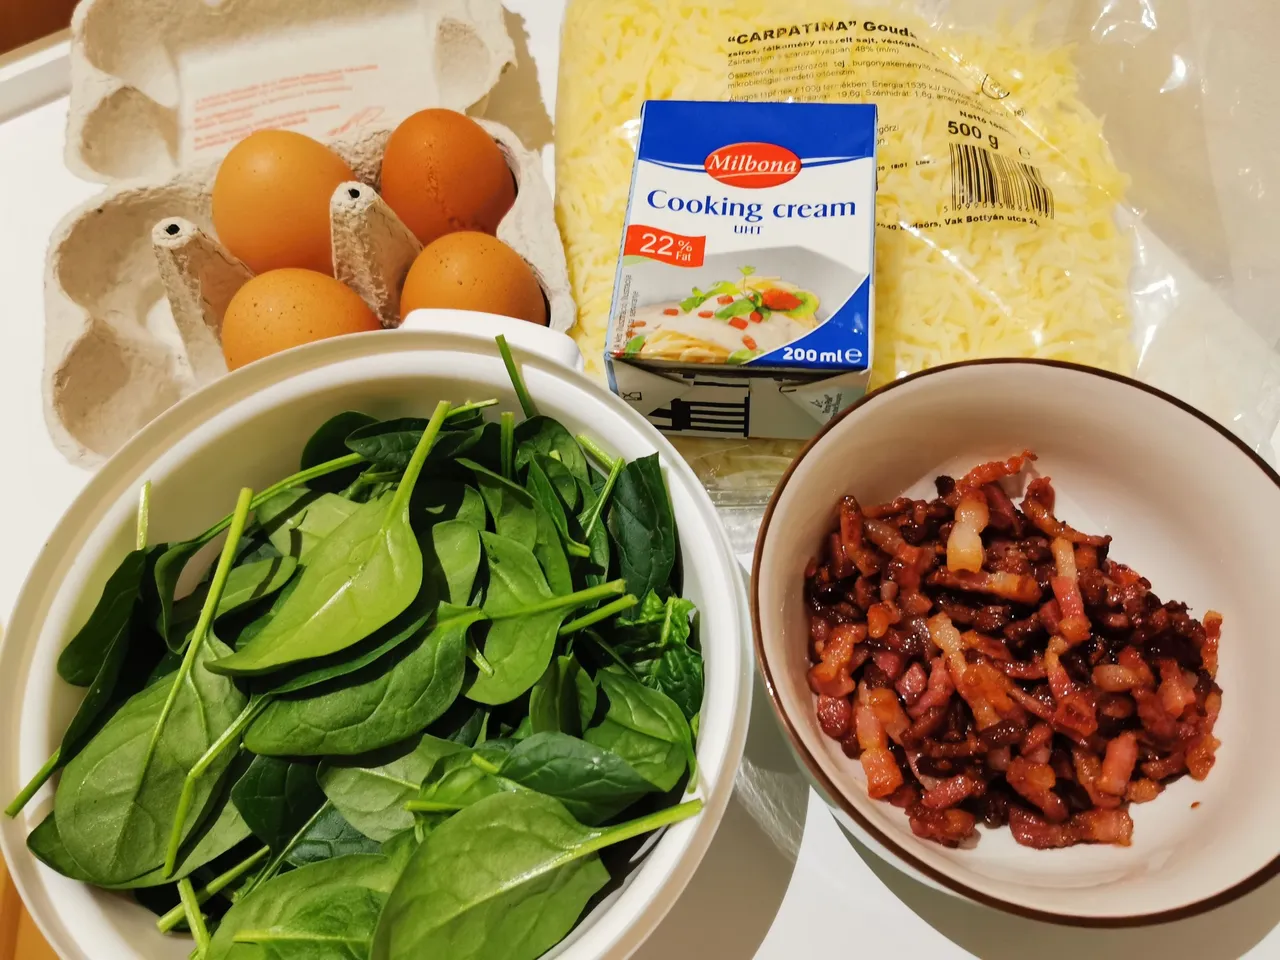
The Ingredients
For the crust:
- 300 Grams of flour
- 150 Grams of unsalted butter
- Pinch of salt
- 1 Egg
- 3 Tablespoons of water
For the filling:
- 4 Eggs
- 200 Grams of grated cheese
- 200 ML of cooking cream
- Baby spinach (didn't weigh it)
- 350 grams of bacon
- 2 Cloves of garlic
Prepping The Dough
This is probably the easiest dough I've ever made anyway. Put all the ingredients in a bowl and start mixing them. If the dough ends up too dry, add a bit of water, and if it ends up a bit too wet, add a little flour. Mine was actually perfect not too wet and not dry.
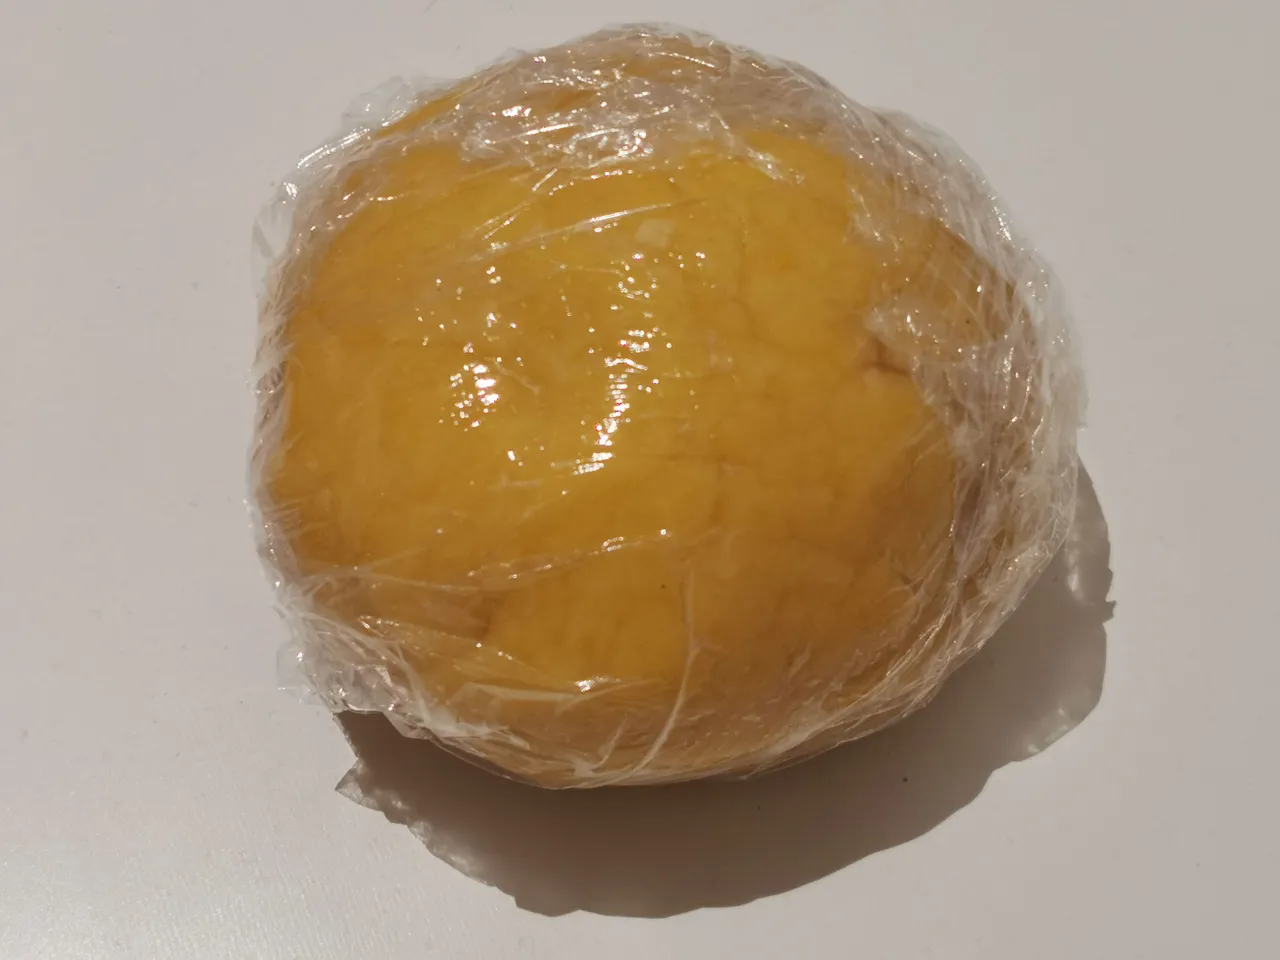
Once done mixing, wrap it in foil and place in the fridge for at least 30 minutes to rest. Meanwhile, I baked the bacon slices together with the garlic cloves.
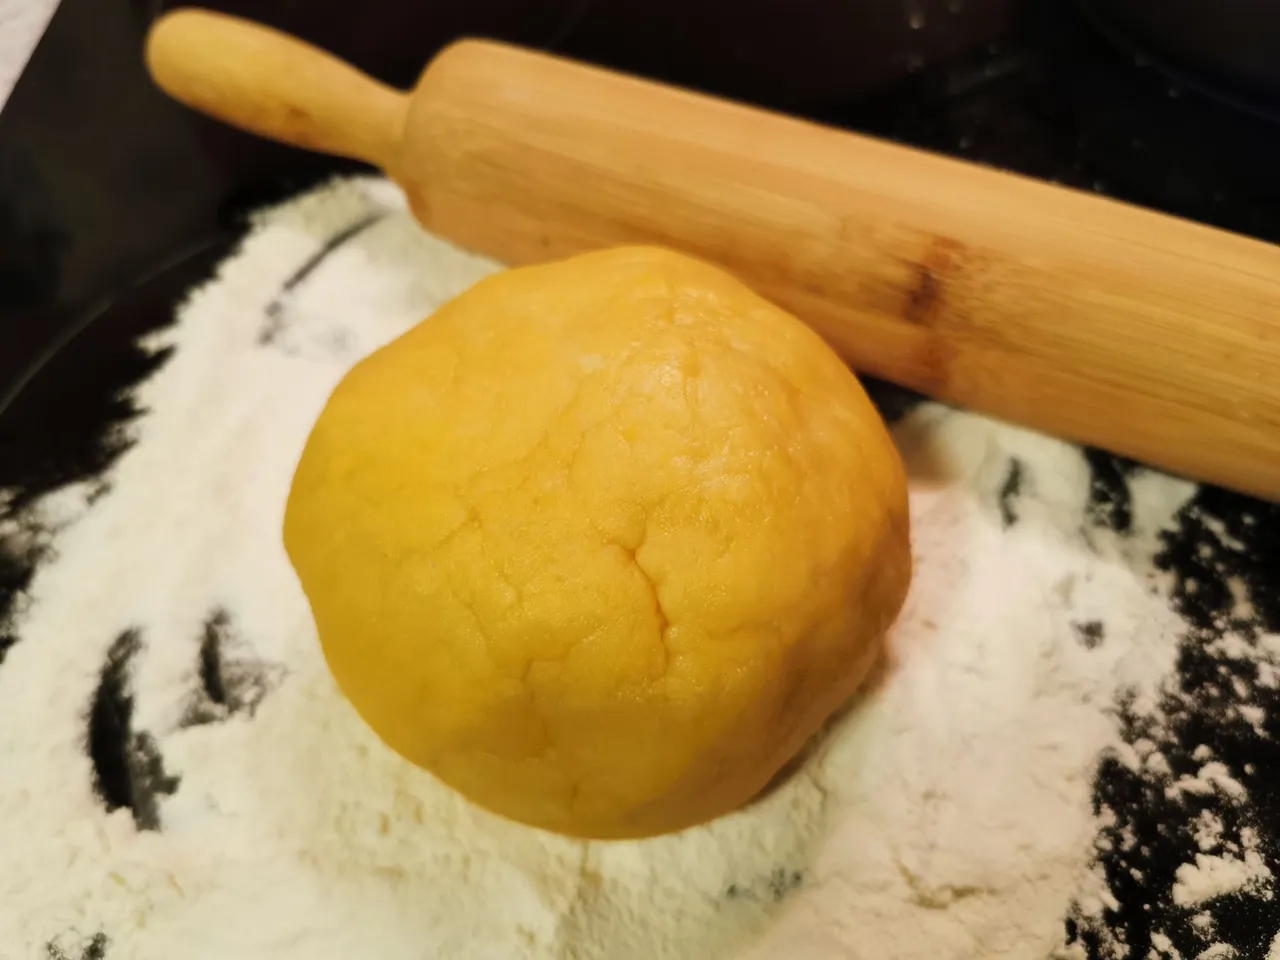
Preheat the oven at 180 degrees. Take the dough out of the foil, add some flour to your worktop and start rolling with a rolling pin. This is where I had issues, to be honest, I suck at using a rolling pin. Therefore see below how I decided to add the dough to my baking tin:
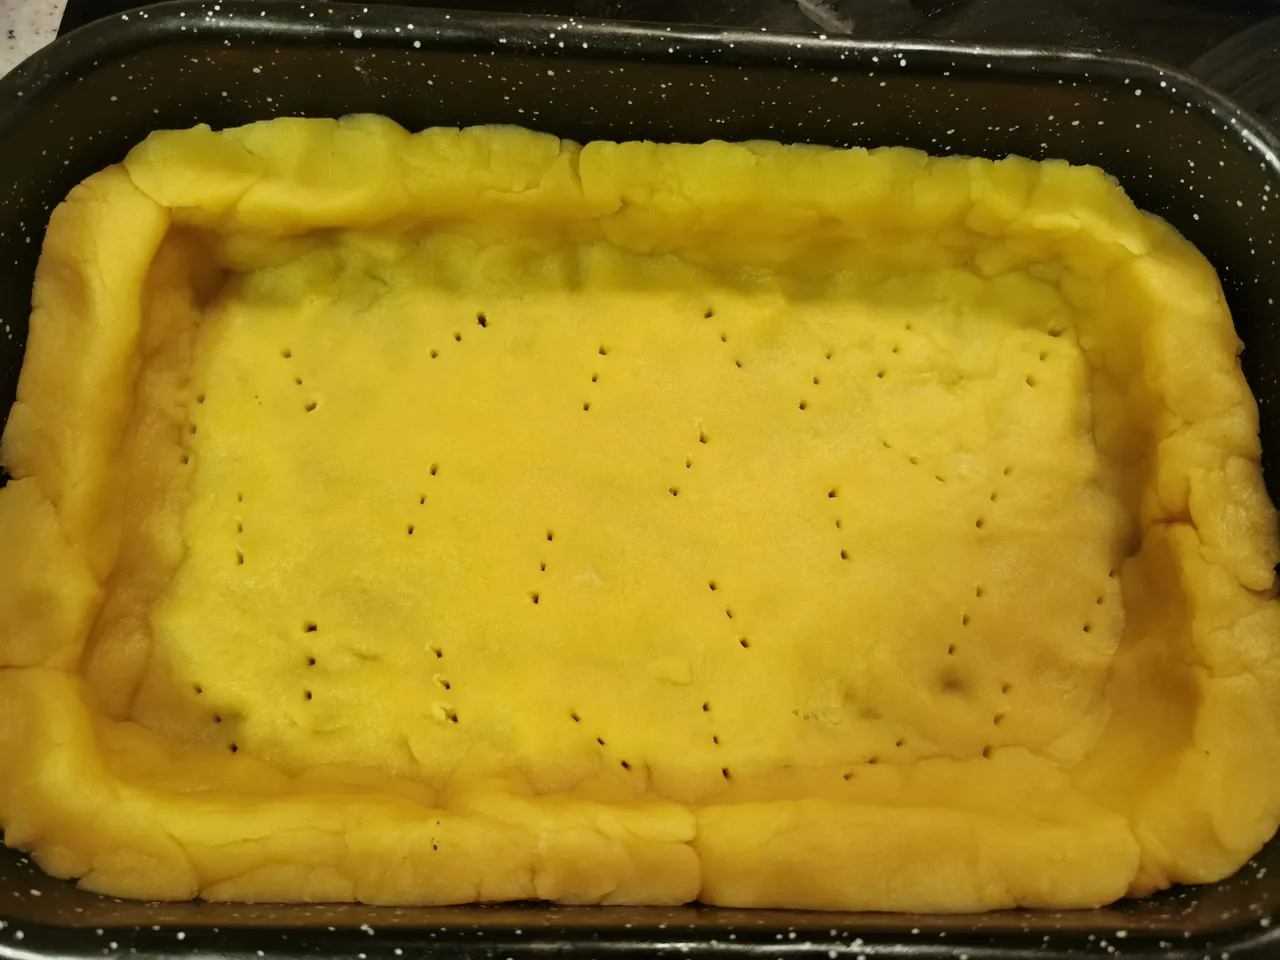
Hilarious! Don't laugh! Stop it!! I had no clue how high the dough had to be and I decided to have a pretty thick crust on the edges. Before adding the filling, make some holes with a fork in the bottom.
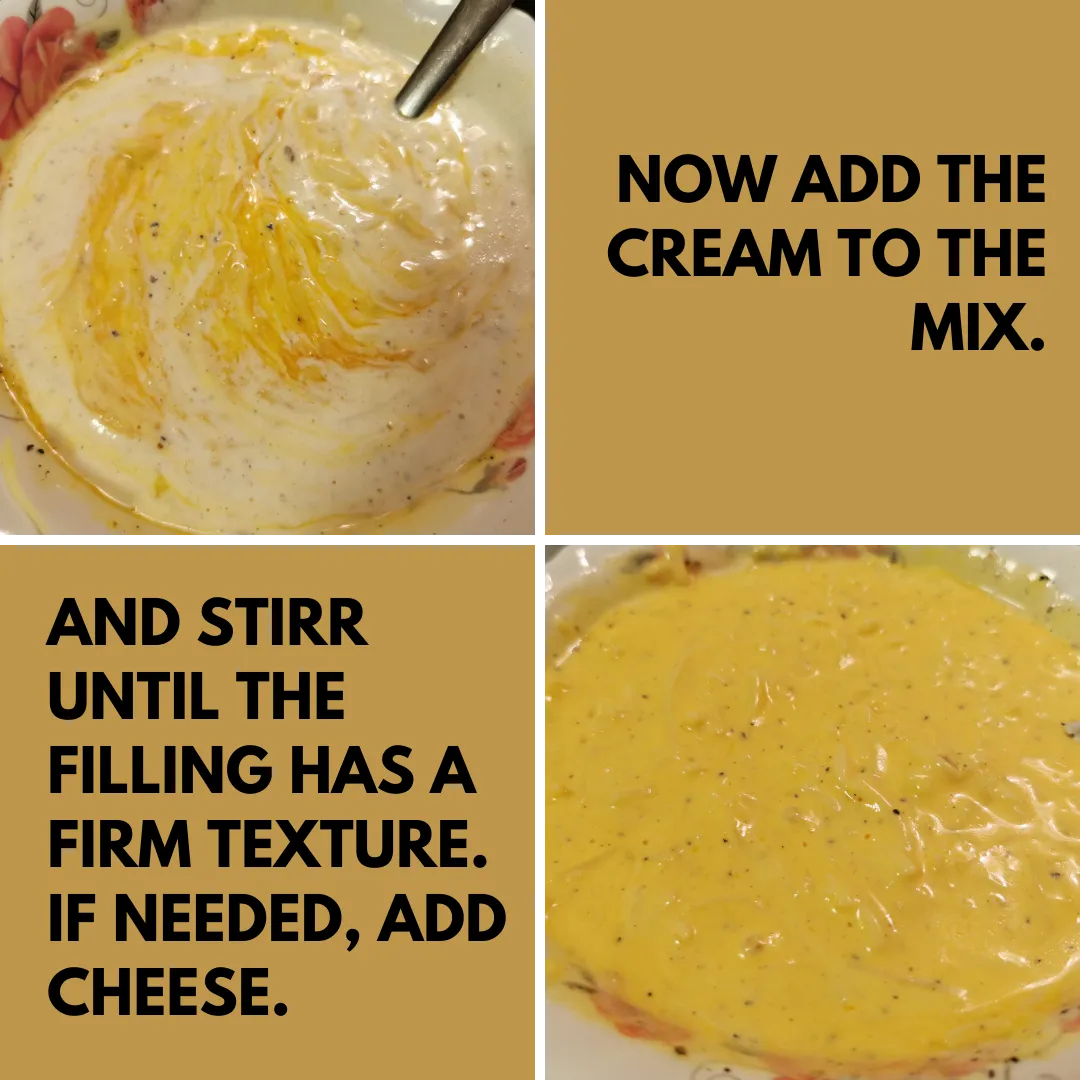
Prepping The Filling

Final Steps
Almost done! Time to add the filling to the prettiest crust you've ever seen. :)
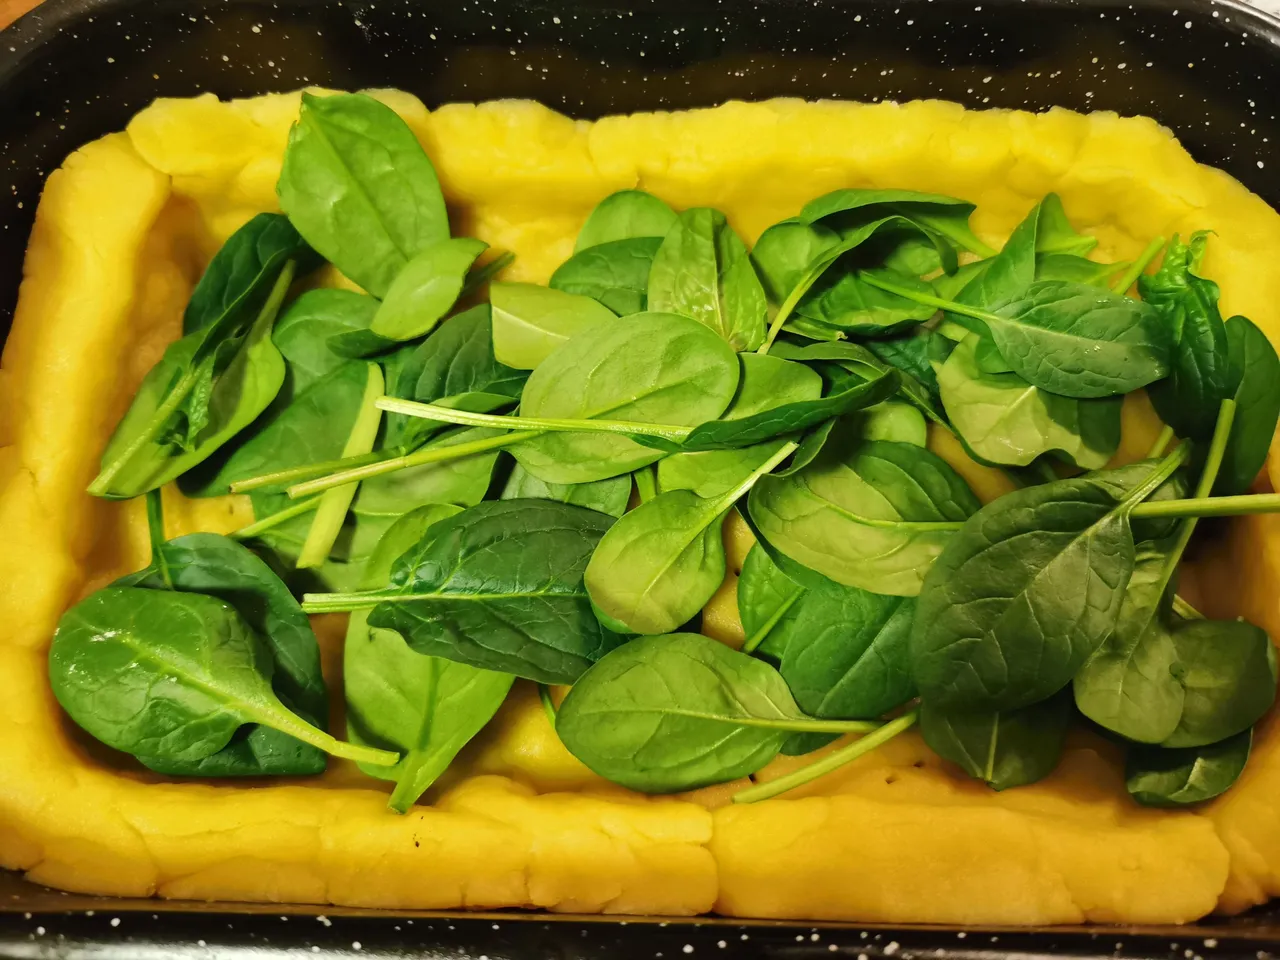
I first added baby spinach on the bottom.
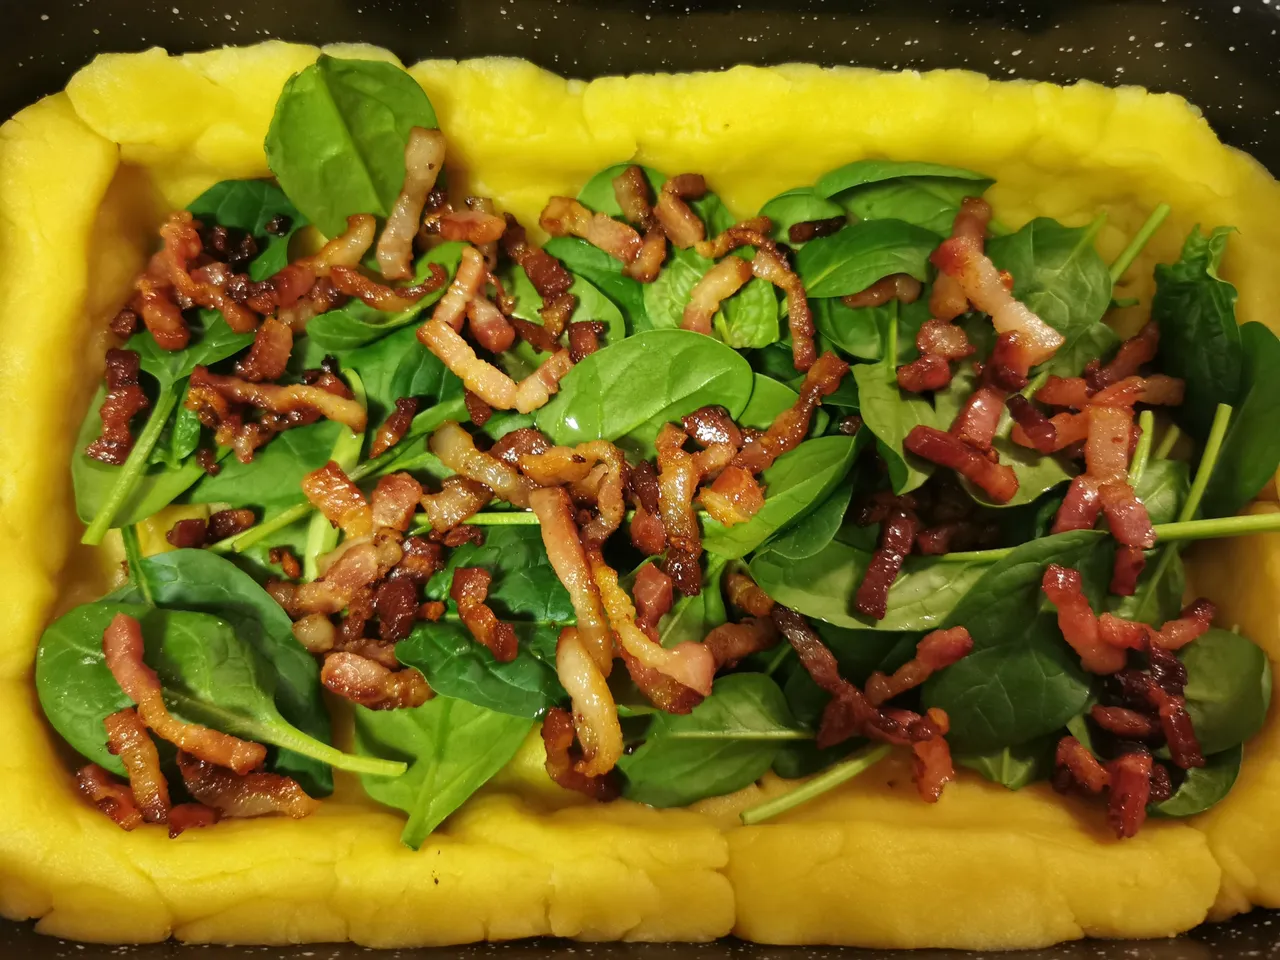
Followed by a nice layer of bacon, I prefer them baked, but I read how some people just add them without baking them. Your choice!
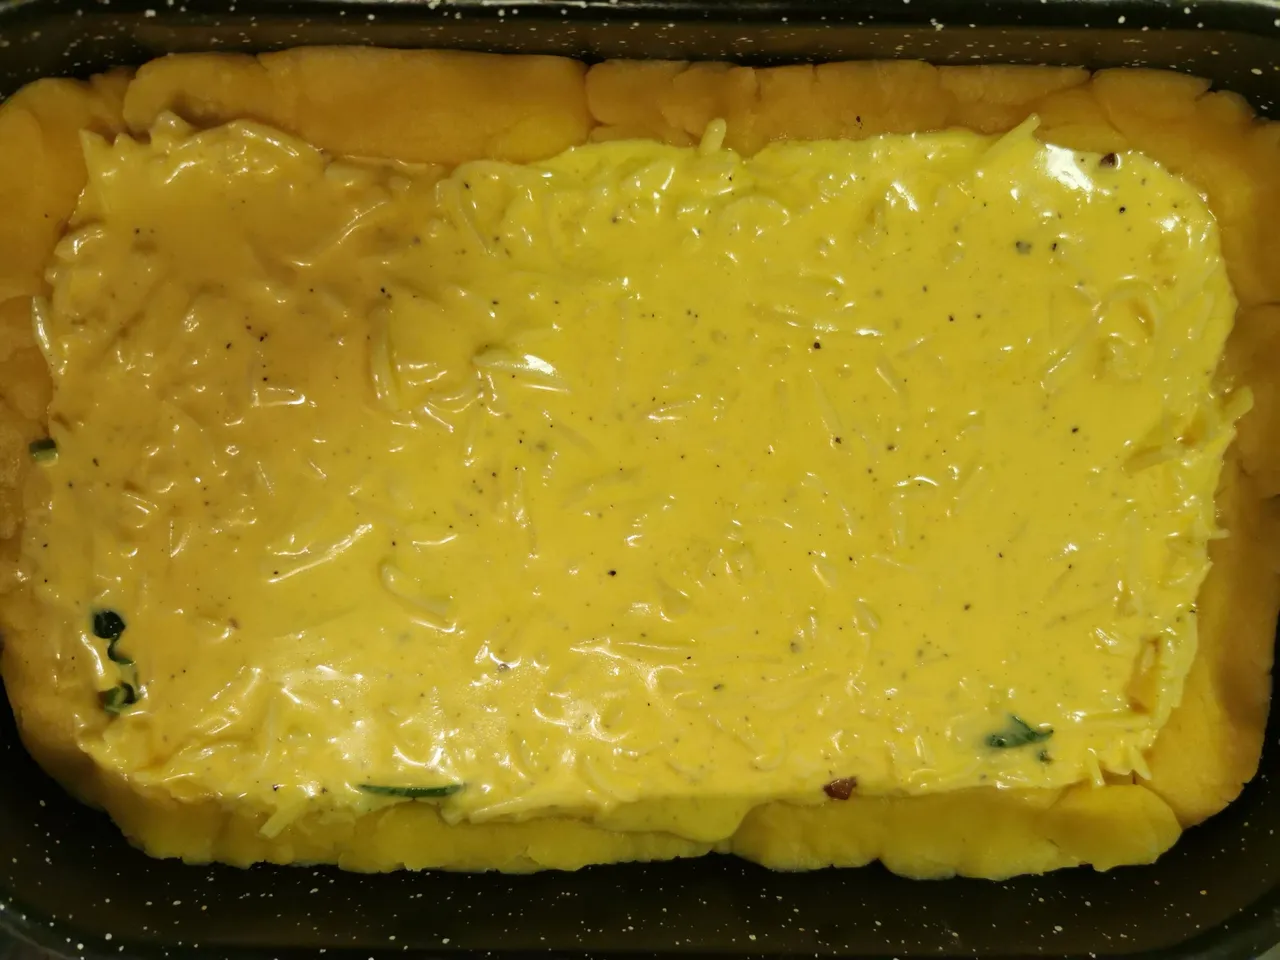
Last, add some pepper and salt to the cheese, cream and eggg filling and now pour it into the crust. Place in the preheated oven at 180 degrees for 40 to 50 minutes.
The End Result
Let's start with the first look:
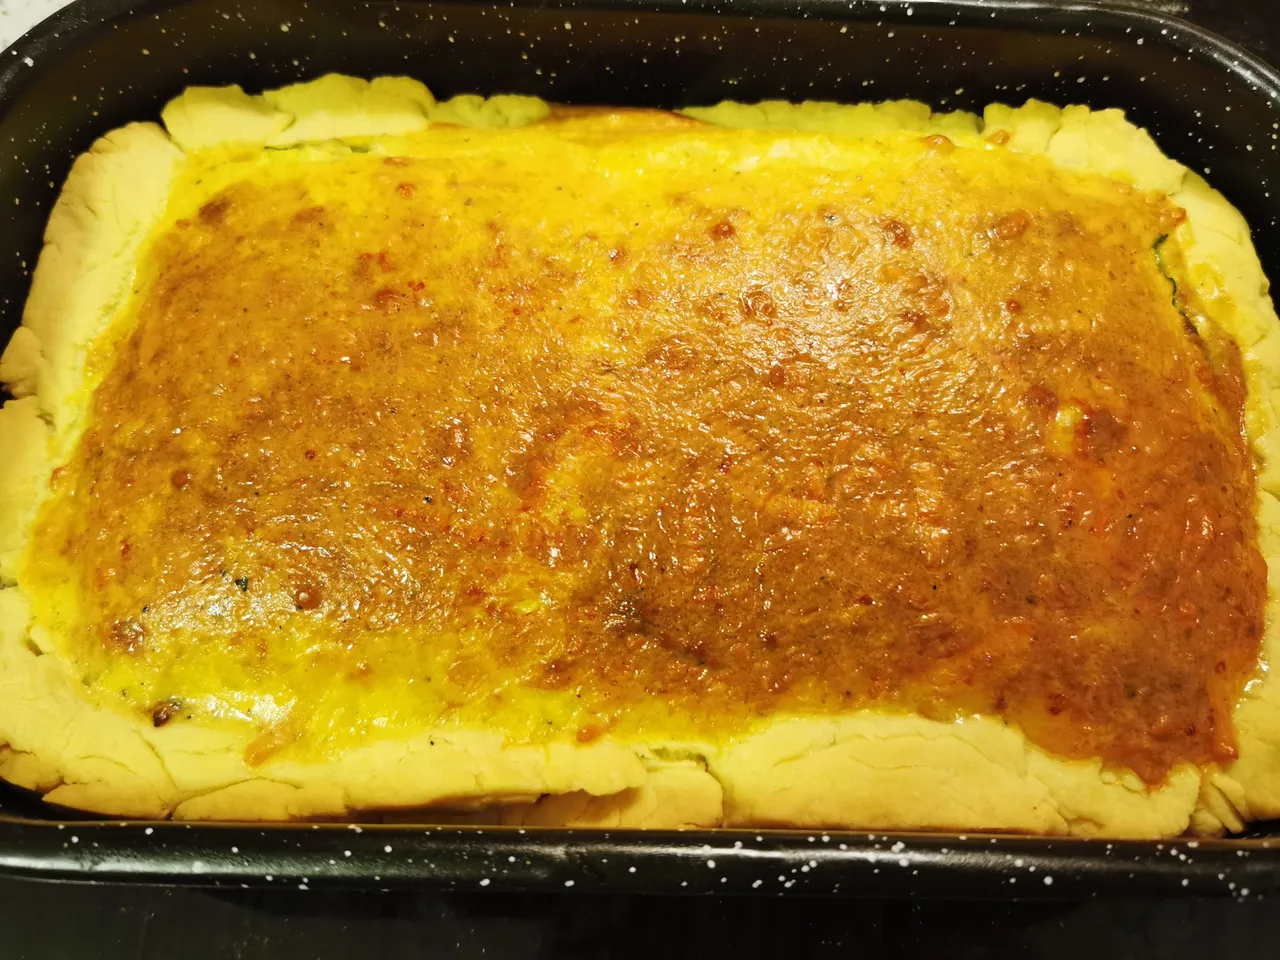
Not bad, not pretty either. But could still taste great! I was so happy to discover that I could easily remove the quiche from the baking tin, without damaging it.
Look from the top, looks ok. Nice crust on top at least.
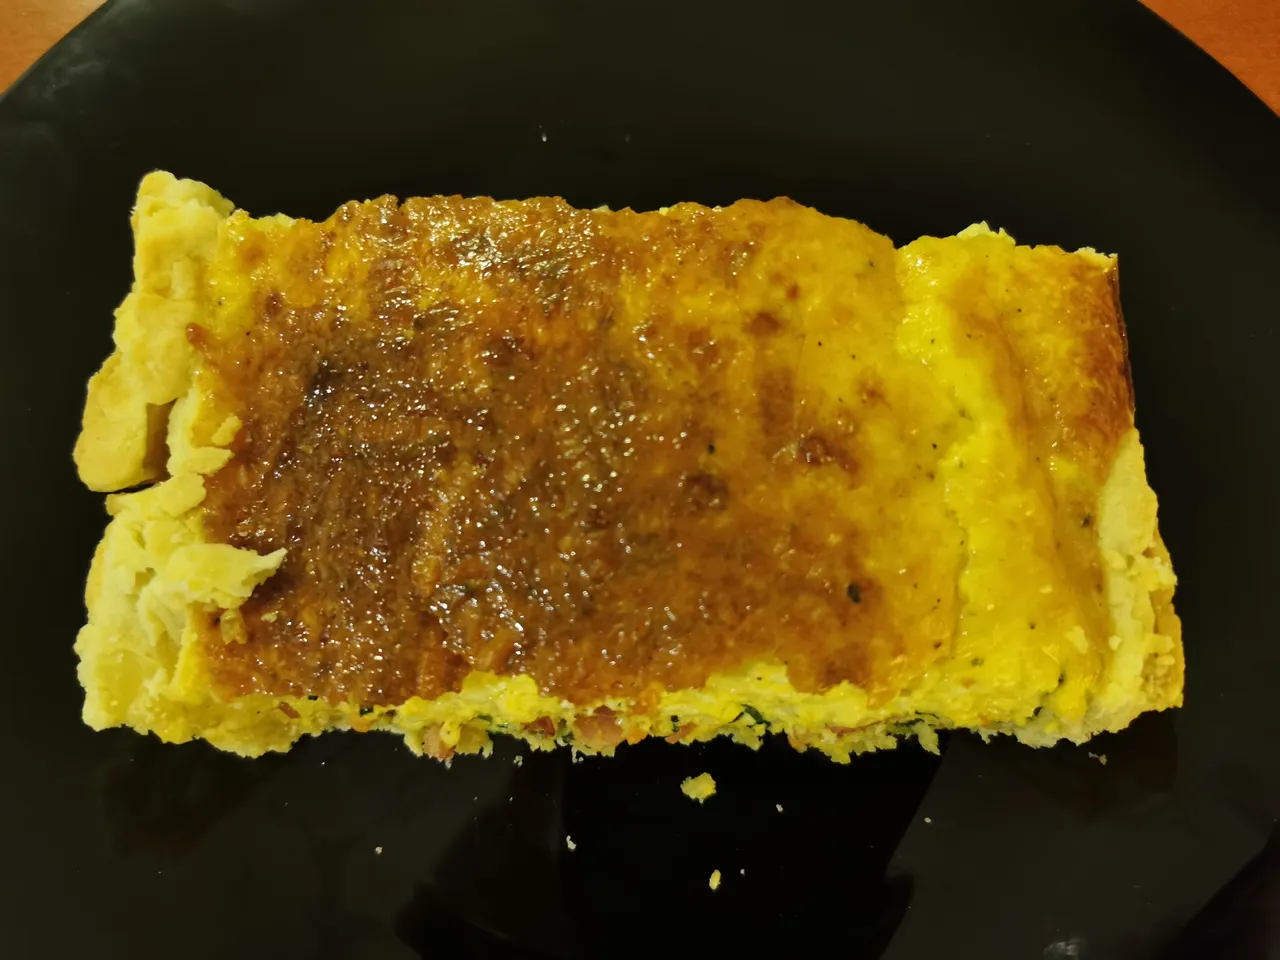
Oh, the inside looks quite good! And let me tell you, it was! Ok granted, the crust needs to be prebaked next time, and less thick, but the rest of the quiche was quite good!
Thanks for stopping by! See you next time.
More Foodies Content
- Quality Lunch Review - Spiler Buda
- Tuna Meal Salad
- Pistacio & Avocado Ice Cream Dessert
- Tasting Dragon Fruit for the first time
- Deviled Eggs
- Cheese Board From Heaven
- Dutch Croquettes
- Homemade Banana Bread
- Ropogo Budapest Ordering Healthy Food
- Homemade Tacos
- Delicious Cakes with royal icing
- Snowy Christmas Tree Meringues
- Failed Christmas bakings: A Gingerbread Cookie Graveyeard
- Trofea Grill: A Spontaneous Lunch Review
Credits
- All images used are my own.
- The text divider is my own design, where I sometimes use images from Canva Pro or in other cases, my own images.
Let's Connect
If you want to connect, you can give me a follow on my socials. For inquiries, you can send me a direct message on Discord.