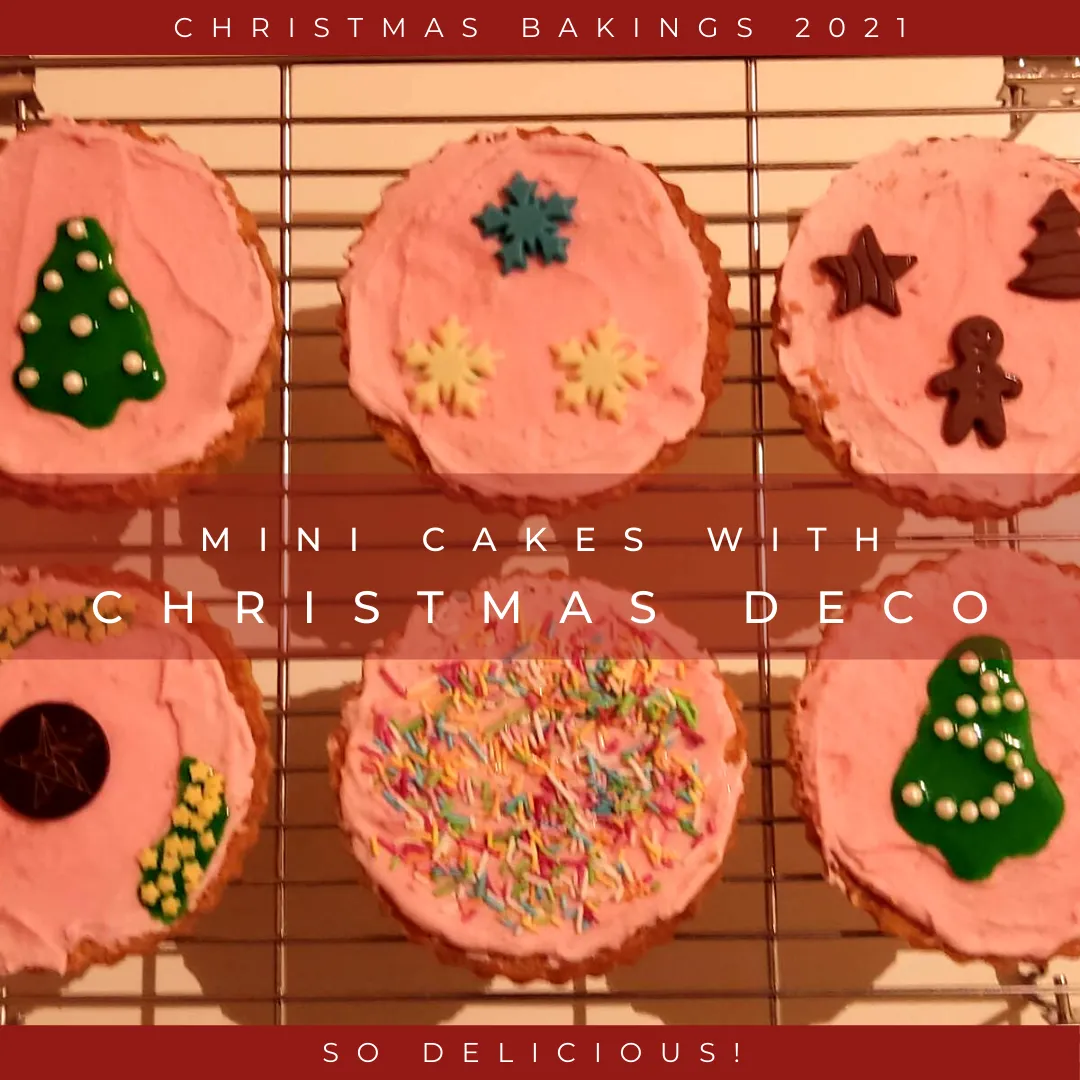
Cakes that bring up memories
When growing up, I remember we had mini cakes that had pink icing on top. That was it, nothing special, just the pink glaze. We called them 'pink cakes' simple as that. They sold them at every supermarket or you could find them in these vending machines or when at a swimming pool or something like that. They were so good. Last week, when I ate one of our failed gingerbread cookies with the extremely hot pink icing on top, I suddenly tasted that exact pink icing from the cakes in my childhood. I knew I had to bake something similar or at least try to do so. Let me share with you the experiment to re-create the pink cakes from my childhood. I decided to give them some Christmas decorations as well. Have fun!

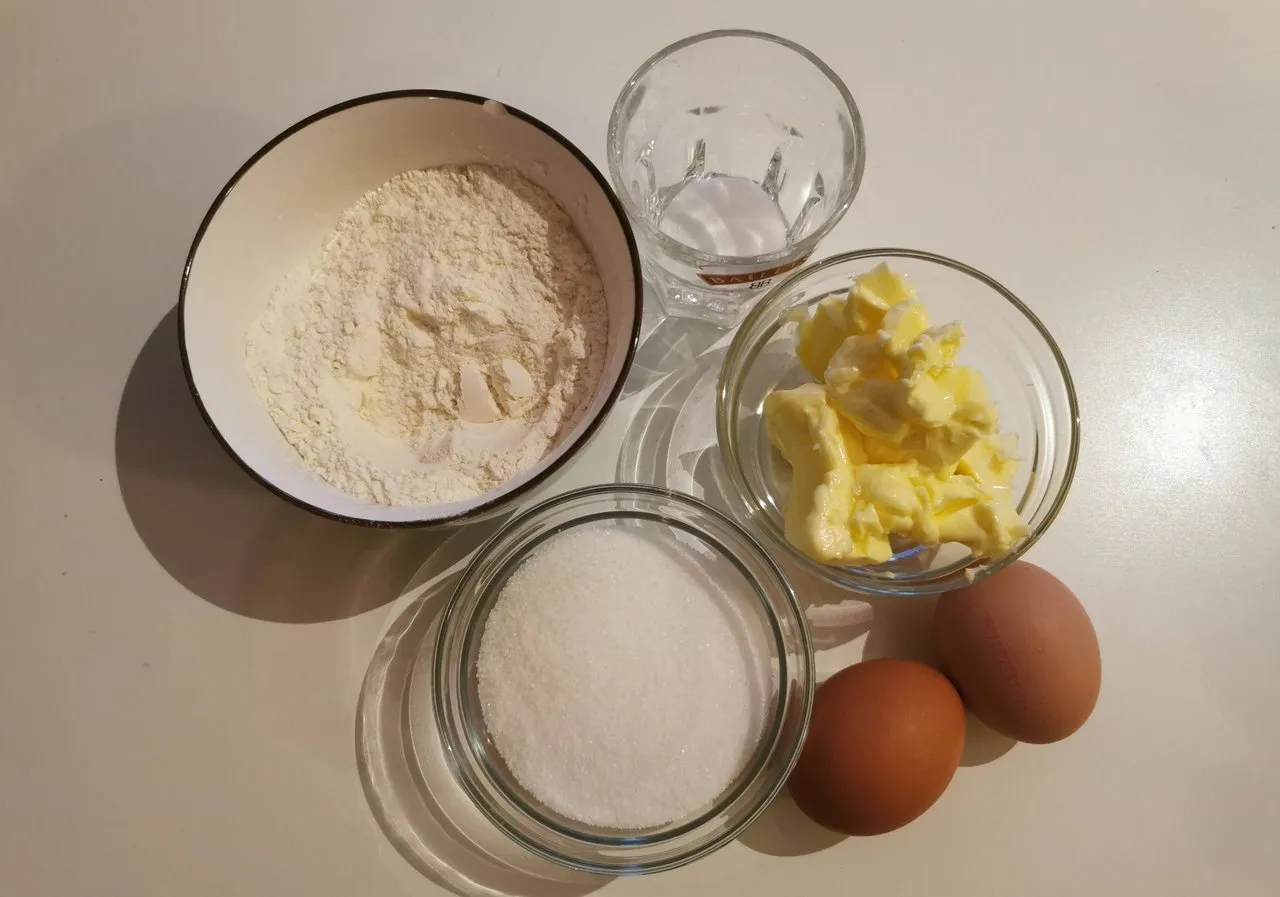
The Ingredients
Cake Ingredients:
- 100 grams butter
- 100 grams self-raising flour
- 2 eggs
- 100 grams fine table sugar
- 4 grams vanilla sugar
- a pinch of salt
Icing Ingredients:
- 1.5 cups of powdered sugar (192 grams)
- 1 eggwhite
- drop of lemon juice
- food colouring
Also needed:
- mixer
- oven
- baking paper
- baking tin
- baking forms
- optional: bread knife

Let's Get Started
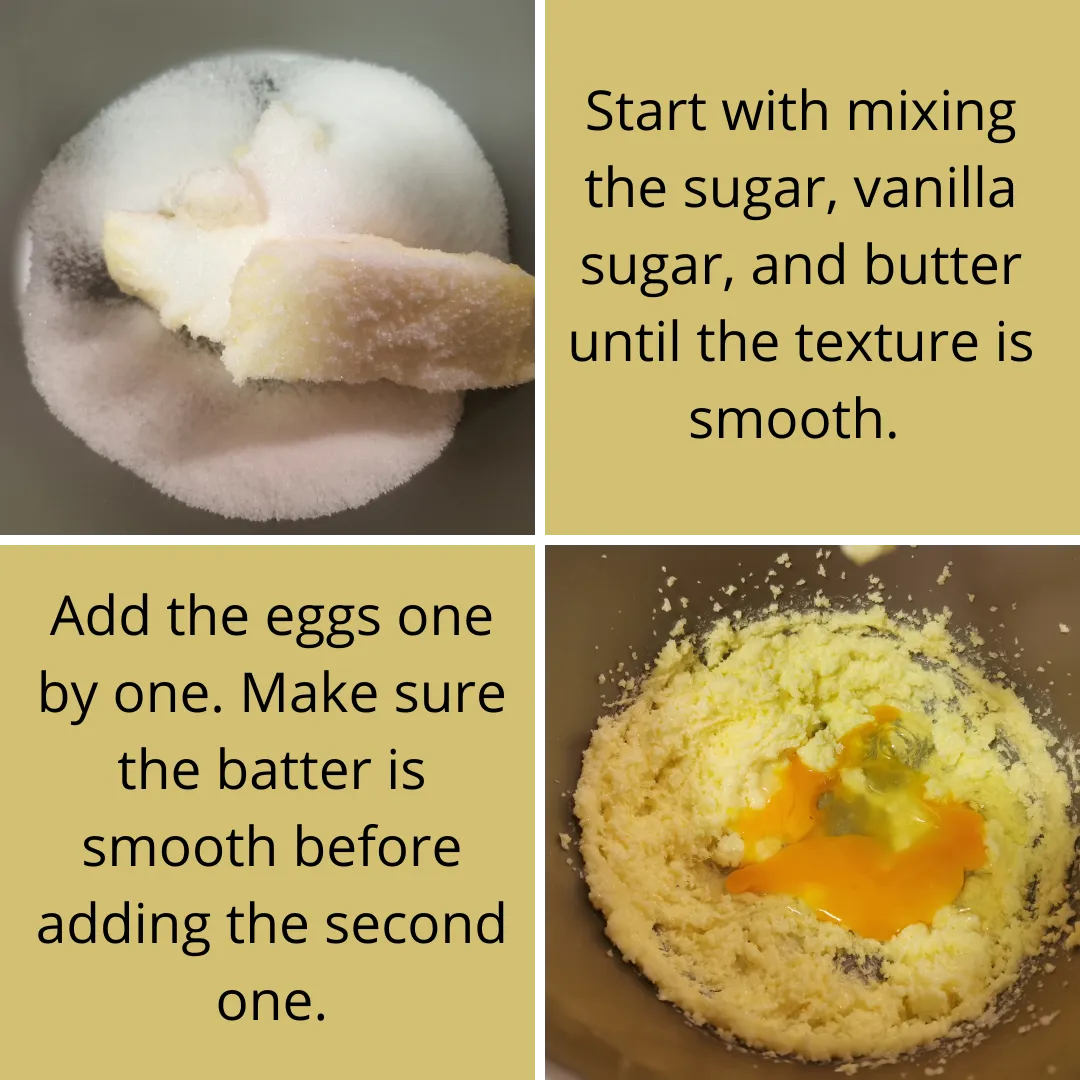
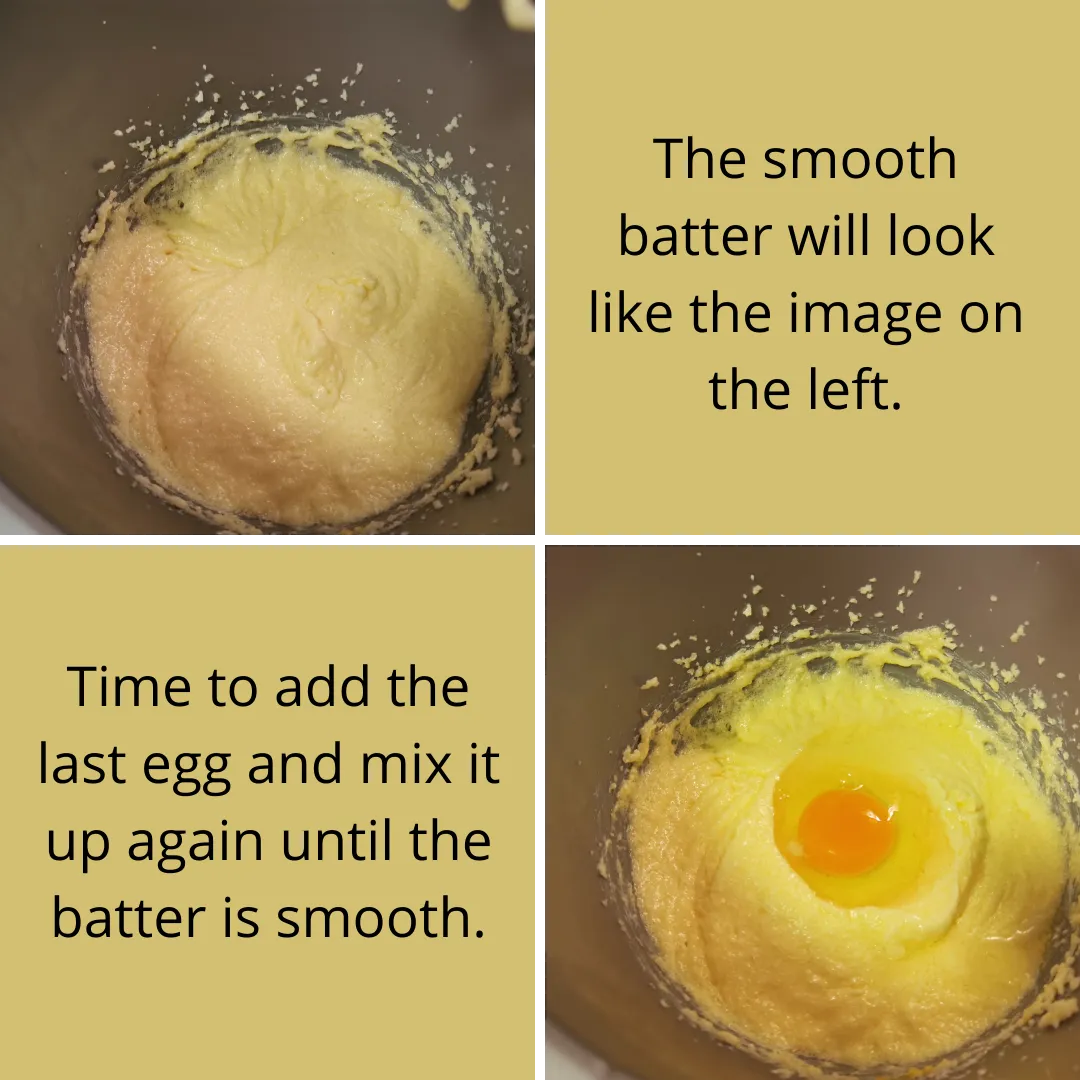
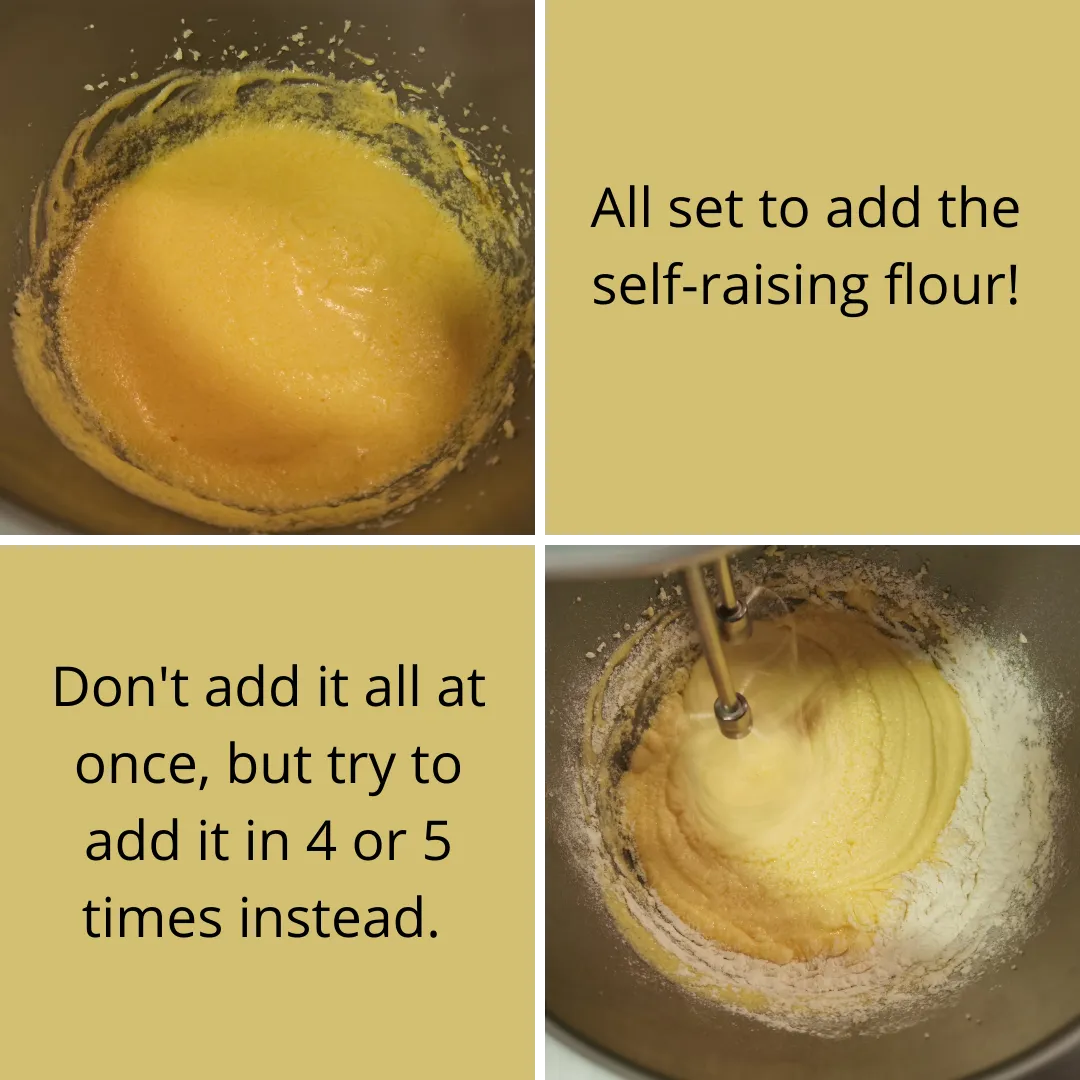
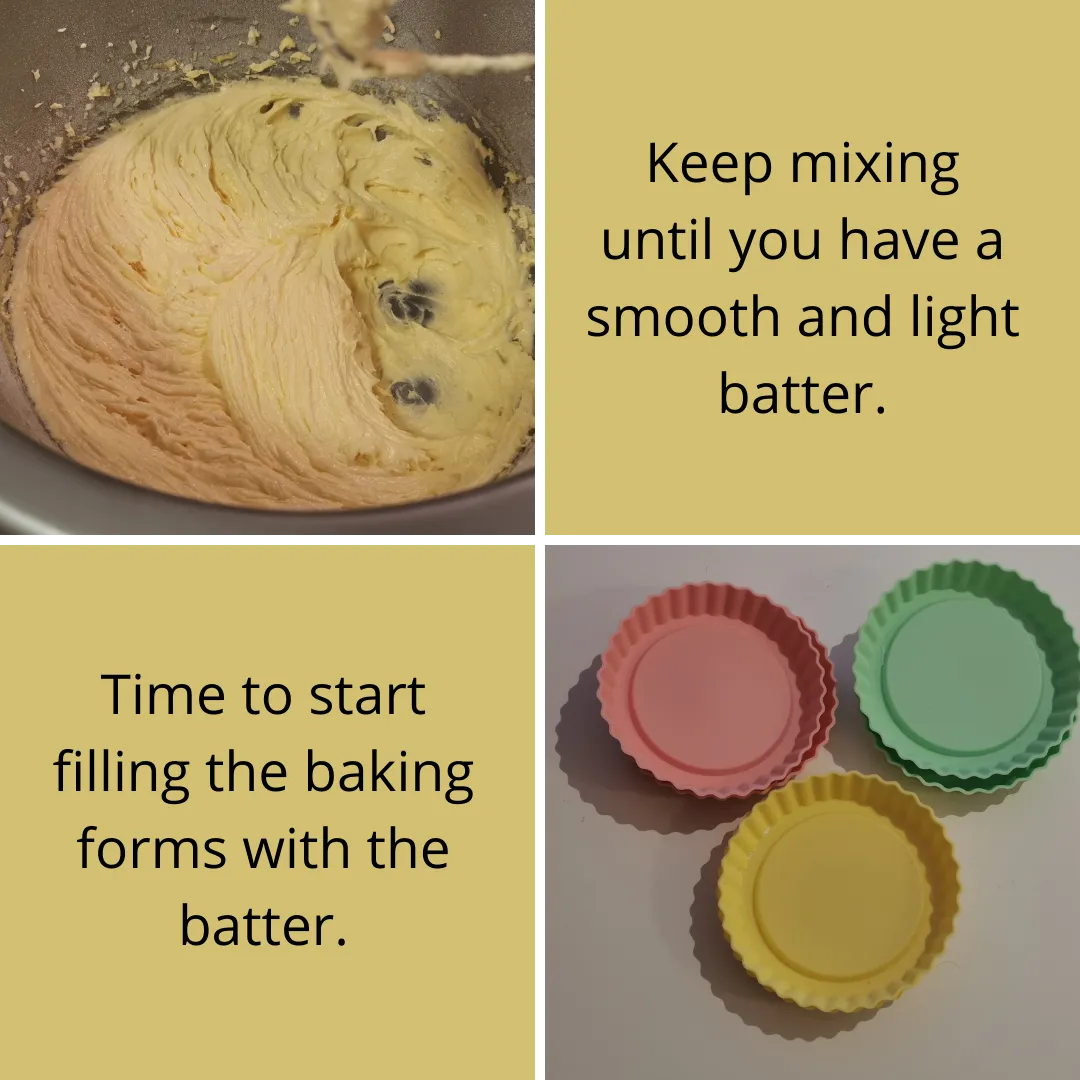
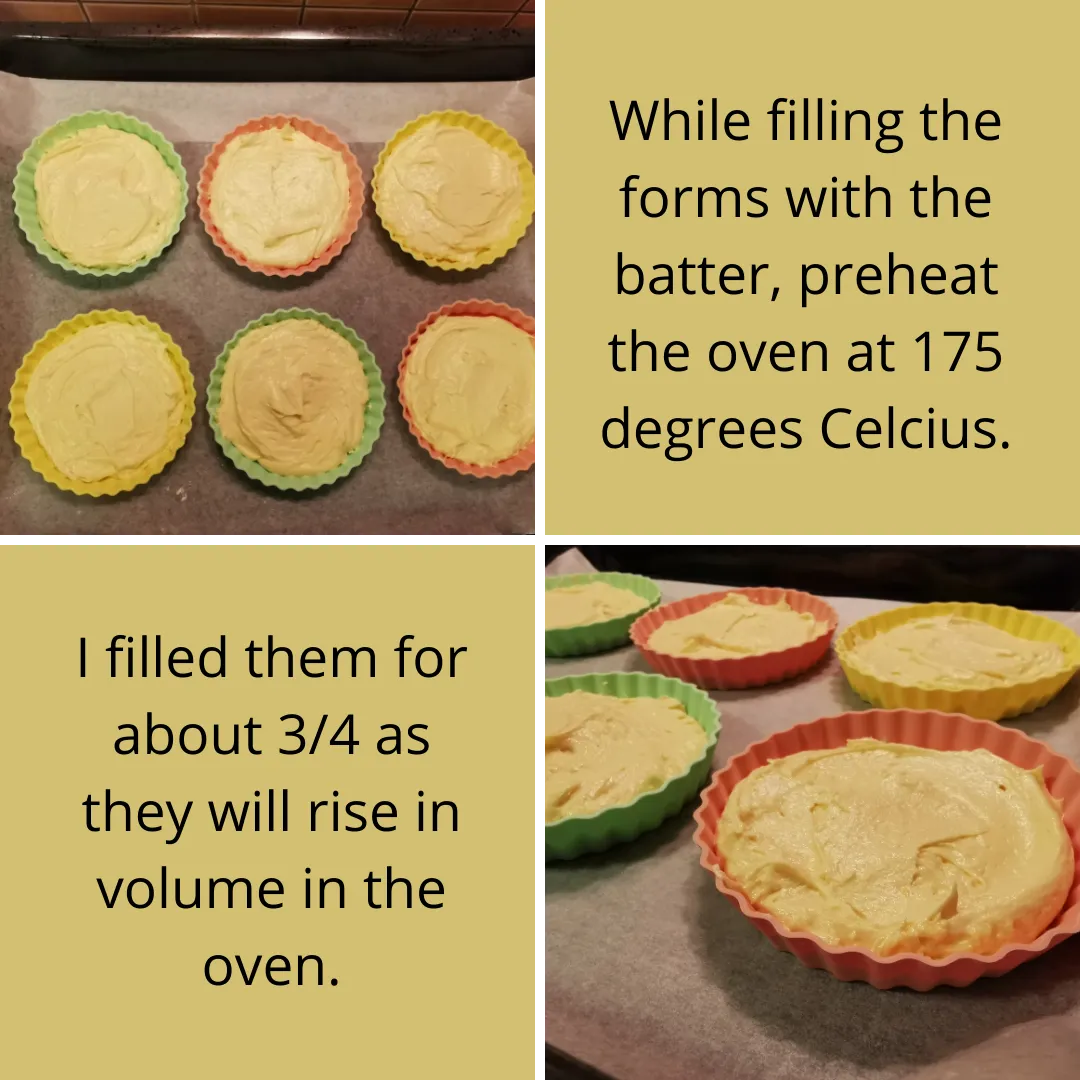
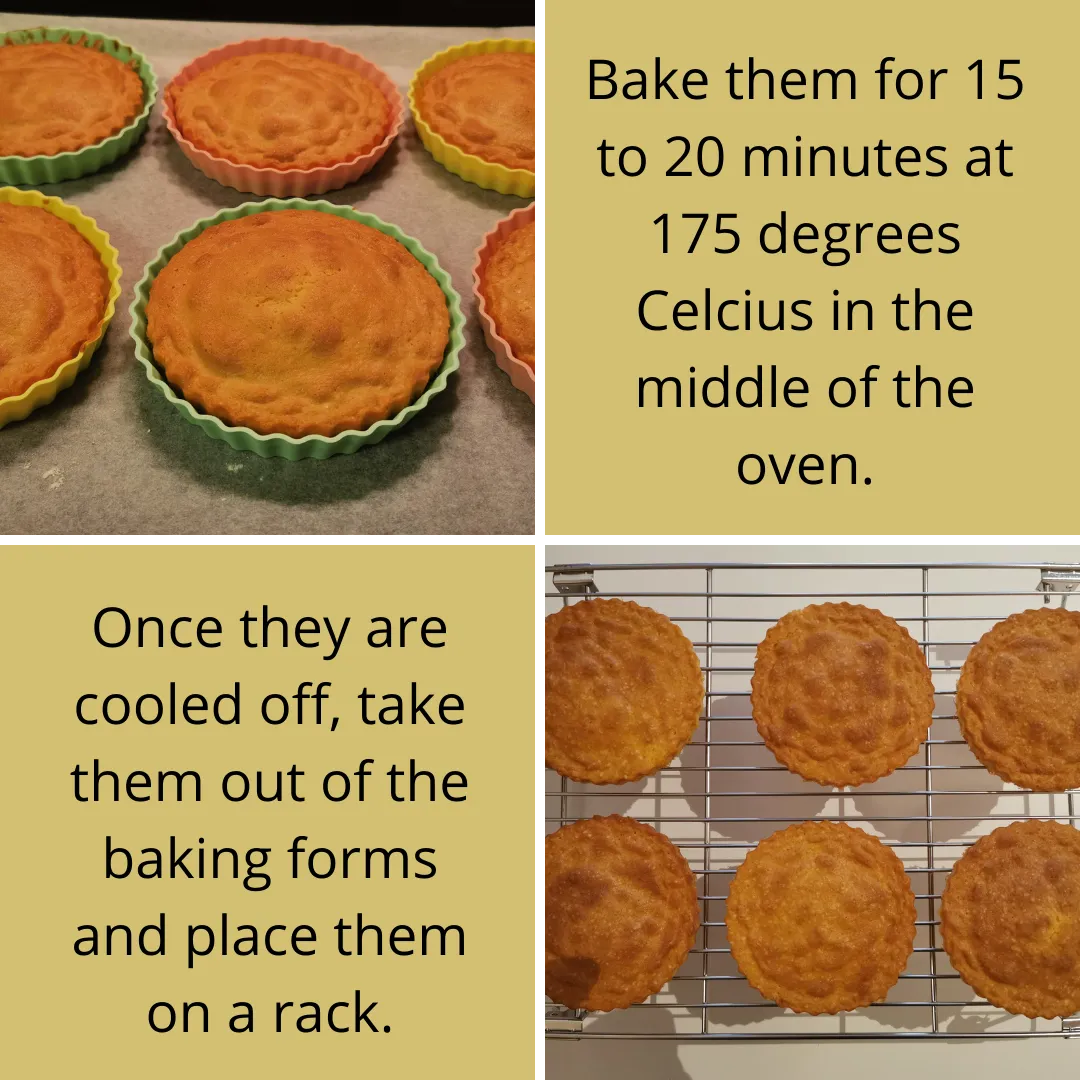
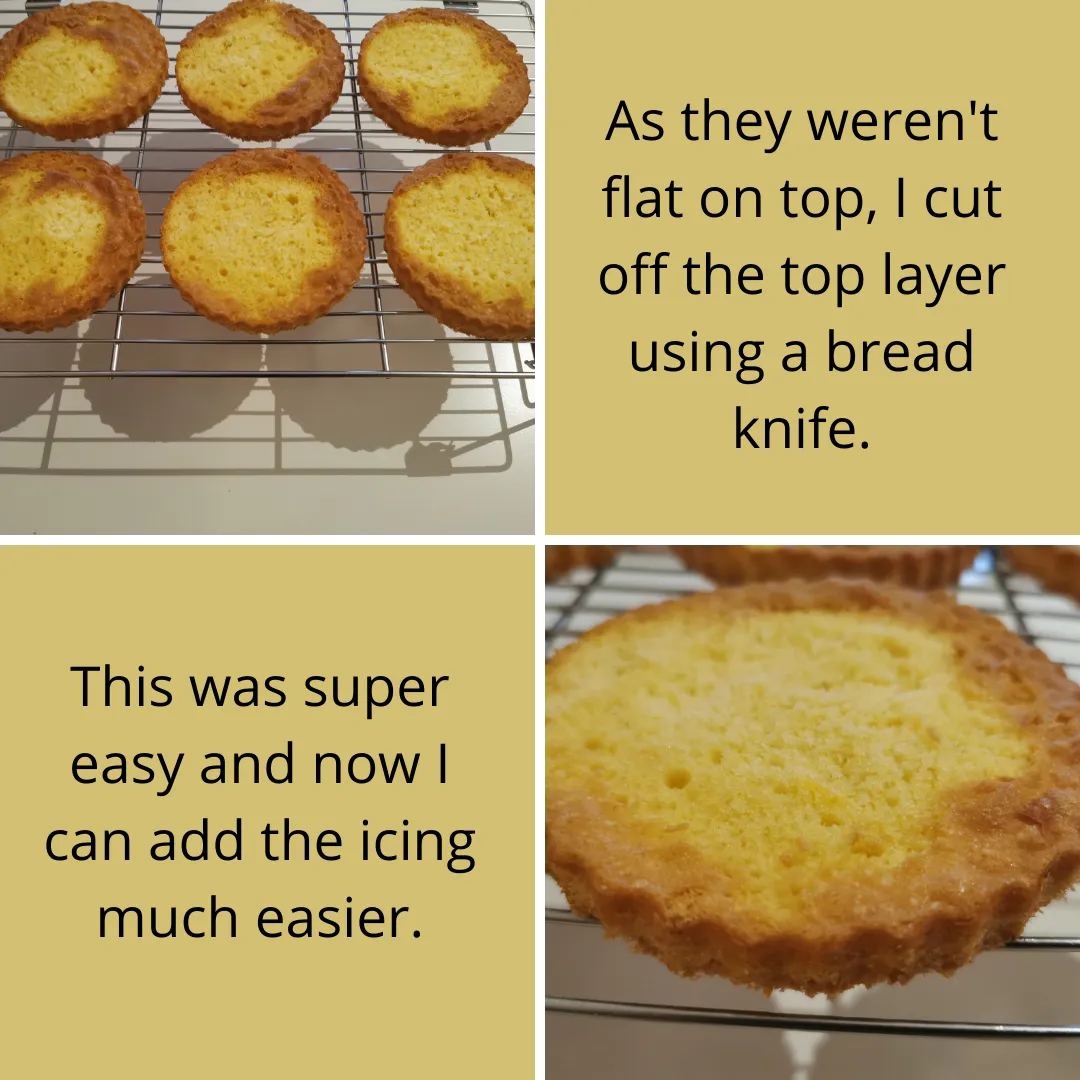
Prepping the mini cakes:
That was the cake part, now let's get to the decoration part, shall we?

Time For The Icing
Making the icing is a very easy task. Use a high bowl to mix the egg white at medium speed until it starts to get foamy and white, once that's the case, start adding the sugar bit by bit and keep mixing at a higher speed. When you added about half of the sugar, add the food colouring and lemon juice.
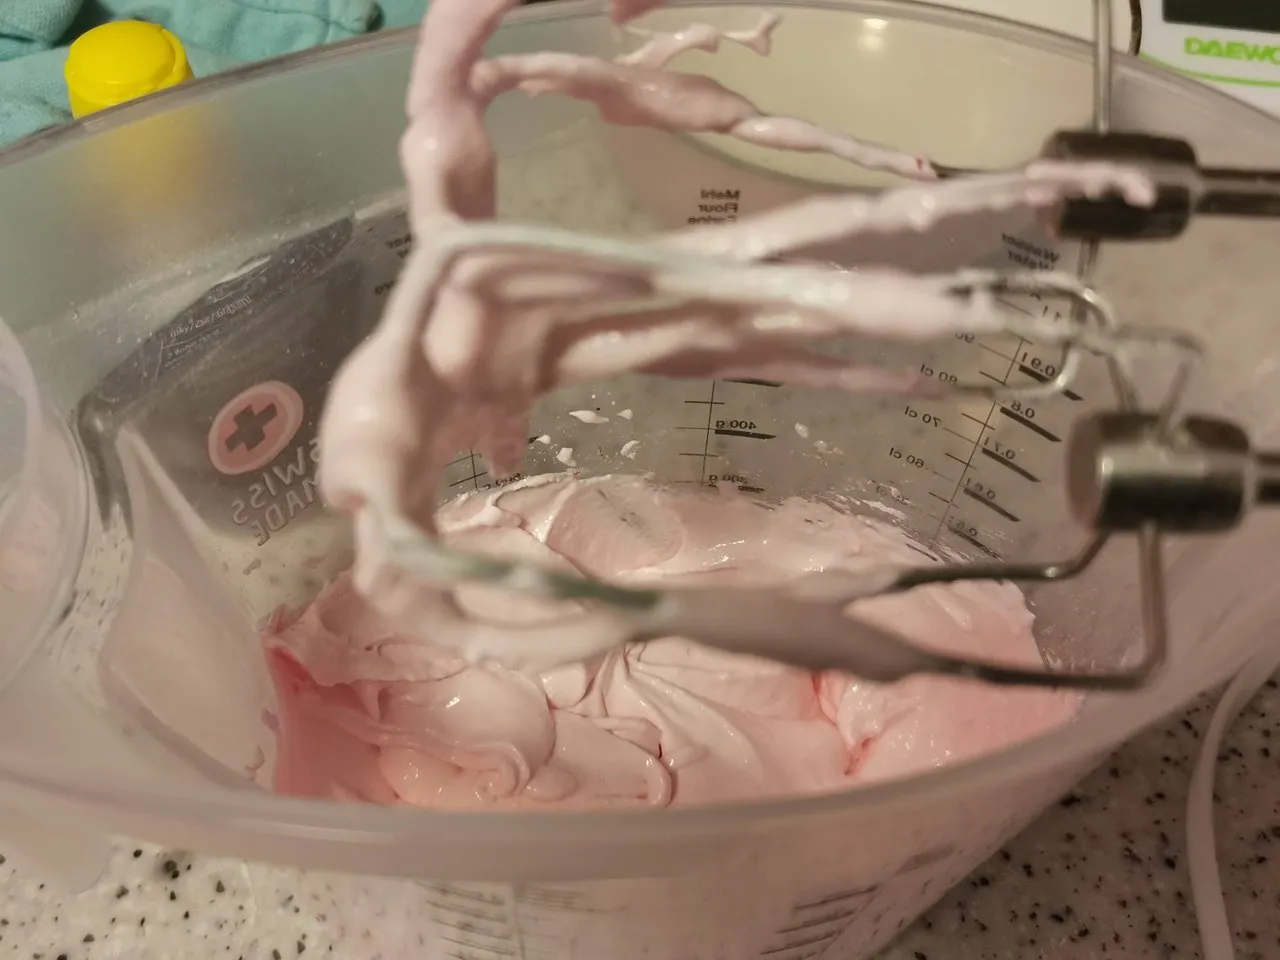
If you have added too much food colouring by accident and the foam is starting to get too smooth again, just add sugar and keep mixing. If you made sure your egg whites did not contain any egg yolk, the icing will be good after a while.
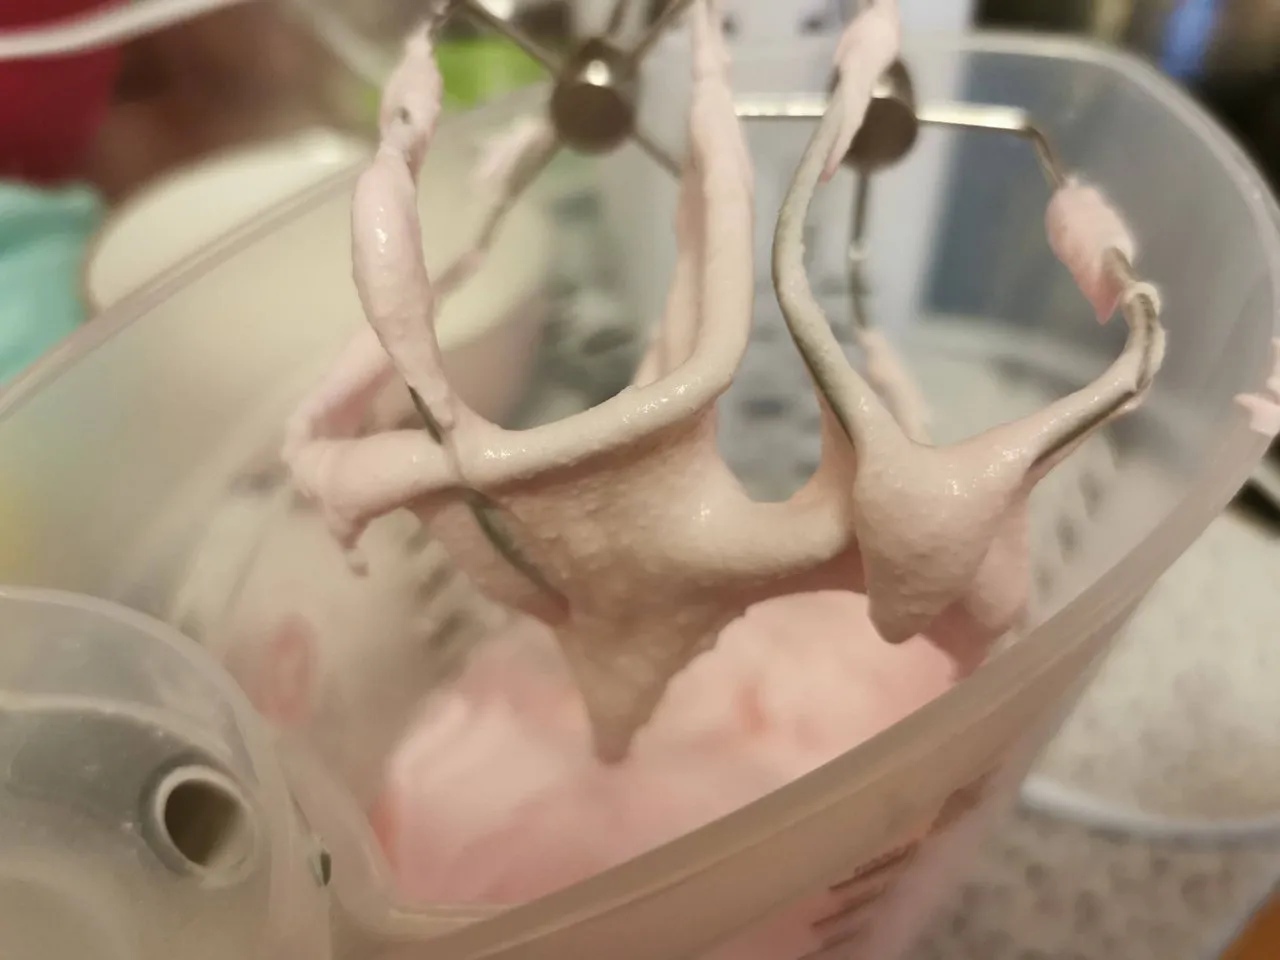
Do you see how stiff it is? The foam doesn't fall from the whisks, that's the moment you know you're icing is ready!
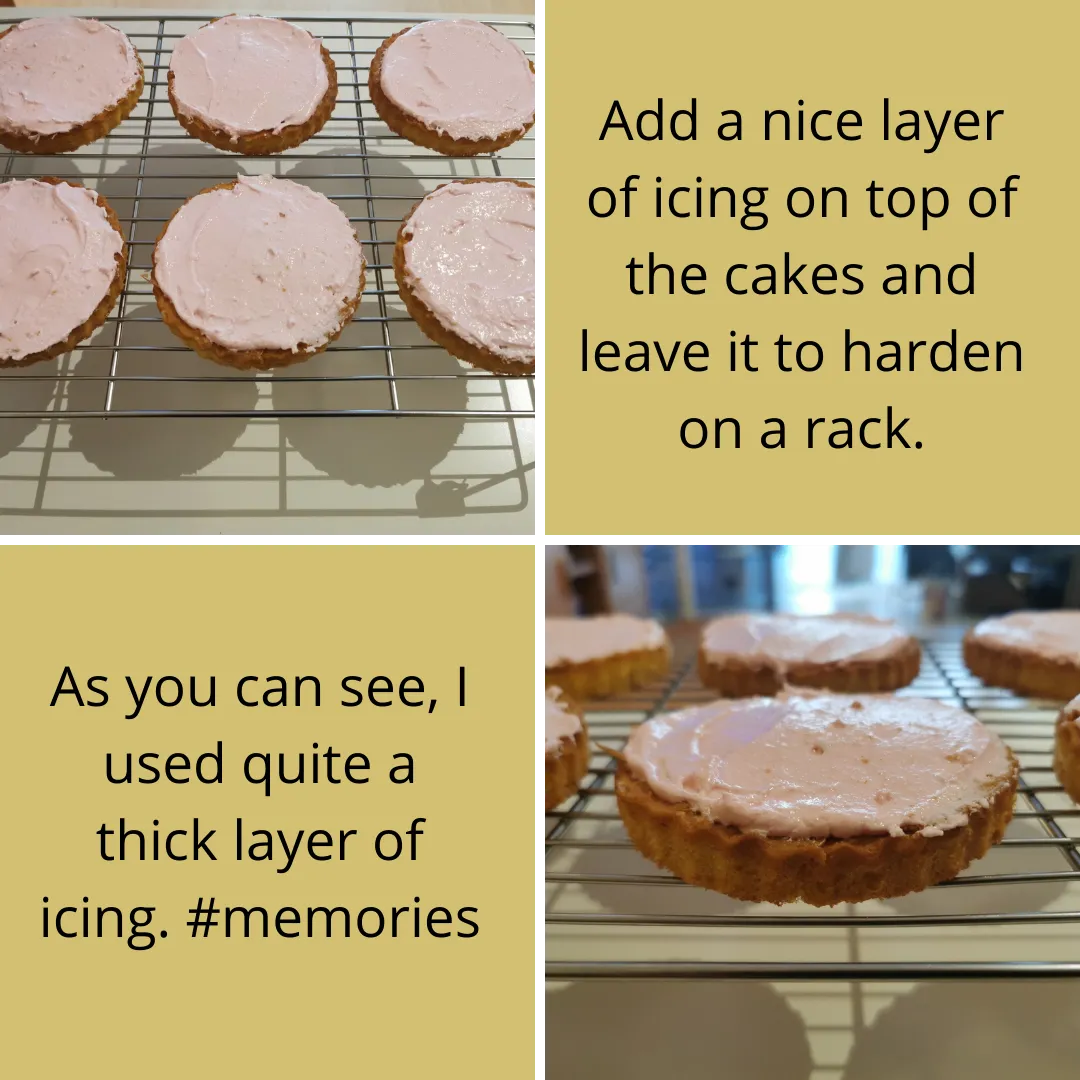
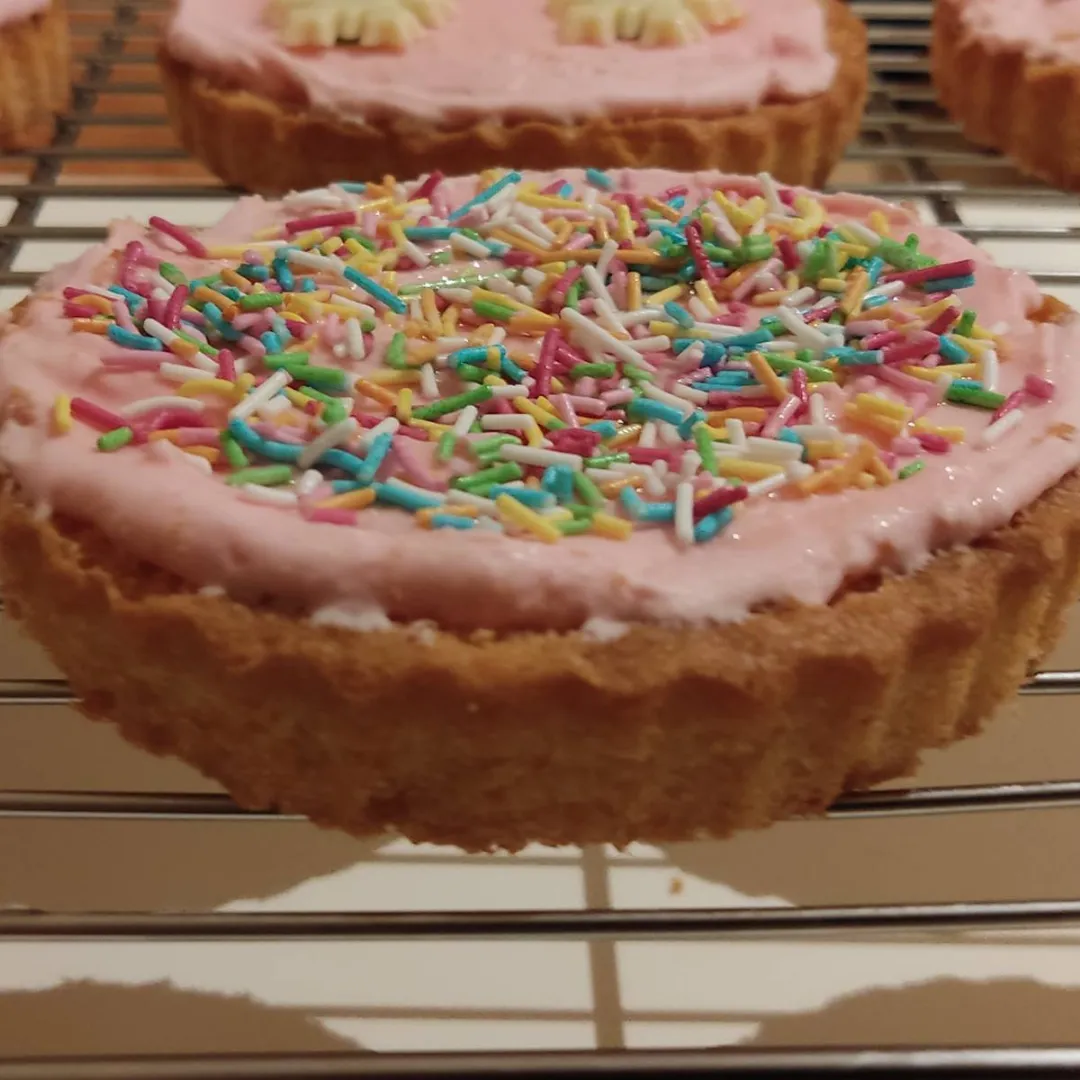
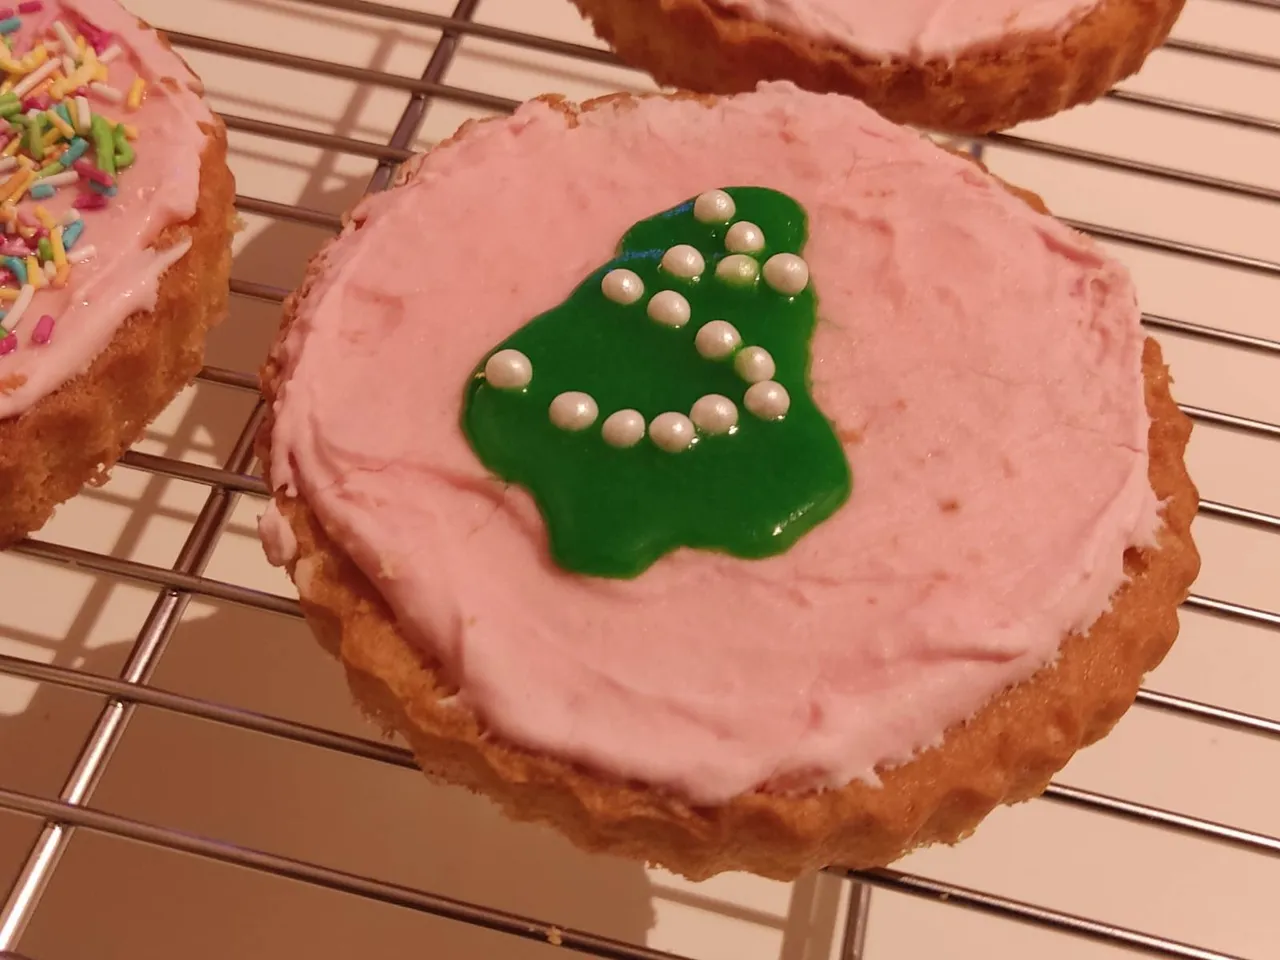
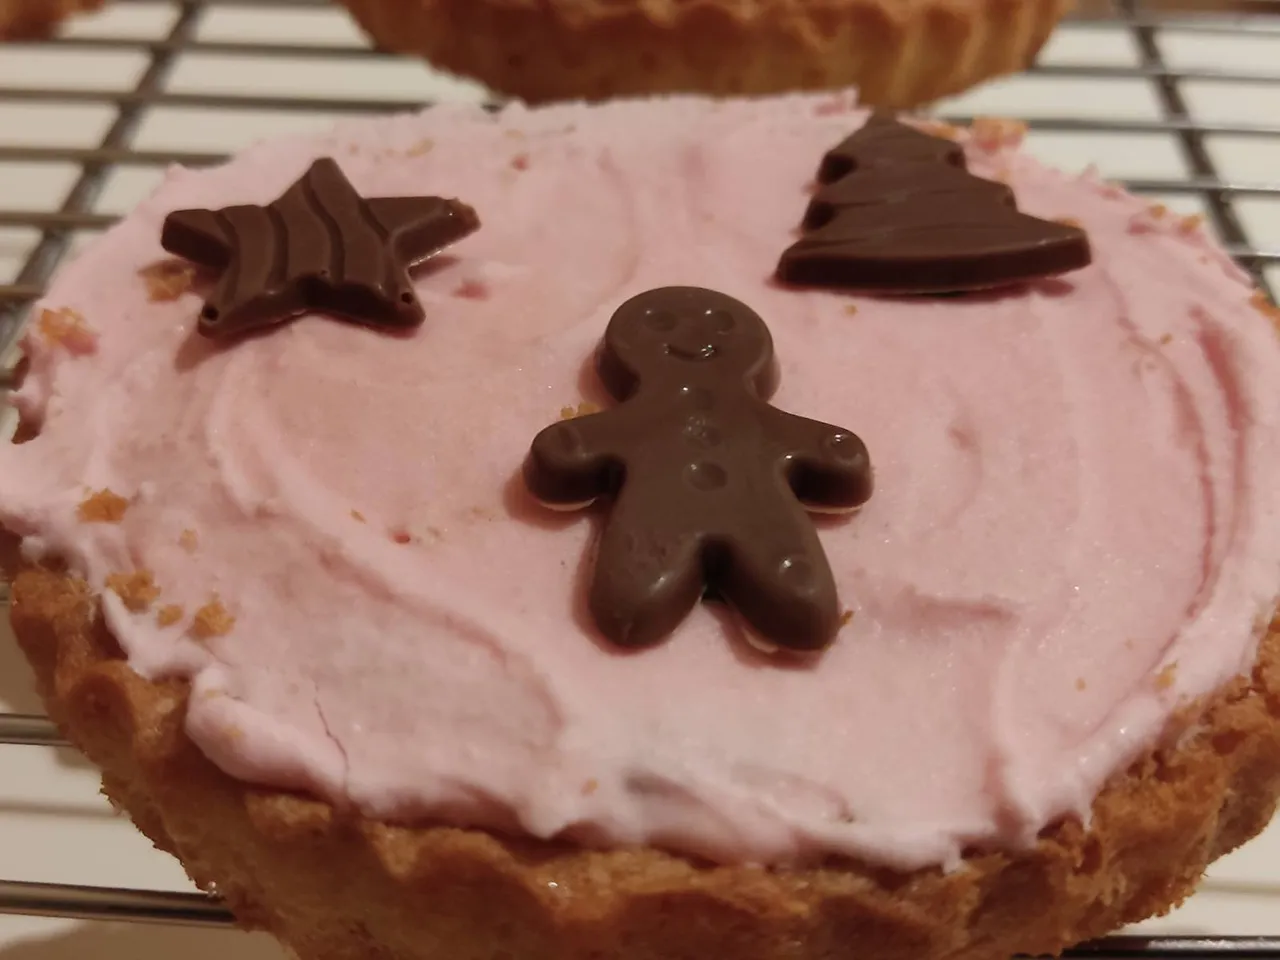
After applying the pink icing, I let the cakes dry for almost a day before adding the rest of the decoration. I noticed that they dry best out on the rack, but placed them in boxes overnight. Once fully dry, you can add the decoration.
For the decorations, I used a few boxes of chocolate Christmas decorations that I hadn't used yet. I also had a bit of green icing left from the last baking that I've used to create a few Christmas trees on these cakes.

The End Result
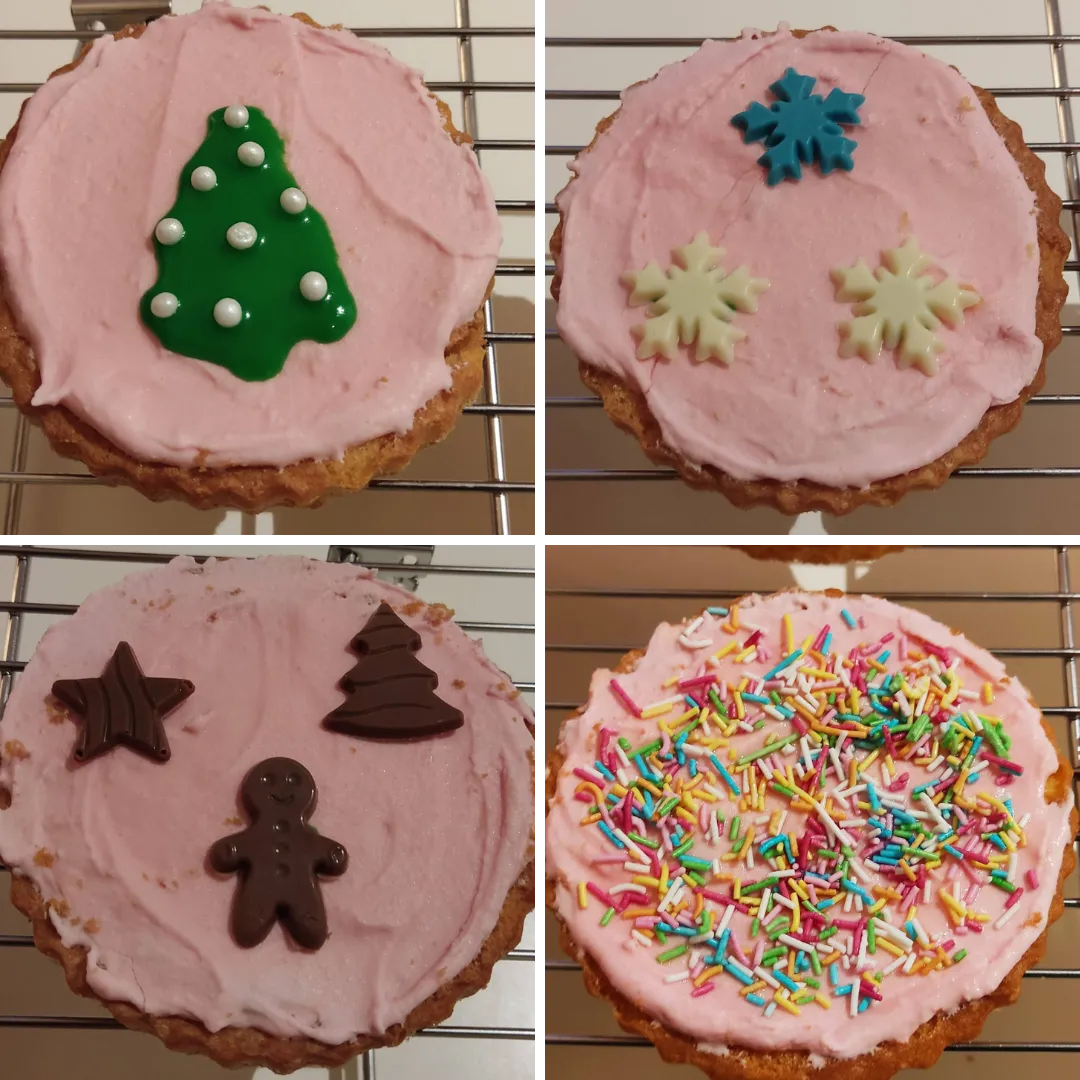
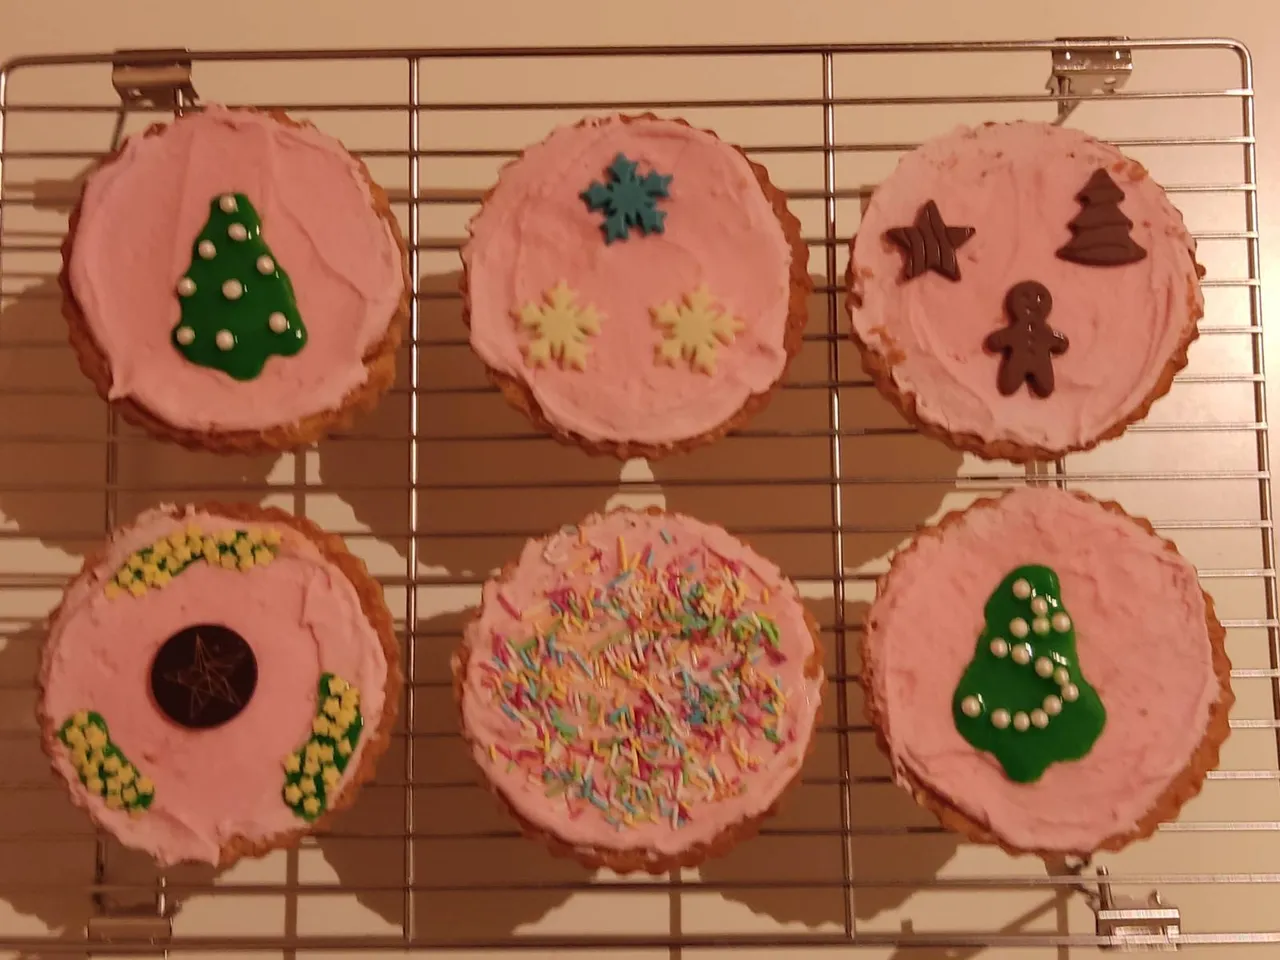
Although they didn't turn out like the cakes from my childhood, due to the pink icing that tastes different than the one I made last time, they still tasted nice. My daughter loved the decoration, and could not pick which one she wanted to eat. The excitement was big when she finally could pick on because she had to wait 1,5 days to do so as I let the icing harden for a full day first. The waiting was worth it though!
I hope you enjoyed this little experiment, thank you for stopping by!

More Foodies Content
- Snowy Christmas Tree Meringues
- Failed Christmas bakings: A Gingerbread Cookie Graveyeard
- Trofea Grill: A Spontaneous Lunch Review
Let's Connect
If you want to connect, you can give me a follow on my socials. For inquiries, you can send me a direct message on Discord.
My Referral Links:
- Nexo Sign Up Bonus $25 BTC after $100 deposit. Valid until December 31 2021
- Splinterlands
- Free Hive Account