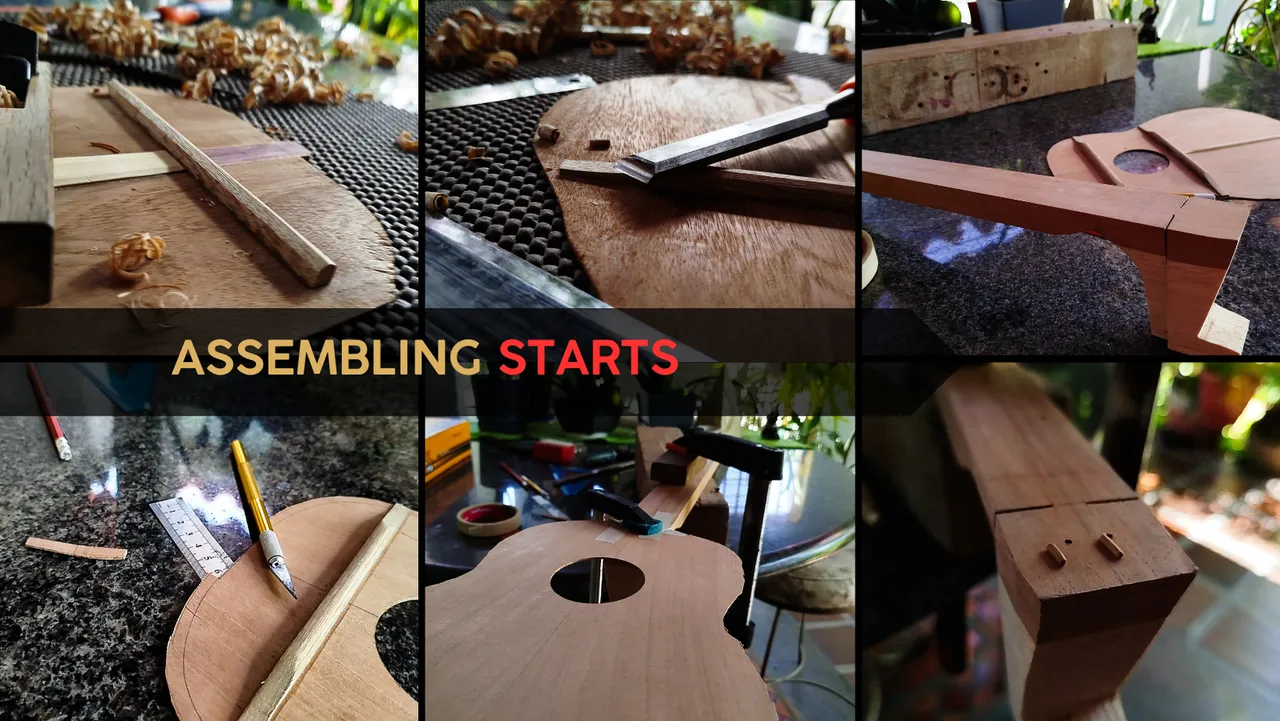

Welcome back to another entry in this build. Today, we're finishing some work on the back to finally start the assembly process. So, get ready to see some bars getting carved and the idea of using anchors to glue the Sound Board and Neck together.
Let's jump right to it!
Working the Bars
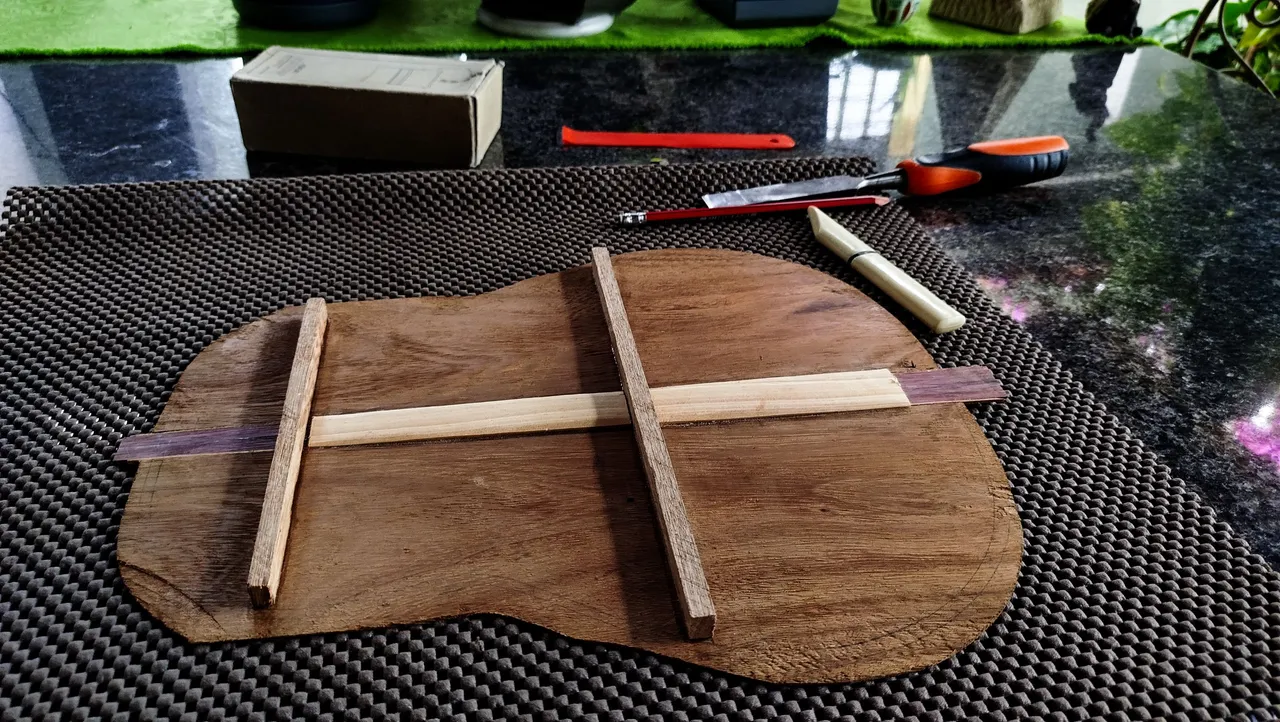

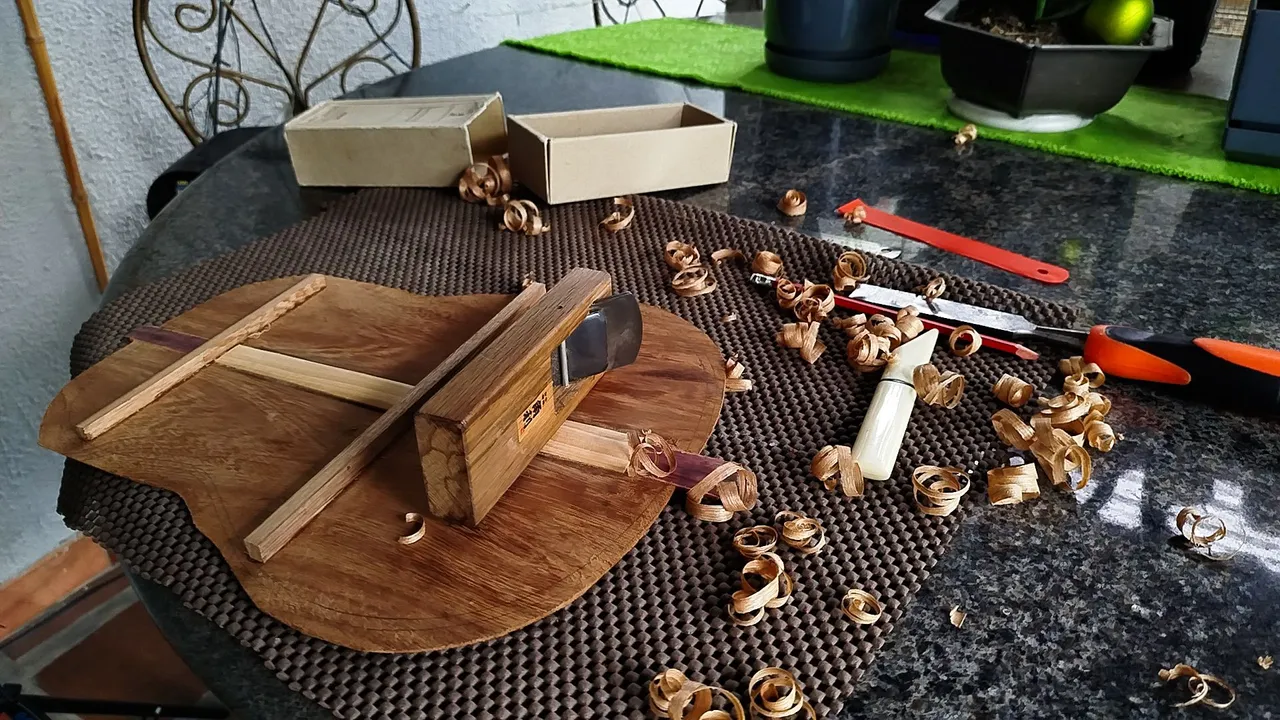
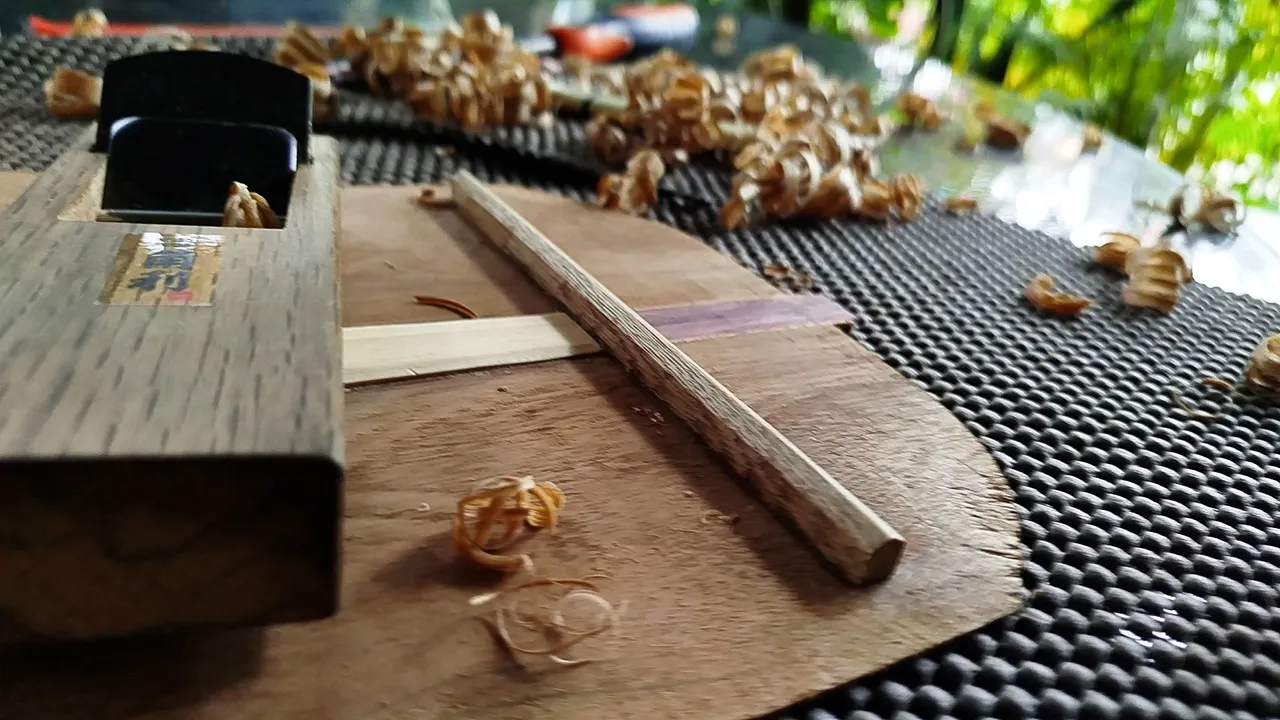
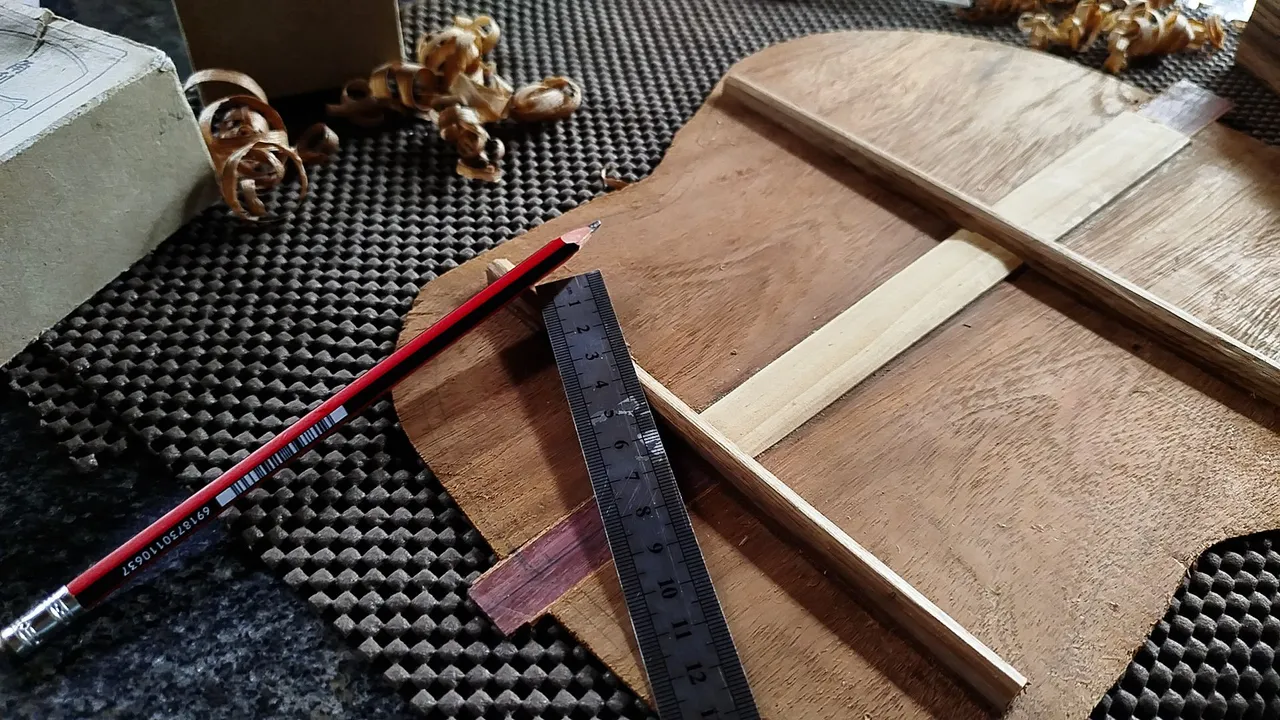


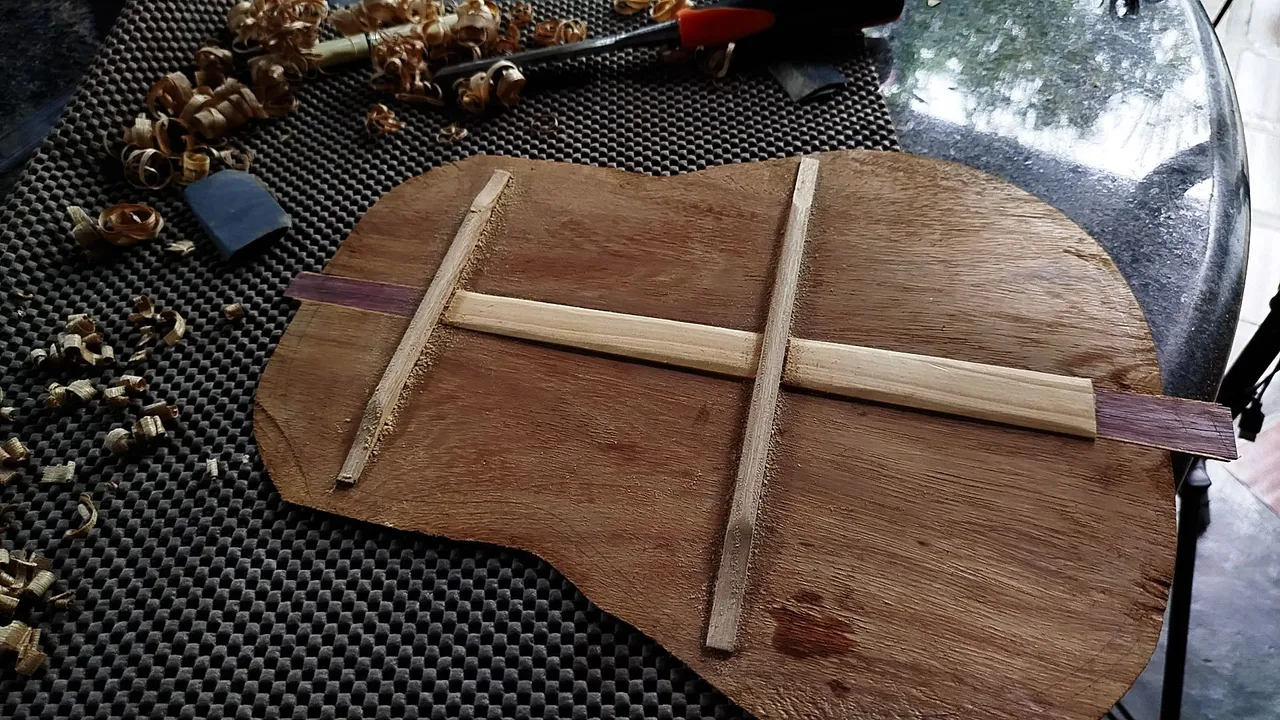
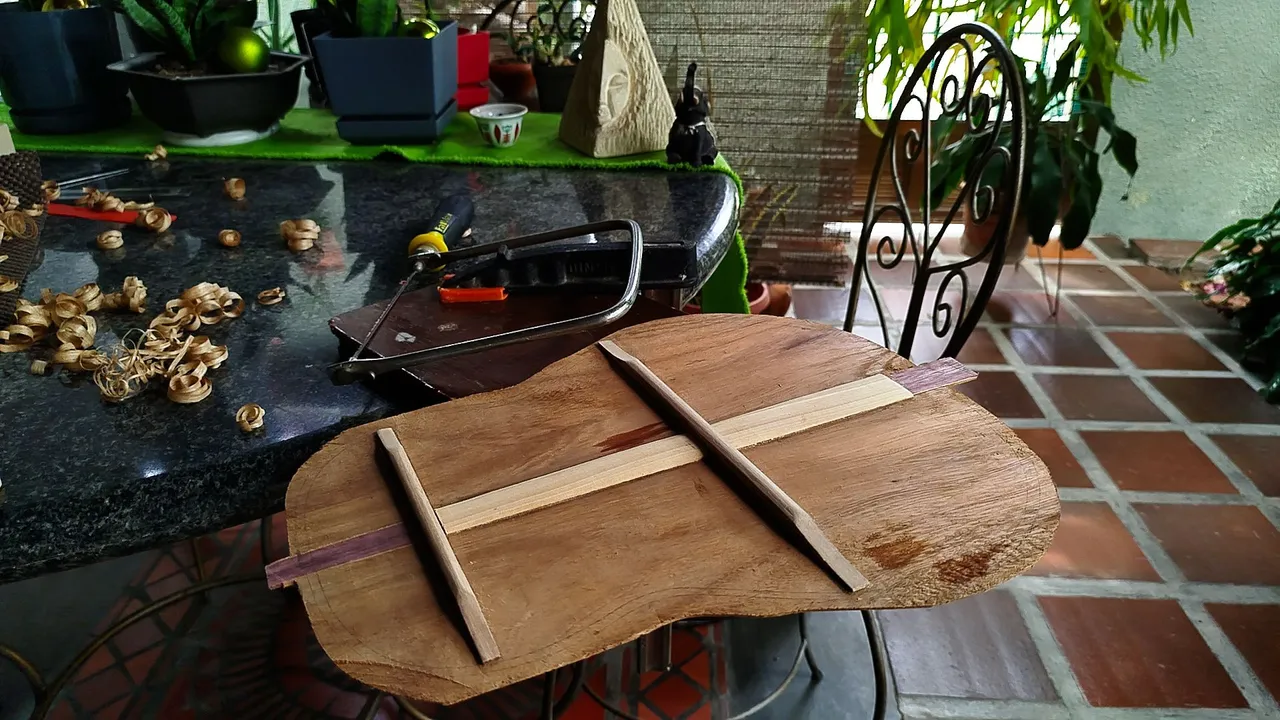

After getting these bars in place, we need to shape them. To start we remove some from the top with the help of the hand plane. But this step is not only about the top of the bars. We are also working the sides to make them into a sort of long pyramid Once this is done, we can get to measuring how much we'll take off from the edges of each bar.
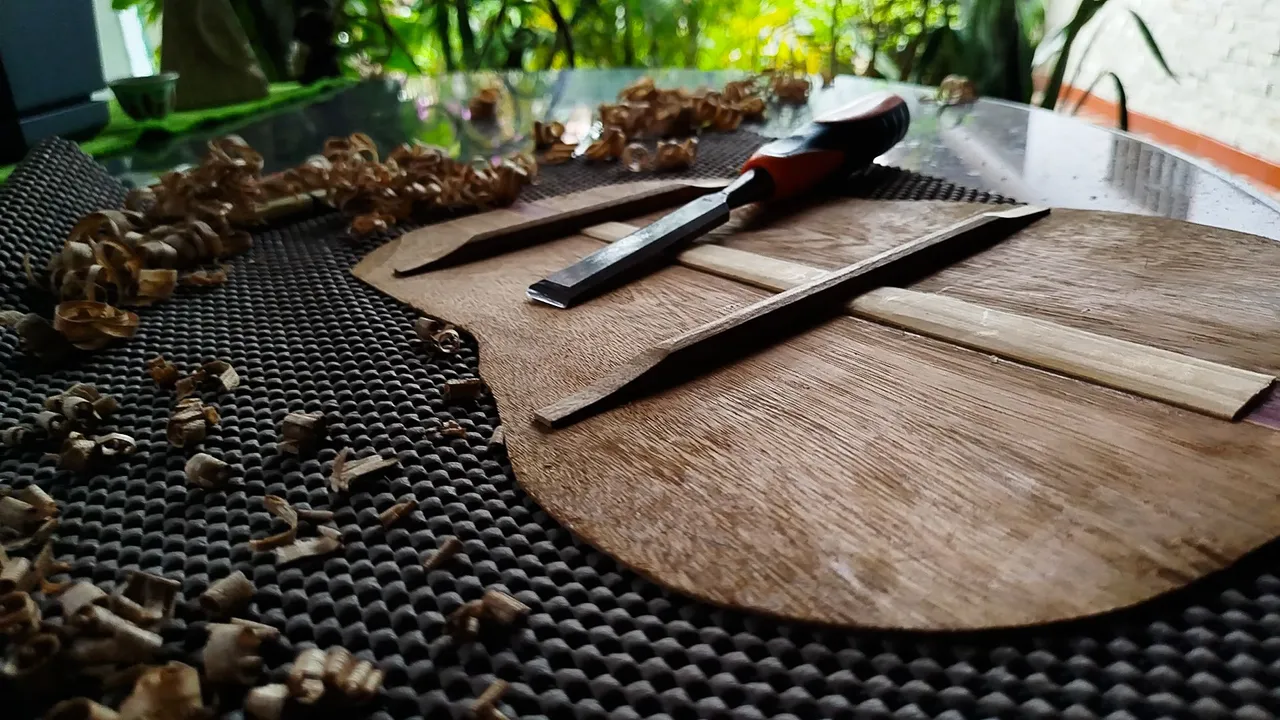
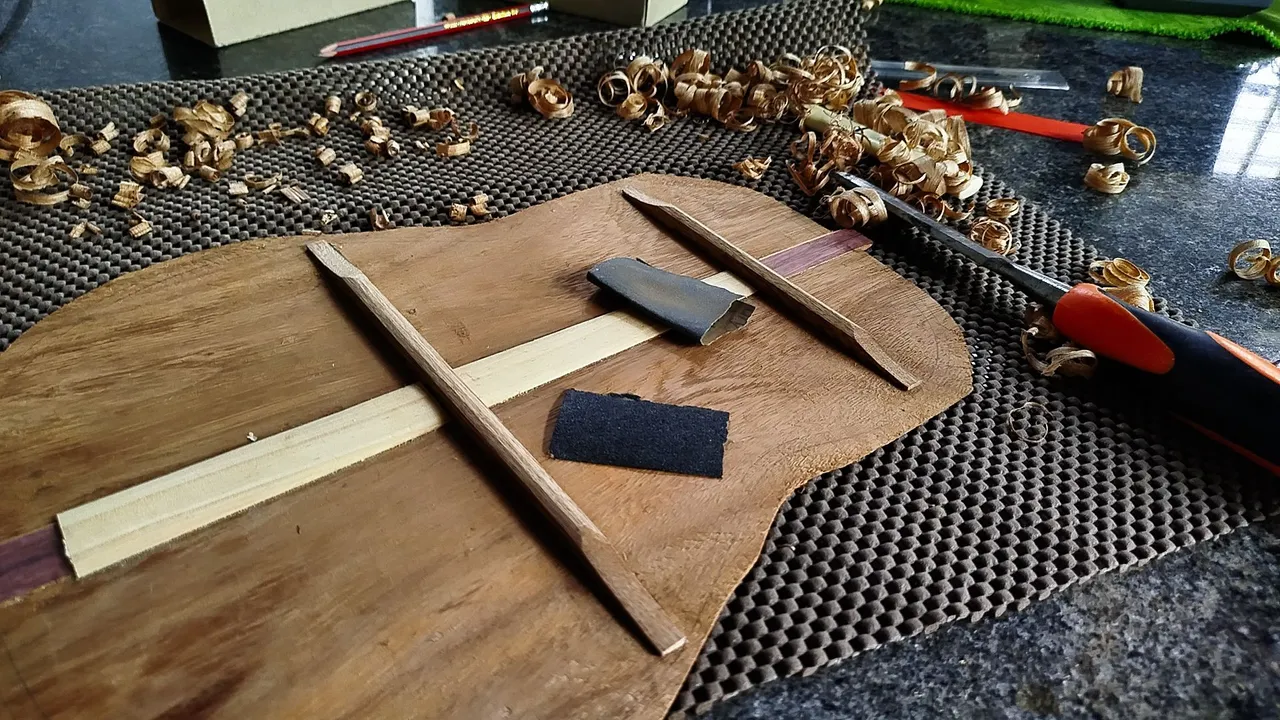
With the measurements in place, we can get to carving with the chisel to make the ends lower. We carve until we are close to around 2mm. The last bit of work on the bars is, of course, sanding. We sand them and now the pyramidal shape on the top get rounded.
To finish with the back, we are trimming all the extra material that is hanging out the the margins we had made with pencil. Using the coping saw, we can remove parts of wedge we got in the middle of the pieces. To finish the rest, we use our trusty knife. That way, we can avoid any problem with the mixed directions of the grain of this particular species of wood.
A Preamble to Assembly
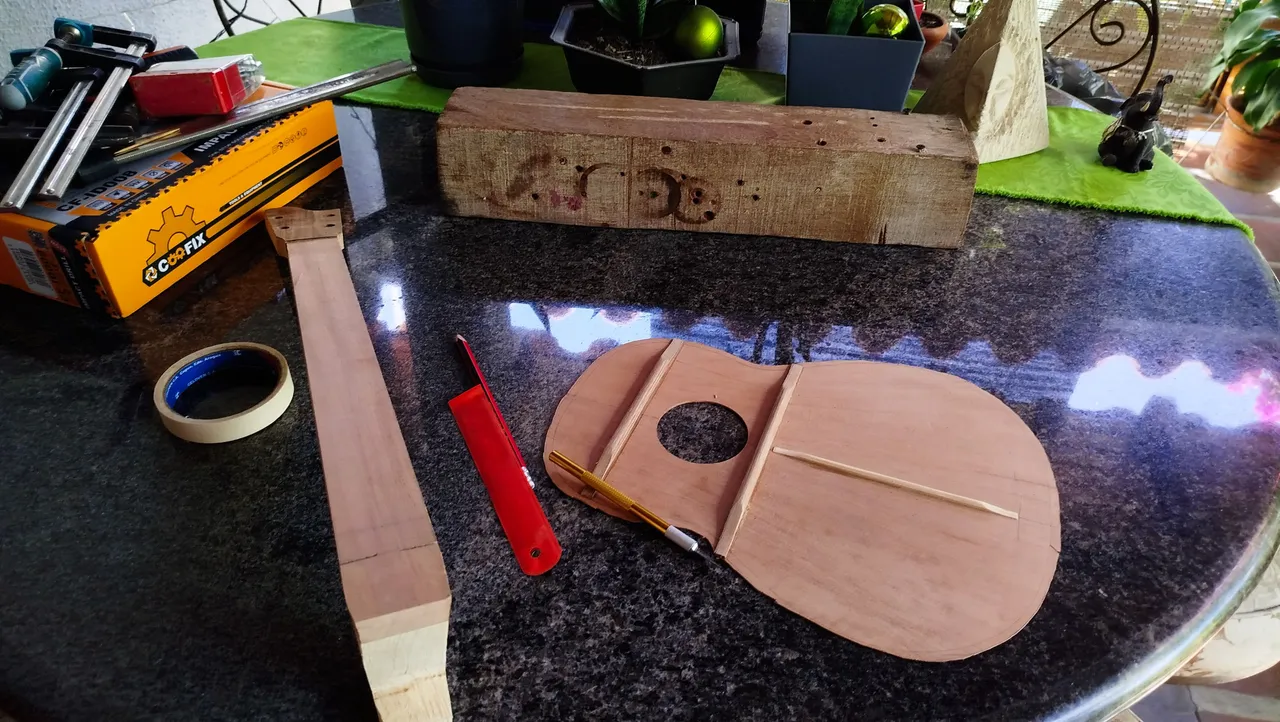


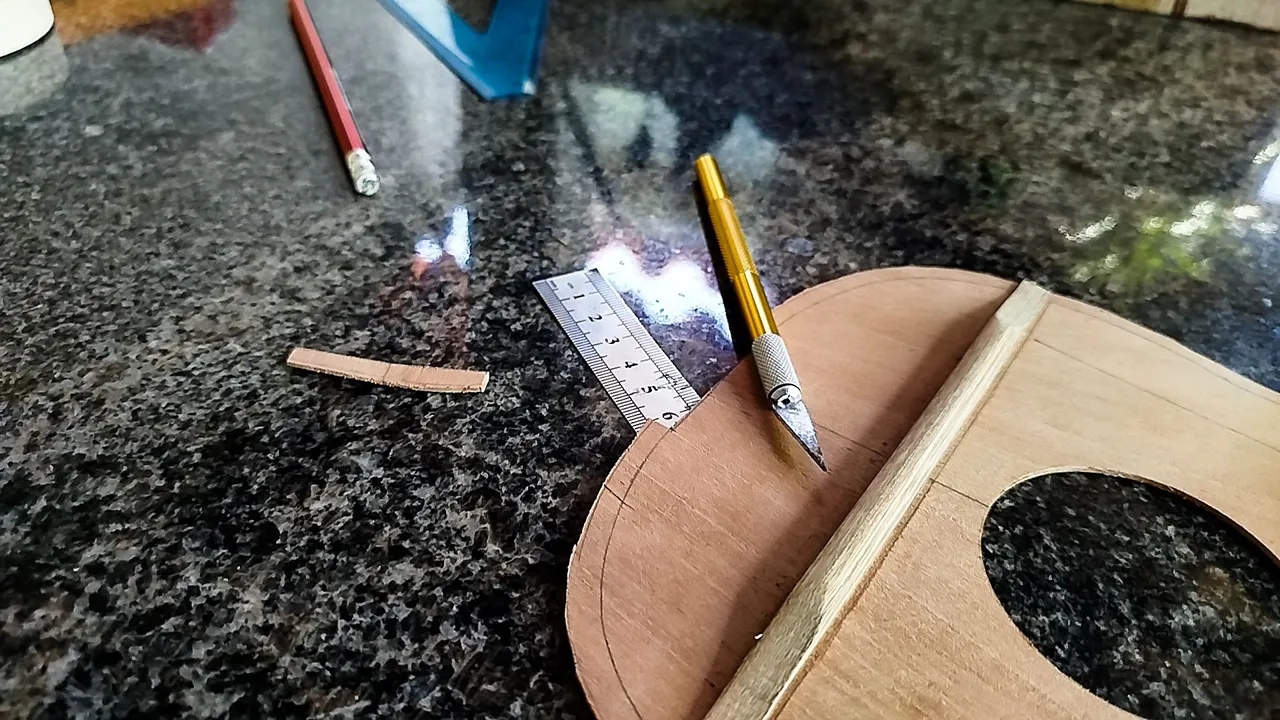
We're finally getting to the part of the build where we put the together the pieces of the puzzle. To start the job, we need to have a flat top of the Sound Board. This has two functions. First, it is easier to see up to where the Sound Board should go on the neck. Second, it gives us the placement of the lower portion of the fretboard.
To make this cut, we just need a ruler and something to cut. We do this part slowly until we have removed the portion that is not needed. This cut follows along the curve of the Sound Board. However, it is the part of the piece that actually needs a straight cut.
Neck and Sound Board
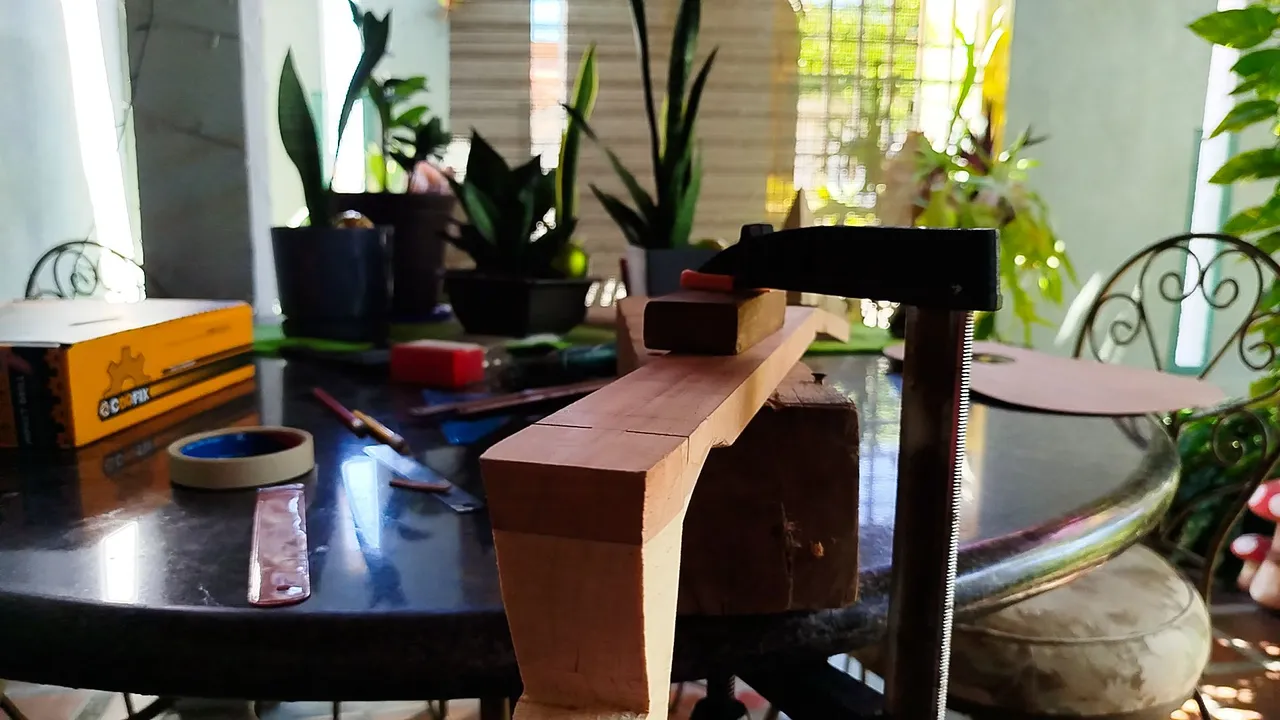
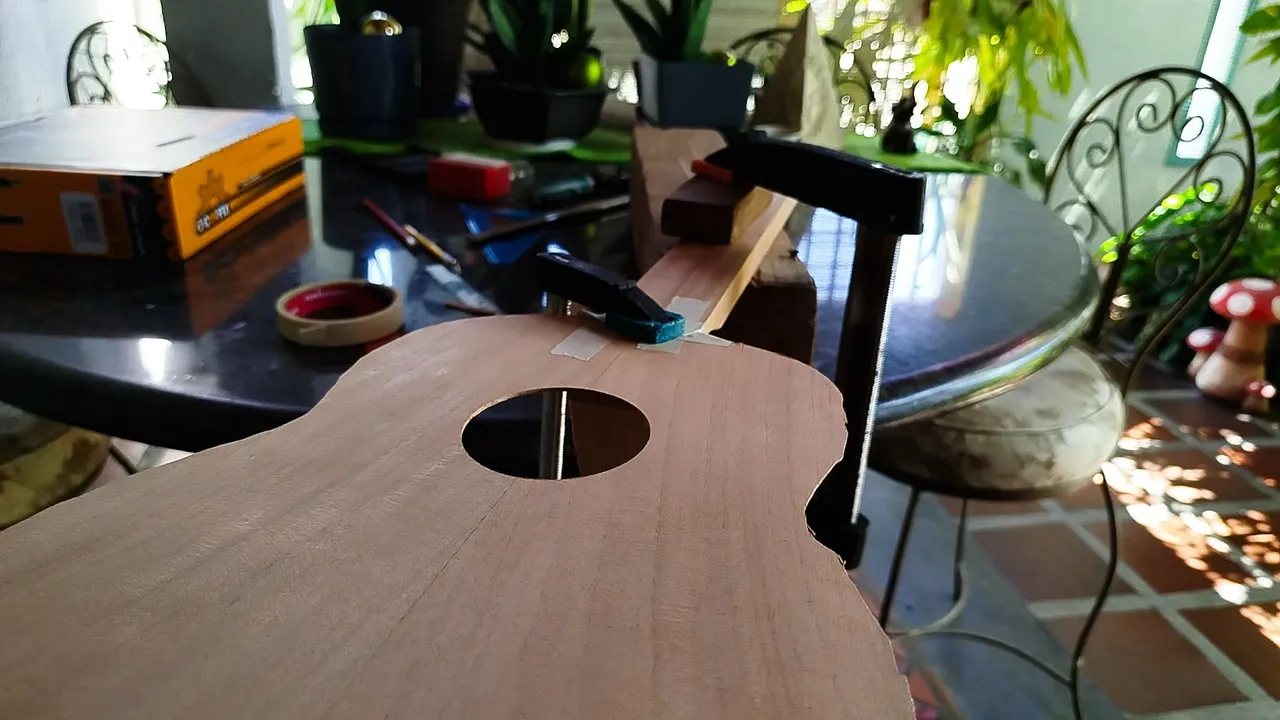
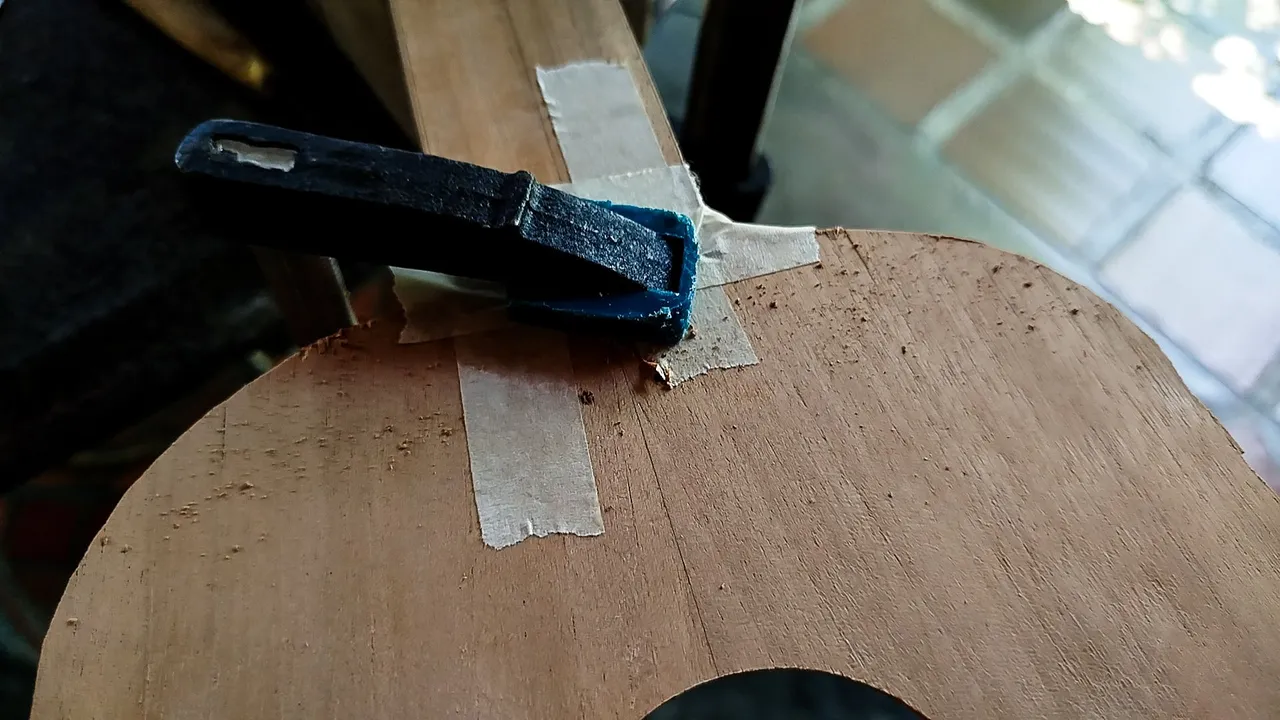

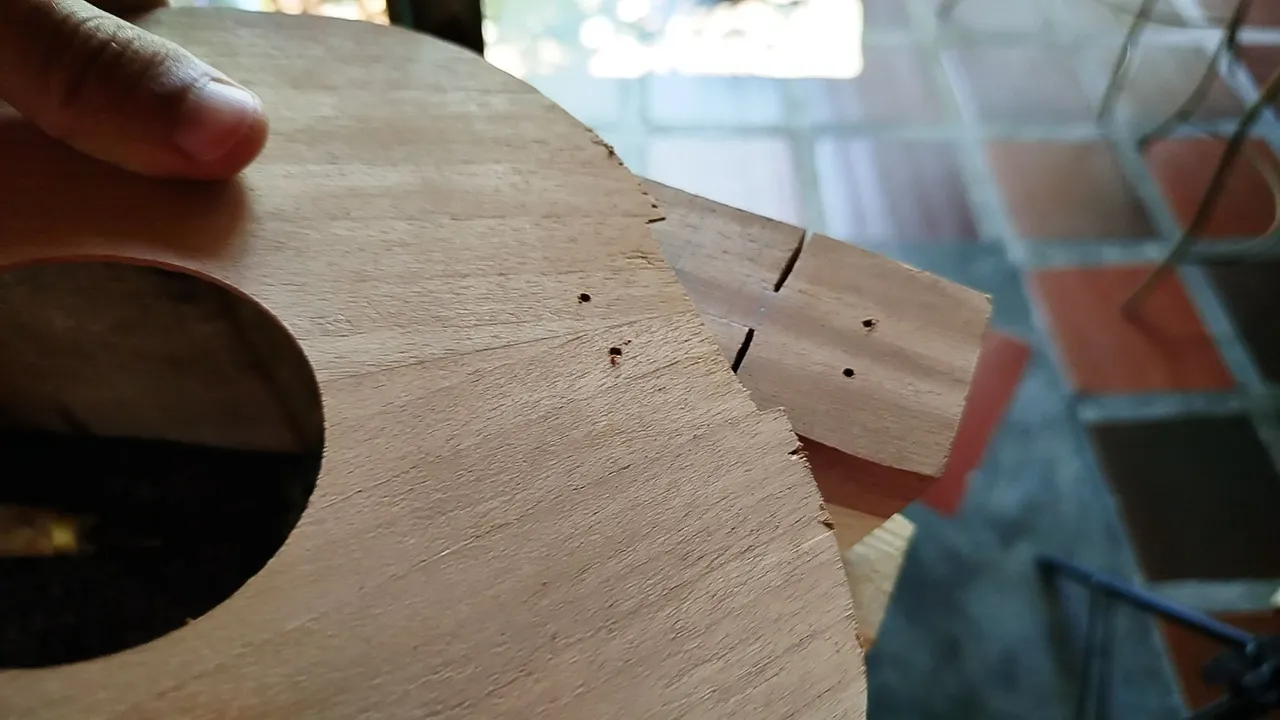
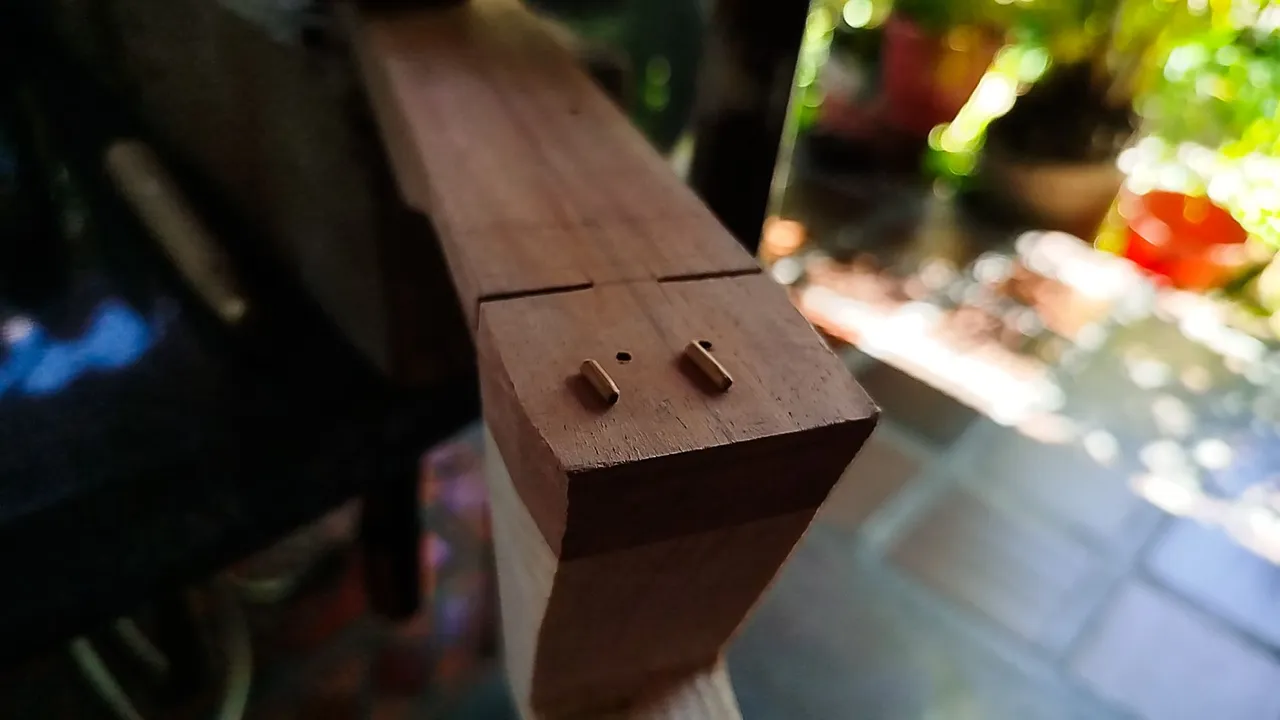
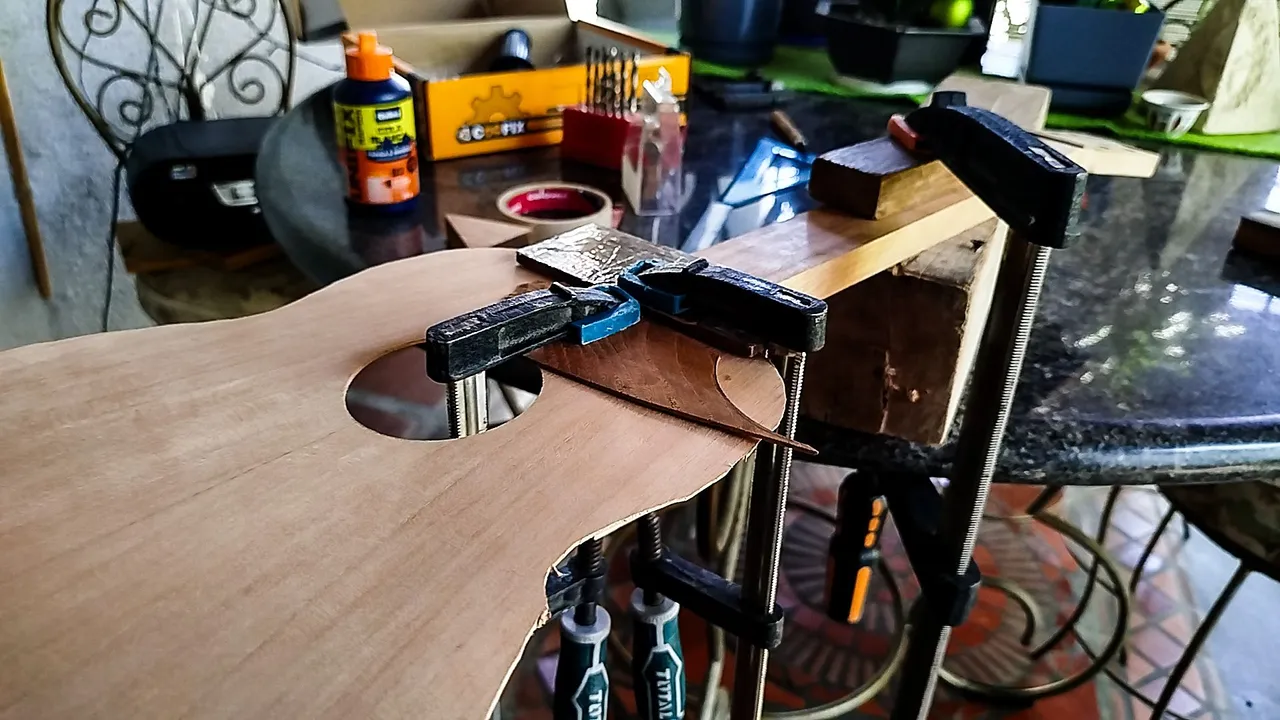
Time to start the assembly. This time we are using the anchor technique for this joinery. The reason? This glue up moves a lot when you apply pressure. First, we hold the Sound Board aligned with the neck. Then, we use some masking tape. Now, we use the drill to open two holes that bore through both pieces.
Having made these, we can craft some anchors out of a toothpick. Before trying to glue this up, we need to make a dry fit. That's a fancy way of saying trying out the anchors before applying glue. Once we make sure they will serve their purpose, we proceed to apply glue.
We use enough glue and place the Sound Board of top of the neck placing the anchors in their holes. Having the pieces secured, we can start applying pressure. And then, this is just a thing of waiting for the glue to do its work.
On the next entry, we'll start making some work on the sides. Before that, we'll place these assemble pieces on the mould.
Thanks for reading!
| Project milestones | Title |
|---|---|
| 1 | First Steps |
| 2 | Hints of a Sound Board |
| 3 | Sound Board Ends, Neck Begins |
| 4 | Head Stock and Heel |
| 5 | Carving the Heel |
| 6 | Flush Head Stock |
| 7 | Neck and Back |
| 8 | Reinforced Back |
Photos 📷: Redmi Note 13
Thumbnail 🖼️: Canva.
Editing 🎬:Adobe Photoshop Lightroom.

Follow me on Instagram for enquires and commission.
If you'd like to help the workshop grow, you can make a donation here. You can find me at discord as bertrayo#1763