
Last time we saw the neck, we had just finished attaching both parts at the ends, head stock and heel base. Today, we are embarking in the many steps of finishing the whole heel. It is one thing to have the pieces glued to the neck and another to carve the heel into the shape it will have when the build is done.
Plus, we also need to make the slots for the sides.
Let's get to it!
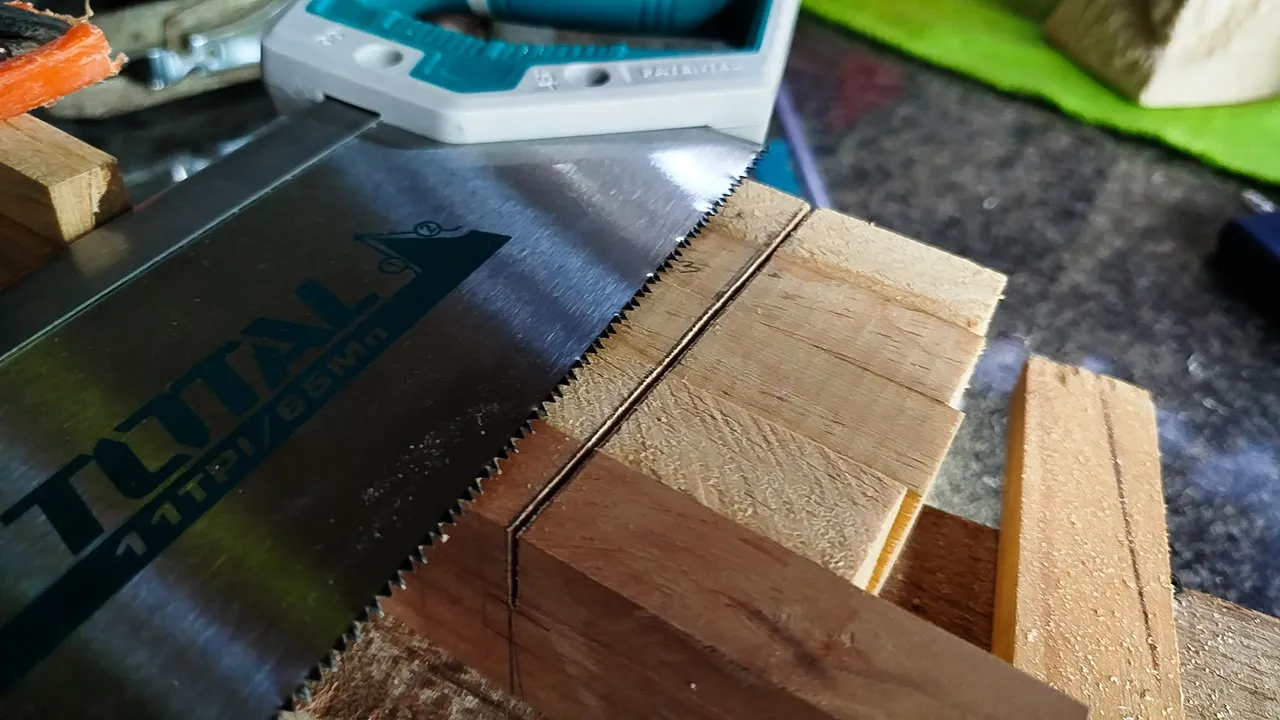
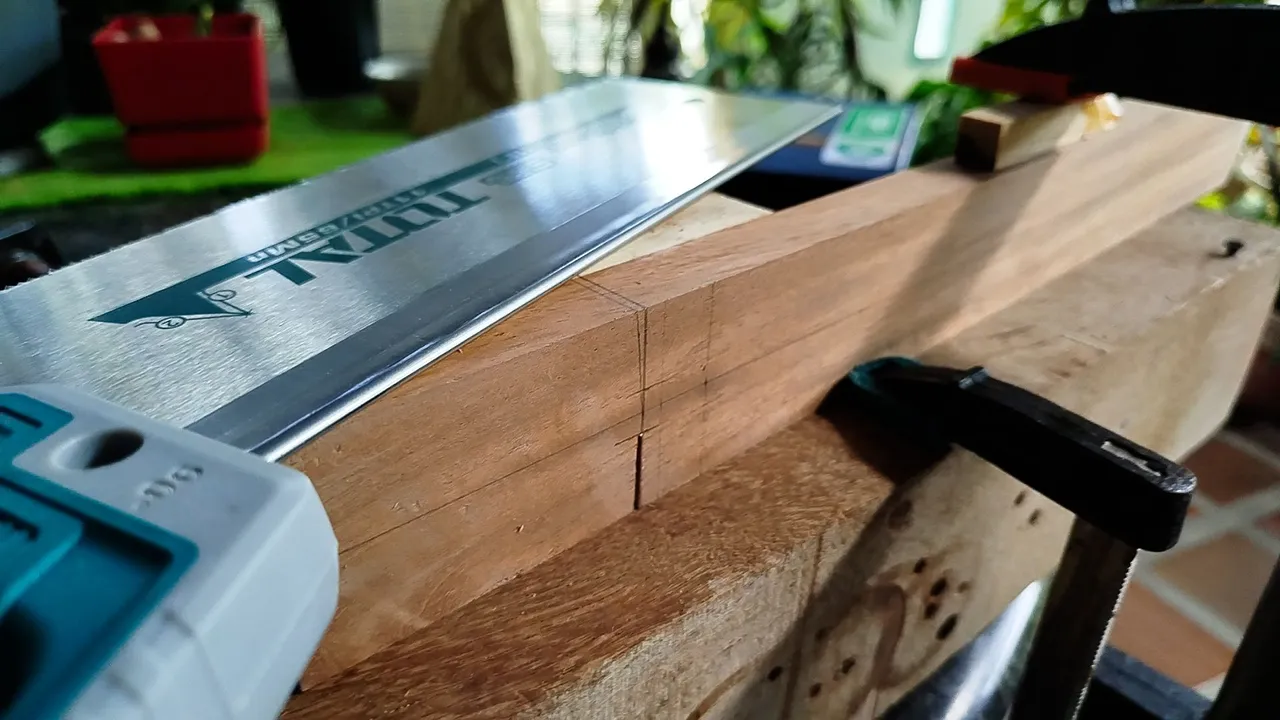
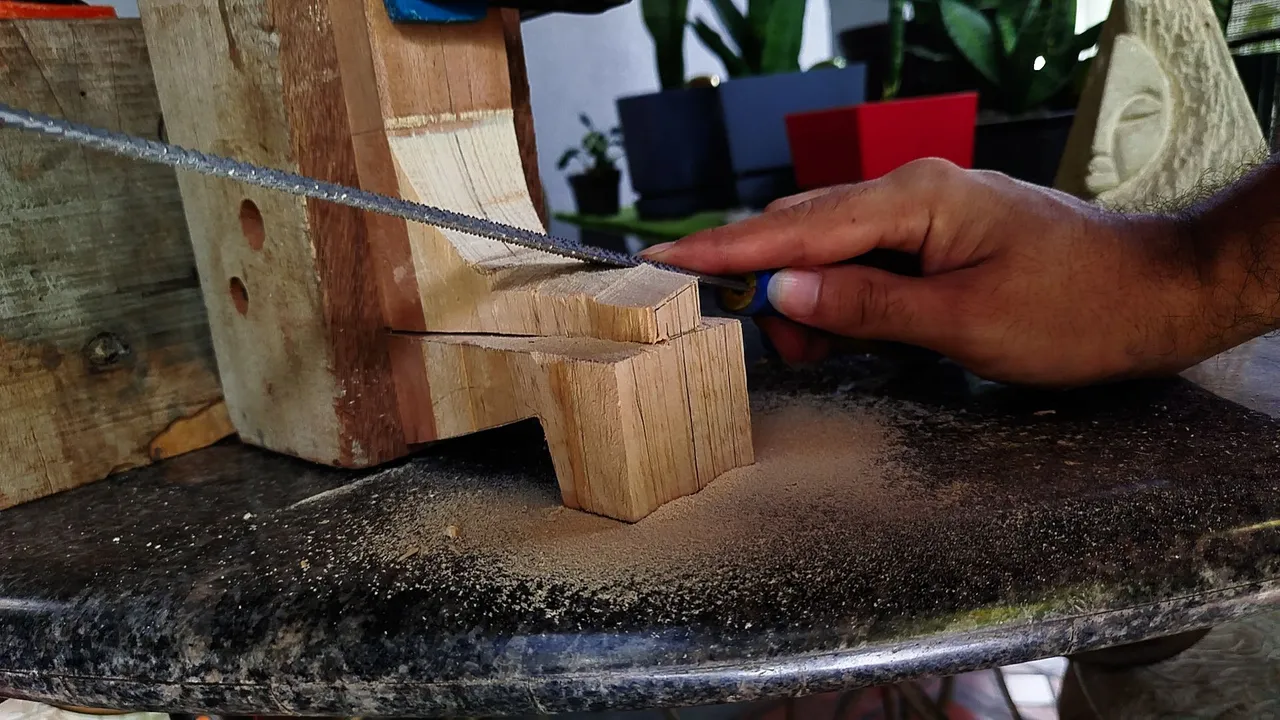
After getting the pieces in place, we can finally make the slots for the sides. Here we'll have to make sure there are more of less on the same height according to the heel. Although, some designs require for an uneven placement of the sides. That is another way to have a cutaway in the instrument.
Anyways, once we have made the marks to know the margins we'll use for sawing the slots, we can proceed making them. With patience and a steady hand we can make quick work of both sides. It's important to male sure the slots are tilted down by about 1° this ensure the look on the upper bout of the instrument has a pleasant curve once the sides are in place.
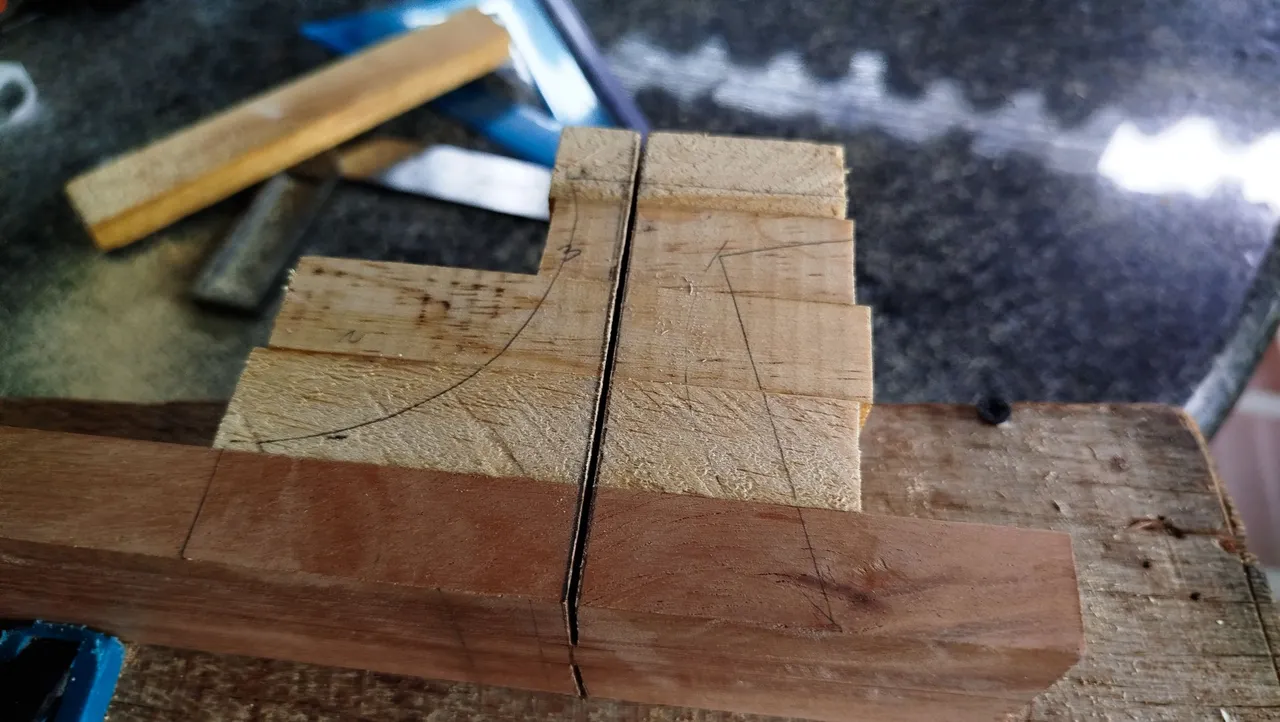
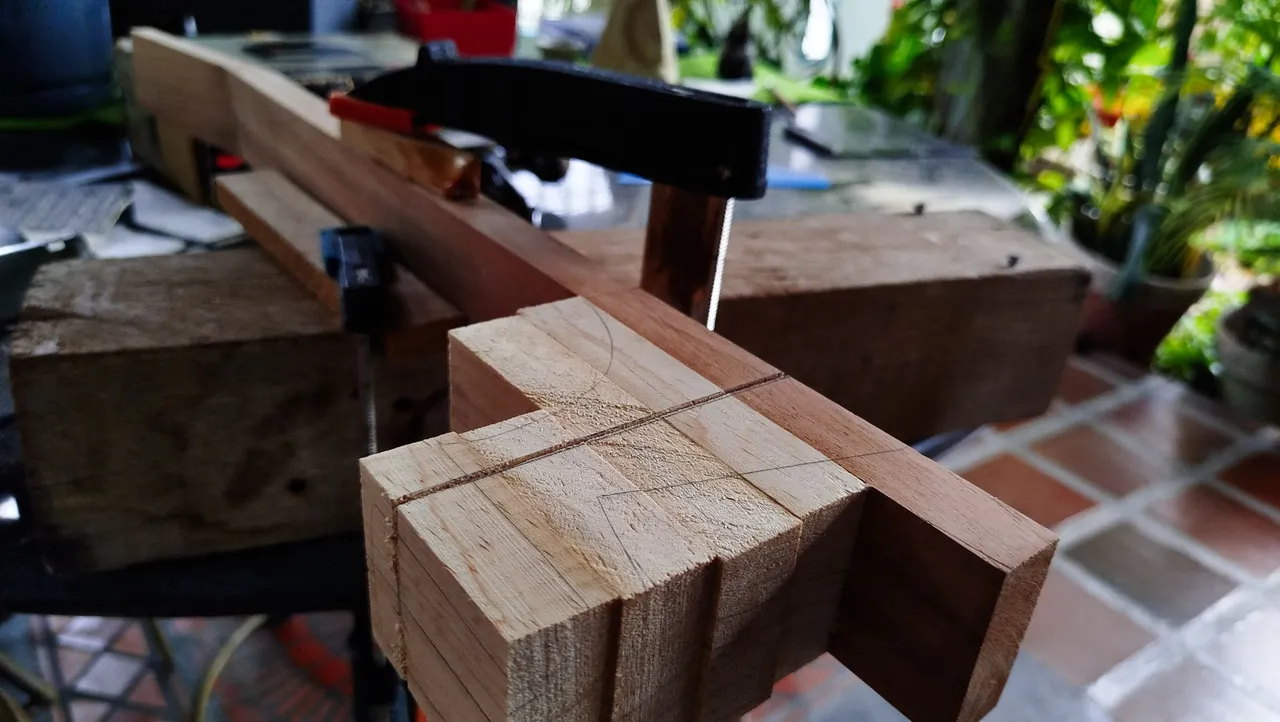
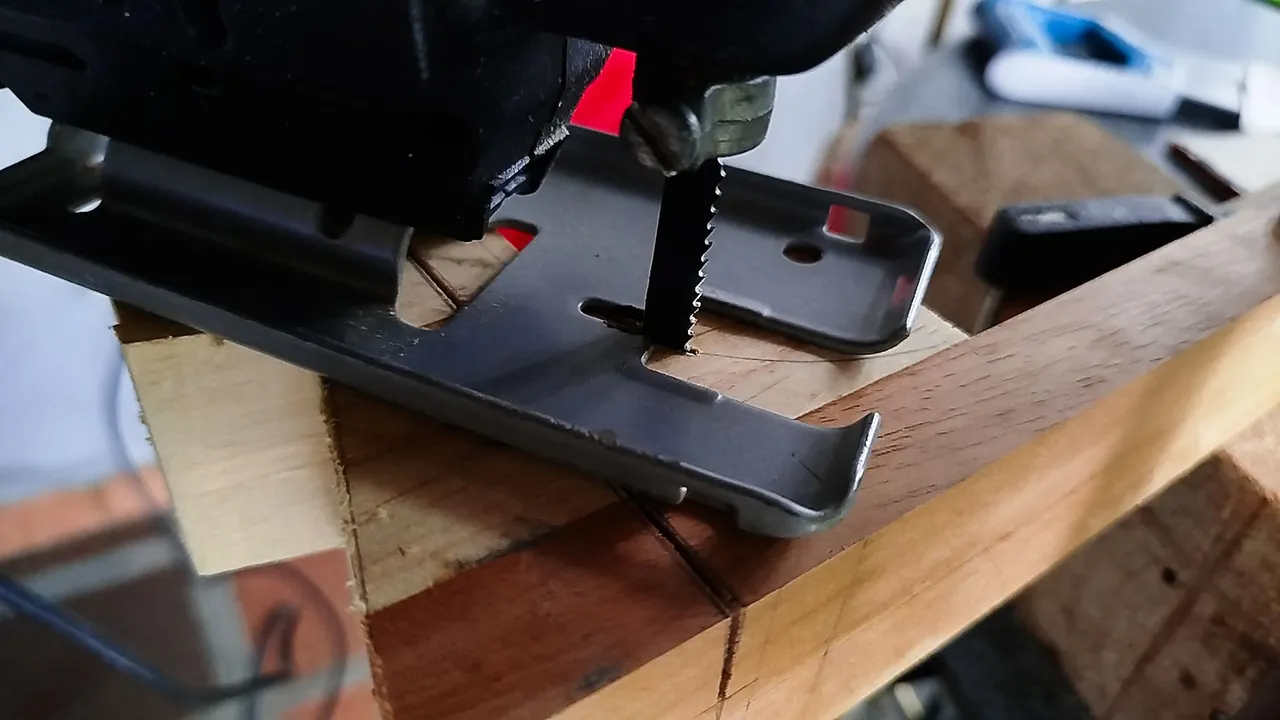
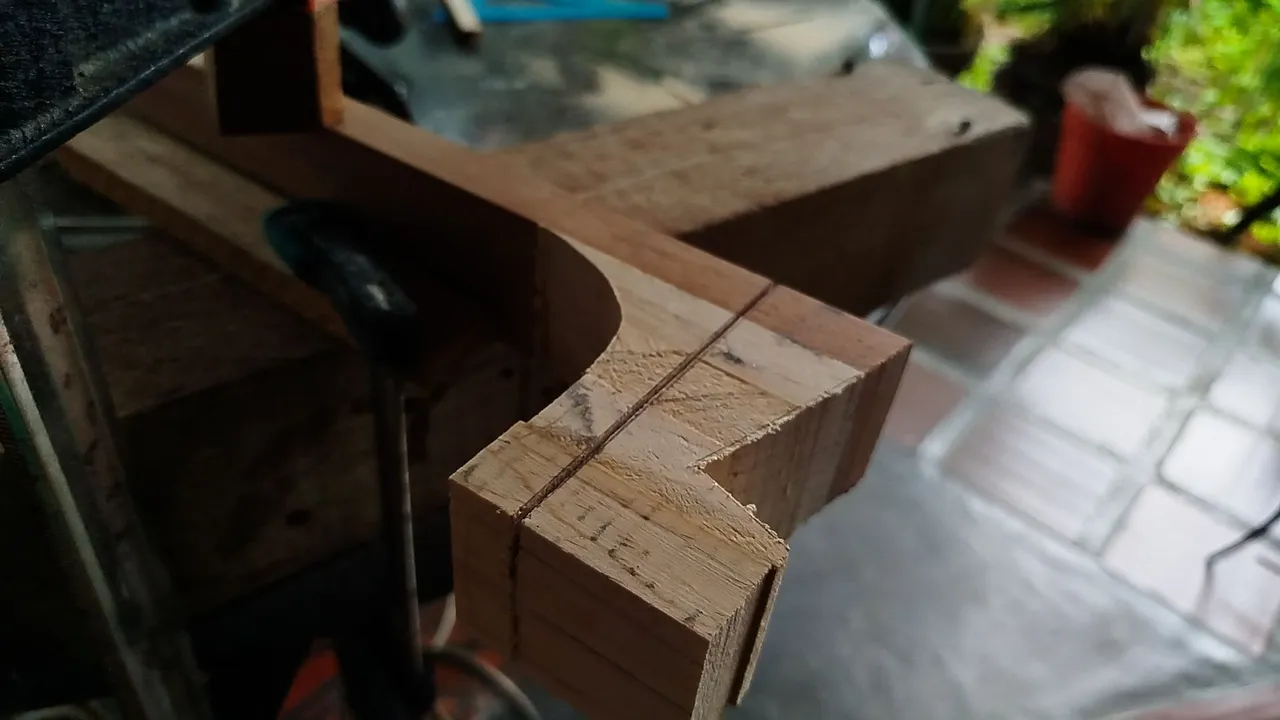
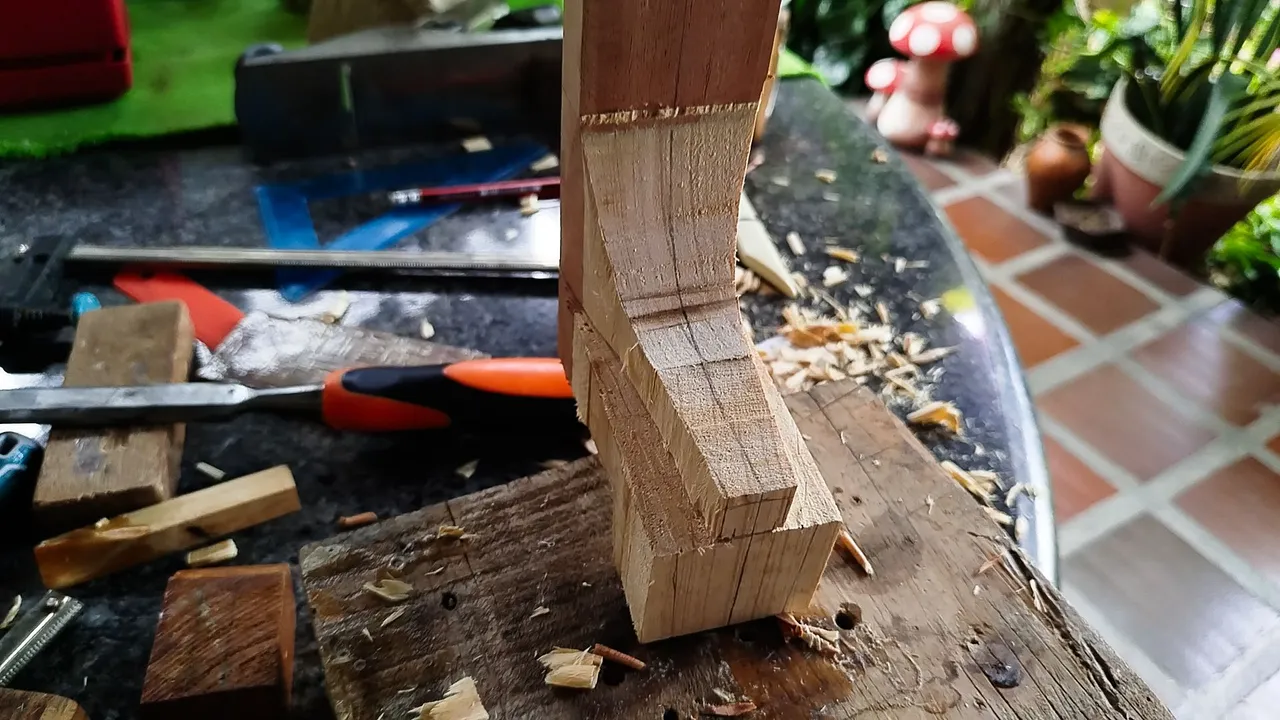
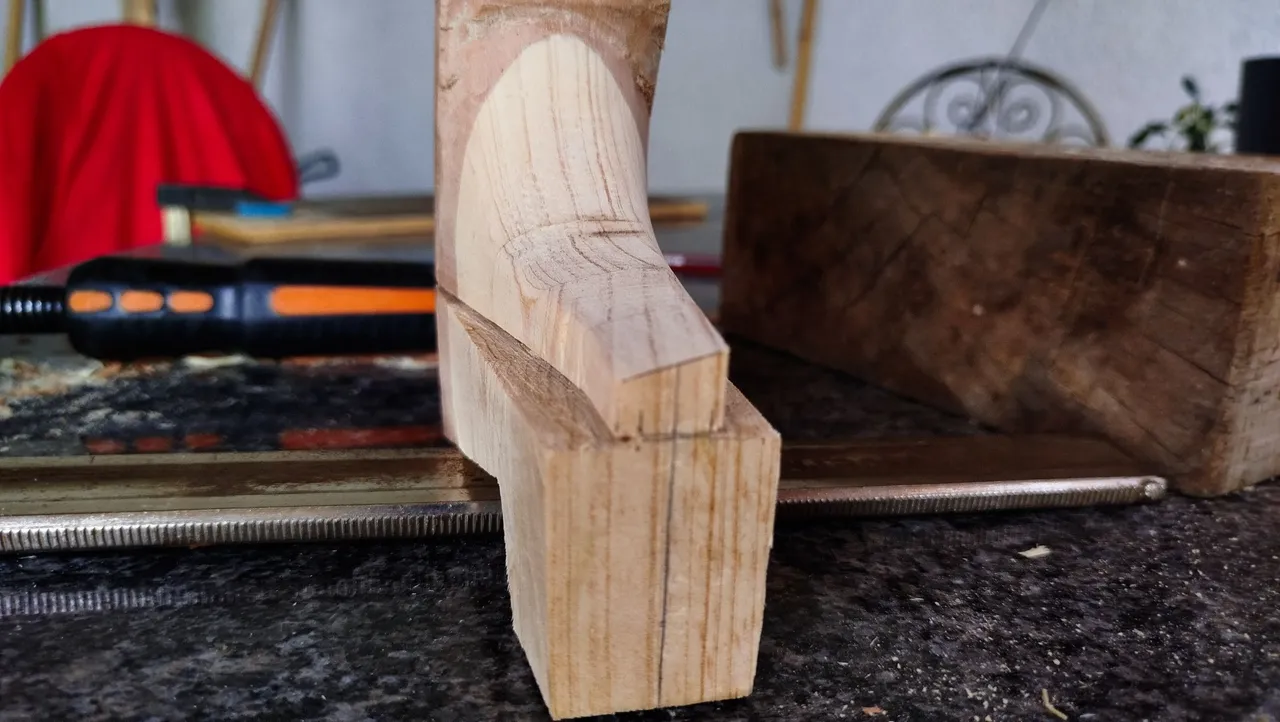
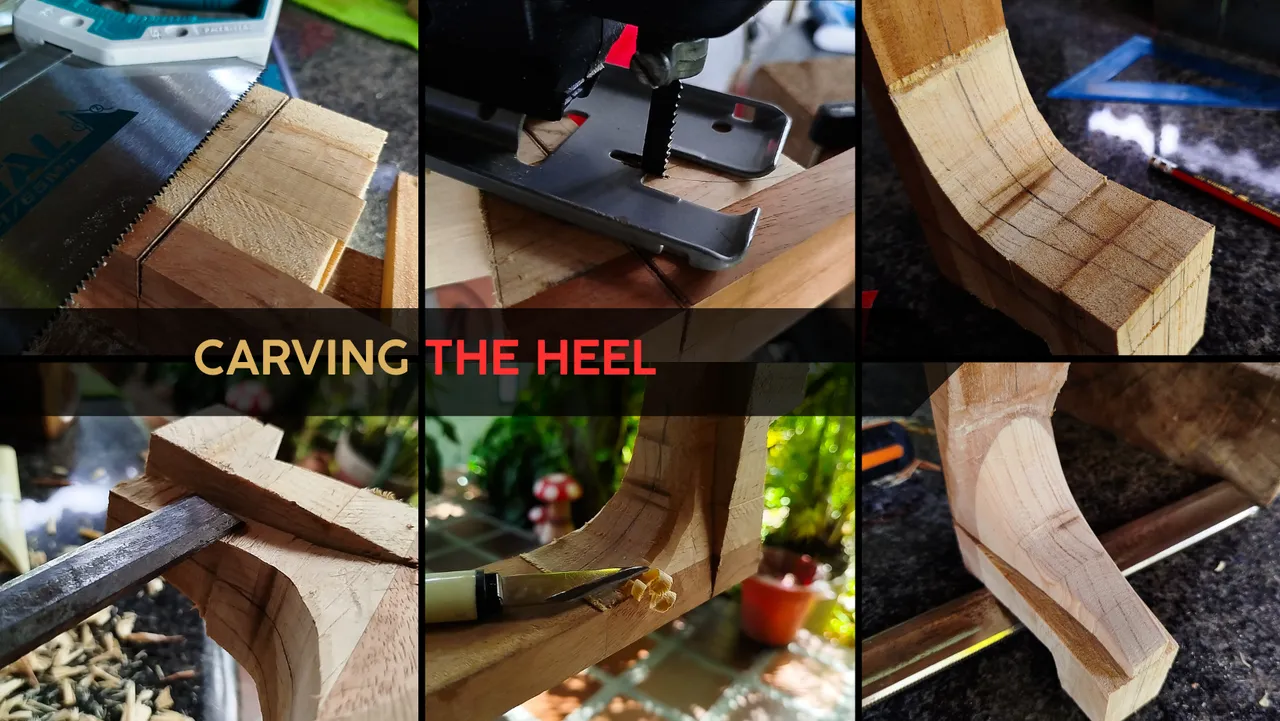
The next part is to make the pencil drawing of the profile for the heel. That way we have both guides on the upper and lower portions of it to make a cut with a jigsaw. We can use such a tool as it is made for making curves and also saves a lot of time during the process.
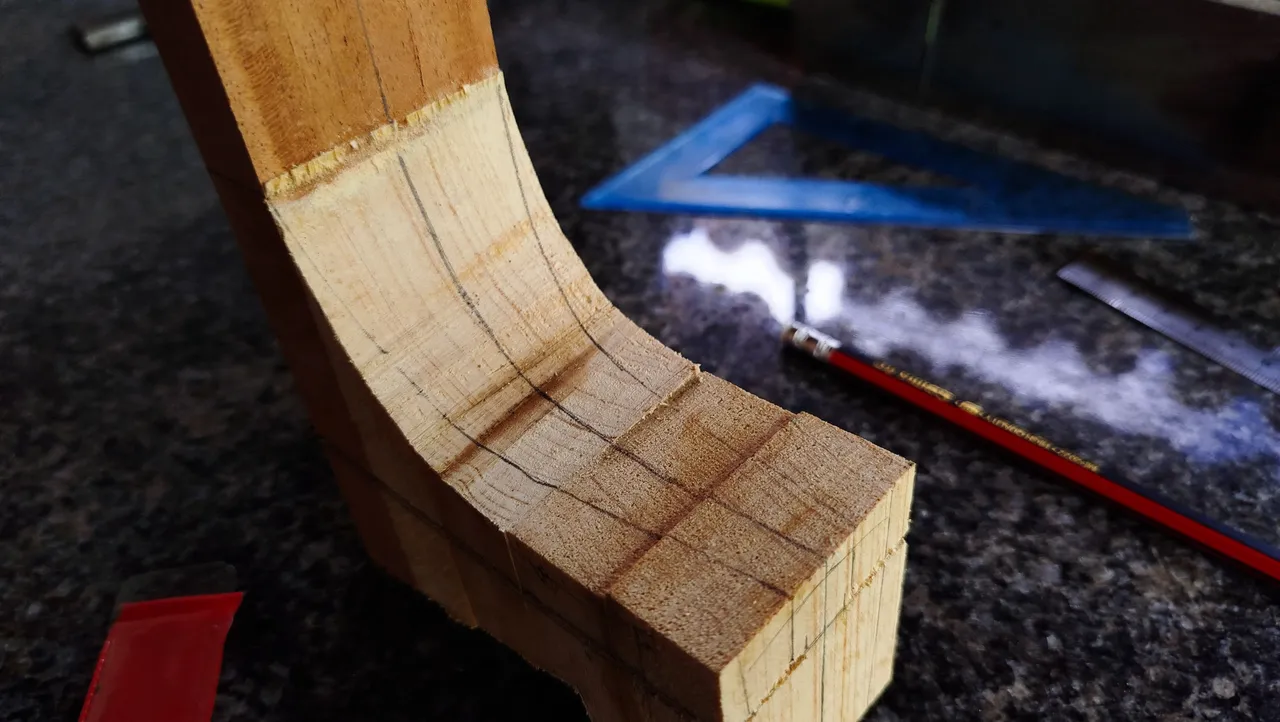
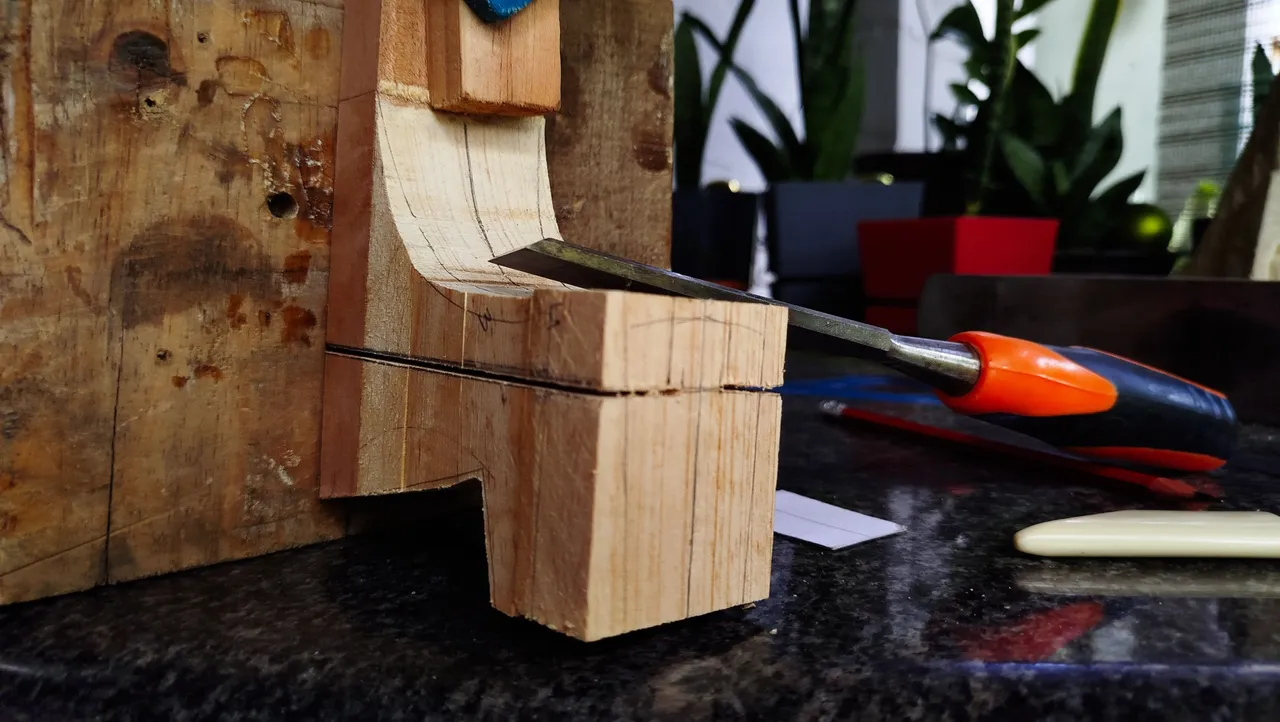
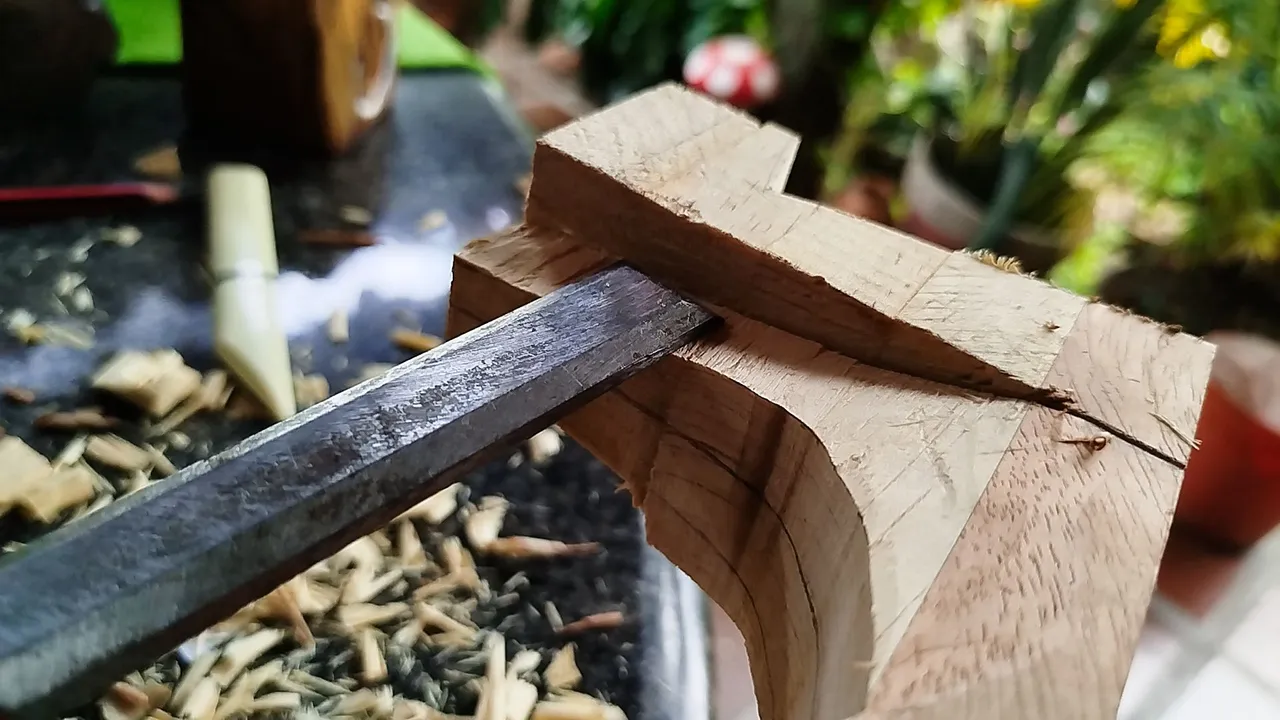
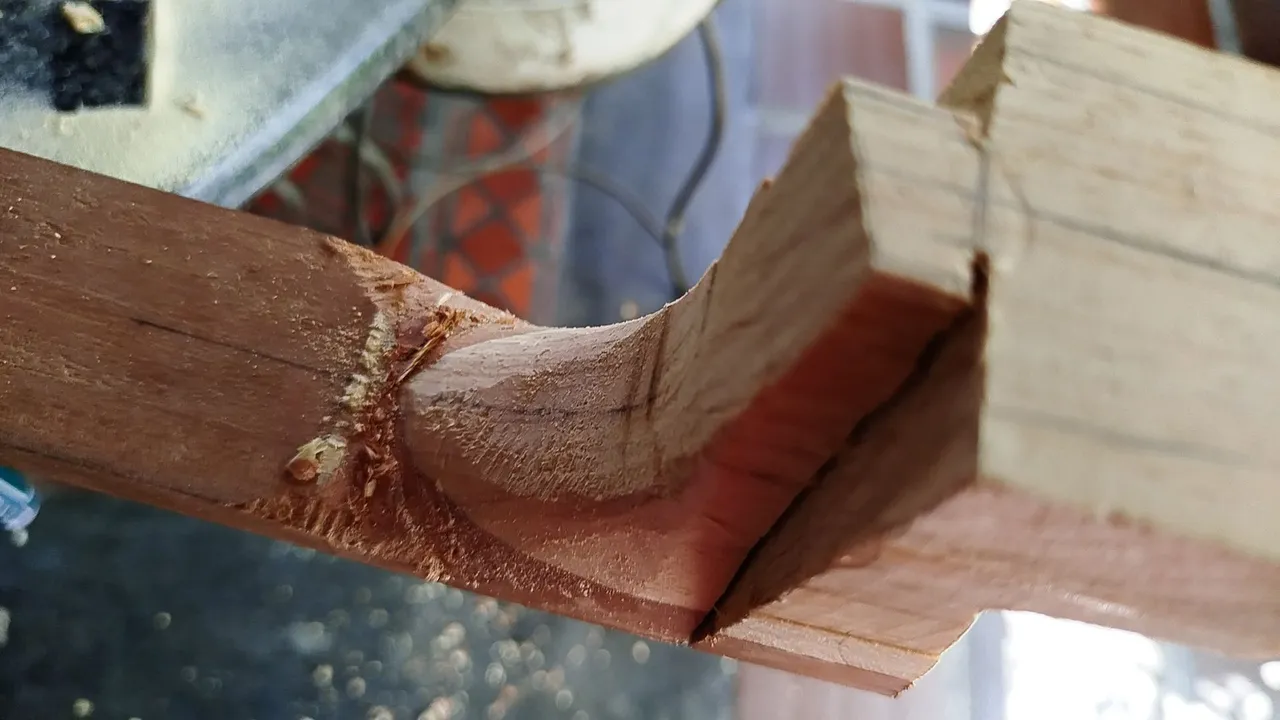
This one of the best parts to practice chisel works. We need to make sure to follow the drawings we made to get the shape we want out of this block of wood. The carving portion of the heel is a matter of moving the neck to one side or the other and finding the best way to remove material without taking too much at a given time.
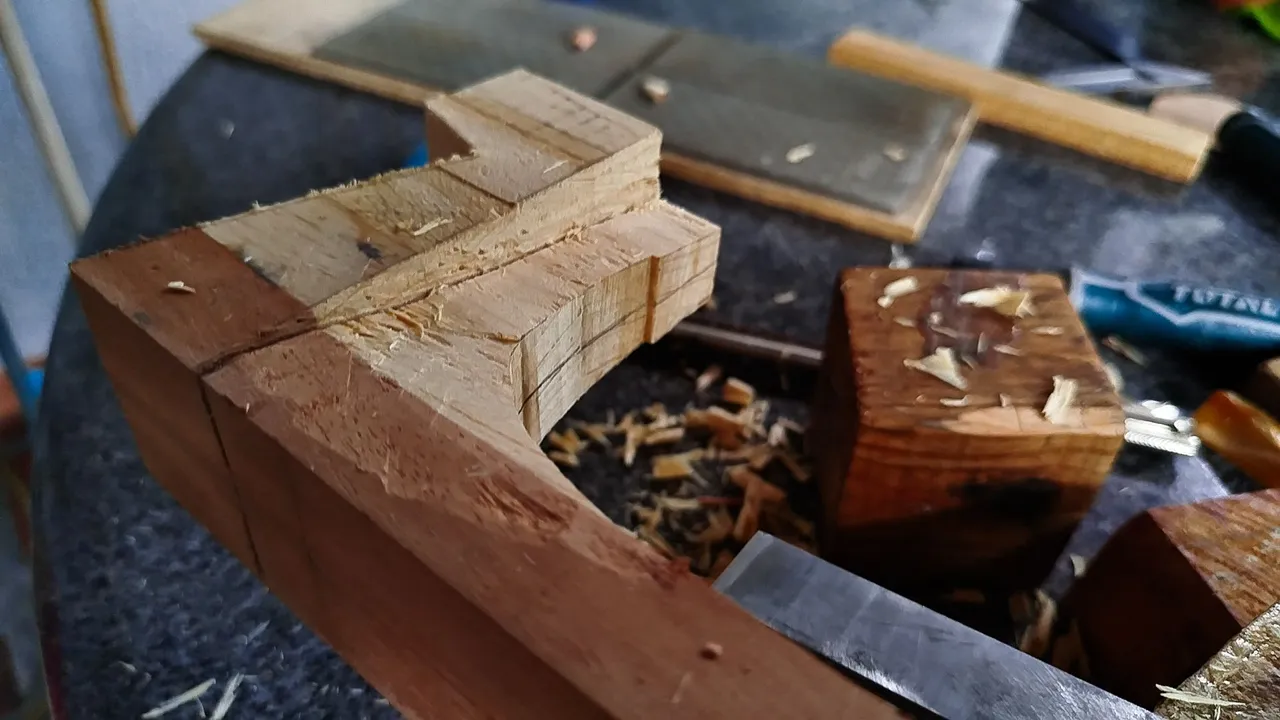
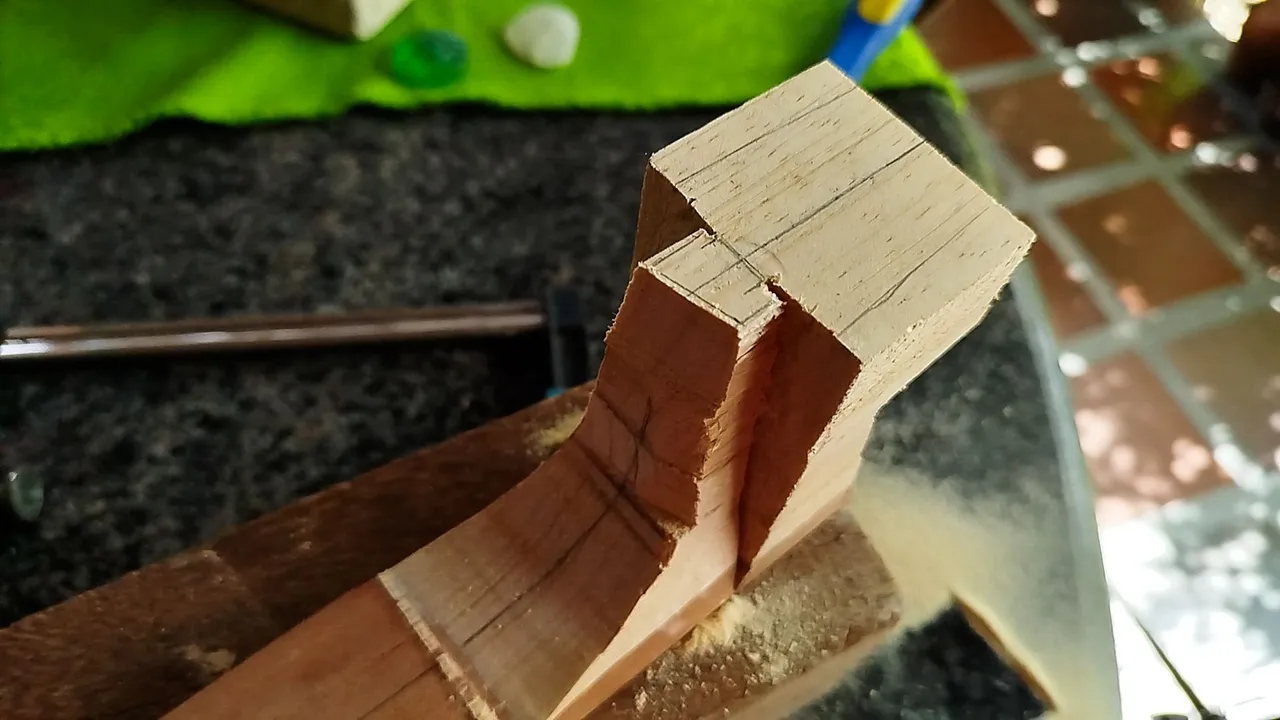
A sharp chisel is important since we are working with grains of wood that go in different directions according to the portion of the heel. That gives us structural strength but makes carving more challenging. However, with time, we can do all the work and keep to the margins that were drawn at first.
Even if the results look a bit rough, there's still another portion of work that will give us a better looking heel.
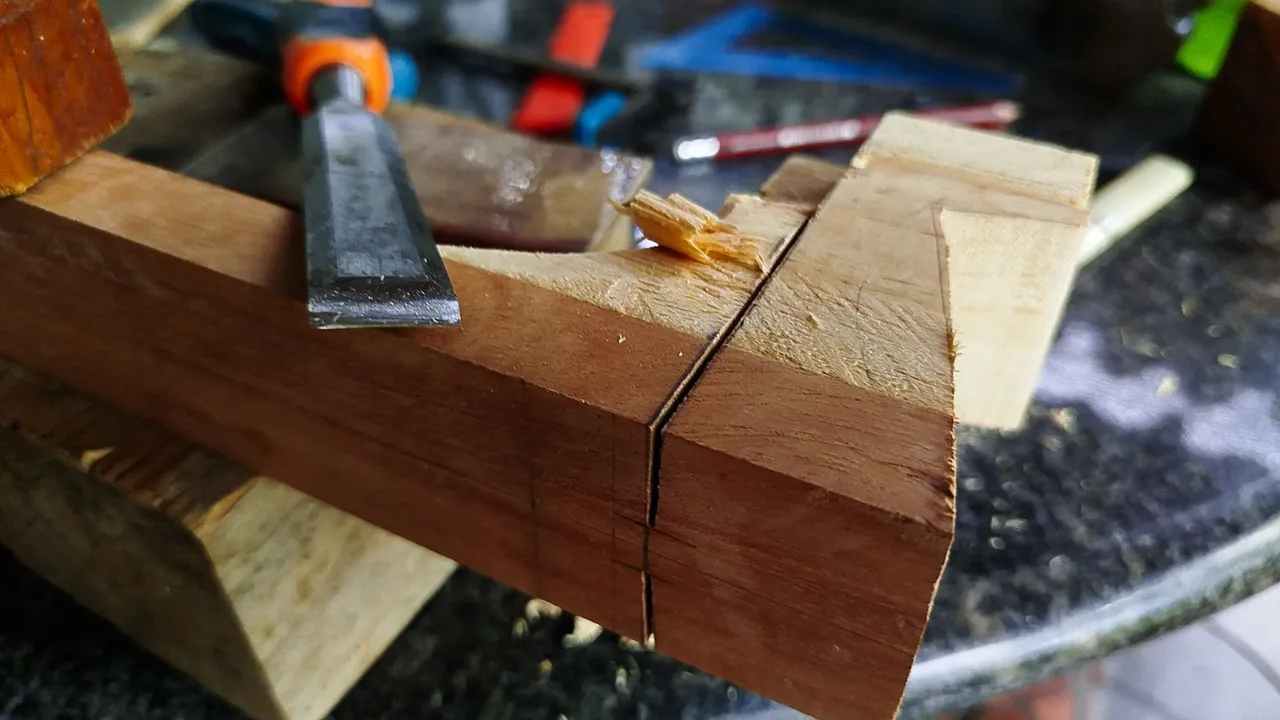
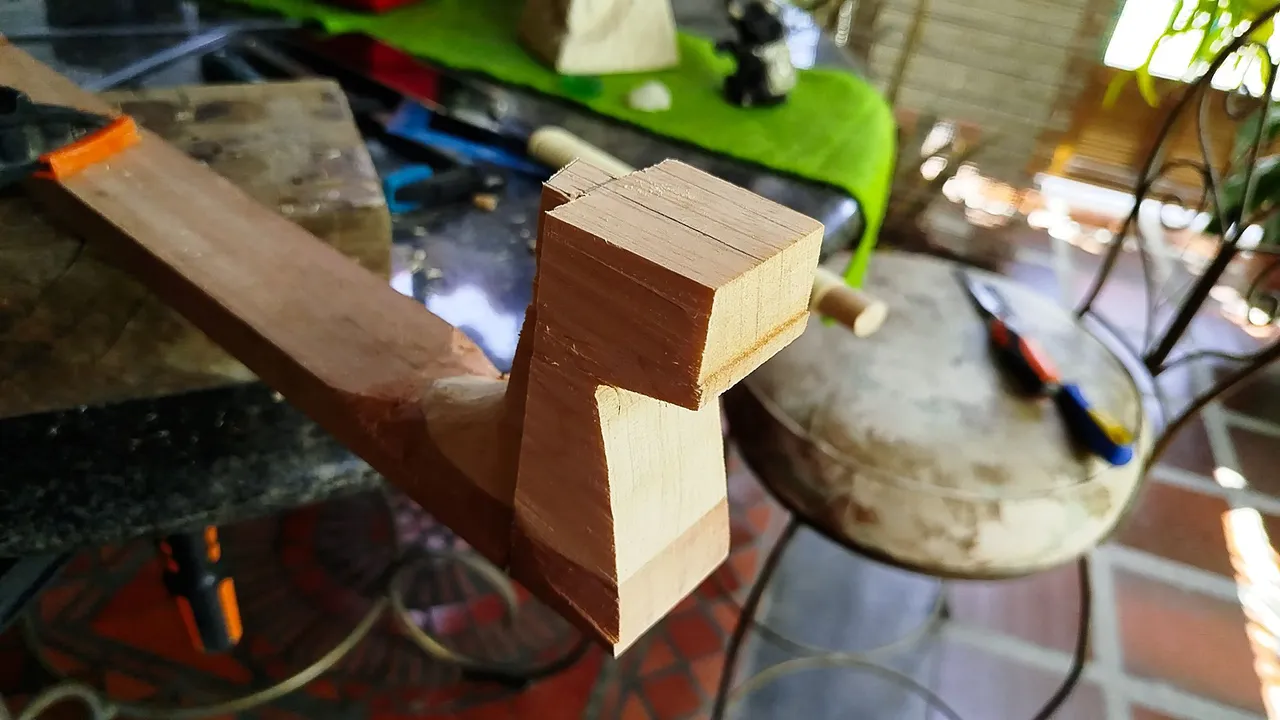
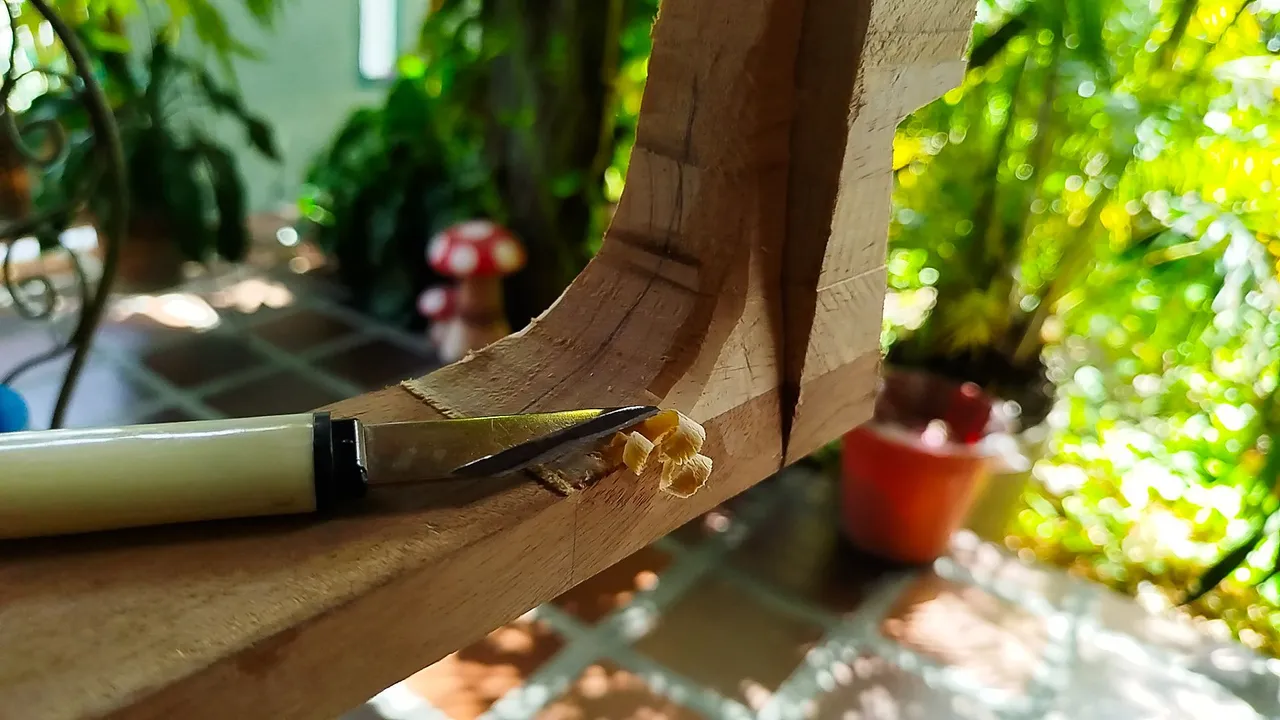
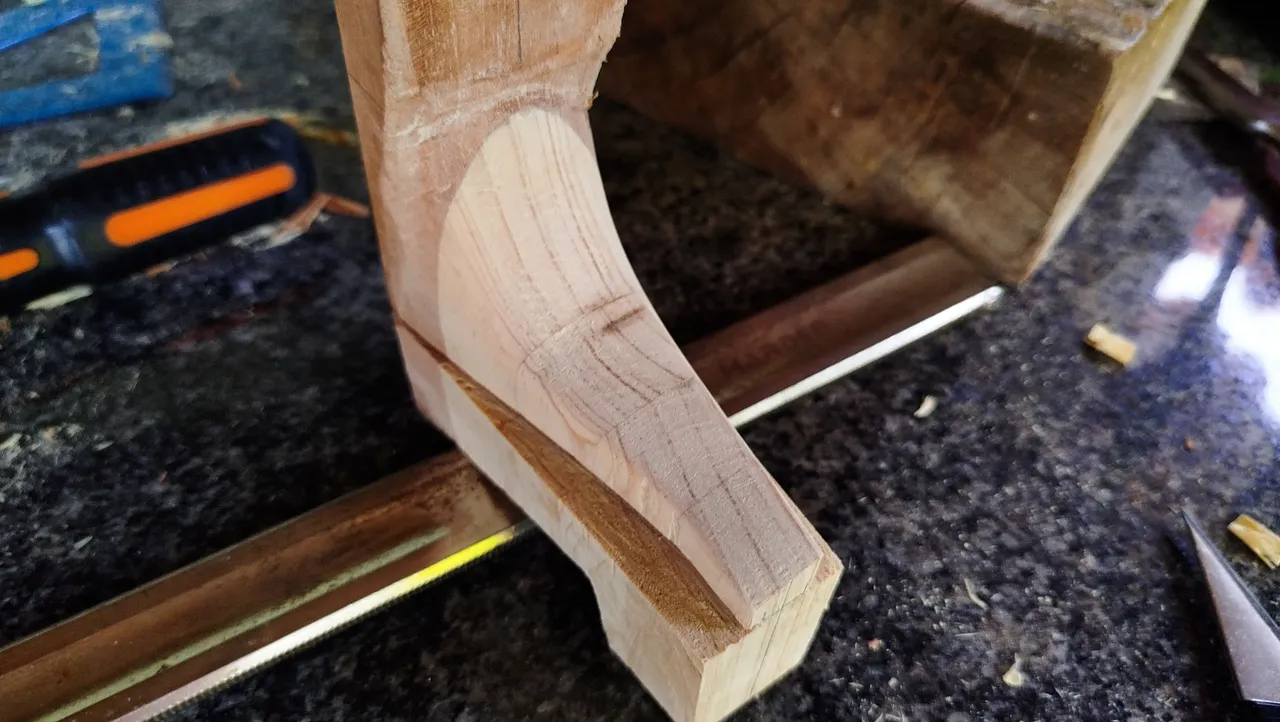
Once the chisel work is ready, we are switching to rasp and knife. The first part of the work got us closer to the lines drawn for the profiling of the heel. With the aforementioned tools, we have to get to the lines to end sanding the heel.
First, we make the last adjustments using the rasp. This tools is useful for curves and changing some of the shapes we have. It is basically an aggressive file. Then, we chance to the knife and carve the finer parts of the curve, the ones that connect to the neck on the portion of the heel that will be visible once the body of the instrument is placed.
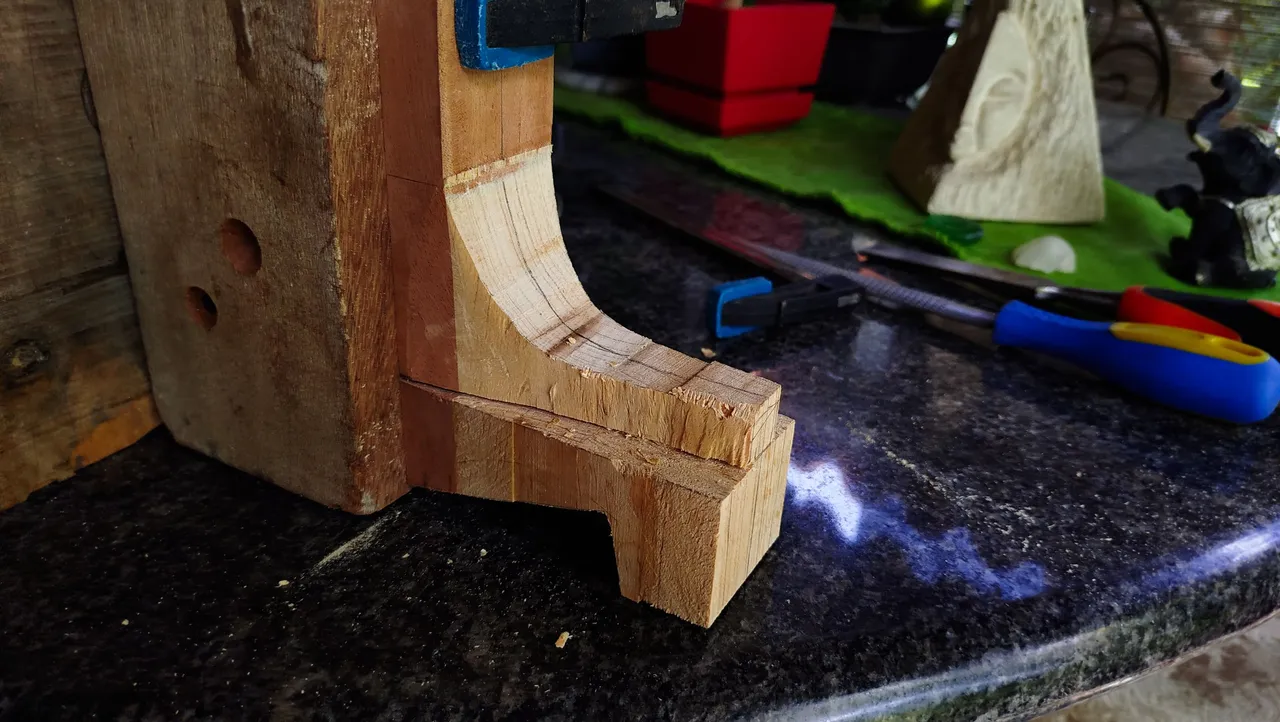
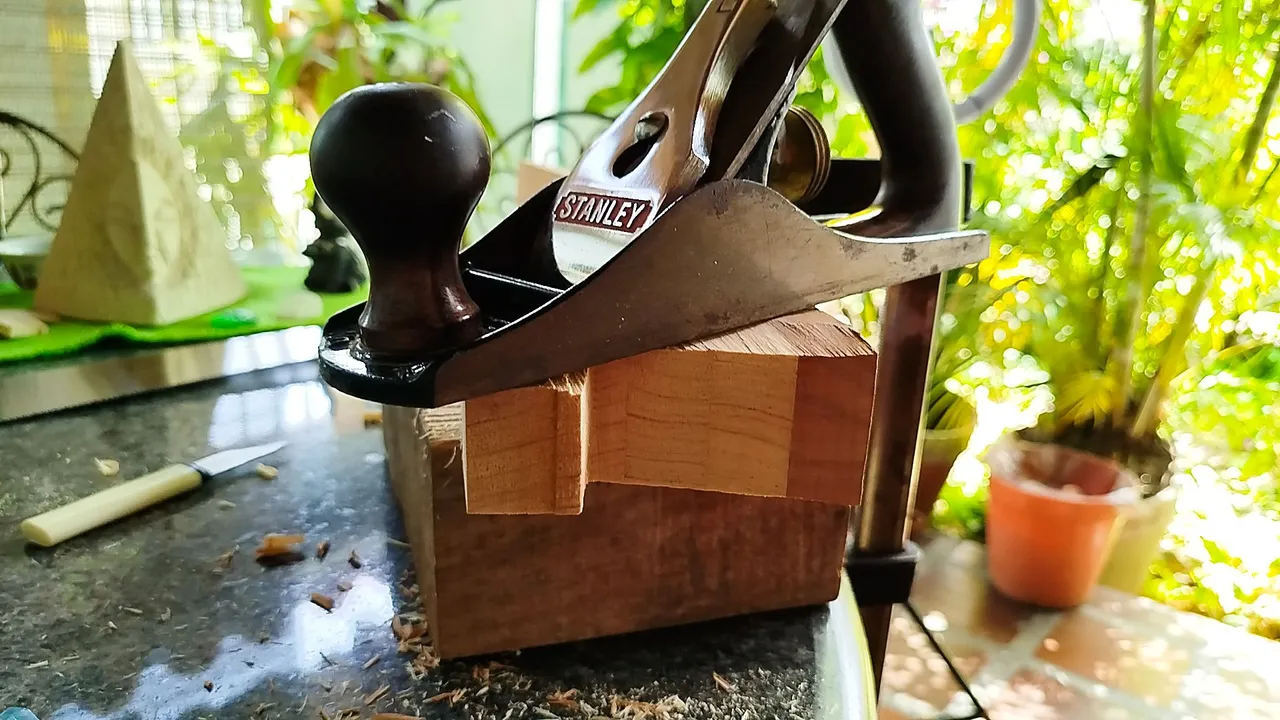
There's a cut to make to remove some more material from the lower portion. That one we can do with a saw. And to make sure we have an even surface, we use the plane to tidy everything.
The last steps of the work are sanding the whole heel to give it a smooth look. And we're done for this time!
On the next entry, we'll go back up to the head stock and finish making that part!
Thanks for reading!
Photos 📷: Redmi Note 13
Thumbnail 🖼️: Canva.
Editing 🎬: Adobe Photoshop Lightroom.

Follow me on Instagram for enquires and commission.
If you'd like to help the workshop grow, you can make a donation here. You can find me at discord as bertrayo#1763