
Time to keep up with the new project we have started. This week is all about some settings for the sound board. We'll have some of the work done on two entries, starting with this one. Last time, we made the guide lines for the placement of reinforcements and the sound hole. Today, we make some of this work.
Let's jump right to it!
Cut cut
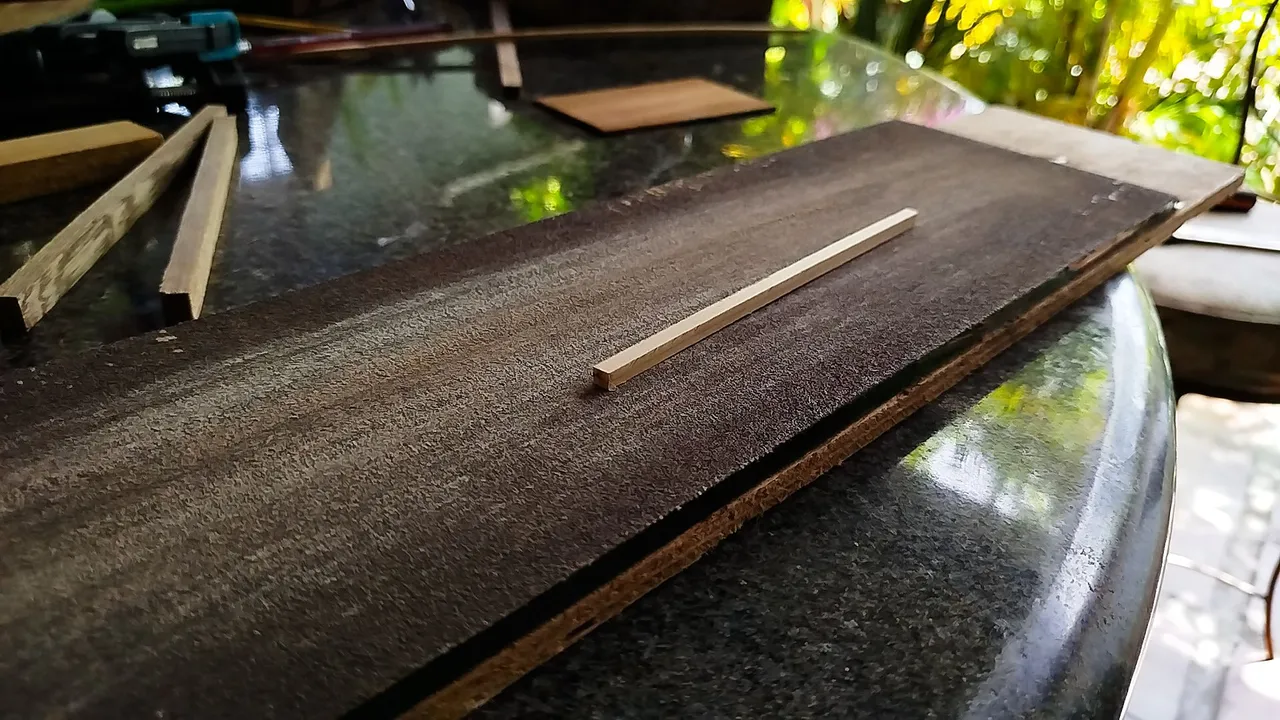
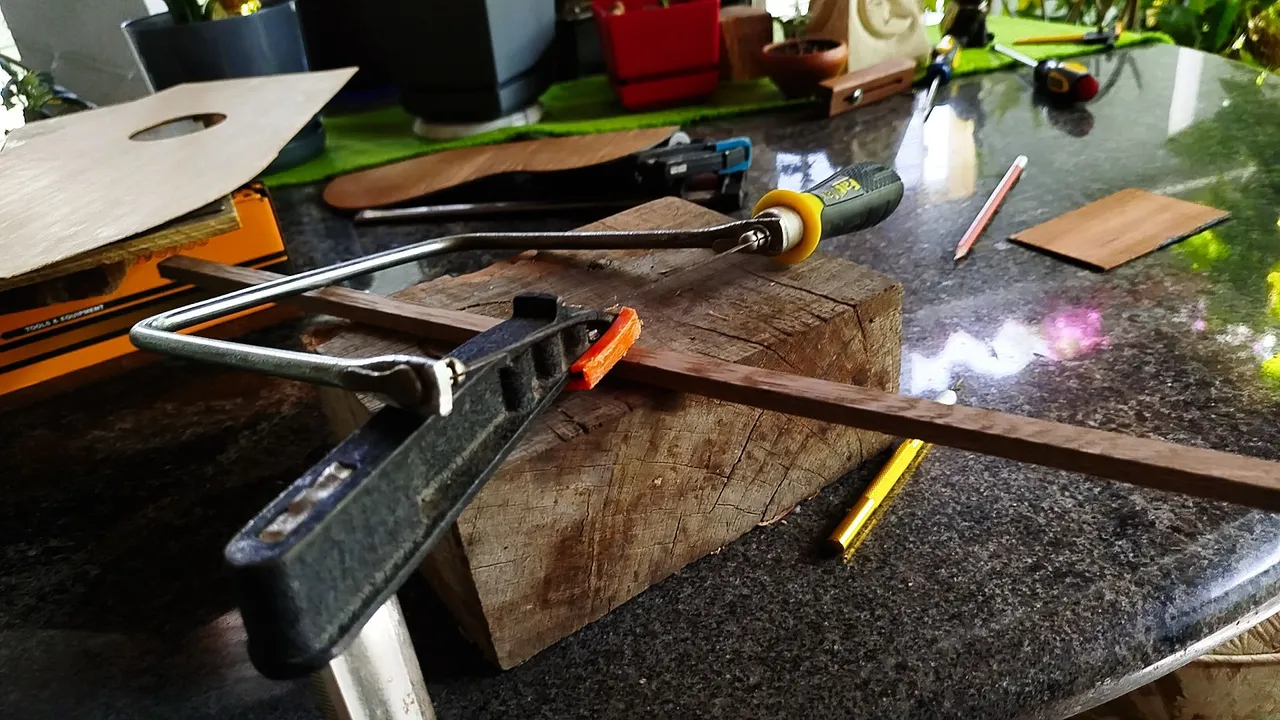

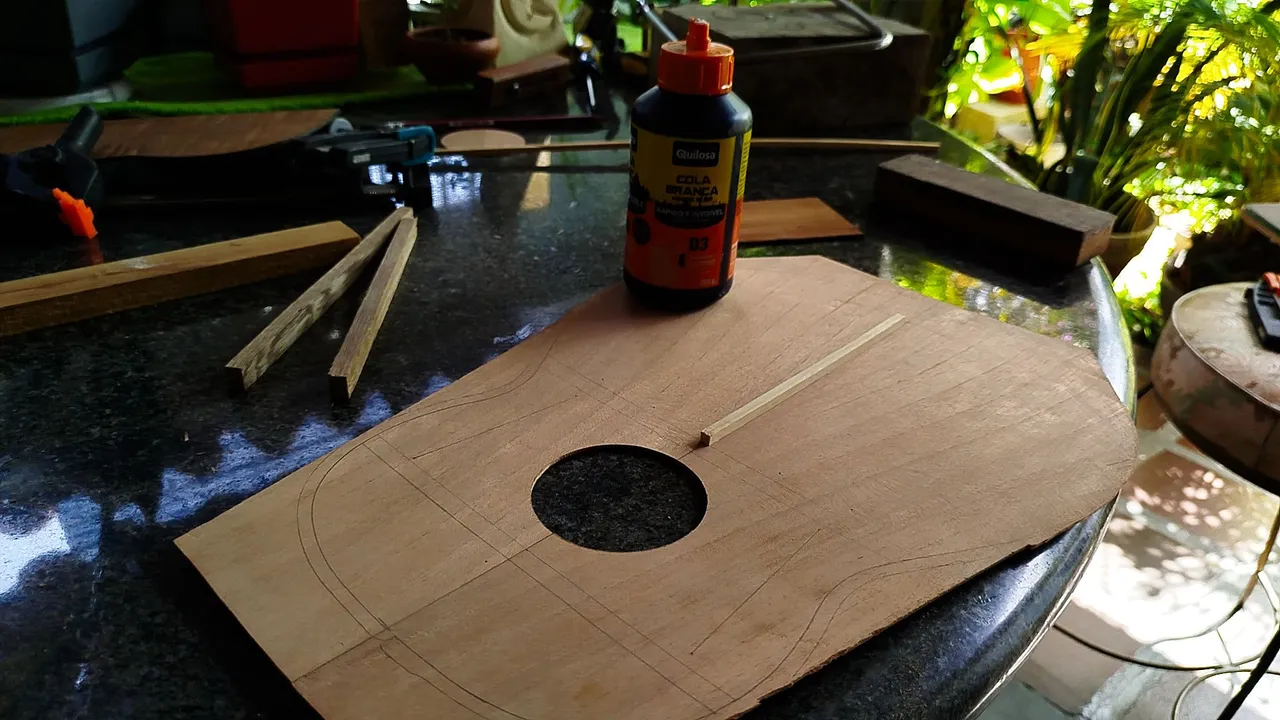
Before starting any work, we have to address the cutting of the pieces for bars and the reinforcement of the sound board. We need to measure them on the guide lines done previously and always give a little room for the cut, i.e. always mark where you want to cut. That sounds like a riddle but it means to mark where you want to cut, to which side of the mark you make.
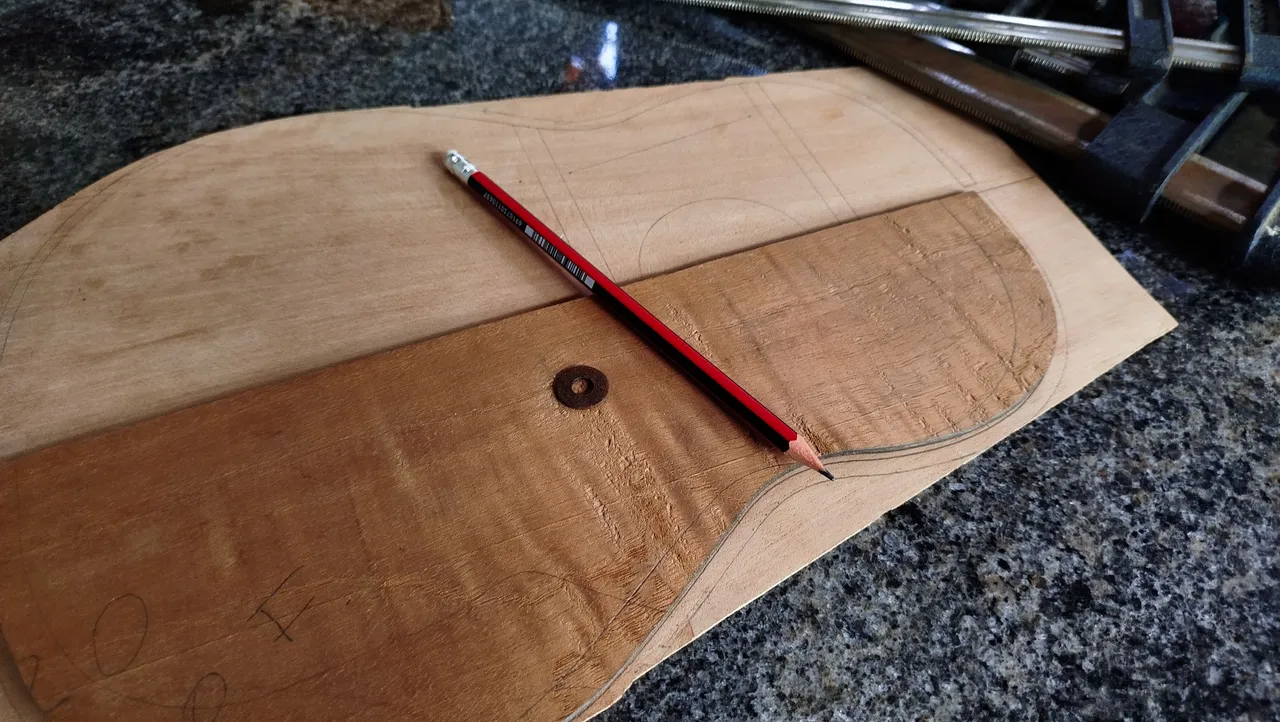
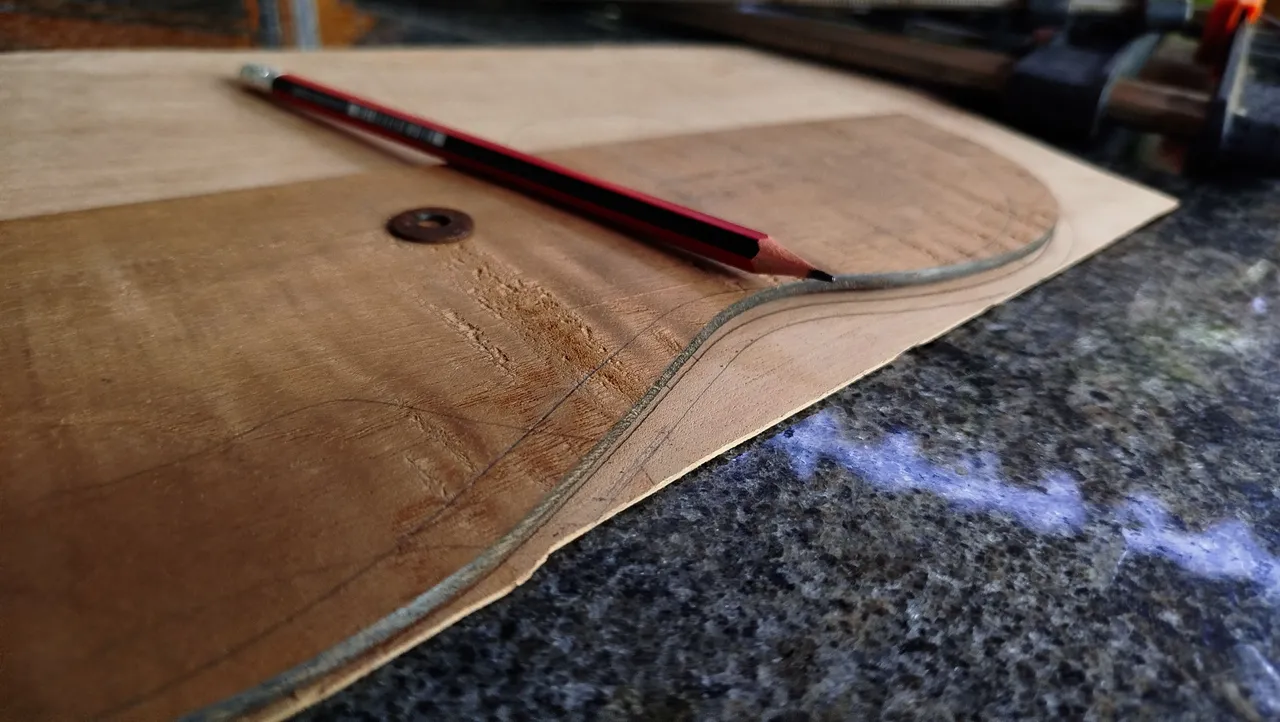
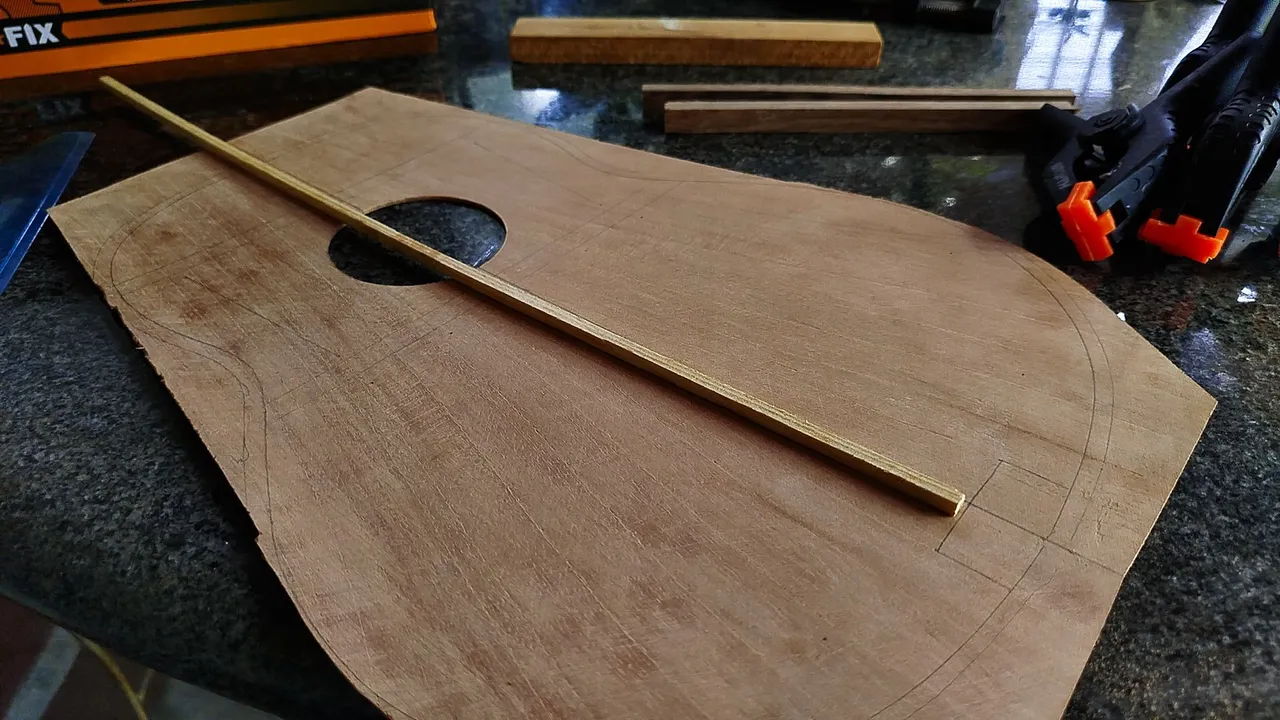
Speaking marks, we need to make the extra margin for the shape of the sound board. That was one thing missing from last time. It is simple to fix. Just by grabbing the template and using a pencil and a washer to make the lines and give an extra margin to the perimeter of the sound board.
A New Hole
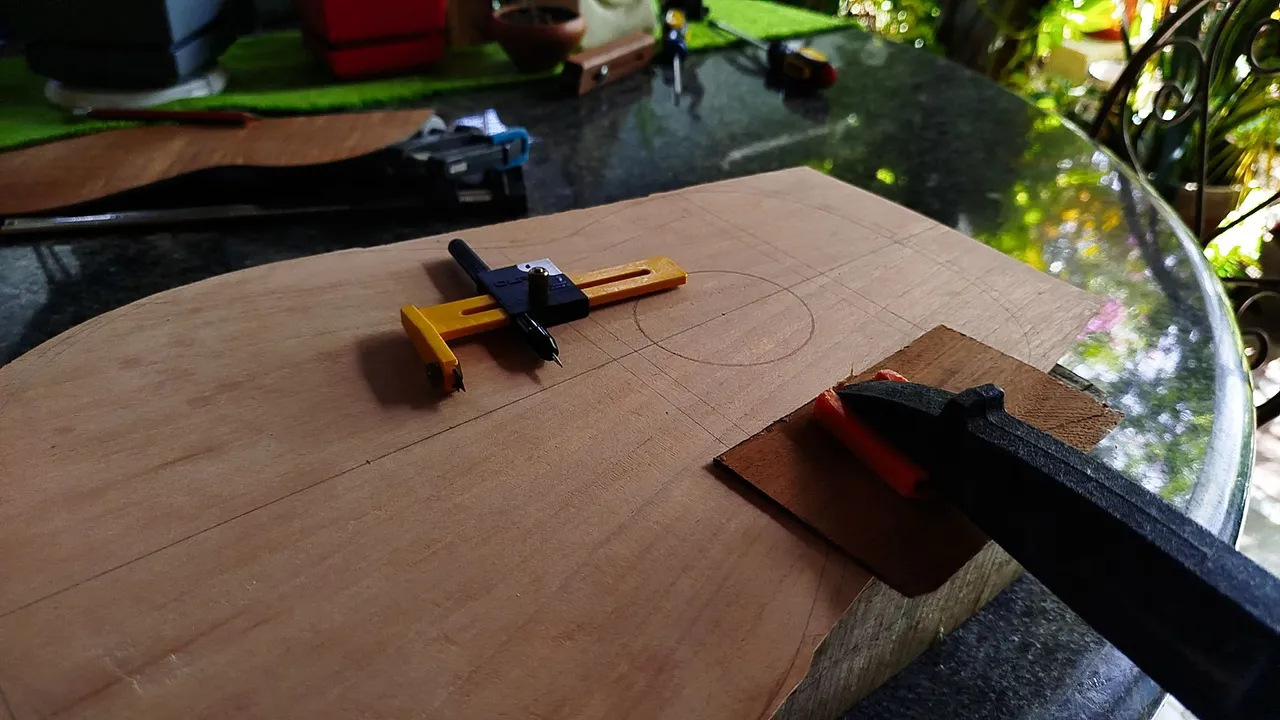
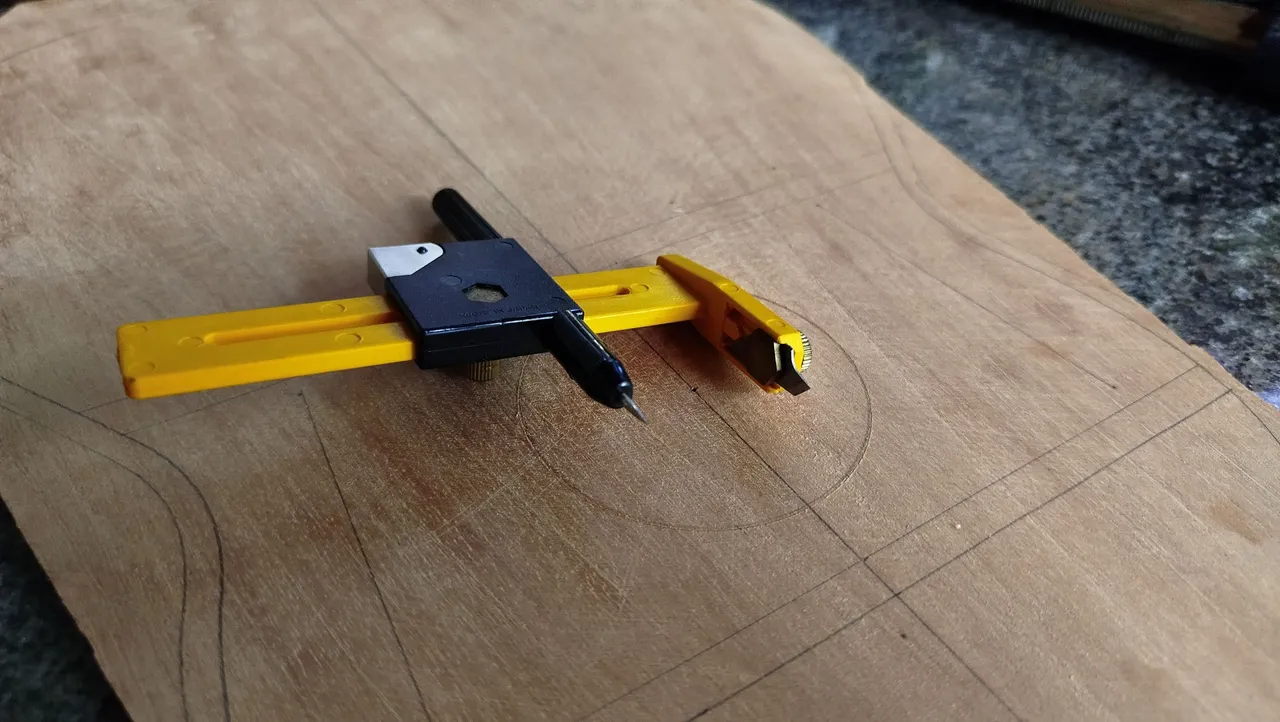
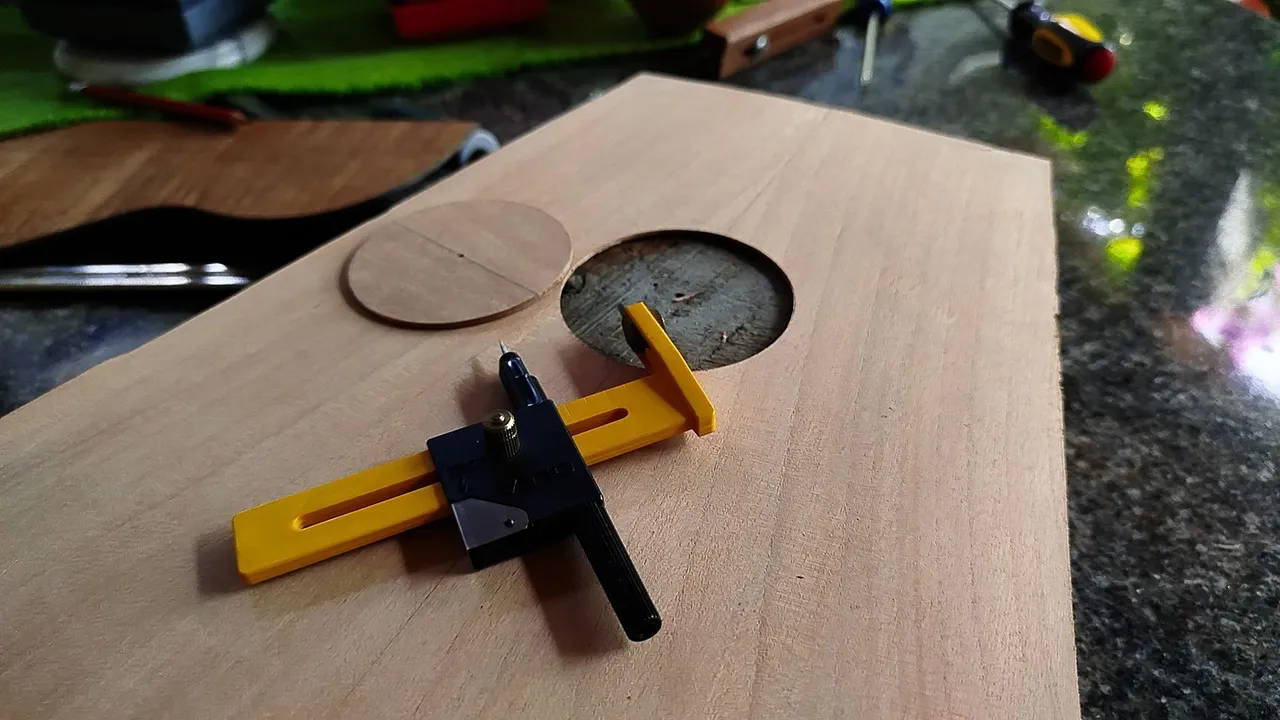
Air has to go out of the body of an instrument to make sound. Thus, the sound hole. After making the marks on the sound board, we just need to cut it. My previous circle cutter had some problems and I need to make a new one. Fortunately, there's this other circle cutter I bought a while ago. It isn't suited to cut wood, but since the thickness of the piece isn't that much, I figured we could use it for making this cut.
It is a work of patience. Each circle cuts a little bit until we make the complete cut. And if you want to hurry the process a little bit. You just need to flip the sound board and cut on the opposite side. That more or less gives you a faster cut.
After removing the circle, it is necessary to clean a bit the cut. Since the tool isn't made for cutting wood, it will leave some uneven marks in the circle. Those can be removed with a sharp knife. And again, being careful not to remove too much and damage the looks of it.
First Reinforcement
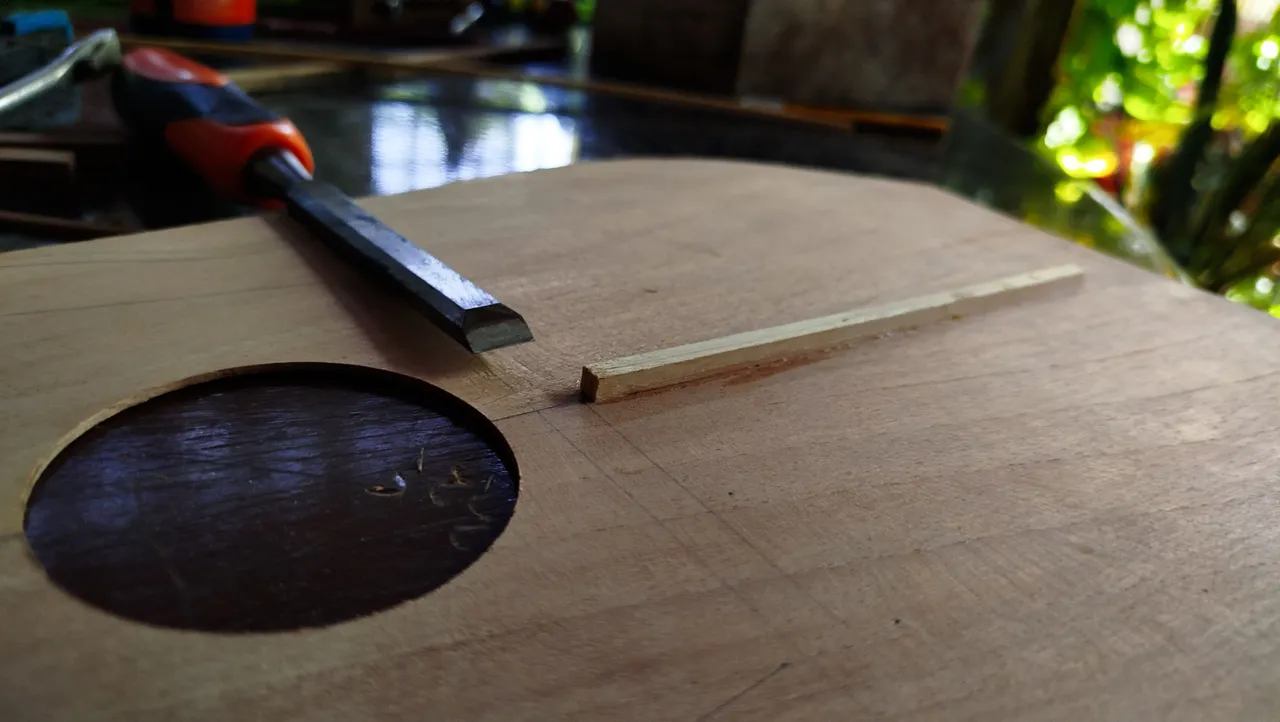
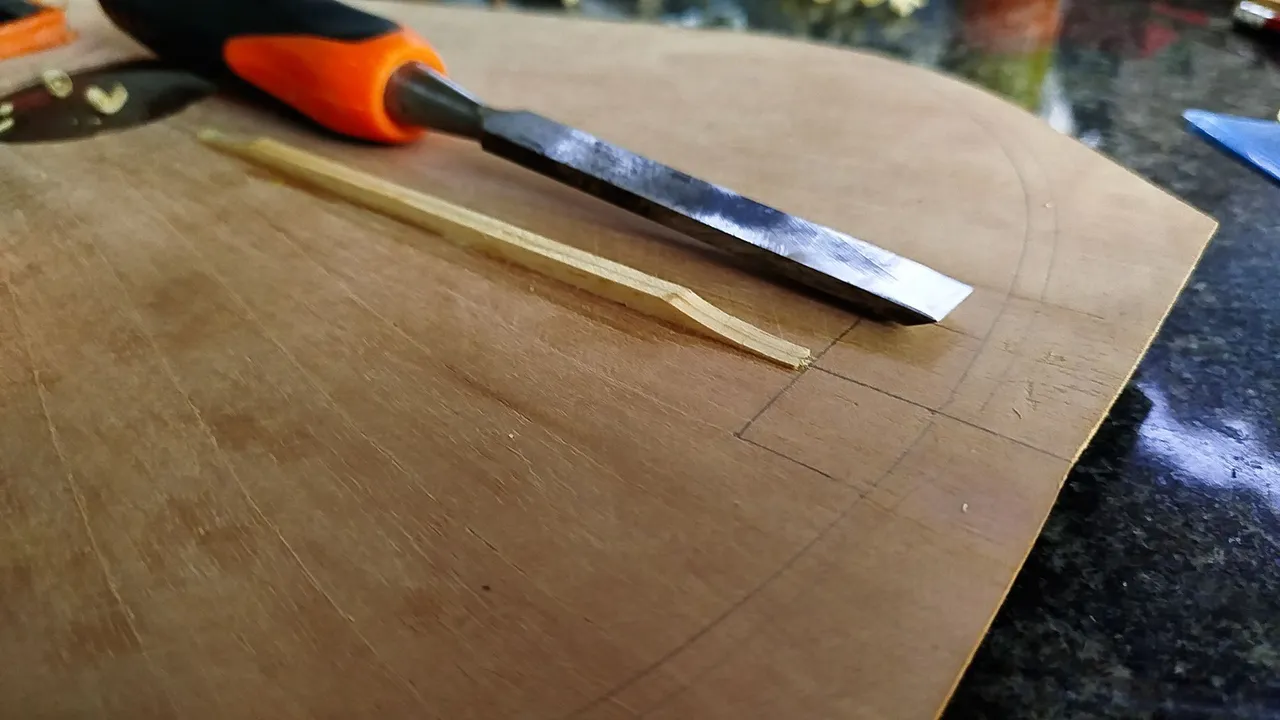

Reading about some configurations for sound boards, I came across something about nodes. These are the zones of a element that do not vibrate. They actually cancel vibration. All sound boards have nodes. However, you can make more of these if you place the reinforcements in certain places and if you play with their thickness, you can configure them in another way. That's the basis of making an instrument have more treble, more bass or being a good mix of both. This can also cancel complete frequencies. So one needs to be careful.
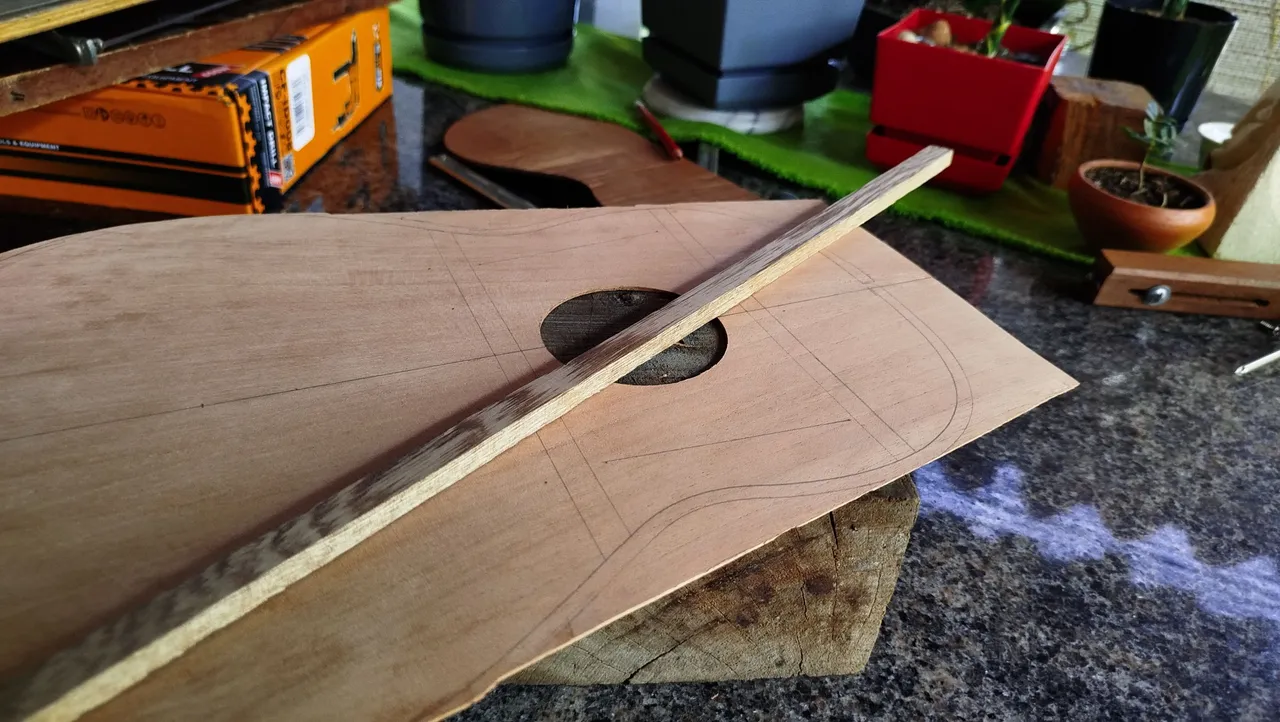
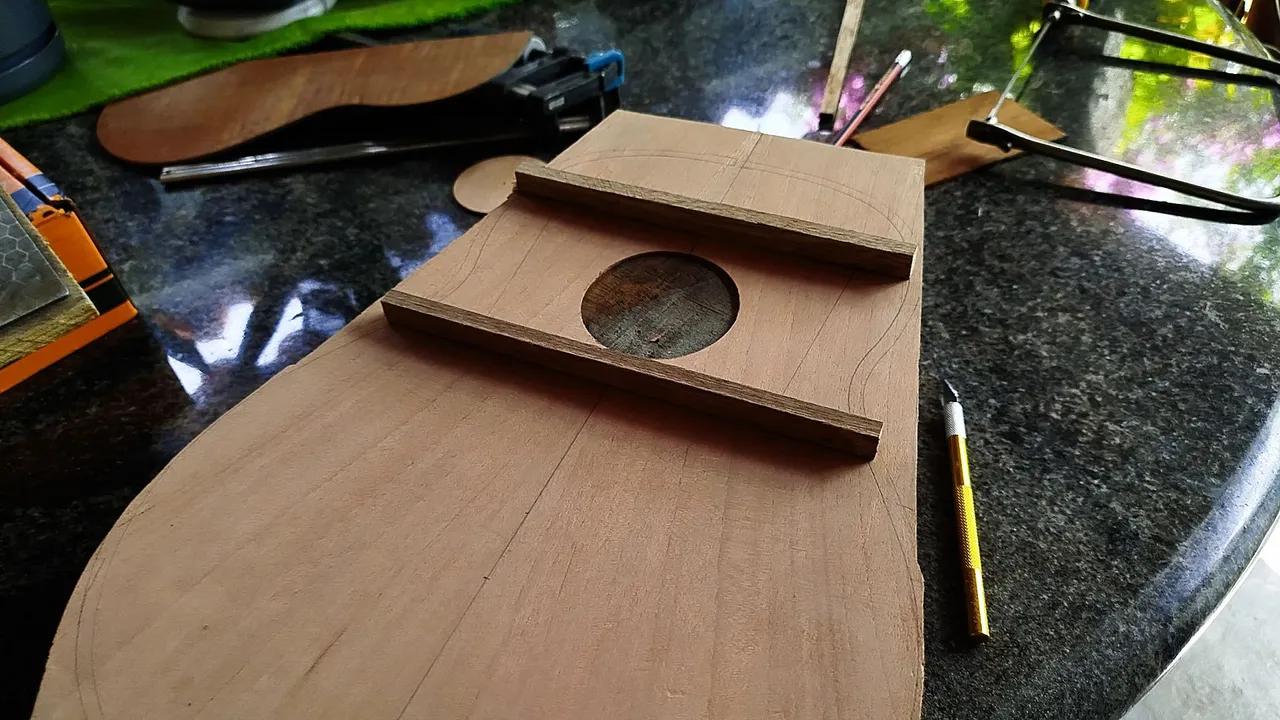
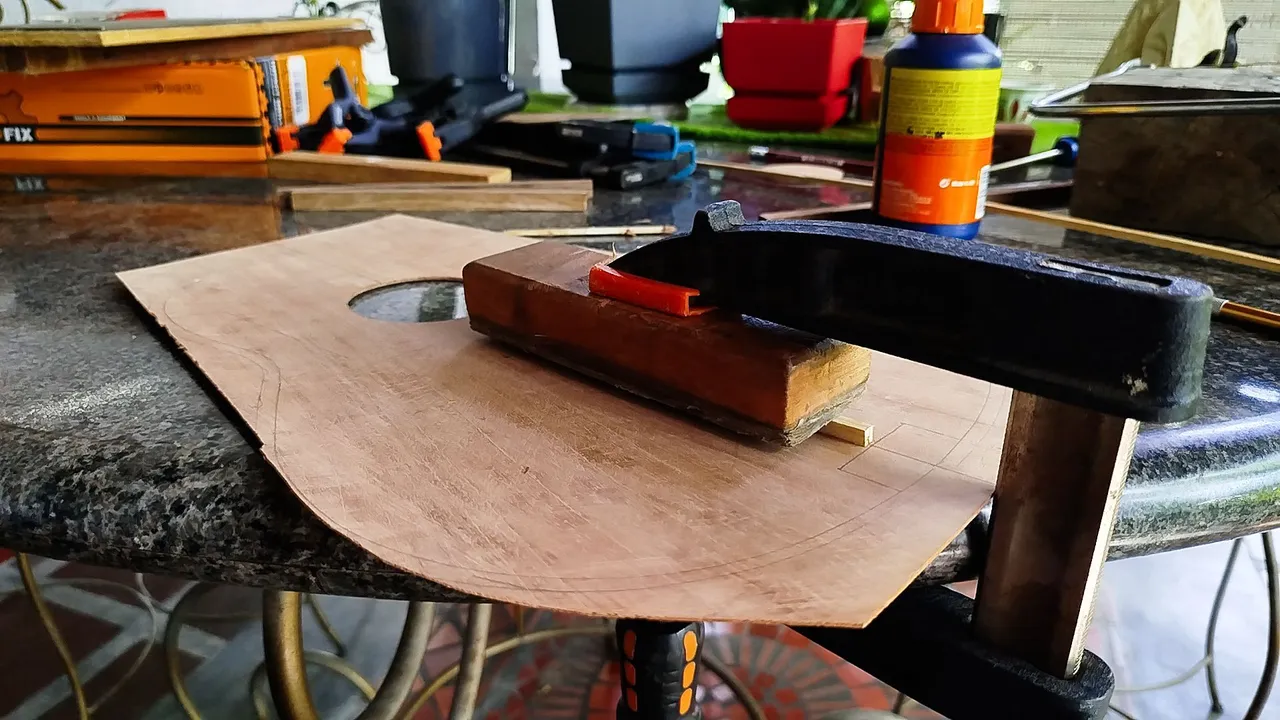
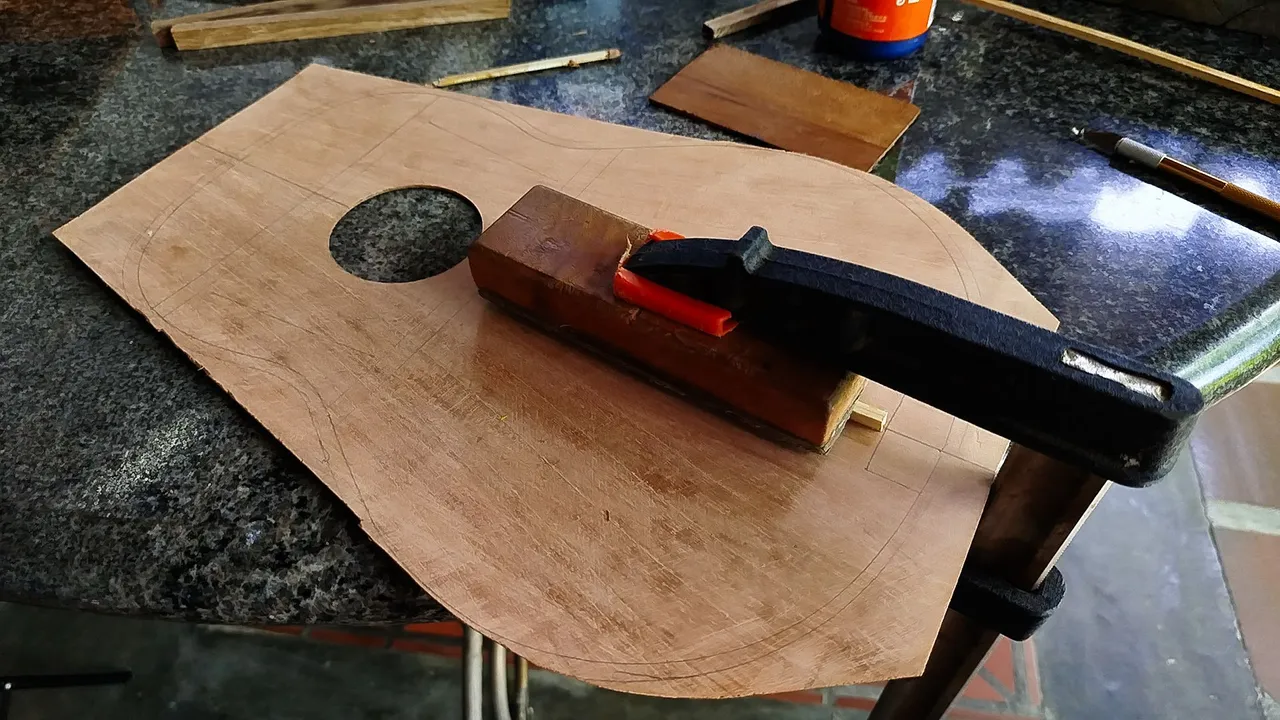
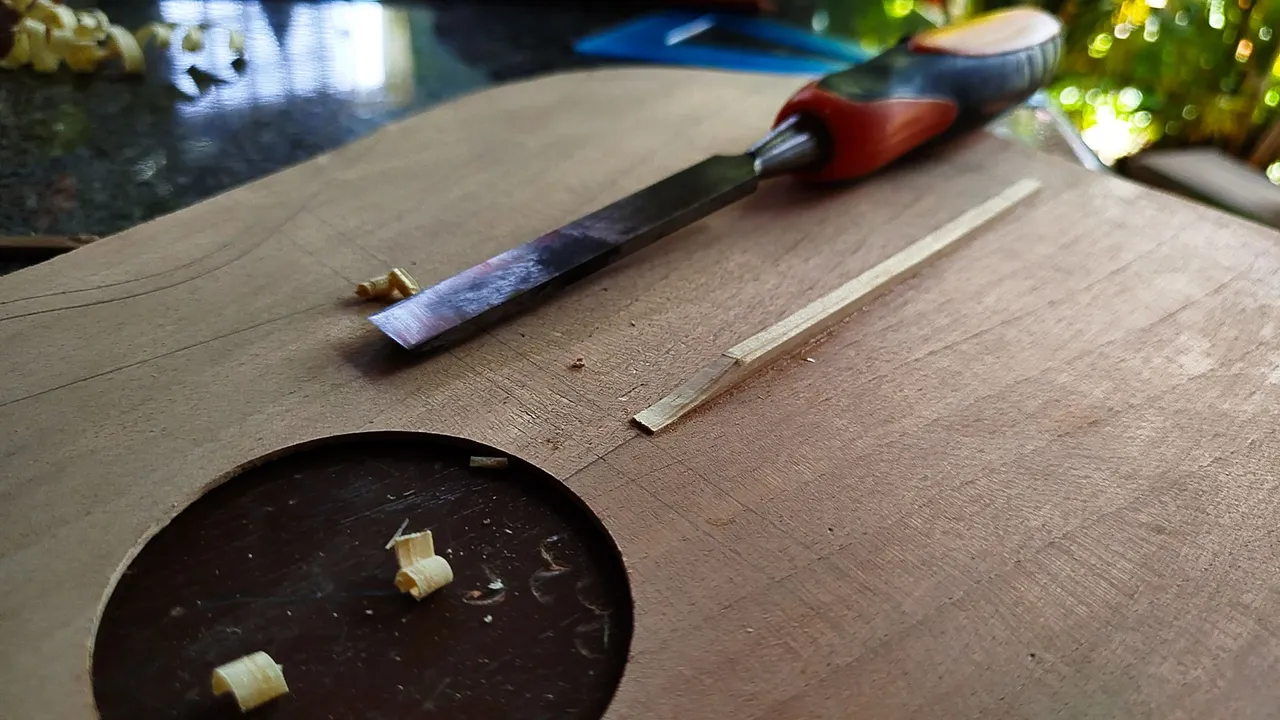
When placing this middle reinforcement, the goal is yo prevent the sound board from splitting at the middle. There just glue keep it together against the tension of the strings. However, not doing this might be beneficial for the instrument. But doing it also gives you frontier for the type of sounds each half can create. It is an interesting back and forth with these things.
Since this isn't a very fancy instrument having it built to last is the goal. So reinforcement in the middle it is. However, it might be worth trying something different for other build as it will give a different sound.
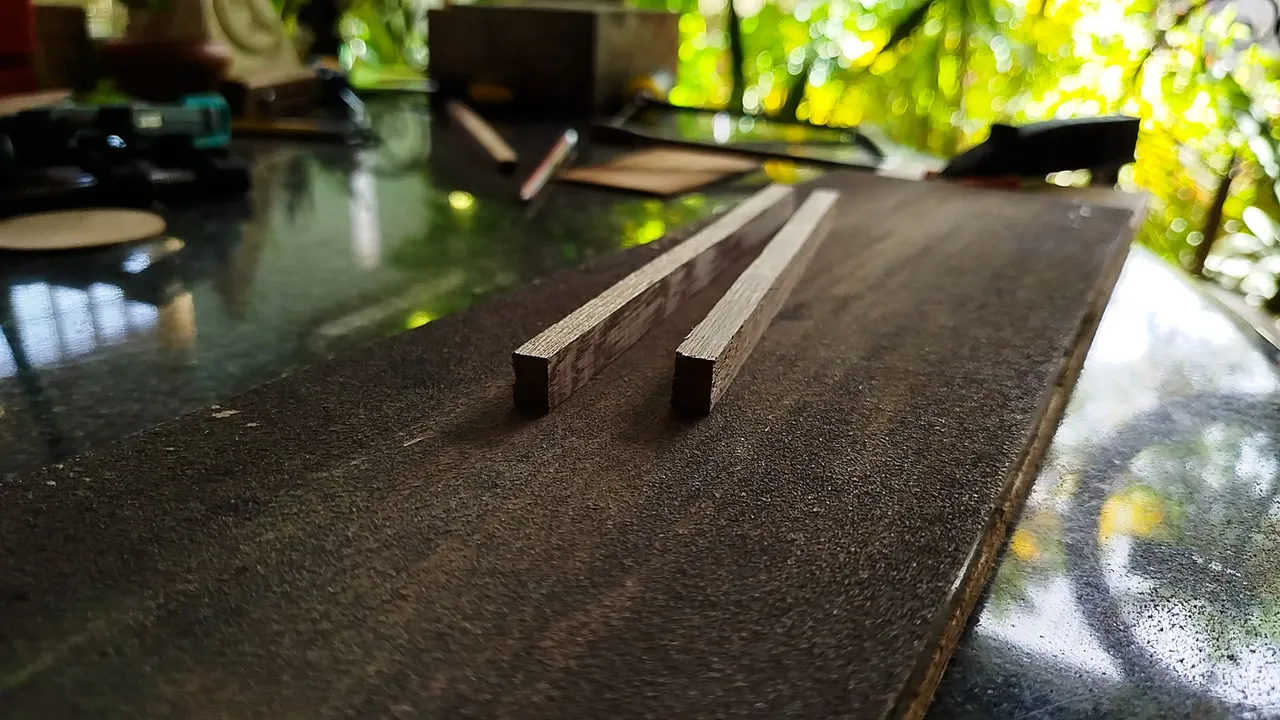
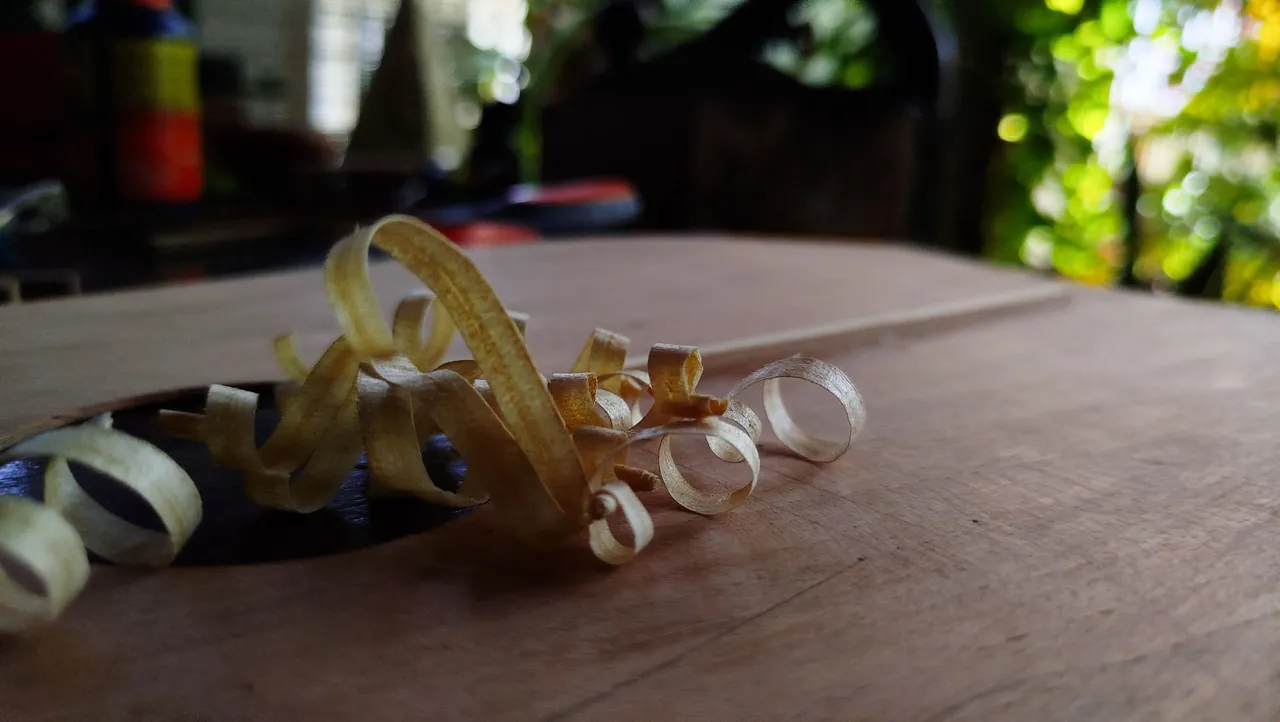
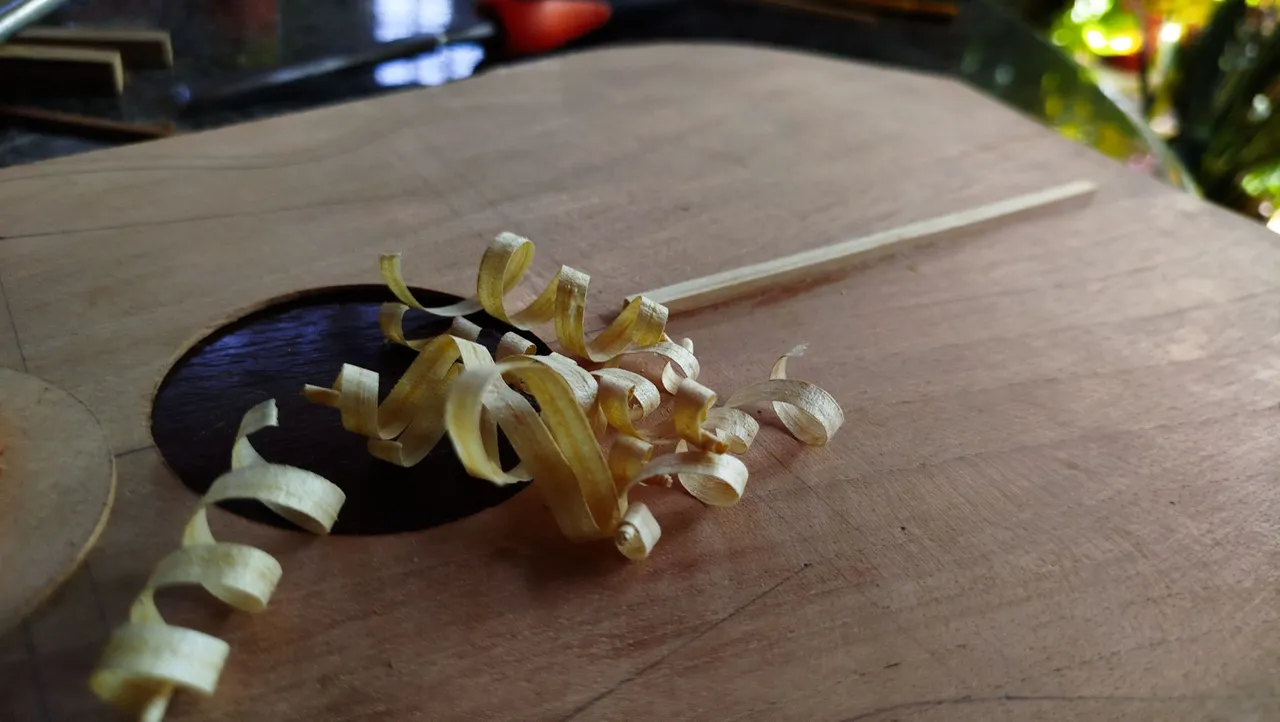
Of course, after placing this reinforcement, we need to work it a bit. It can't been too tall or it will hamper the sound projection of the instrument. We also follow the traditional carving of the ends of this piece and end with some light sanding.
For now, we wait to get the bars and finish the whole sound board to jump to the next piece. But that will come in the next entry.
Thanks a lot for reading!
| Project milestones | Title |
|---|---|
| 1 | First Steps |
Photos 📷: Redmi Note 13
Thumbnail 🖼️: created with Canva.
Editing 🎬: Adobe Photoshop Lightroom.

Follow me on Instagram for enquires and commission.
If you'd like to help the workshop grow, you can make a donation here. You can find me at discord as bertrayo#1763