
Last time we saw this sound board, it was ready for its last touches. Today, we're finishing the works related to the assembly of this piece and going on to the next. We have some bars, carving and sanding in the way. All the steps necessary to finish the pieces of the puzzle that is an instrument.
Let's jumpt to it!
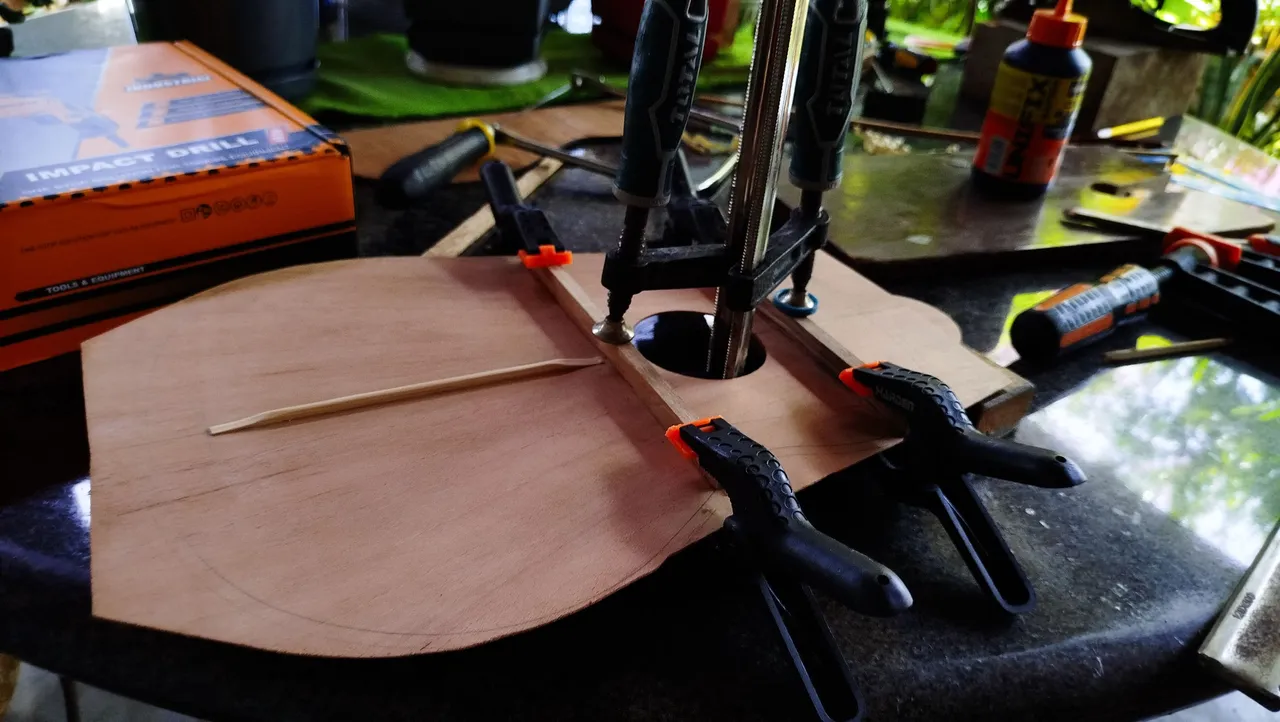
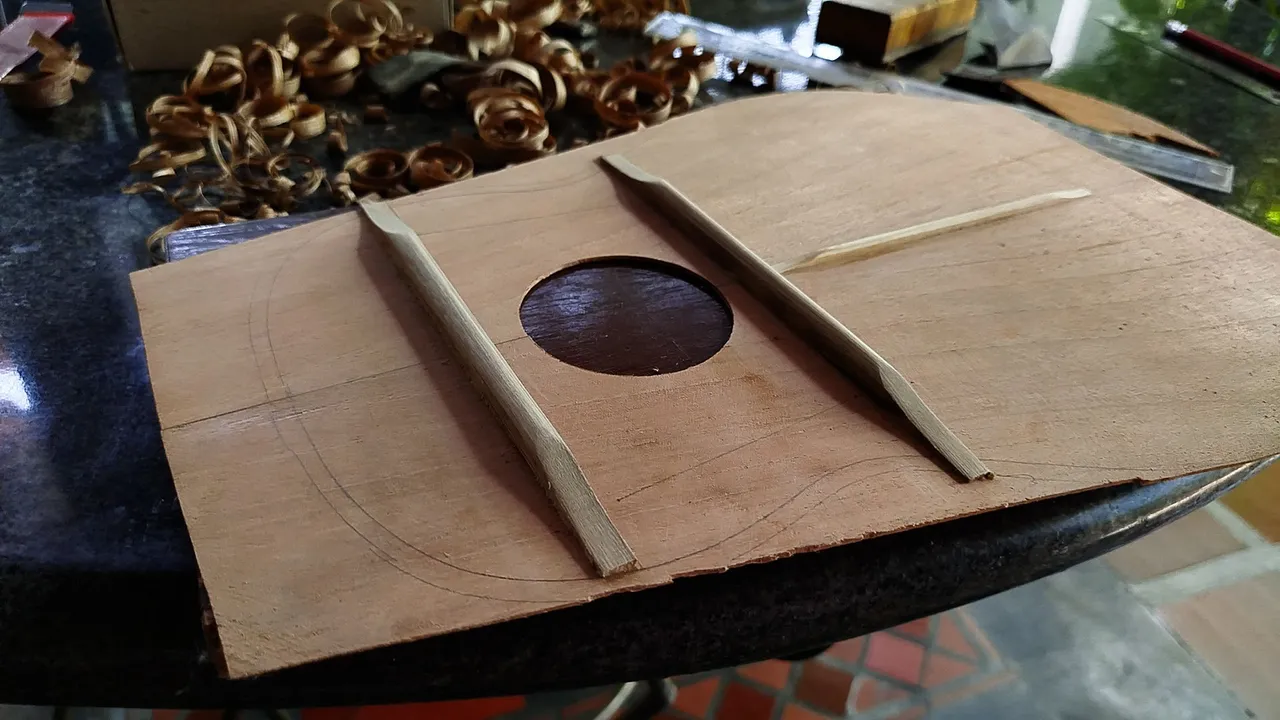
We had already prepared the bars for the job. So, the thing to do is glue them to the sound board. These reinforcements are the ones preventing the piece from bending to the tension of the strings. Once the glue does it work and they are fixed in place, it is time to start the shaping process.
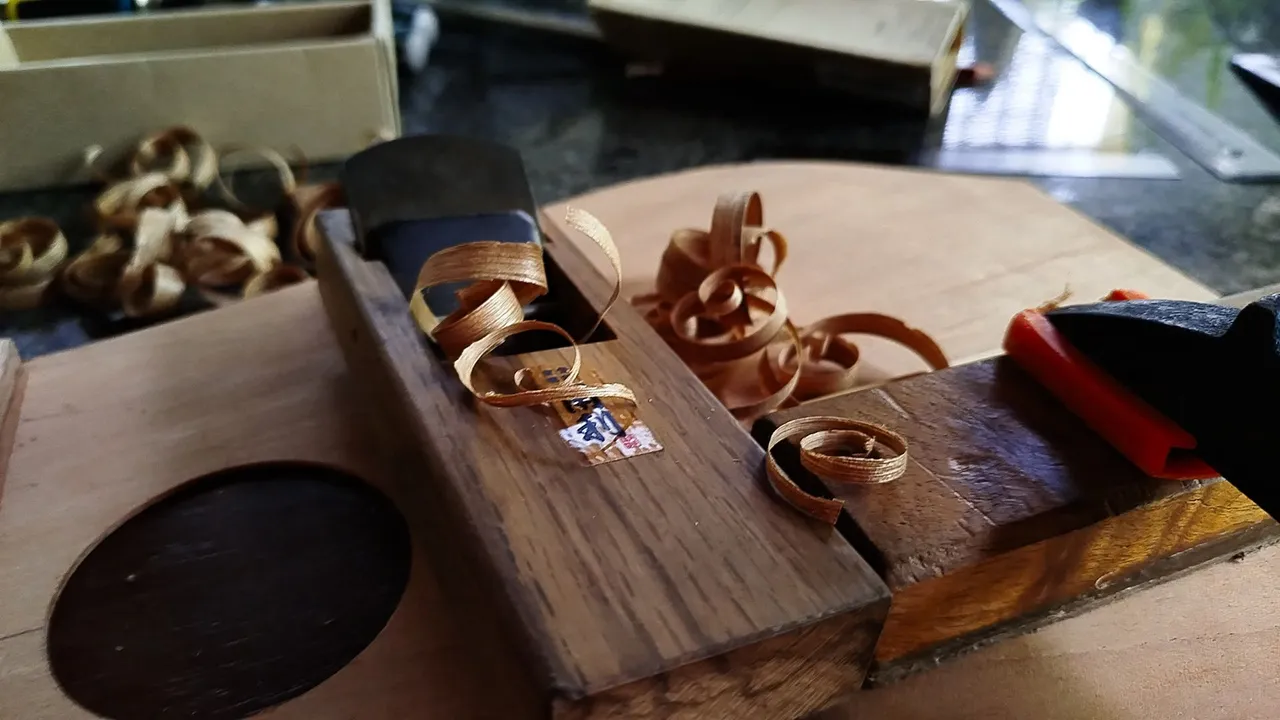
The first part is simple. It's an adjustment of the height of the bars. Our Japanese plane does this even easier. Some strokes and shavings after and we have the target measure for these bars and can move to the next step!
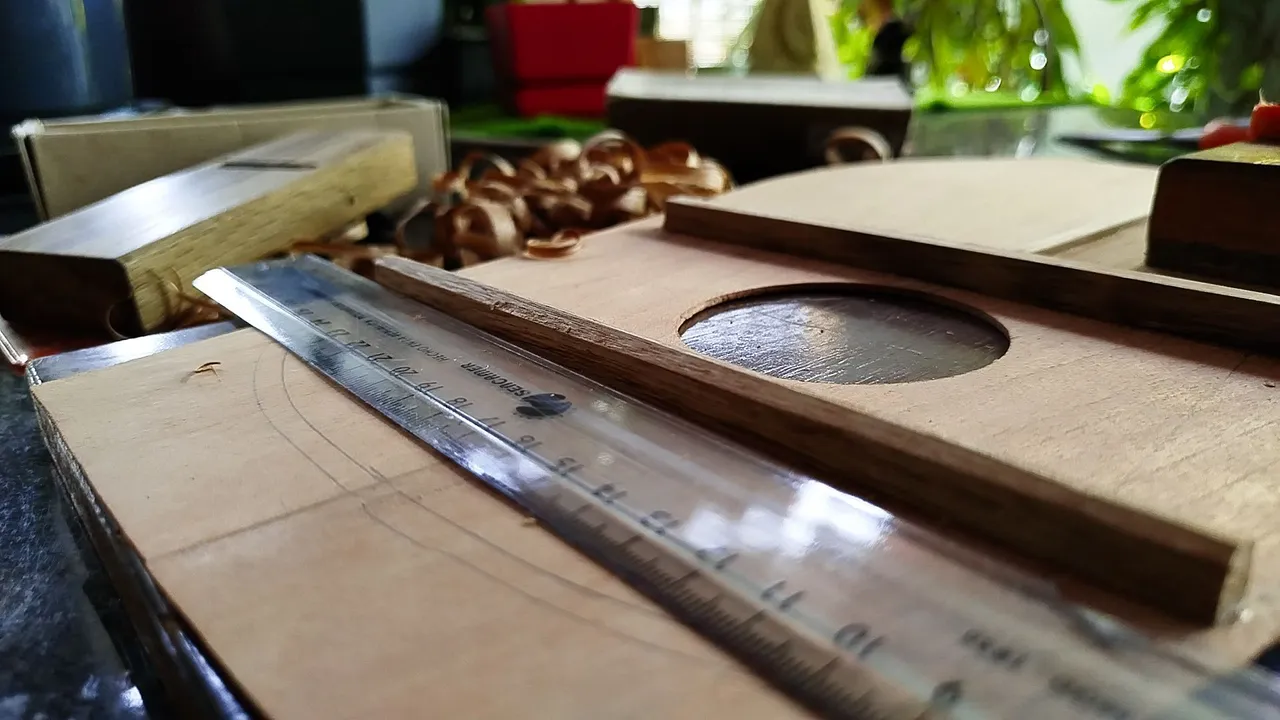
Here's a job that requires more time. The first step is preparing the edges of the bars. We need to cut this corners and make the lines meet in the middle. That way we have a triangle top. But just for the moment.
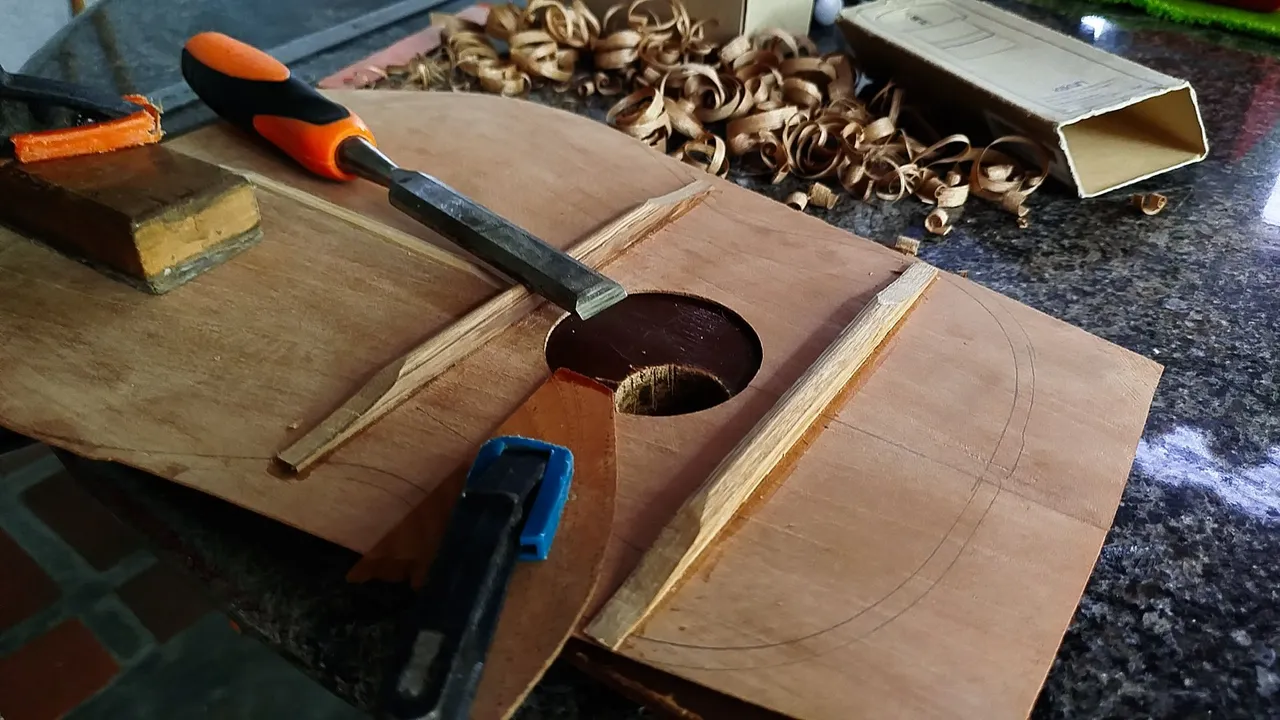
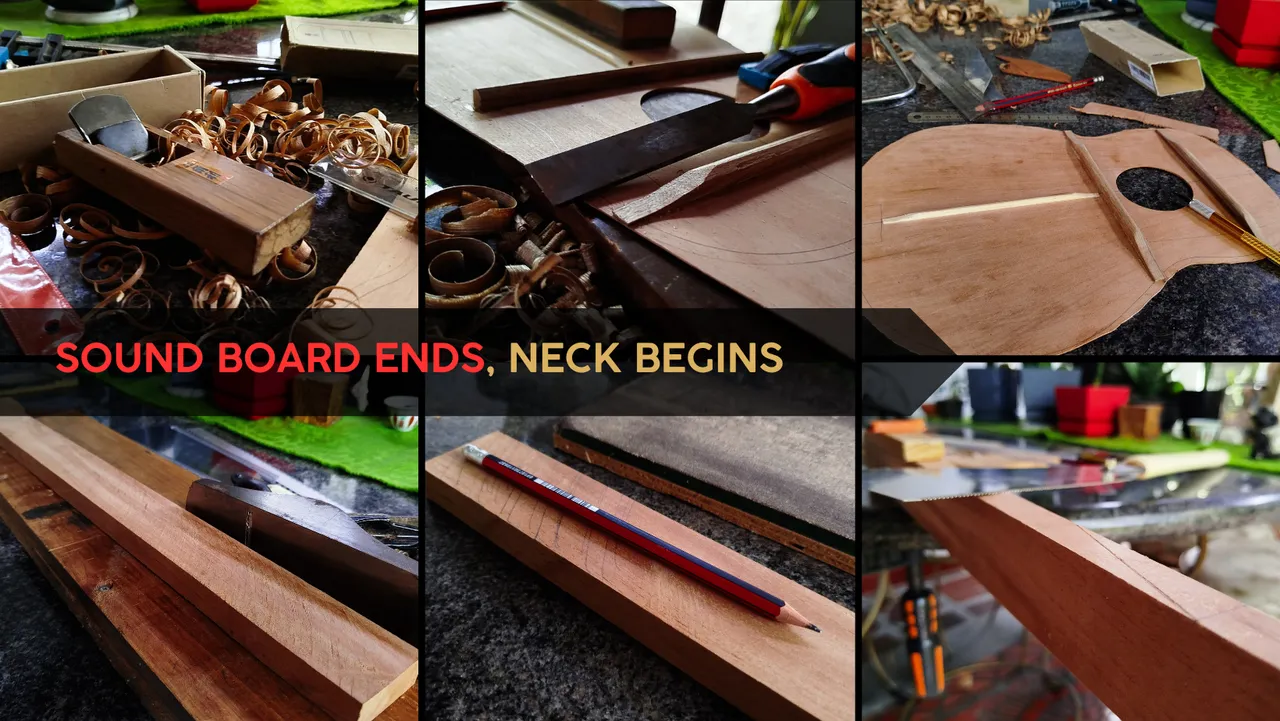
Now, we carve the ends of the bars. Setting first the distance between the border of the sound board and how much we'll remove for the end. We have to create a slope that grows thinner as it nears the edge. To do this we use a chisel. Bevel up or down depends of the resistance of the grain. If we are in the same direction, bevel down; otherwise, bevel up. We remove shavings until we get to the exact point we want. Then, it is a repeating process in the other ends of the bars.
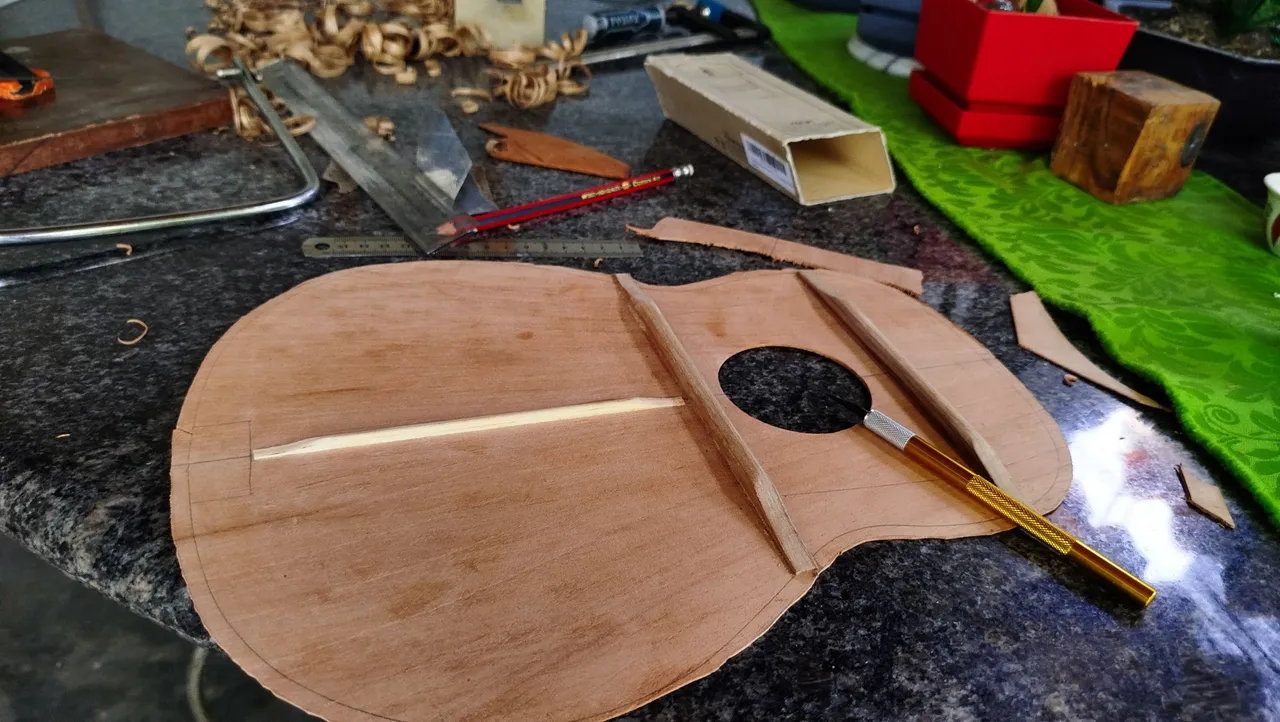
To finish this part of the job, we need to sand the bars to make them round at the top. This isn't a rule for these reinforcements but how I like to keep the top of the bars on my instruments. The last bit of work here then is to remove the excess from the edge of the sound board and give its shape. To do this we can use a saw or a knife. The latter gives us the advantage of working very close to the margin we set up.
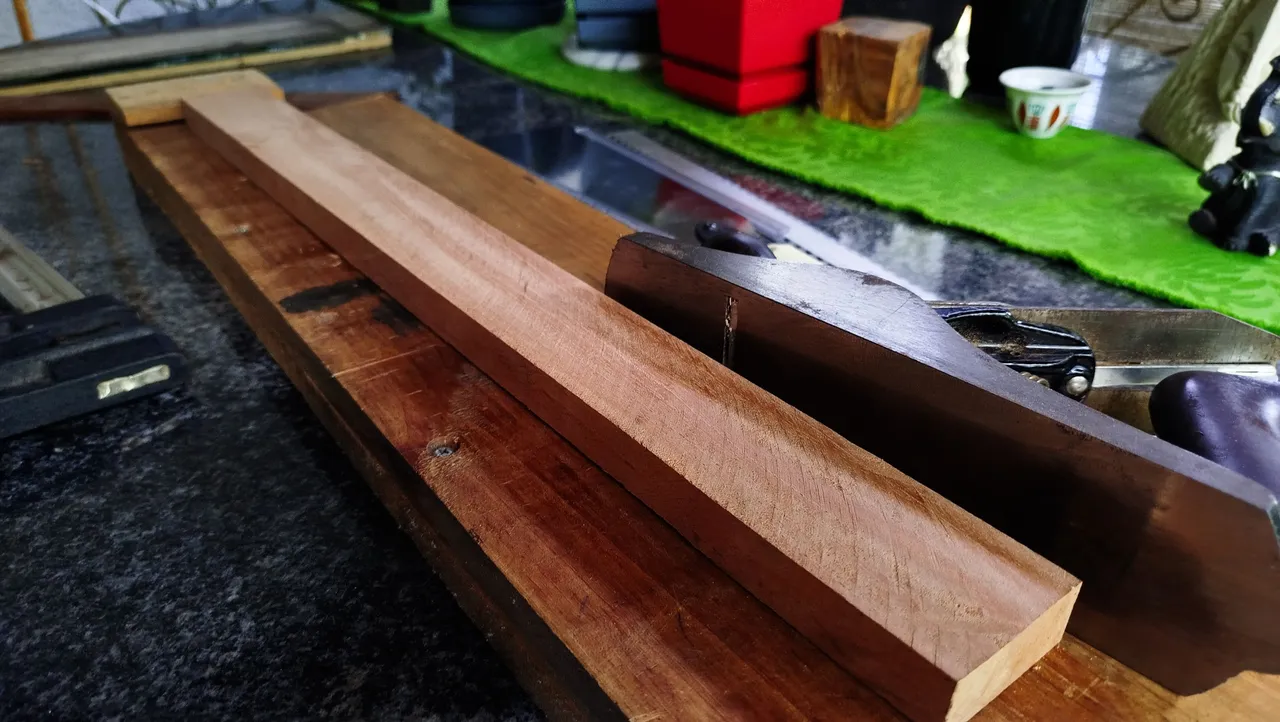
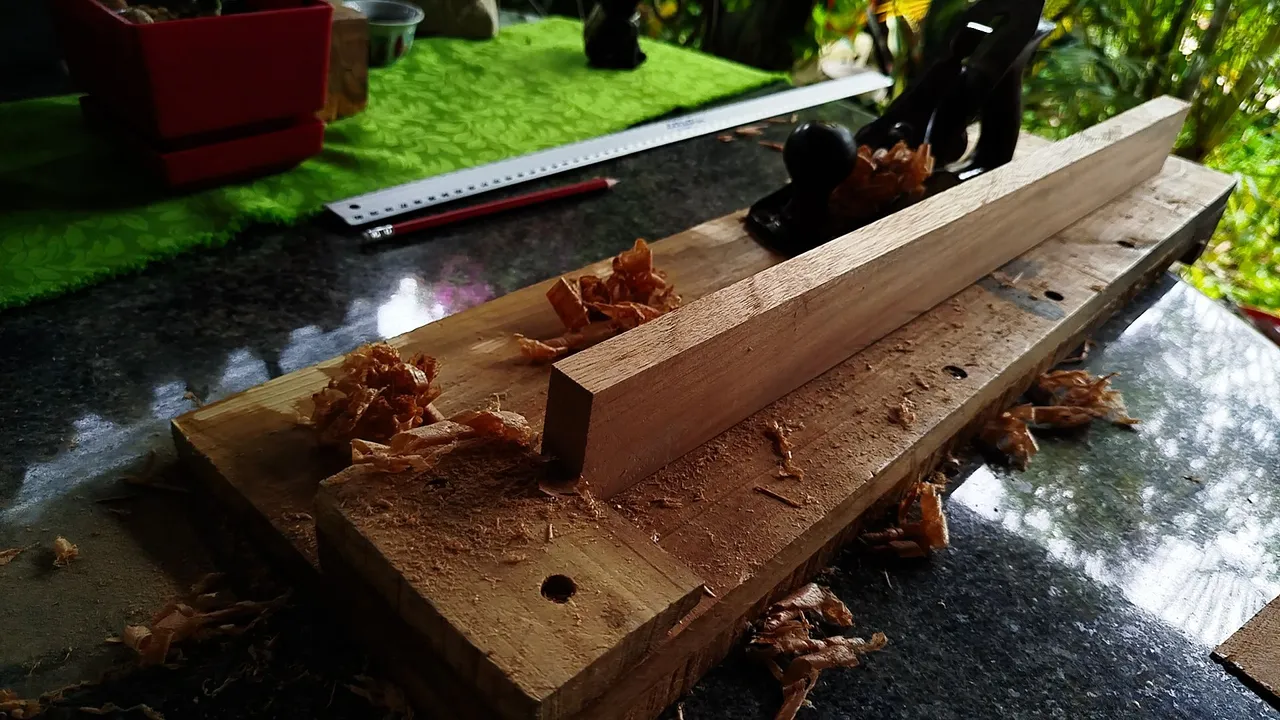
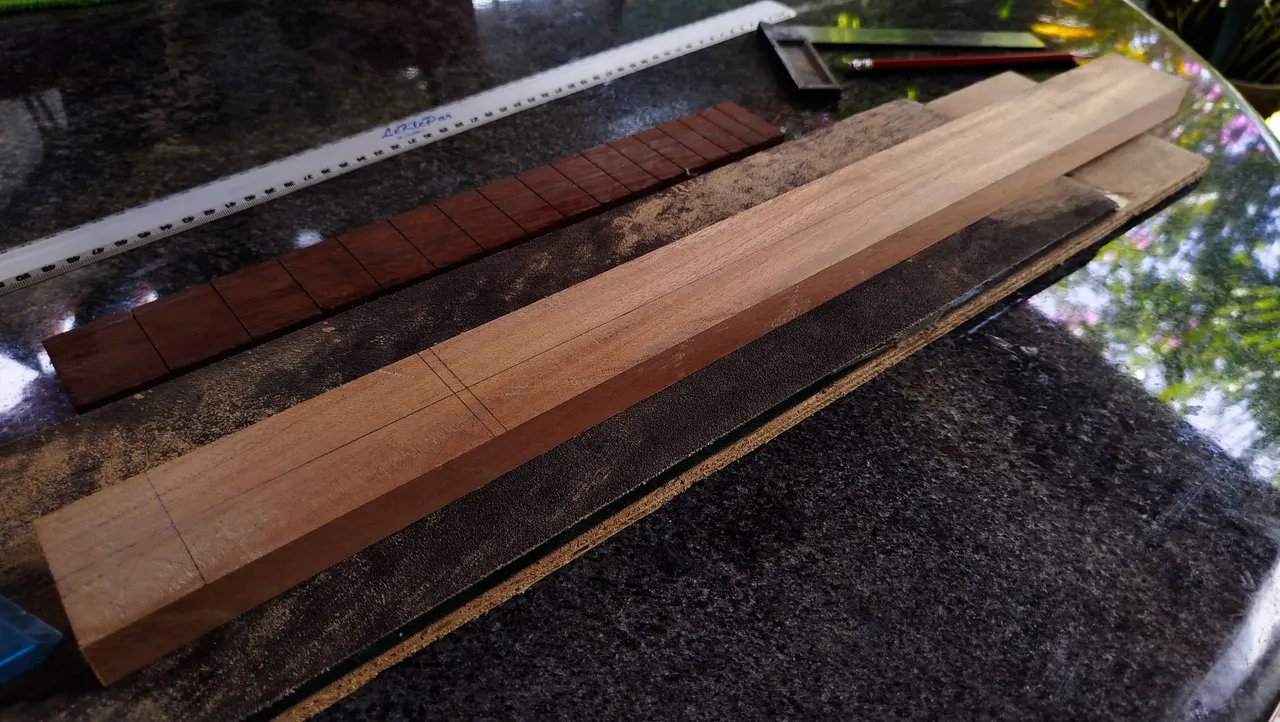
Leaving aside the sound board until we need to start assembling the instrument, we move to the other piece that requires more work, the neck. We have a Cedar black to start work. First order of business is to remove any cutting marks and make the faces square. We use our trusty plane and work on each face at a time. To make sure we have square faces, we use the trick of pencil lines and sanding. The idea is to sand everything until we don't see any pencil marks anywhere.
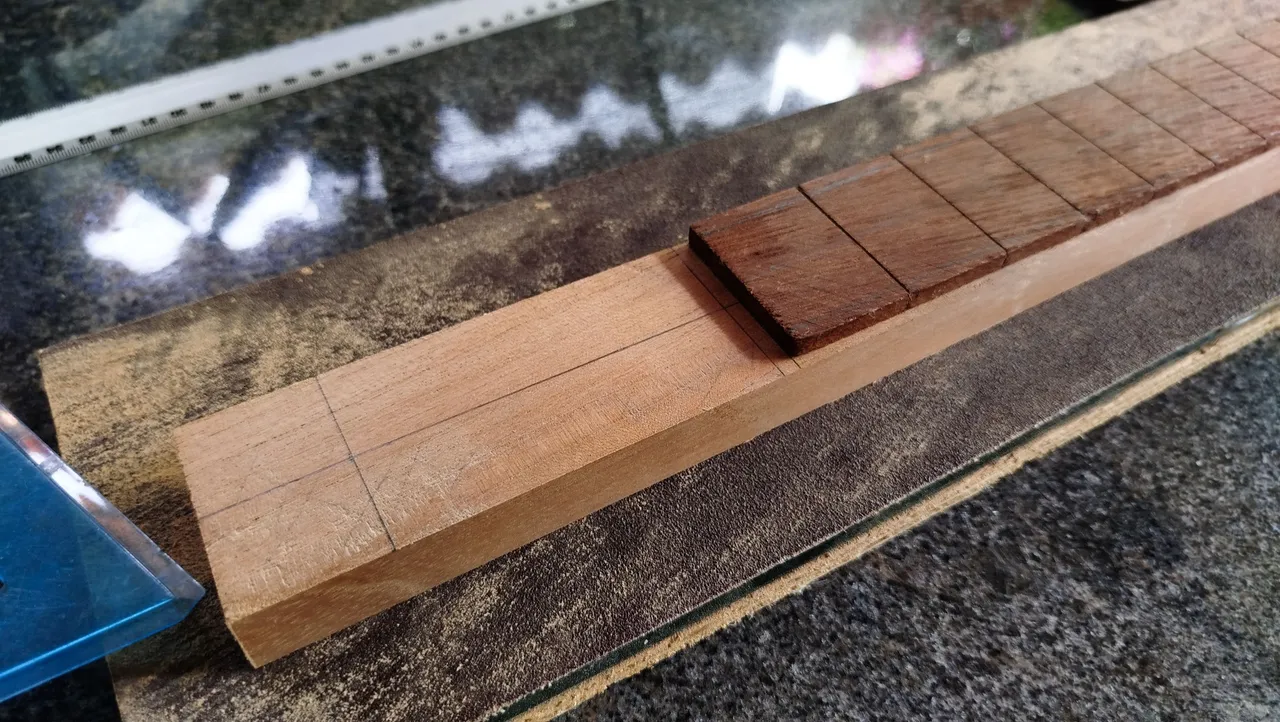
Once the blank is squared off, we can start making the guide lines to get the head stock cut, mark the position of the nut, mark where the fretboard will be, and outline the heel. This we can do using the fretboard template we have around.
To make room for the cut we have to perform, we use the trick of transporting the lines from one side of the wood to the others. This is made using a carpenter square and using the flat faces of wood. That way the lines we make on any face of the material can be transported anywhere and keeping the alignment required for cuts. Having the lines on the side of the cut. we just need to make sure to connect them diagonally. This is the guide for the cut.
Before cutting, we can make an extra line with a knife to make sure the saw will go in the exact spot we need it. Then, it is just a thing of cutting. If the result isn't precise we can always fix it once we start the glue up process.
And that's it for today. Next time, we'll get into more of the process of the neck as it requires plenty of work before it is ready to start assembling.
Thanks a lot for reading!
| Project milestones | Title |
|---|---|
| 1 | First Steps |
| 2 | Hints of a Sound Board |
Fotos/Photos 📷: taken by me (Redmi Note 13)
Portada/Thumbnail 🖼️: by me, created with Canva.
Edición/Editing 🎬: by me, made with Adobe Photoshop Lightroom.

Follow me on Instagram for enquires and commission.
If you'd like to help the workshop grow, you can make a donation here. You can find me at discord as bertrayo#1763