
Welcome back to the updates on this build. Last time, we finished business on the heel giving it the shape, cuts and sanding. Now, we return to the top portion of the neck in order to create the complete base of the Head Stock. Then, it will be time to add veneer and holes for the tuners, but that will wait for the moment.
Let's get to it!
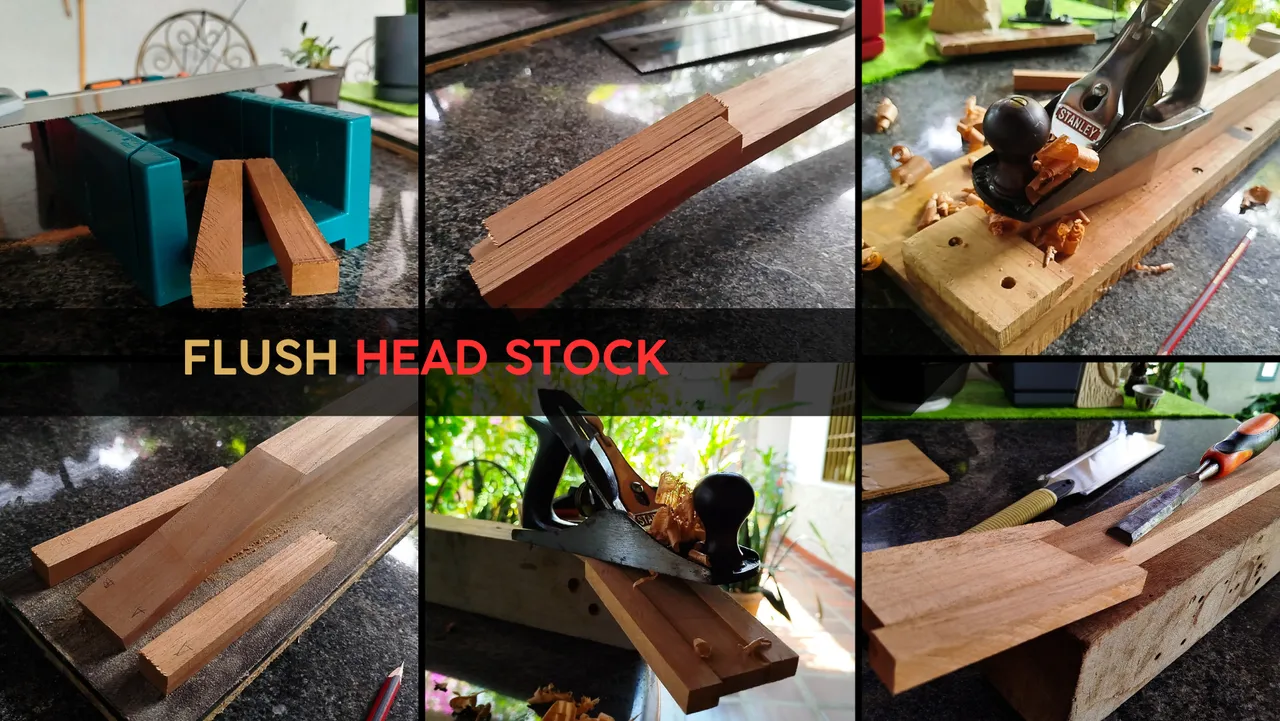
Cutting the ears
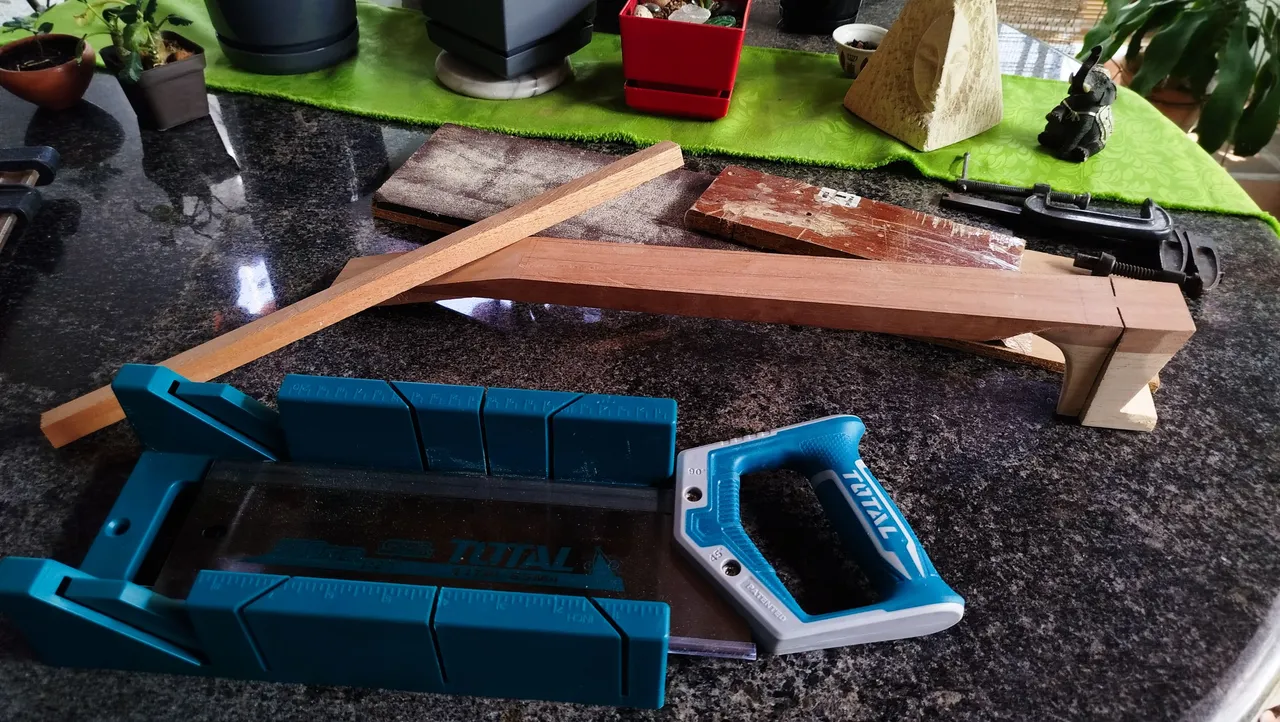
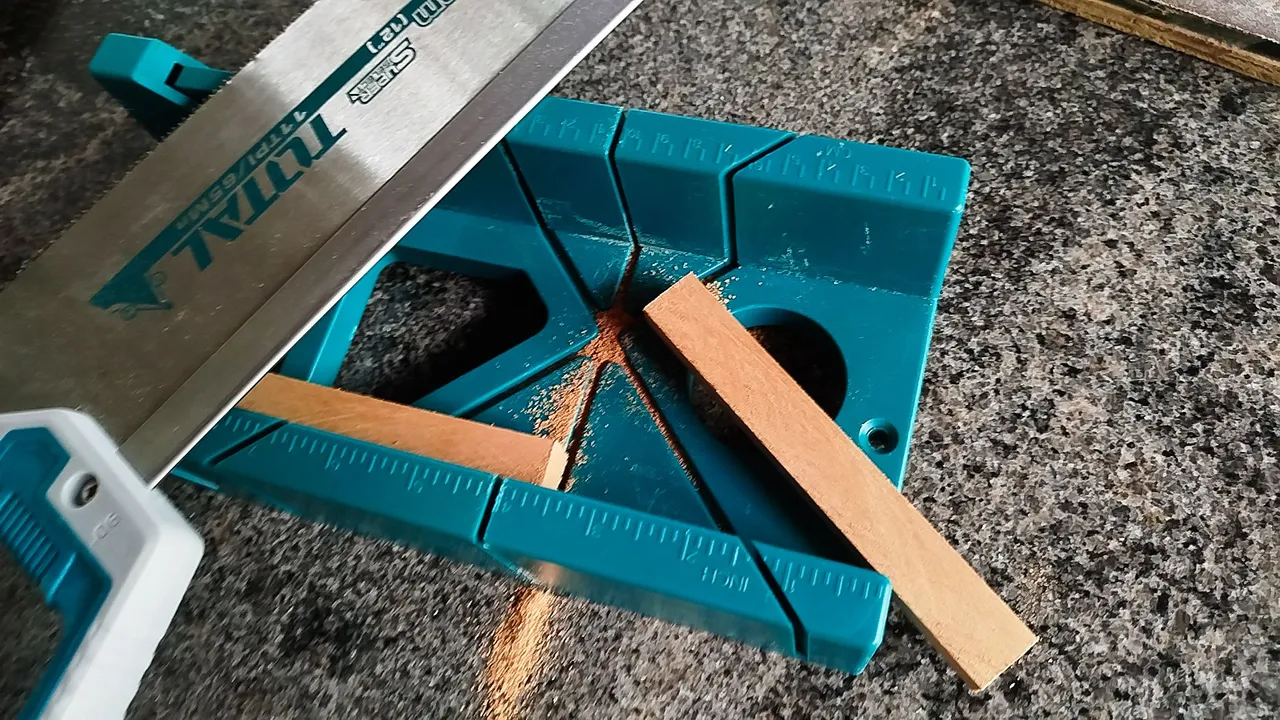

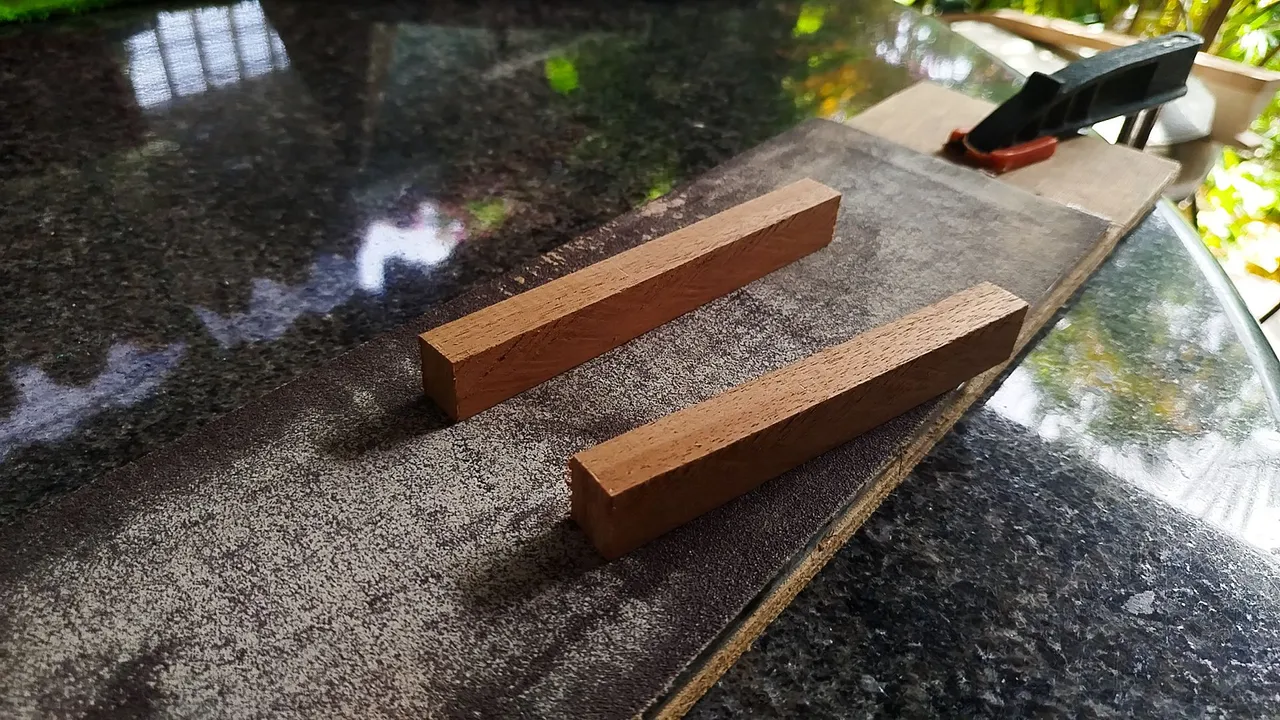
I actually have no idea if English speakers call this parts ears. It is a Spanish slang and you can get the idea. These go in what is supposed to be the head of the instrument, added to the sides of the structure for the head stock. But since there are two additional pieces at both sides, thus naming them ears.
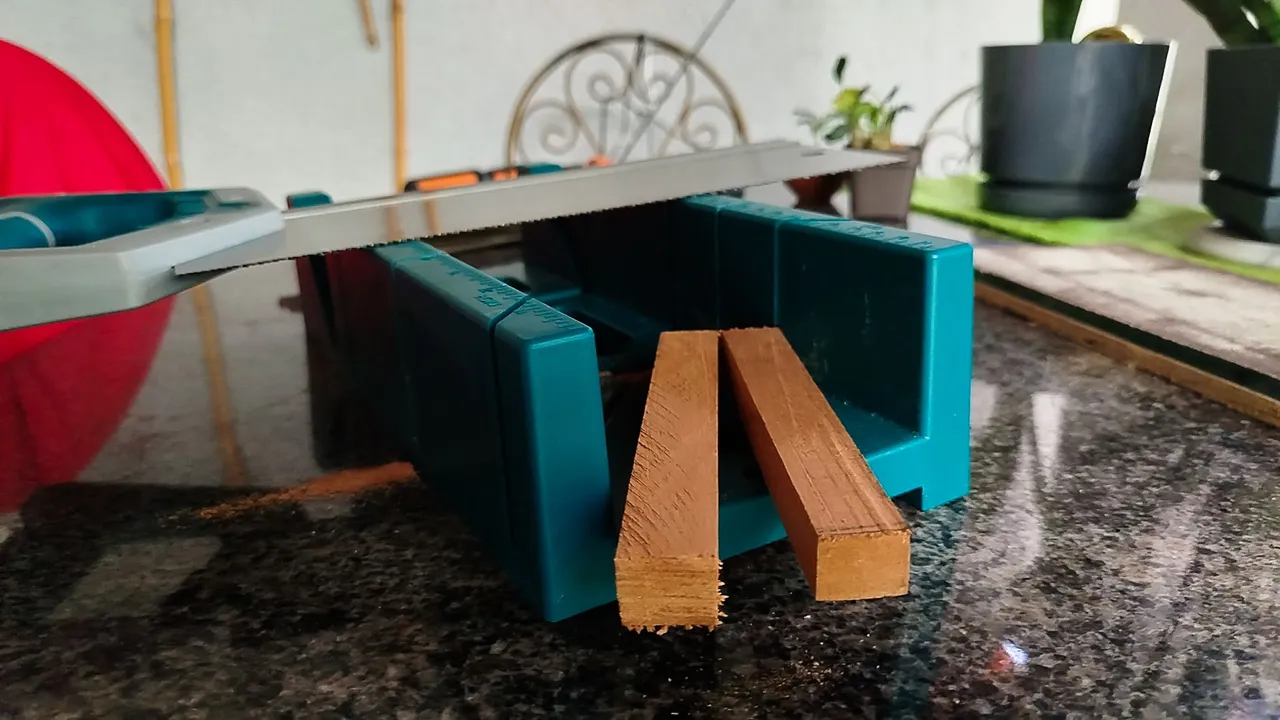
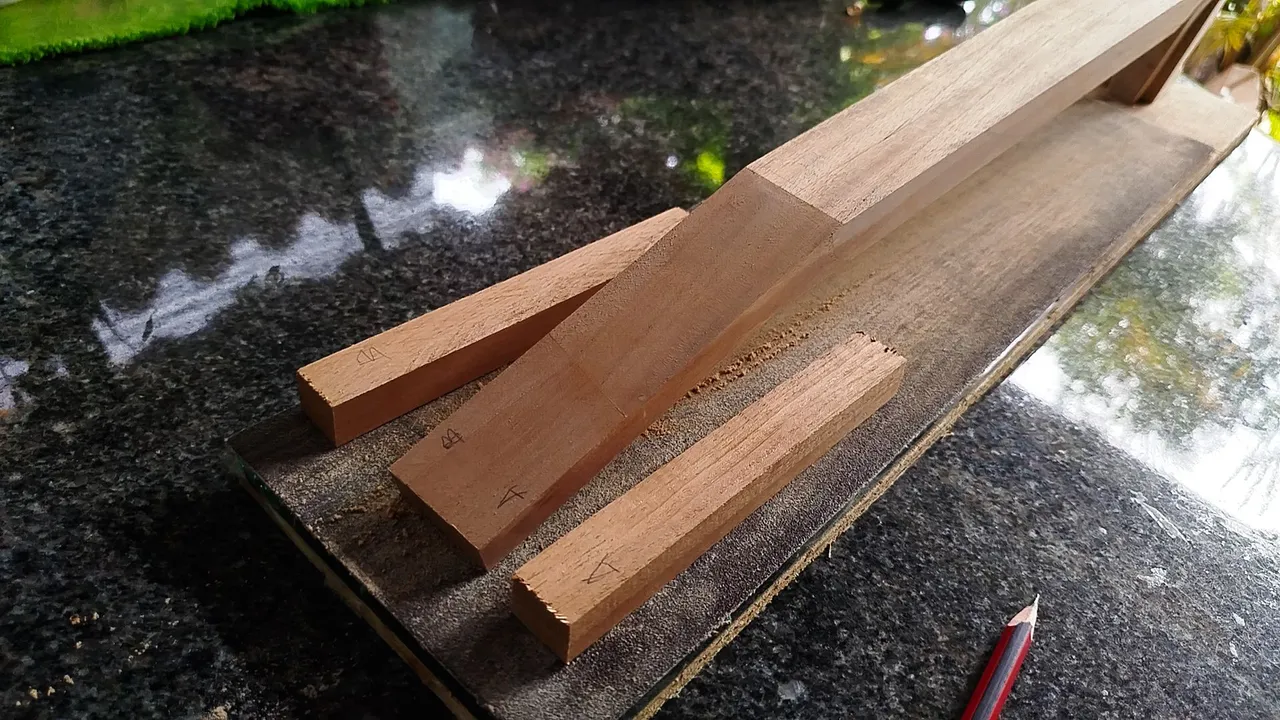
We start with a cut of a long strip of wood to get these ears. This was a nice time to keep using the miter box a little bit more. It is a cool tool to cut stuff like this. Cutting both blocks gives us two similar pieces that then will need some sanding to remove disk marks.
It doesn't matter if they are exactly the same size since the final design of the head stock isn't symmetrical.
Conic Shape


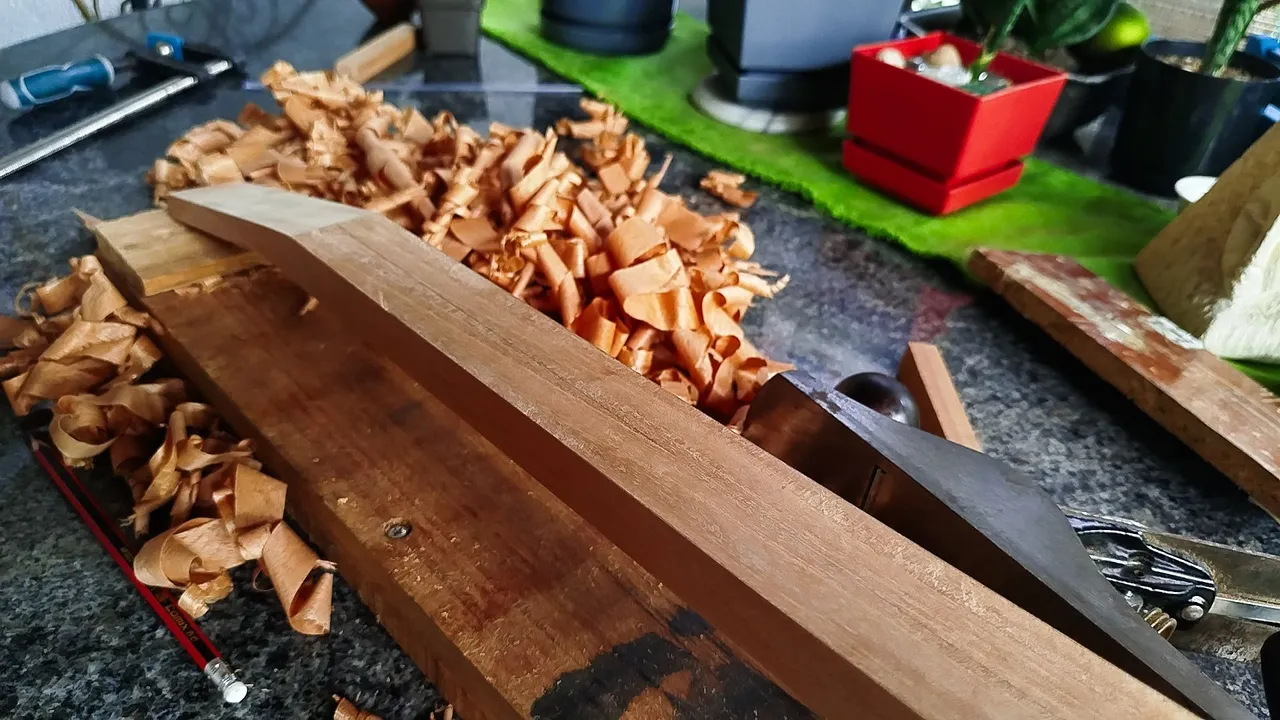
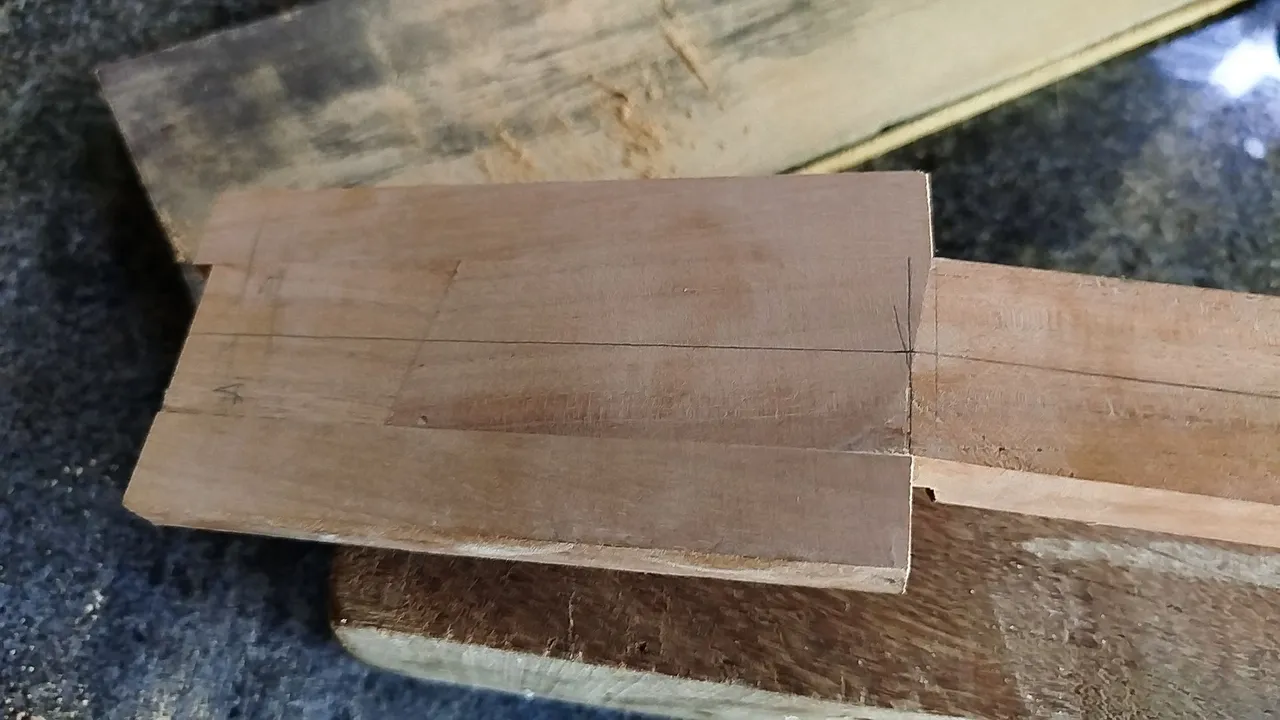
Before adding the ears, we need to work on the shape of the neck. That means removing material from its sides until we have a neck that is wider at the heel and thinner at the head stock. That's why we mean by conic shape. It is like a cone, but a little more square. To do this and don't take off too much material. First, we mark the total width at the reference points. These are the placement of the nut and the slots for the sides. Once we have the references, we make lines from one point to the other. These lines are to keep track of the strokes of the hand plane.
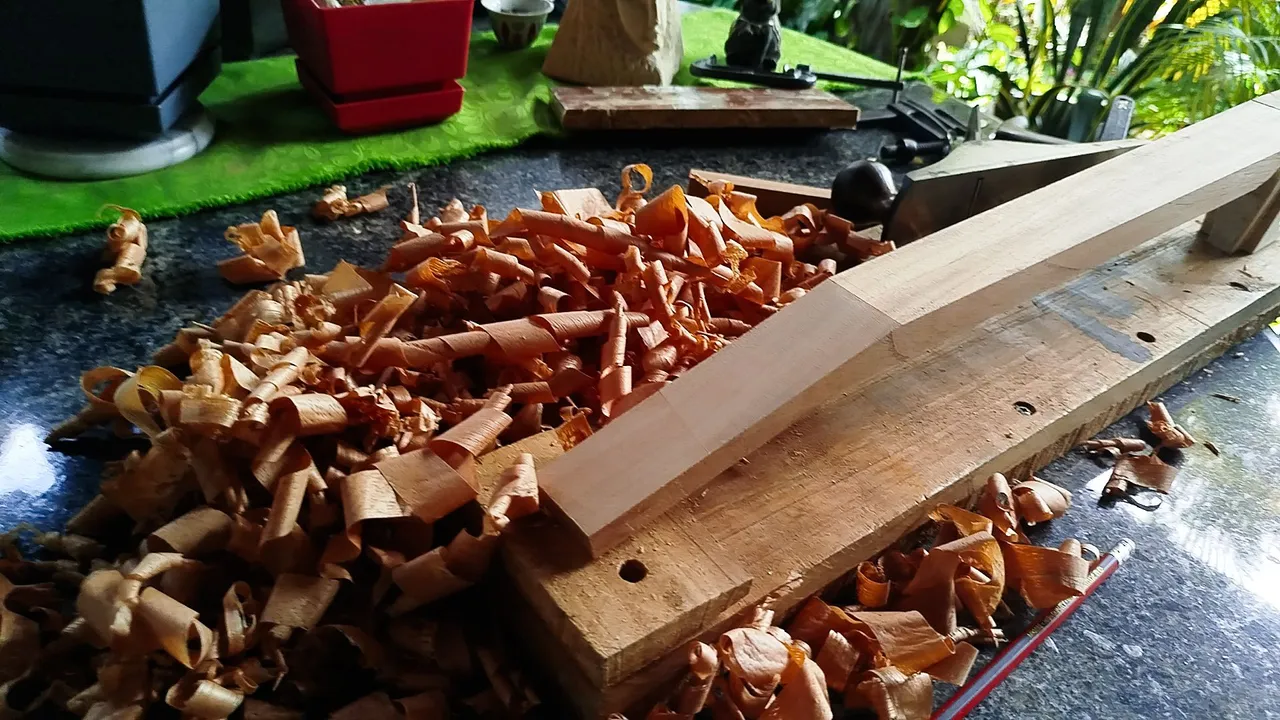
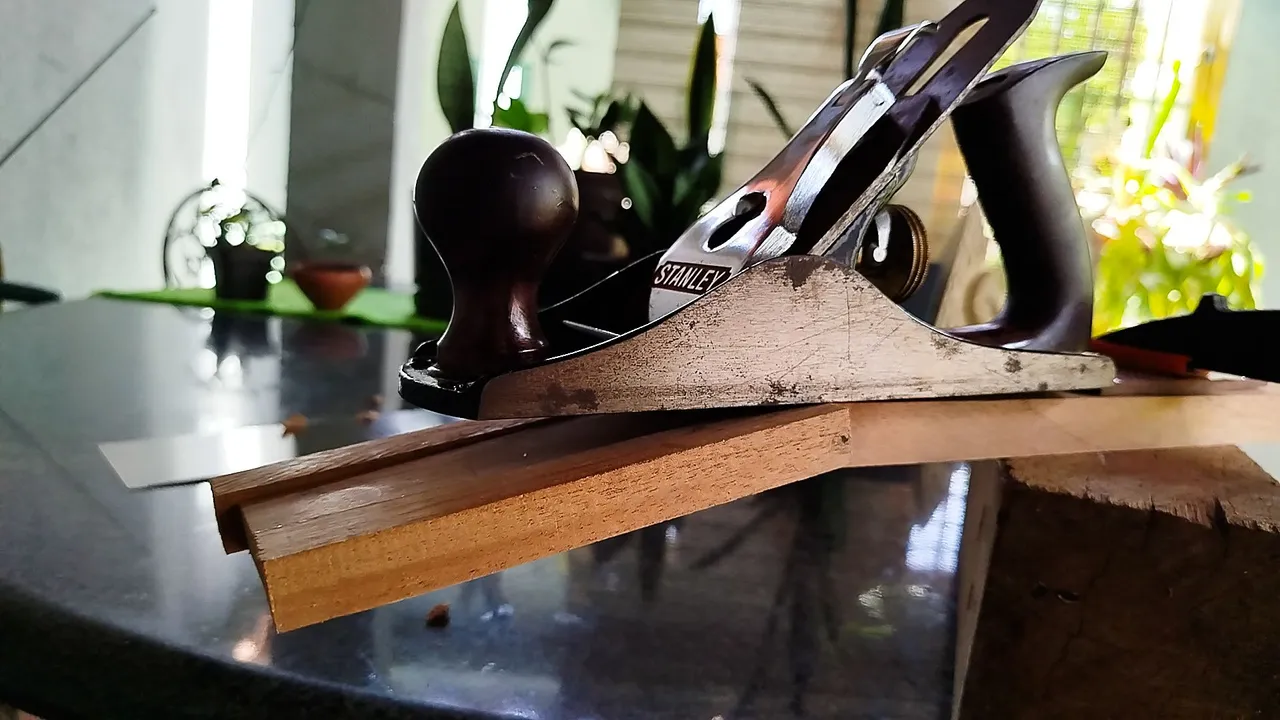
Since we are removing a fair amount of material, we can adjust the hand plane to take a thick shaving from wood. This also makes this part of the job faster. But, we need to make sure the blade is aligned so the cut is always flat. Trying to even the surface could be problematic. In woodworking, we can always take, but we can't add. So, measure twice and cut once.
After a few strokes on both sides, we finally have the conic shape and are ready to glue the ears to the head stock.
Glued up and flush
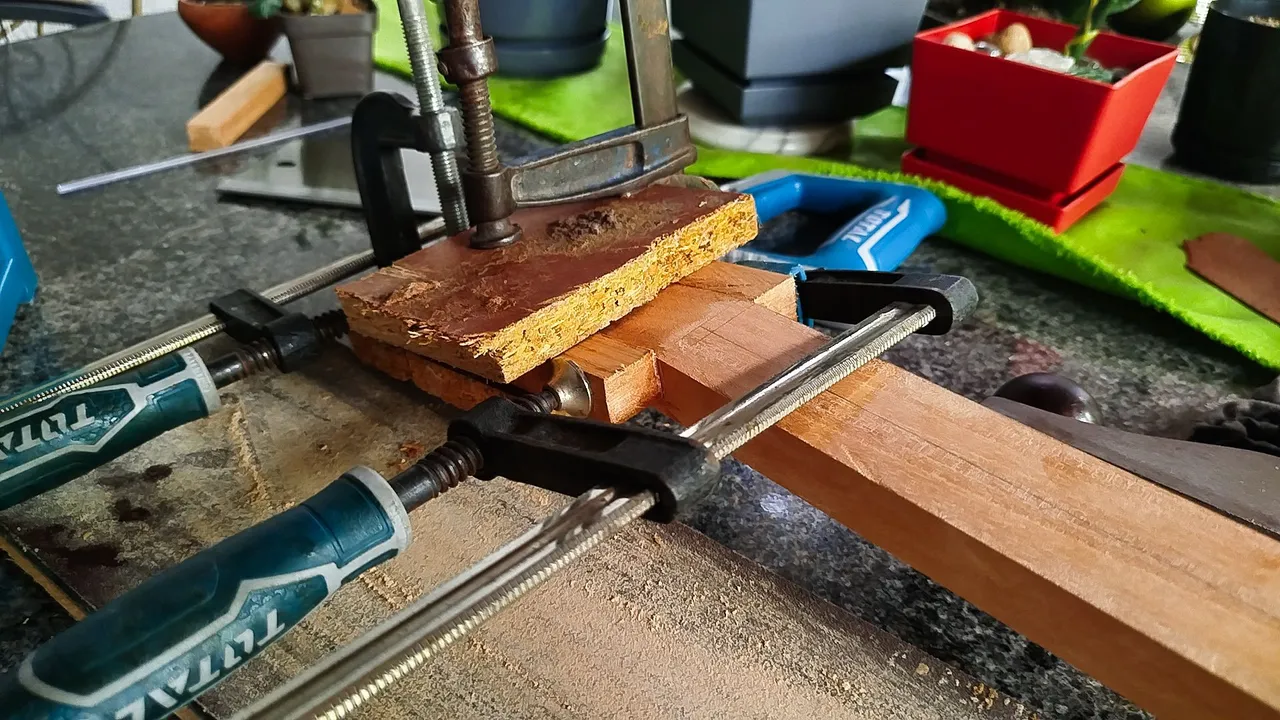


Gluing up these pieces tends to be messy. Using something as a flat reference to the ears as a base to glue them is a good idea. That way the only thing to do is apply the glue and clamp everything together until the pieces are fixed in place.
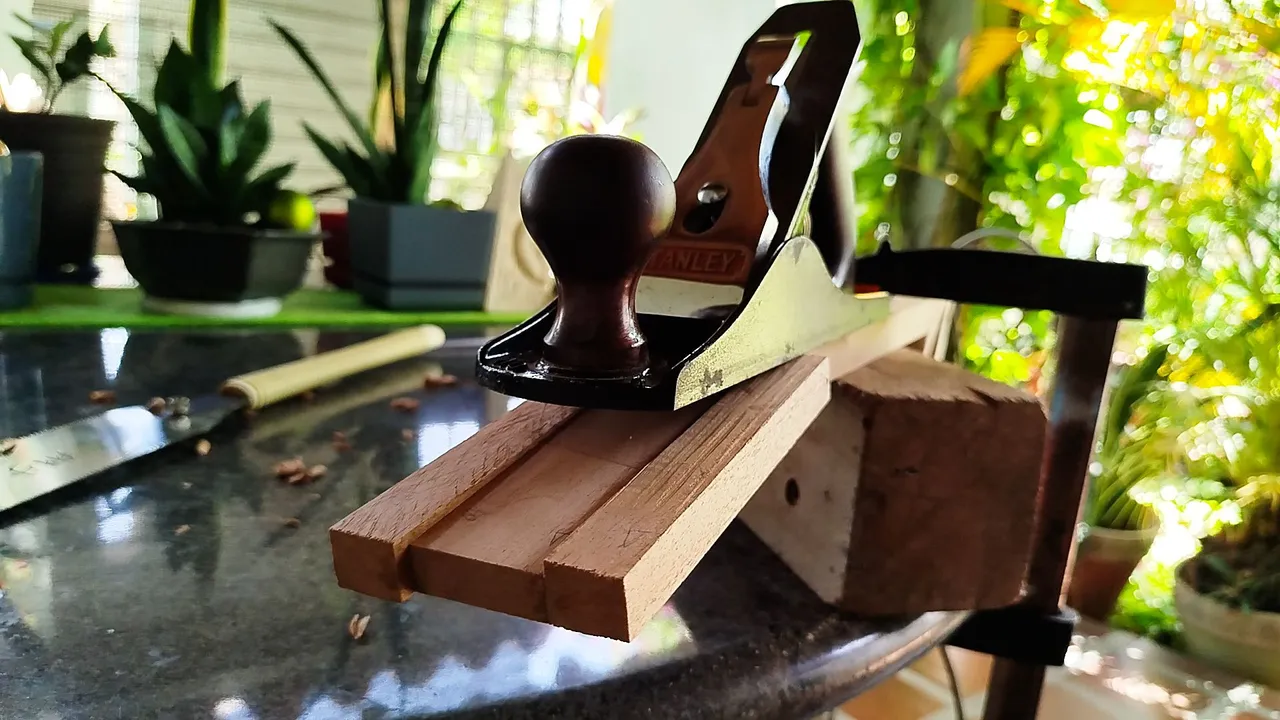
After giving some hours for the glue to dry and keep on work, we need to remove material from the front and rear faces of the head stock. This is to prepare both surfaces for the veneer that will serve as decoration.
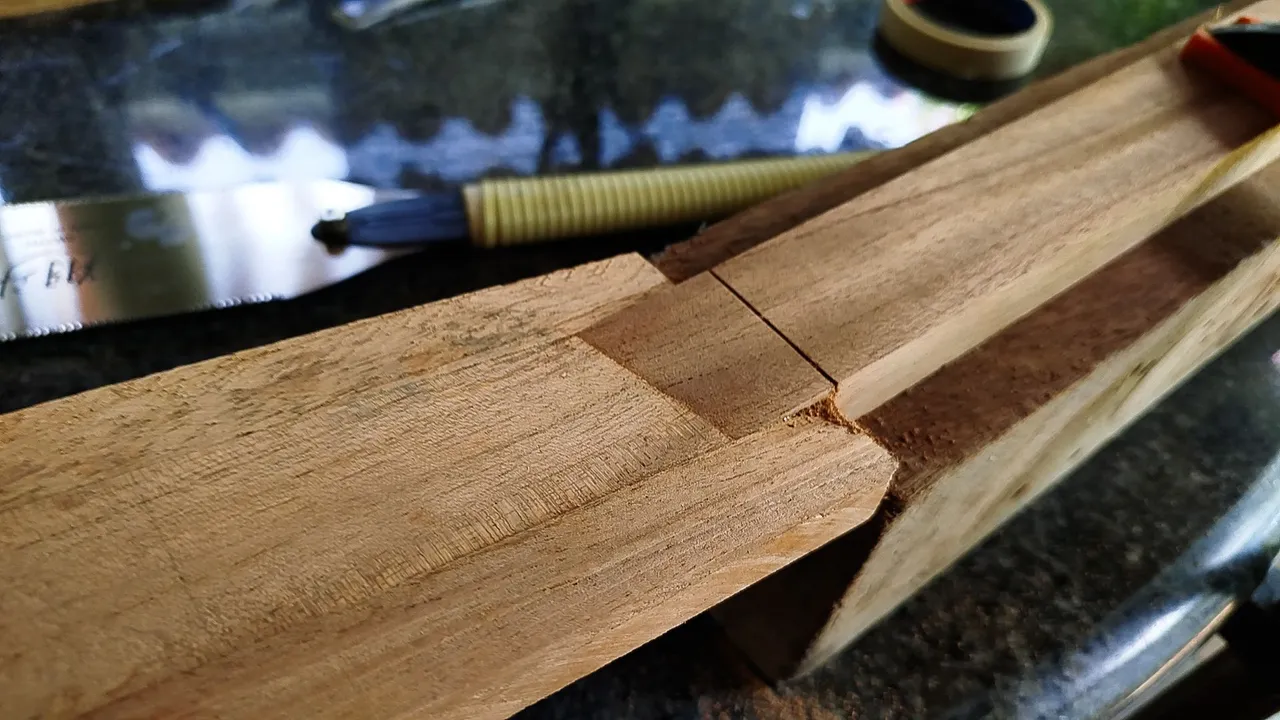
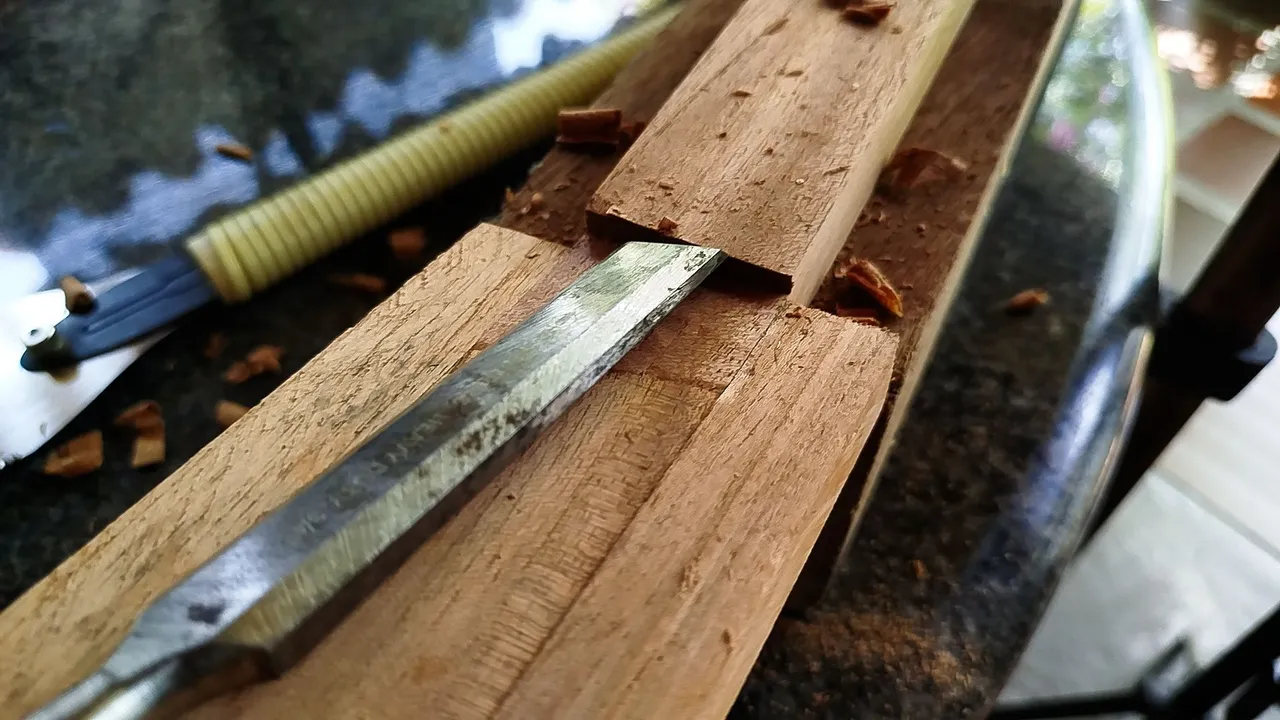
For the front, we use the hand plane to remove material from the top of the ears until the whole surface is flush. For the back, we make a cut to the height of the ears and then remove the excess material with a chisel. Then, we have a flat head stock on both sides, ready for the ornaments and holes for the tuners.
On the next entry, it will be time to finish this part adding the veneer and testing if the holes we make can hold the tuners in place flat to the faces of the head stock.
Thanks for reading!
If you haven't checked the process of the instrument, you can go down and find a list of entries for each milestone of the project.
| Project milestones | Title |
|---|---|
| 1 | First Steps |
| 2 | Hints of a Sound Board |
| 3 | Sound Board Ends, Neck Begins |
| 4 | Head Stock and Heel |
| 5 | Carving the Heel |
Photos 📷: Redmi Note 13
Thumbnail 🖼️: Canva.
Editing 🎬:Adobe Photoshop Lightroom.

Follow me on Instagram for enquires and commission.
If you'd like to help the workshop grow, you can make a donation here. You can find me at discord as bertrayo#1763