
Welcome back, there's a lot to do to keep moving forward on this build. Last time, we saw the end of the works on the sound board and the beginning of the neck. For that we had made the first cut for the head stock, but we still need to make that be. Then, we have to start with the heel. Two glue ups and different ends of the same piece.
Let's get to it!
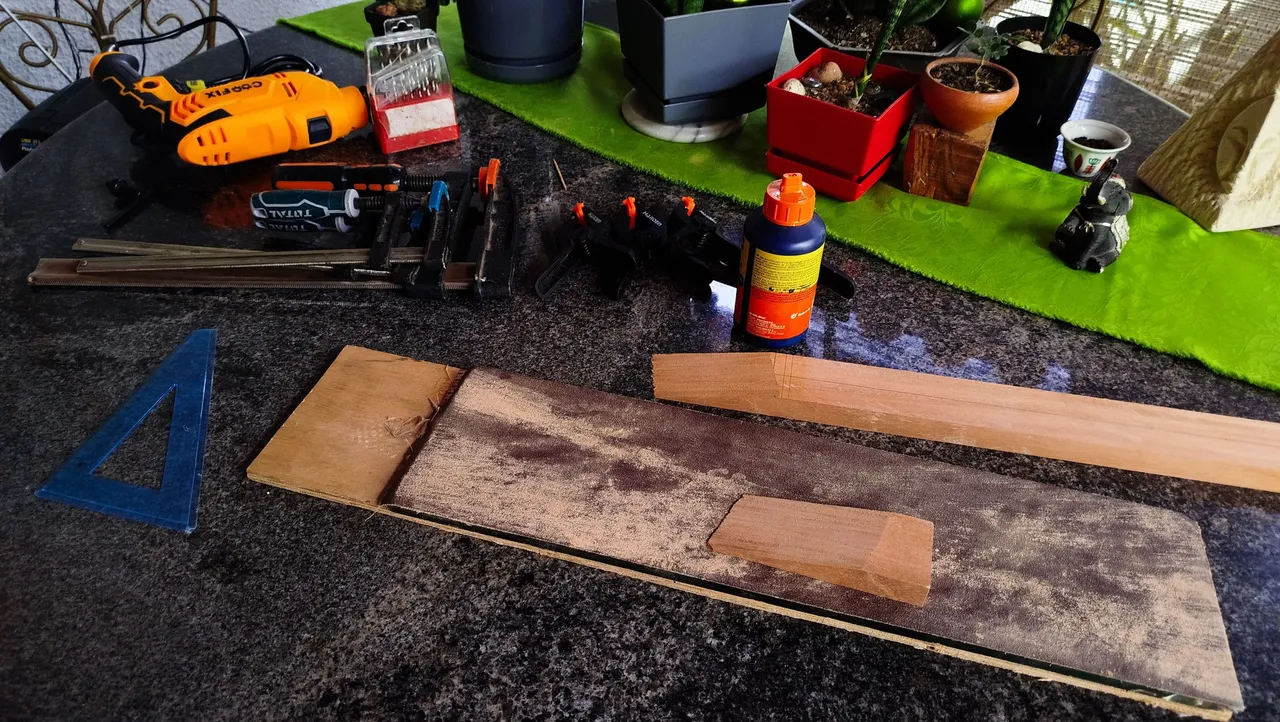
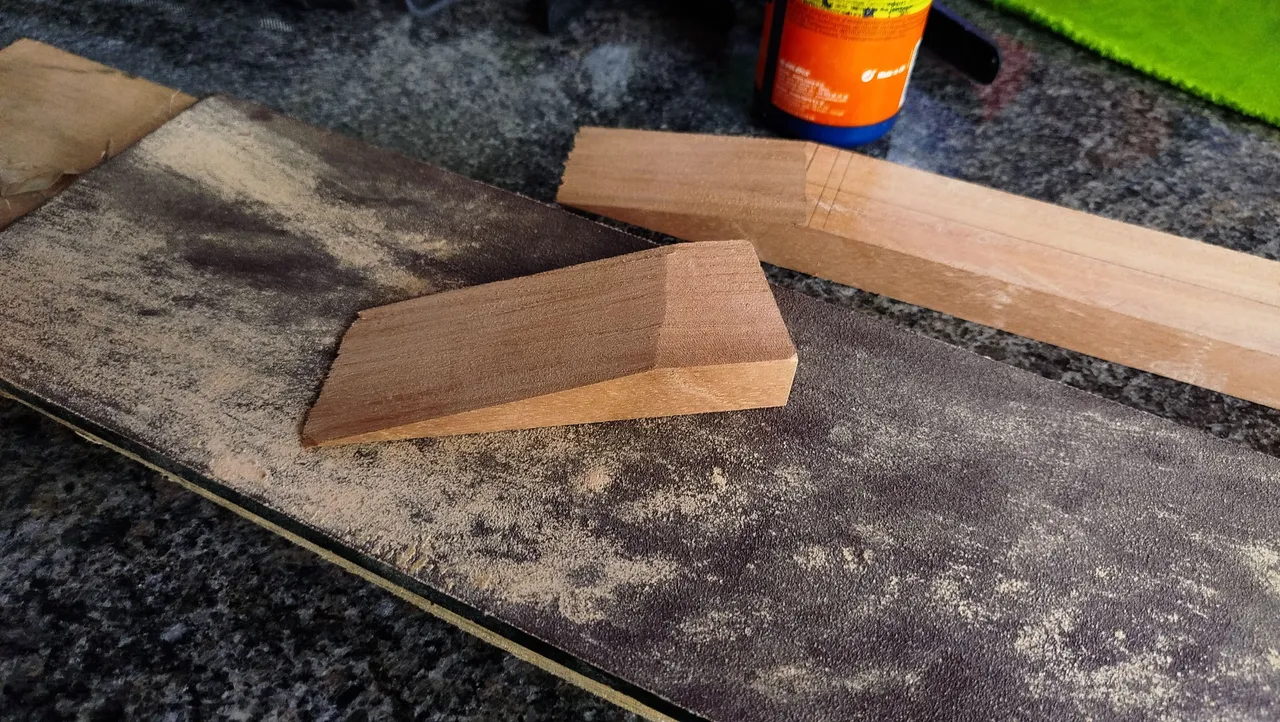
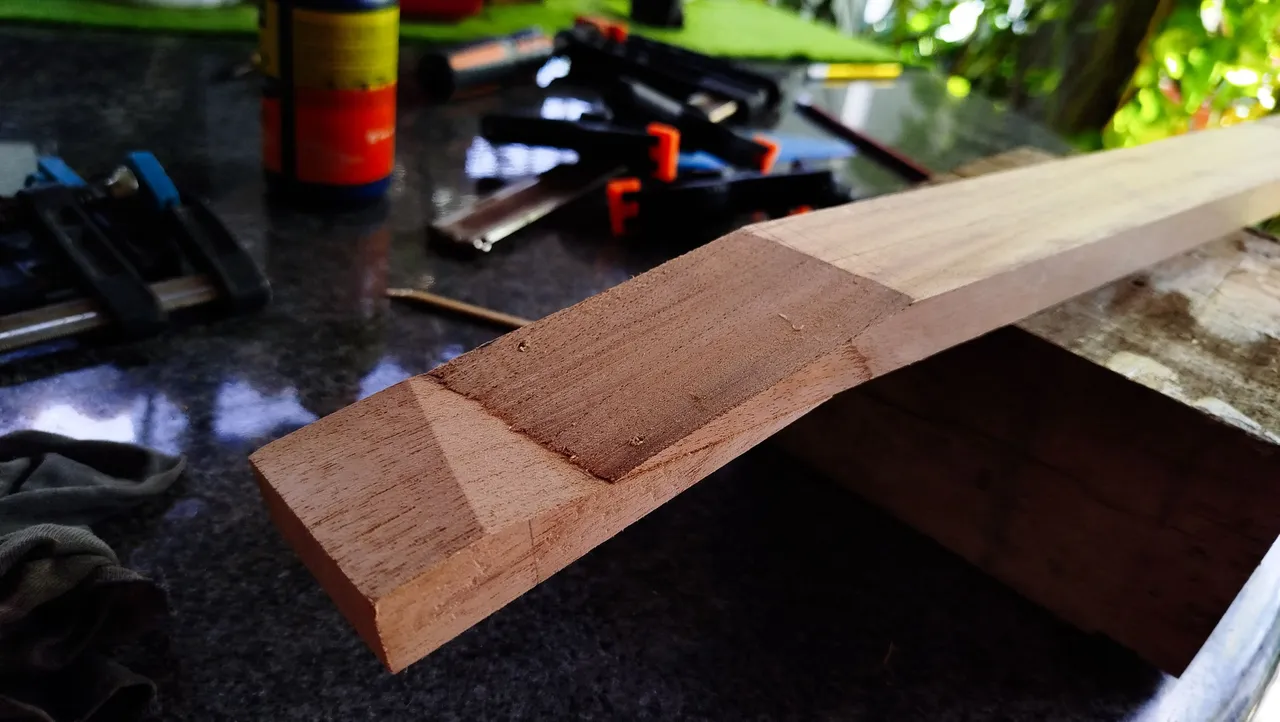
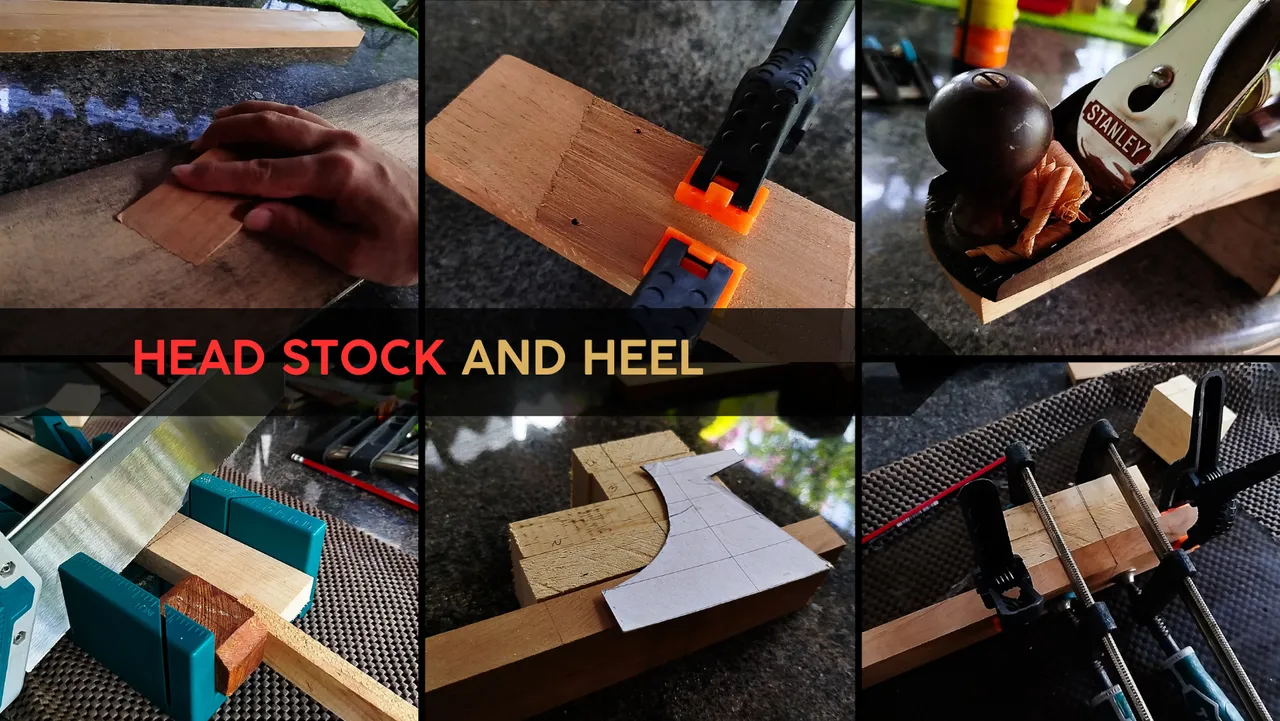
We had made the first steps of this process by flattening the faces of the neck and making this first cut. For the base of the head stock, we need to sand the small piece to then glue it to the larger one with an angle. This is one of the ways to achieve the angle of this piece that in turn will give the strings the leverage they need for tension.
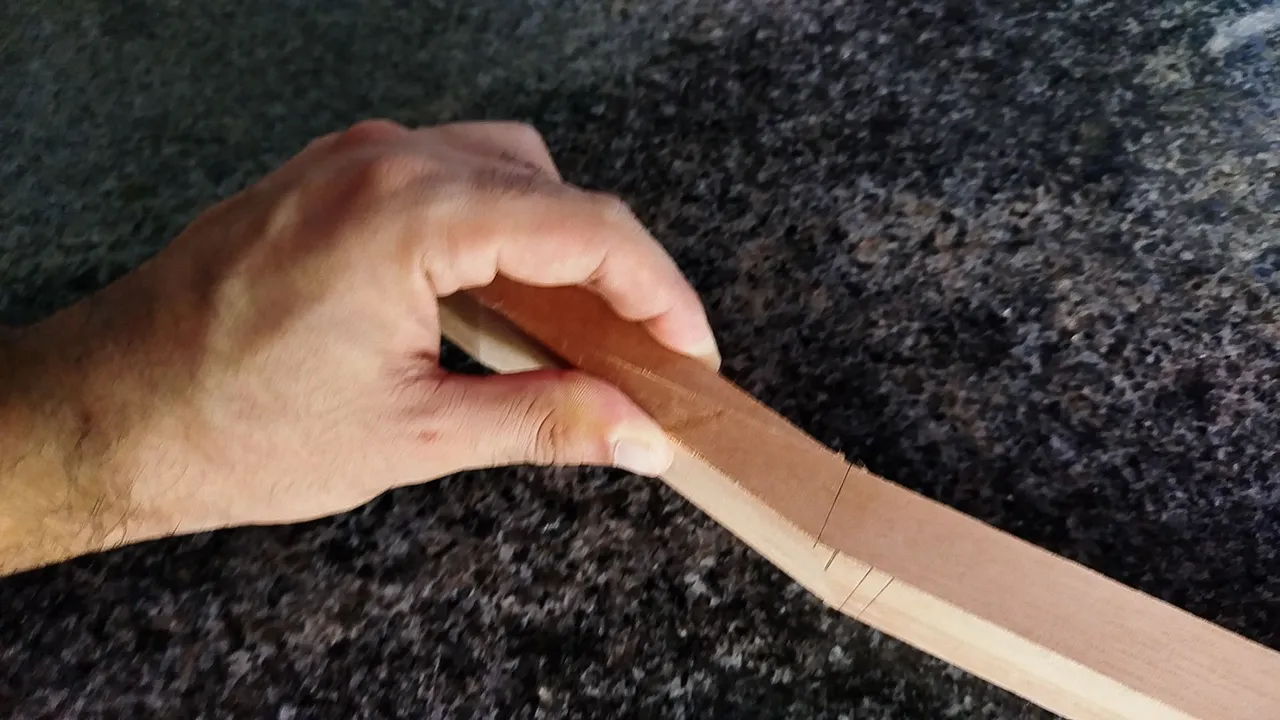
Sanding might get boring from time to time, but it amazing what can be achieved by doing it. To make sure the piece will be flush to the rest of the neck, we just need to press them together and see if we can catch the seam between the pieces of wood. When there is no seam to be seen, we are ready to go!
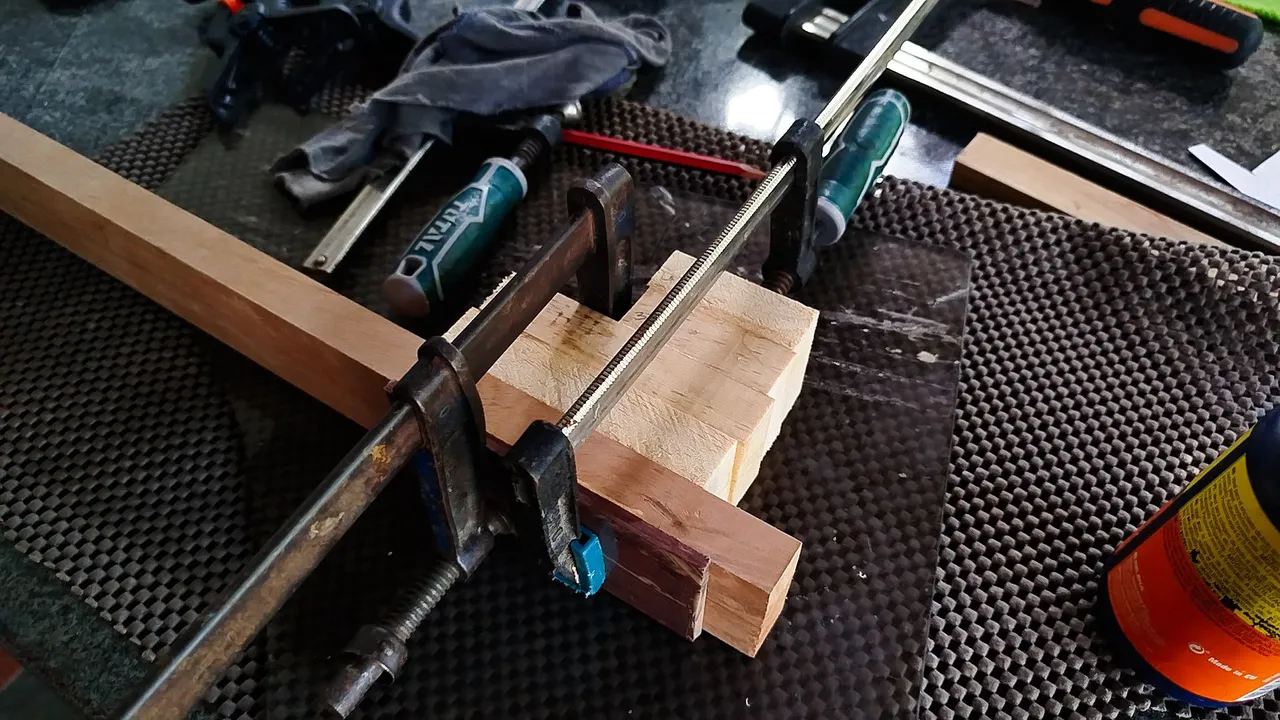
If making 16 instruments like this teaches you something, it must be that using anchors for certain things saves a lot of time. It is the combined effort of working hard and working smart. An anchor for the base of the head stock prevents it from moving when we apply pressure after the glue. Yes, glue is sticky, but only when it starts to dry. Before that, piece can move and alignment get broken.
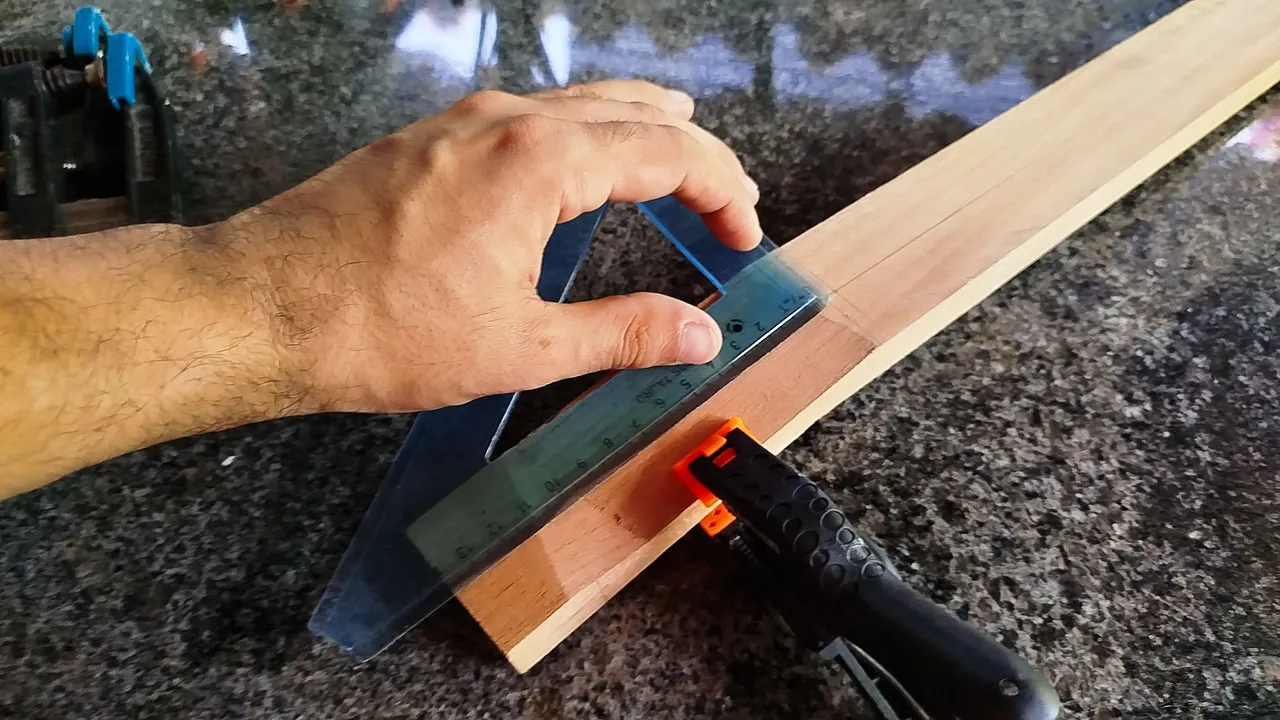
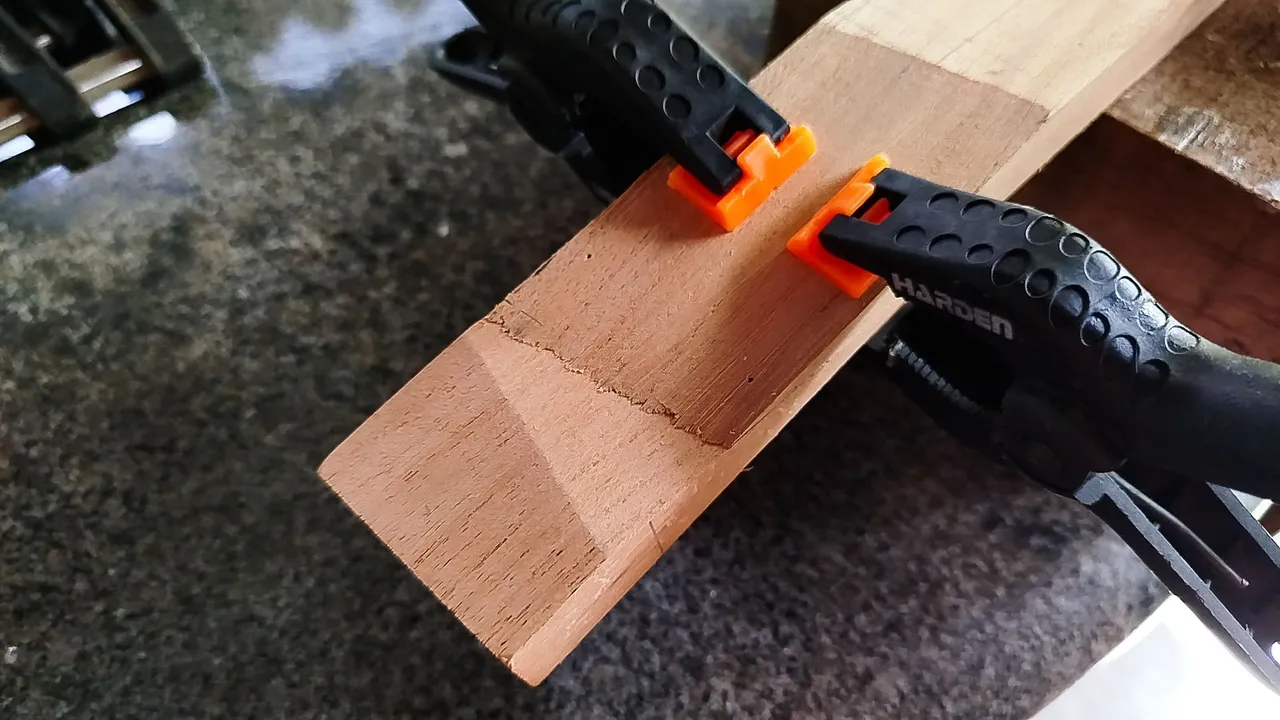
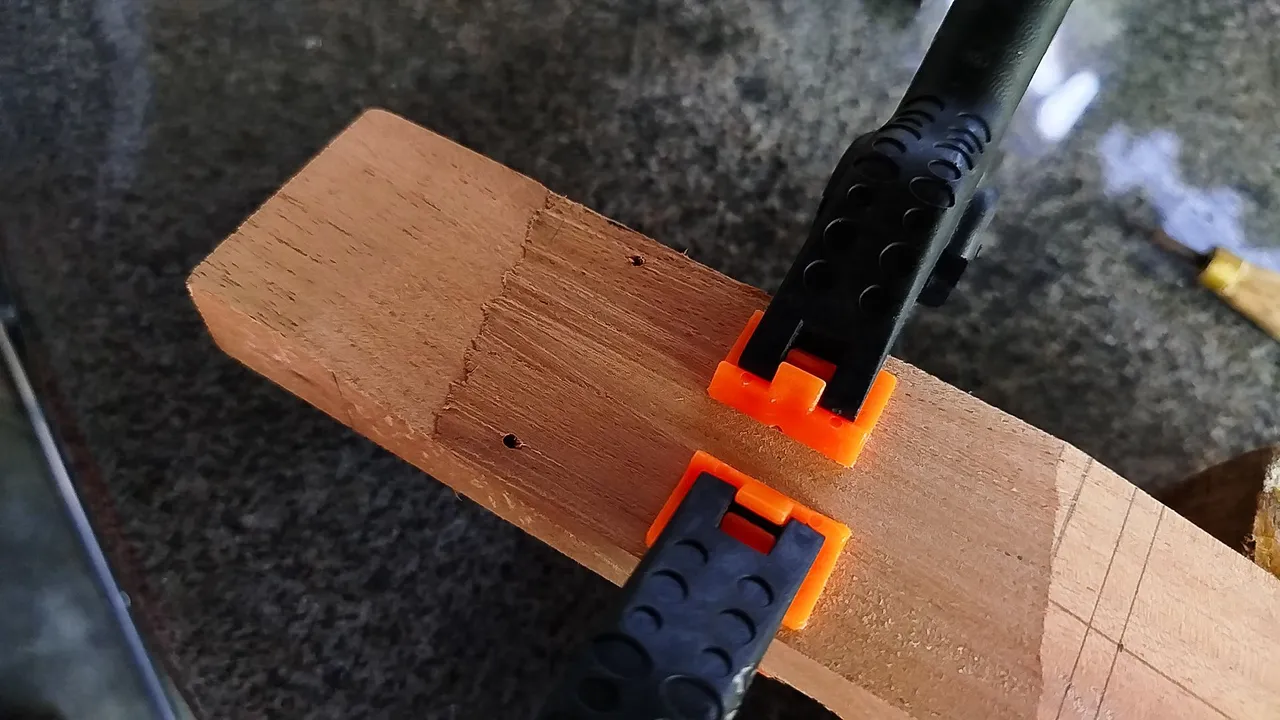
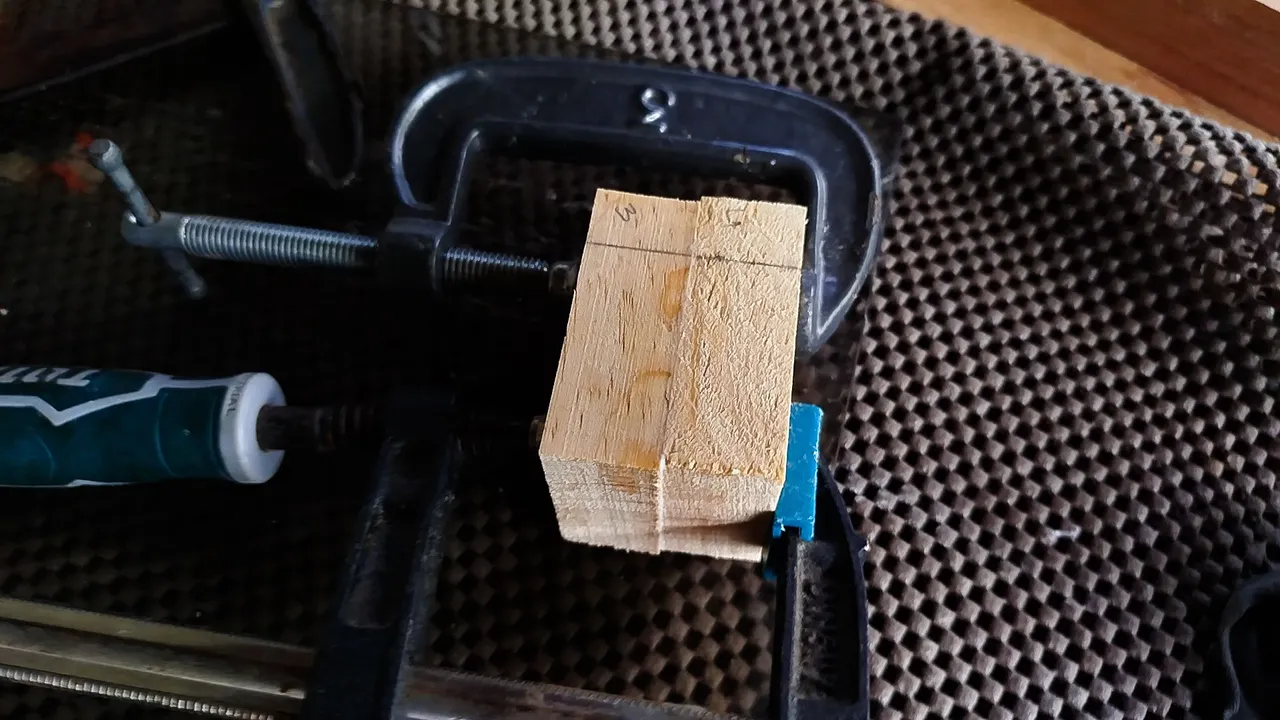
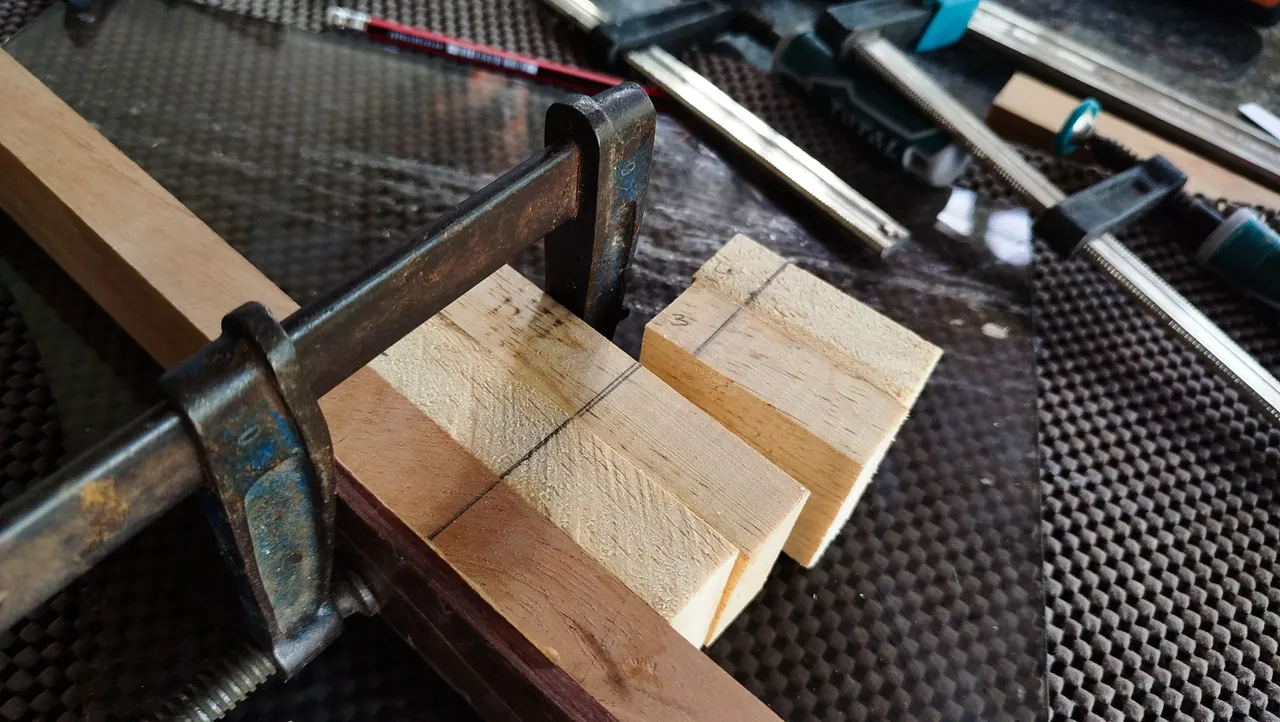
So, we need measure the total length we need for the head stock. We can use some clamps to hold the pieces together. This is called a dry fit. It is a good way to make sure how things will look before applying the glue. After this, we can make marks for the 2 holes. Then, we drill the holes. We can use something like a toothpick as anchor. It doesn't have to be crazy strong. Just holding in place the pieces is enough. We get then anchors in place and apply the glue. Lastly, we place the second piece and then clamp everything together. It is just a matter of time for it stick together.
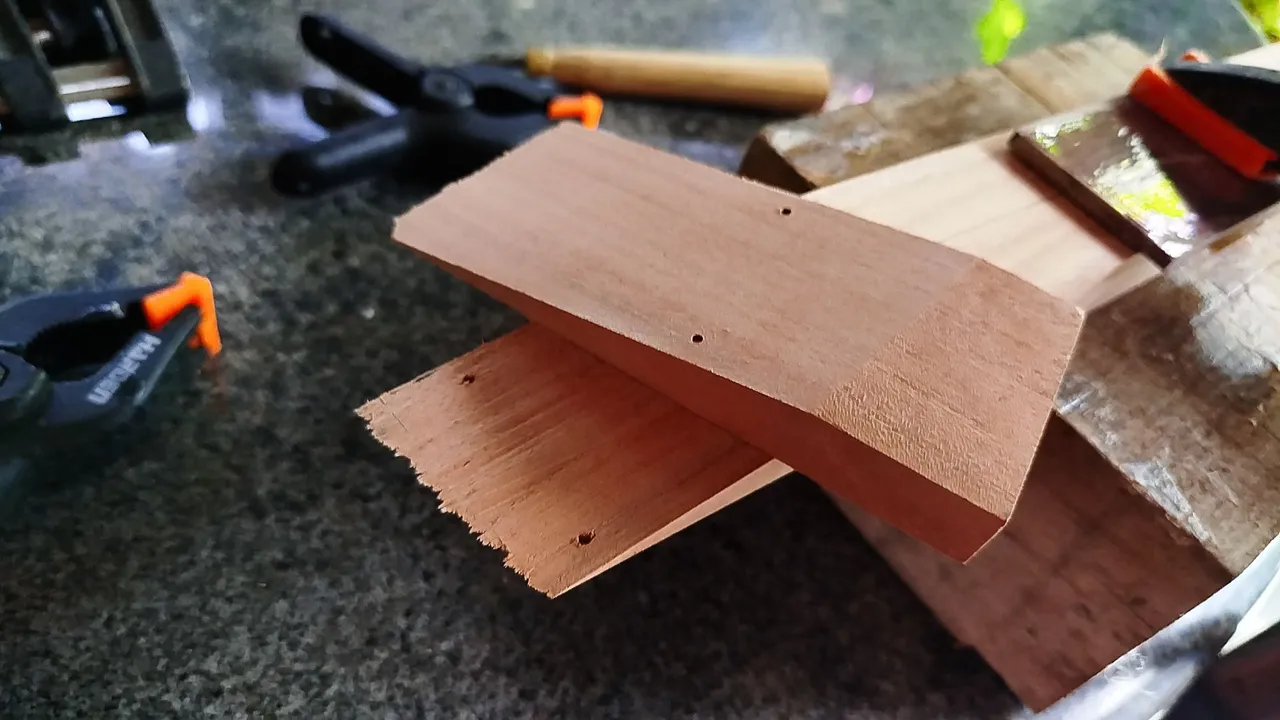
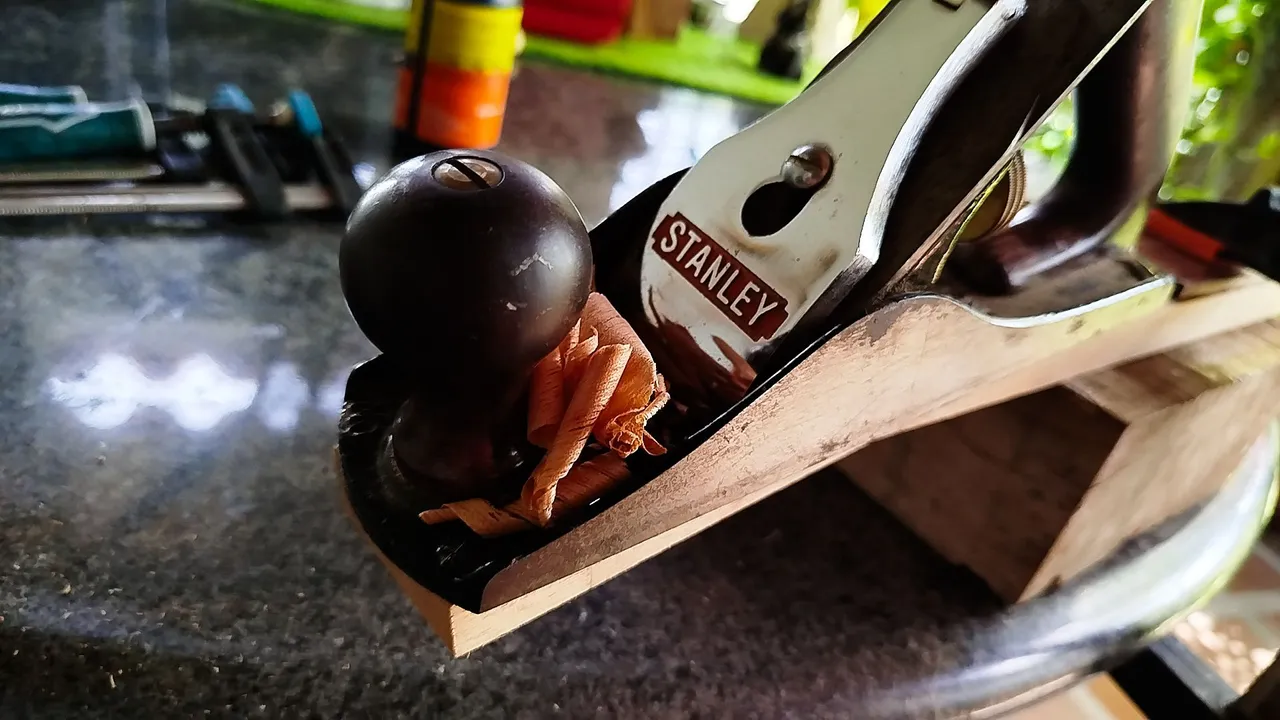
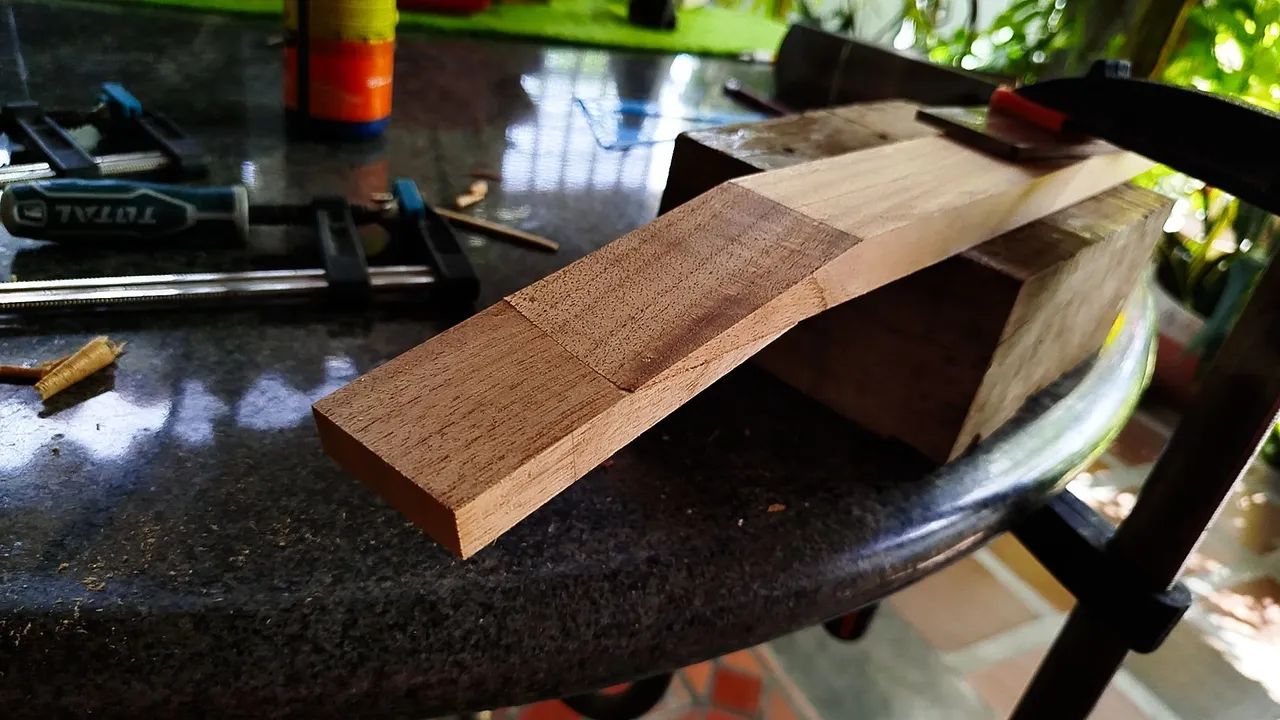
Once we have waited enough time, we can use a hand plane to make the front face of the head stock flat. And thus. we have this first part ready for work.
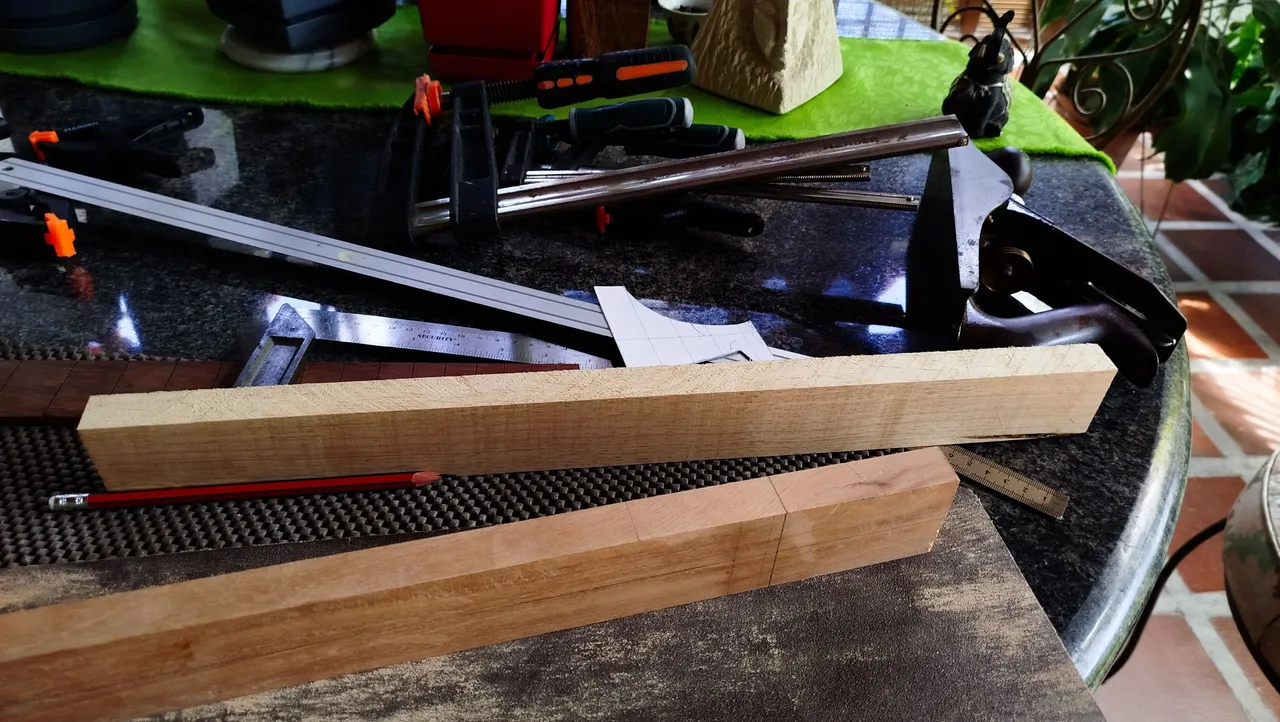
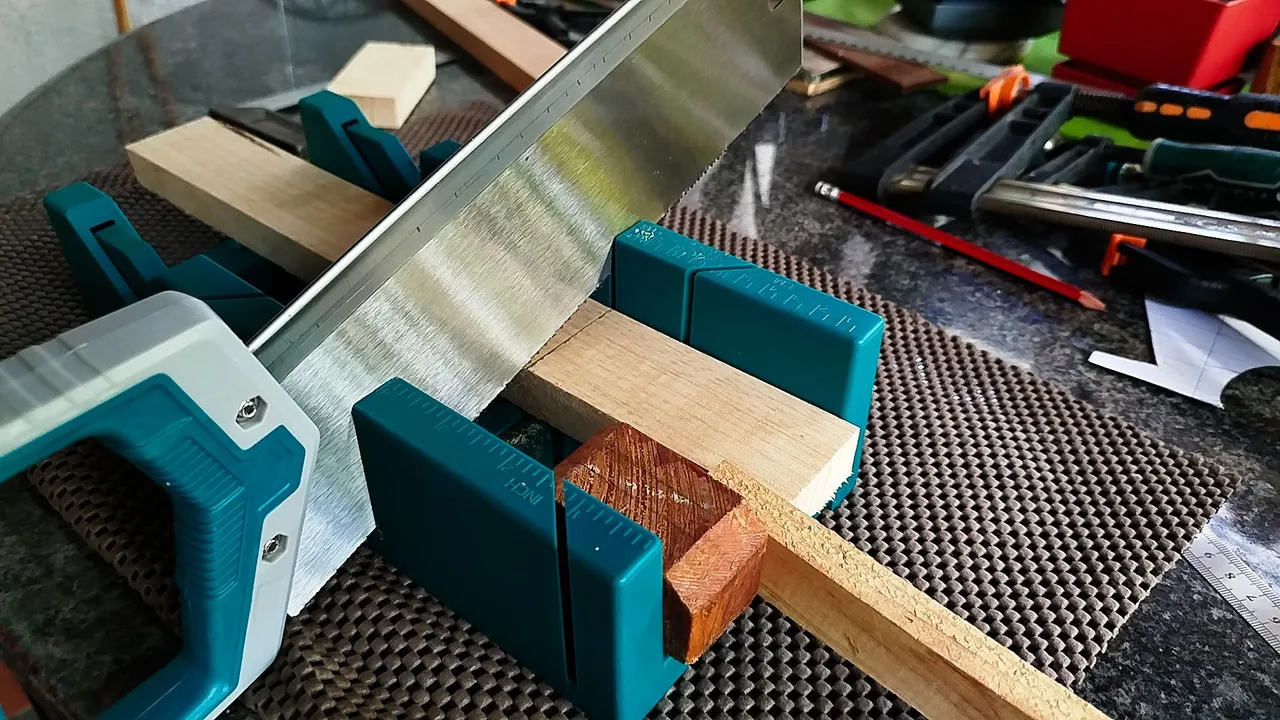
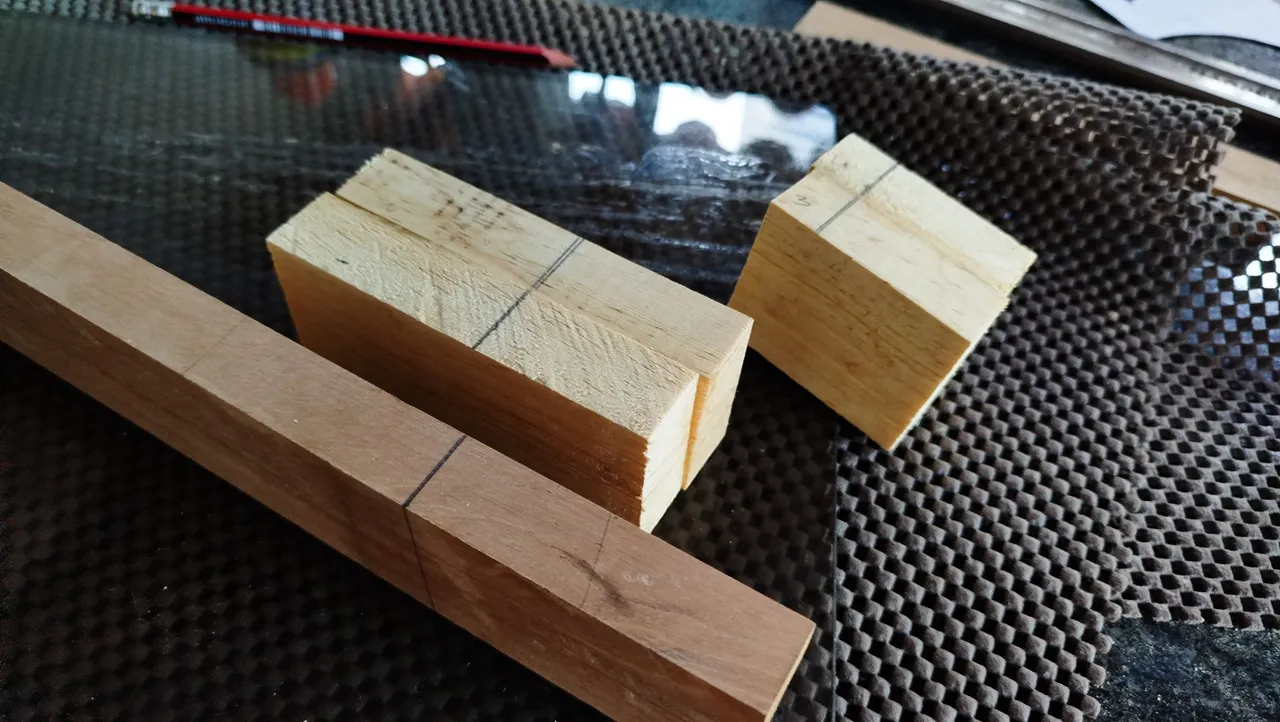
Before finishing the head stock, we need to address the heel. This goes on the opposite end of the neck and is where the pieces of the body come together. It can be made with a single piece of wood or several. We're going with the latter in this case. We need to cut some pieces of pine. Yes, there wasn't more cedar for this, but mixing woods is an interesting aesthetic choice.
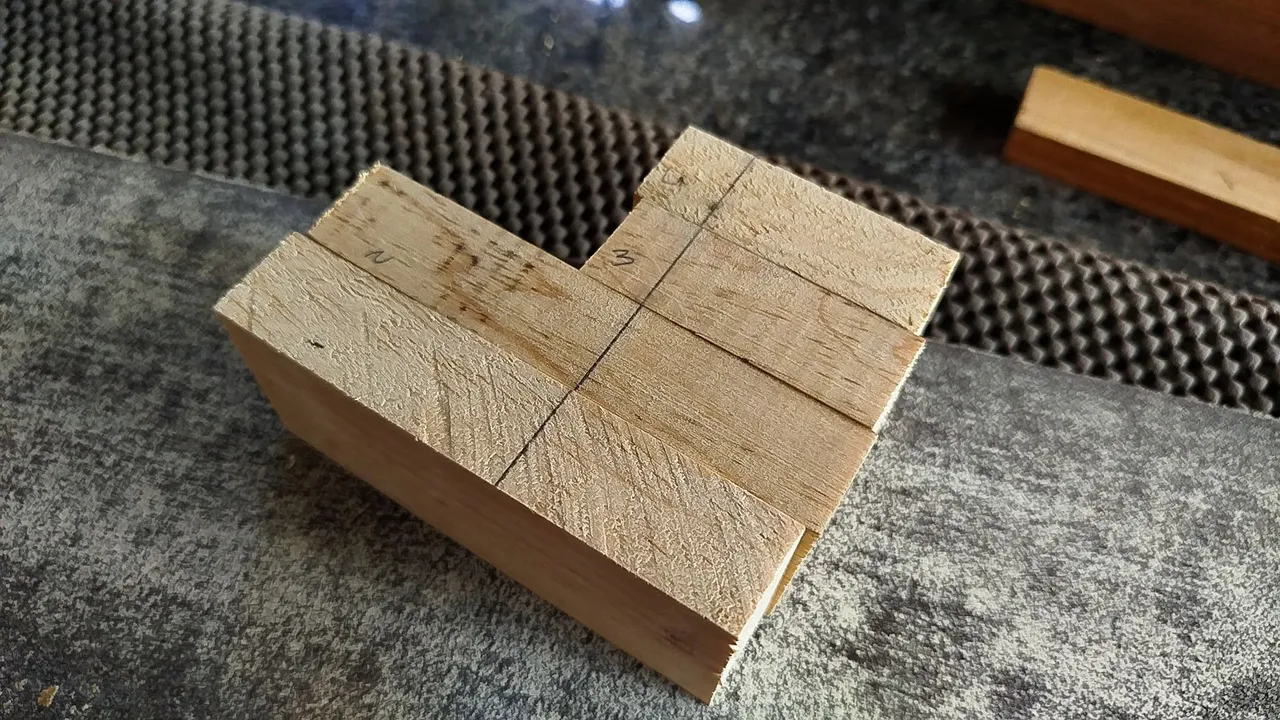
Once we have the blocks for the heel, we need to align them. For that we have a template. The idea is to make a line of top of the pieces that goes across all of them. This will help gluing them afterwards. We can also mark each piece with a number to remember the position they need to be.
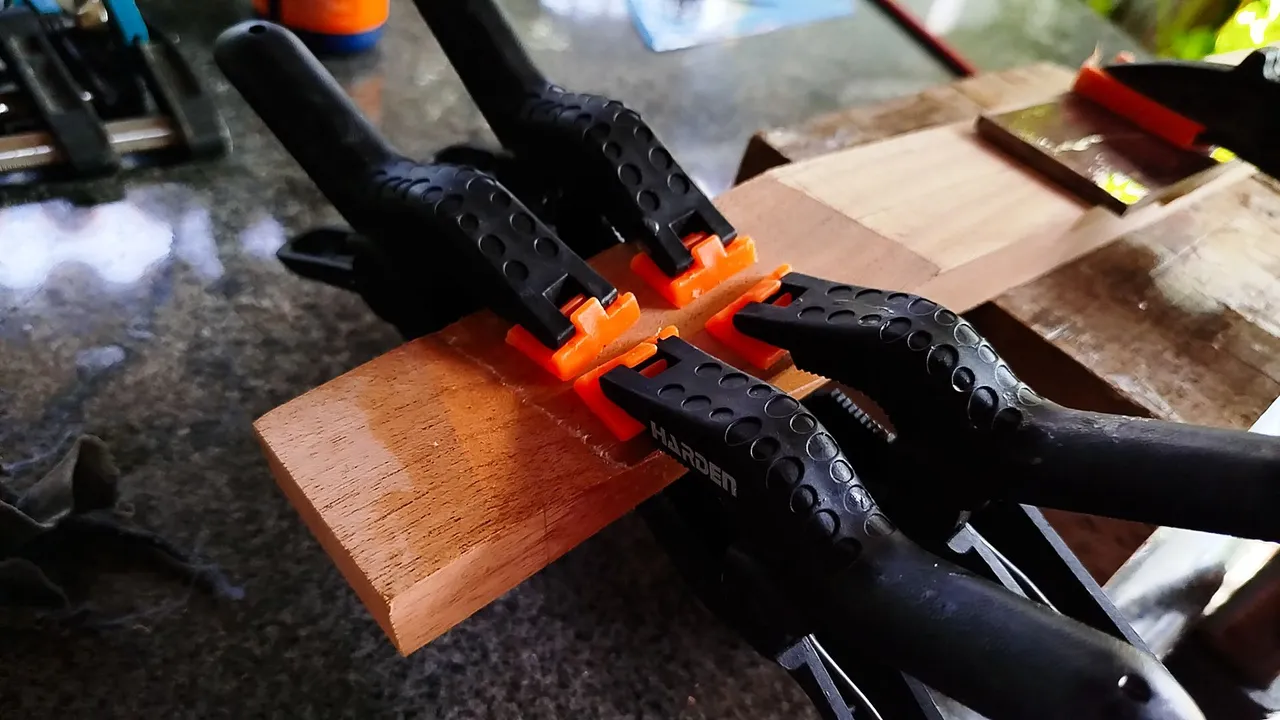
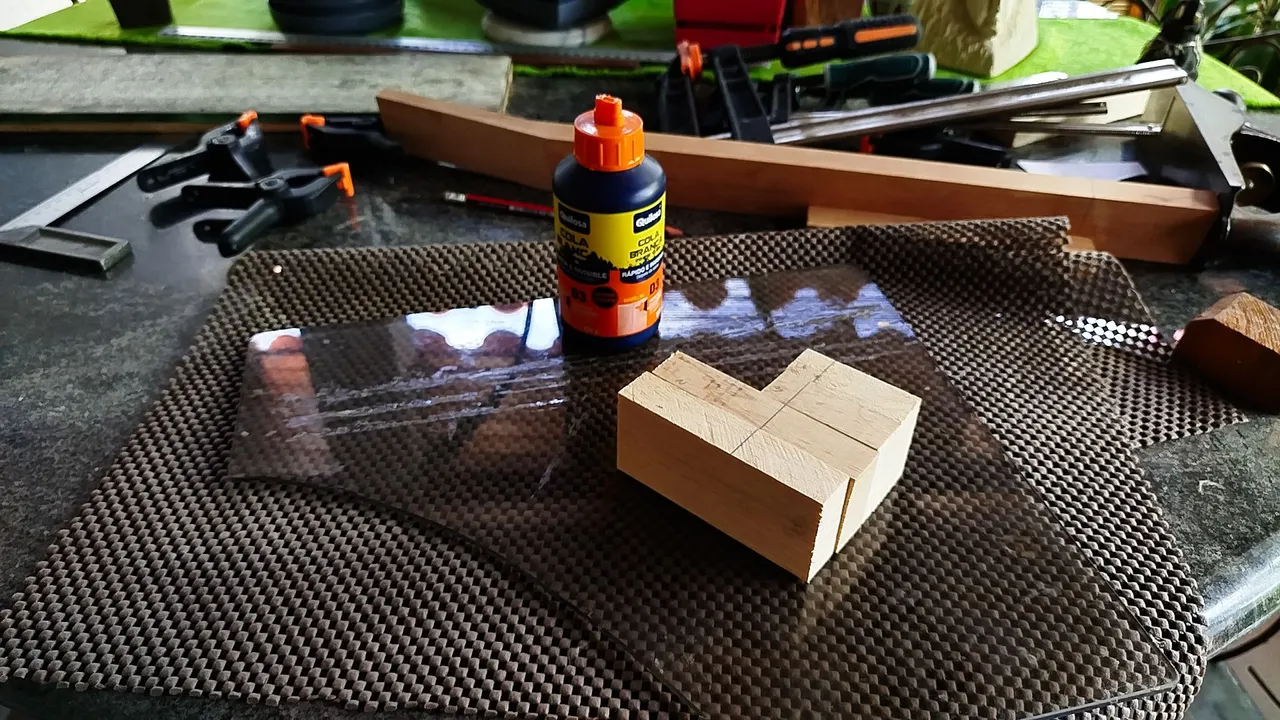
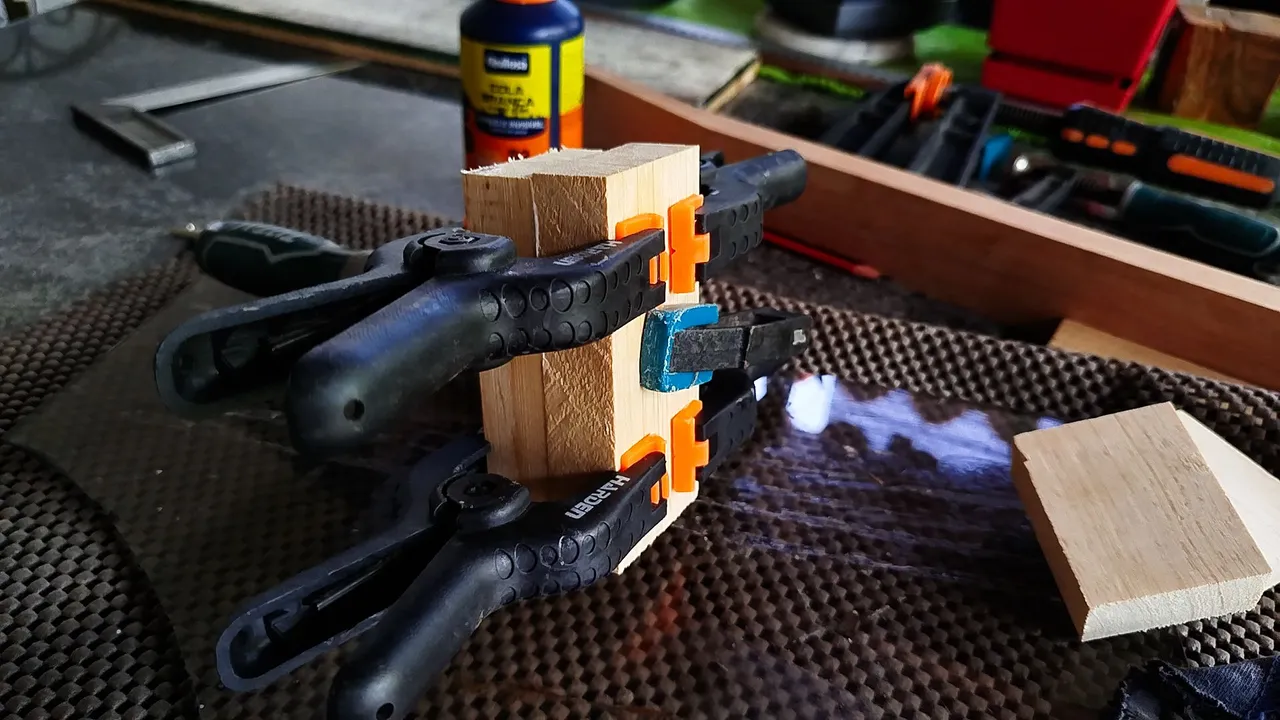
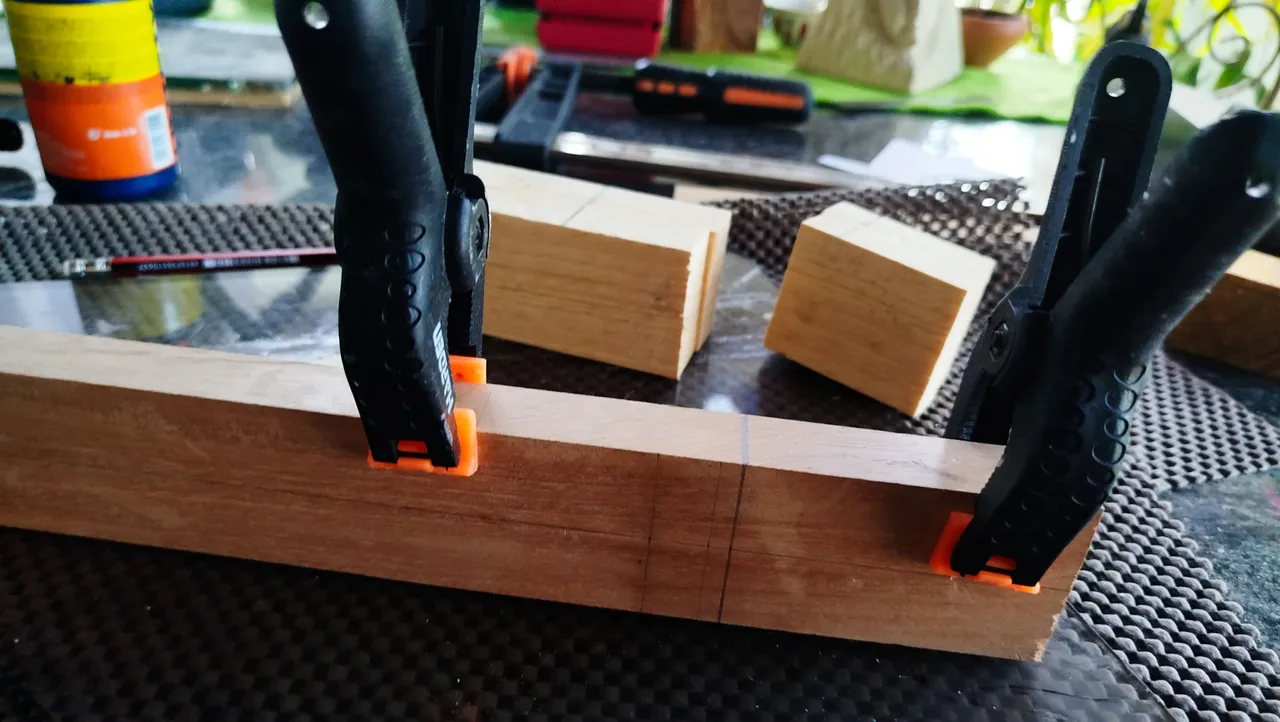
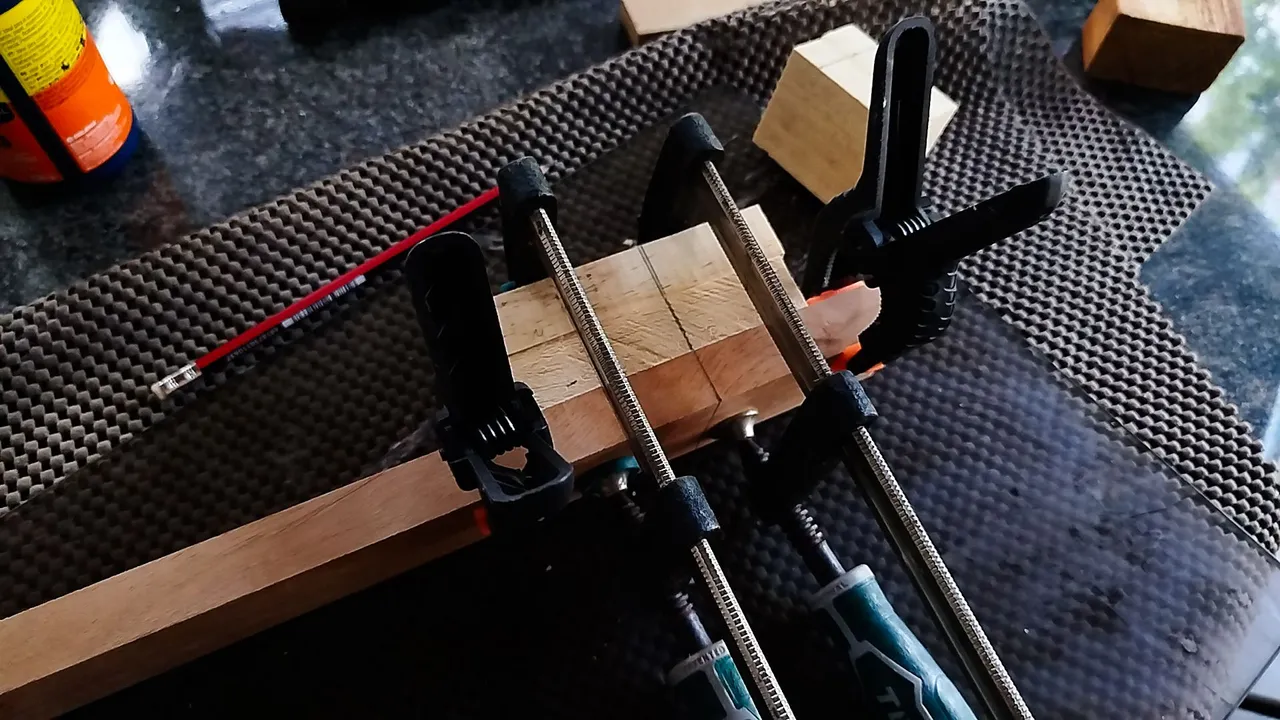
After sanding the faces that will be glued together, we can start this process. To make sure we don't miss the lines, we glue two pieces at a time. And like that we glue them to the neck. Here, we can use another trick. If we use clamps to limit the movement of the pieces, the glue up won't give any problems. That's why there are extra clamps in that part of the process.
Then it is just a thing of letting glue do its thing and we're done for the moment. Next time, we'll get to carve the heel and then give the neck some trimming before finishing the head stock.
Thanks for reading! See you next time!
Fotos/Photos 📷: taken by me (Redmi Note 13)
Portada/Thumbnail 🖼️: by me, created with Canva.
Edición/Editing 🎬: by me, made with Adobe Photoshop Lightroom.

Follow me on Instagram for enquires and commission.
If you'd like to help the workshop grow, you can make a donation here. You can find me at discord as bertrayo#1763