
Time to get back to the workbench and hit another milestone on this build. Last time we got to see it, we had just finished working the structure of the head stock and glued the veneer. Now, we're just missing the shape of the head stock and holes for the tuners. On this entry, we'll get onto that and then jump to another piece so we can finally start assembling the instrument.
Let's jump right to it!
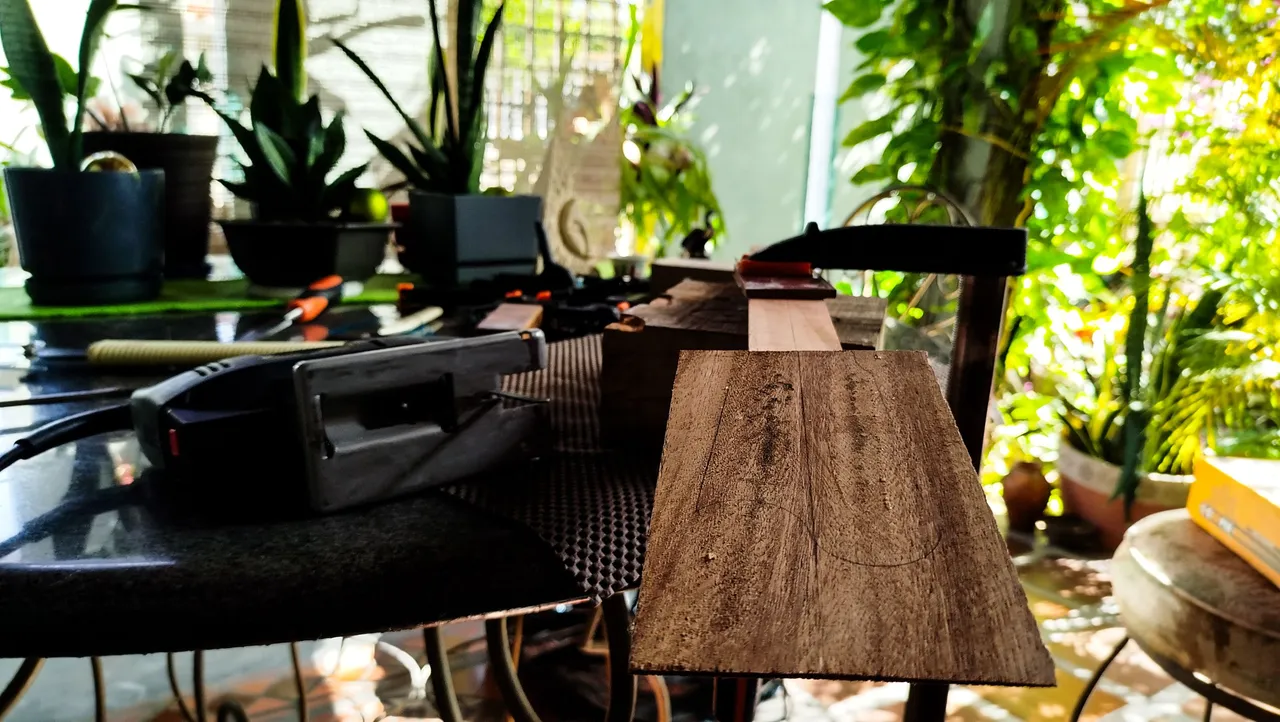
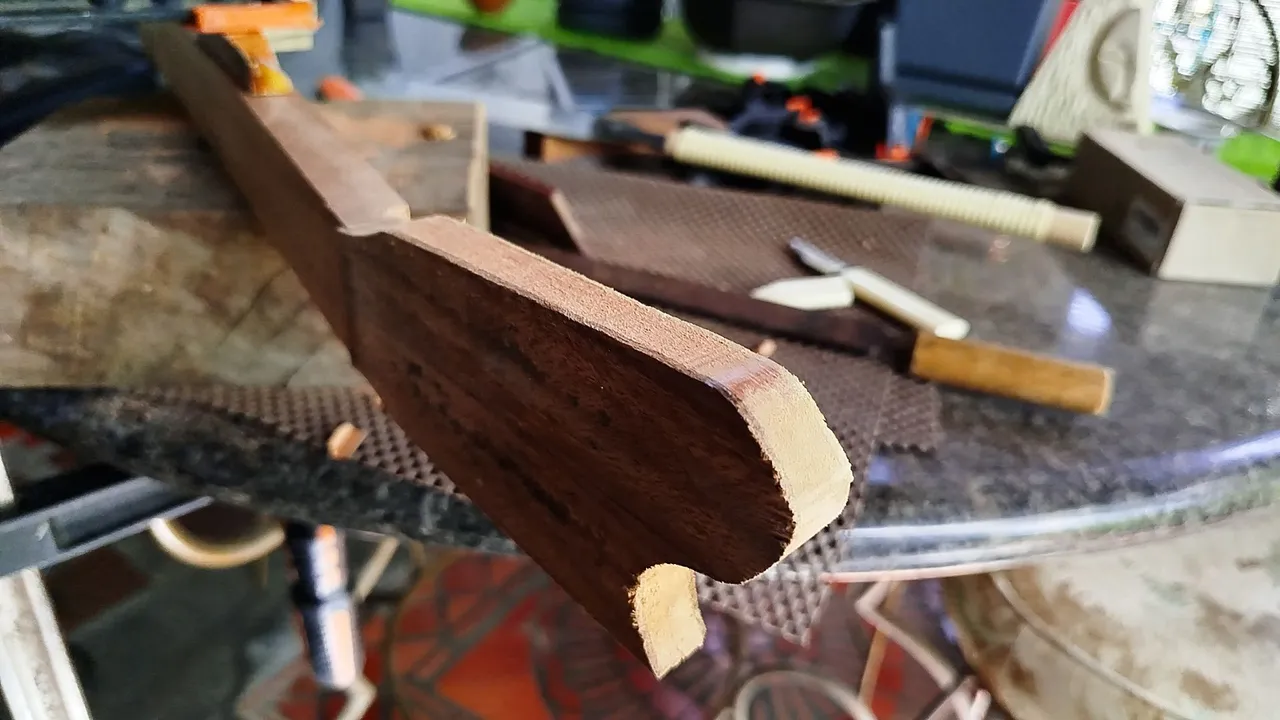
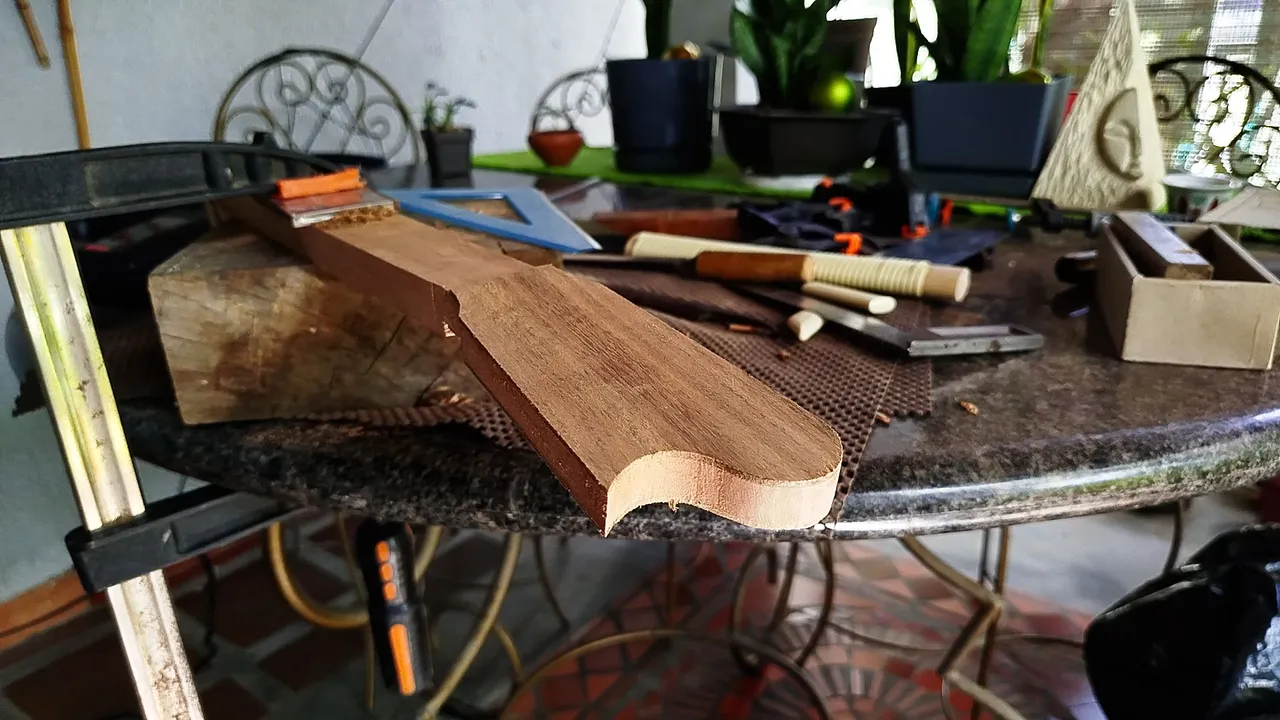
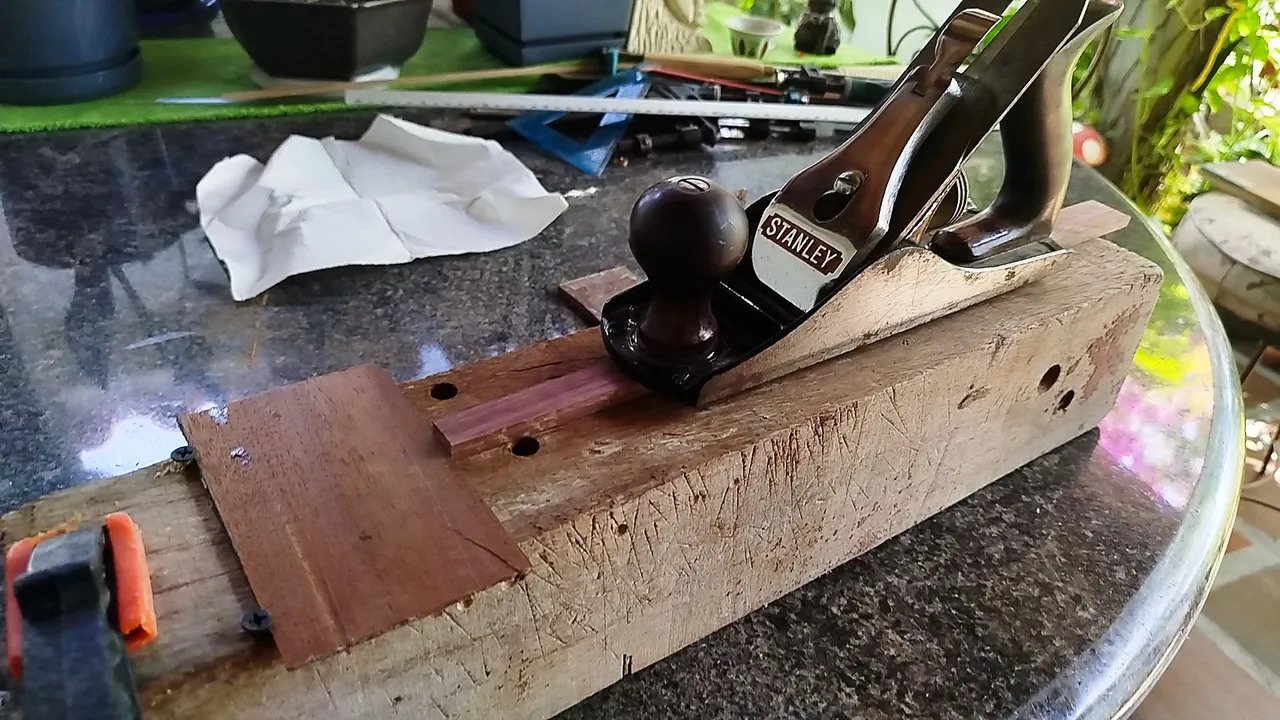
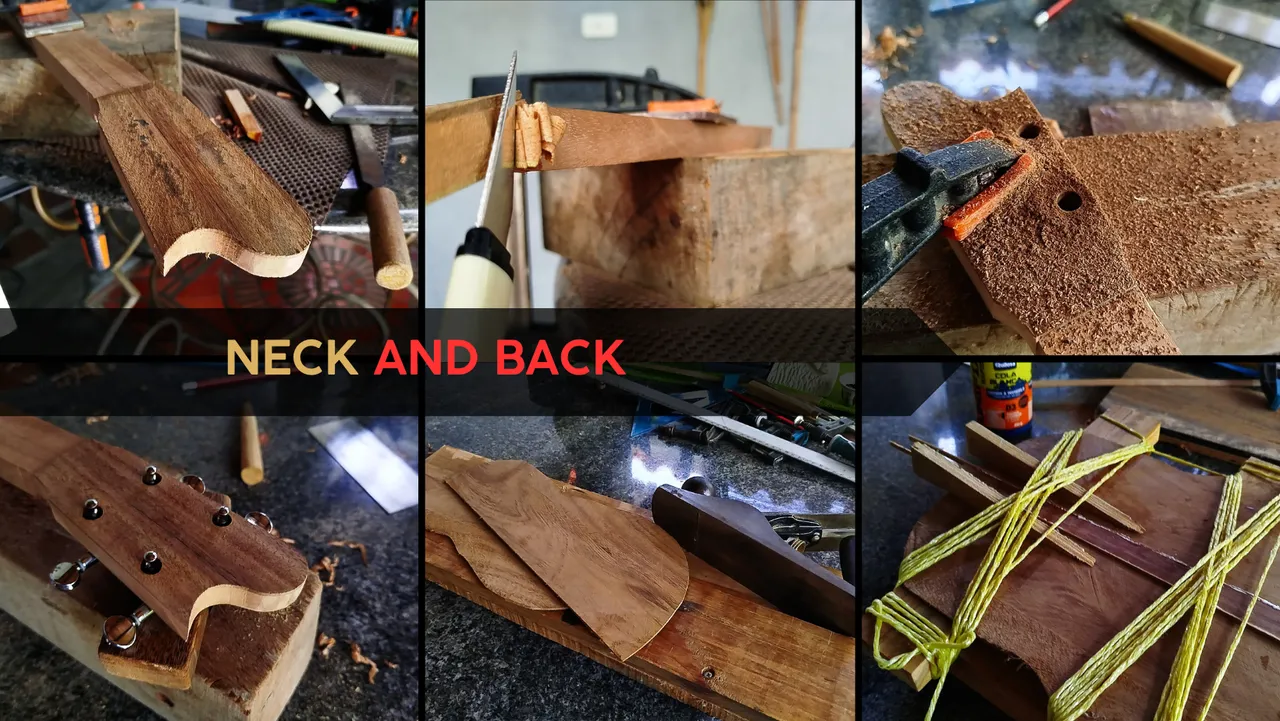
Now that the veneer is in place, we can start cutting the shape of the head stock. This is my design. To get some rough work out of the way, we use a jigsaw and make cuts near to the lines we have drawn for guidance. Getting close to them is a good way to then finish the job with hand tools. You can always remove material. Adding material is somewhat troublesome.
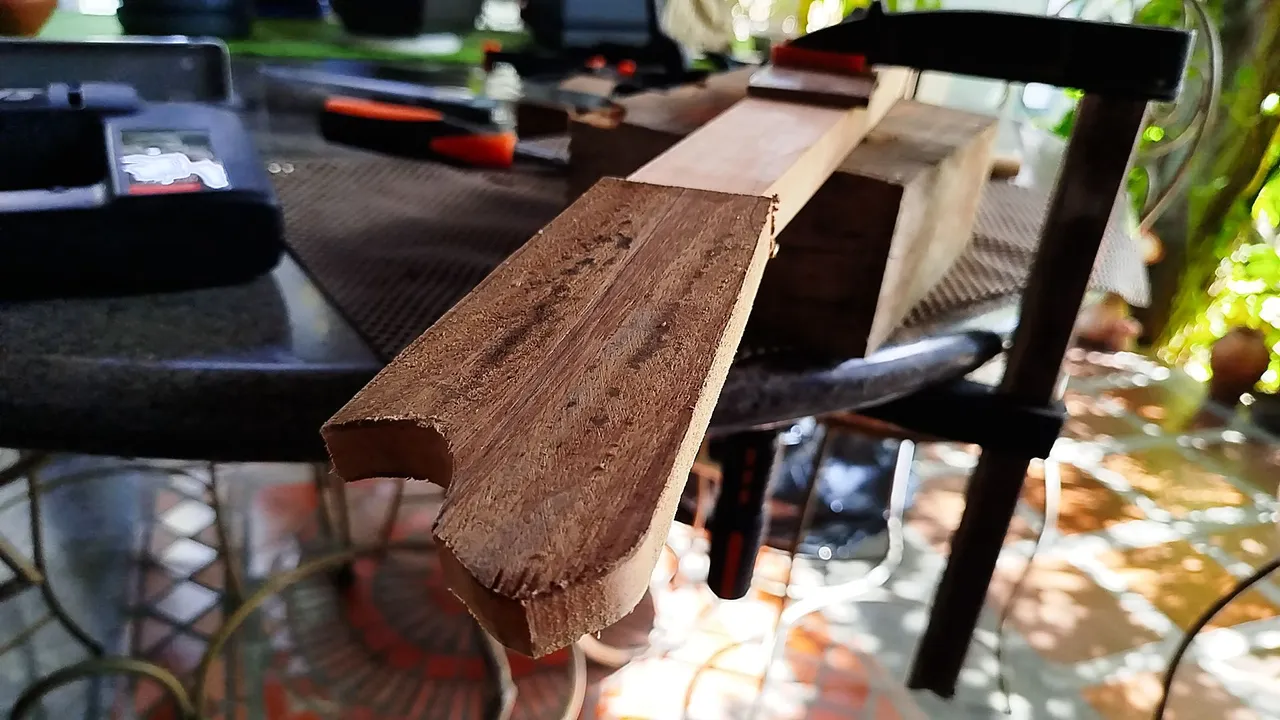
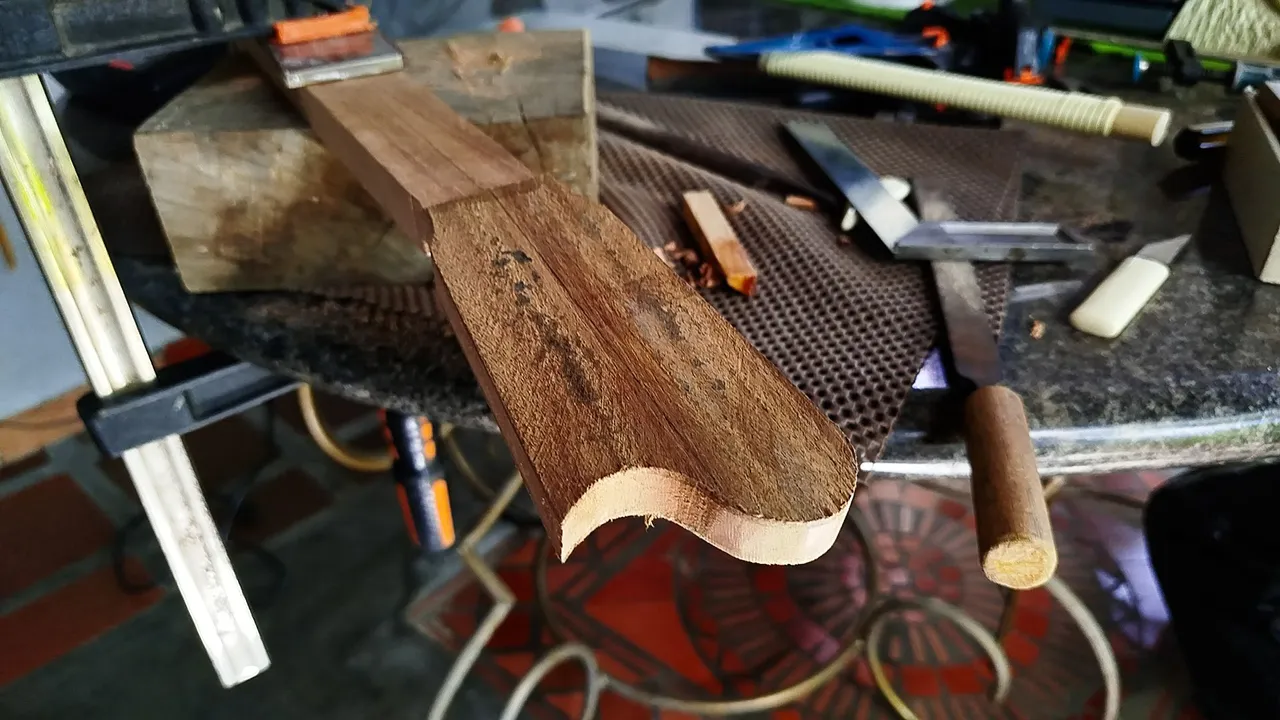
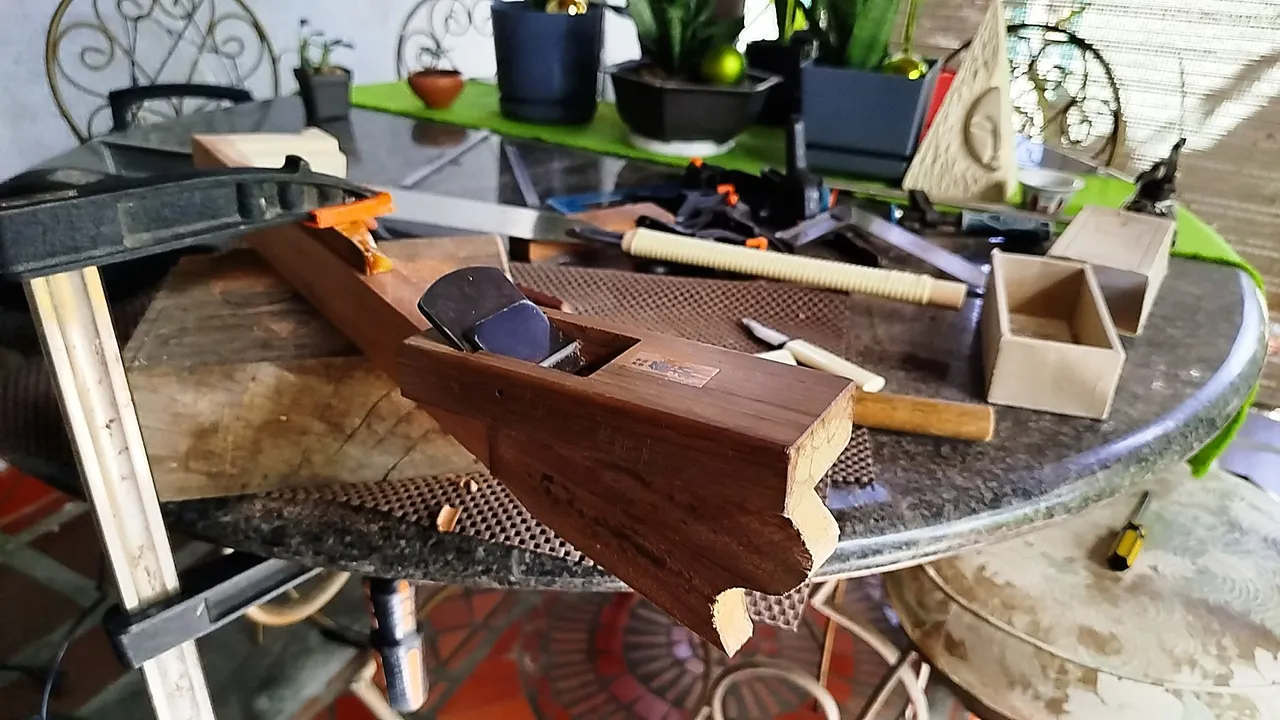
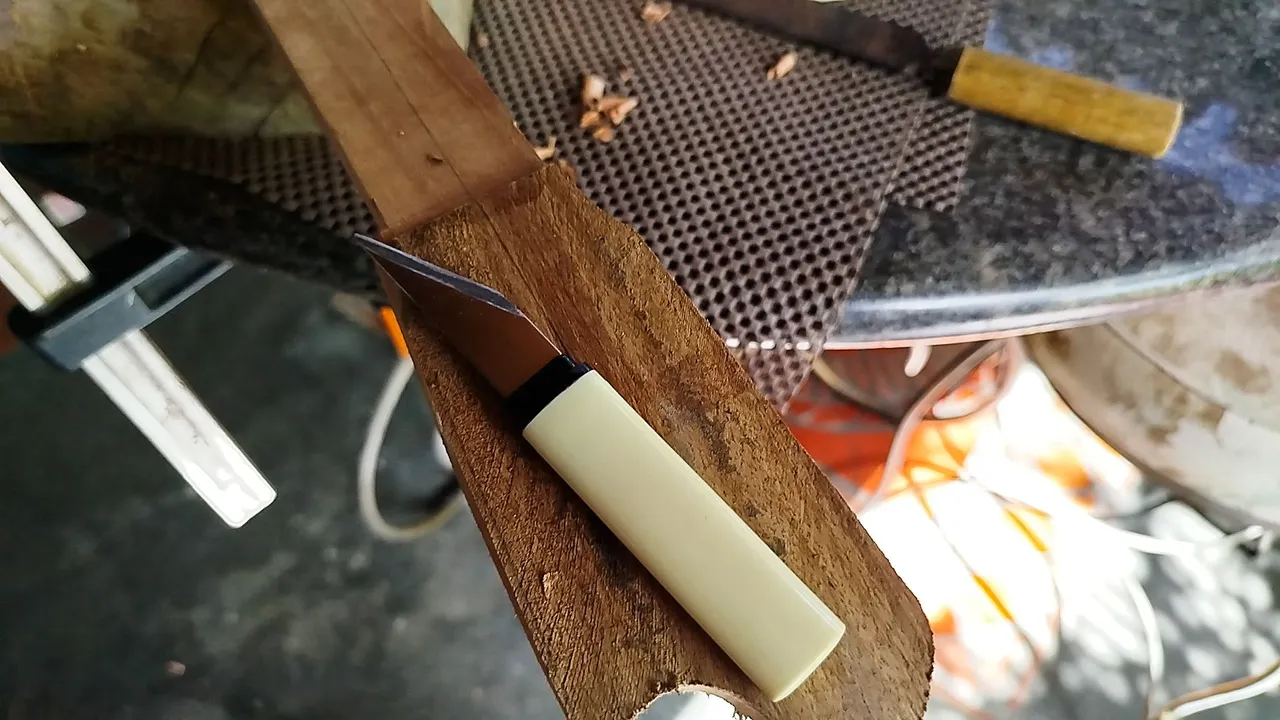
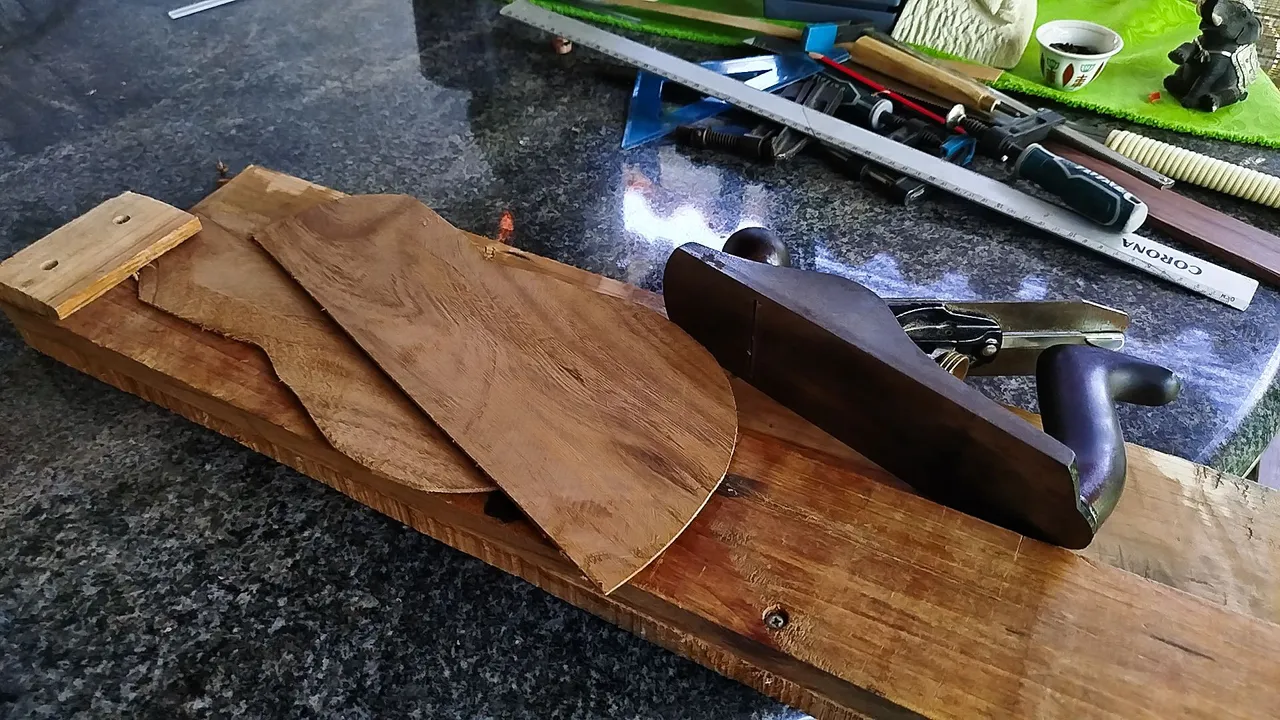
The jigsaw also helps us make the curve cuts easily. It is a tool designed for such a purpose. Once we have the rough shape, we change to the hand plane to make the sides flush. The rest of the job is carving be it by knife, which is really good for the curves that come from the neck, and a file, which helps us finish the curves we had cut.
In a matter of some minutes working with patience, we have a nice shape. We can even sand it on the top to make it look smooth!
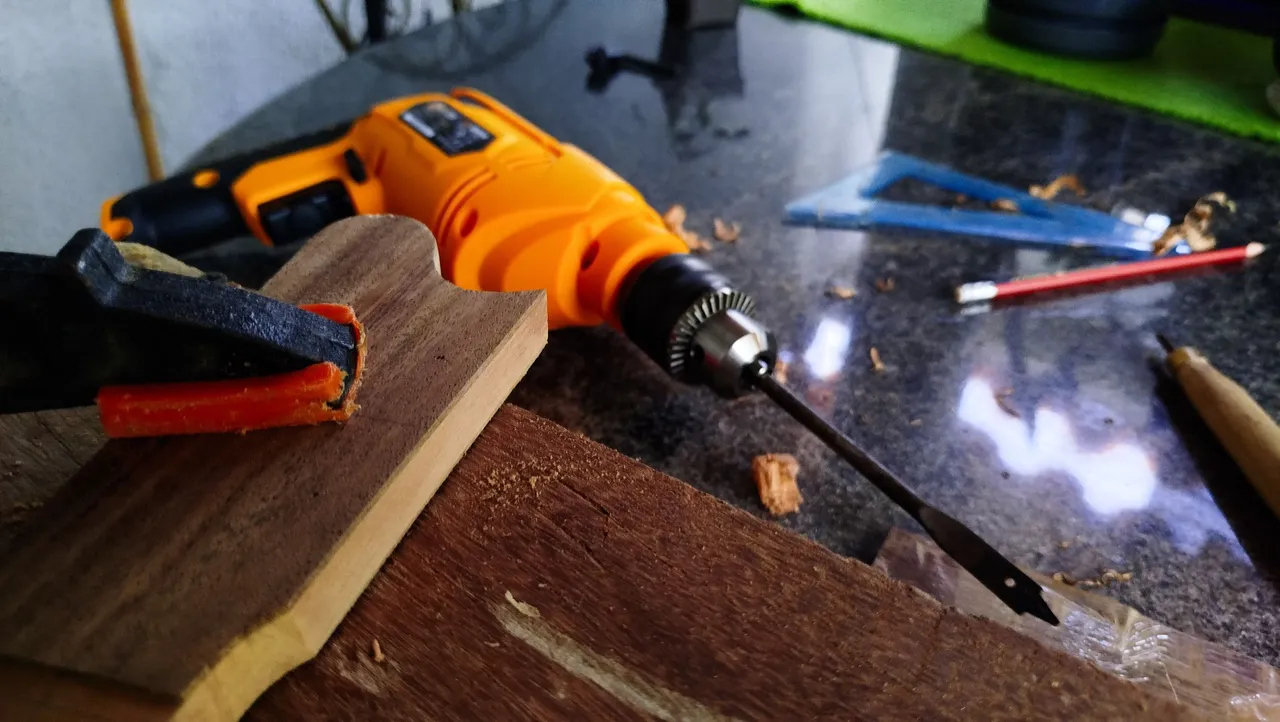
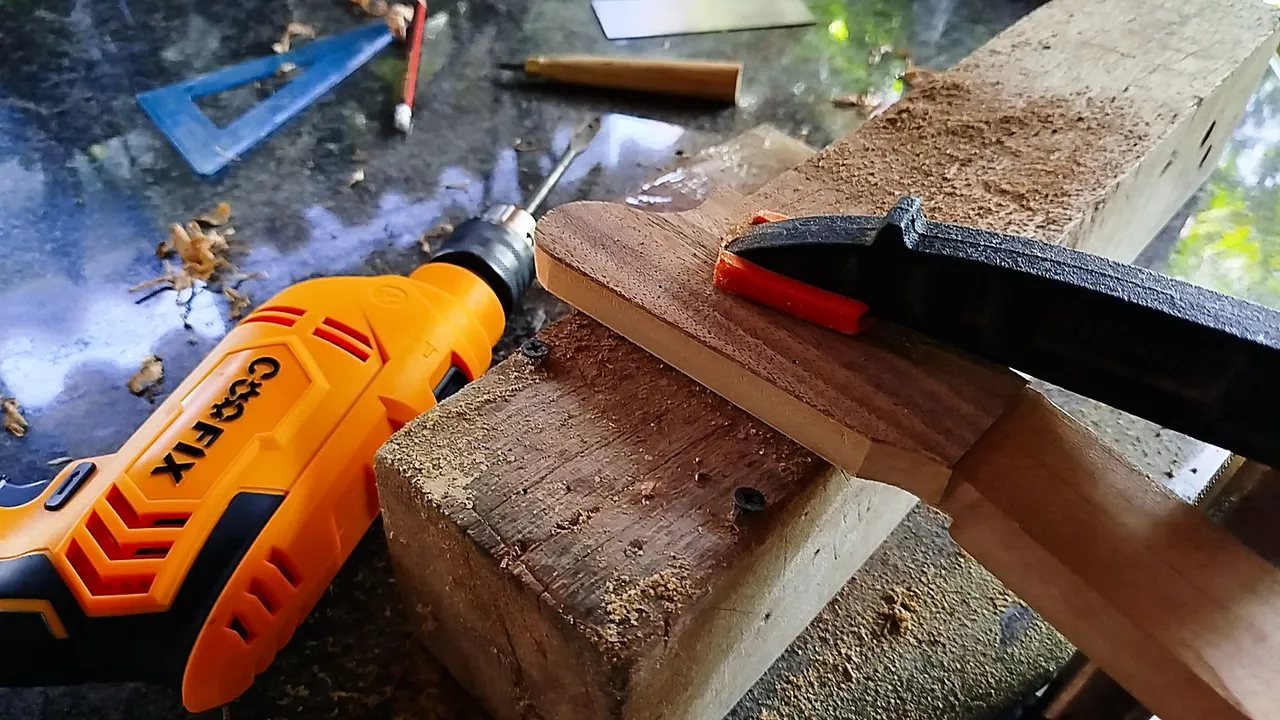
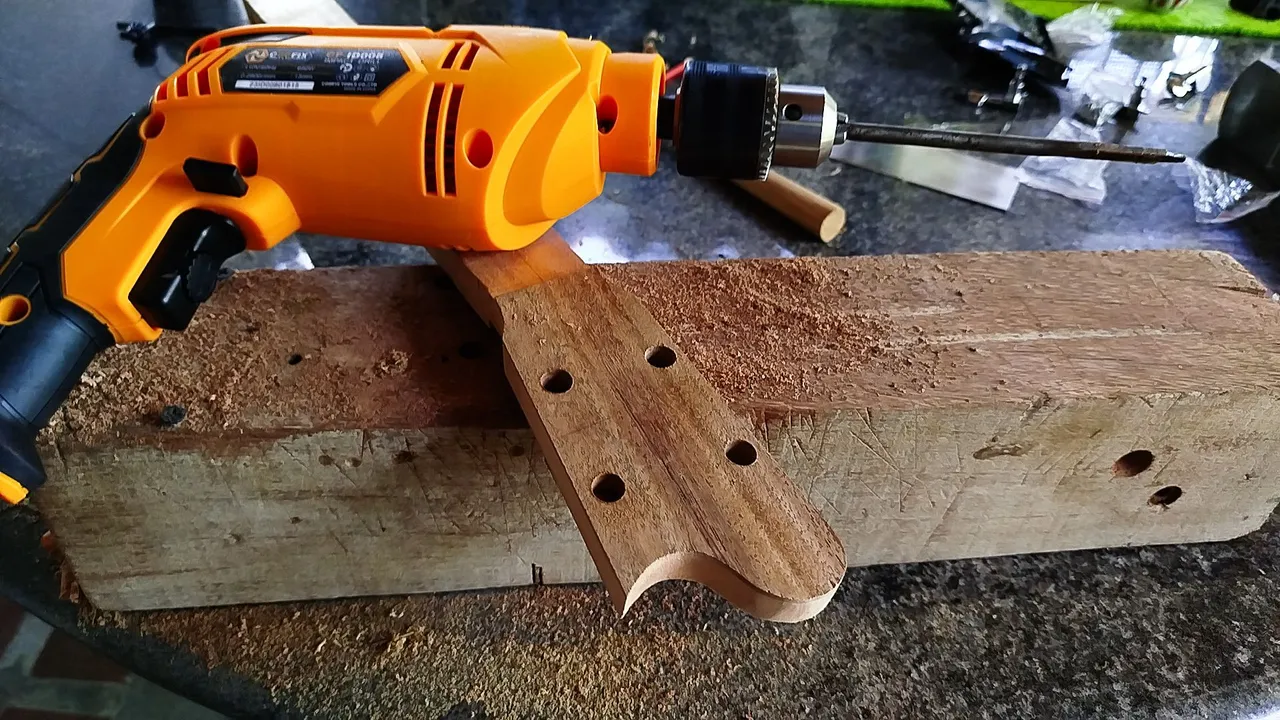
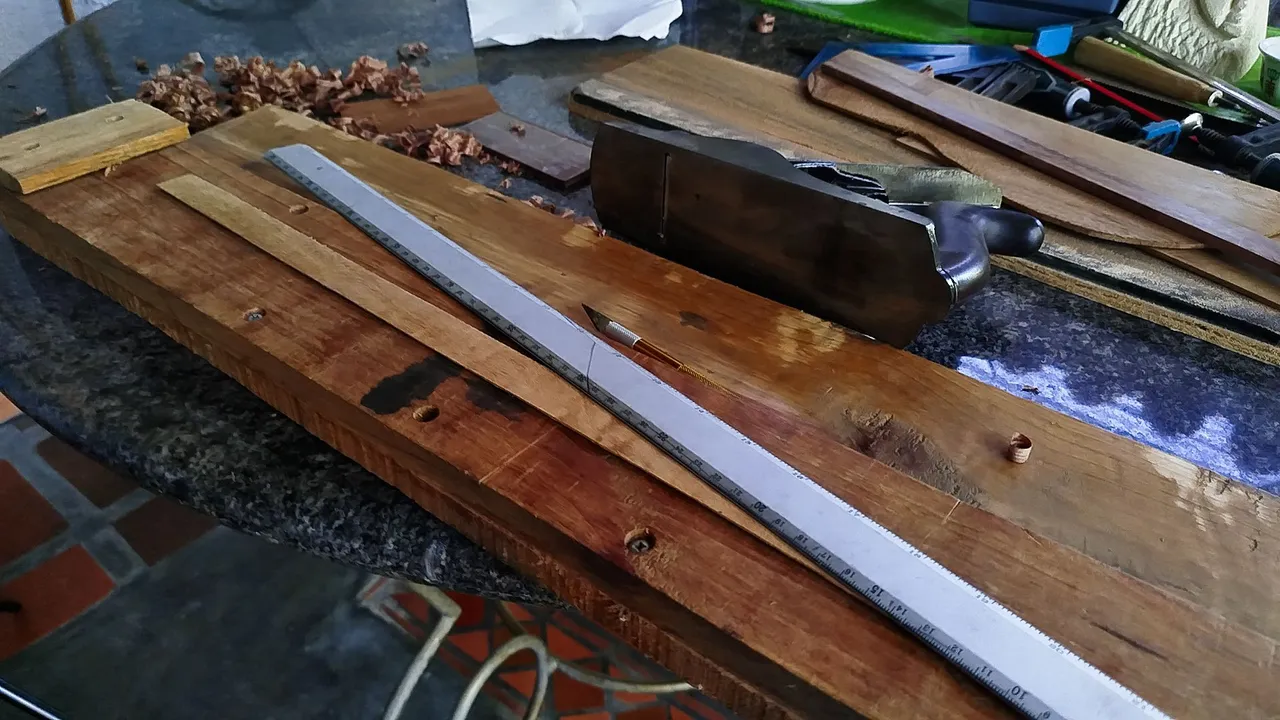
Now come the holes for the tuners. For this, we make the extra step of taking measurements before to know where we want to put them. With this step out of the way and making everything down the head stock, we can move to use the drill. We need a flat bit. These are amazing to remove material and making holes in wood.
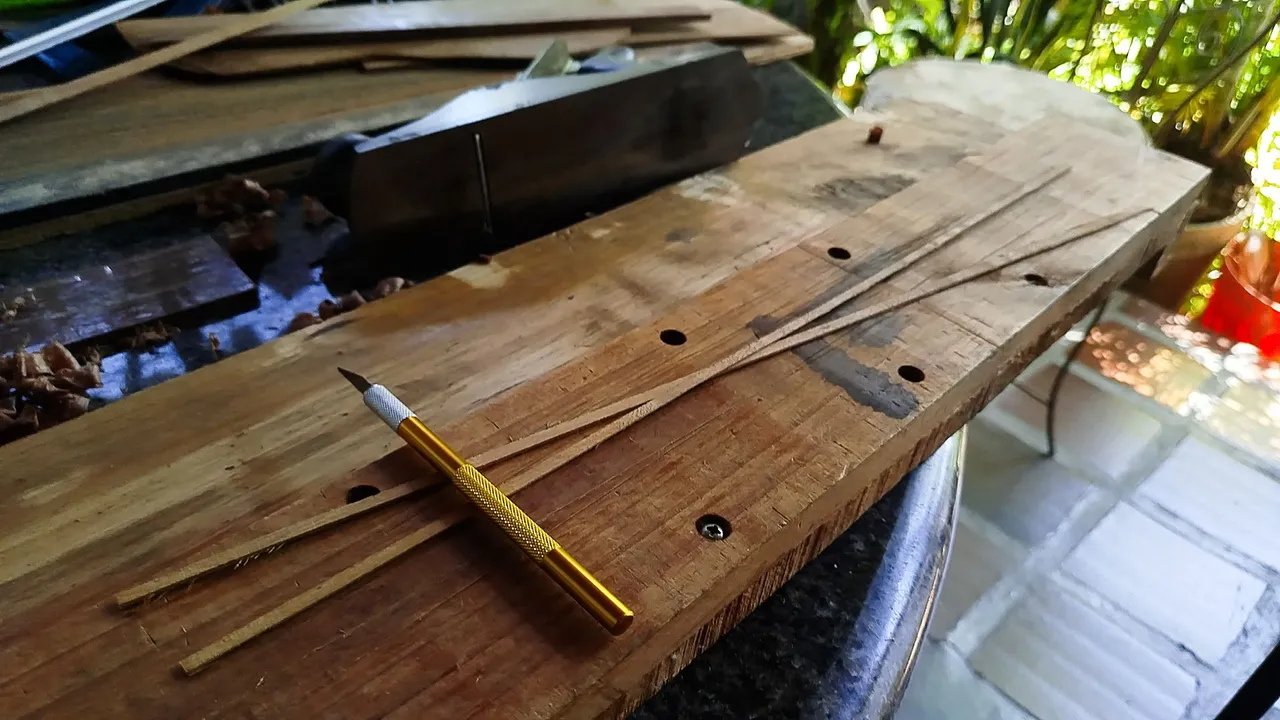
We some need to work somewhat quick as the bit heats up and we can have some smoke coming out of the holes as we move from one side of the head stock to the other. It won't catch on fire, but you can't never be so sure about anything.
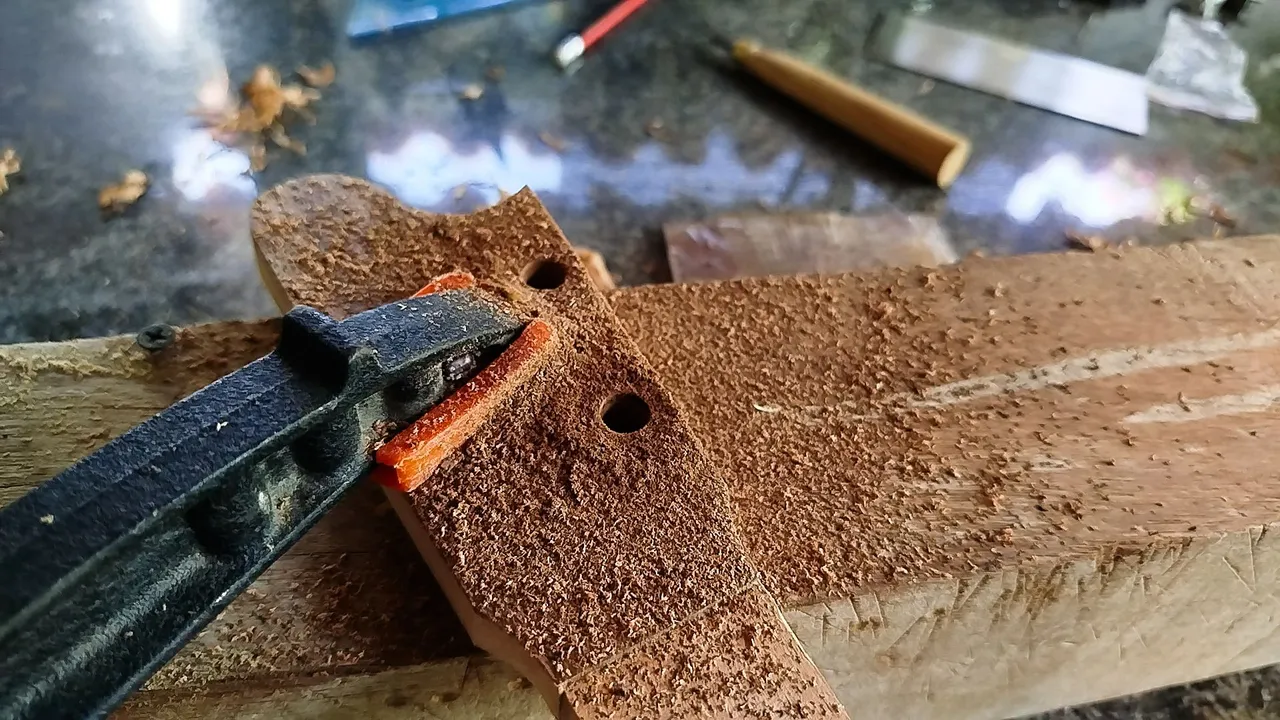
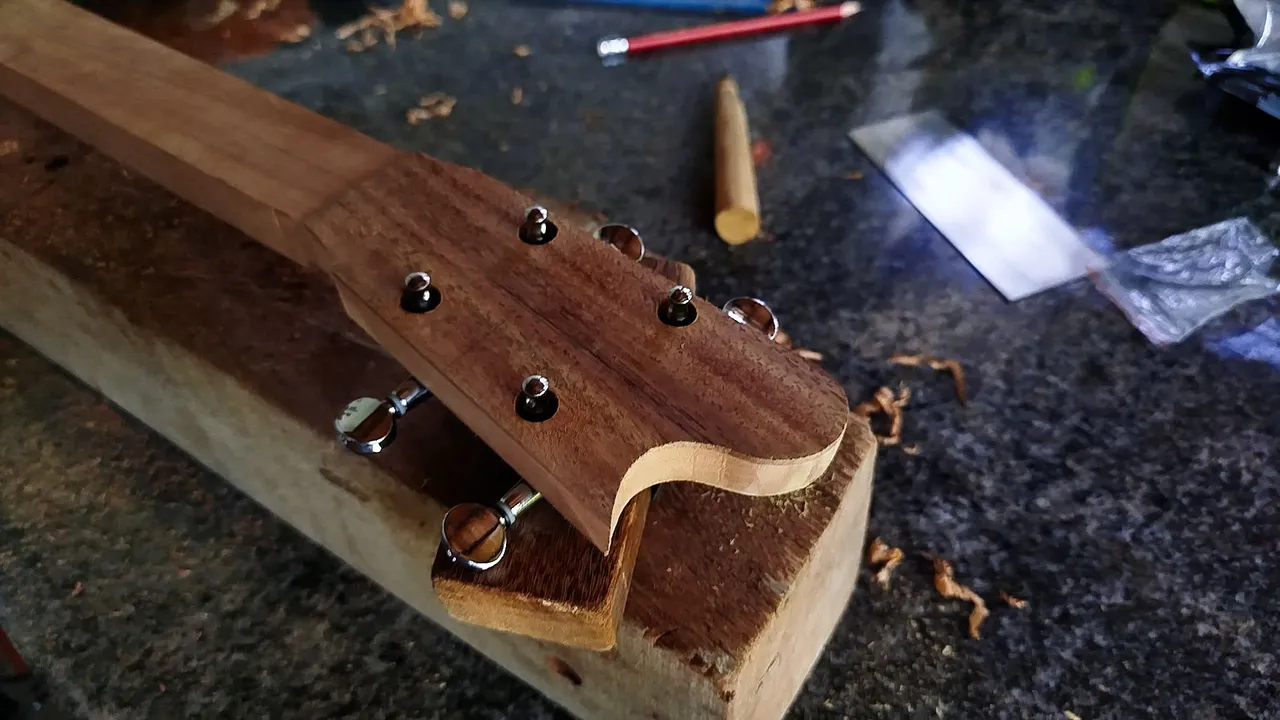
After the wholes are in place, we check the depth and how the tuners get into place. If the result is good, we can move ahead!
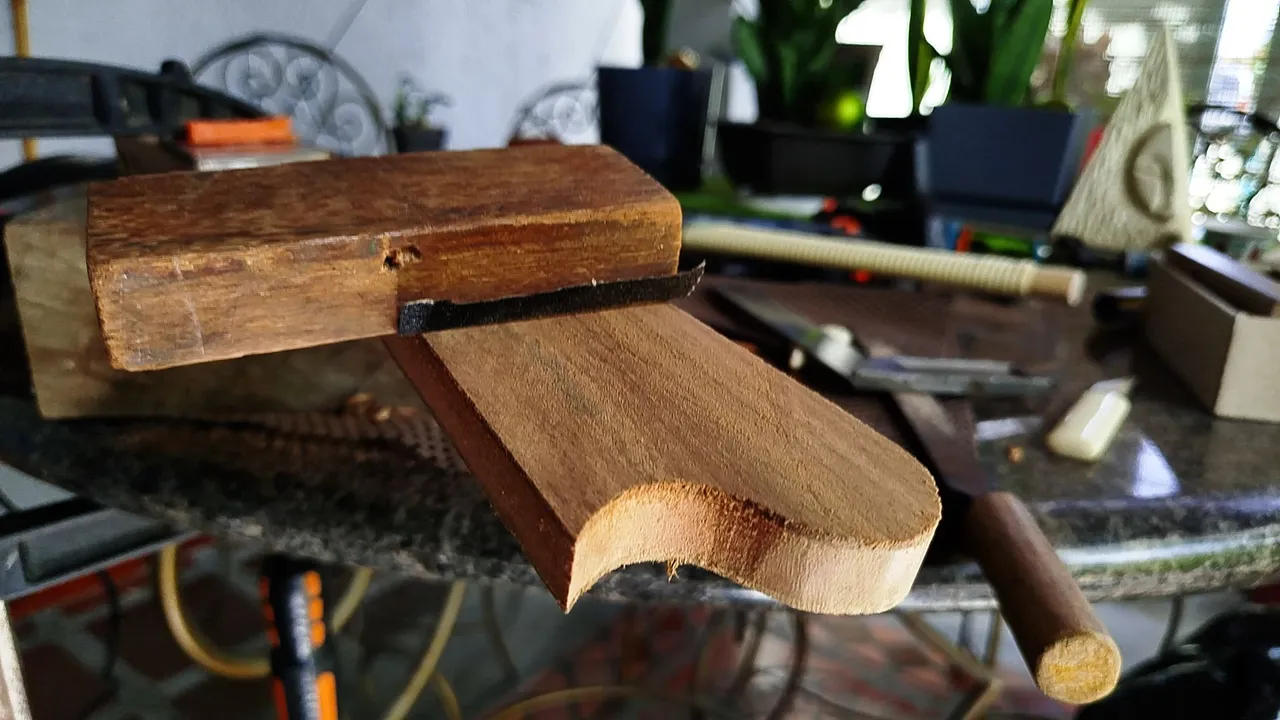
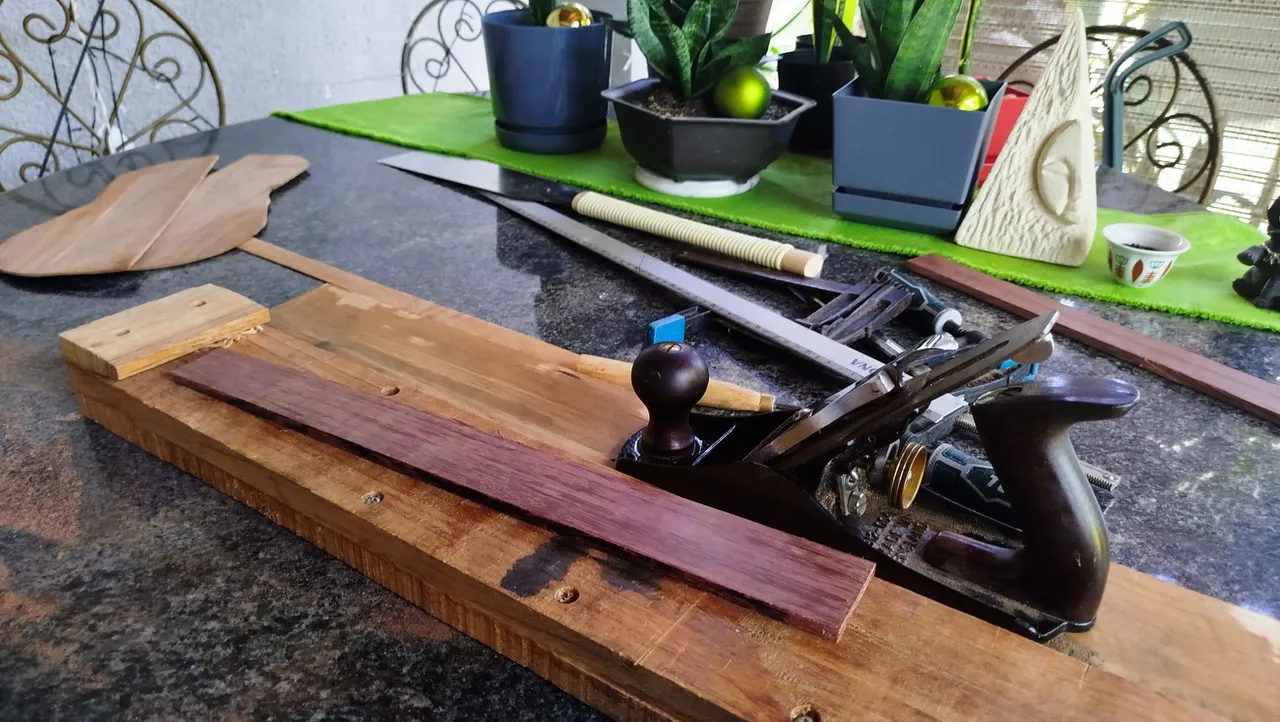
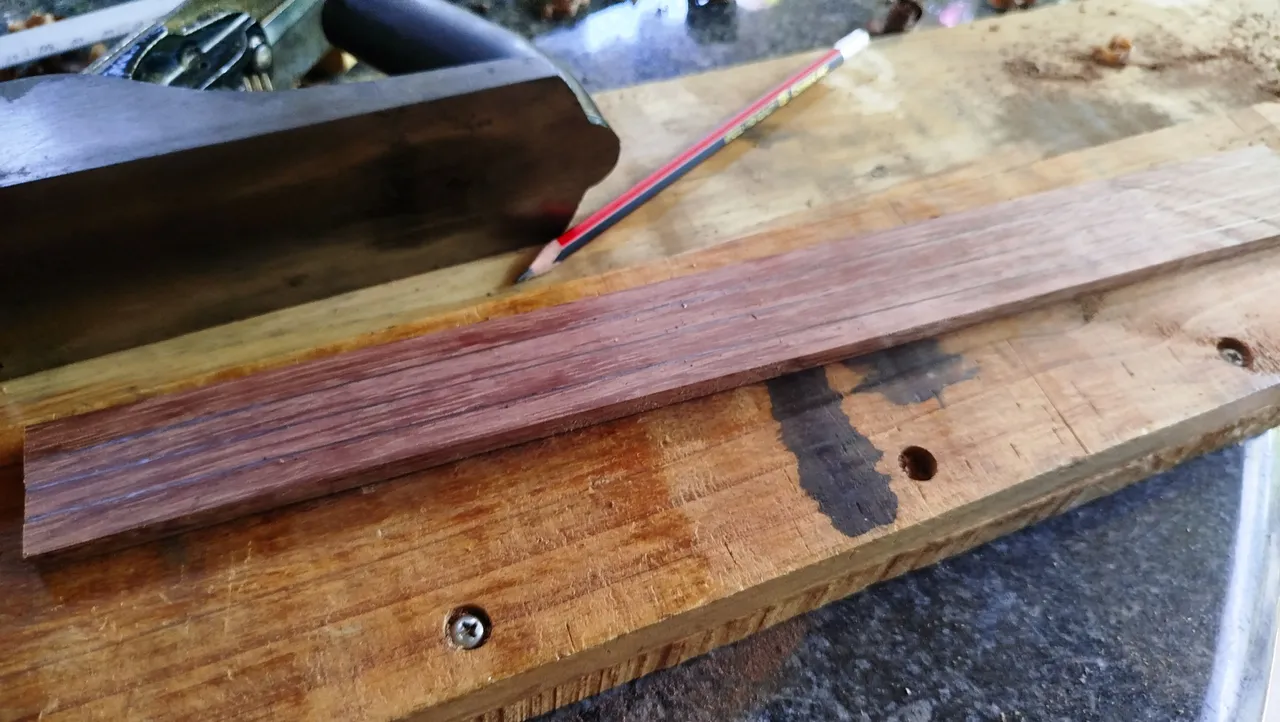
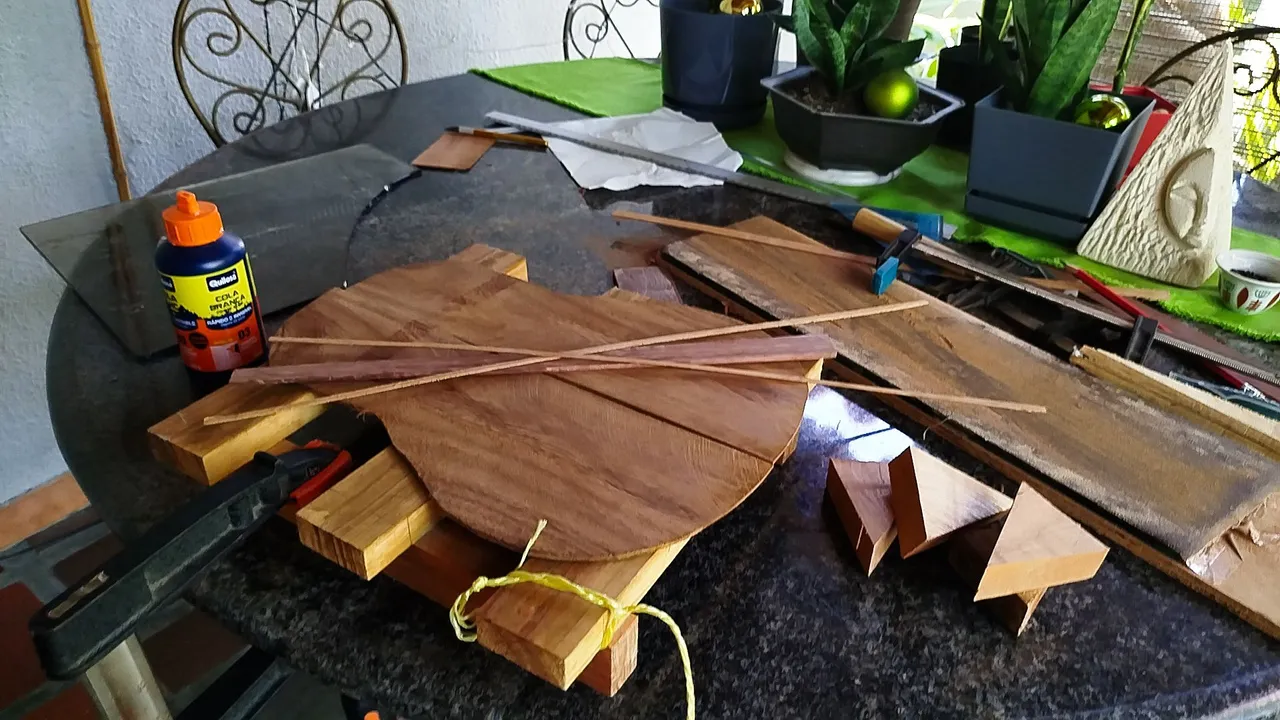
Since the neck is almost ready and only missing the fretboard, but that pieces goes on after the assembly. It's time to start making the back. For this build, the idea I had was to get a stripe of purpleheart in the middle. Since both woods are dark, we're using some strips of nectandra spp that I had in the collection of leftovers. But the main focus is on the purple strip.
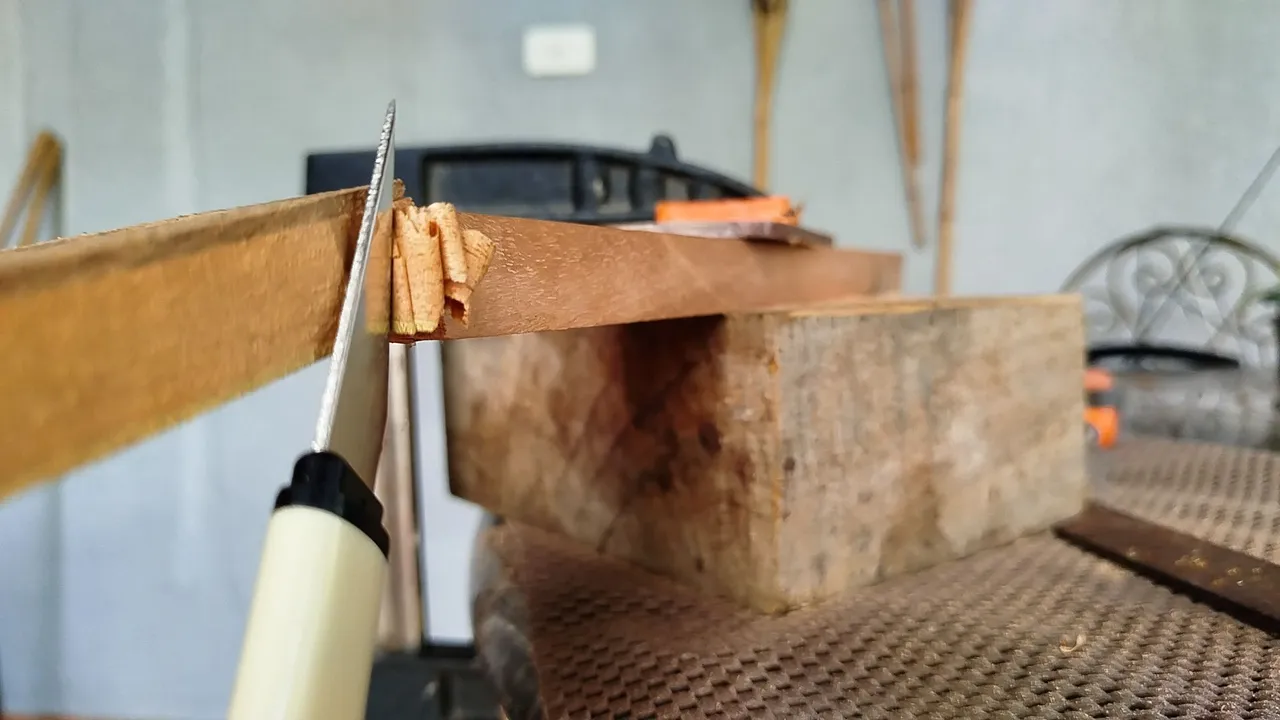
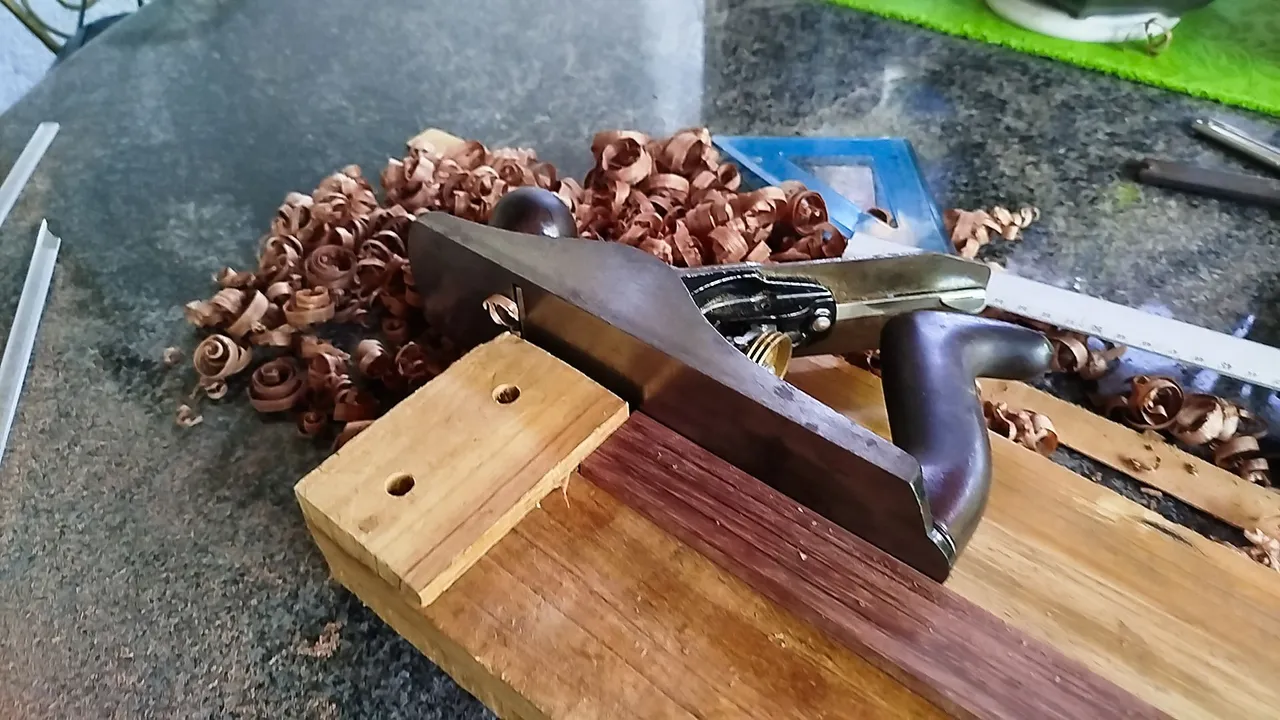
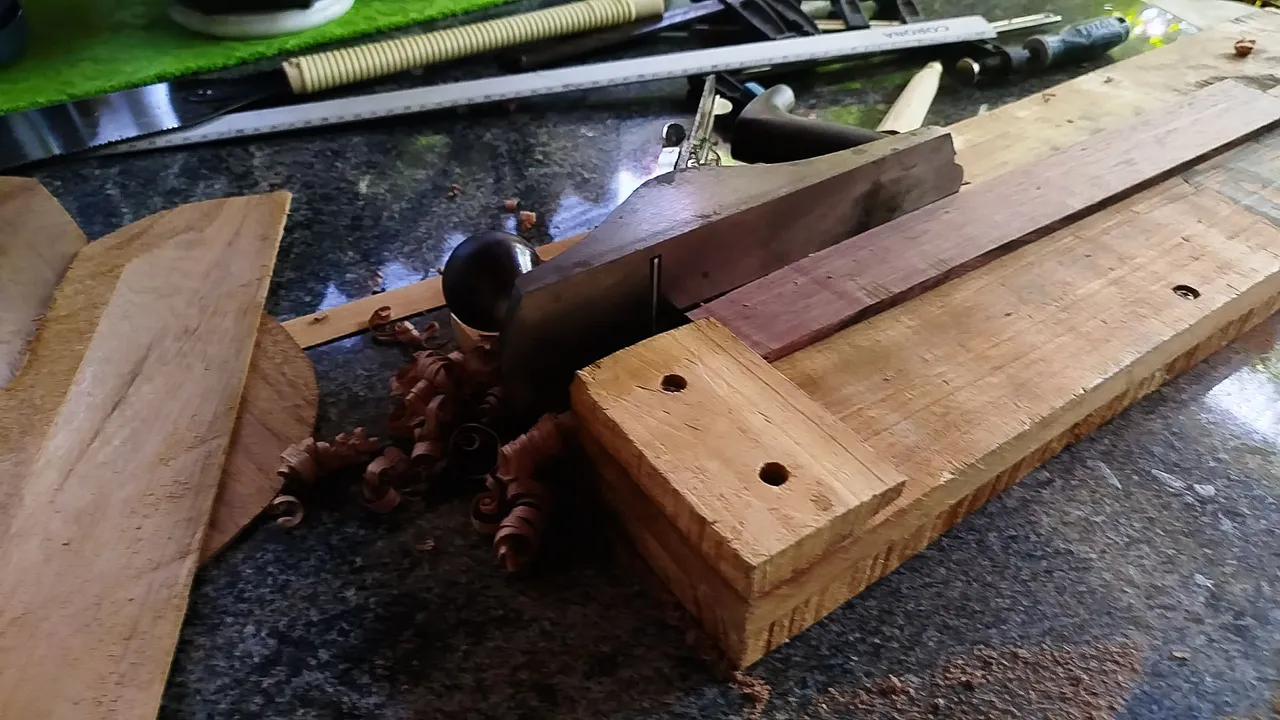
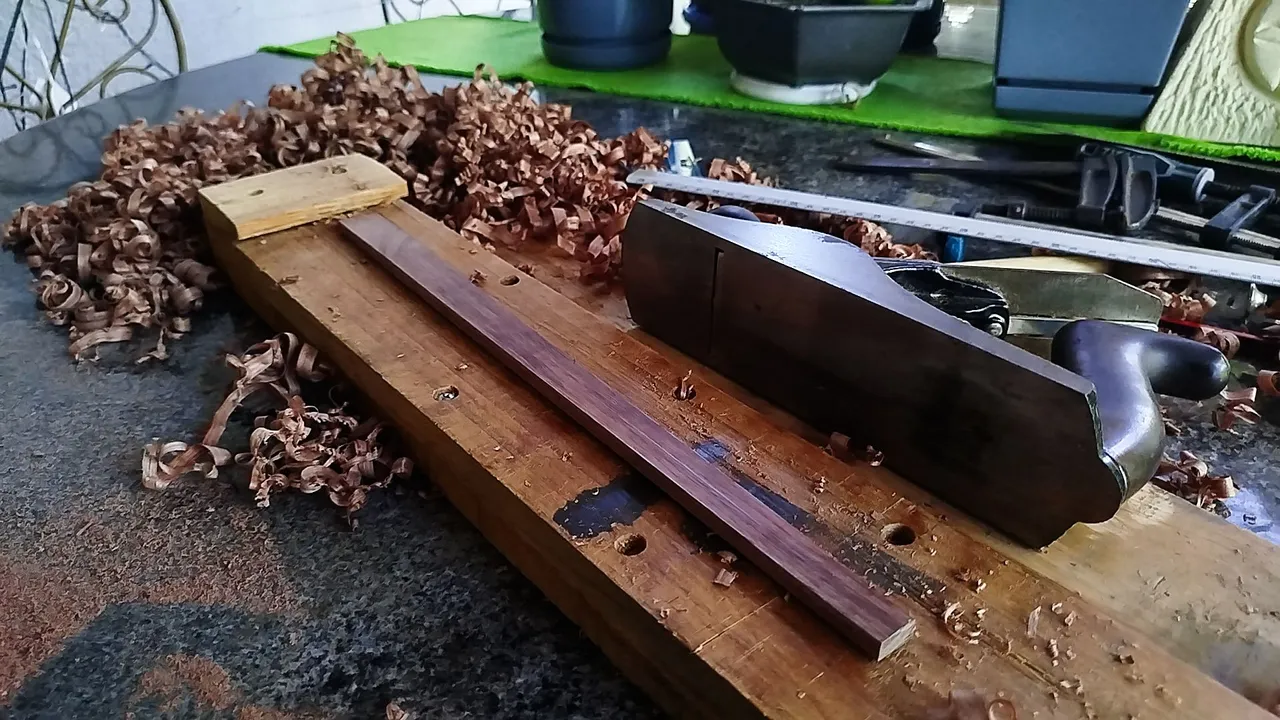
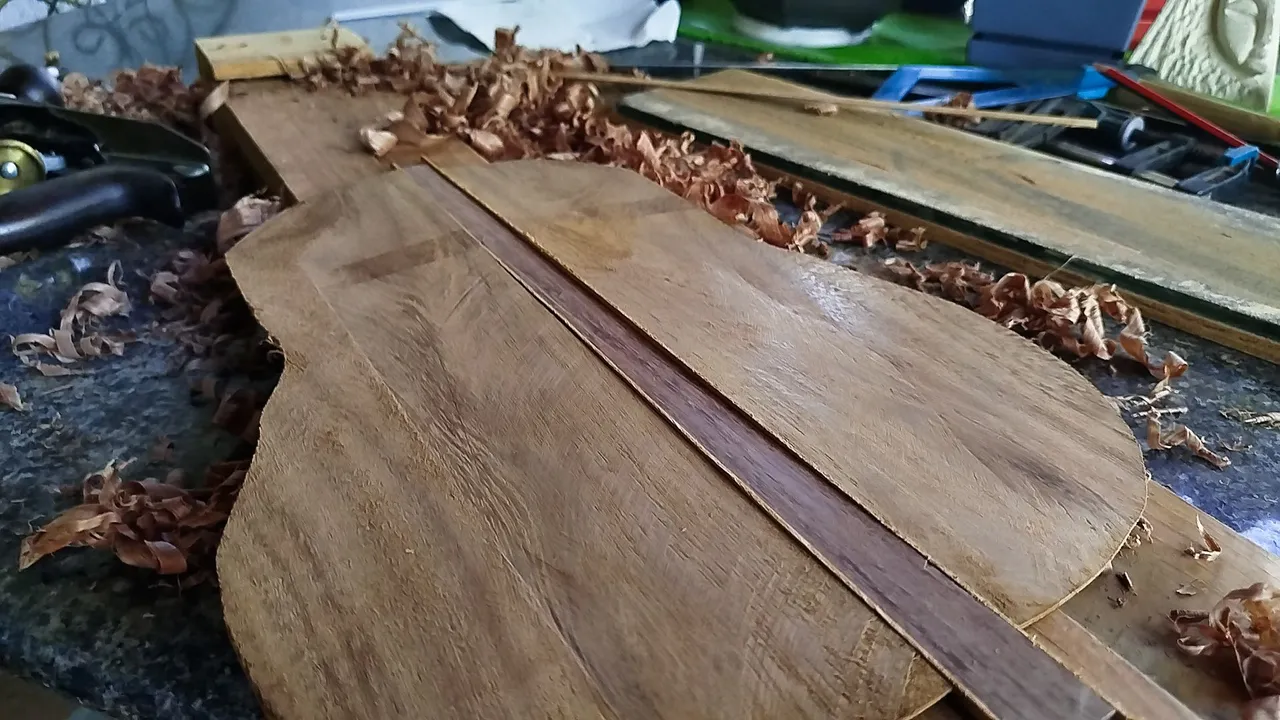
It is a hard wood and there isn't a thinner piece, so all the job had to be done by hand. That means taking the measurements to give it the shape. Then, using the hand plane to do both processes. First, giving it the shape by removing material from the sides. Then, shaving the top to make it thinner.
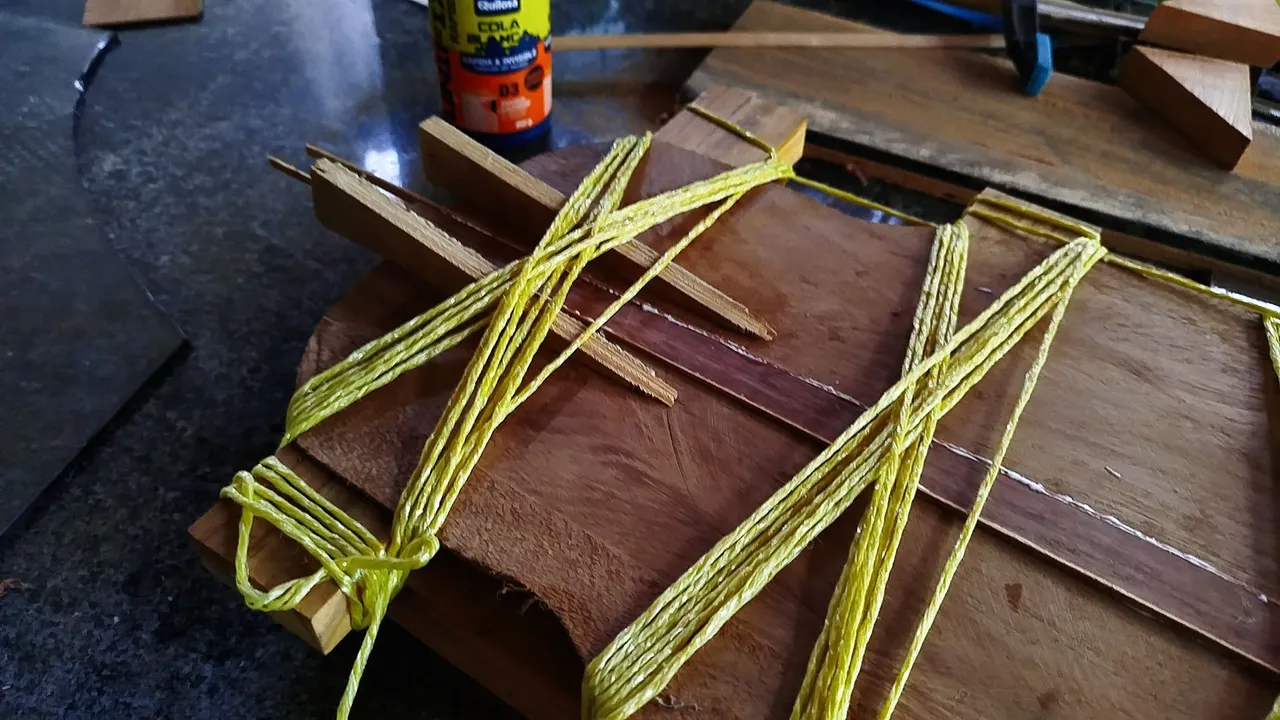
After we have the wedge, we can cut the strips of the light-color wood to match them. But that's not all, we have to work on the joint of the pieces of the back. That's another hand plane duty. Once everything is done, we make a dry fit to make sure the pieces go together nicely. Then, they go on the jig for this glue up. Here we tie the pieces together and use some wood wedges to hold them tighter and flat to the jig. The rest of the job is waiting for this glue to dry and have the first part of the work on the back.
Next time, we'll start with the reinforcements for this back as well as thicknessing it. After all that work is completed, we can finally start assembling the pieces of this puzzle.
Thanks for reading!
If you haven't check out the build, you can find a list of the project's milestones!
| Project milestones | Title |
|---|---|
| 1 | First Steps |
| 2 | Hints of a Sound Board |
| 3 | Sound Board Ends, Neck Begins |
| 4 | Head Stock and Heel |
| 5 | Carving the Heel |
| 6 | Flush Head Stock |
Photos 📷: Redmi Note 13
Thumbnail 🖼️: Canva.
Editing 🎬:Adobe Photoshop Lightroom.

Follow me on Instagram for enquires and commission.
If you'd like to help the workshop grow, you can make a donation here. You can find me at discord as bertrayo#1763