Introduction
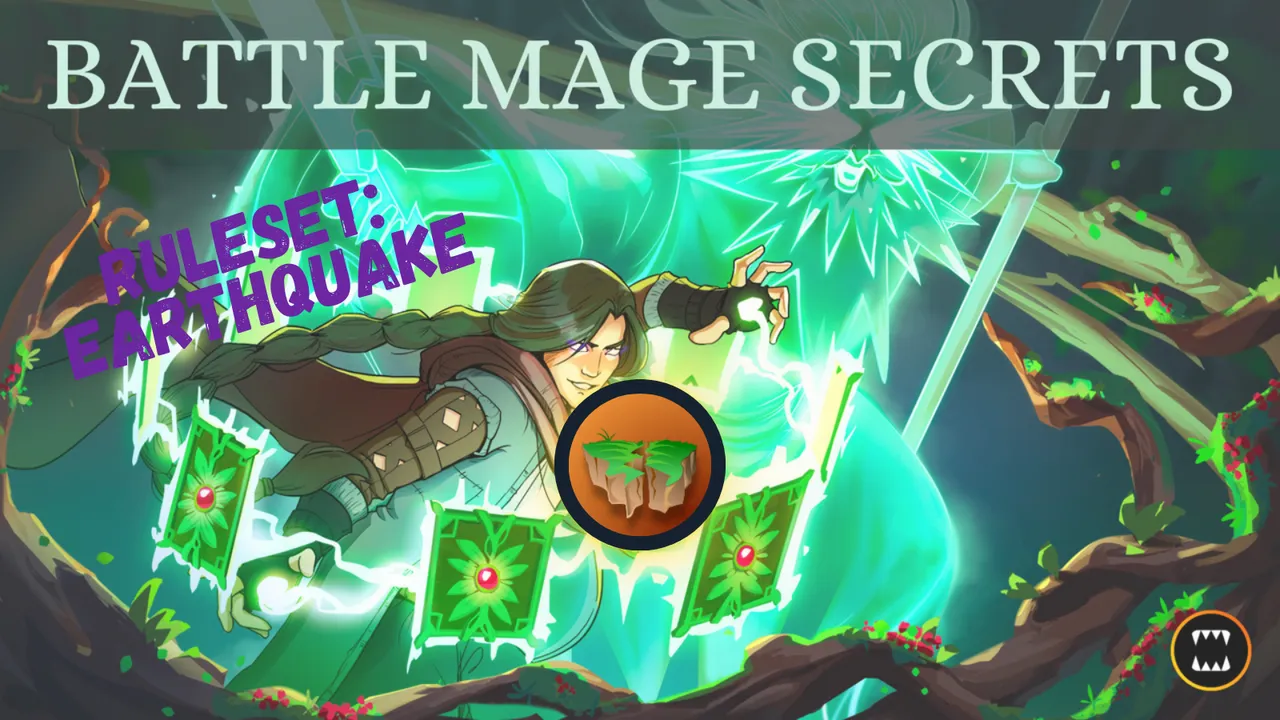
This week we are going to look at the earthquake rule set. In the beginning of my journey I really struggled with this rules set. To overcome this problem I bought one of my very few DICE card 1 bcx of  .
.
Nowadays I have way more cards with flying and on gold/diamond level more different opportunities to play flying monsters.

Ruleset
![]()
All non-flying monsters take 2 physical damage at the start of every turn starting from round 2.
Notes: t
- flying monsters that got snared are also receiving the 2 damage.
- shield can reduce the damage to 1.
Official ruleset information from splinterlands: List-of-In-Game-Rulesets
Abilities Synergies
 Flying - Sure flying is the first thing that come into mind. This is major important in battles with the earthquake rule set in the mix
 Snare - This wil take down a flying monster which will then be subjectable for earthquake damage
 Shield - will reduce the damage of earthquake to 1
 Martyr - Might be some situational but you know that monster without flying are hit you can use this to trigger Martyr and boost two other flying monster.
 Repair - Important to know that earthquake will first hit shield (armor) and therefor high amount of shield and or repair can be crucial when you select a non-flying monster.
Note:
 Reflection shield - Important note that reflection shield will NOT protect against earthquake damage.
Strategies
Select
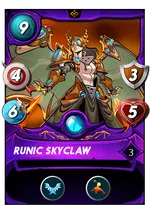
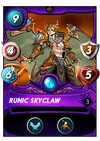
As stated above the most important ability is flying this are the monster i own with flying and their levels:


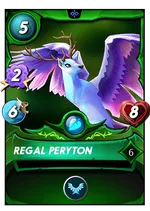


As you can see the most of them are in the life splinter. That is often a team i go for with the earthquake rule set.
Not always needed to only select flying monster, demonstrated in the example battle below.
Preferred teams
Really depended on other factors like:
- Other rulesets
- Mana cap
- What you opponent is often playing
- What cards and level do you own/rent
Here are some setups that I like to play. Viewed with the levels and stats that I own.
| Summoner | #1 | #2 | #3 | #4 | #5 | #6 |
|---|---|---|---|---|---|---|
 |  |  |  |  |  |  |
Very high mana team (59), so this is not alway possible this might be my strongest flying setup.
| Summoner | #1 | #2 | #3 | #4 | #5 | #6 |
|---|---|---|---|---|---|---|
 |  |  |  |  |  |  |
Sometimes i just try to quicken the battle by placing high health and high damage monsters
| Summoner | #1 | #2 | #3 | #4 | #5 | #6 |
|---|---|---|---|---|---|---|
 |  |  | | |  |  |
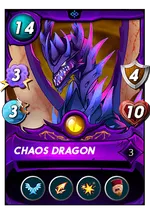
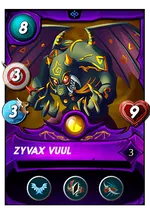
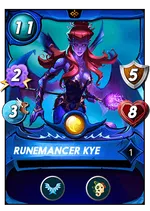
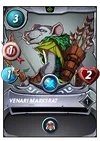
The Venari Marksrat to trigger the Martyr to boost Runemancer kye and the chaos dragon
Avoid
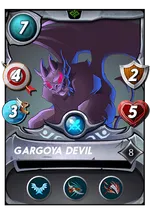
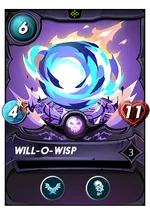
Every low health monster without flying 🤣. Unless it is your strategy, the monster needs to be killed like:
this can boost two flying monsters.
Example battle
Strategy

Because limited splinters and a low mana choice i will try something differrent not only flying monsters.
Rulesets
![]()
Earthquake:
This week rule set. At the start of round 2 all non-flying monsters will receive 2 damage. which can be reduced to 1 when shield is being used.
The Lineup
Summoner
| Card | Reason |
|---|---|
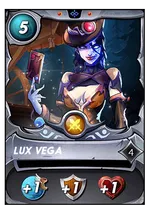 | The extra health is needed. Also the shield will protect some of my non-flying monsters the first round. |
Monsters Lineup
| #1 | #2 | #3 | #4 | #5 | #6 |
|---|---|---|---|---|---|
|  |  |  | |  |
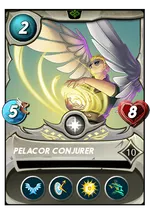
Pelacor Bandit (lvl 10)
flying monsteer with high evasion chance. important to stay alive therefor also brought some healing
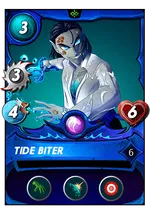
Tide Biter (lvl 6)
Pretty high health and boosted exta by Lux Vega and Merdaali Guardian true strike is important here to land his attacks.
Merdaali Guardian (lvl 8)
healer abilities and it gain +2 health because of lux and herself.
Angelic Mandarin (lvl 8)
another healer but this time to heal one of the backline monsters. Als a high health so it can heal for some round even tough it has no flying.
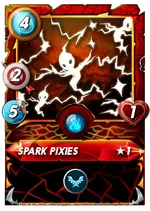
Albatross (lvl 1)
Cheap flying monster to protect backline from sneak attack monsters
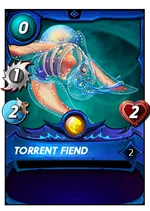
Torrent Fiend (lvl 2)
Meat shield to protect my backline and keep the Angelic Mandarin as long as possible allive.
The Battle
Reference
Link to the battle:
Link to battle

Rounds
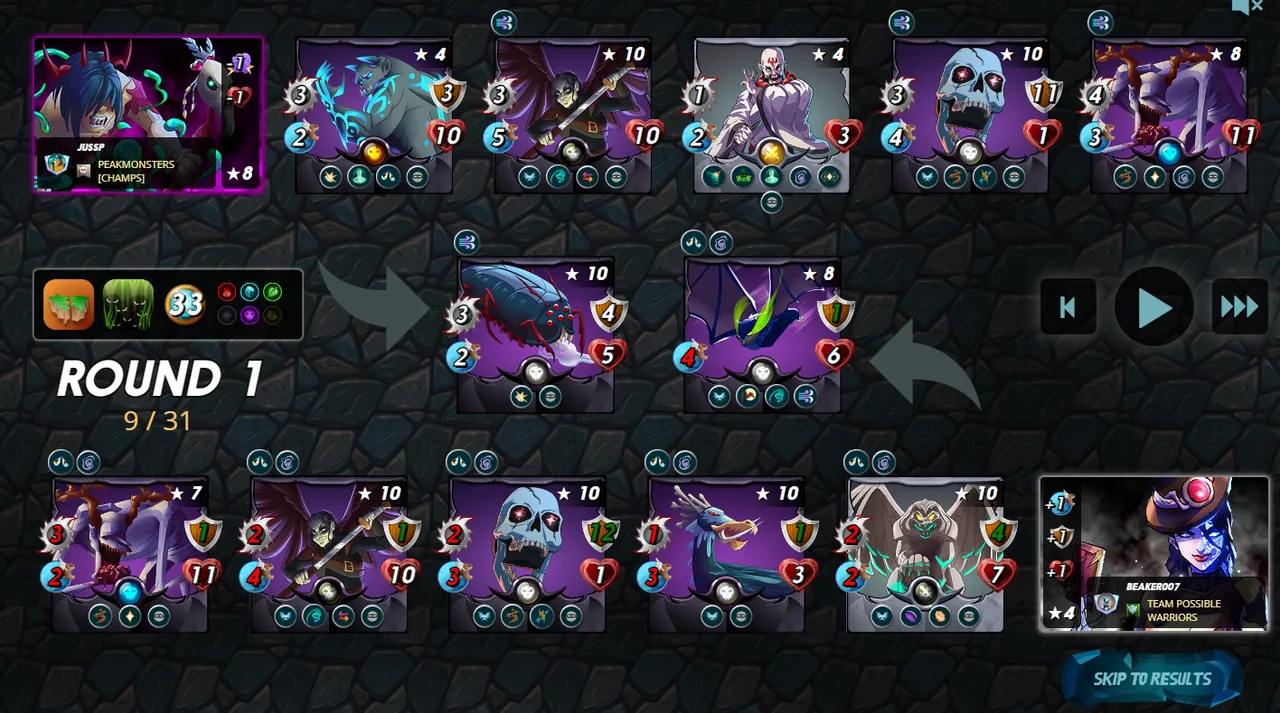
Start :
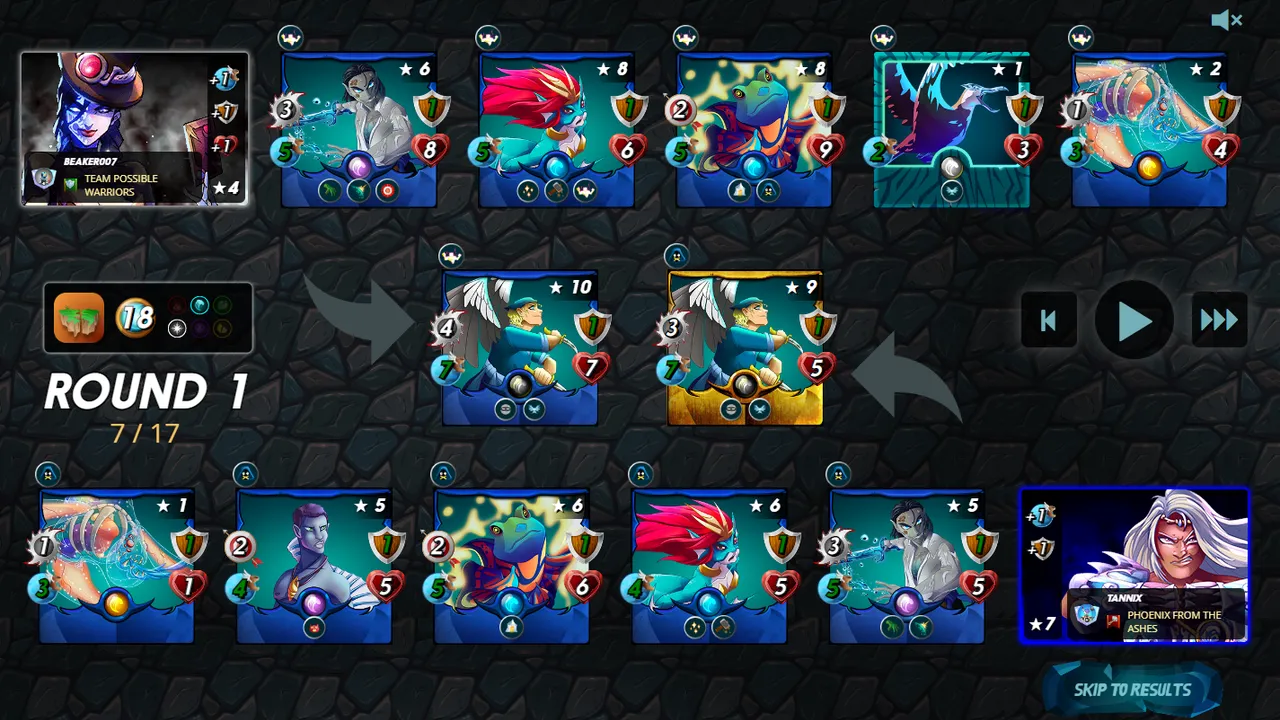
Interresting, did not expect a similar setup. I have a few higher level monsters and the extra +2 health would give me the edge.
Round 1:
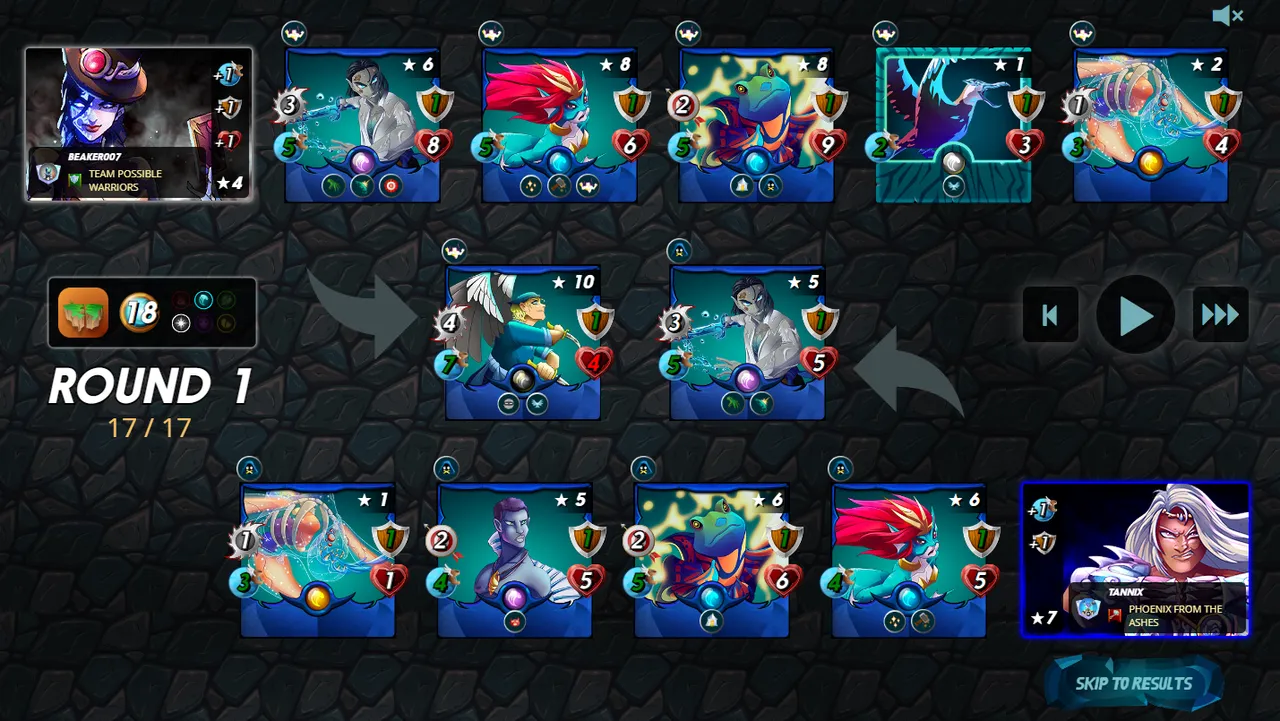
The start is good. his flying monster is killed so now all of his monster will start to get earthquake damage. Hope that my heal goes first before they kill my Pelacor Bandit.
Round 2:
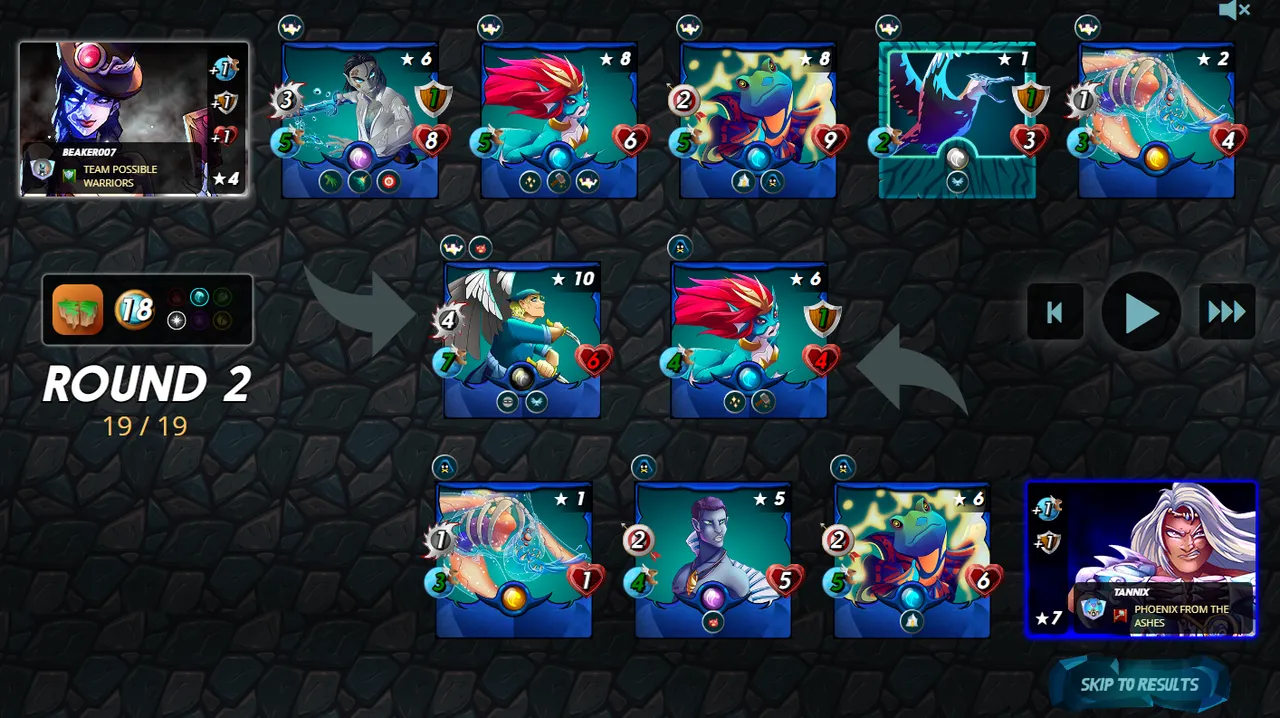
An miss by my opponent and the heal come in time. Looking strong for my team now.
Unfortunatly he has stunned my Pelacor Bandit. So he has to wait for one turn. But there is enough of attack damage to take it over.
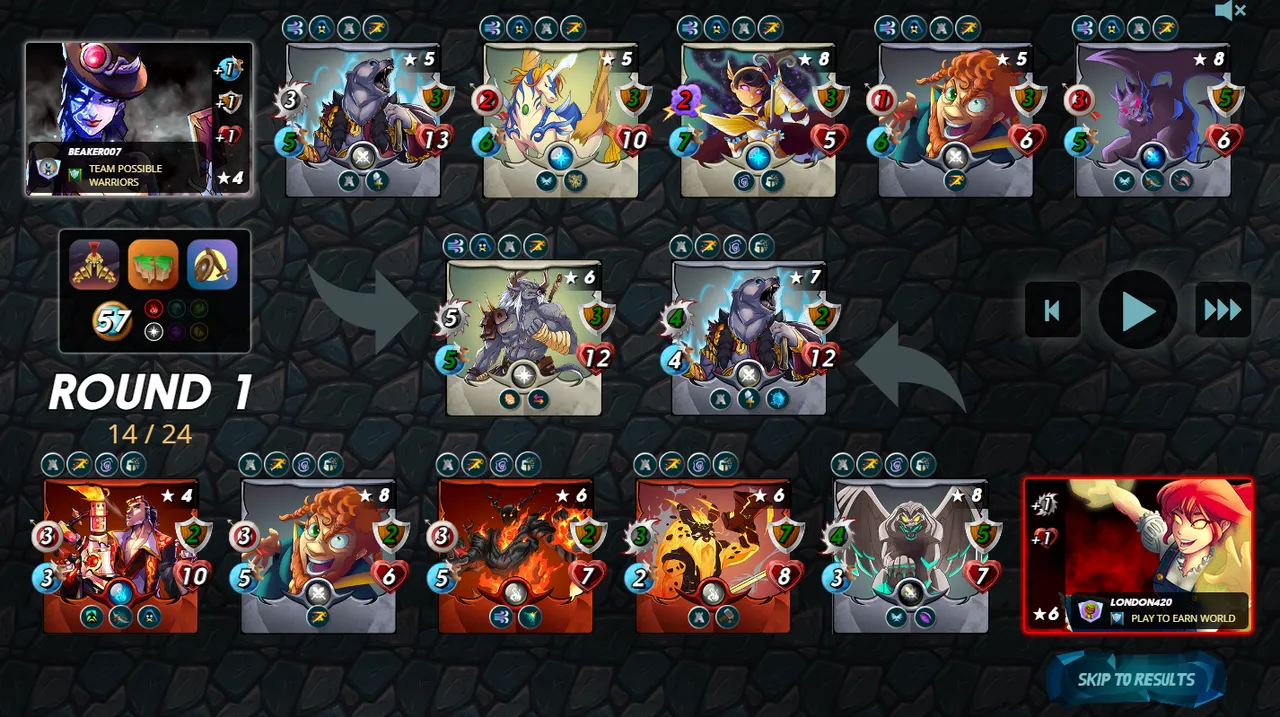
Round 3:
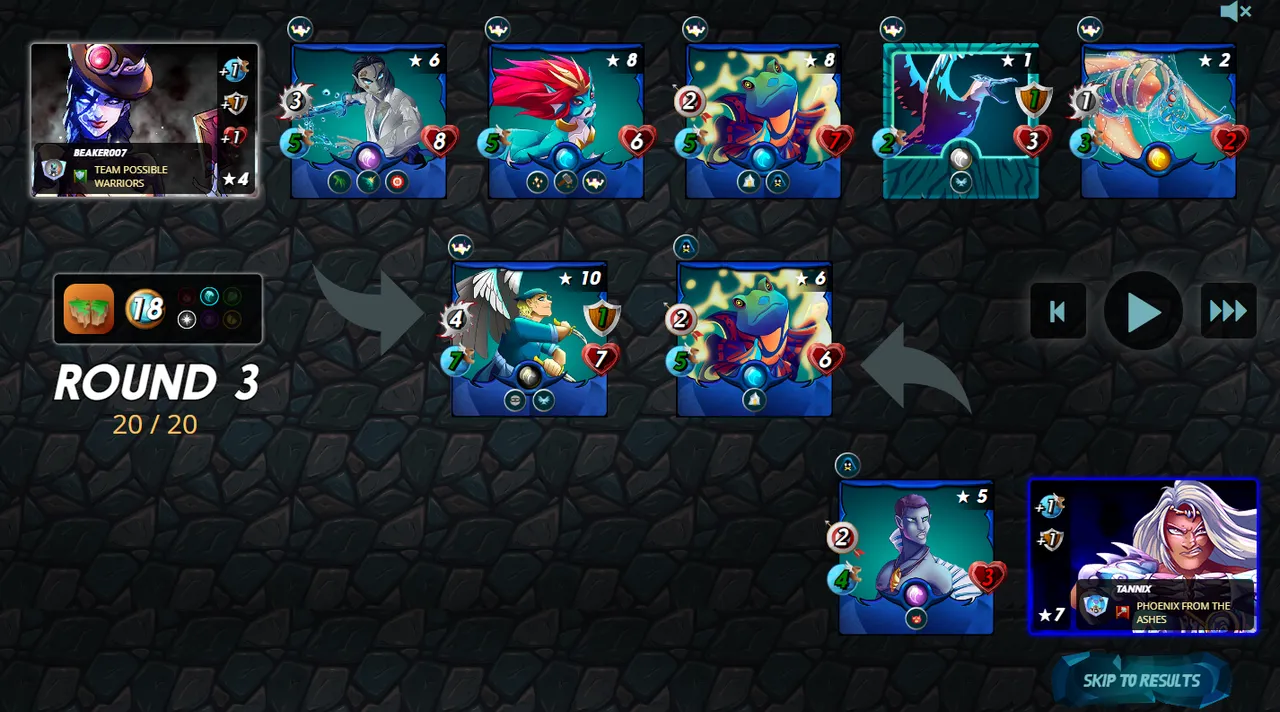
Now the rangers are comming in the front, this battle is done. one more round.
Round 4:
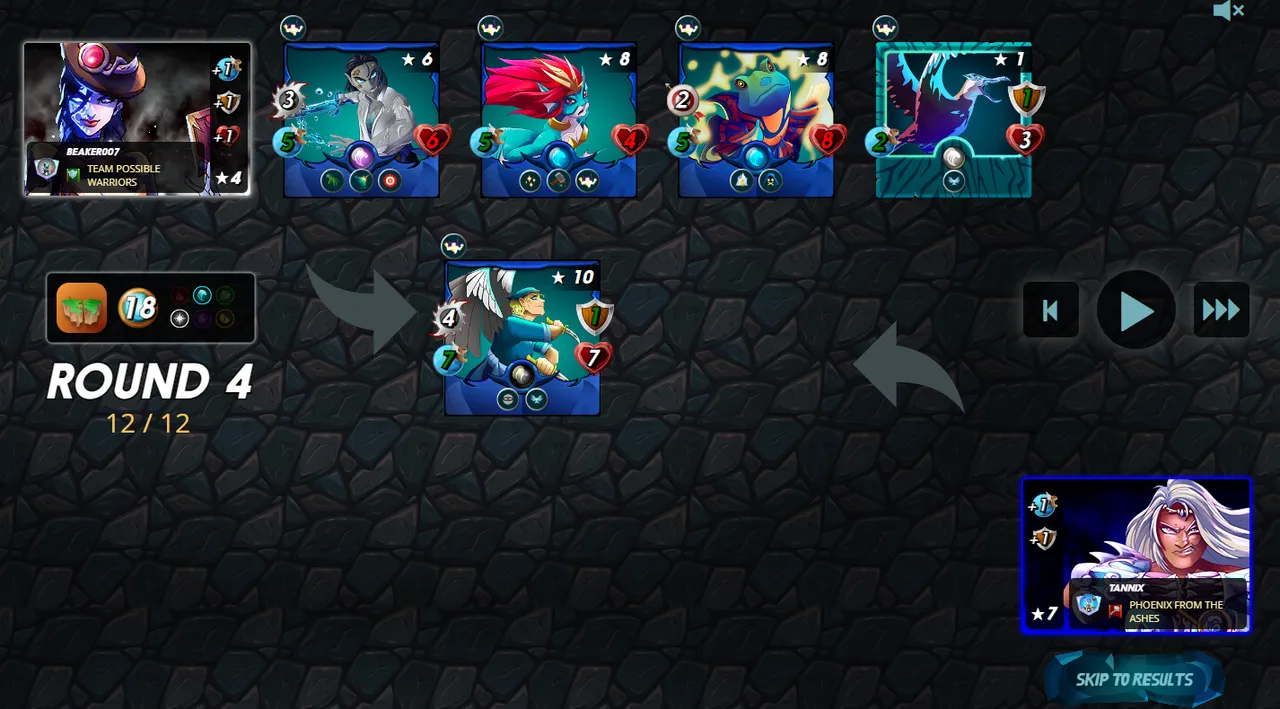
It is over. Most of my team is still standing, nice battle.
Conclusion
In this battle you can see it is not always necessary to only select flying monster with enough health healing and repair you can stay alive for long enough.
This was a bit of experiment normally i would have choosen the following team and according splintertools that would have been a 100% win change while this "only" was 90%

Other Example battles
Battle 1
Battle 2
Previous ruleset strategy posts
The series continues, below you will find references to the other ruleset strategies / analysis posts.
| Ruleset | Post |
|---|---|
 Briar patch Briar patch | Ruleset post: Briar patch |
| Ruleset post: Standard | |
| Ruleset post: True aim | |
| Ruleset post: Aimless | |
 Up to Eleven Up to Eleven | Ruleset post: Up to Eleven |
| Ruleset post: Armored Up | |
| Ruleset post: Back to Basics | |
| Ruleset post: Broken Arrows | |
| Ruleset post: Close Range | |
 Counterspell Counterspell | Ruleset post: Counterspell |
| This Post |
That's all for this week hope you enjoyed reading this ruleset strategy/analysis. See you all on the battlefield.
Do you also want to be part of this amazing play to earn game consider using my refferal link.