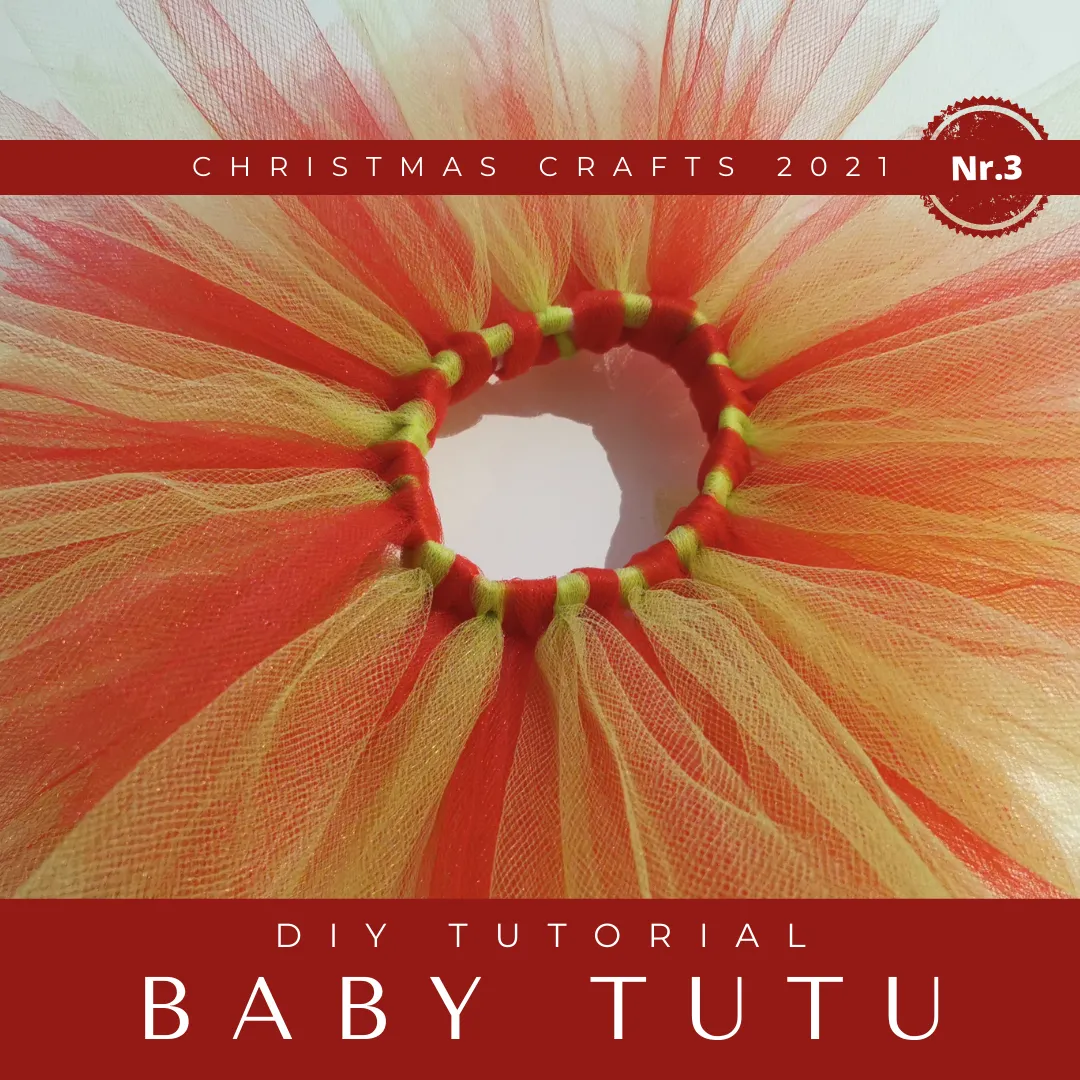

Christmas tutu
Earlier this week, I already shared with you how I did a trial tutu partially made from recycled material. After that one turned out nicely, I decided to order more tulle so that I could start making more tutus for both my daughter and to sell them online. I have sold many in the past, but not handmade, therefore I first did a little trial run with the recycled elastic. Once it was done, I bought a few meters of an elastic waistband, and decided that I would first create a Christmas-style tutu as this is the moment to sell these red and green colored tutus. Many people are now doing Christmas photoshoots and experience has taught me that there are many mothers out there that buy tutus for just that occasion.
Tools and supplies needed
Today I'm making a baby-sized tutu (newborn), but you can check the tutu size chart for the corresponding size in my previous post.
- 1 roll of tulle green (15x900cm)
- 1 roll of tulle red (15x900cm)
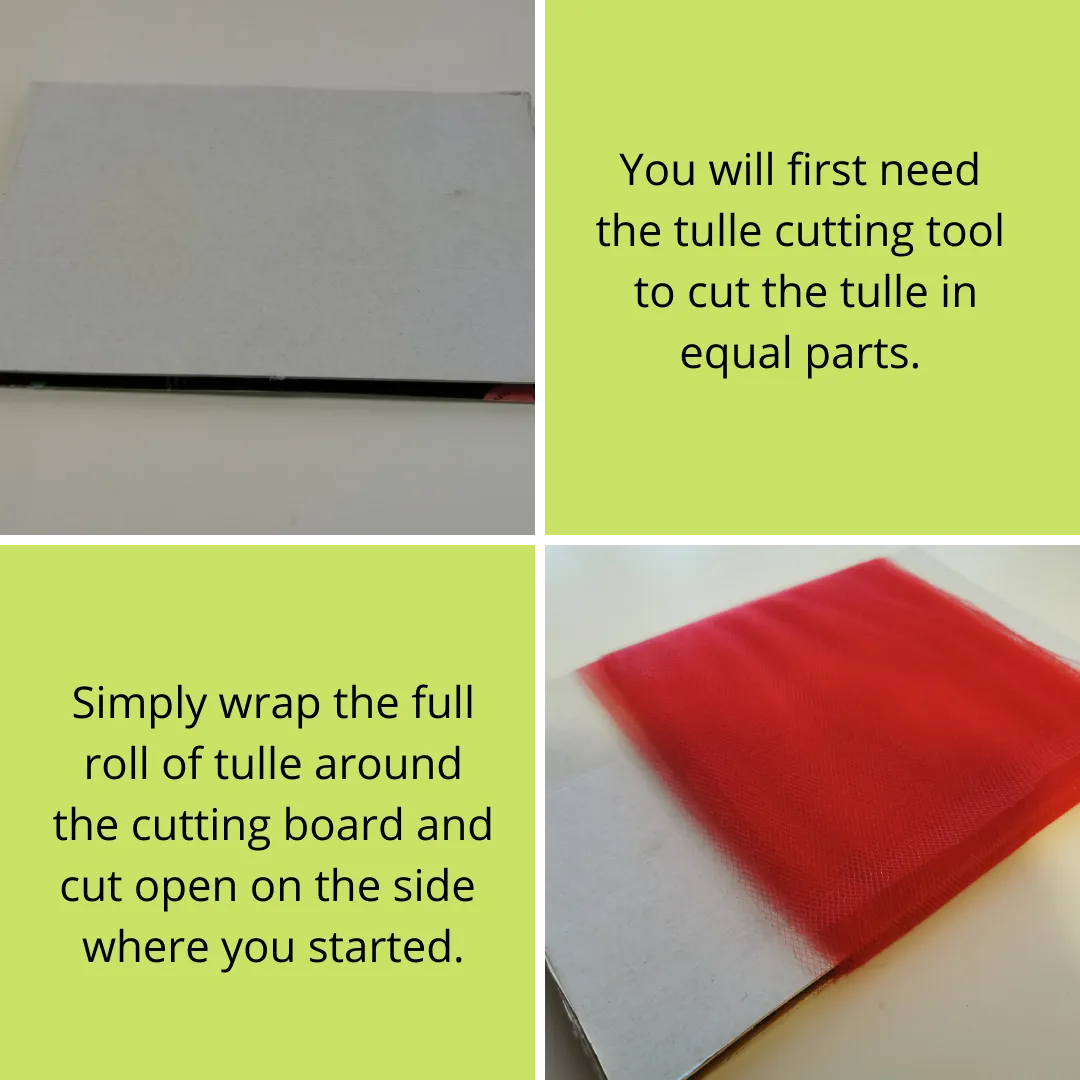
- Tulle cutting tool
- Scissors
It's advisable to make sure you have a bit of extra tulle, as it will depend a bit on how the knotting holds on the elastic, so I've noticed. The elastic with holes that I'm using today (meant for buttons) holds the tule much better in place than another one I've used.
I will now turn to detailed images so that you can see clearly what I've done each step. I think these pictures speak for themselves and don't need much explanation anymore.
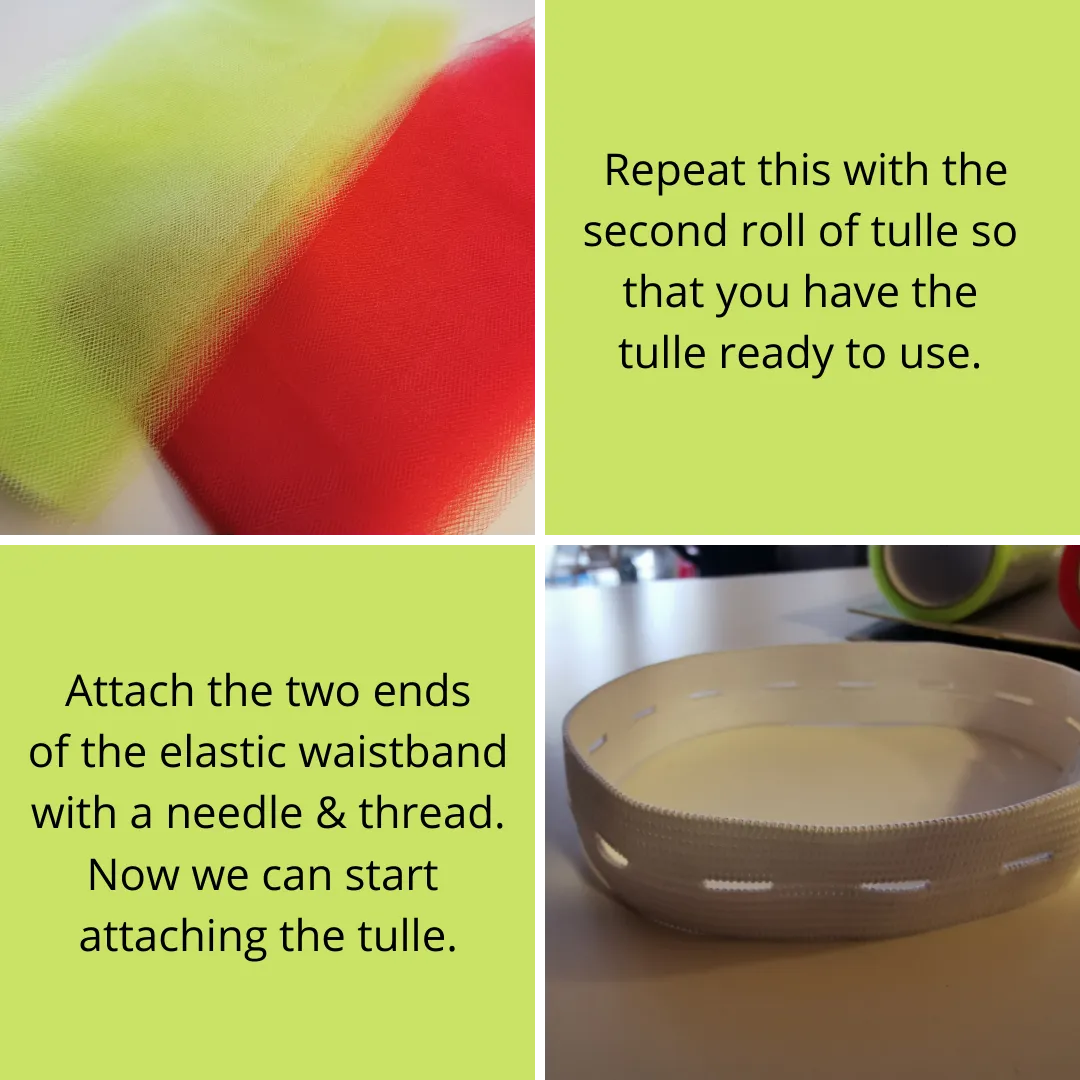
I started by knotting the first layer, check my previous post for detailed knotting instructions. Don't worry, it will take you a few minutes max to get this right!
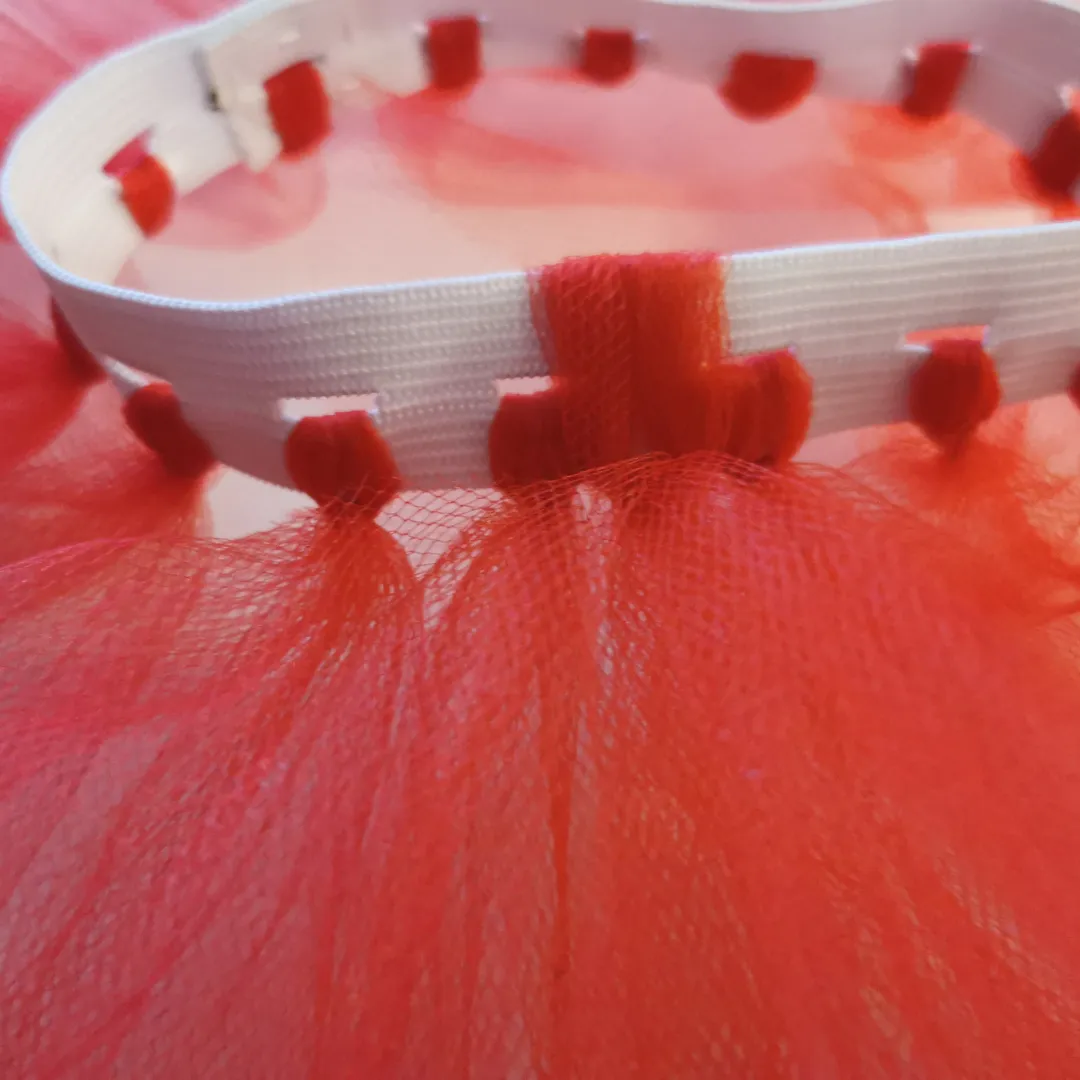
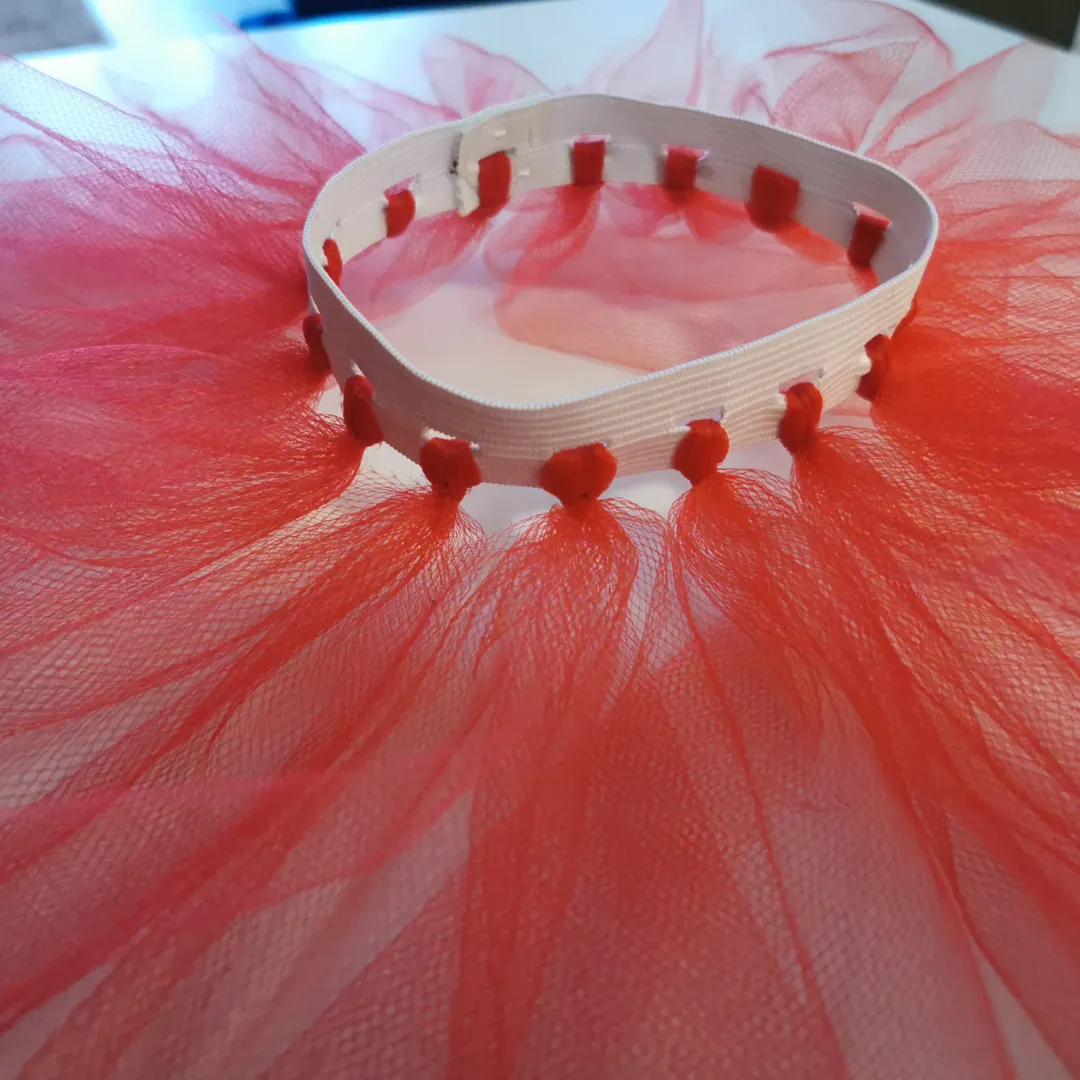
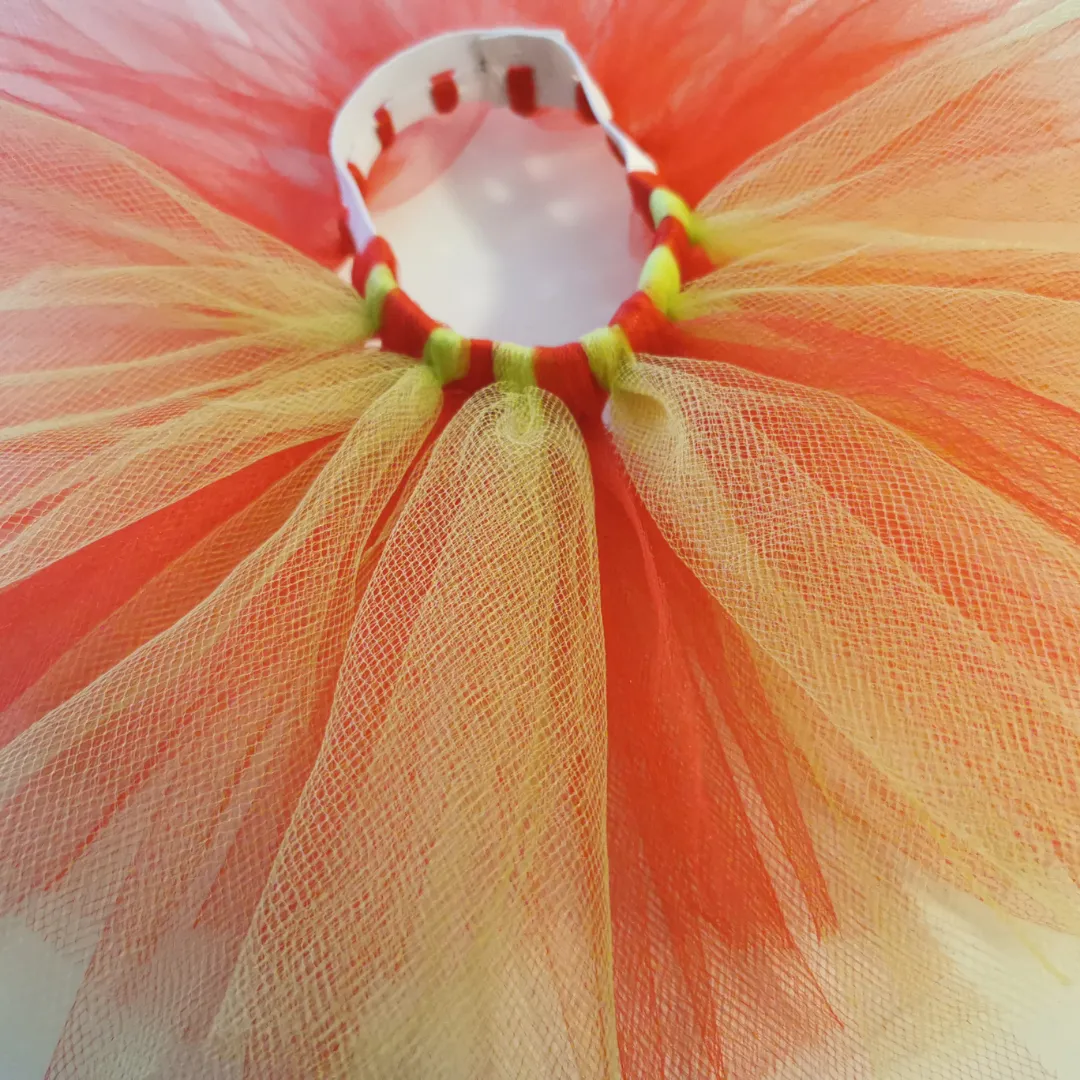
As I wanted to create a 3-layered tutu that's very full and fluffy, I will now knot around the full width of the elastic as shown in the image above.
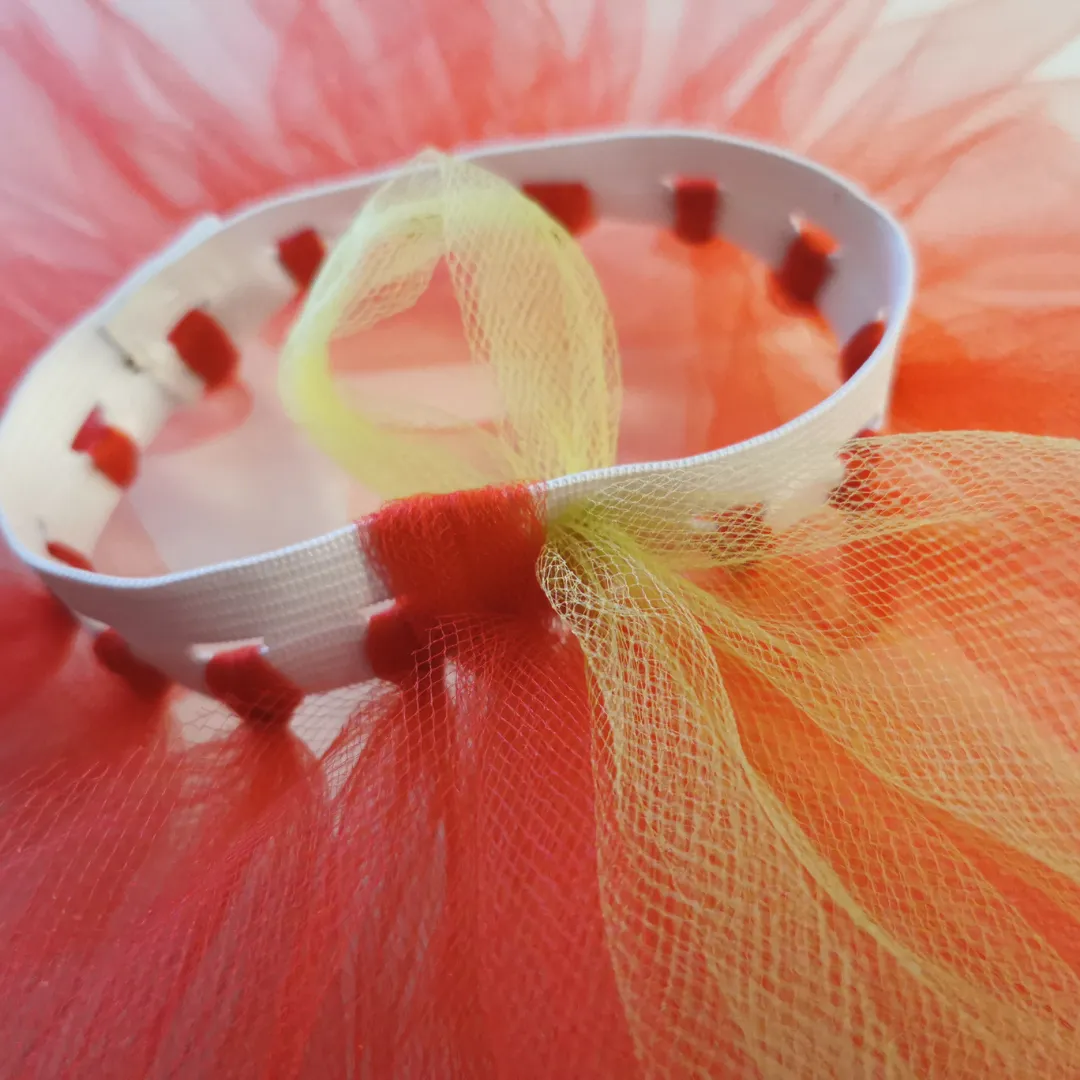
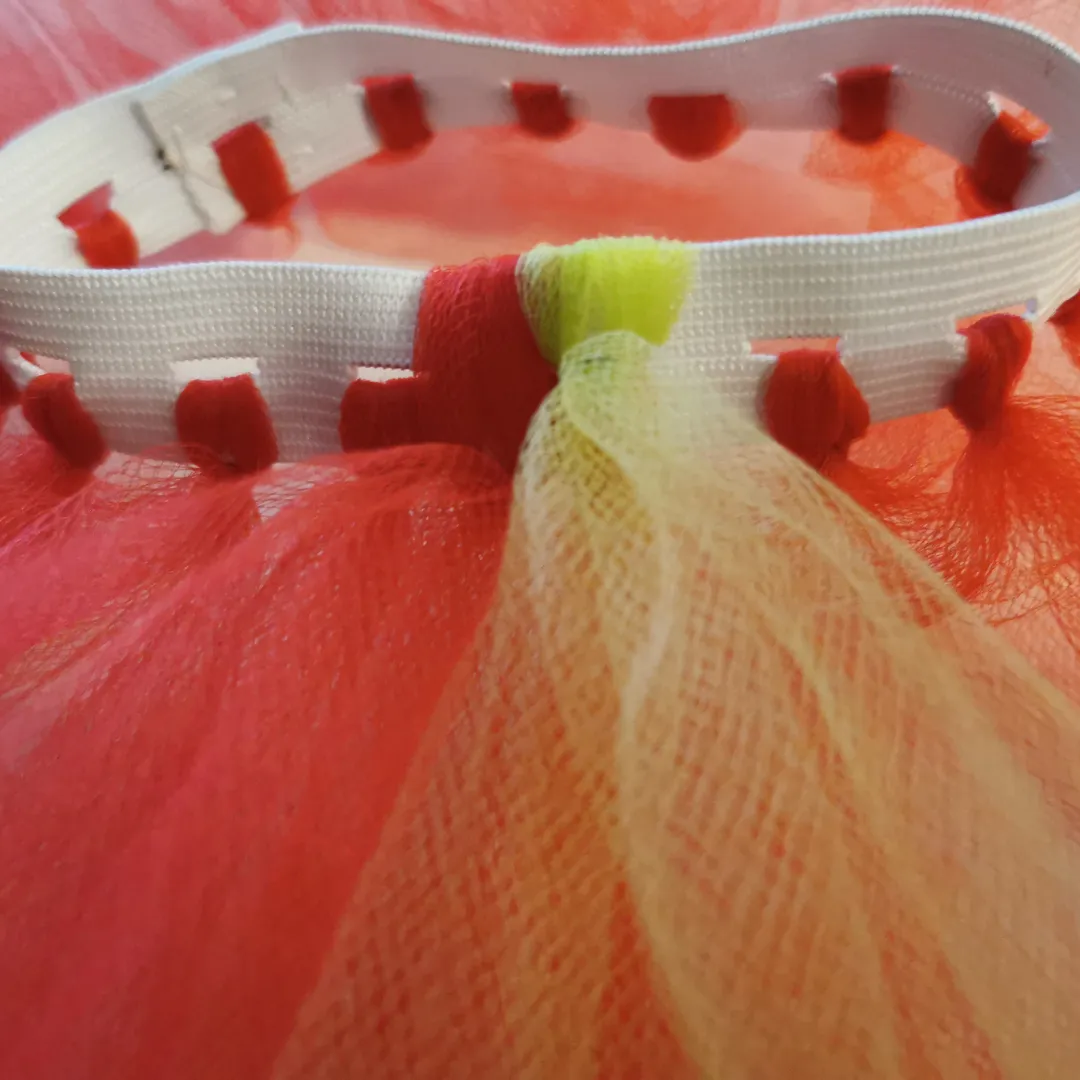
For the next step, I used the buttonholes again, but now started to add green in the top layer instead of the bottom layer.
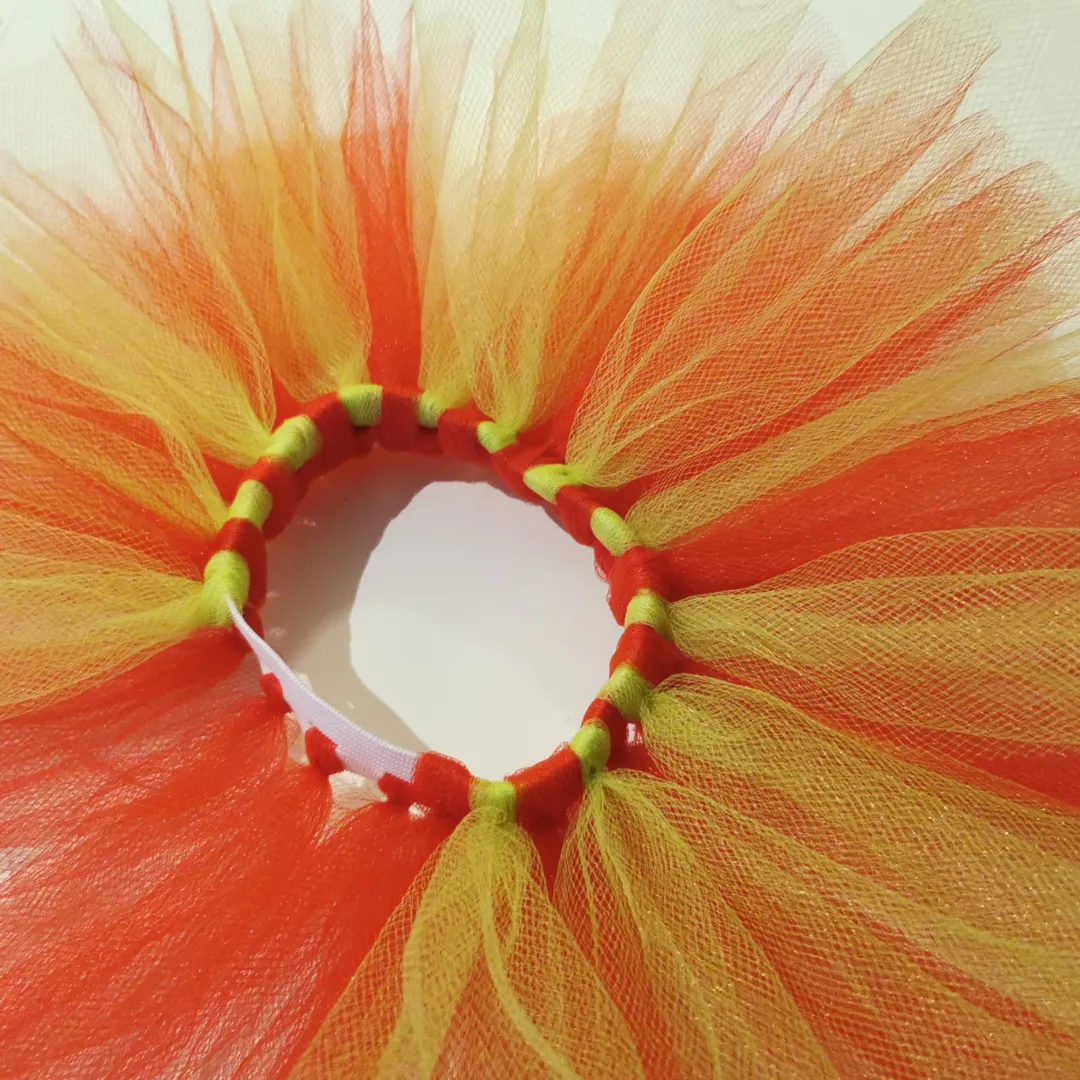
I already see the colors coming together, Christmas vibes coming through!
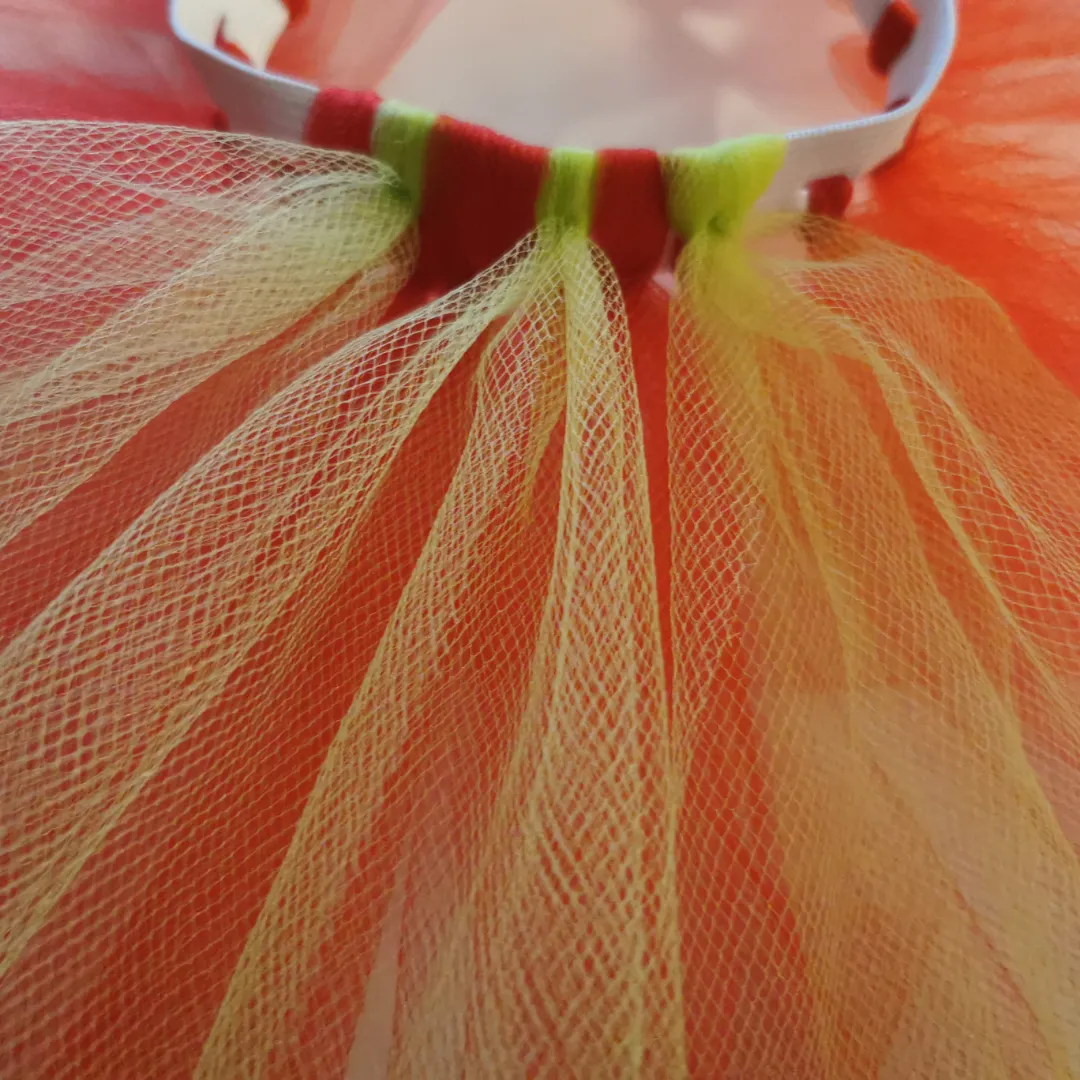
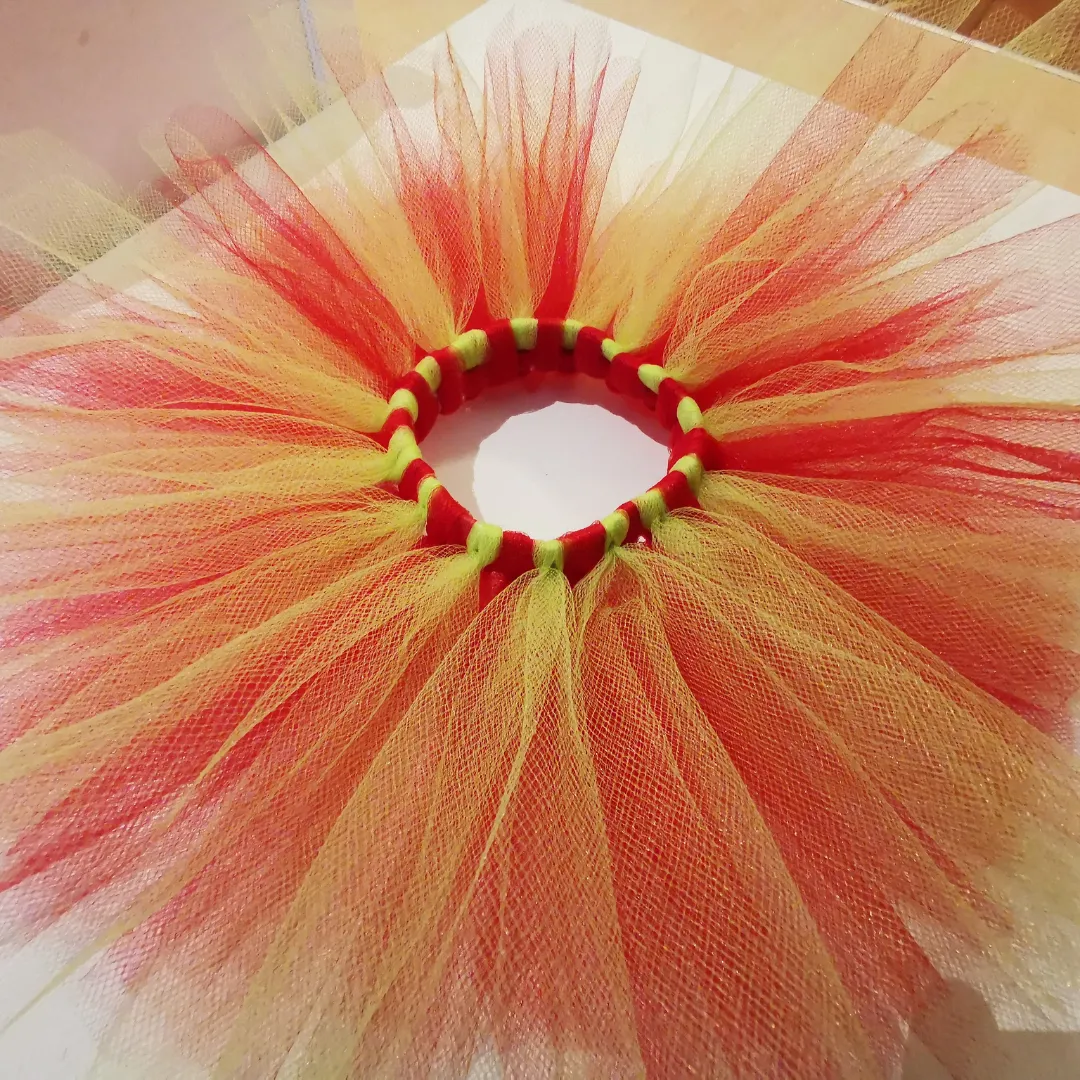
Here you can see the tutu when it was half-done. It's already very fluffy, as intended.
I love the color combination, don't you?
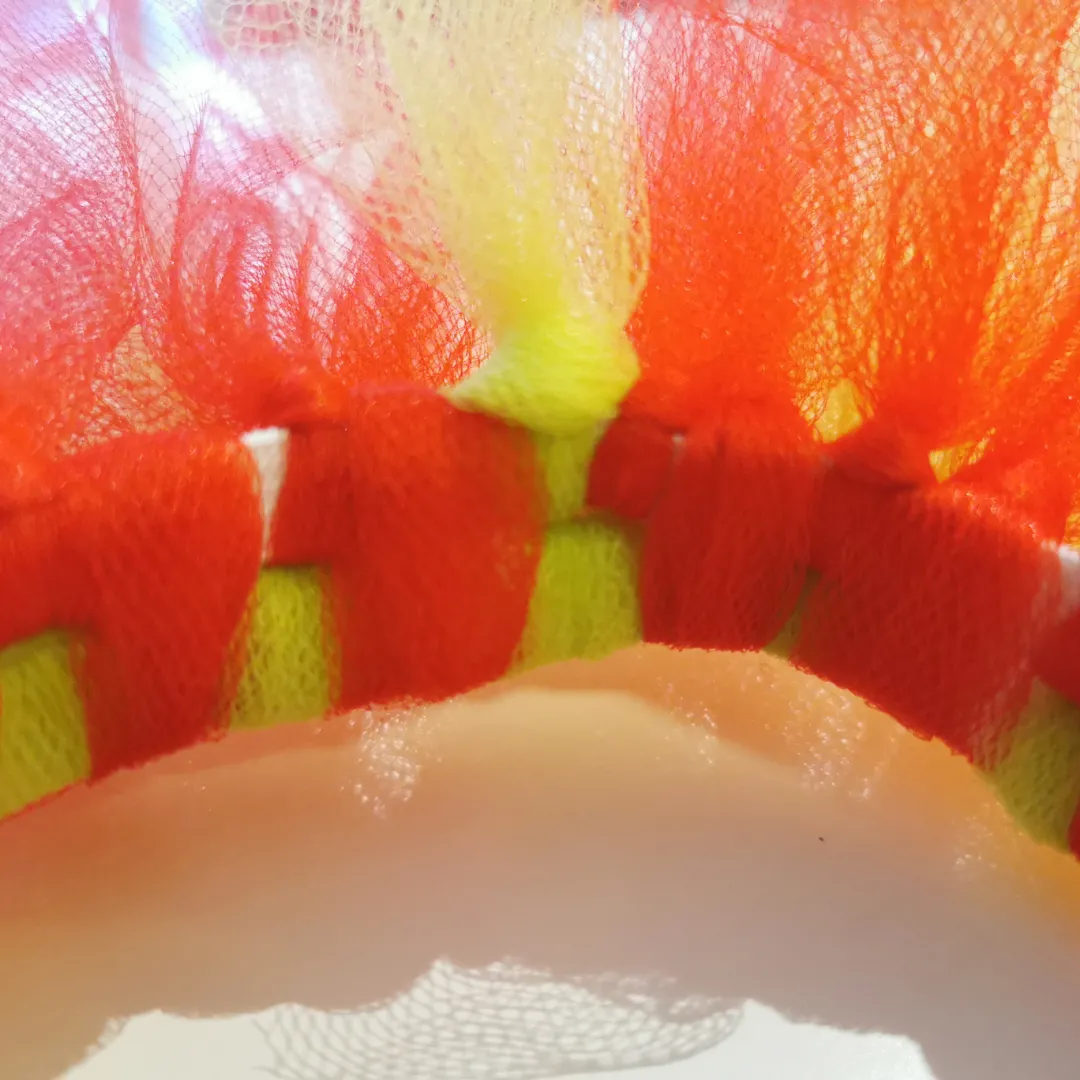
To make sure we won't see any elastic when the tutu stretches a bit, I also created a layer on the bottom side in between the short red knots. See the image above.
The End Result
And it's done! I absolutely love it!
If you have created your own tutu after reading this tutorial, I'd love to get a tag and of course, a picture of the end result!
Thank you for reading and see you next time!
Previous Parts of Christmas Crafts (2021)
Part 1: Felt Gnome
Part 2: Paper Xmas Tree
Previous Parts Of Christmas Crafts (2020)
Part 1: Christmas tree from cardboard
Part 2: Felt Christmas tree ornament
Part 3: Christmas Card from cardboard and foam
Part 4: Felt Gingerbread man Ornament
Part 5: 3x Cinnamon Tree Christmas Ornament Tutorial
Part 6: Felt Elf Christmas Hat Ornament
Part 7: Sledge From Wooden Sticks
Part 8: Personalized Felt Star Ornament
Part 9: Owl Ornament
Part 10: Personalized Felt Star Ornament 2
Part 11: Santa Napkin Holder
Part 12: Upcycling a failed Craft Project
Part 13: 3x Cinnamon Santa Ornament
Part 14: Paper Mache Christmas Wreath
Part 15: Decorating a Christmas wreath made from scratch
Part 16: Upcycling a can to Santa style
Part 17: Crafting an angel ornament
Part 18: Make your own gift box
Part 19: Baking and decorating our own Gingerbread House
Part 20: Crafting a Christmas tree from crepe paper
Part 21: Felt Christmas tree ornament
Part 22: Christmas Gift Labels
Part 23: Christmas Tree Snow Globe
Part 24: Santa Glove Ornament
Let's Connect
If you want to connect, give me a follow on my socials: