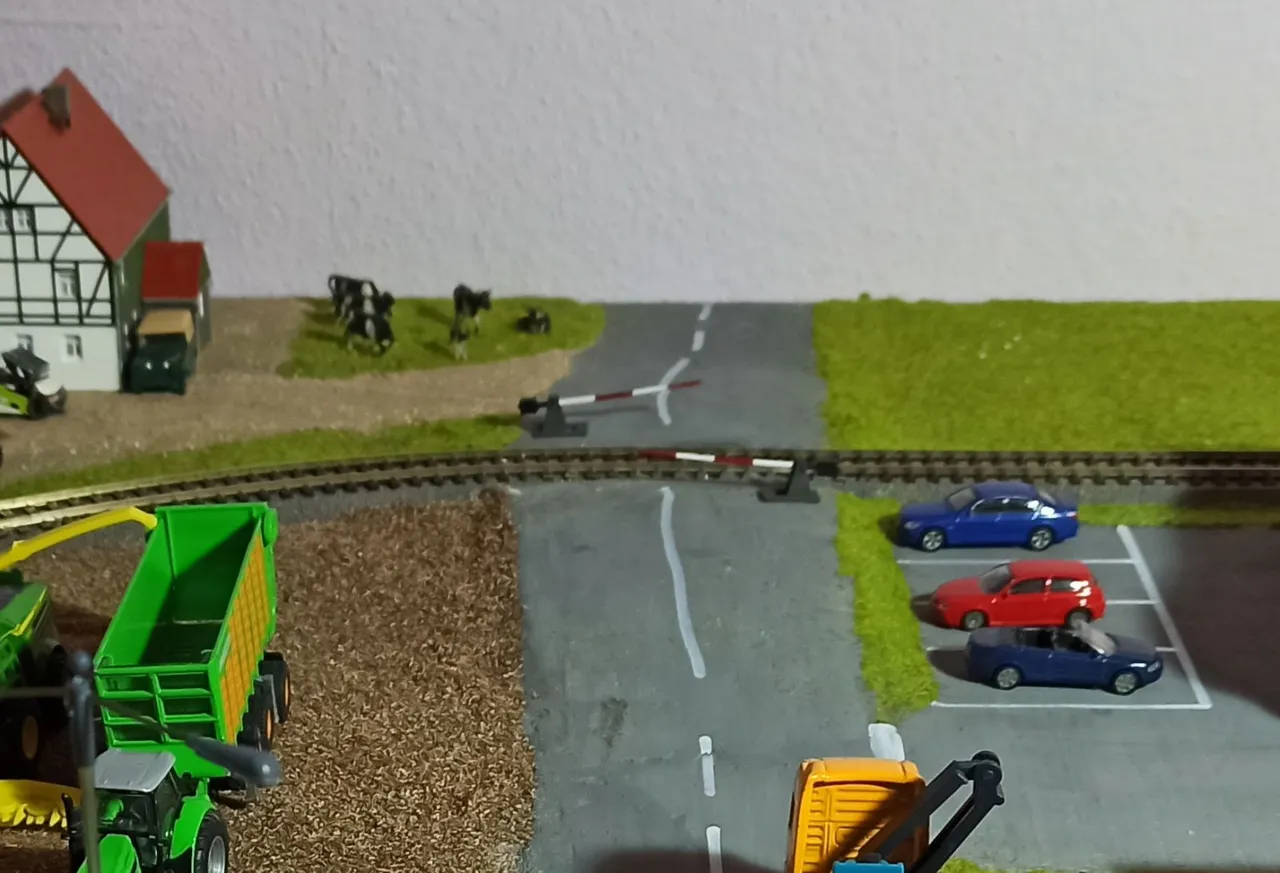
After finishing our work last sunday (see part 19) we realized that we have forgotten to create ramps for the railway crossing.
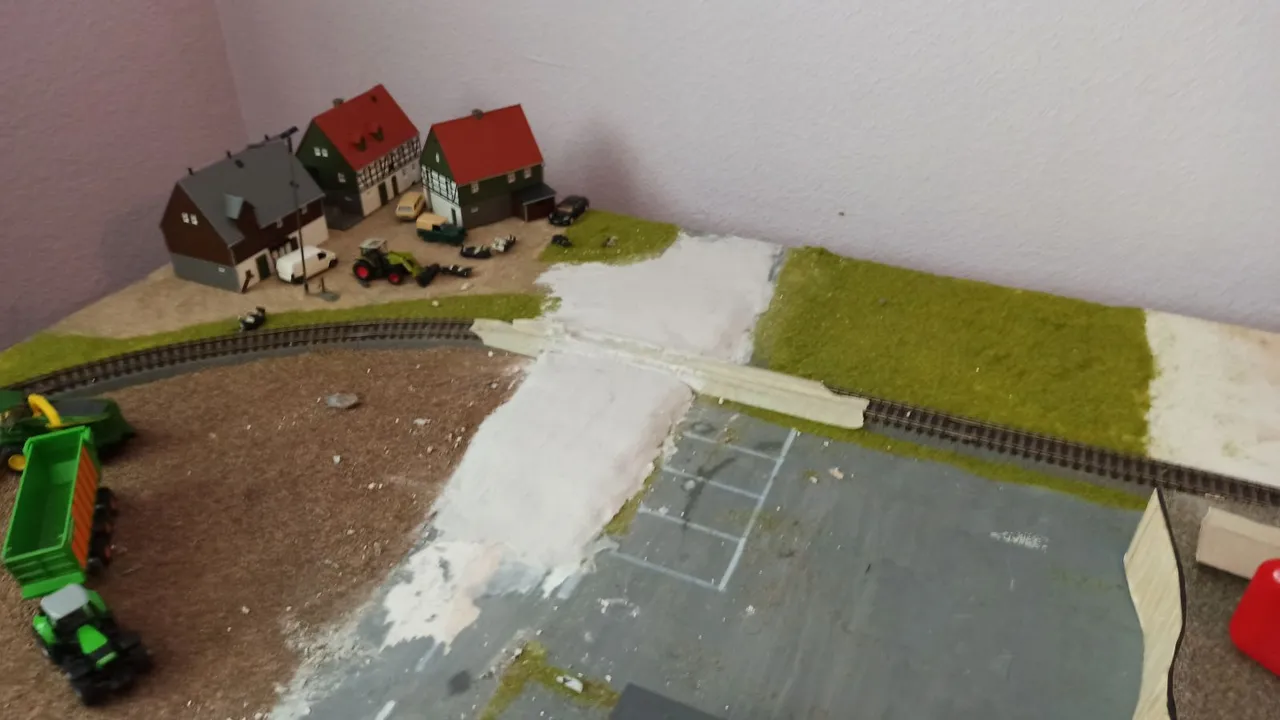
So I bought filler on Monday. On tuesday we created the ramps. As you can see we had to destroy some of the work we did the weekend before.
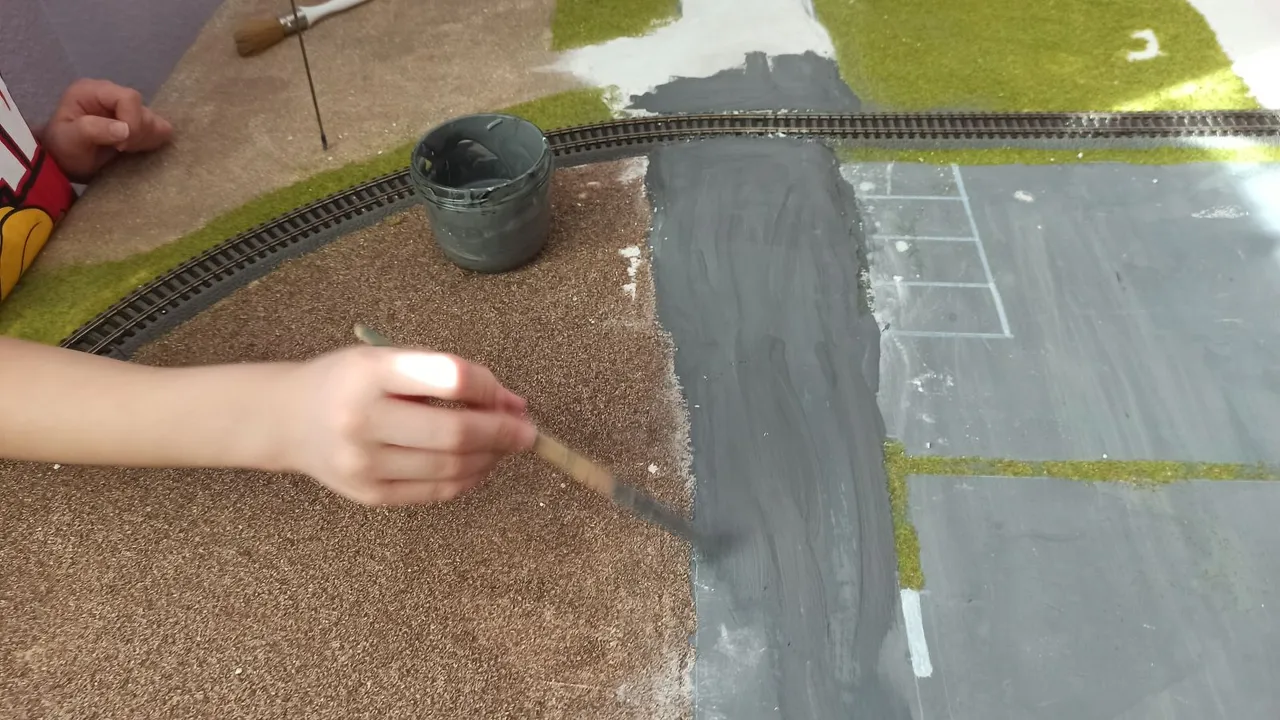
On Wednesday we were already able to re-paint all "asphalt" areas with universal craft paint.
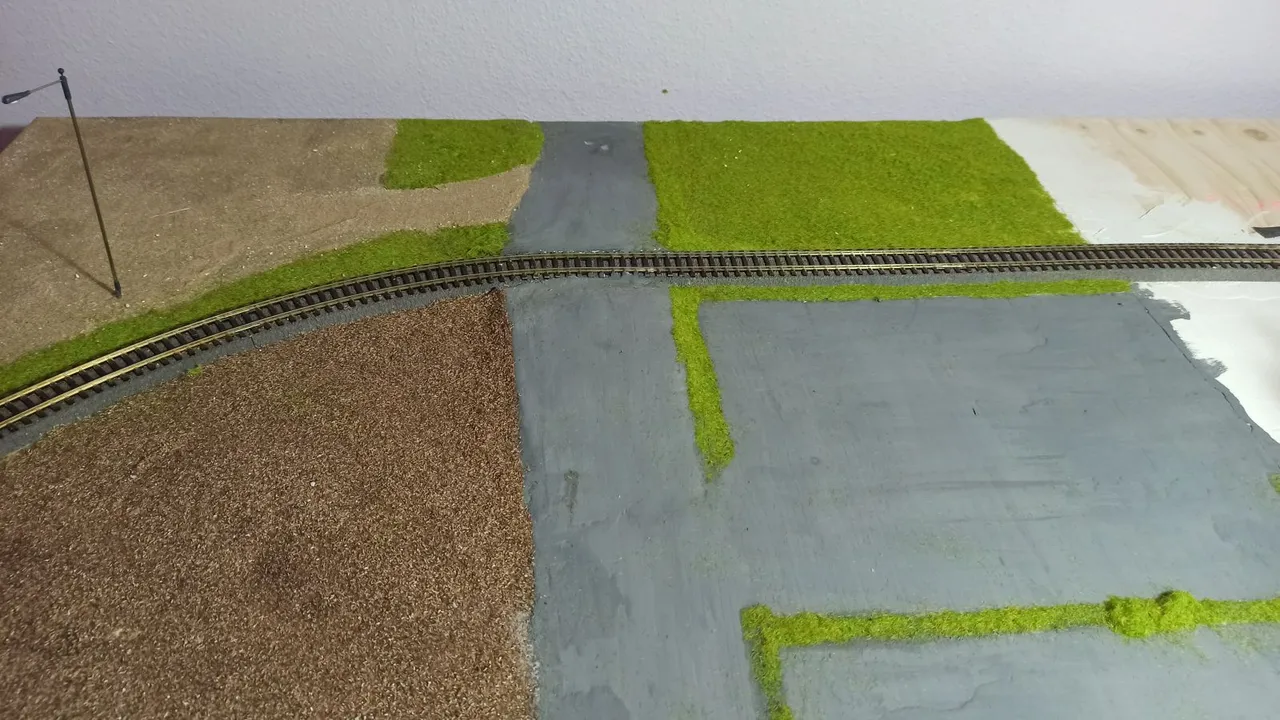
Today I reconstructed all grass and sand areas.
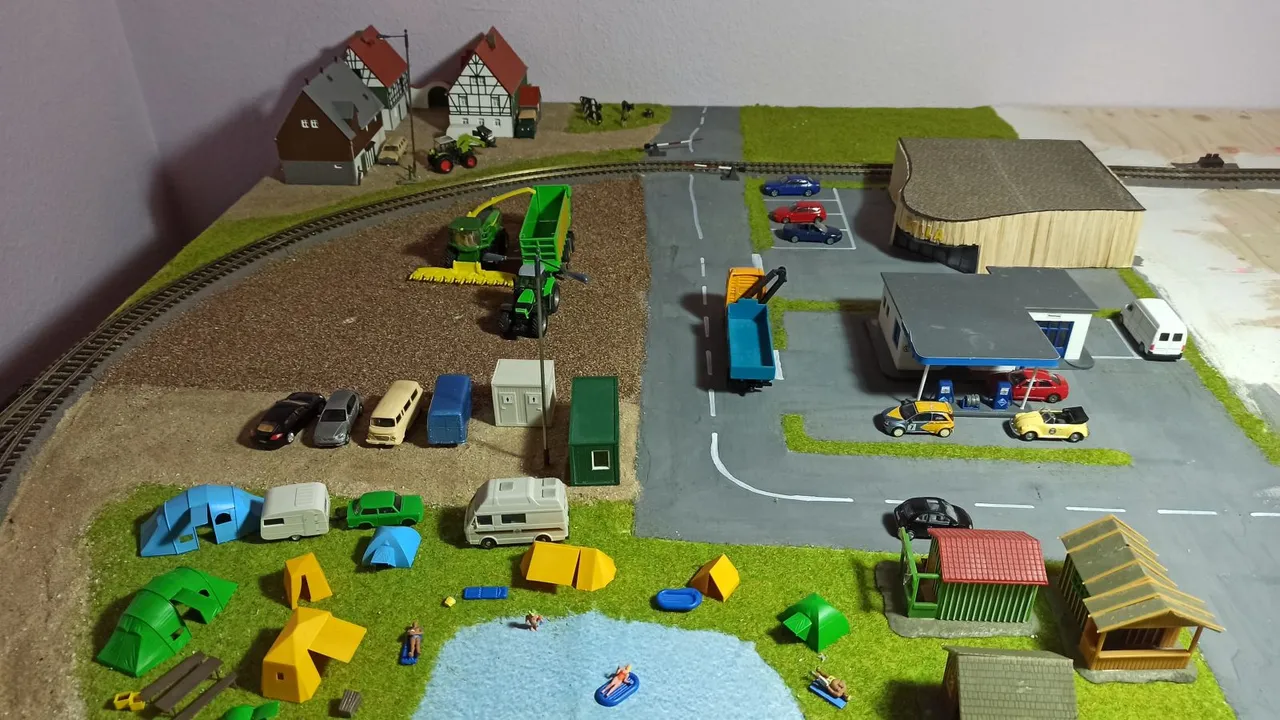
The railway barriers we used are quite simple ones from Noch. After painting the road markings with white edding marker (again not perfect, but ok for now), we finally re-arranged everything: the campground, the farm, the petrol station and the supermarket.
Now half of the area of our model train is finished, but the second half is going to be more difficult since we want to build a mountain with a tunnel. But before we do that we want to install more lights! This is going to mean a lot of soldering for me...
Previous posts:
Part 1: The Christmas present
Part 2: The petrol station
Part 3: How it all started
Part 4: My model car collection
Part 5: The farm
Part 6: My GDR collection
Part 7: The base plate
Part 8: Basic electricity
Part 9: Mounting the tracks
Part 10: DR railroad cars
Part 11: Electrifying the railway switches
Part 12: Electricity for the lights
Part 13: Another DR passenger car
Part 14: An electric drive for the second railway switch
Part 15: My website "scalemodel.photography"
Part 16: The self-made protective pad
Part 17: Moving the base plate to the final position
Part 18: The campground
Part 19: The petrol station and the farm