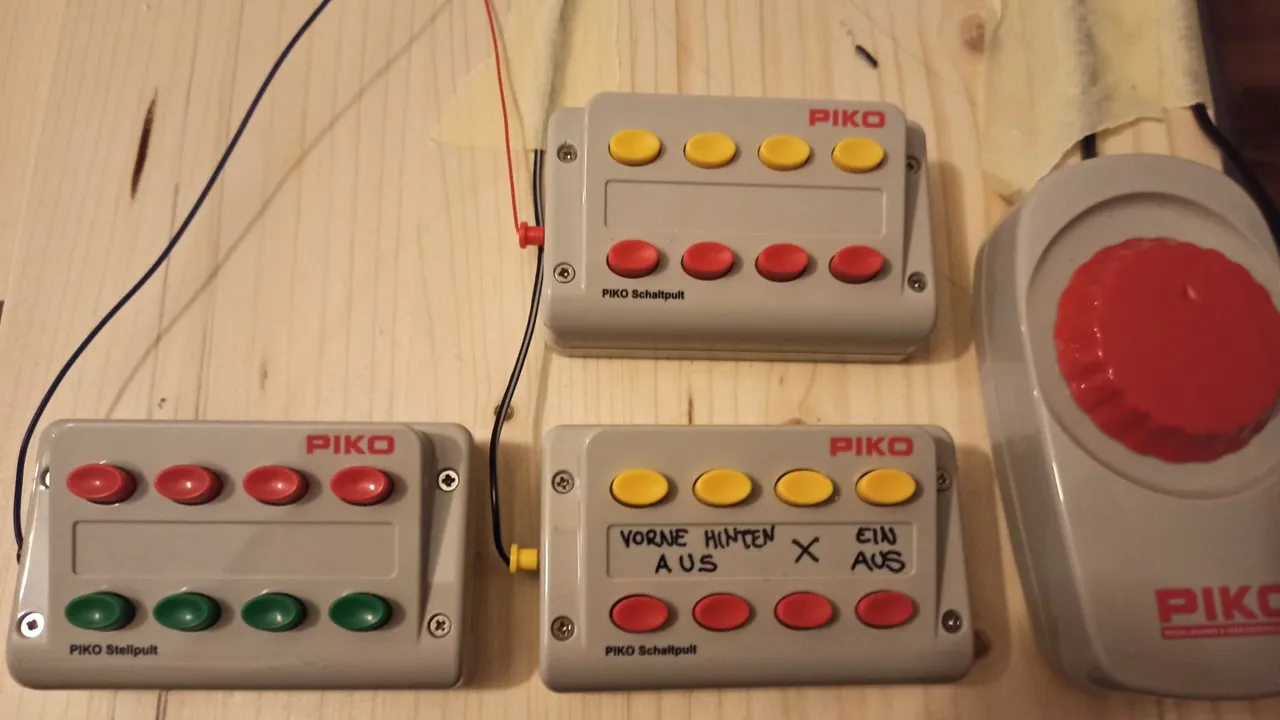
As I still had time today I started to install the basic electricity features. For the control of the traction current, the railway switches and the lights I bought those switches by Piko.
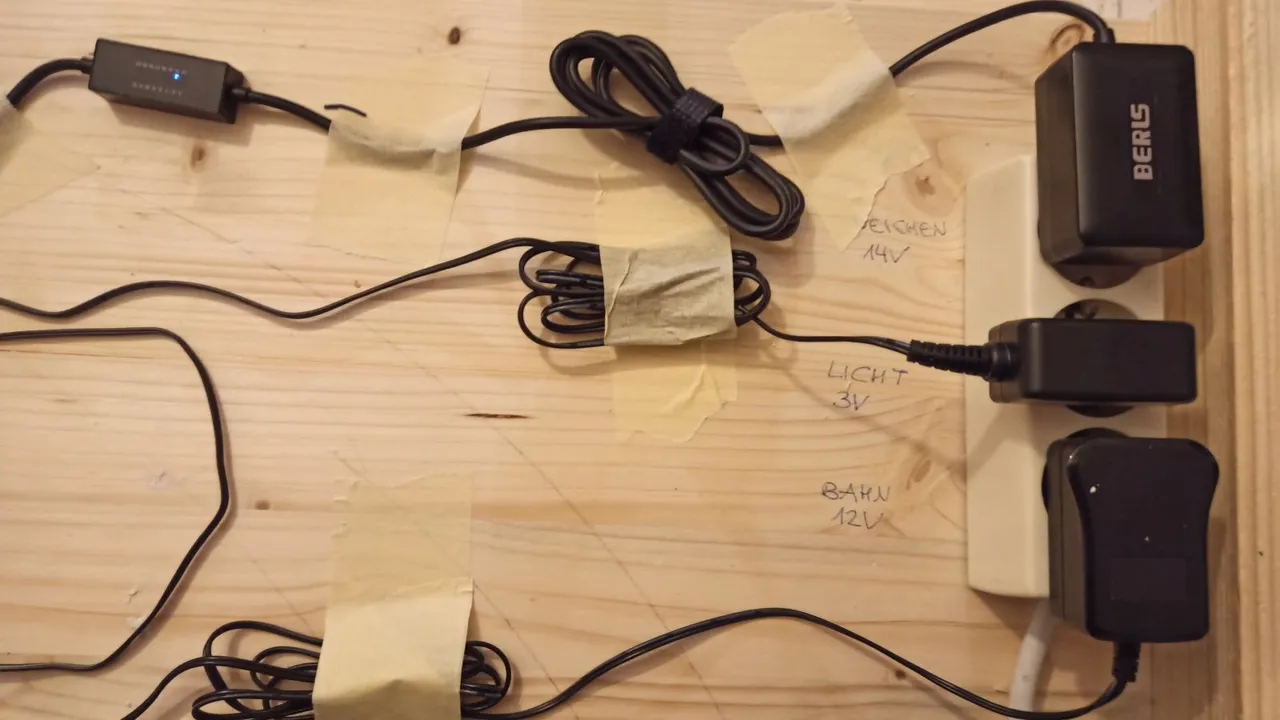
For the traction current I used the 12 V transformer that has been delivered with the train set. For the railway switches I use a universal 5-20 V transformer (the railway switches need 14 V) and for the lights I use a Steger 3 V transformer that was originally intended for dollhouses.
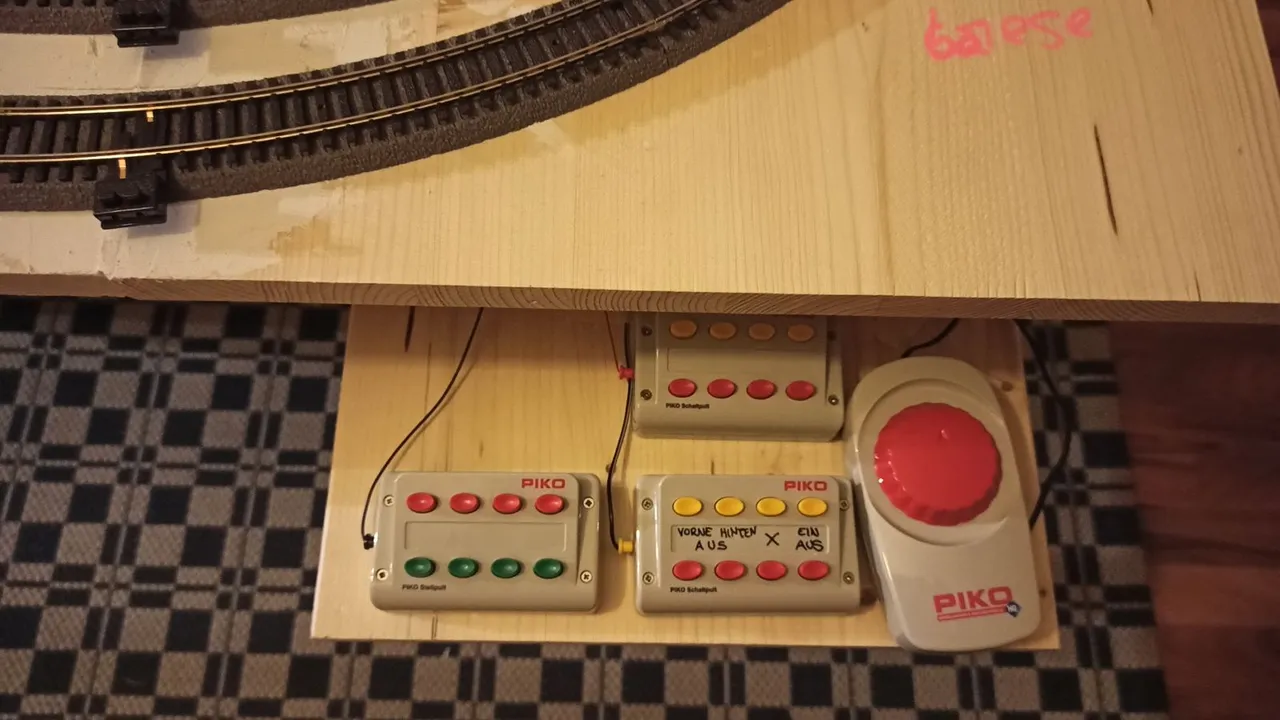
All controls are now mounted on a wooden board that I mounted below the model trains base plate so that the control is everything that my son (and potential younger guests) will see.
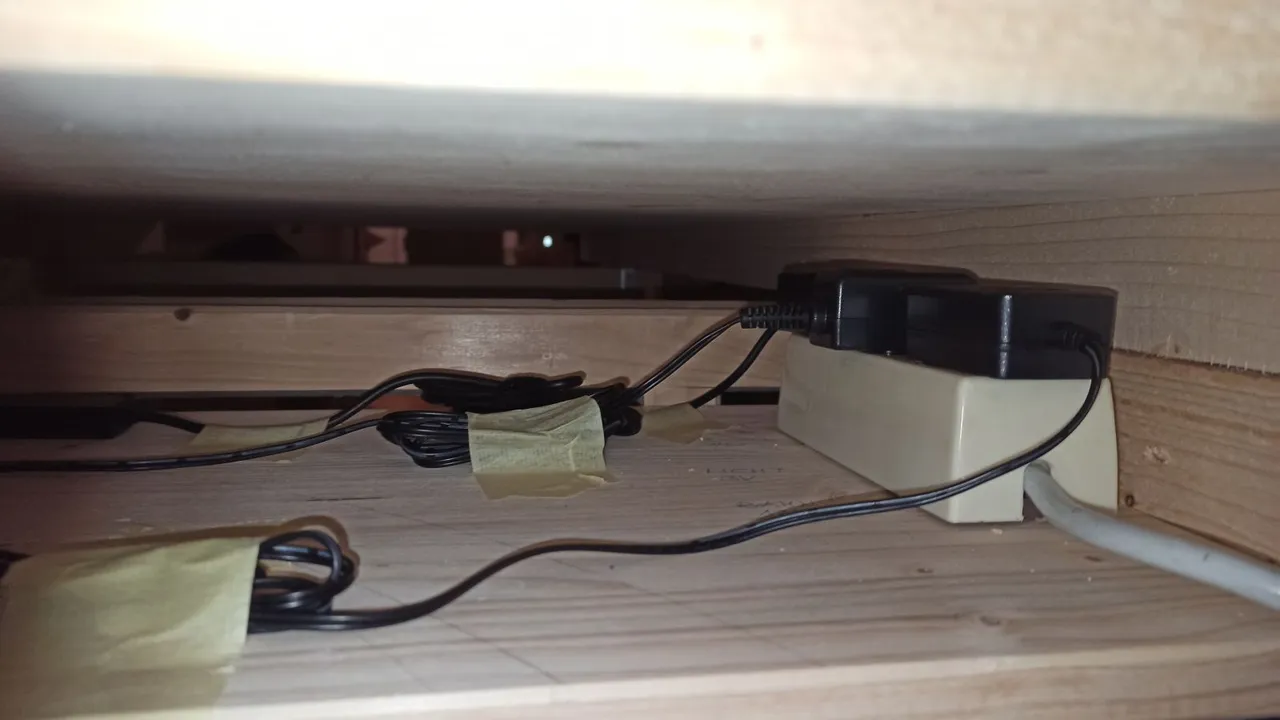
All other cables and plugs are hidden below the baseplate so that they do not disturb anyone but are still accessible for me.
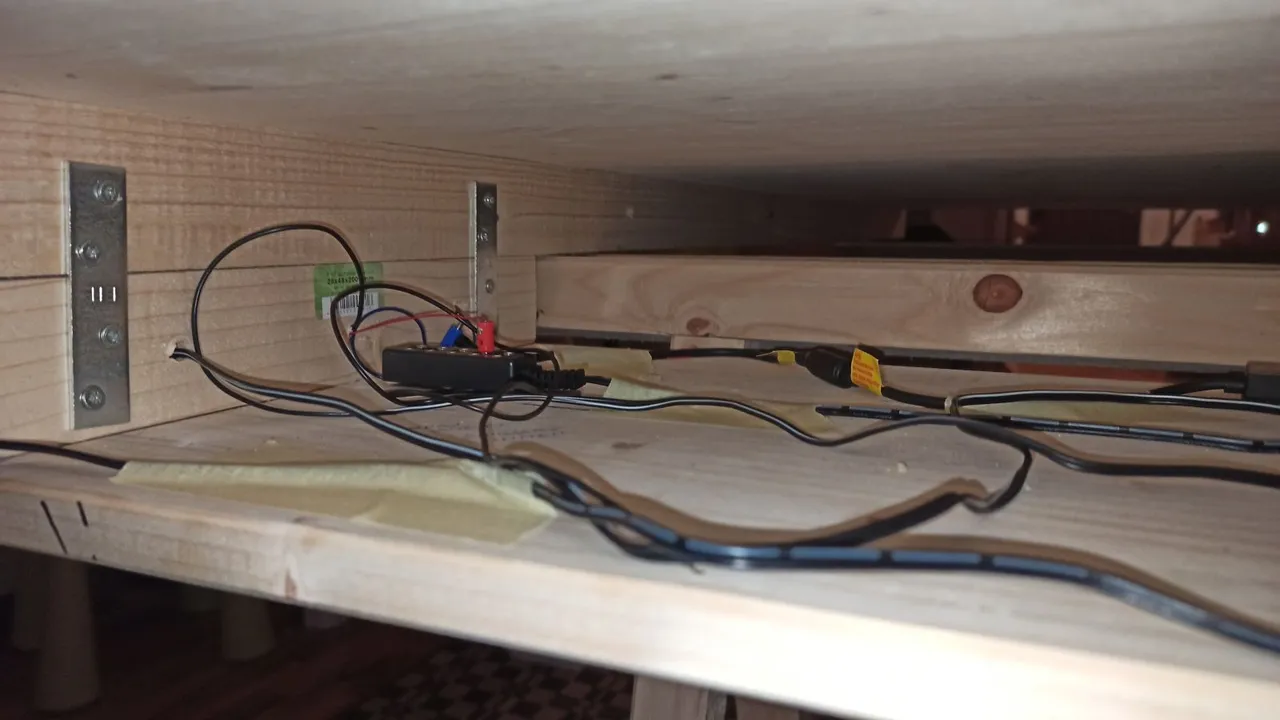
My goal was to hide all wiring as good as possible but still make it accessible for me in order to be able to install lights or other items within minutes. Well, the cables you see here are only the first ones and yes, I am going to use different tape for the final installation.
That's enough work for today - but there is still a lot to do for the next days. Our goal is to finish the work by Sunday so far that we can play with the train again.
Previous posts:
Part 2: The petrol station
Part 1: The Christmas present
Part 3: How it all started
Part 4: My model car collection
Part 5: The farm
Part 6: My GDR collection
Part 7: The base plate