Saludos a todos los Hivers de esta hermosa comunidad de #Hivefood, hoy les presento una receta para endulzar el paladar y al mismo disfrutar de una fruta cargada de vitamina C como lo es la parchita también conocida como Maracuyá. La inspiración de esta receta es para recordar a mi madre quien además de tener una buena sazón y gusto para preparar platos exquisitos, preparaba unos grandiosos postres. La tarta se puede preparar de distintos sabores, pero la elección de la parchita es ideal para hacer ese contraste especial entre lo dulce y lo ácido, particularmente a mí me encantan los sabores ácidos en los postres porque evitan que me empalaguen lo que disfruto.
Greetings to all the Hivers of this beautiful #Hivefood community, today I present a recipe to sweeten the palate and at the same time enjoy a fruit loaded with vitamin C as is the parchita also known as passion fruit. The inspiration for this recipe is to remember my mother who besides having a good seasoning and taste to prepare exquisite dishes, prepared some great desserts. The tart can be prepared in different flavors, but the choice of parchita is ideal to make that special contrast between sweet and sour, I particularly love sour flavors in desserts because they prevent me from cloying what I enjoy.
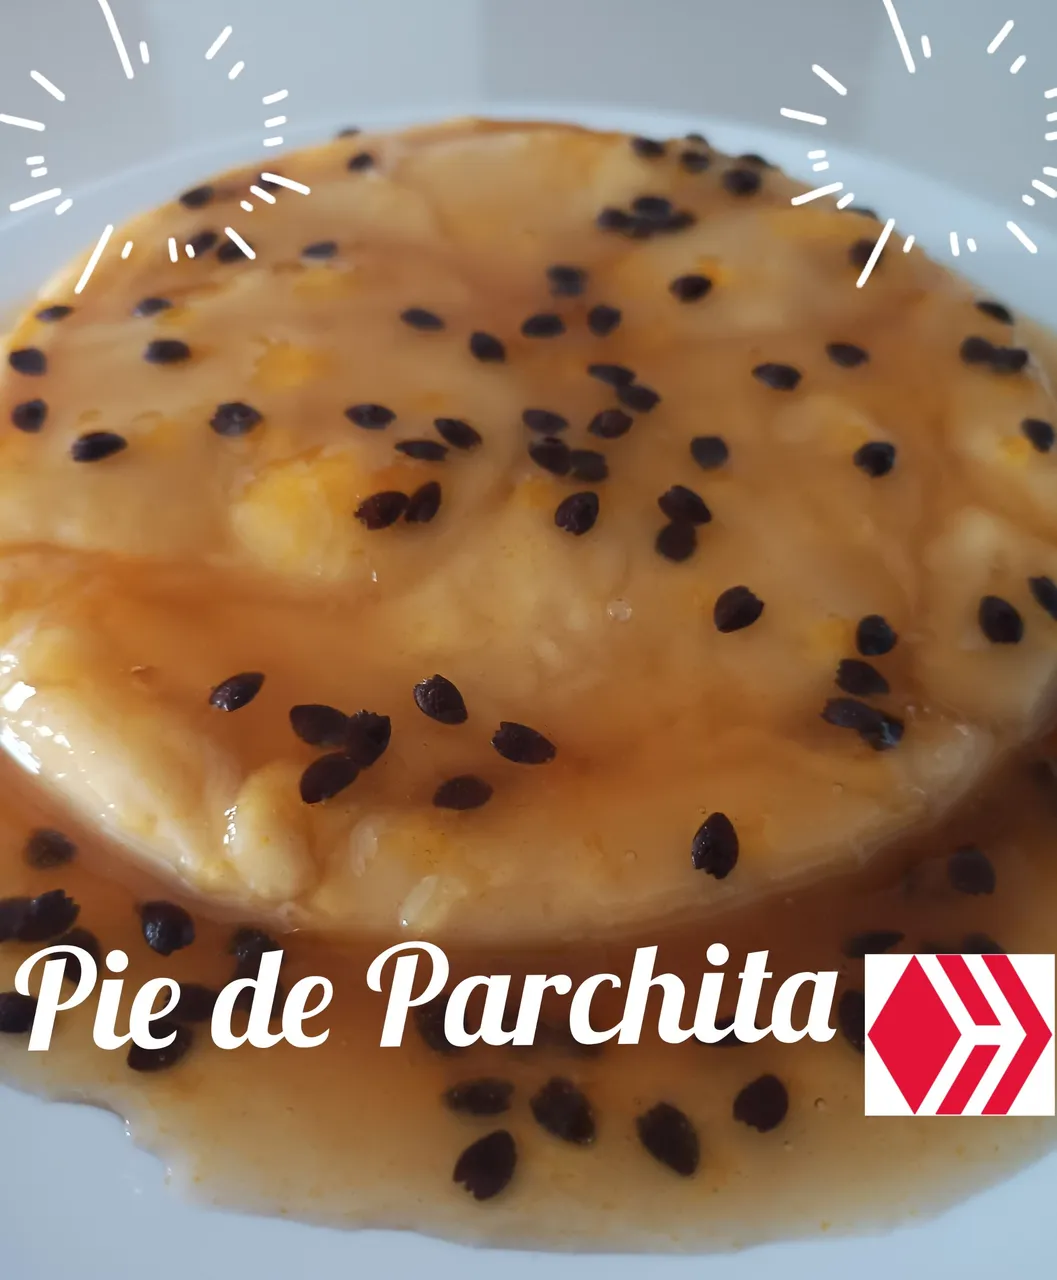
Este pie de parchita no requiere horno, al contrario se prepara muy sencillo y solo necesitamos organizarnos con los ingredientes. Existe una gran variedad postres en este estilo, pero considero que cada quien le pone su toque personal y el sabor lo logramos con el amor le agregamos a la receta.
This parchita pie does not require an oven, on the contrary, it is very easy to prepare and we only need to get organized with the ingredients. There is a great variety of desserts in this style, but I believe that everyone puts their own personal touch and the flavor is achieved with the love we add to the recipe.
Ingredientes: / Ingredients:

Los ingredientes que señalo a continuación permitirá obtener un pie de parchita para cuatro personas aproximadamente, considerando una porción mediana para cada quien.
The following ingredients will make a parchita tart for approximately four people, considering a medium portion for each person.
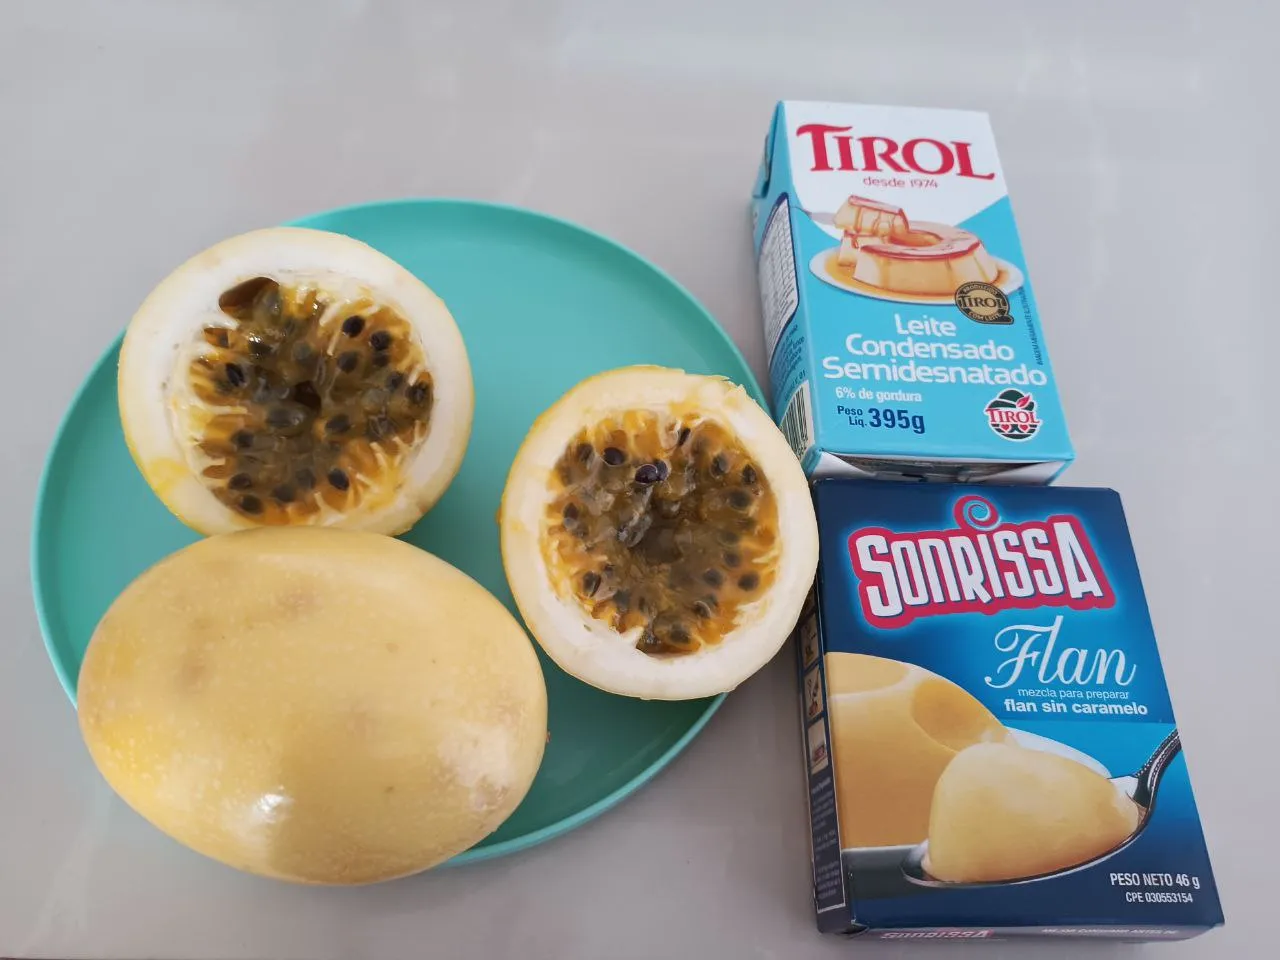
- 220 gr. de parchita. (02 parchitas)
- 200 gr. de leche condesada.
- 46 gr. de flan de sabor carmelo.
- 03 cucharadas de leche en polvo.
- 03 cuchadadas de azúcar.
- Agua Potable.
- 220 gr. of parchita (02 parchitas).
- 200 gr. of condensed milk.
- 46 gr. of carmel-flavored flan.
- 03 spoonfuls of powdered milk.
- 03 spoonfuls of sugar.
- Drinking water.

Preparación: / Preparation:
La preparación he usado una quesillera, la licuadora, colador, olla, batidor de mano, y varios recipientes para procesar los ingredientes.
The preparation I have used a cheese maker, blender, strainer, pot, whisk, and various containers to process the ingredients.

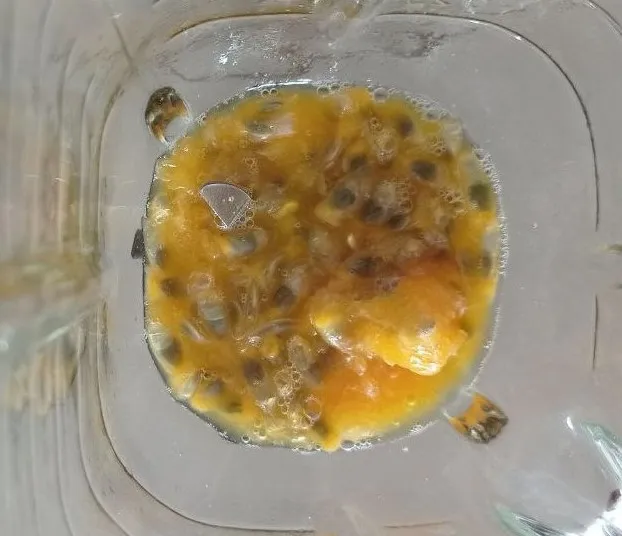
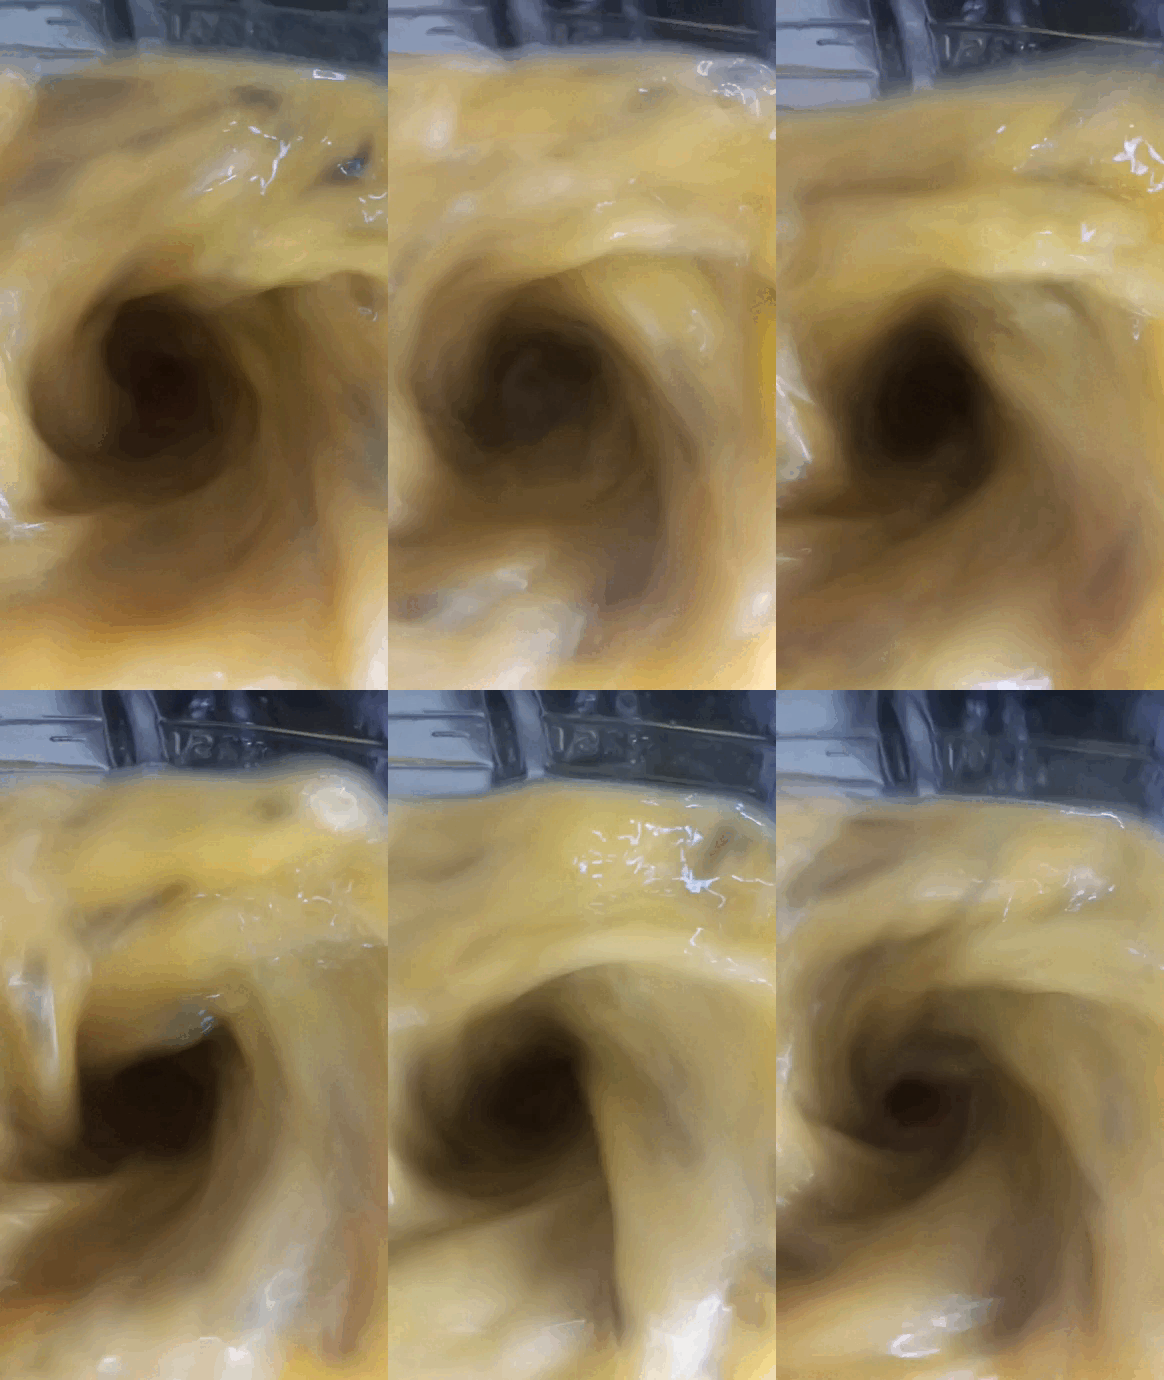
Paso 1: Inicie con la protagonista de la tarta, es decir la parchita que es lo que definirá el sabor. Por eso serví el contenido de una parchita en la licuadora para preparar el juego que voy a agregar a la mezcla de la tarta. Como pueden ver luego de servir la parchita, agregue media taza de agua y licúe, luego use el colador para extraer el jugo y dejarlo reposar a temperatura ambiente.
Step 1: Start with the protagonist of the cake, that is, the parchita, which is what will define the flavor. That is why I poured the contents of a parchita in the blender to prepare the set that I will add to the cake mixture. As you can see after serving the parchita, add half a cup of water and blend, then use the strainer to extract the juice and let it sit at room temperature.

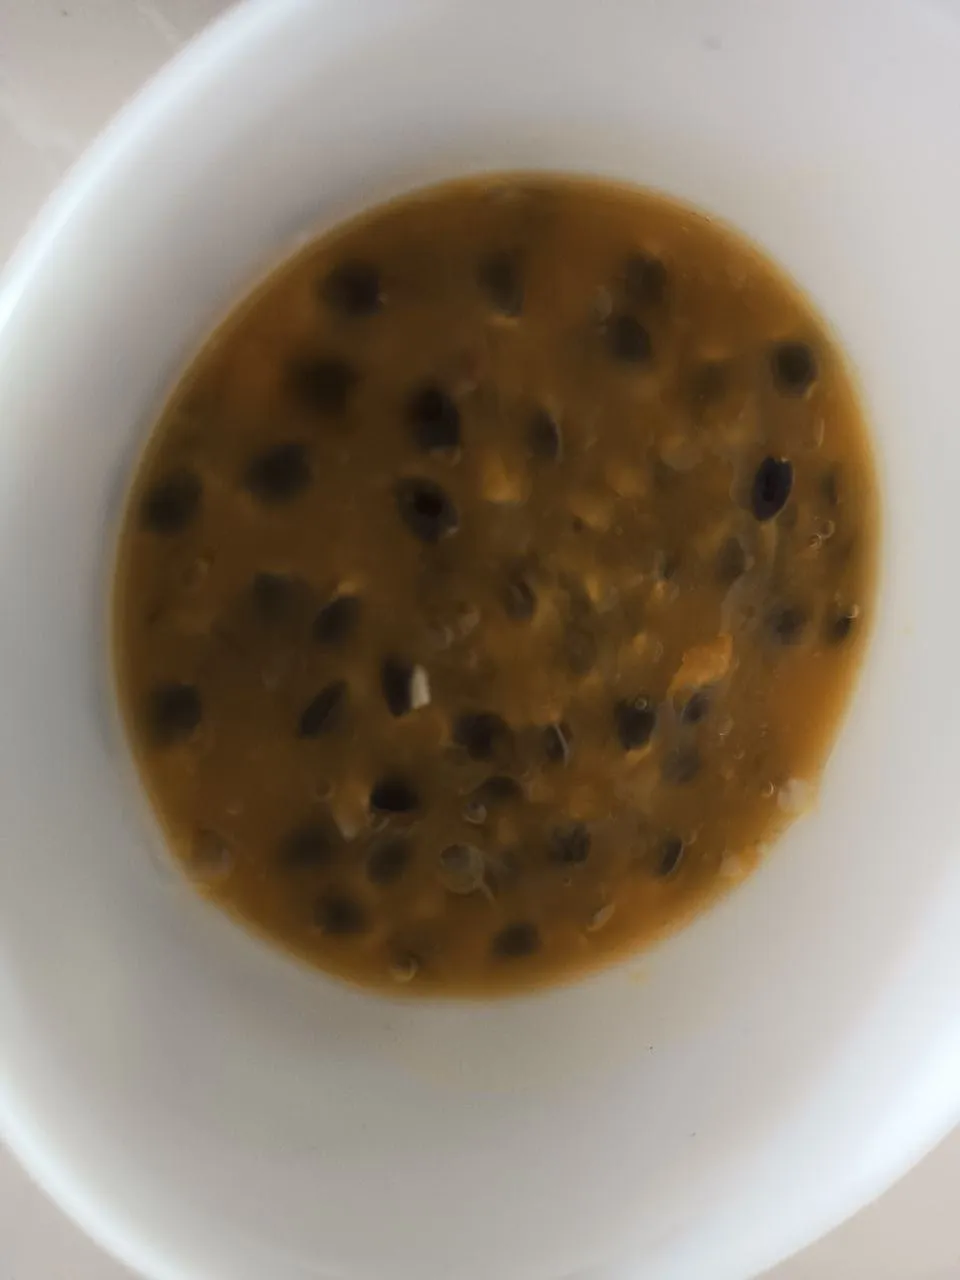
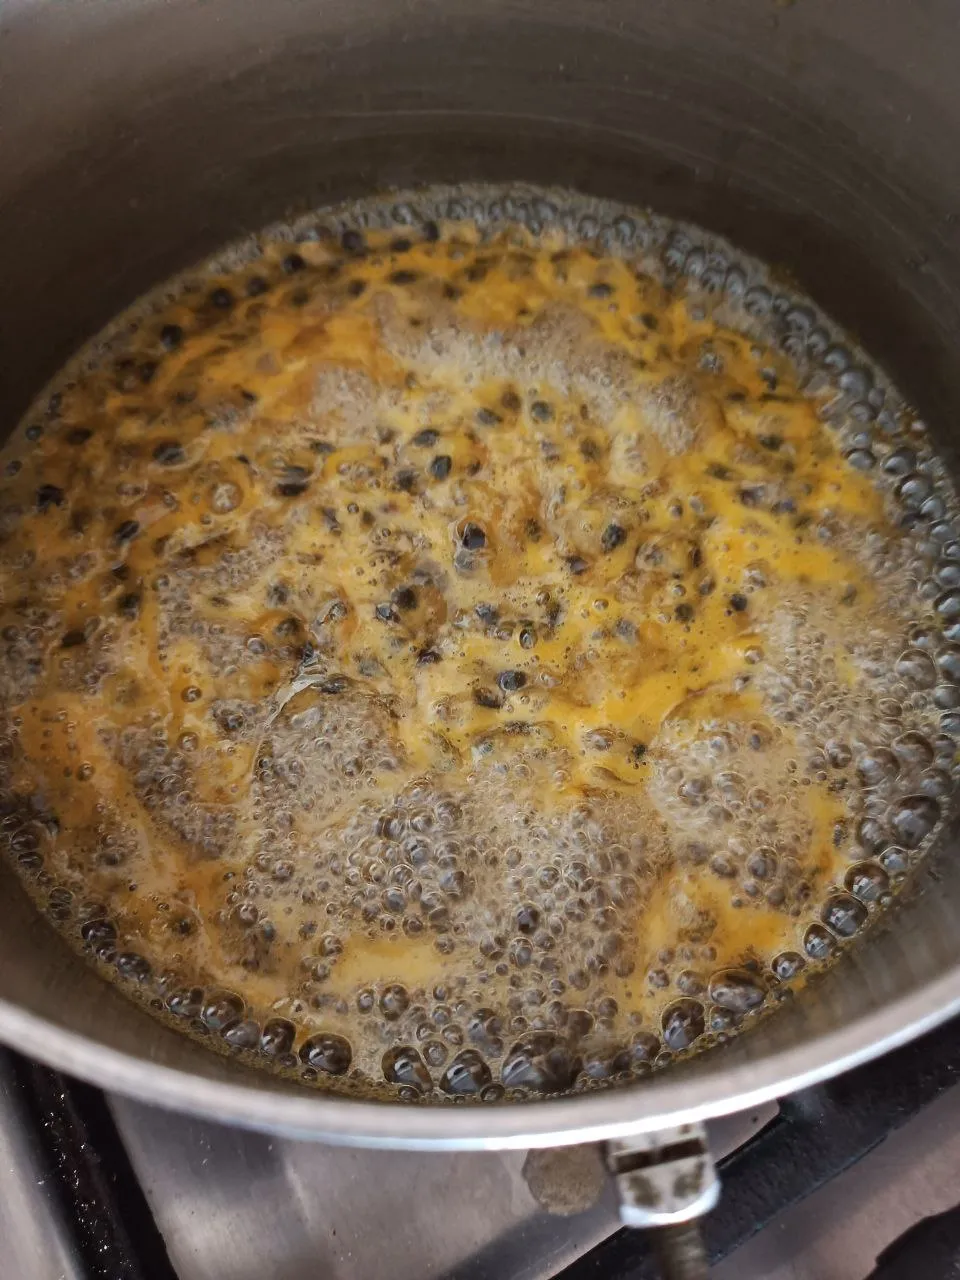
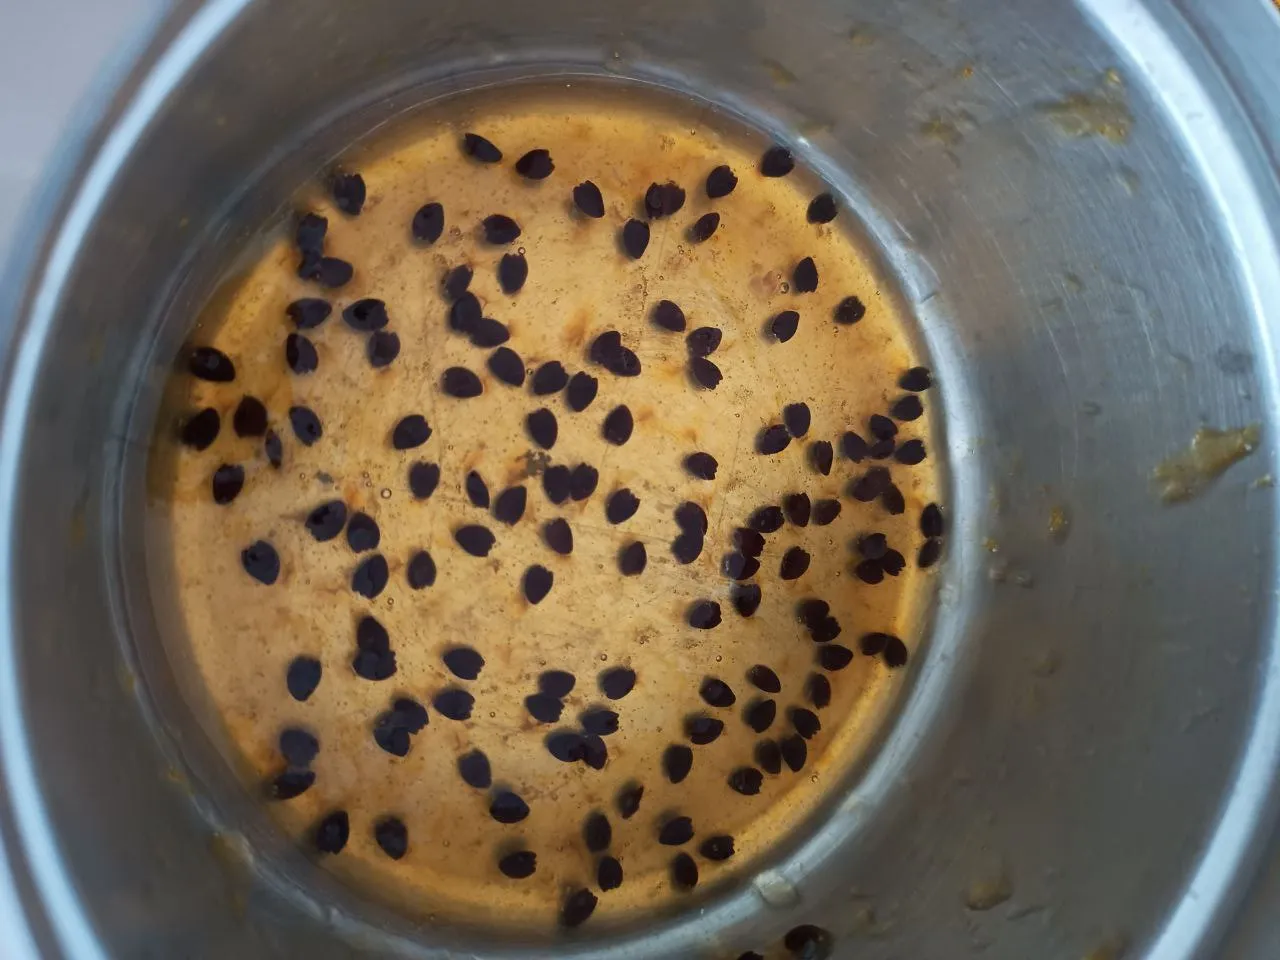
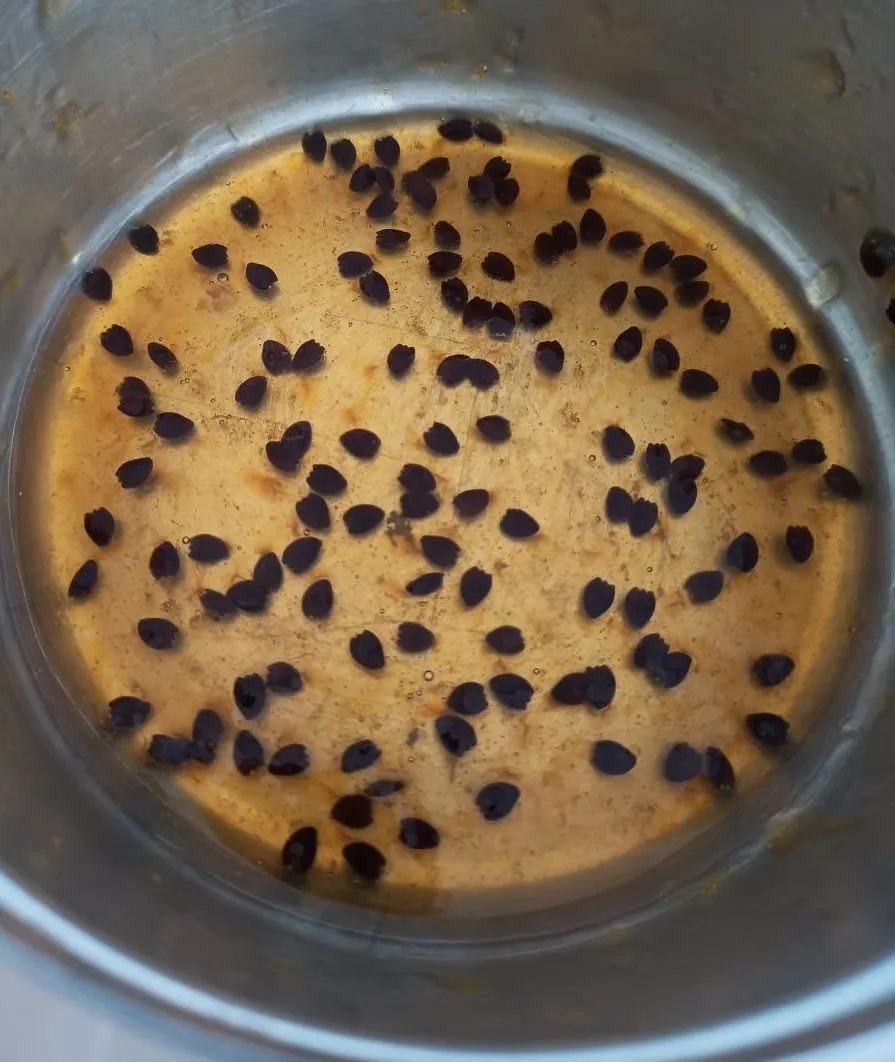
Paso 2: En este paso continúo con la parchita y se trata de preparar el caramelo de parchita que servirá para cubrir la tarta. Para eso serví la otra parchita en un recipiente. Y luego agregue en la quesillera las cucharadas de azúcar para colocar a hervir junto a la parchita, hasta lograr que espesé y tome el estado caramelizado. Luego lo apague y deje reposar mientras me fui a preparar el flan.
Step 2: In this step I continue with the parchita and prepare the parchita caramel that will be used to cover the cake. For that I served the other parchita in a bowl. And then add in the cheese maker the spoonfuls of sugar to boil together with the parchita, until it thickens and takes the caramelized state. Then I turned it off and let it rest while I went to prepare the flan.
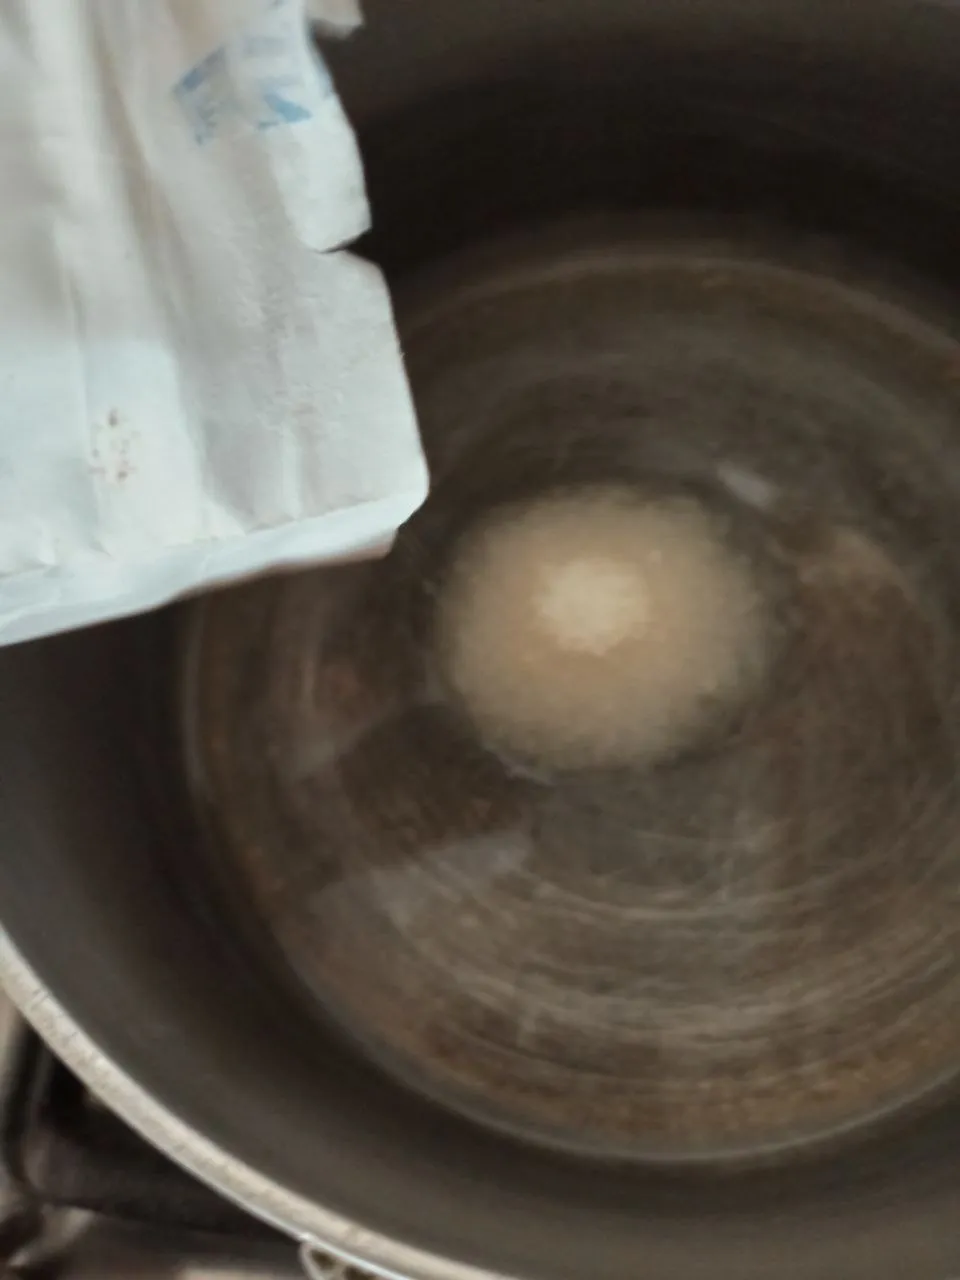

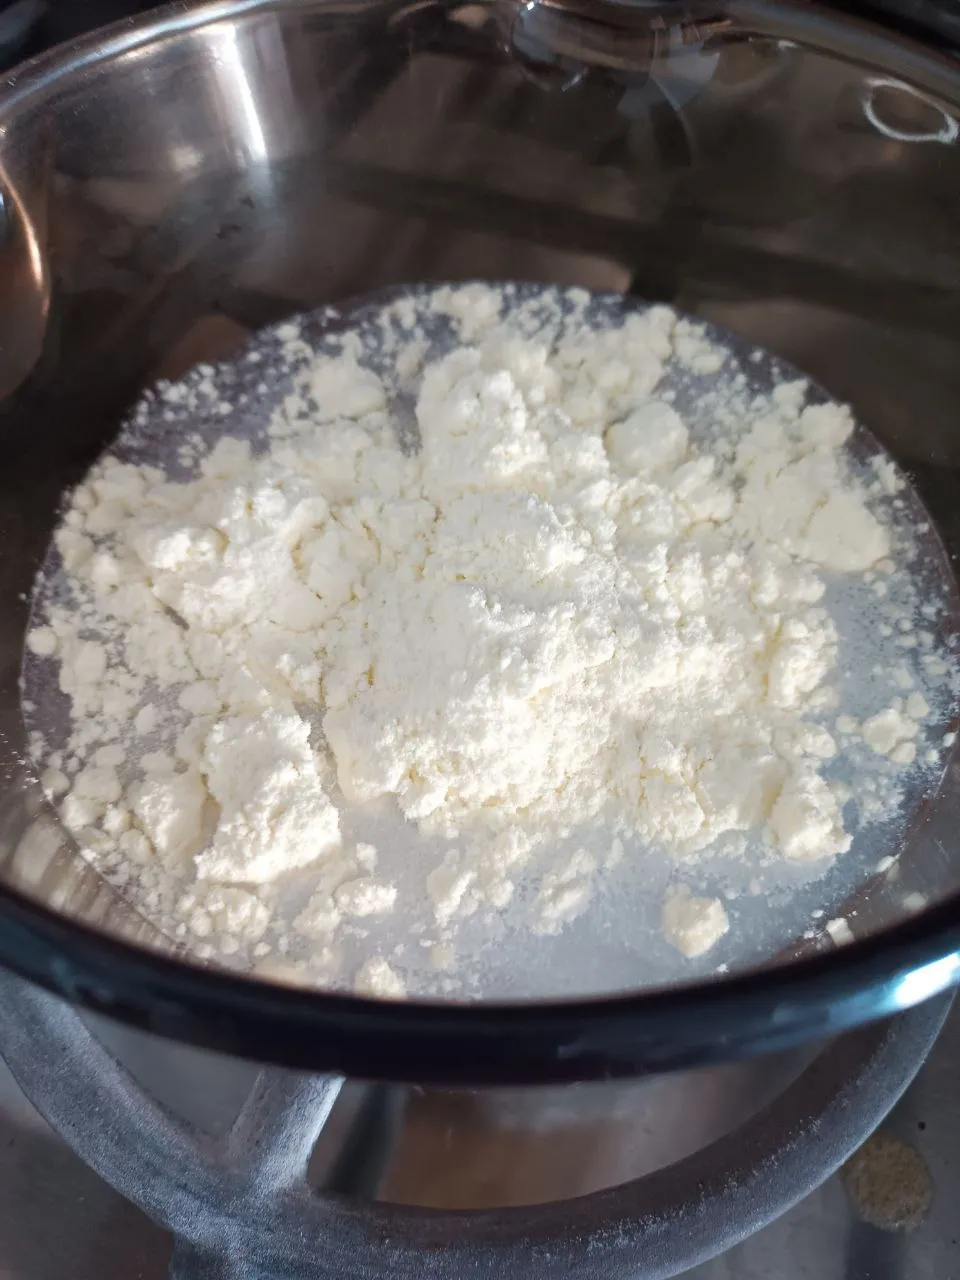
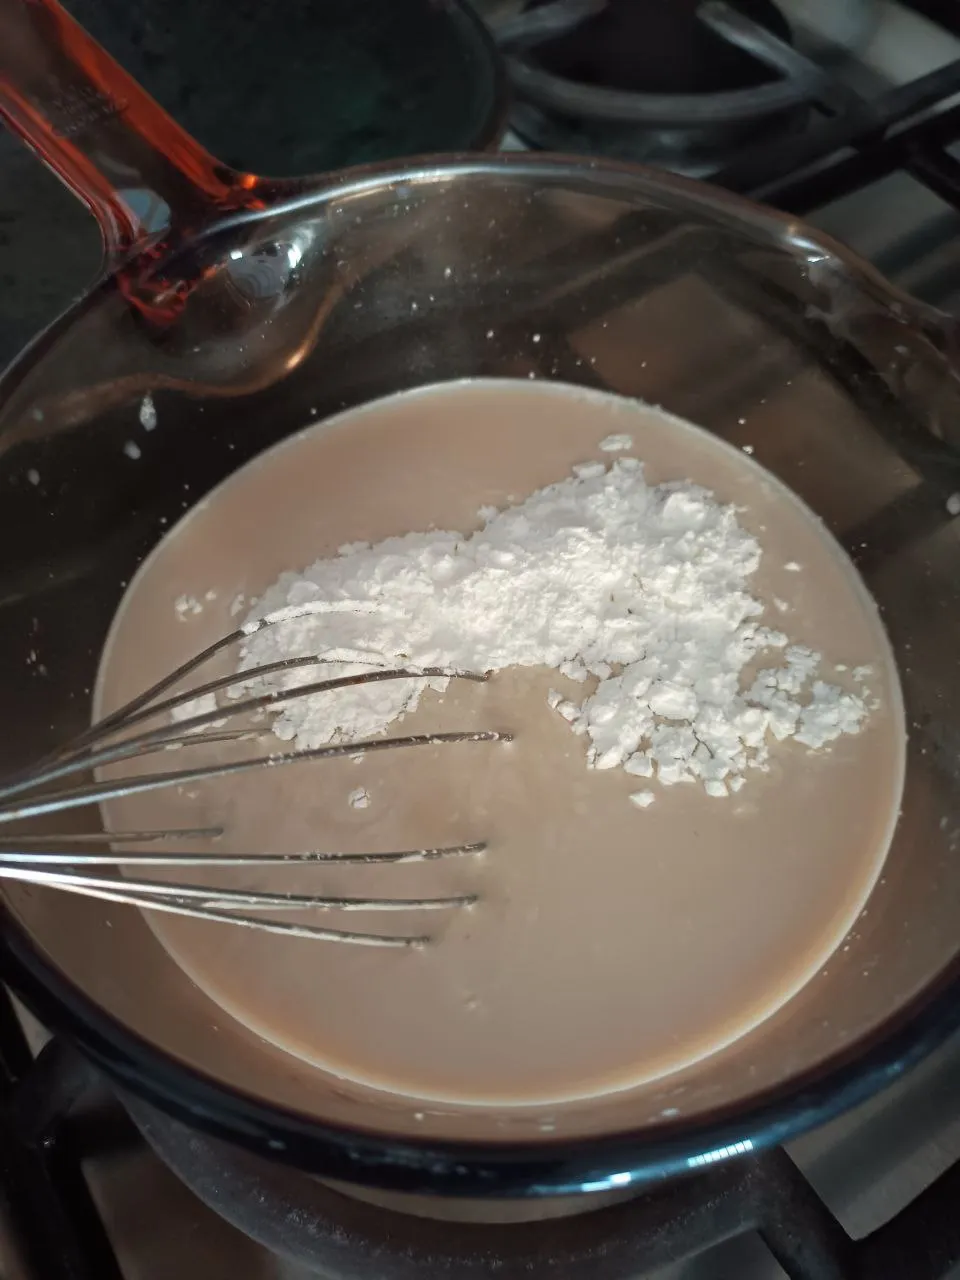
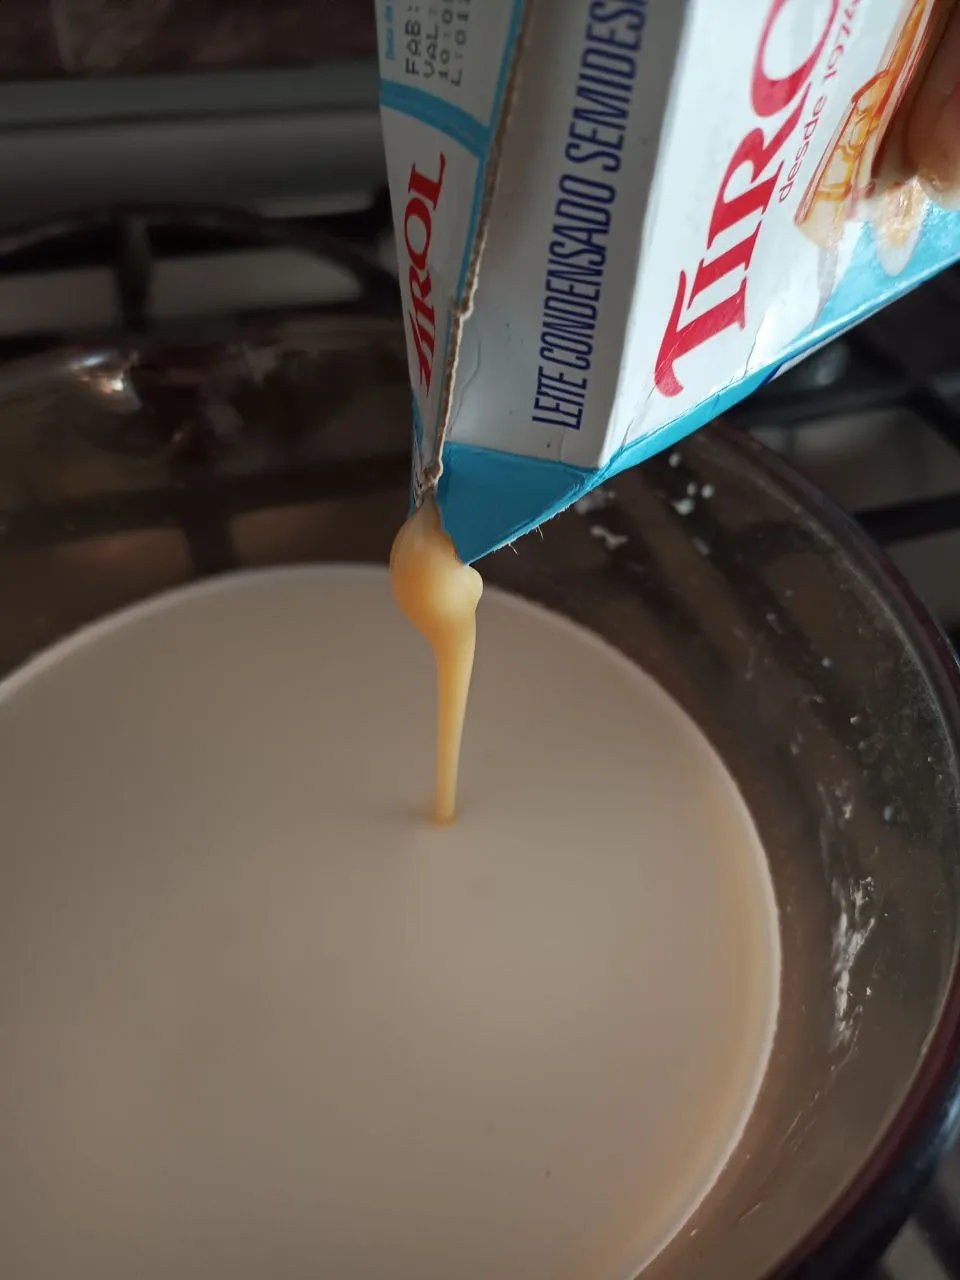
Paso 3: Ahora serví en una olla dos tazas de agua potable, y las tres cucharadas de leche en polvo, use el batidor de mano para mezclar, luego tomé el envase de leche condensada y serví aproximadamente solo 200 gr, que es realmente suficiente para esta receta.
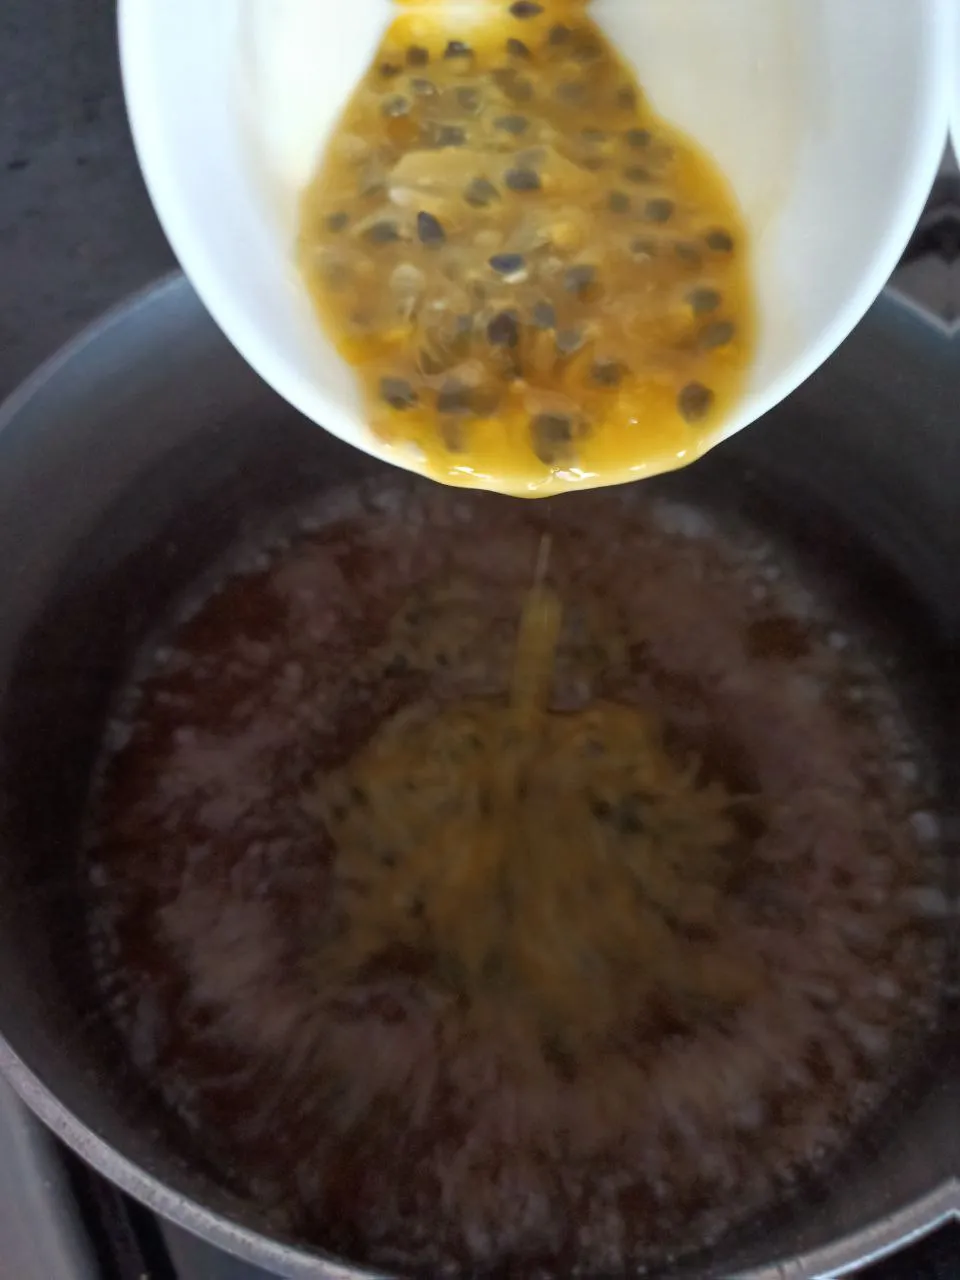
Luego de batir el flan la leche condensada, también agregue el contenido del Flan que estoy usando en esta receta de marca Sonrisa, y es de sabor caramelo. Por último, agregue la taza de jugo de parchita previamente preparado y así obtuve la mezcla de todos los ingredientes. Podrán observar que no agregue azúcar, porque el dulce del flan y la leche condensada es suficiente.
Step 3: Now I poured in a pot two cups of drinking water, and the three tablespoons of powdered milk, I used the whisk to mix, then I took the container of condensed milk and poured approximately only 200 grams, which is really enough for this recipe. After whipping the flan the condensed milk, I also added the contents of the Flan that I am using in this recipe Sonrisa brand, and it is caramel flavor. Finally, add the cup of parchita juice previously prepared and thus I obtained the mixture of all the ingredients. You will notice that I did not add sugar, because the sweetness of the flan and the condensed milk is enough.
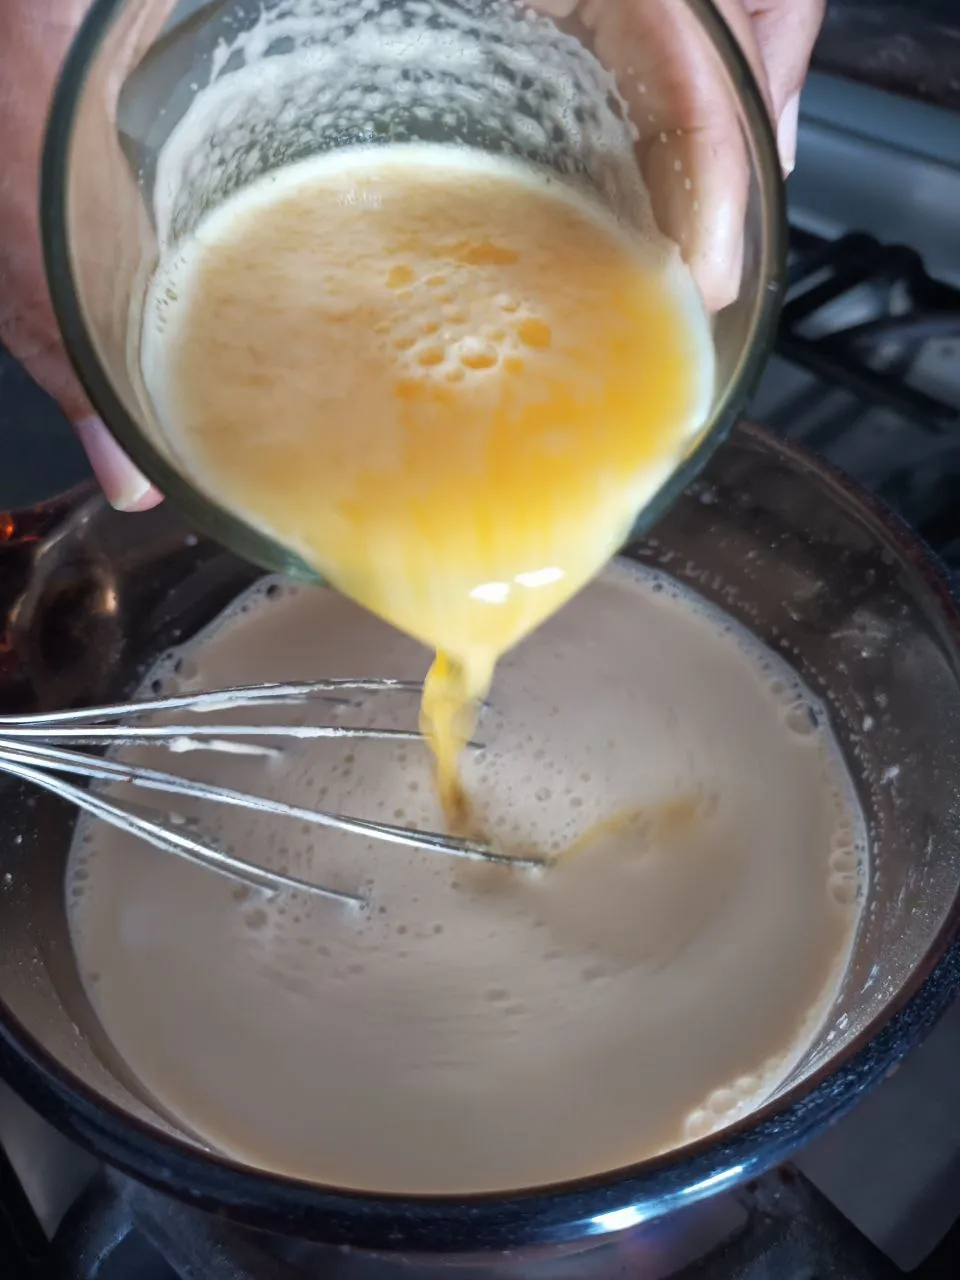

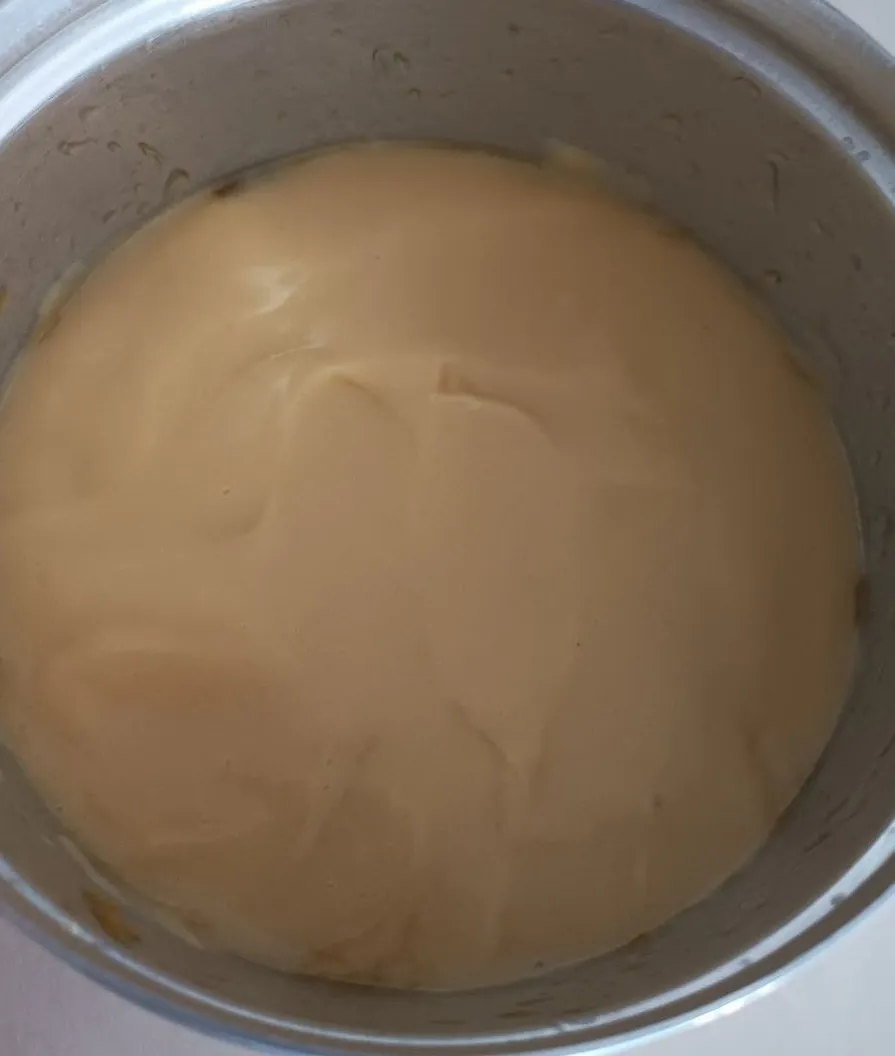
Paso 4: En este paso es cuando enciendo la cocina y coloco la olla con mi mezcla para el pie de parchita, voy batiendo, hasta lograr ver esperar la mezcla, apago la cocina, y tomo la olla con cuidado para servir la mezcla en un recipiente para reposar hasta de llevar a la quesillera.
Step 4: In this step is when I turn on the stove and place the pot with my mixture for the parchita tart, I whisk, until I see the mixture wait, turn off the stove, and take the pot carefully to serve the mixture in a container to rest until I take it to the cheese maker.
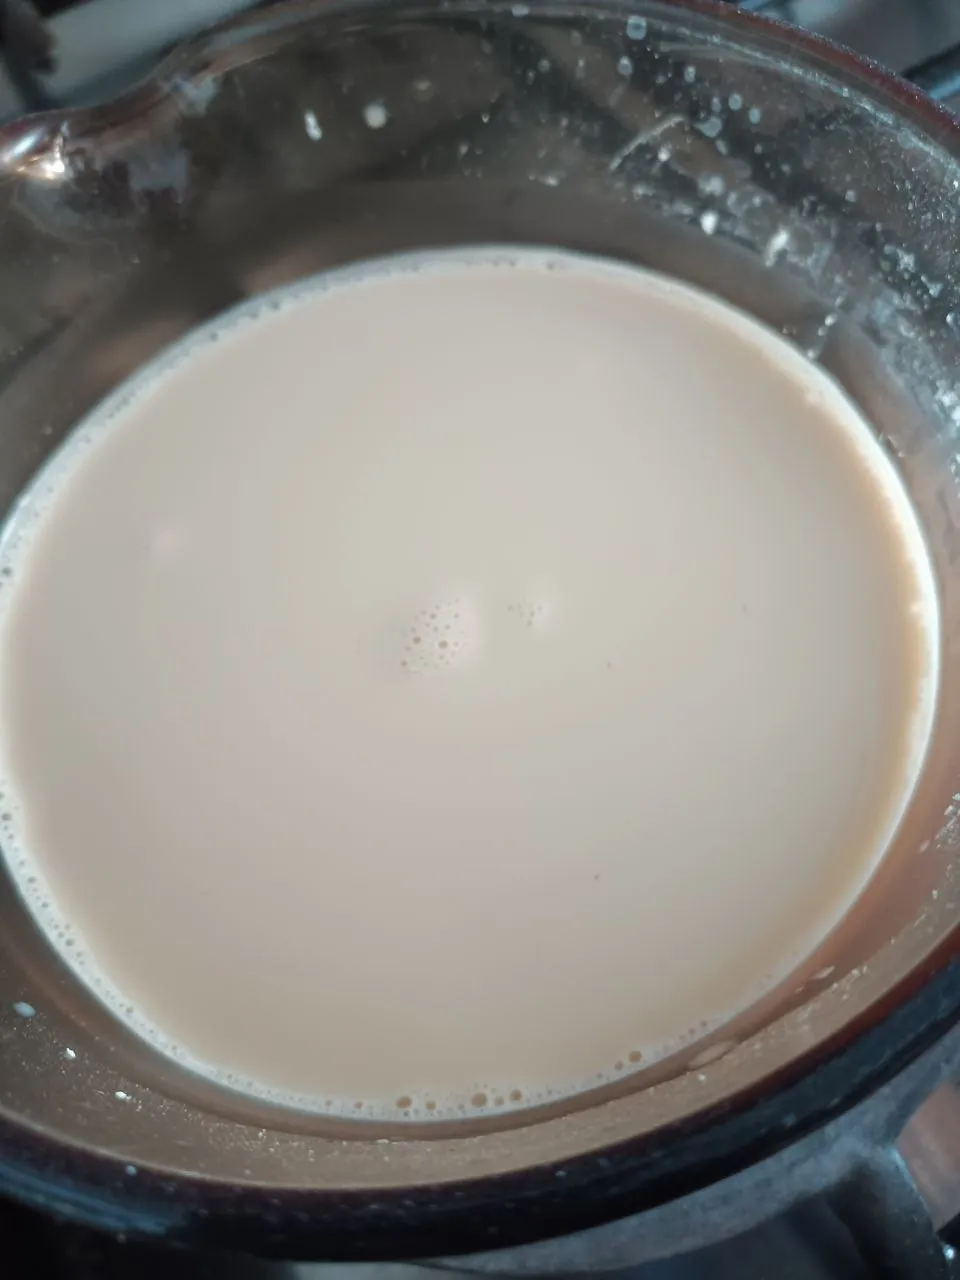
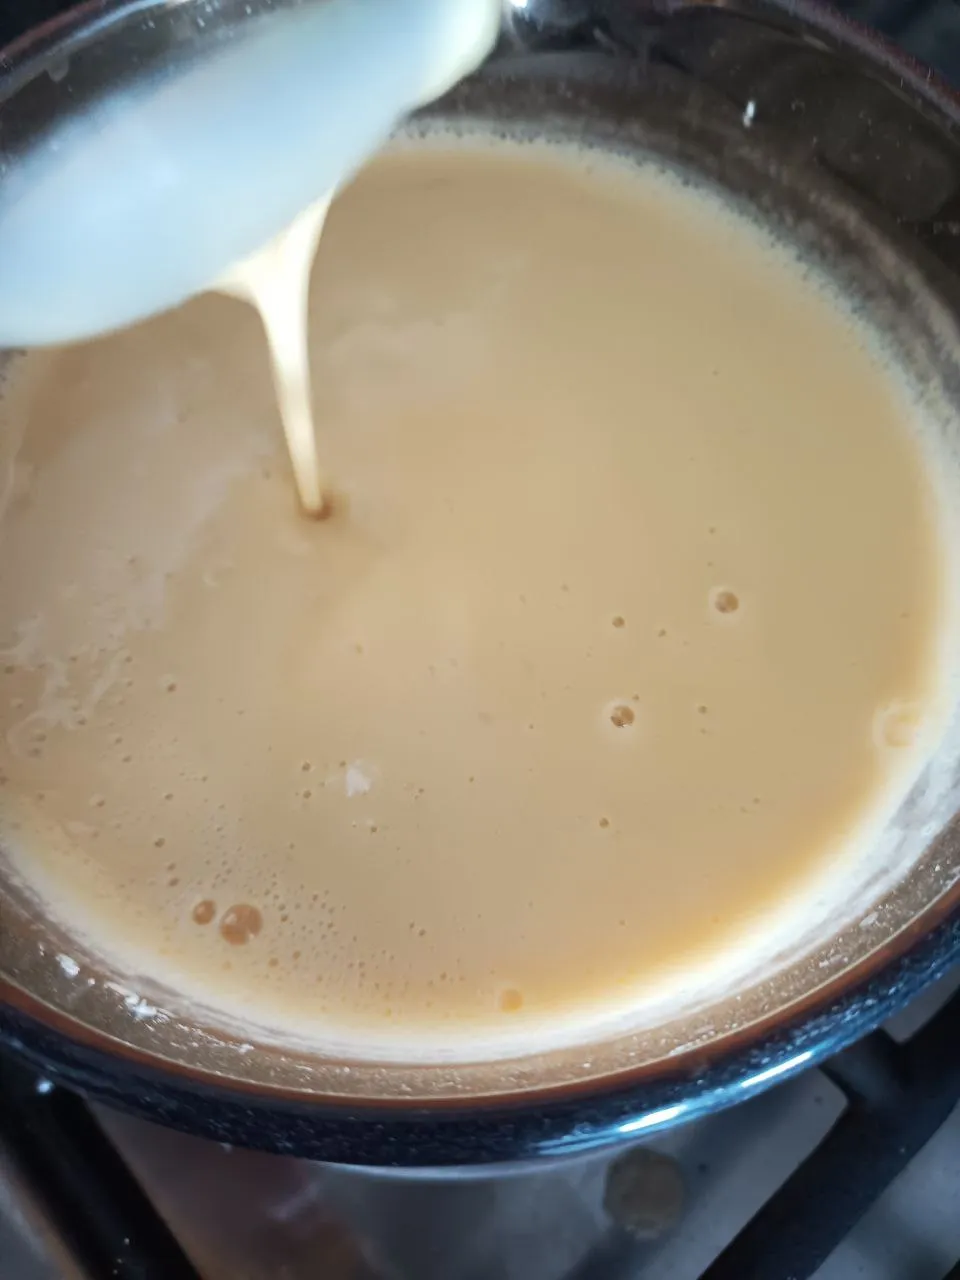
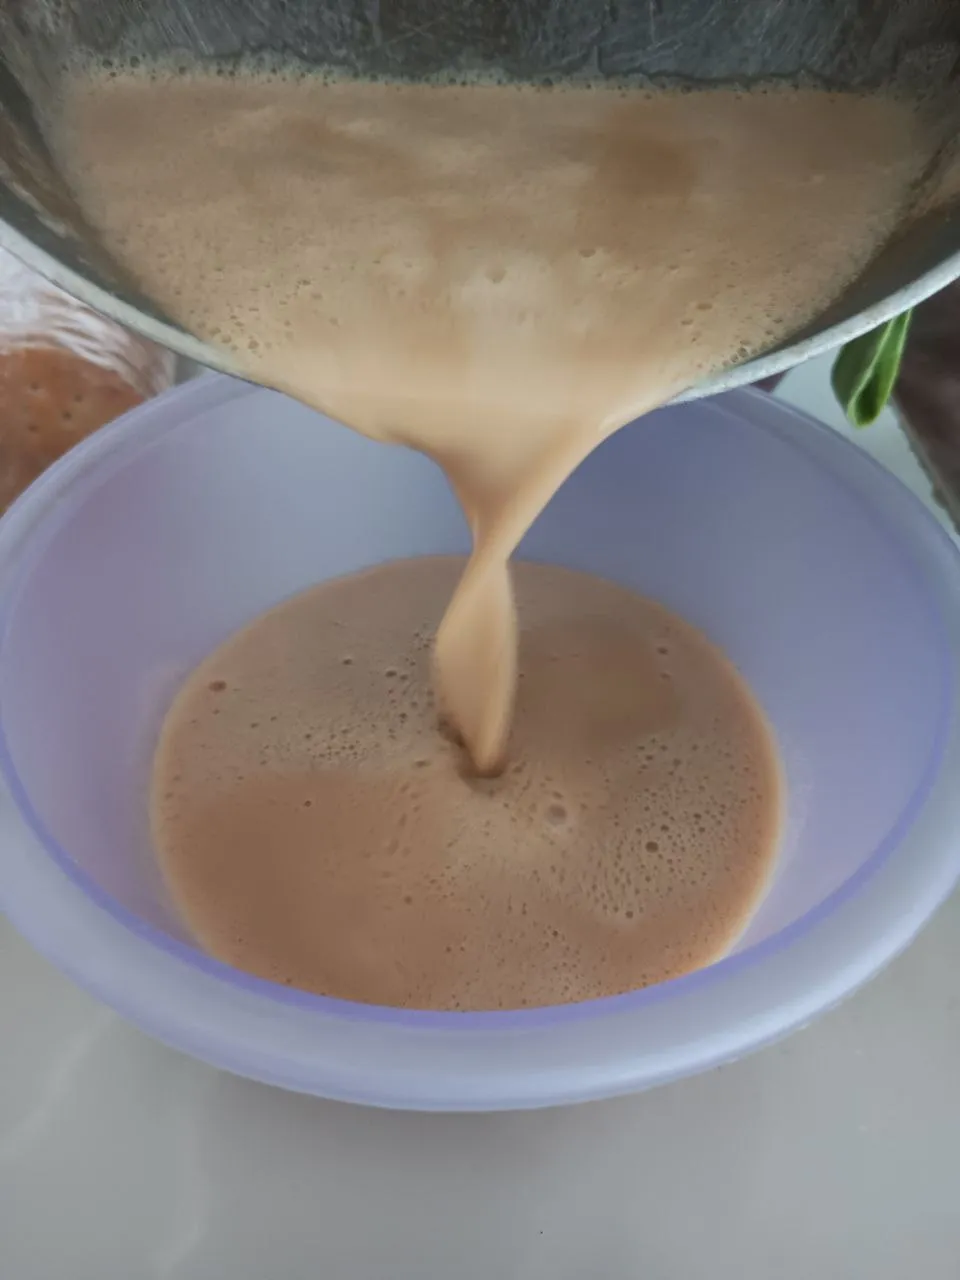

Paso 5: Luego de que la mezcla esta reposada podemos ver que pone espesa. Use una cuchara para agregarla en la quesillera donde previamente tengo el caramelo de parchita. Debo indicar que le deje las semillas de la parchita porque es el atractivo del postre y ese toque natural.
Ahora viene el toque especial llevo la quesillera a la nevera por unos 20 minutos aproximadamente y luego la retiro y sirve en el plato y tenemos listo este delicioso pie de parchita.
Step 5: After the mixture is rested we can see that it gets thick. I used a spoon to add it to the cheese where I previously have the parchita caramel. I must point out that I left the seeds of the parchita because it is the attraction of the dessert and that natural touch.
Now comes the special touch I take the cheesecake maker to the refrigerator for about 20 minutes approximately and then I remove it and serve it on the plate and we have ready this delicious parchita tart.

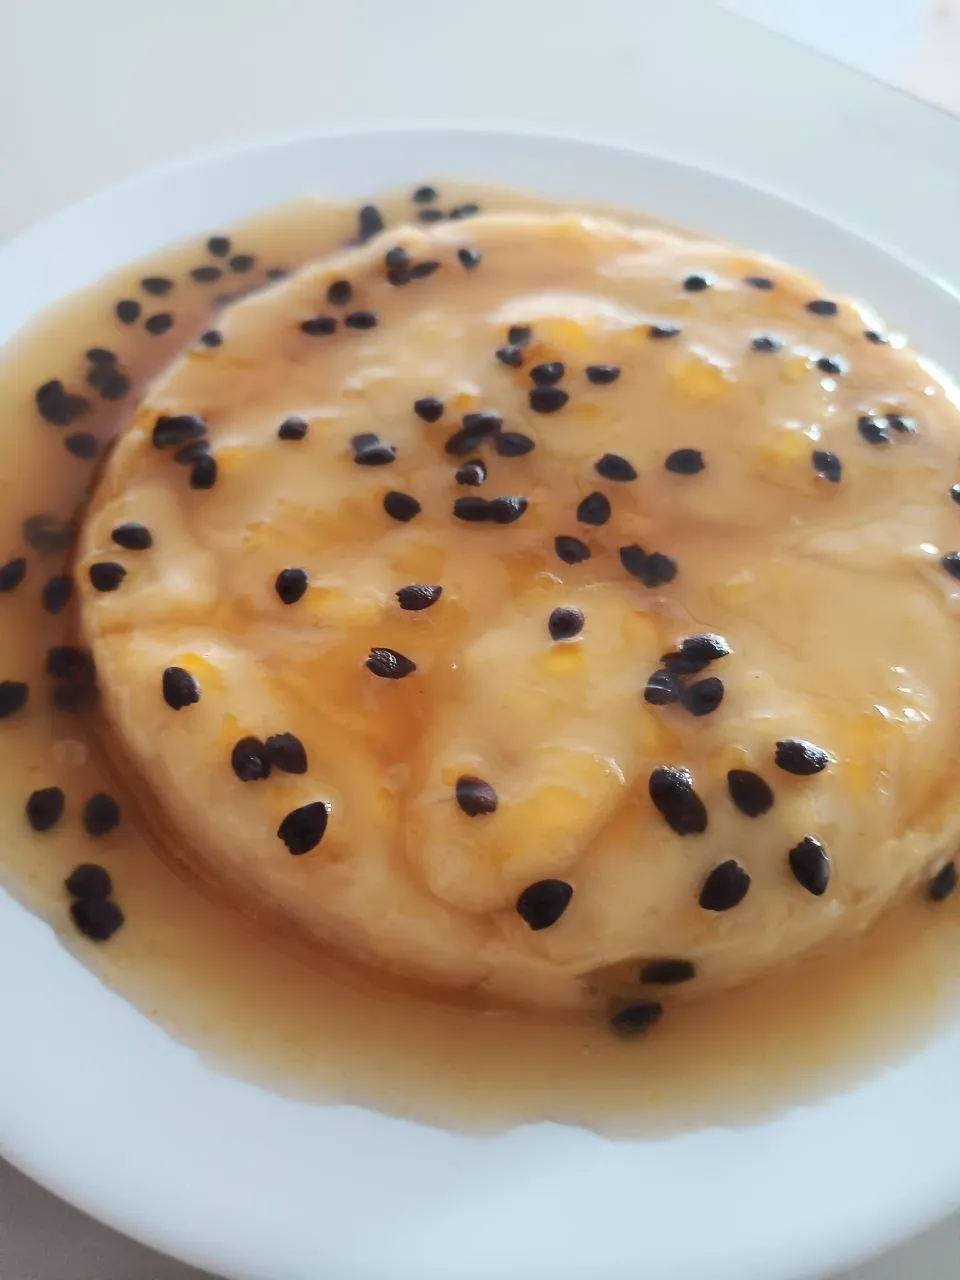
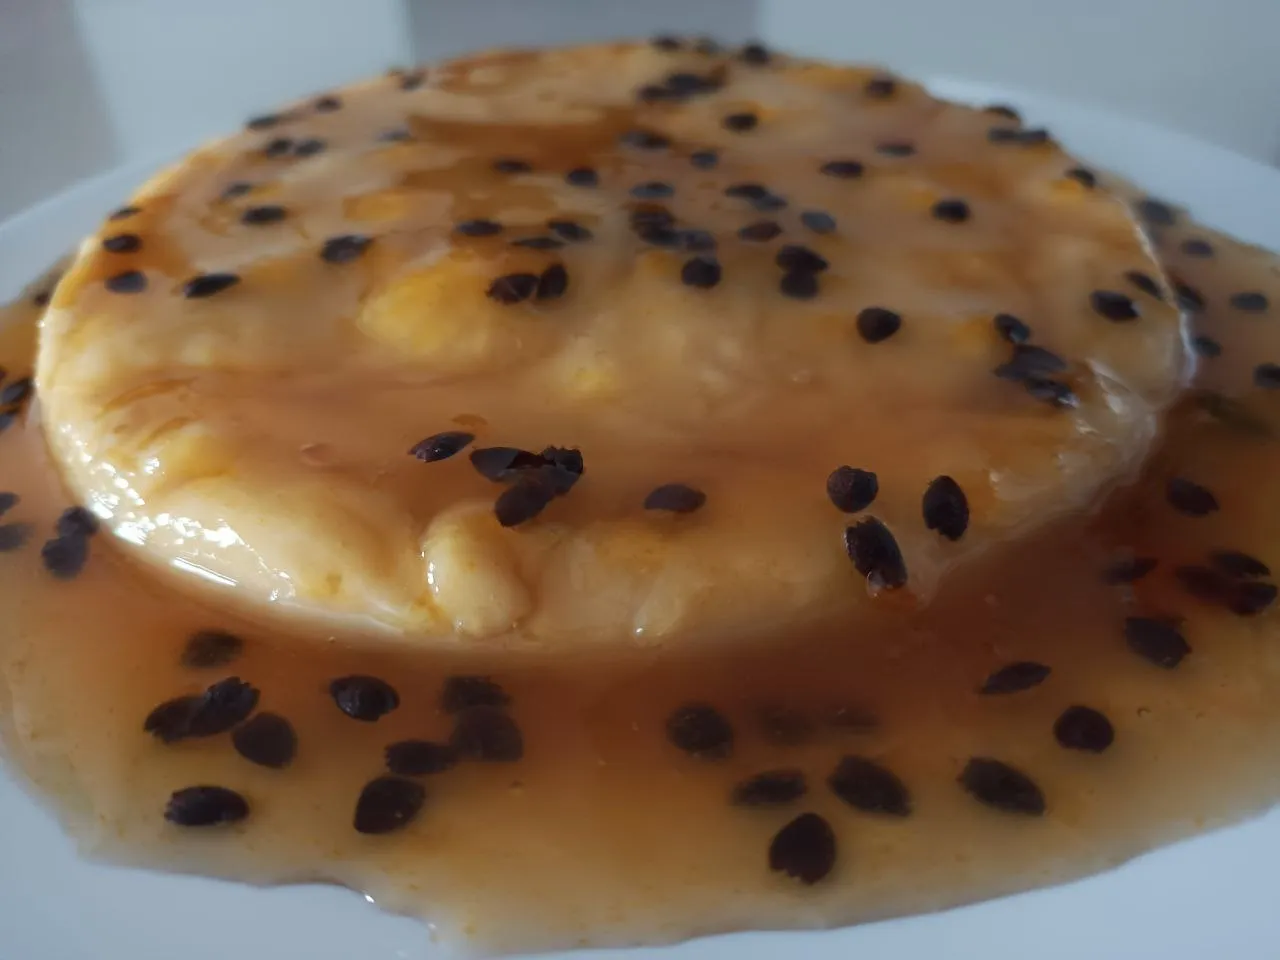
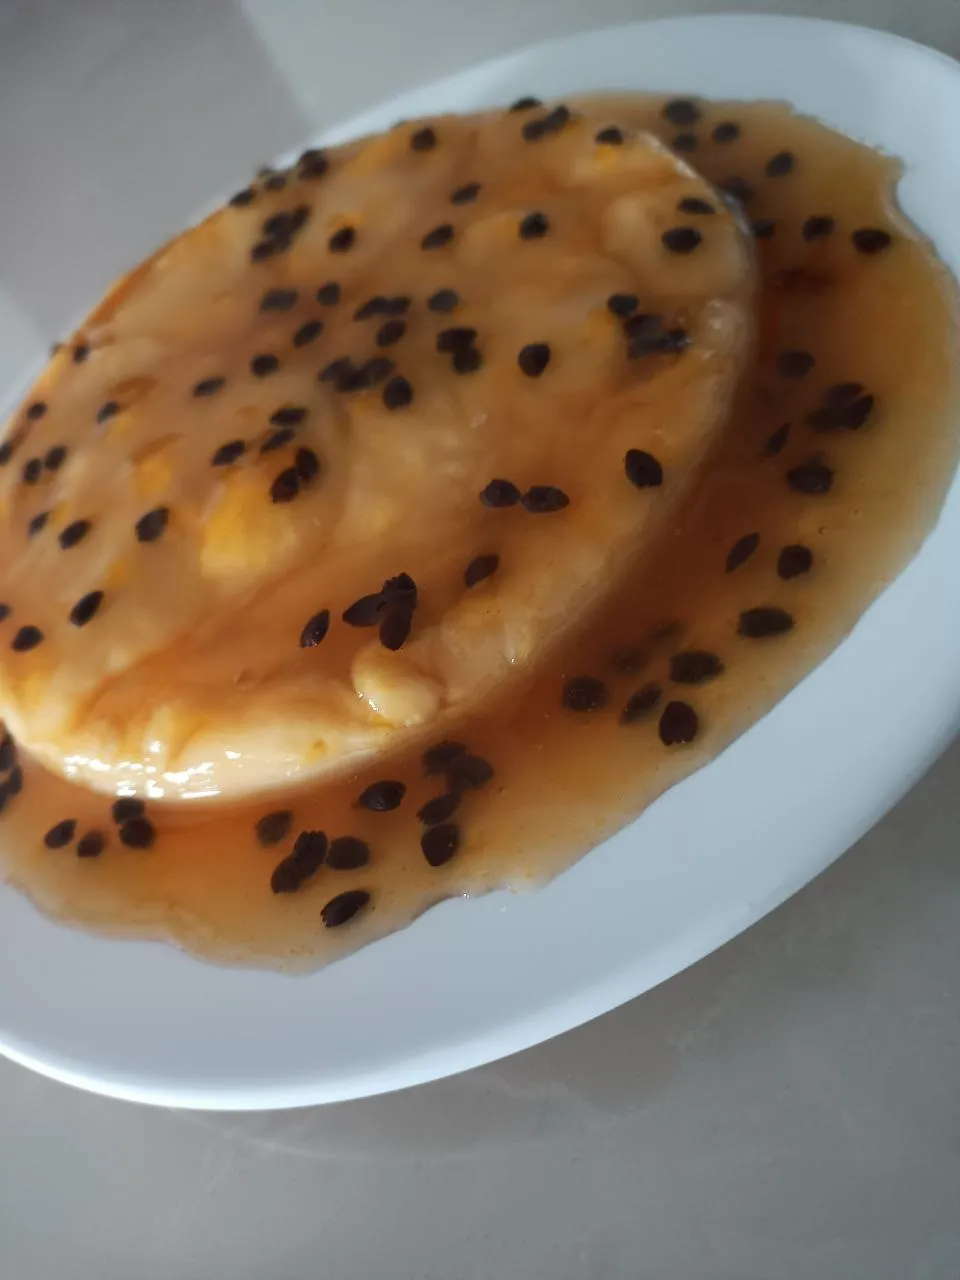
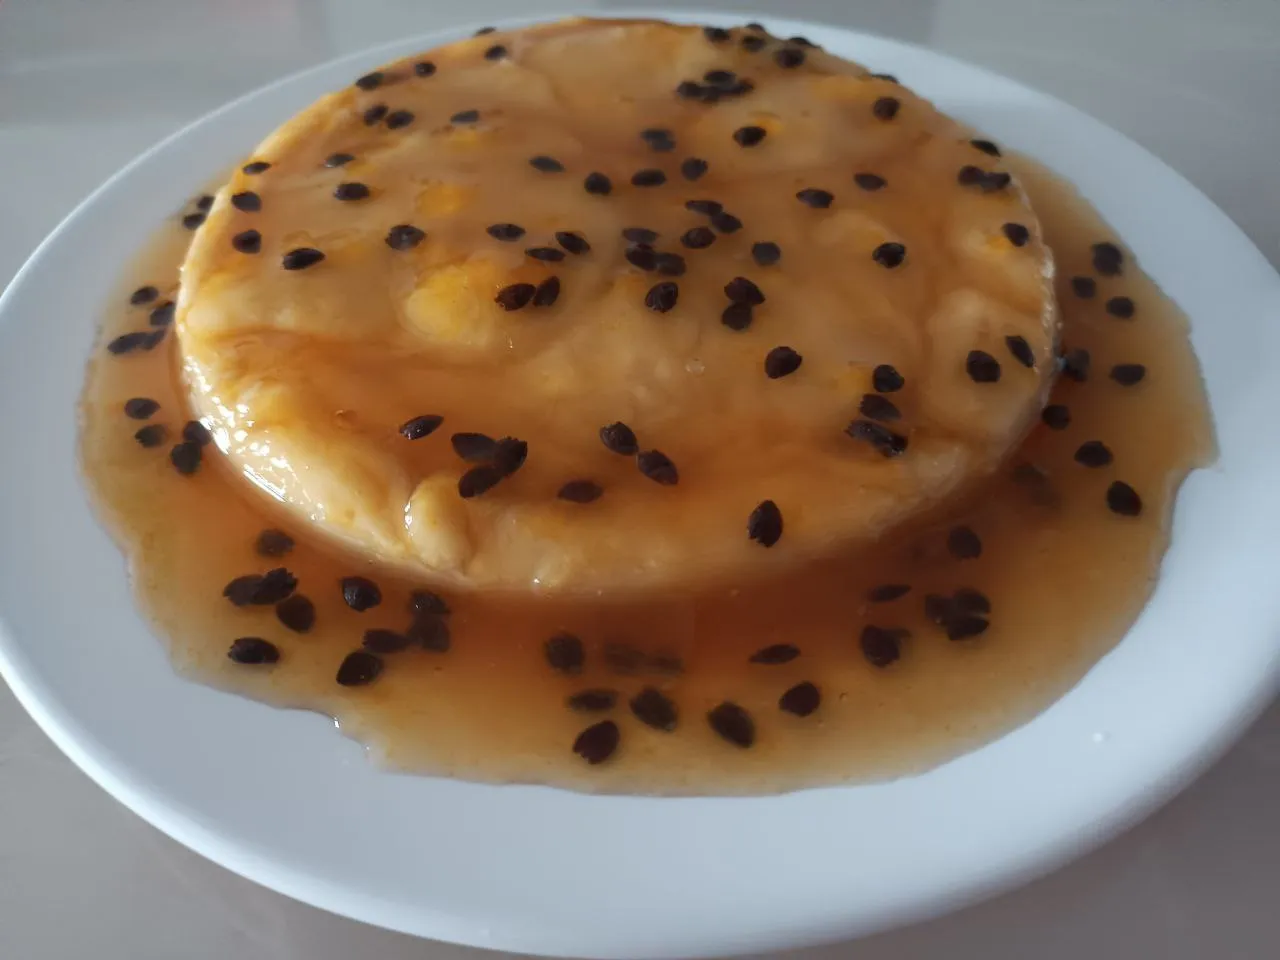
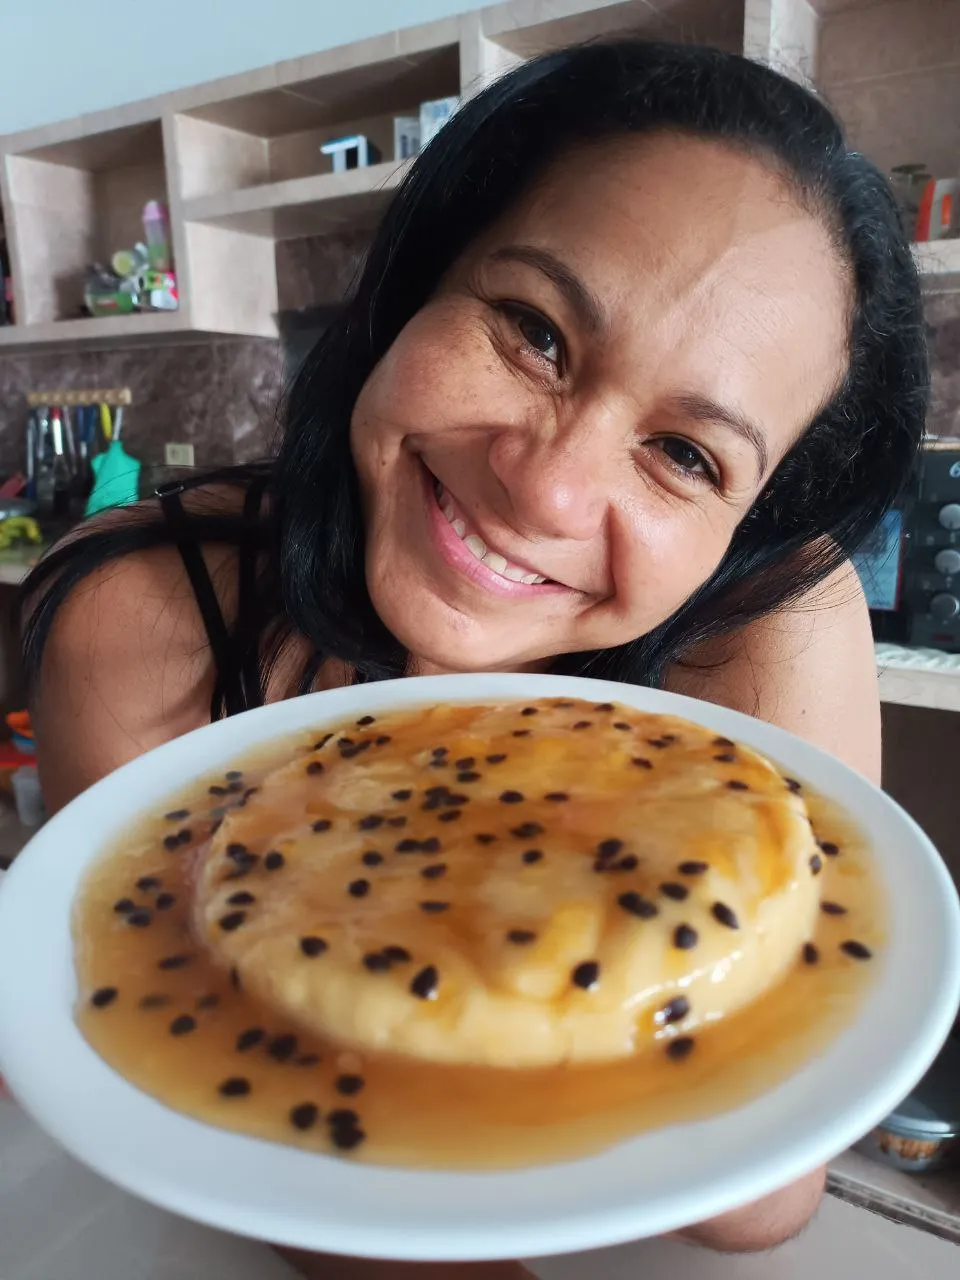
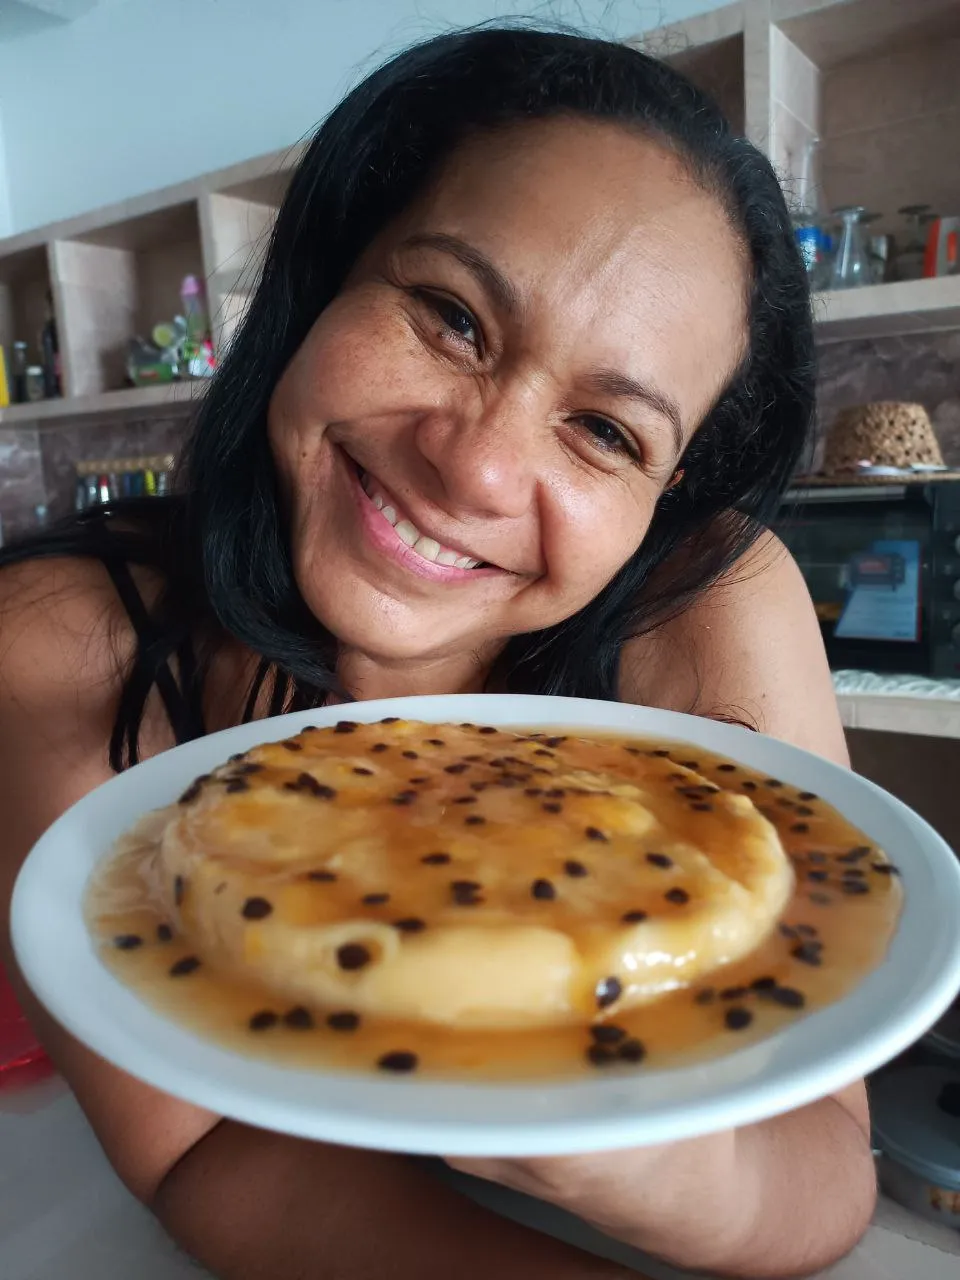
Esta es la presentación final de mi receta de pie de parchita, espero les guste.
This is the final presentation of my parchita pie recipe, I hope you like it.

Todas las fotos son de mi propiedad tomadas con las camaras de mi Tecno Canon 18P. Foto de portada editada con la aplicación GridArt.
Traductor usado Deepl.com versión gratuita. He usado un editor de video a gif: MP4 a GIF
Separador usado por cortesia de @eve66 en este Link
All photos are my property taken with my Tecno Canon 18P cameras. Cover photo edited with GridArt application.
Translator used Deepl.com free version. I used a video to gif editor: MP4 to GIF
Separator used courtesy of @eve66 in this Link
Muchas gracias por leer y visitar mi post. Soy Alida Gómez
