Fermenting Veggies is an easy, inexpensive process that has been in use for thousands of years. Fermenting preserves vegetables raw and without heat, thus retaining their vitamins, minerals, and enzymes.
All you need are some veggies to preserve and some salt. That's it! Sea salt is best, or any unrefined salt works. Just don't use the mass produced kosher salt or "pickling salt", these have additives that are useless and even harmful to your ferment.
Salt works to ferment vegetables by creating an environment that encourages the growth of beneficial bacteria while inhibiting harmful ones. It draws out water from the vegetables, creating a brine that preserves the food and allows lactic acid bacteria to thrive, which ferments the vegetables and gives them a tangy flavor.
About a month ago I set out to make some turmeric pepper kraut for a friend that has been sharing her chickens fresh eggs with me. I made it while her and her guy were on vacation. Funny thing is they got engaged on this trip, so now I have an engagement gift to give them xD
A quick note about vinegar and pickling, then well get to the fun part! Vinegar is not necessary for fermentation. You can ferment your veggies with vinegar alone, or salt alone, but mixing them in the ferment is not a good idea. Fermentation takes place naturally without the added acid of vinegar (acetic acid). The salt brine produced in fermentation is ideal for producing lactic acid bacteria. When acetic acid is introduced, in the form of added vinegar, the bacteria balance is disrupted and this can stunt the proper development of the ferment 🤓
The Process
Here is a list of the ingredients I used;
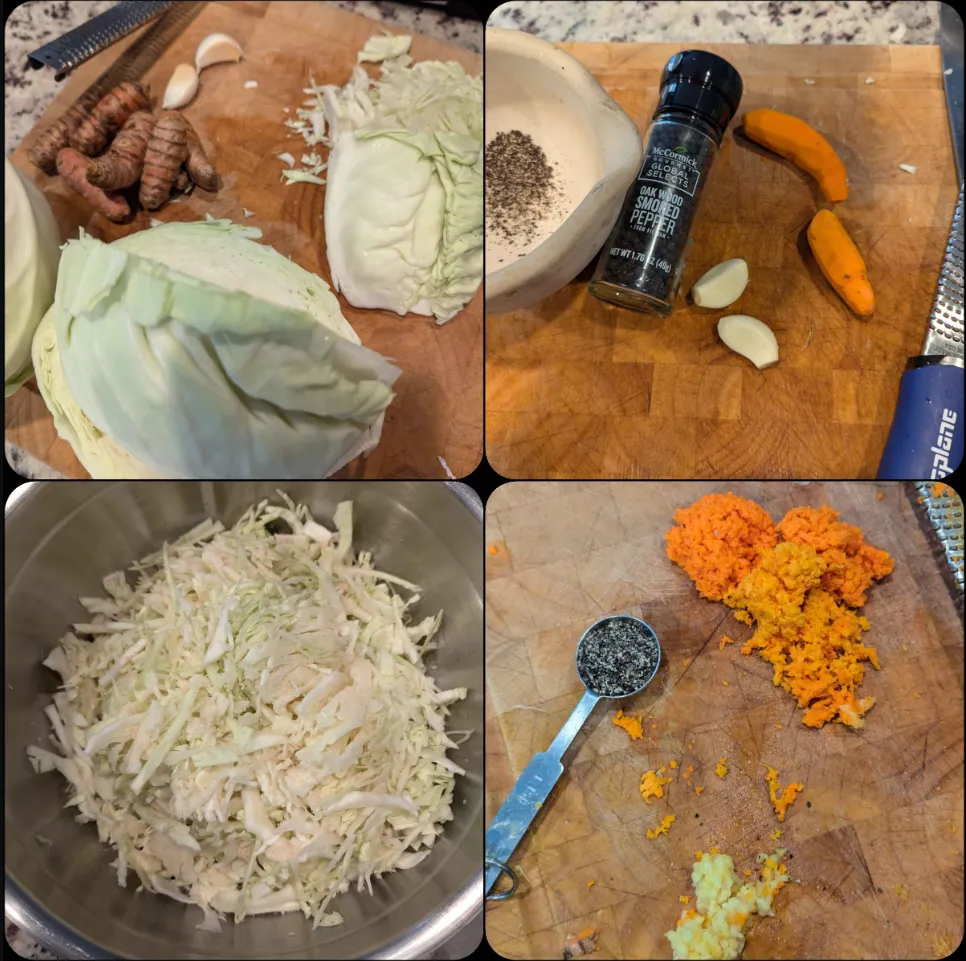
- 1½-2 pound head cabbage
- 1-1½ tablespoon unrefined sea salt
- 1½ tablespoons grated fresh turmeric root
- 2 clove fresh garlic, grated
- ½ teaspoon fresh ground black pepper
You'll also need a big mixing bowl and a glass or ceramic jar or crock for fermentation.
Sliced up the cabbage first, tossed it in a bowl, then grated the turmeric and the garlic.
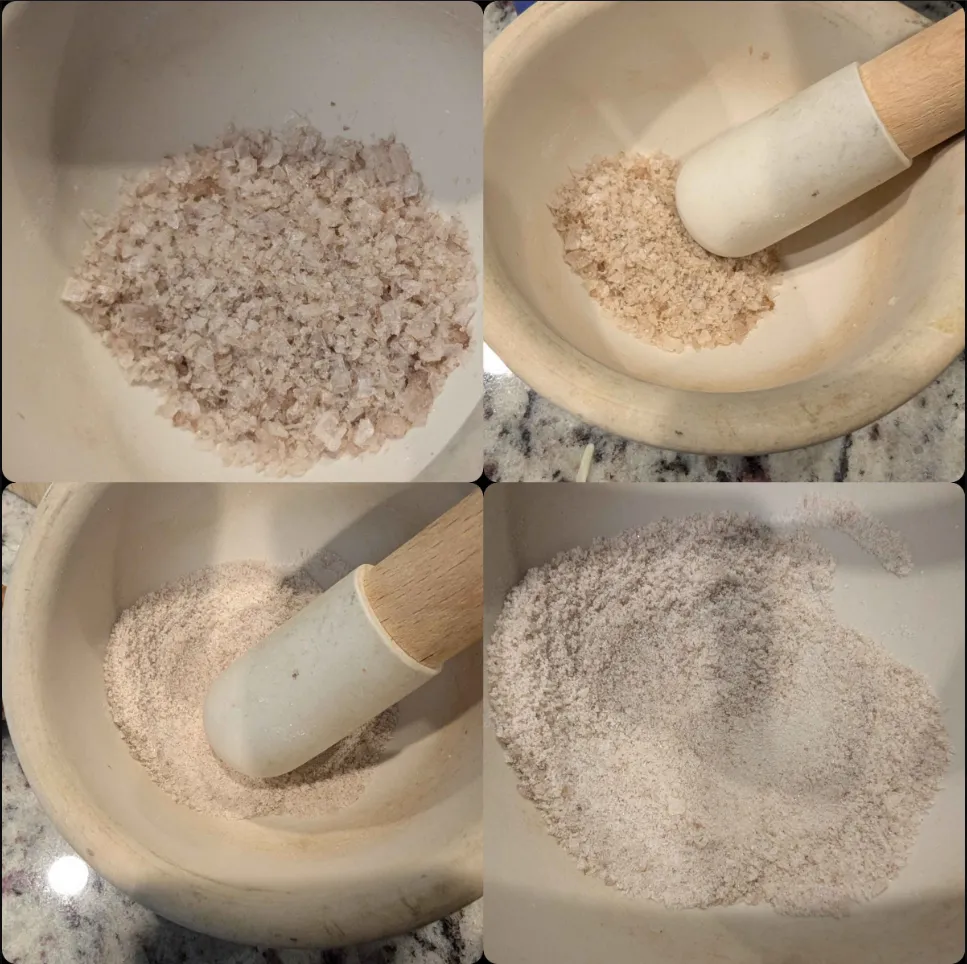
I had just the right amount of smoked sea salt, so I ground it up in my mortar so it was nice and fine, for more even distribution.
It's best to start by adding about half the salt. Once added massage it in with your hands. I know you washed them already but please, just wash them again before this step ;)
The process is similar to kneading bread dough, pick some up, squeeze it, mix it back in...
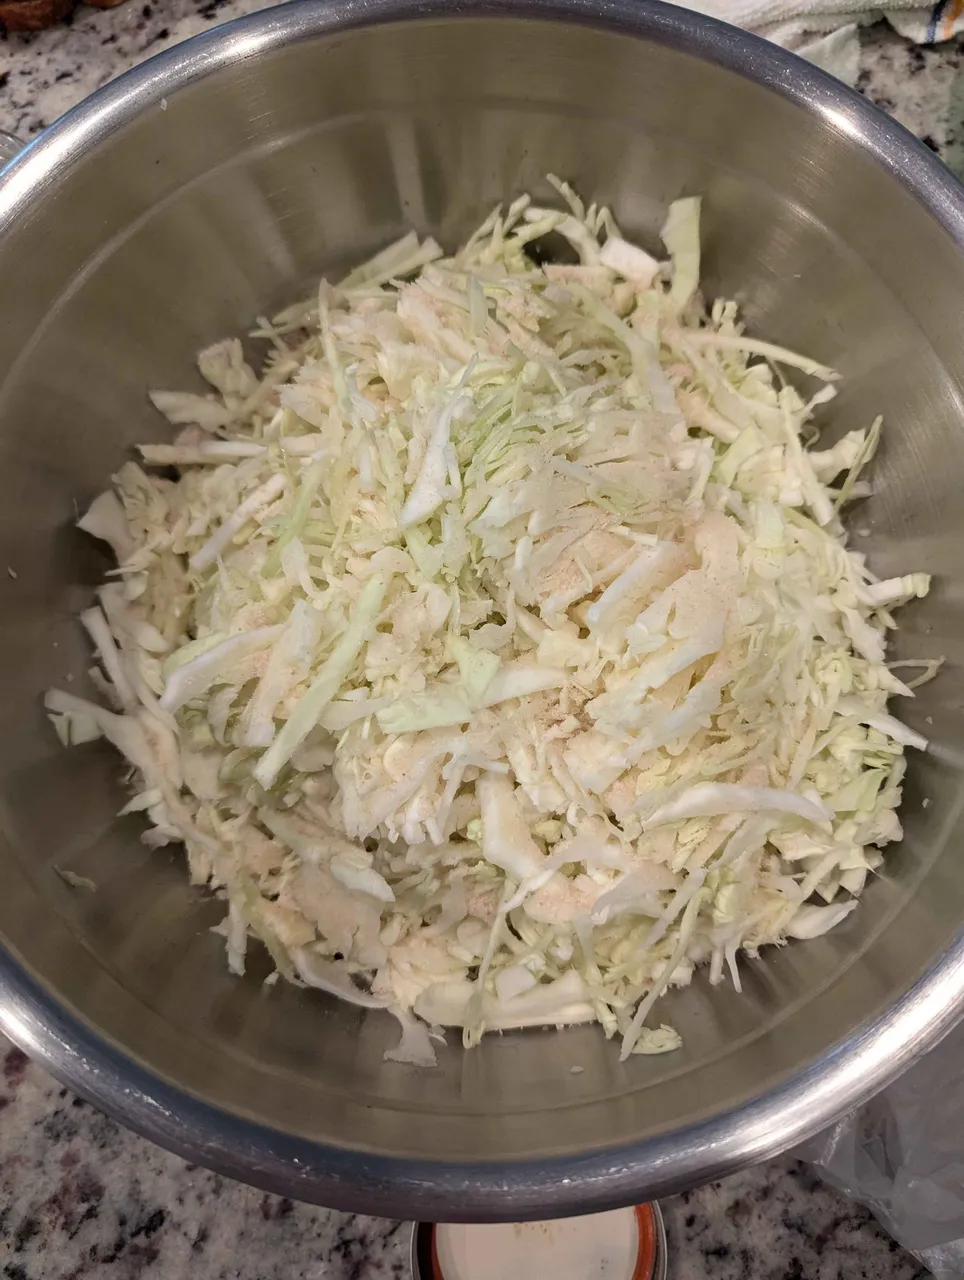
Almost instantly the cabbage will start to glisten and look wet. After a few minutes a small pool of liquid will start to show up at the bottom of the bowl :D
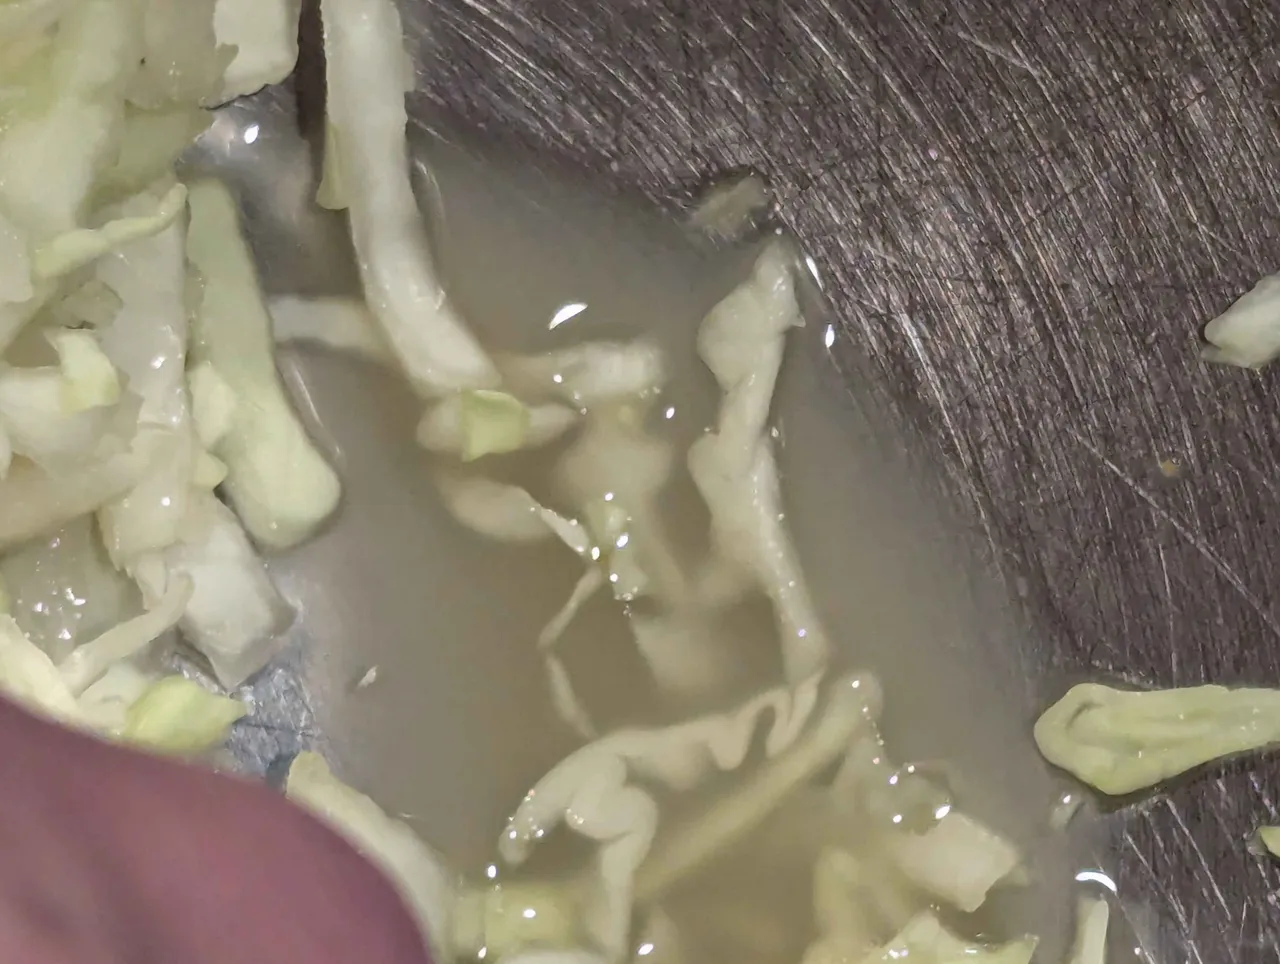
If you do not get this liquid just set the bowl aside for five minutes and come back to it.
Also, at this point you can (and should!) taste the cabbage. You should be able to taste the salt with it being overwhelming. If you only added half the salt at the start and think you need more just add the rest at this point.
A this stage I added the other ingredients (grated turmeric, garlic, and pepper) and continued to massage the mix.
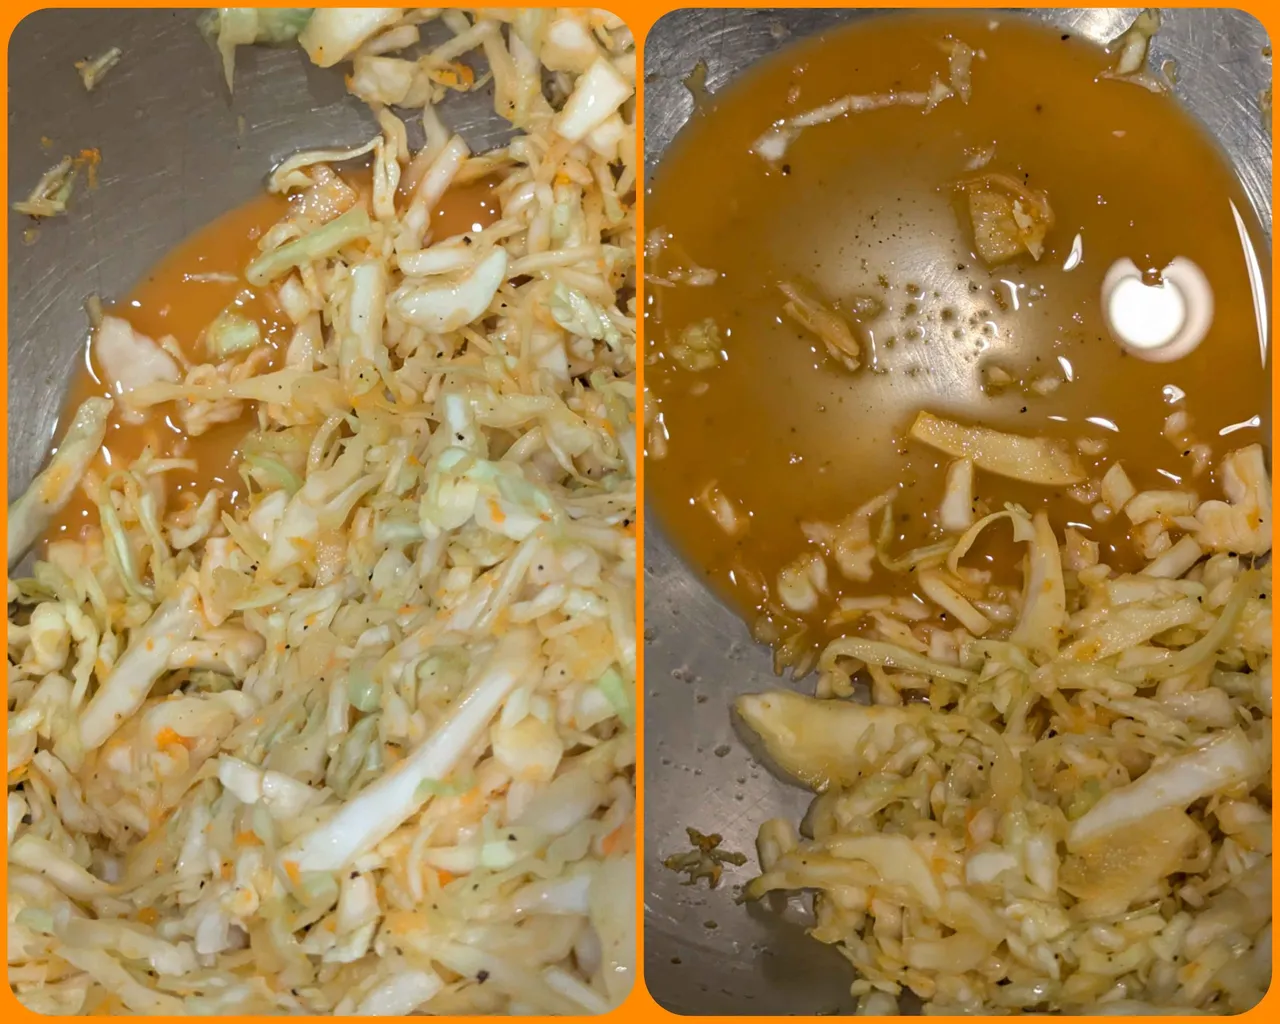
THAT COLOR THOUGH 😍
Now we have all our ingredients mixed and produced some fantastic brine, so it's time to pack it in the jar (or crock).
You want some kind of tool to tamp it down in the jar... be creative!
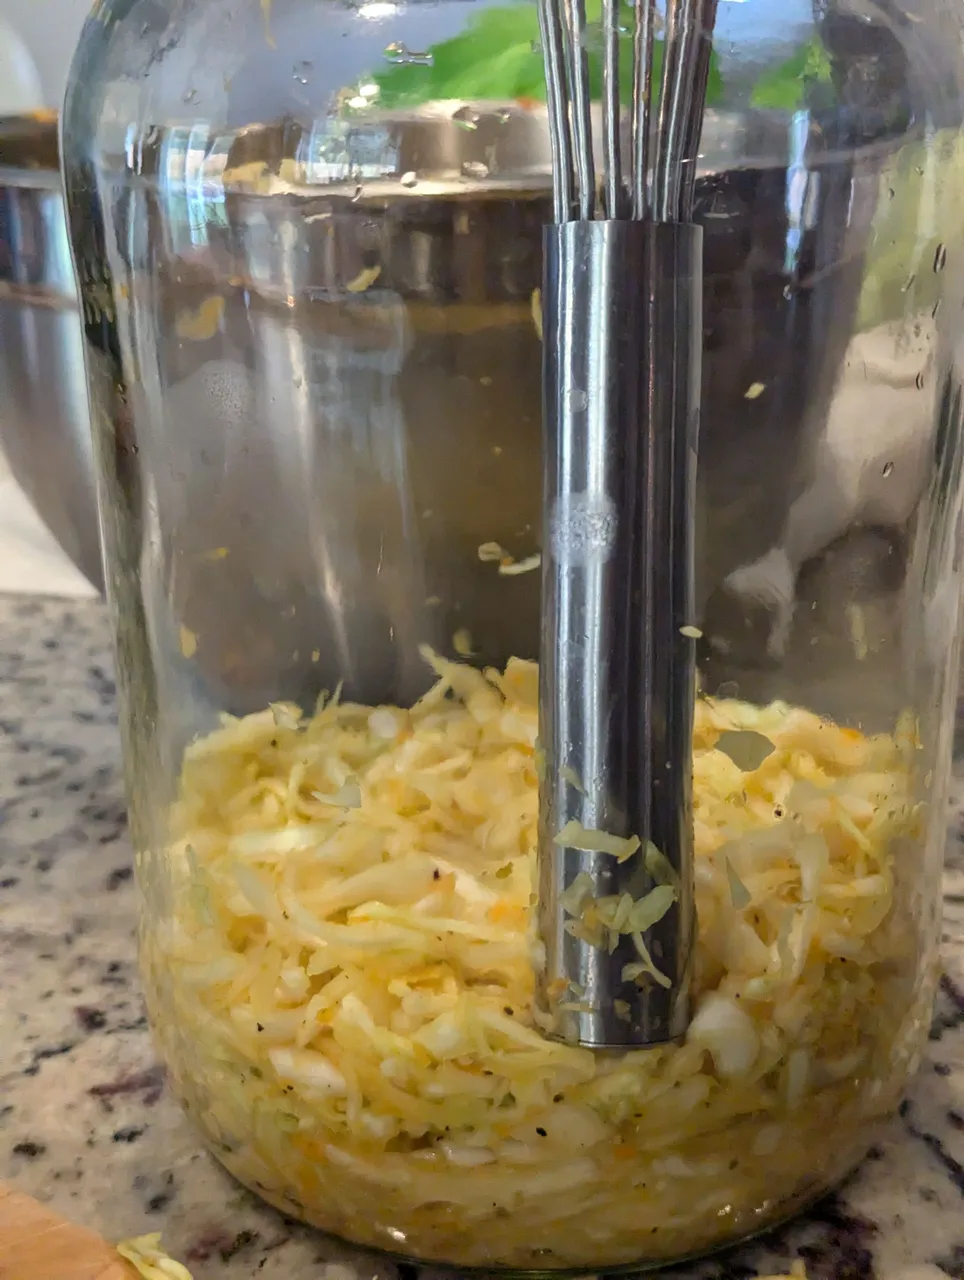
Put a little in and smoosh it down, then add a bit more and repeat until it's all in.
Look at all that brine we produced! There was no added liquid in this process, that all came out of the cabbage!
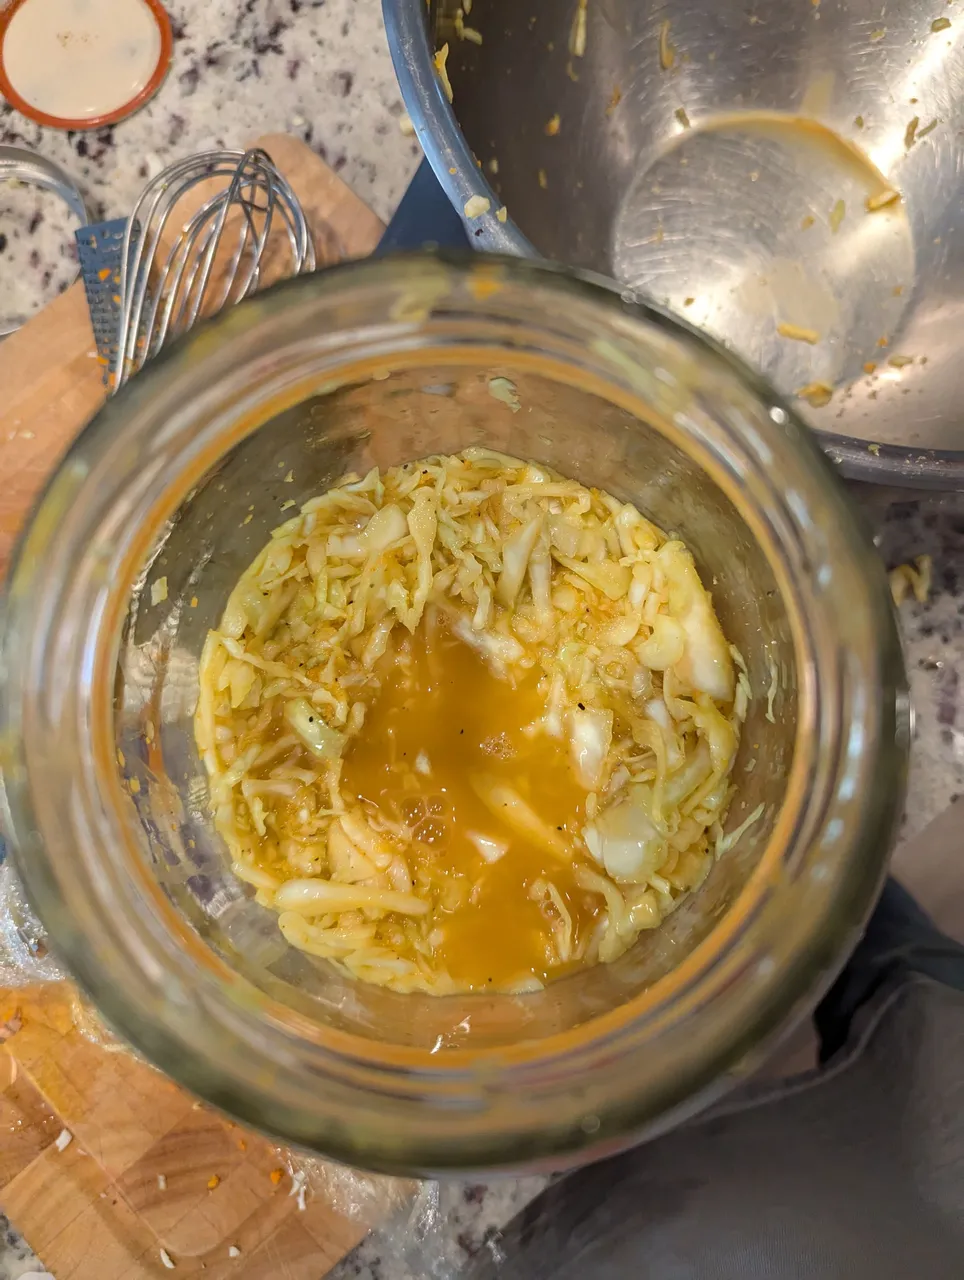
I gloved up to illustrate how much brine is in the jar.
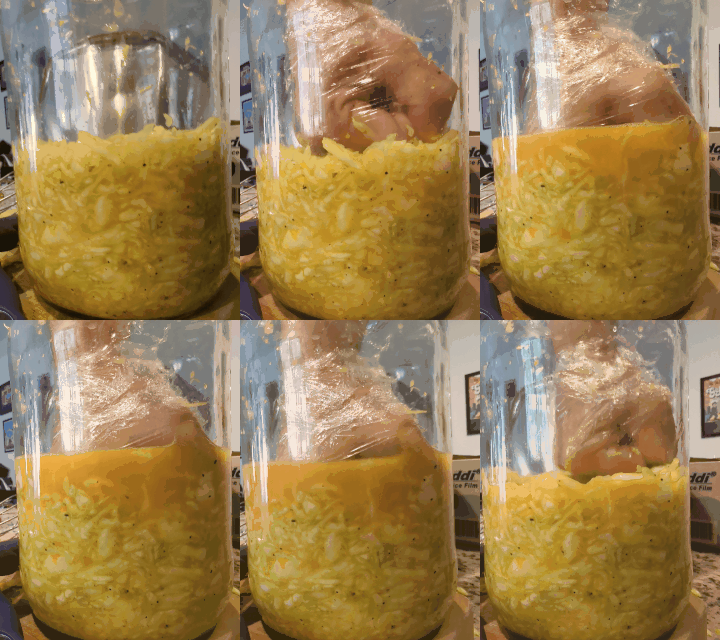
Final step is an important one, you will need something to weigh the food down and keep it submerged in the brine. The easies thing is a ziplock bag filled with water. Just be sure it is sealed well and does not leak into your ferment, or it will upset the balance of the science-y things doing their nerdy work and you'll be fcuked!
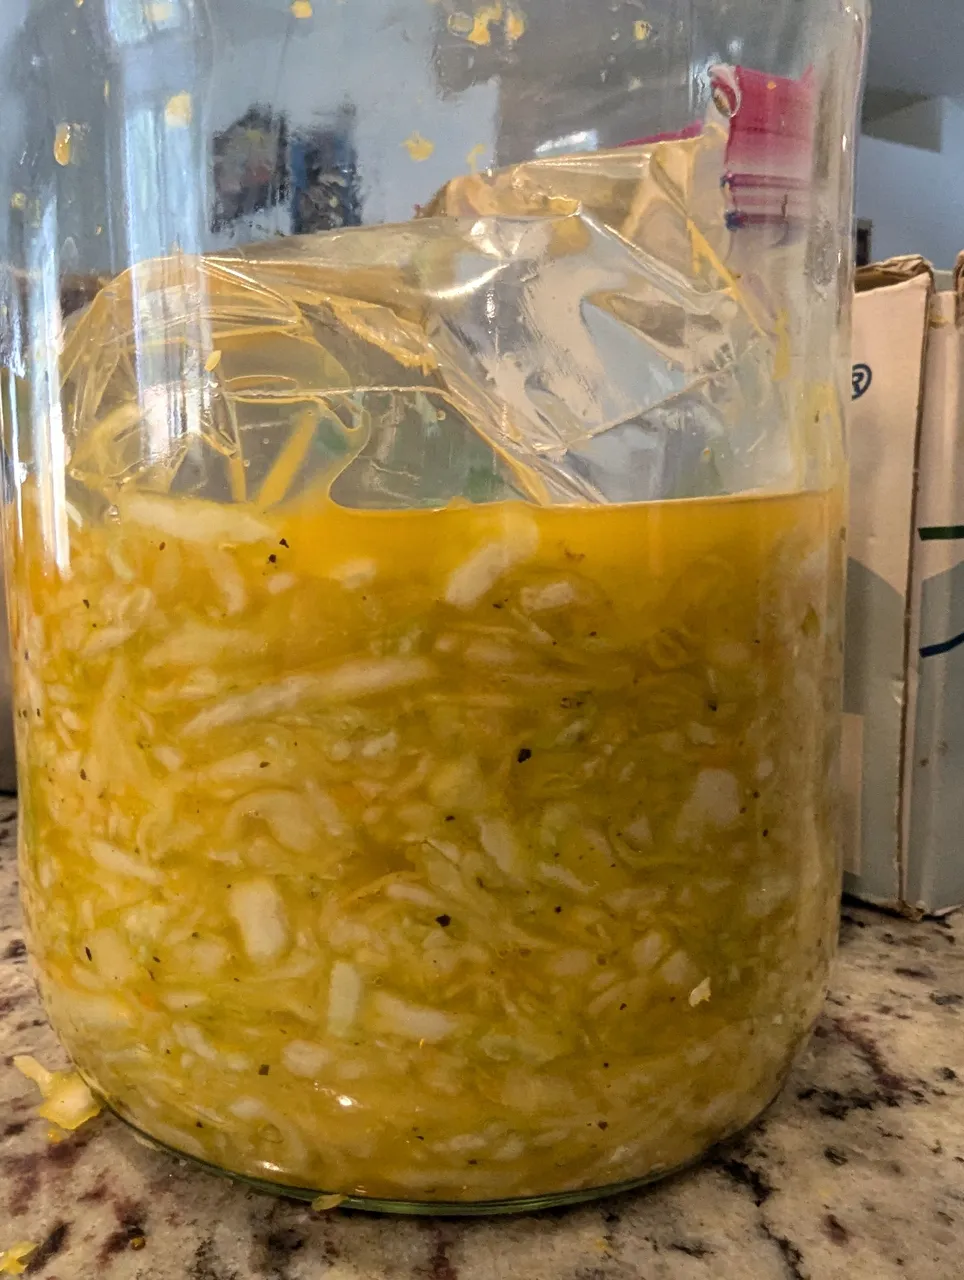
Last thing is to pack it away for a couple weeks to ferment, make sure it's in a dark location. Top it with a loosely fitting lid to keep stuff from falling into it but letting gas escape. Also it's good to put it on a sheet tray or something, in case it overflows.
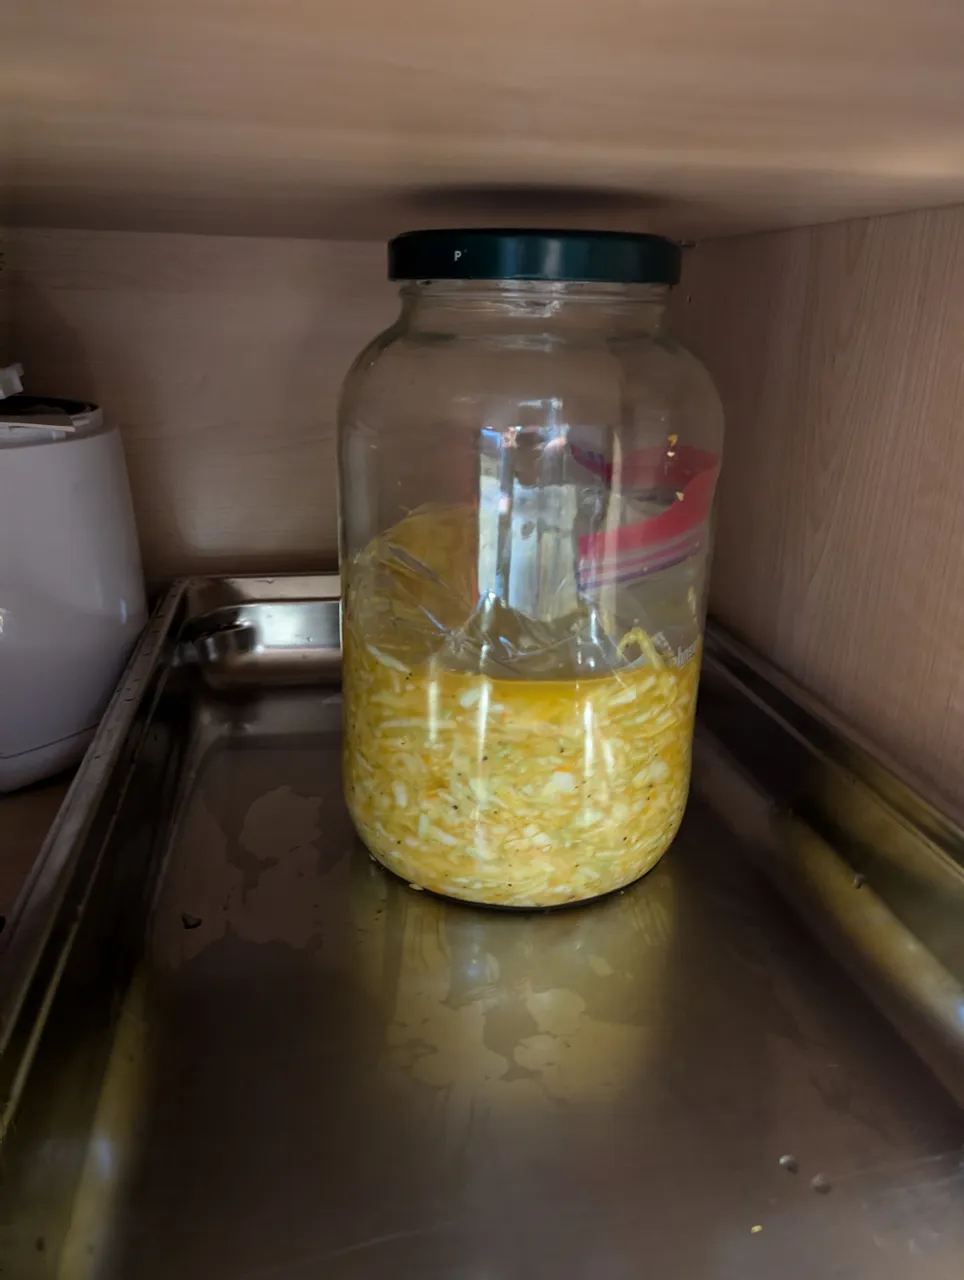
Here it is after about 4 days.
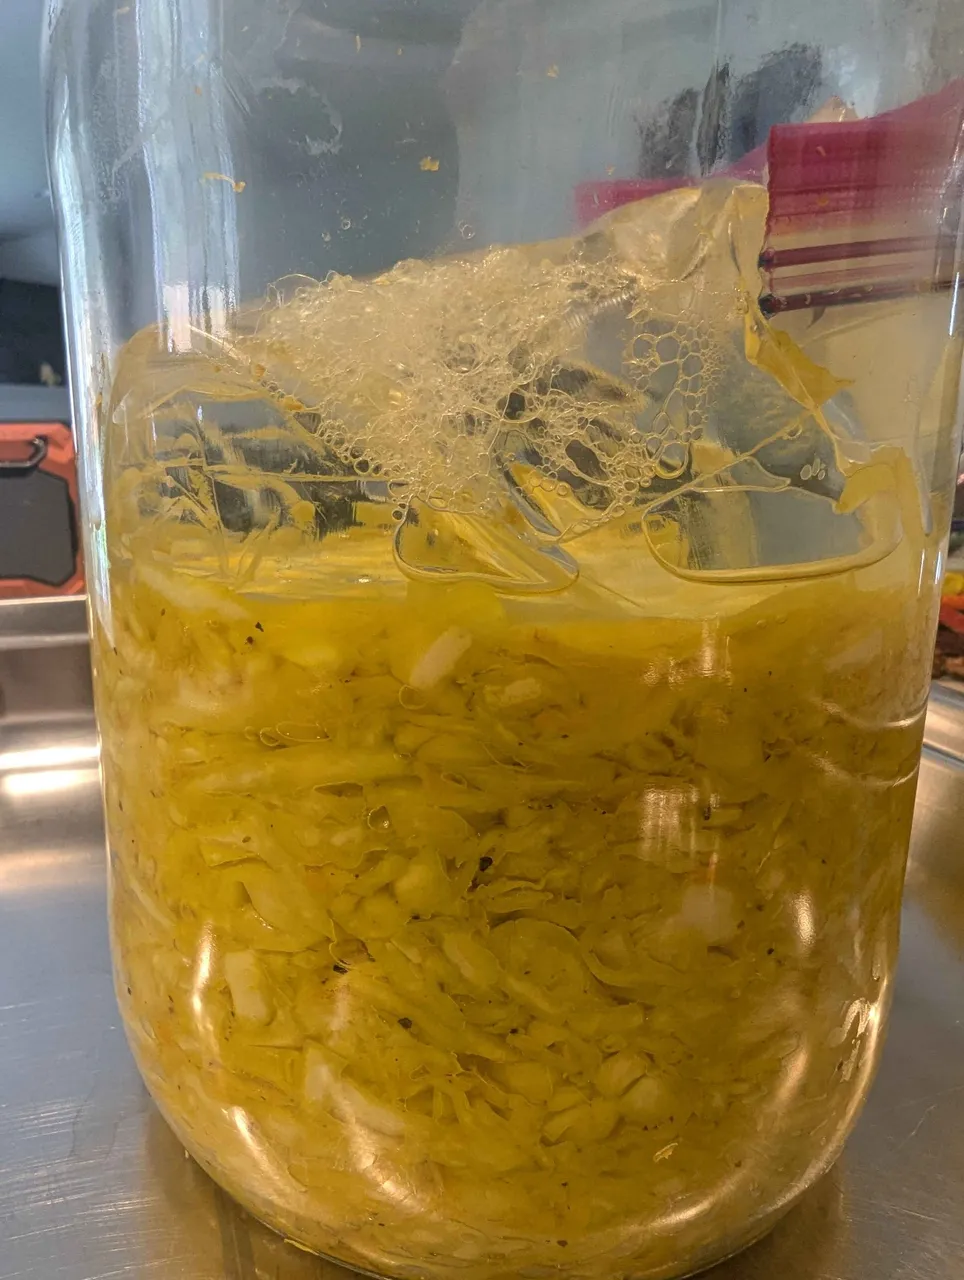
Those bubbles mean it's working!!
I waited about another two weeks before I took it out of the fermentation jar and moved it to a jar for my friend.
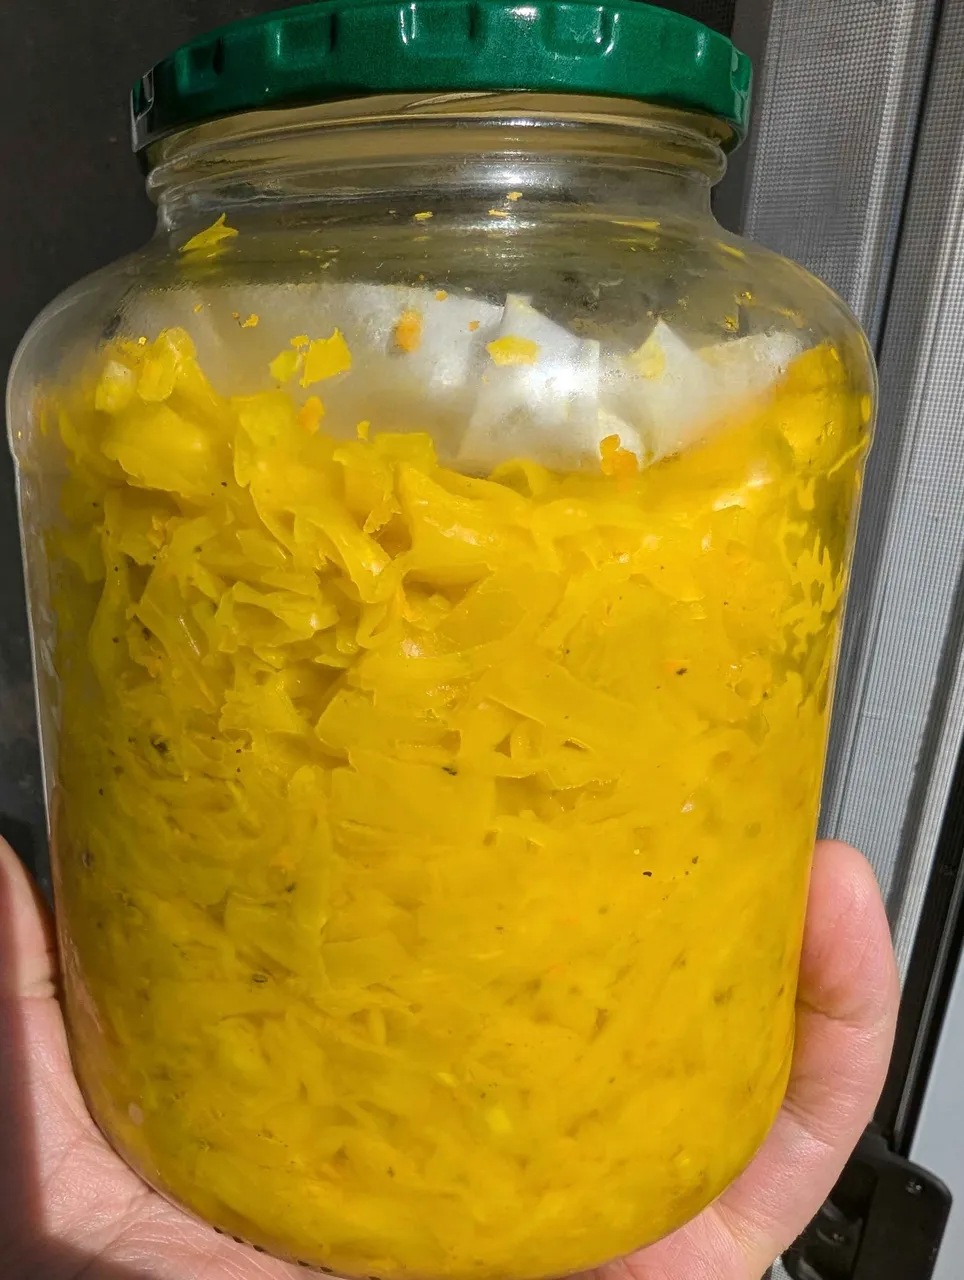
I also kept a bit for myself, which I am enjoying right now :D
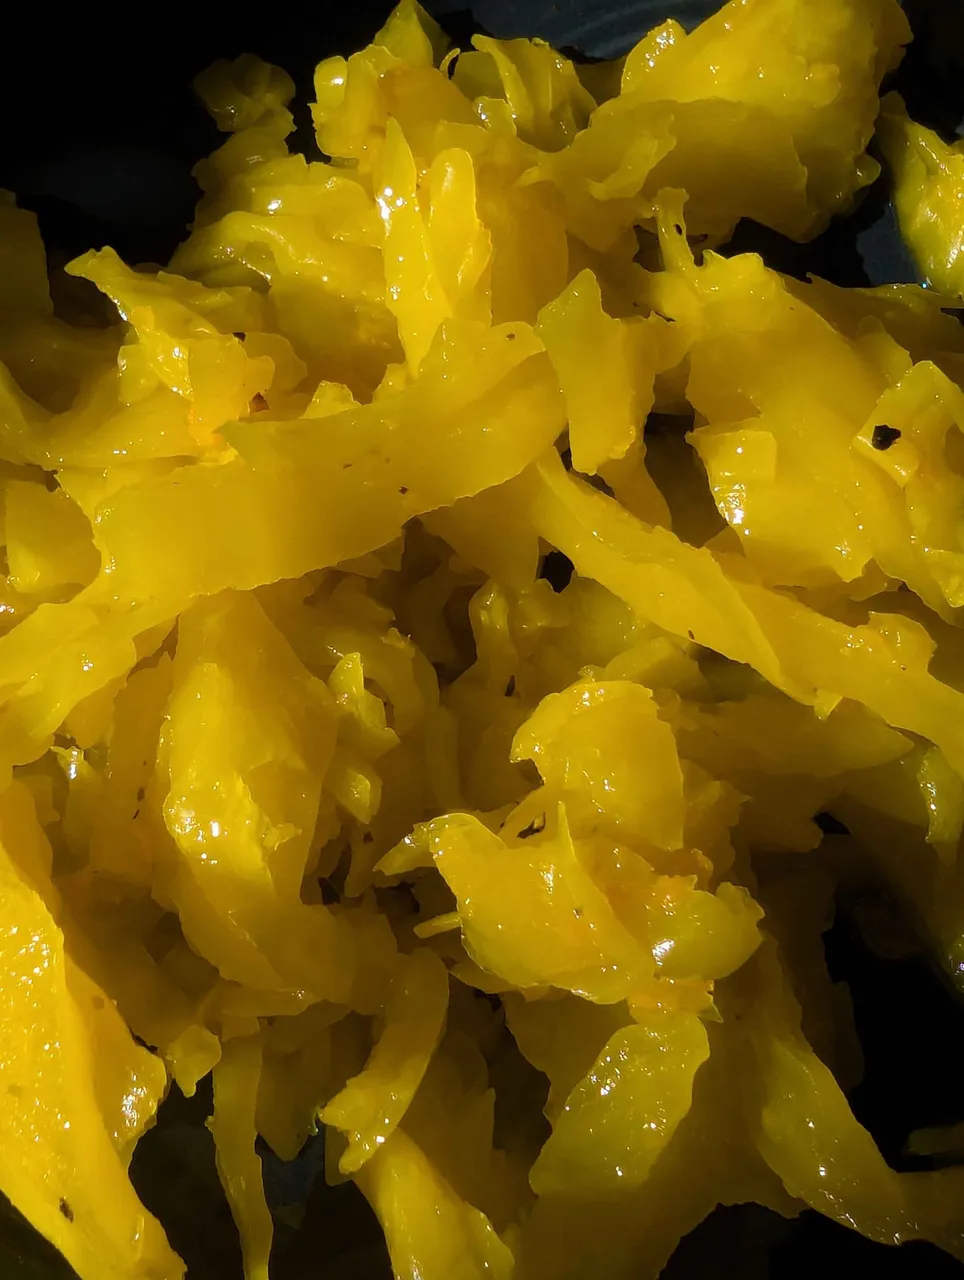
I can't believe you made it to the end!! Can't believe I did too xD
If you're interested in reading more about fermenting I highly recommend the book, Fermented Vegetables by Kristen and Christopher Shockey.