English
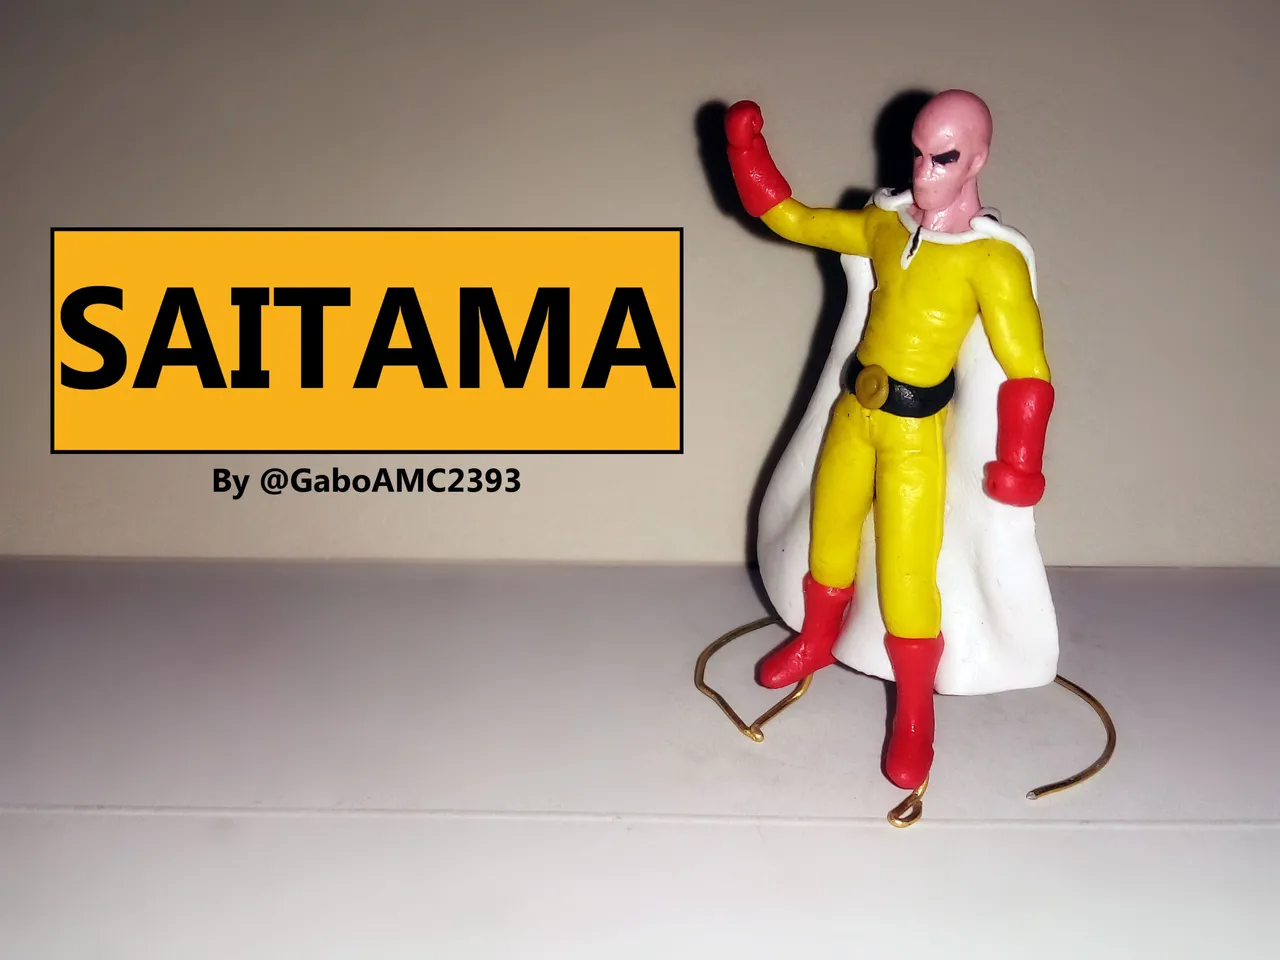
Greetings to all, fellow creatives. Some time ago I started watching One Punch Man, an anime about a superhero who usually defeats his enemies with a single punch, hence the name of the anime "One Punch Man" or in Spanish, hombre de un solo golpe.
It is interesting and entertaining, I liked it so I decided to make some figurines of this anime, and I started with Saitama, the main character.
Español
Saludos a todos, compañeros creativos. Hace un tiempo empecé a ver One Punch Man, un animé que trata sobre un superhéroe que suele derrotar a sus enemigos con un solo golpe, por eso el nombre del anime "One Punch Man" o en español, hombre de un solo golpe.
Es interesante y entretenido, a mi me gustó así que decidí hacer unas figuritas de este anime, a ver que tal me quedaban y comencé con Saitama, el protagonista.
Well, the materials I used for this figurine were the ones I always use for my figurines:
*Plastiline
*Wire
*Silicone
*Tools: tweezers, knitting needle.
It is worth mentioning that the wire I used for this figure is a little softer and thinner than the one I normally use, so I tried it on this sculpture to see how it looked.
Bien, los materiales que utilicé para esta figurita fueron los que siempre uso para mis figuras:
*Plastilina
*Alambre
*Silicón
*Herramientas: pinzas, aguja de tejer.
Cabe destacar que el alambre que usé para esta figura es un poco más suave y delgado que el que uso normalmente, así que lo probé en esta escultura a ver que tal quedaba.

Although it is not as firm as other figures, it does hold and that is what is important. For future sculptures I will use the other wire, but this one can be useful.
Aunque no queda tan firme como otras figuras, si se sostiene y eso es lo importante. Para futuras esculturas usaré el otro alambre, pero este puede servir.
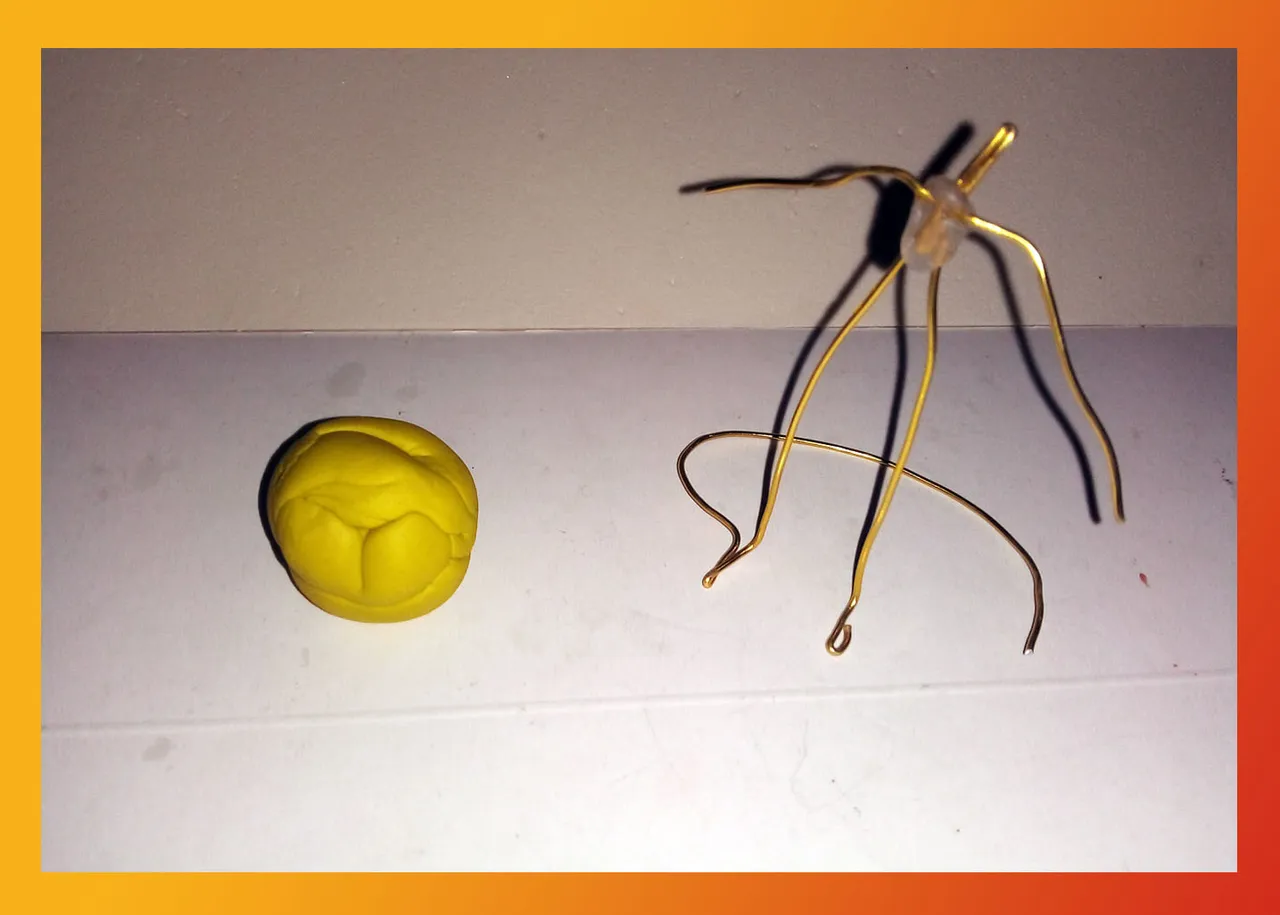
If you know the character Saitama, you will know that his costume is yellow, so that was the plasticine I selected to start covering the wire skeleton.
The first thing I did was to cover the legs with a thin strip of plasticine, making the waist part wider and the bottom part thinner.
Si conocen al personaje Saitama, sabrán que su traje es de color amarillo, así que esa fue la plastilina que seleccioné para comenzar a cubrir el esqueleto de alambre.
Lo primero que hice fue cubrir las piernas con una tira delgada de plastilina, haciendo mas ancha laparte de la cintura y más delgada la parte de abajo.
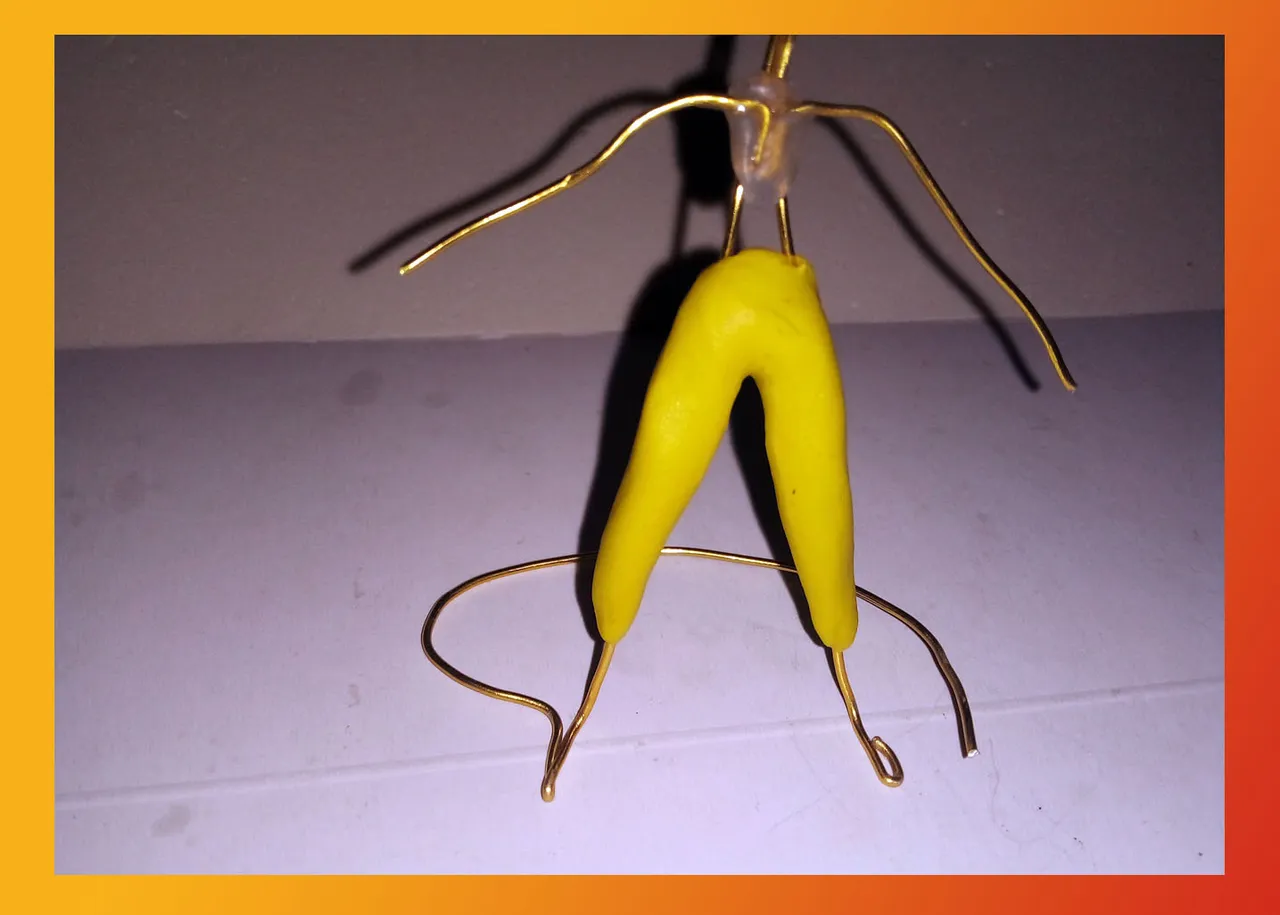
Then I continued covering with more plasticine, in this case for the torso.
I didn't concentrate too much on finely molding the character's body, since his clothes are a bit baggy and the muscles of the character, which he does have, are not too noticeable.
I only molded with the knitting needle some joints at the waist and neck.
Después continué cubriendo con más plastilina, en este caso para el torso.
No me concentré demasiado en moldear finamente el cuerpo del personaje, pues su ropa es un poco holgada y no se marcan demasiado los músculos del personaje, que sí tiene.
Solo moldeé con la aguja de tejer algunas uniones en la cintura y en el cuello.
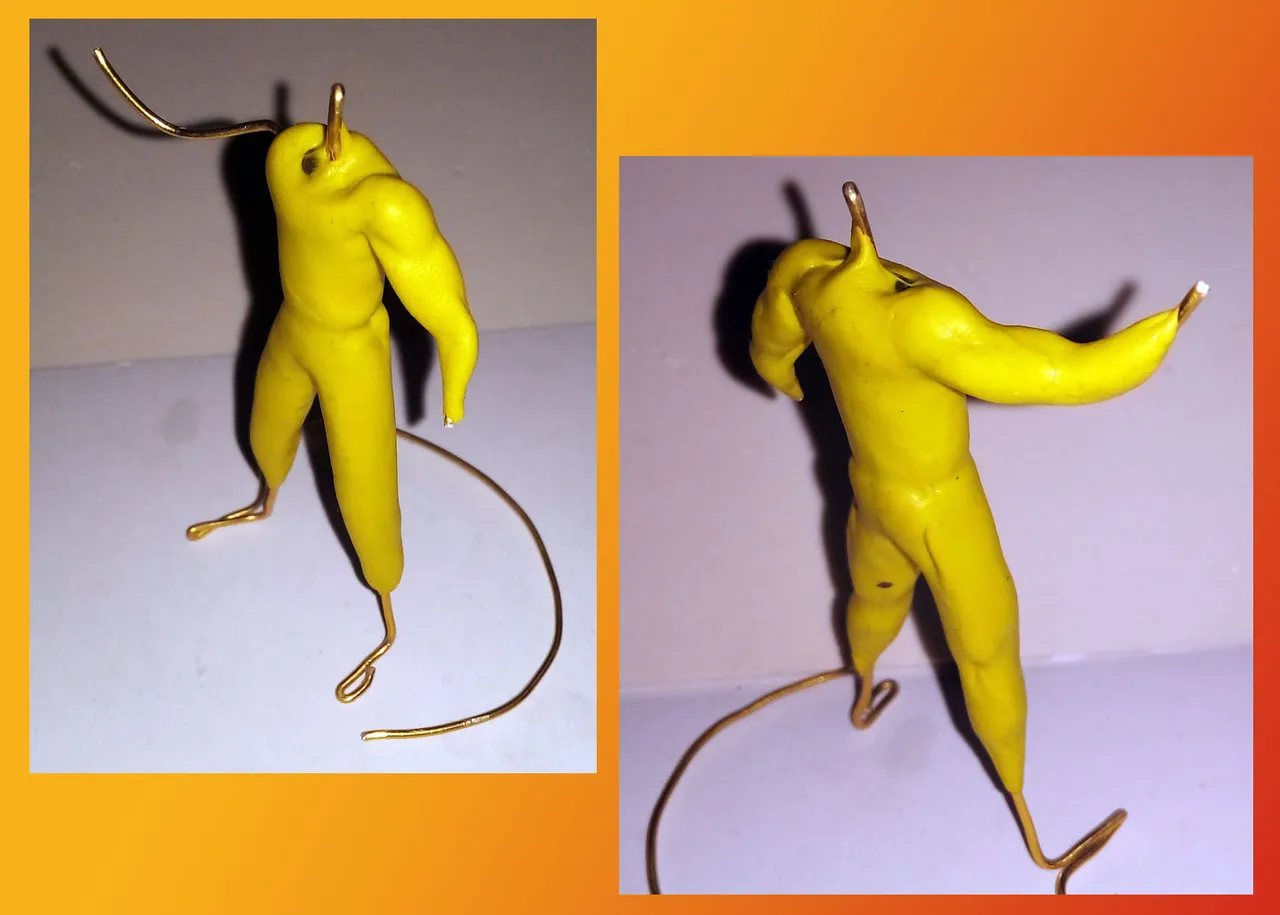
The arms are another story, these ones have a little more muscles, so I didn't just add plasticine as I did with the legs; besides covering with plasticine the areas of the arms, I used the knitting needle to mold the muscles until I got the desired result.
In the image below you can see the process of creating the left arm and then the right one:
Los brazos son otra historia, estos sí se marcan un poco más los músculos así que no solo fue agregar plastilina como lo hice en las piernas; además de cubri con plastilina las áreas de los brazos, usé la aguja de tejer para moldear los músculos hasta obtener el resultado deseado.
En la imagen a continuación pueden ver el proceso de creación del brazo izquierdo y luego el derecho:
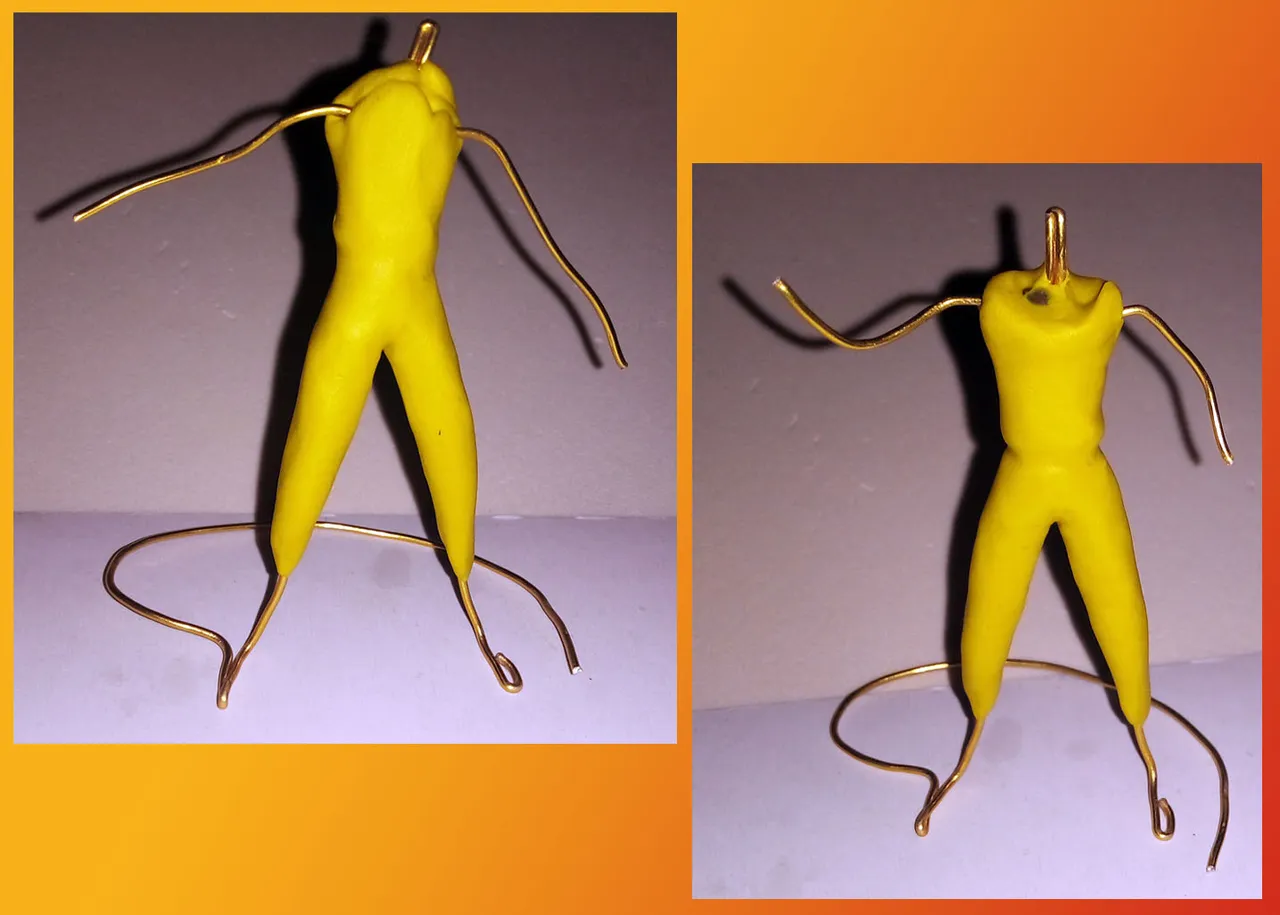
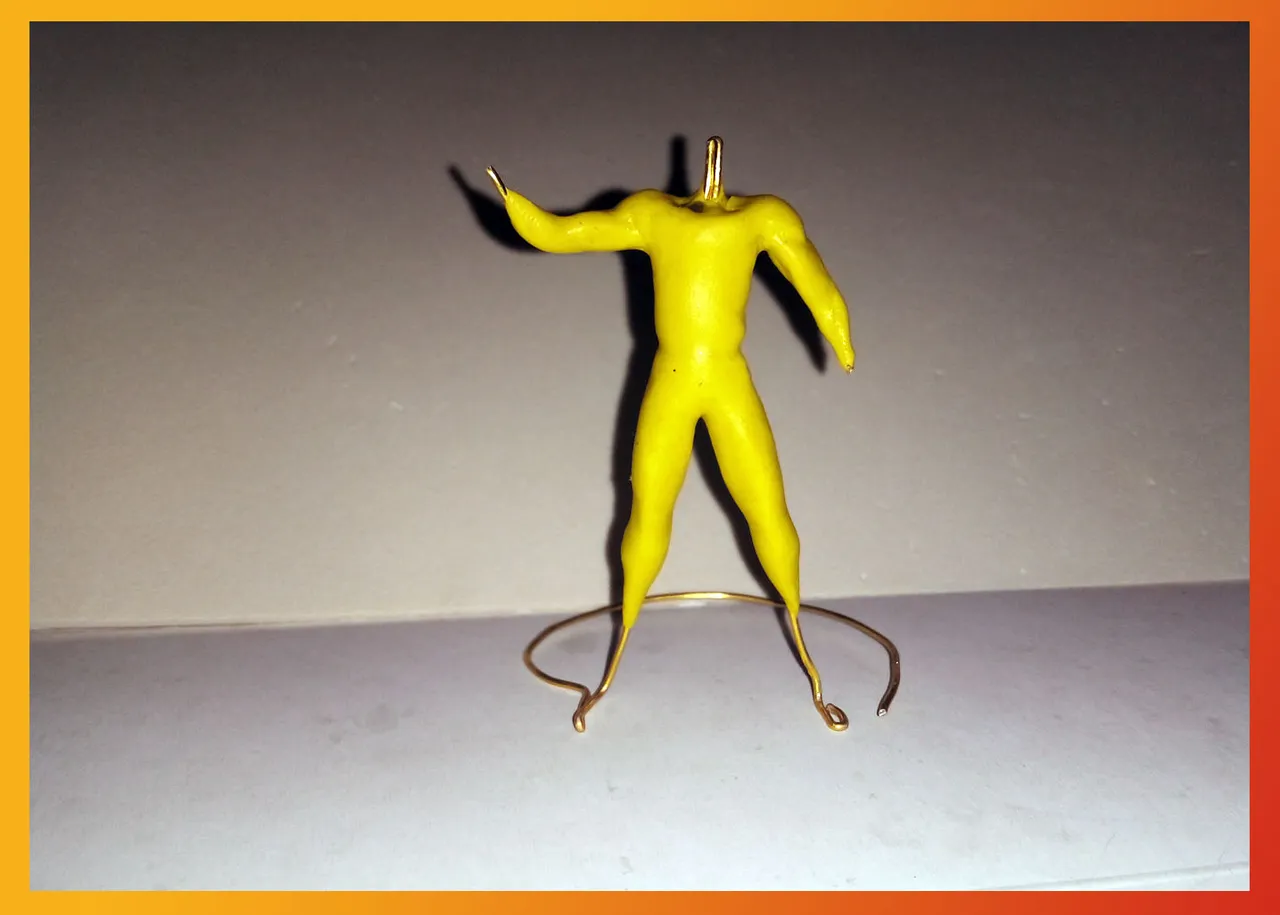
So far I haven't had so much trouble molding the figure, however I had to refine some details such as the shape of the thighs and calves.
In the image below you can see how the figure is shaping up to now:
Hasta ahora no me dio tanta pelea el moldeado de la figura, sin embargo tuve que afinar algunos detalles como la forma de los muslos y las pantorrillas.
En la imagen a continuación pueden ver cómo va quedando la figura hasta ahora:
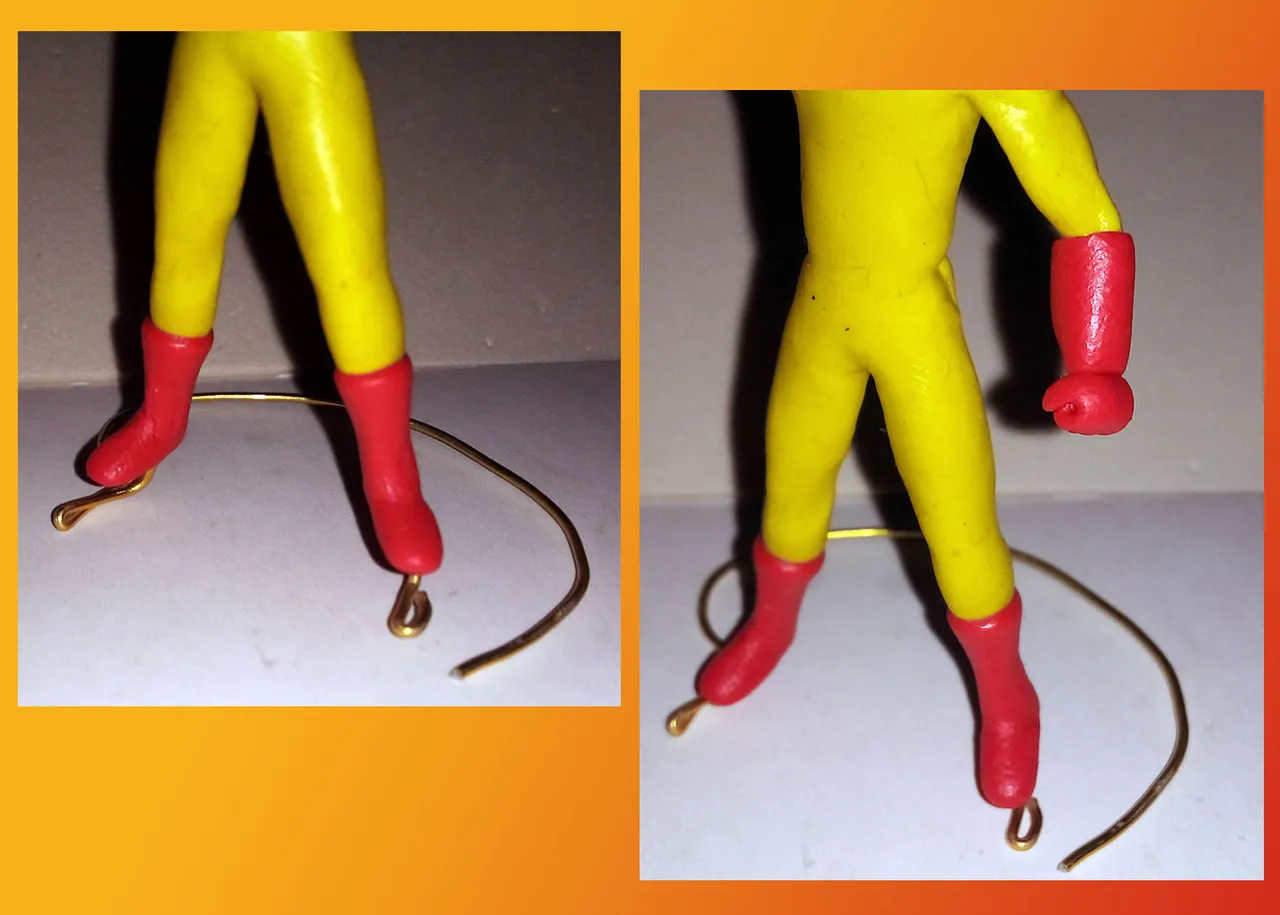
Another part of the character's outfit are the boots and gloves he wears. They are usually red, so I used that color of plasticine to cover the skeleton area.
With the help of the same needle I molded both arms and legs, trying to be as accurate as possible to a real body.
Otra parte del atuendo del personaje son las botas y guantes que usa. Suelen ser rojos, así que usé ese color de plastilina para cubrir el área del esqueleto.
Con ayuda de la misma agujtejer moldeé tanto brazos como piernas, tratando de ser lo más exacto posible a un cuerpo real.
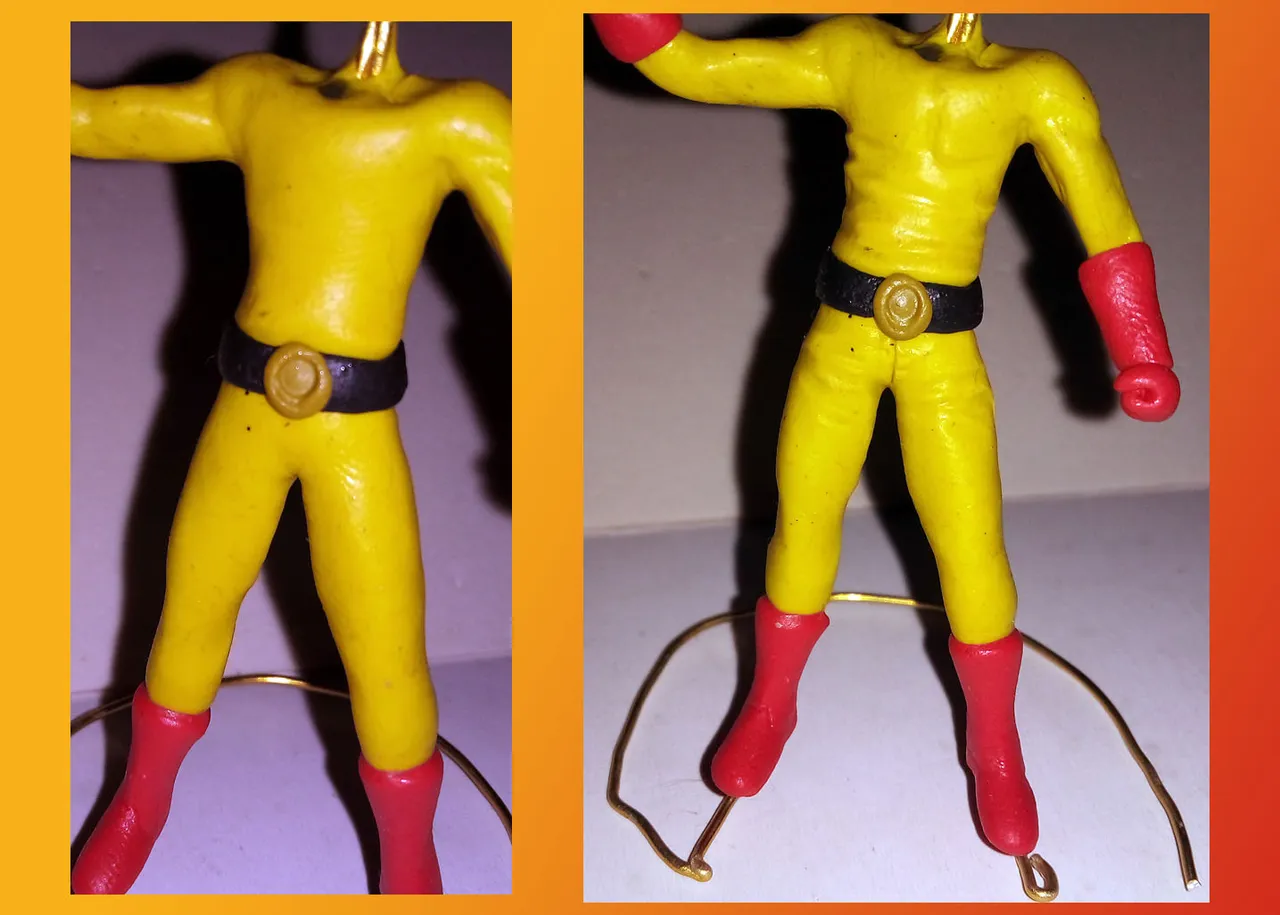
Another accessory of the costume is the belt. To make it I flattened a thin line of black plasticine and placed it around the waist. For the buckle I made a tortilla and placed it in the center of the belt, then with the thick part of the knitting needle I made a circle in the center of the buckle.
On the other hand, once I finished the body, I started to make the folds of the garment, making these grooves with the knitting needle.
Otro accesorio del traje es el cinturón. Para hacerlo aplasté una linea delgada de plastilina negra y la coloqué alrededor de la cintura. Para la hebilla hice una tortilla y la coloqué en el centro del cinturón, luego con la parte gruesa de la aguja de tejer hice un círculo en el centro de la hebilla.
Por otra parte, una vez que terminé el cuerpo, comencé a hacer los pliegues de la ropa, haciendo estos surcos con la aguja de tejer.
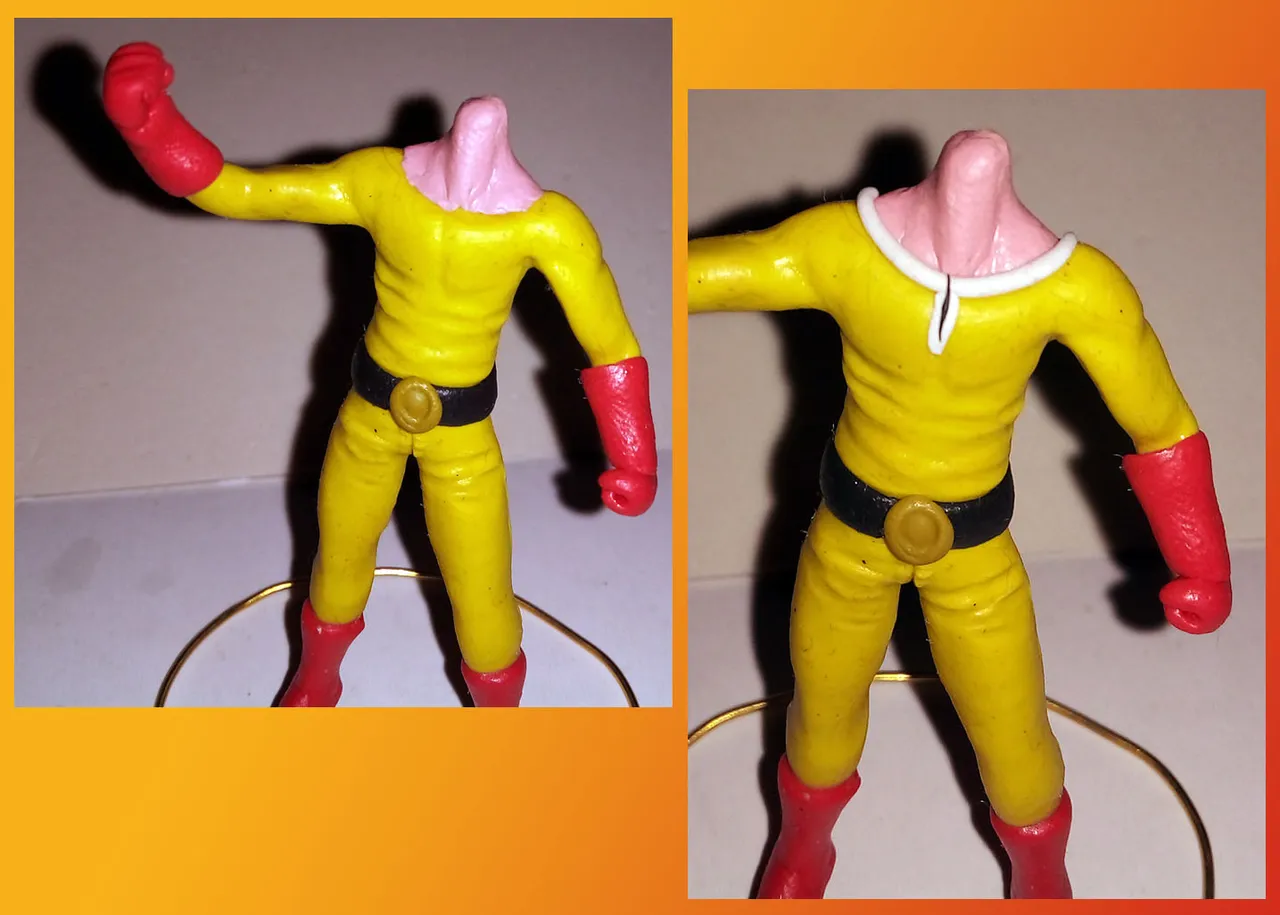
Turn of the neck. To do this I used pink plasticine to cover the area of the skeleton that was intended for the neck, then I molded it with a toothpick until I created the desired shape.
Then I used two strips of white plasticine for the edge of the neck opening.
Turno del cuello. Para hacerlo usé plastilina rosada para cubrir la zona del esqueleto que estaba destinada para el cuello, luego la moldeé con un palillo hasta crear la forma deseada.
Luego usé dos tiras de plastilina blanca para el borde de la apertura del cuello.
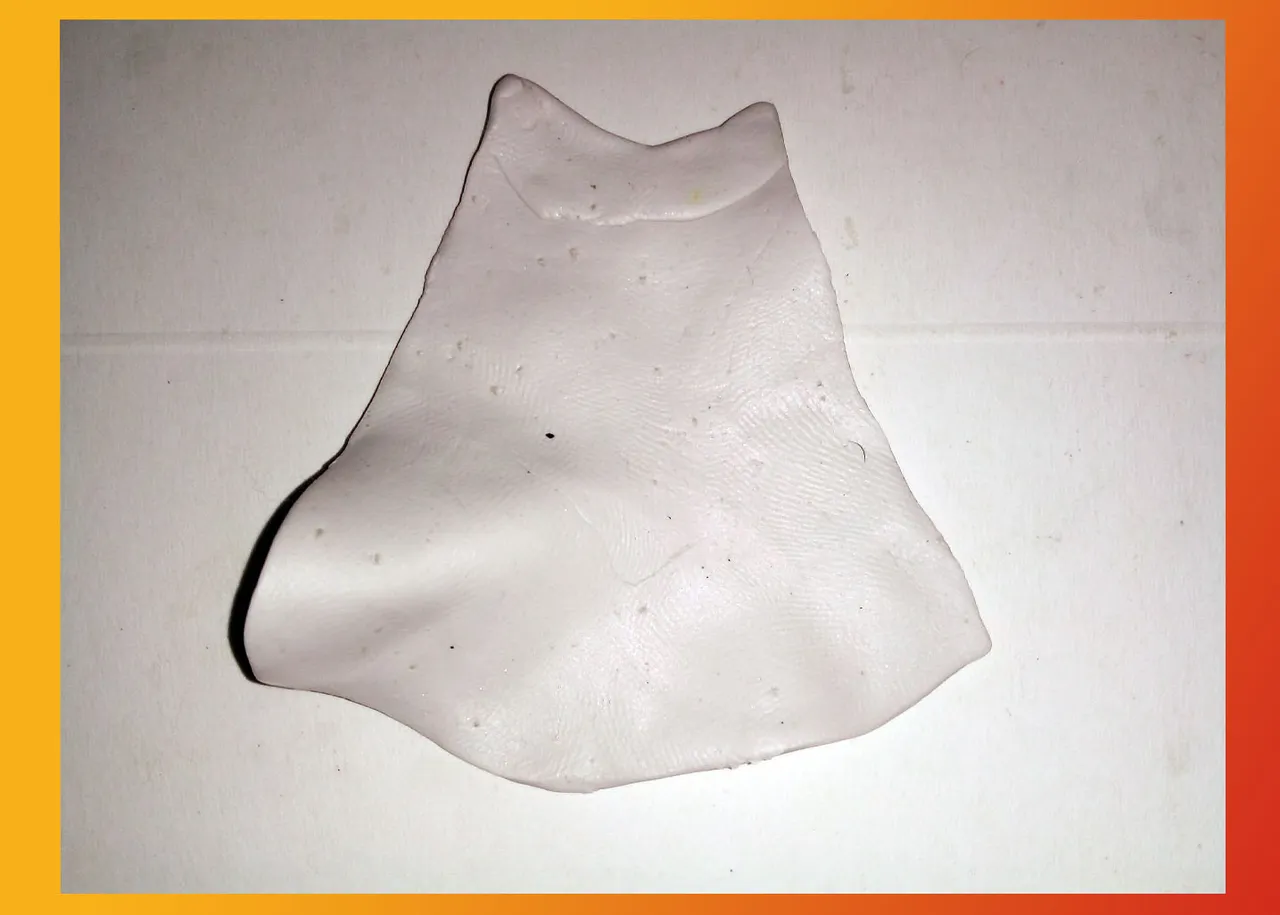
For the layer I flattened a large piece of white plasticine and cut it with a scissors, it looked like this:
Para la capa aplasté un trozo grande de plastilina blanca y lo corté con una tijera, quedó de esta manera:
It was simply a matter of putting the cape in place and placing two black spheres that simulate the clasps that hold the cape in place.
Simplemente fue cuestión colocar la capa en su lugar y colocar dos esferas negras que simulan los broches que sostienen la capa.
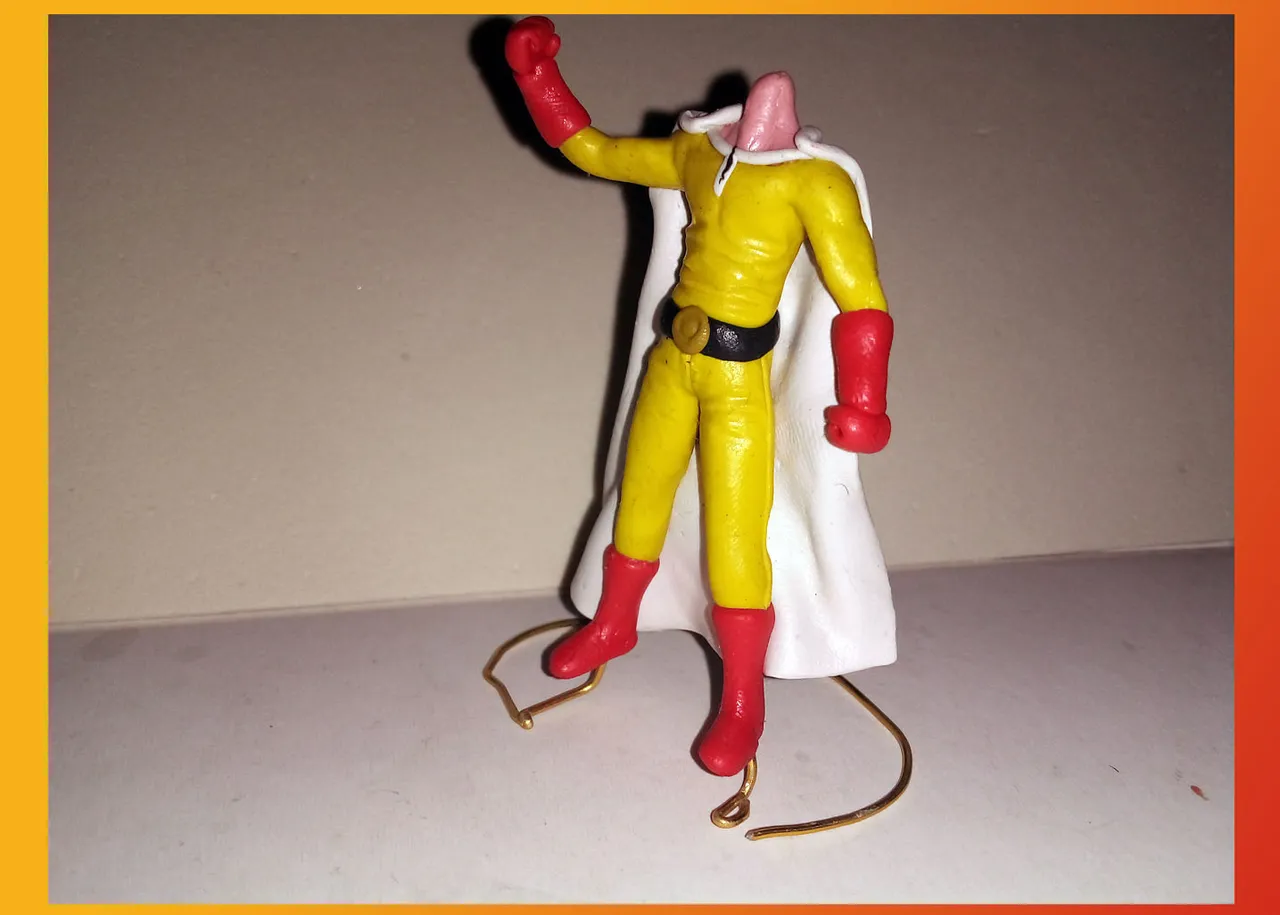
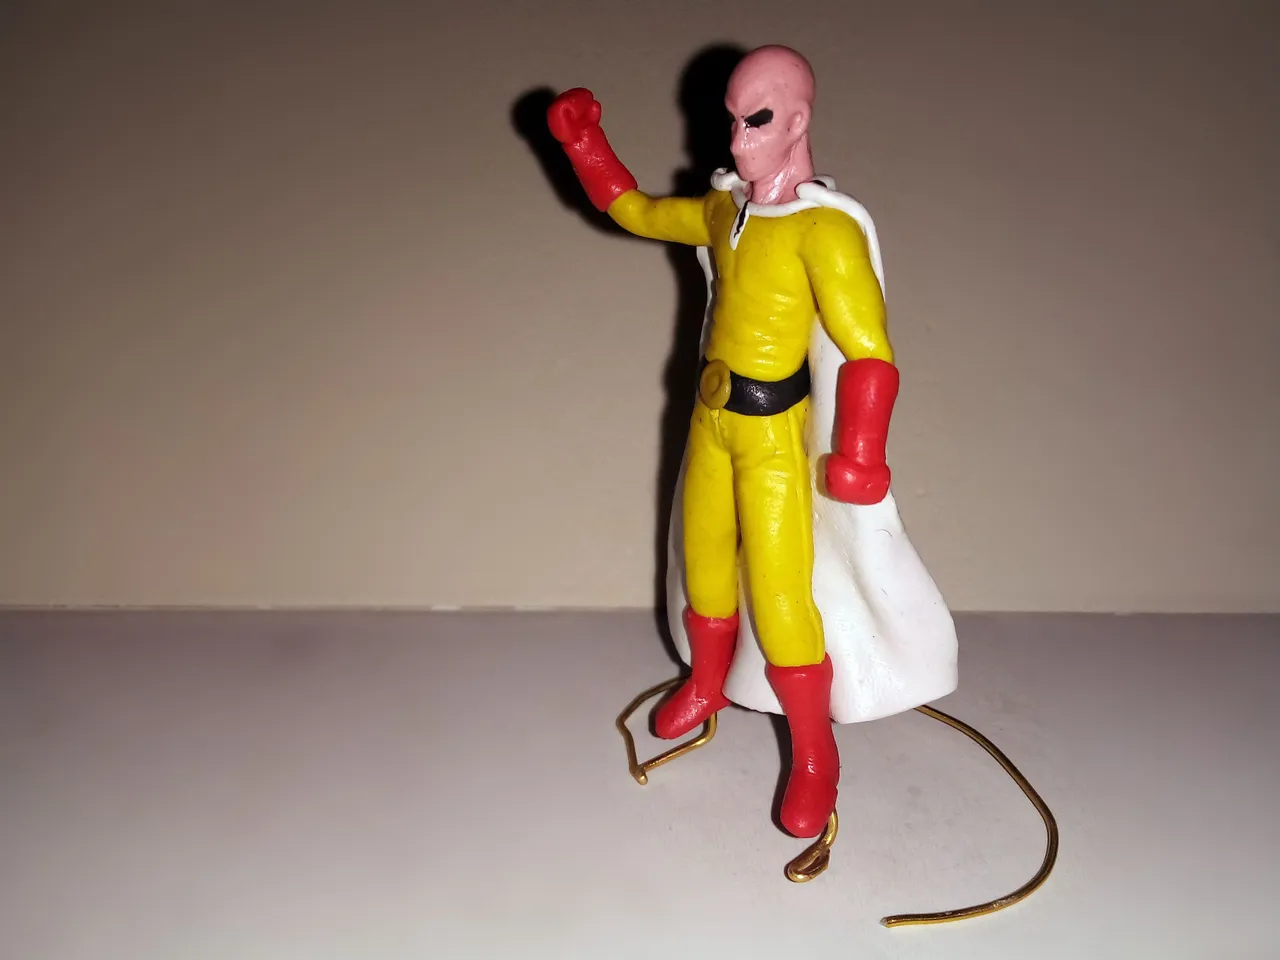
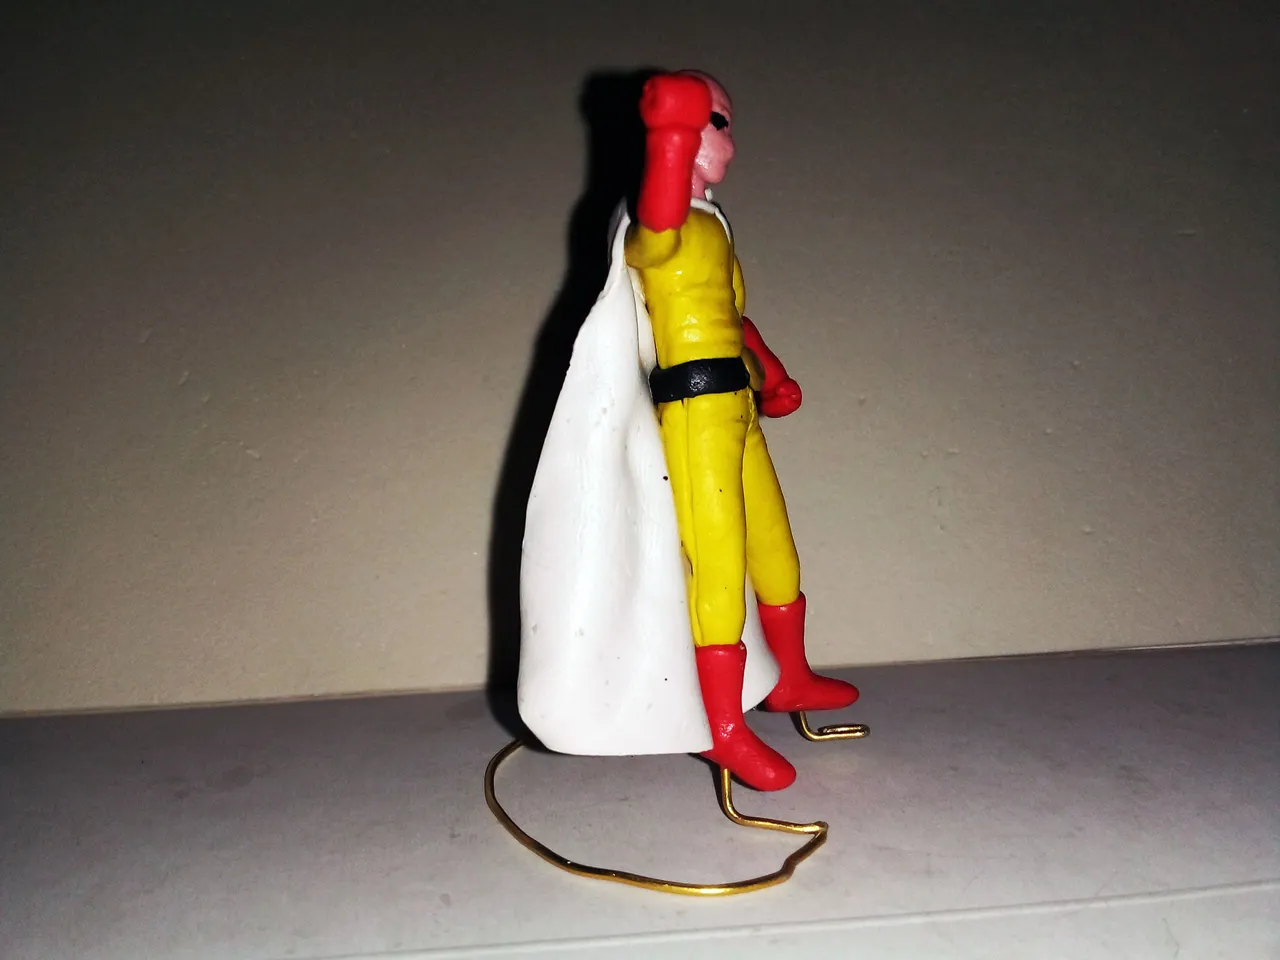
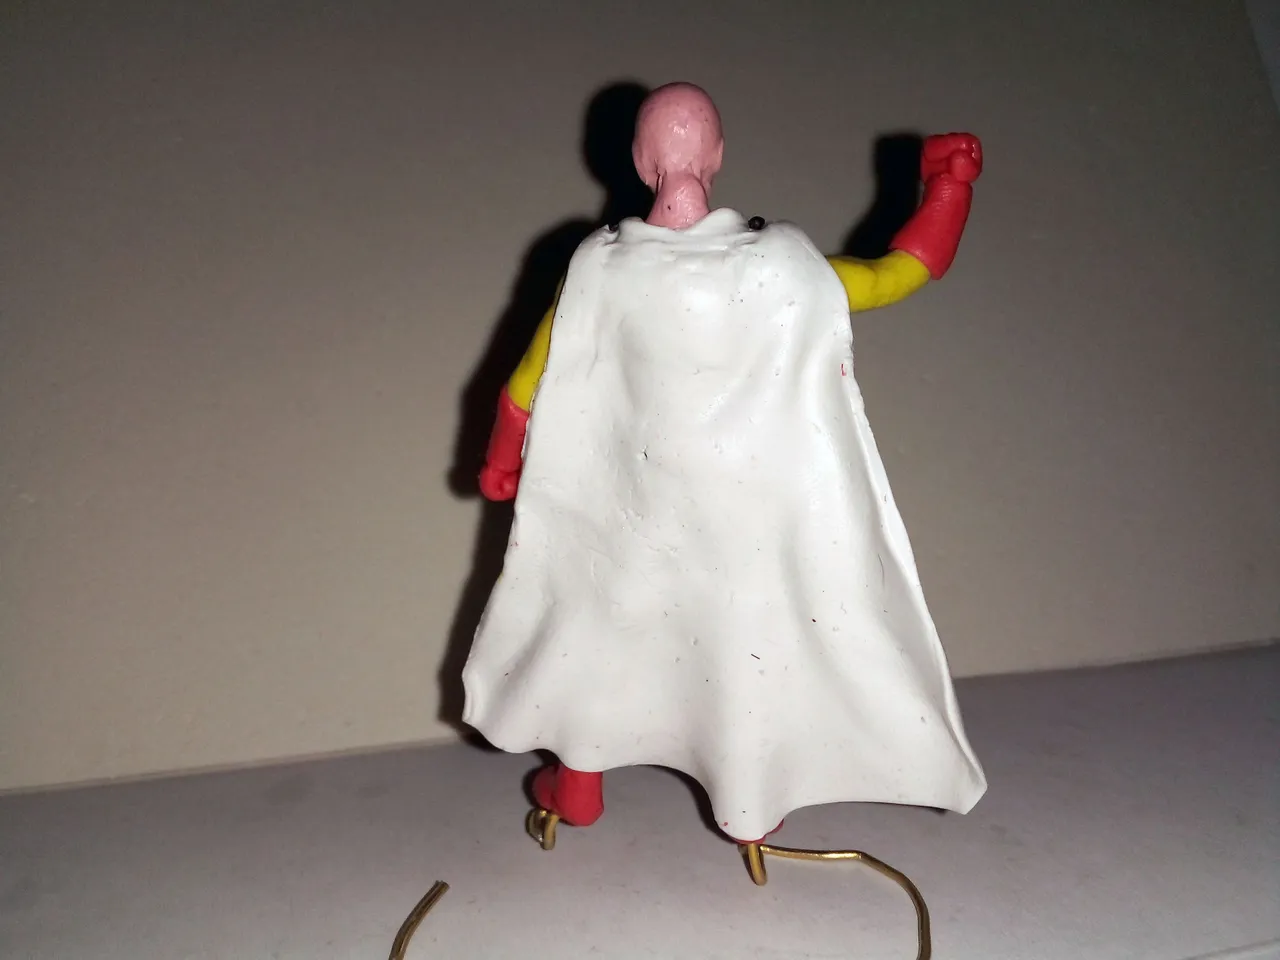
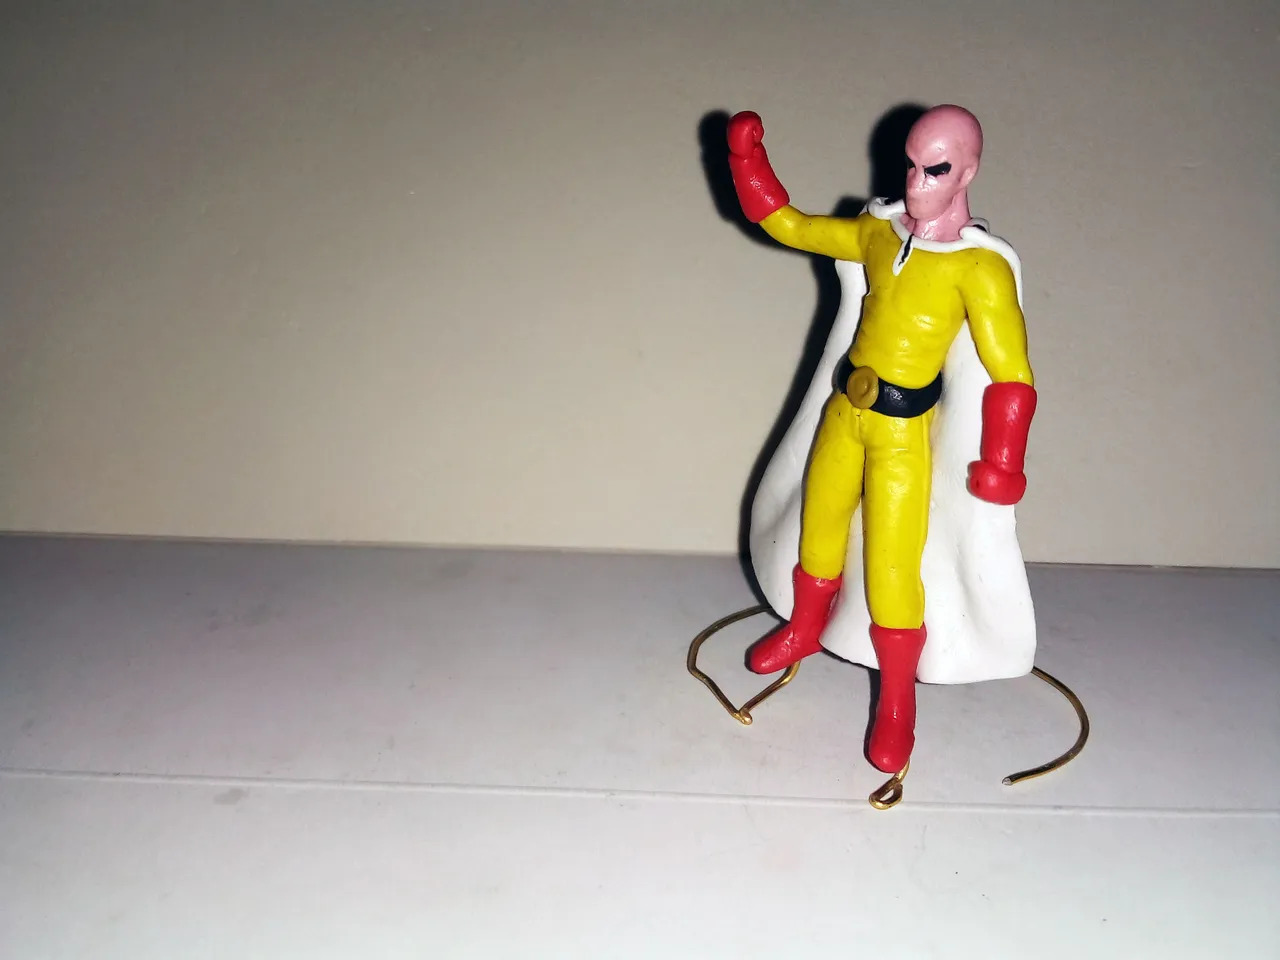
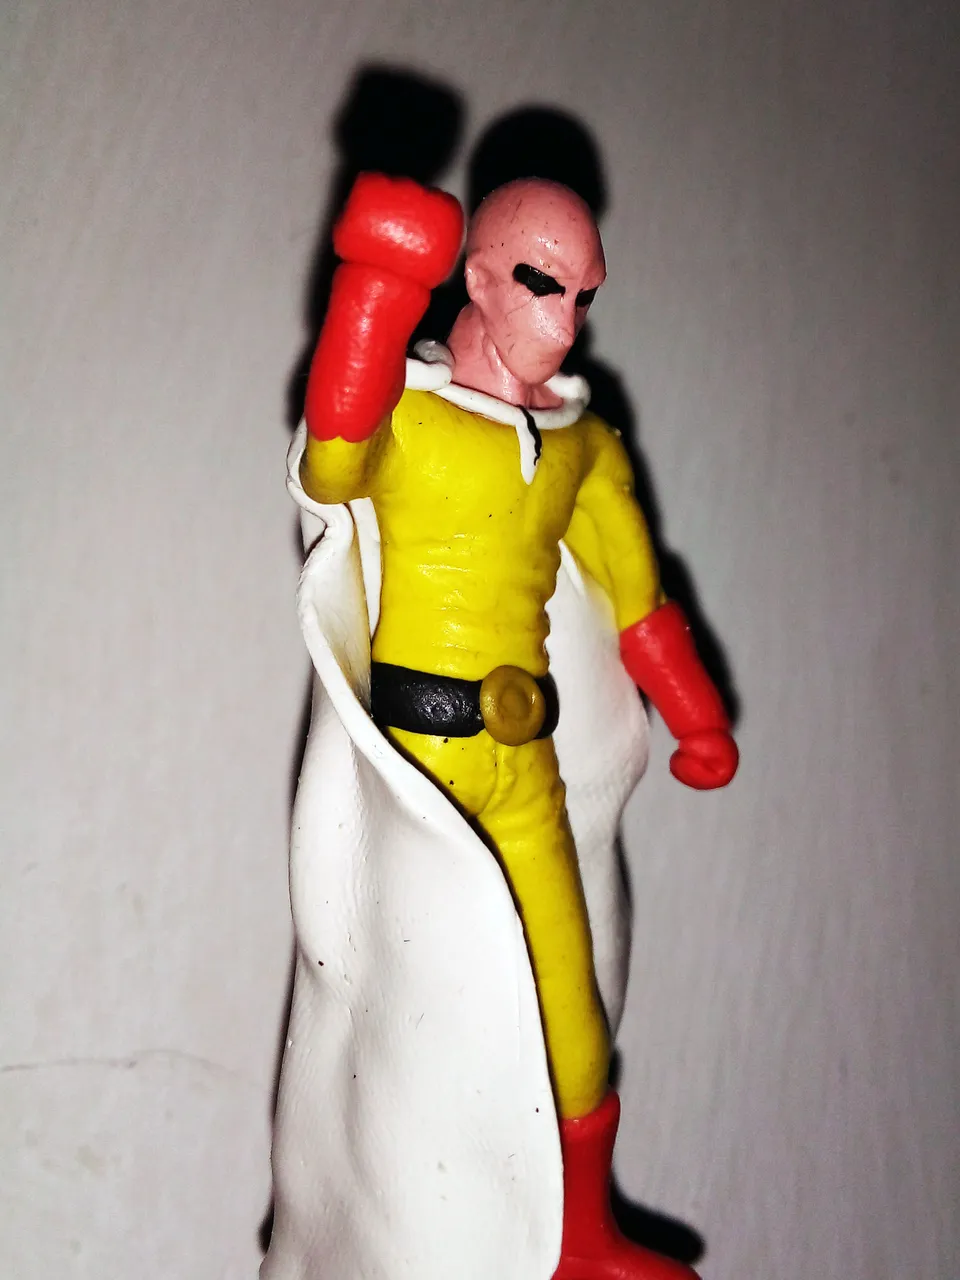
The last thing was to place the head of the character with that style that Saitama has when he is going to fight "seriously", because it was impossible to make the white eyes with pupils due to the small size of the figurine.
All in all, I think it looked good, but you will be the judge of that. Here are some pictures of the final result:
Lo último fue colocar la cabeza del personaje con ese estilo que tiene Saitama cuando va a pelear "en serio", pues se me hizo imposible hacerle los ojos blancos con pupilas por el pequeño tamaño de la figurita.
Con todo, creo que quedó bien, pero serán ustedes los que juzgarán. A continuación les dejo una serie de fotografías del resultado final:
Well friends, that's all for now. I hope you liked this Saitama figurine and that you found the step-by-step interesting.
I invite you to leave your opinions below in the comments, as always I will be happy to read them. With nothing more to add, I'll say goodbye then...
See you next time!
Bien amigos, esto ha sido todo por ahora. Espero que esta figurita de Saitama les haya gustado y que el paso a paso les haya parecido interesante.
Los invito a dejar sus opiniones abajo en los comentarios, como siempre estaré encantado de leerlos. Sin más que agregar, me despido entonces...
¡Hasta la próxima!

Traducido con DeepL
WE 96: Gabo's Outside Kitchen
Rising Star Update + Giveaway #7: 2K Starbits + 2 Cards
Baby Groot Drawing