English
Greetings to all, fellow creatives. A long time ago I shared in the community a post of a dragon sculpture. I told you that I would make three dragons in that style but in different colors.
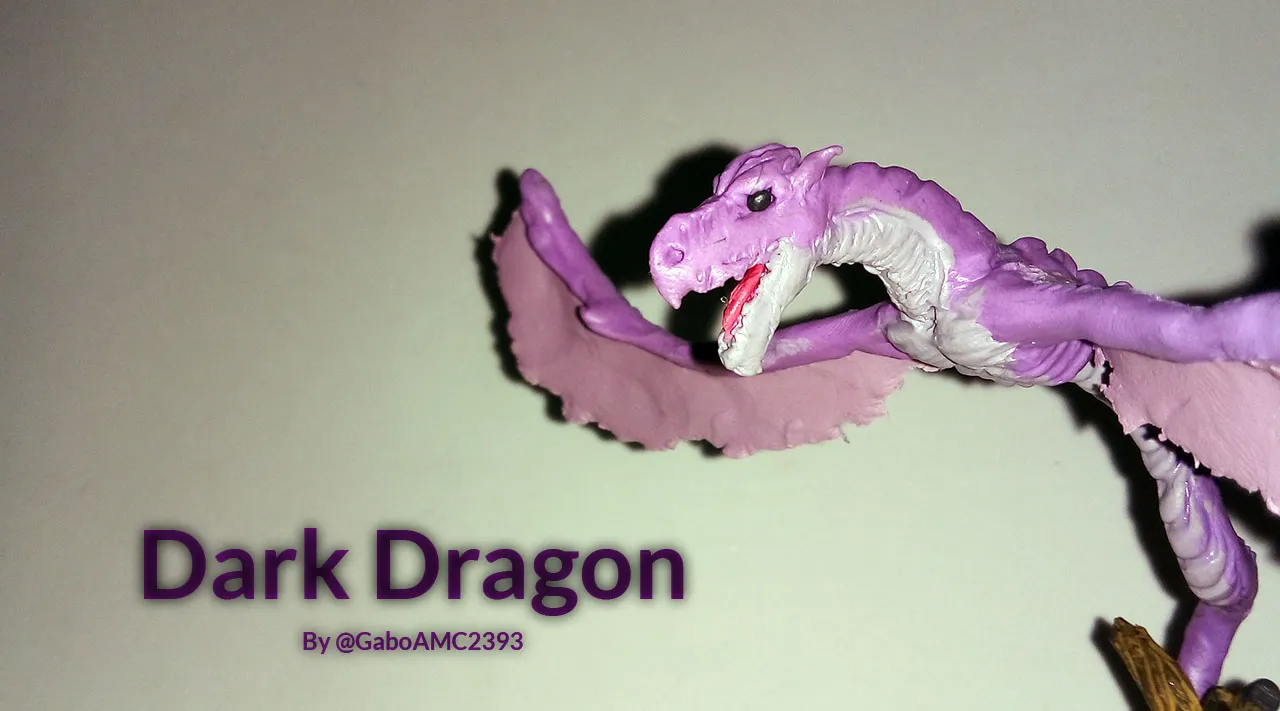
Although I made a pause, what is promised is due and today I bring you the second of the three dragons I will make. I present to you the dark dragon.
Español
Saludos a todos, compañeros creativos. Hace mucho tiempo compartí en la comunidad una publicación de una escultura de dragón. Les dije que haría tres dragones de ese estilo pero de diferentes colores.
Aunque hice una pausa, lo prometido es deuda y hoy les traigo el segundo de los tres dragones que haré. Les presento el dragon oscuro.
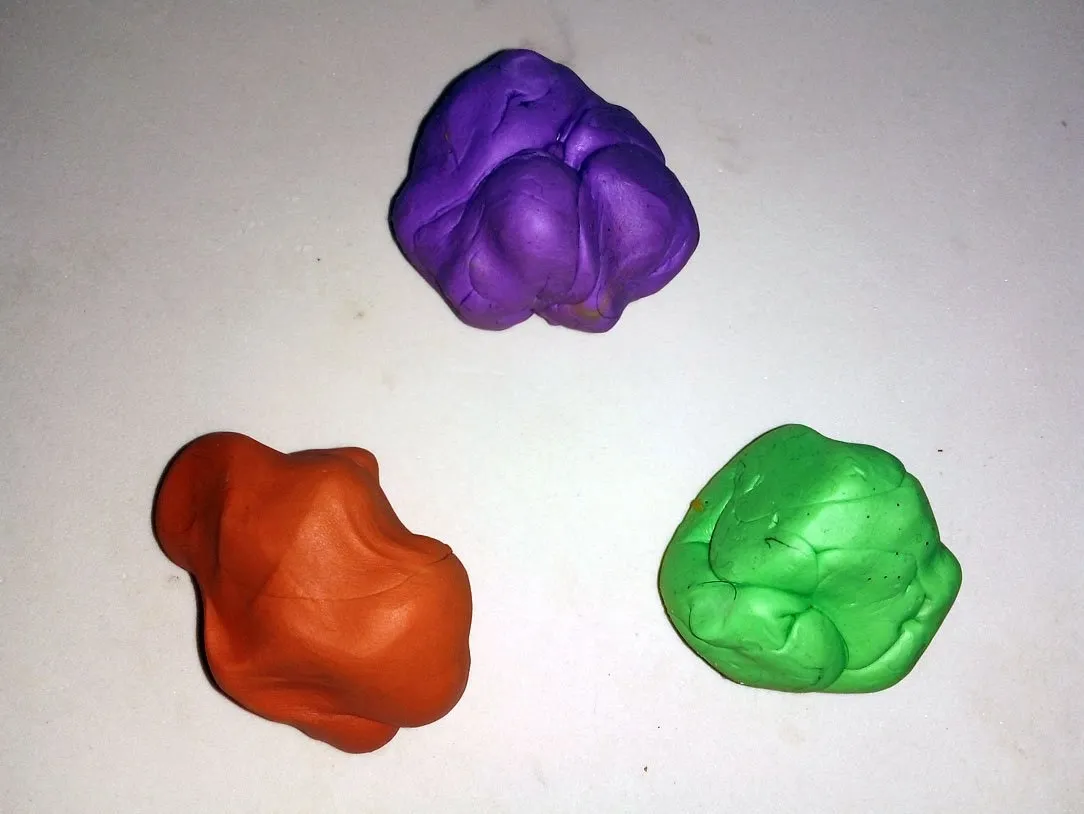
Orange, purple and green. Those were the colors I chose for my dragons. The first dragon I made was an orange one, maybe you don't remember it because I made it a long time ago; even so, here is a link where you can find the publication:
Naranja, morado y verde. Esos fueron los colores que elegí para mis dragones. El primer dragon que hice fue uno naranja, quizás no lo recuerden porque lo hice hace tiempo; aún así, a continuación dejo un enlace en donde pueden encontrar la publicación:
@gaboamc2393/orange-dragon-sculpture-engspa
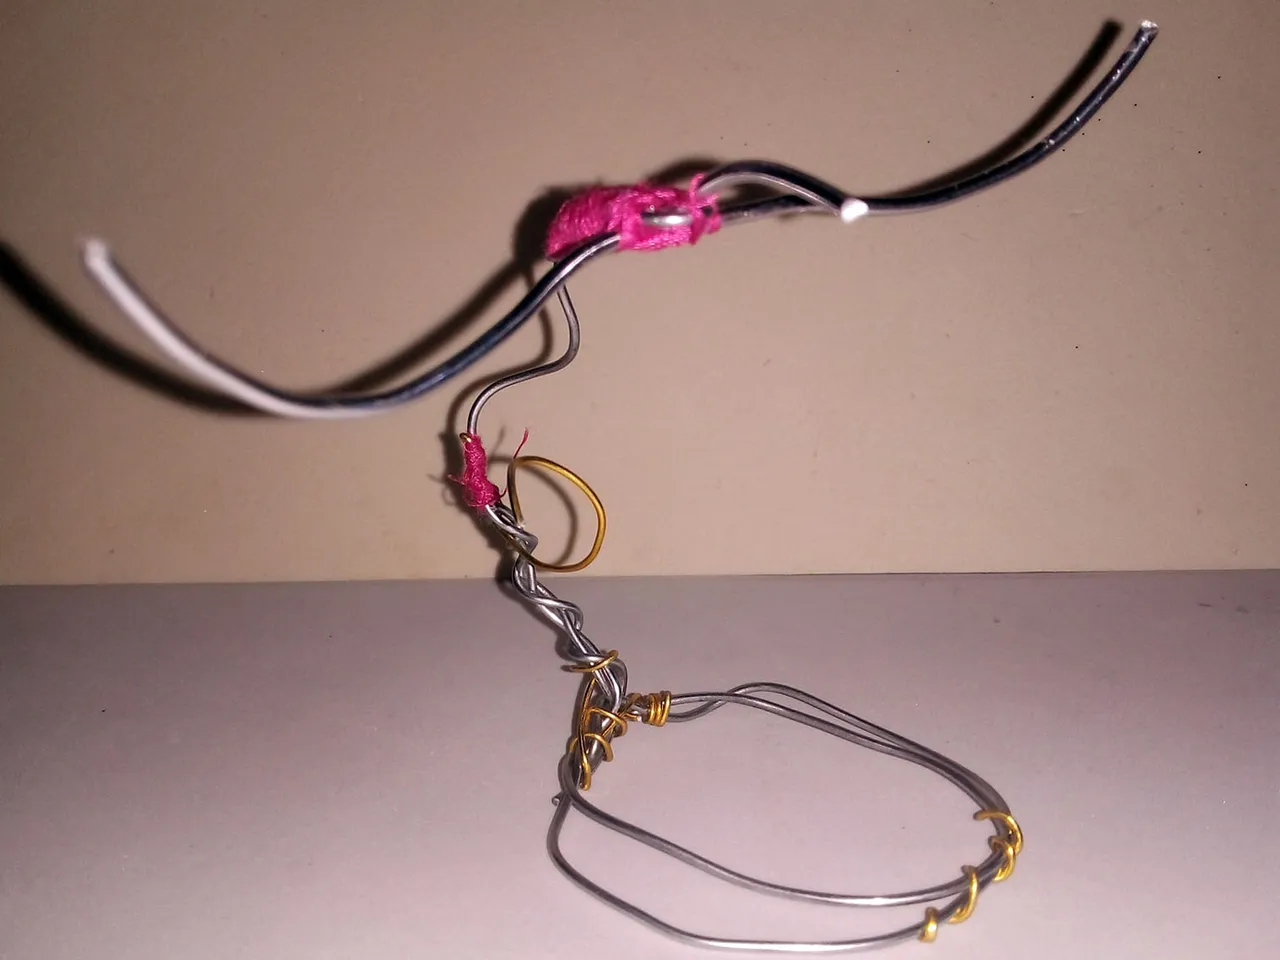
To make this dragon I used a fairly strong wire skeleton. It had to be that way, otherwise it would not support all the weight of the figurine, especially for the shape I would give it.
Para hacer este dragon usé un esqueleto de alambre bastante resistente. Tenía que ser así, de lo contrario no soportaría todo el peso de la figurita, sobre todo por la forma que le daría.
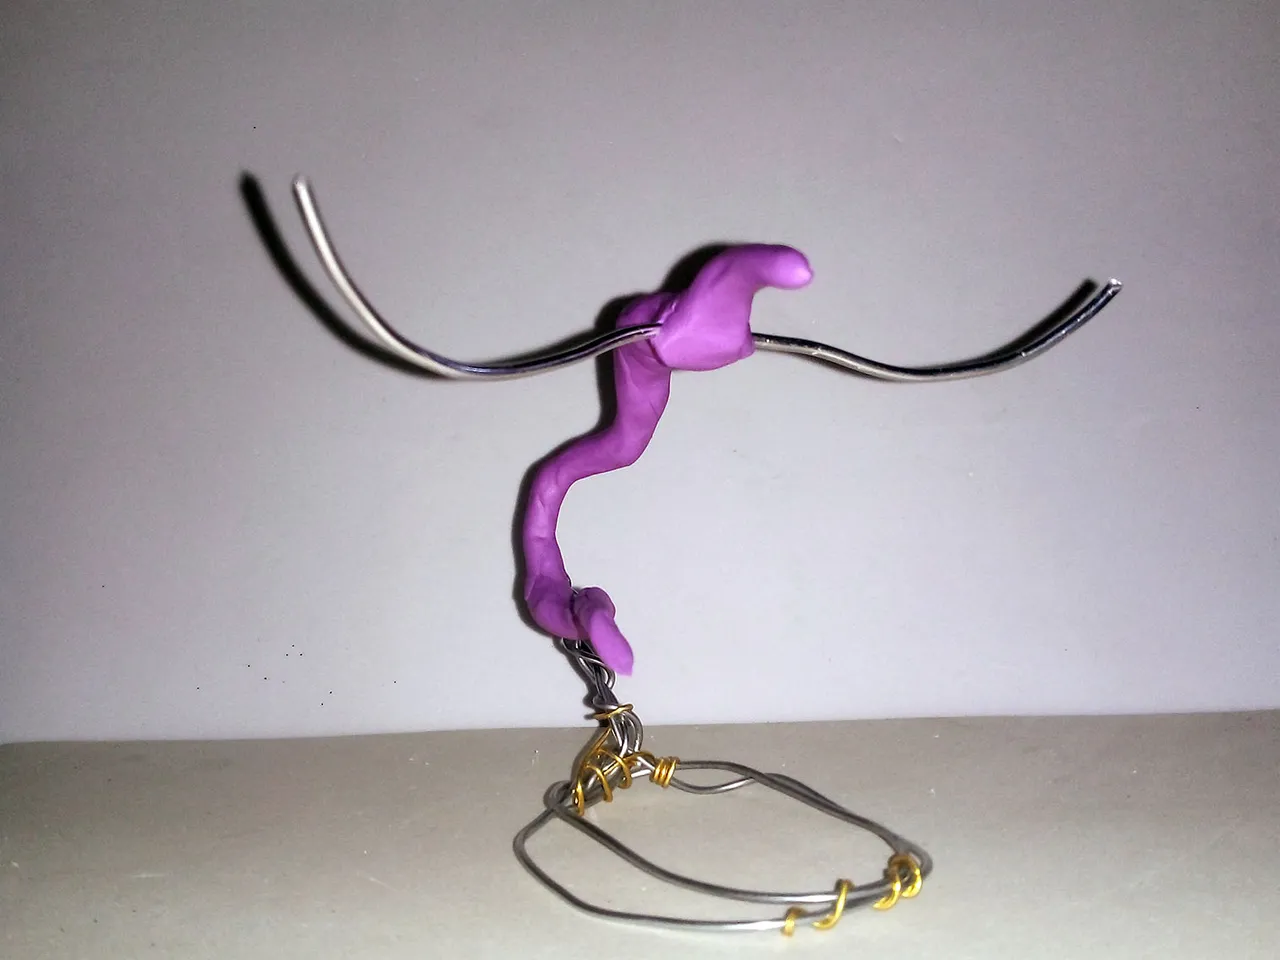
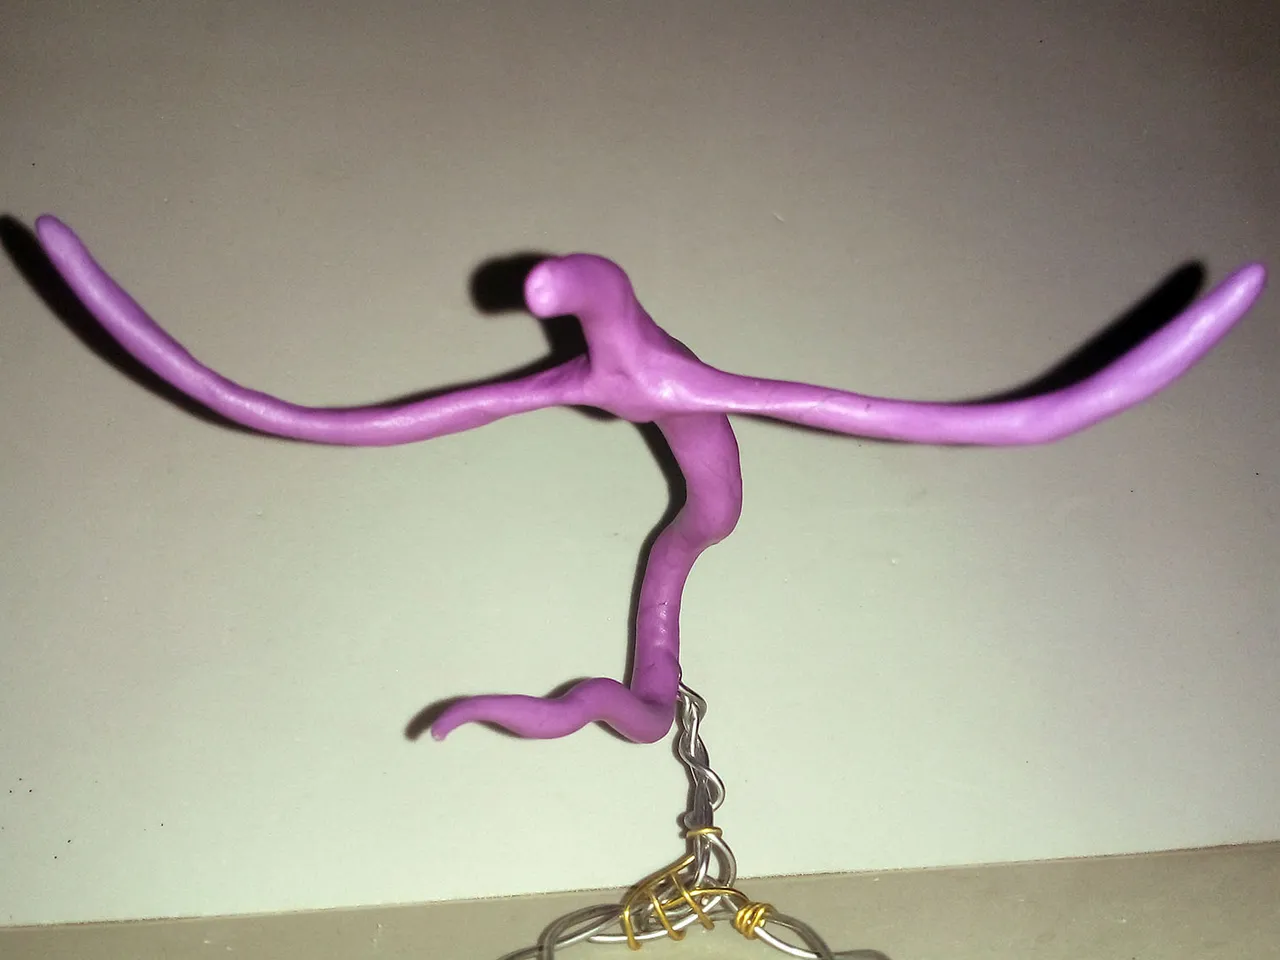
Once the skeleton is made, the next thing to do is to cover the skeleton with plasticine. For this figure I wouldn't use too much plasticine, so I didn't apply too much at first.
This would be a dark dragon, so I used purple for the body of the figure. I don't plan to paint it or anything so this is the color the dragon will be.
Below you can see how I started to cover the wire skeleton:
Una vez hecho el esqueleto, lo siguiente es cubrir con plastilina el esqueleto. Para esta figura no usaría demasiada plastilina, así que no apliqué demasiada en un primer momento.
Este sería un dragón oscuro, así que usé el morado para el cuerpo de la figura. No la pienso pintar ni nada así que este es el color con el que quedará el dragón.
Abajo pueden ver cómo comencé a cubrir el esqueleto de alambre:
 |  |
|---|
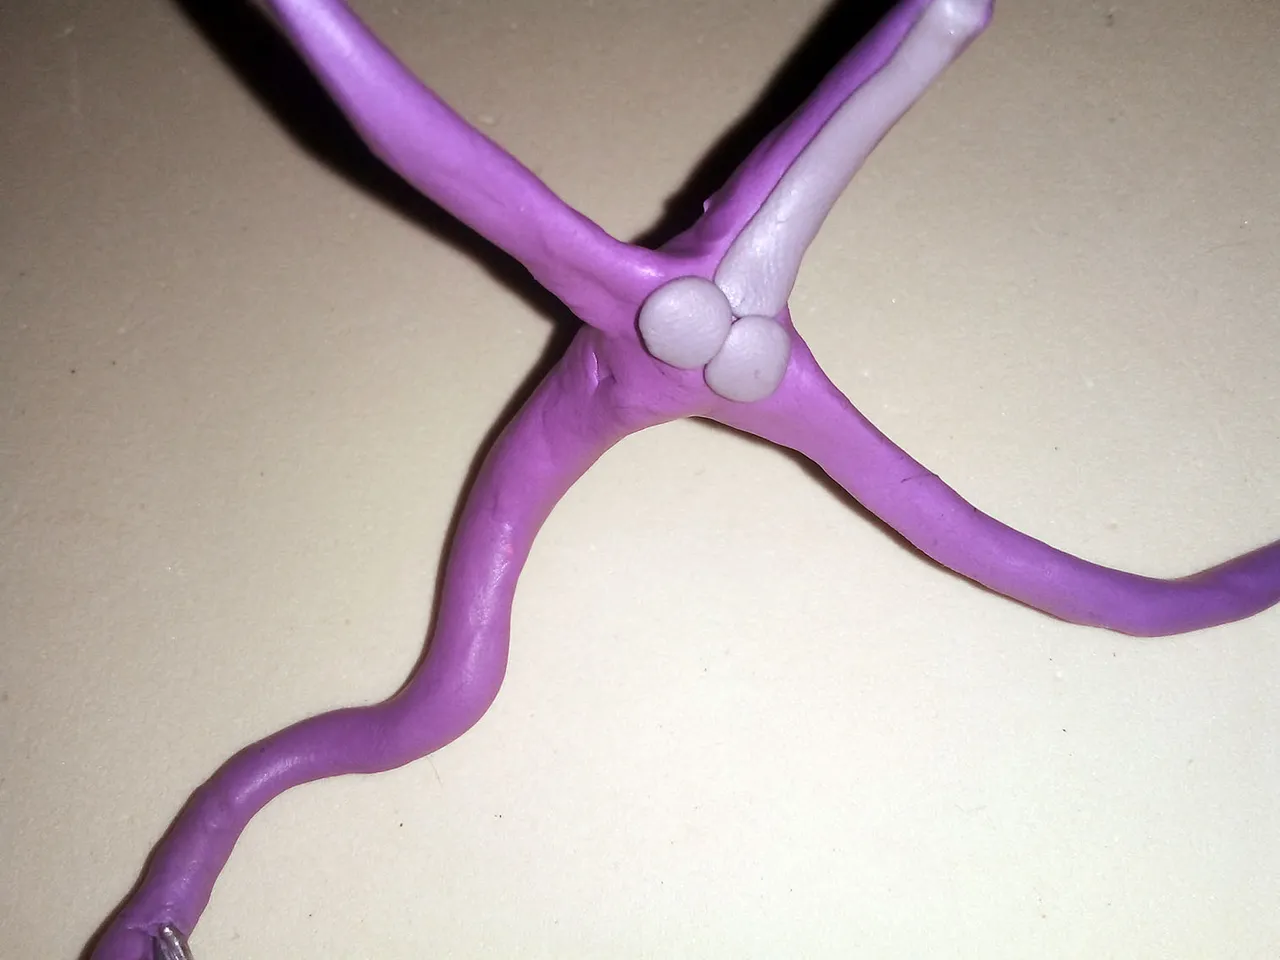
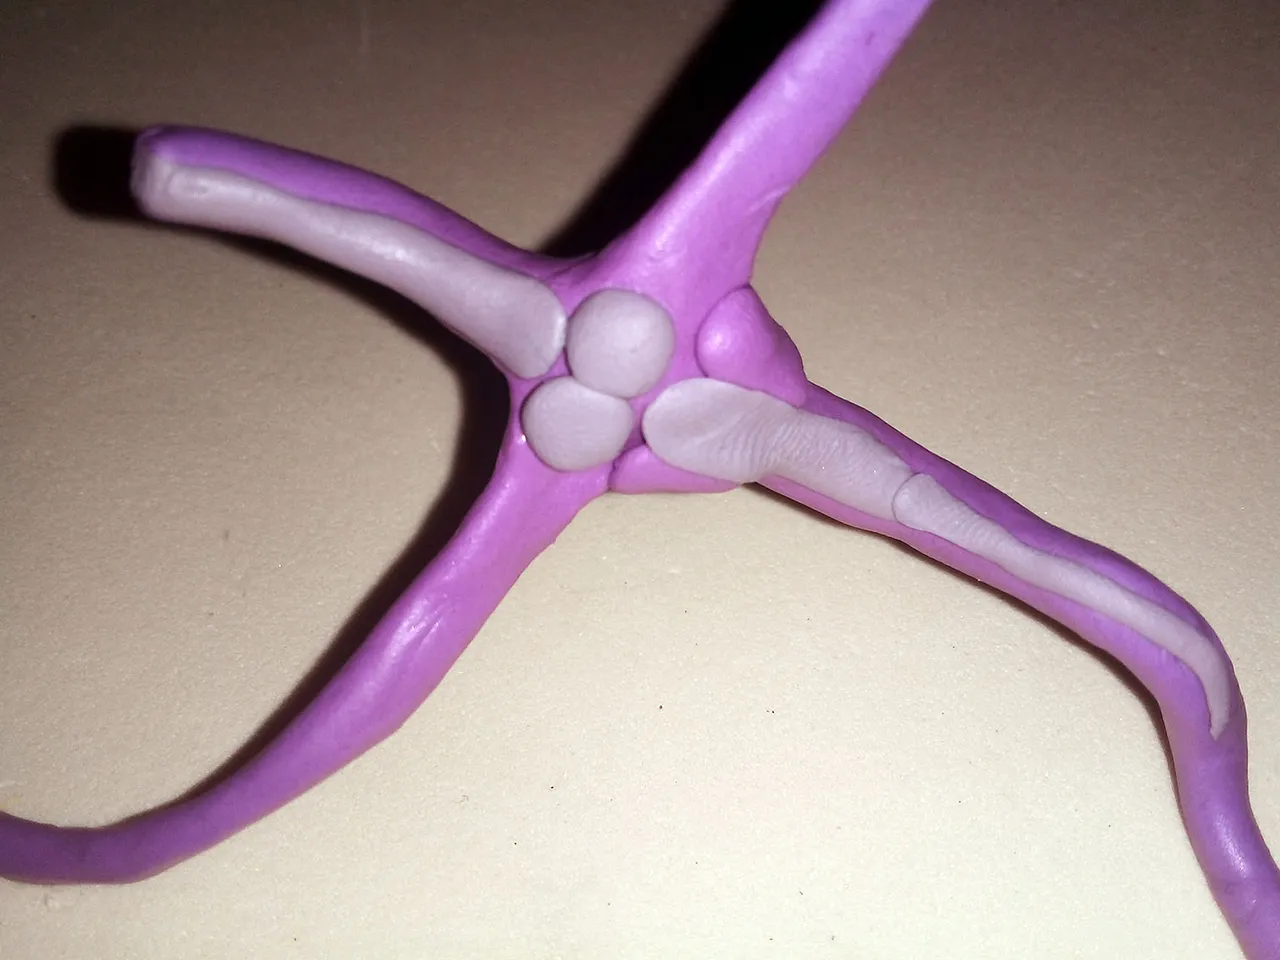
In addition to the purple, I used some white and blue to create a contrasting color to the purple. I would use this color for the inside parts of the chest, neck and also for the wings.
As you can see in the pictures below, I started to place this color in sections; I used small strips of plasticine on the neck, tail and belly; also a couple of circles for the pectorals.
Además del morado, usé un poco de blanco y azul para crear un color que hiciera contraste con el morado. Este color lo usaría para las partes interiores del pecho, del cuello y también para las alas.
Como pueden observar en las imágenes de abajo, comencé a colocar este color por secciones; usé pequeñas tiras de plastilina en el cuello, en la cola y en la panza; también un par de circulos para los pectorales.
 |  |
|---|
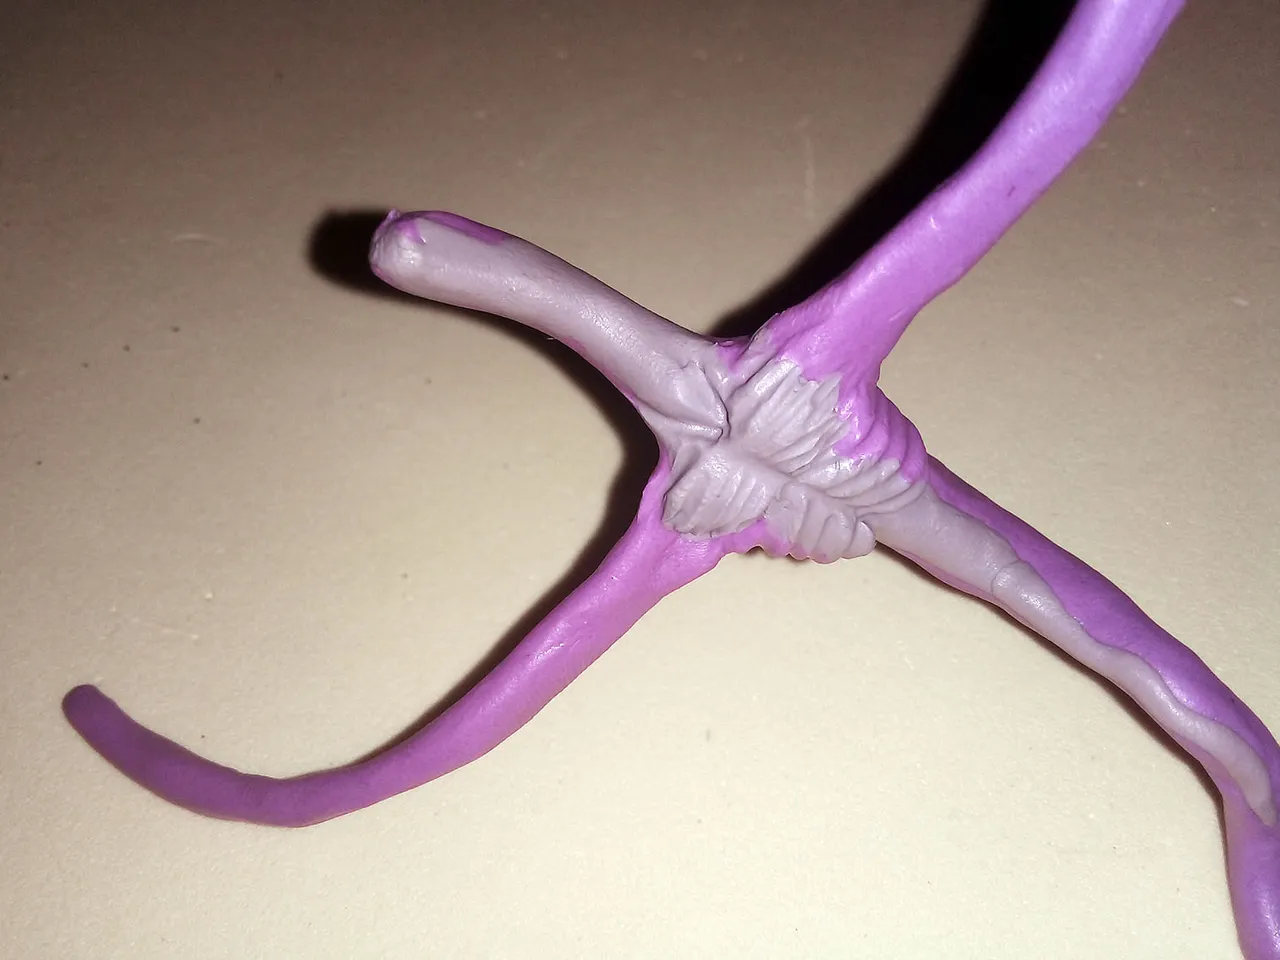
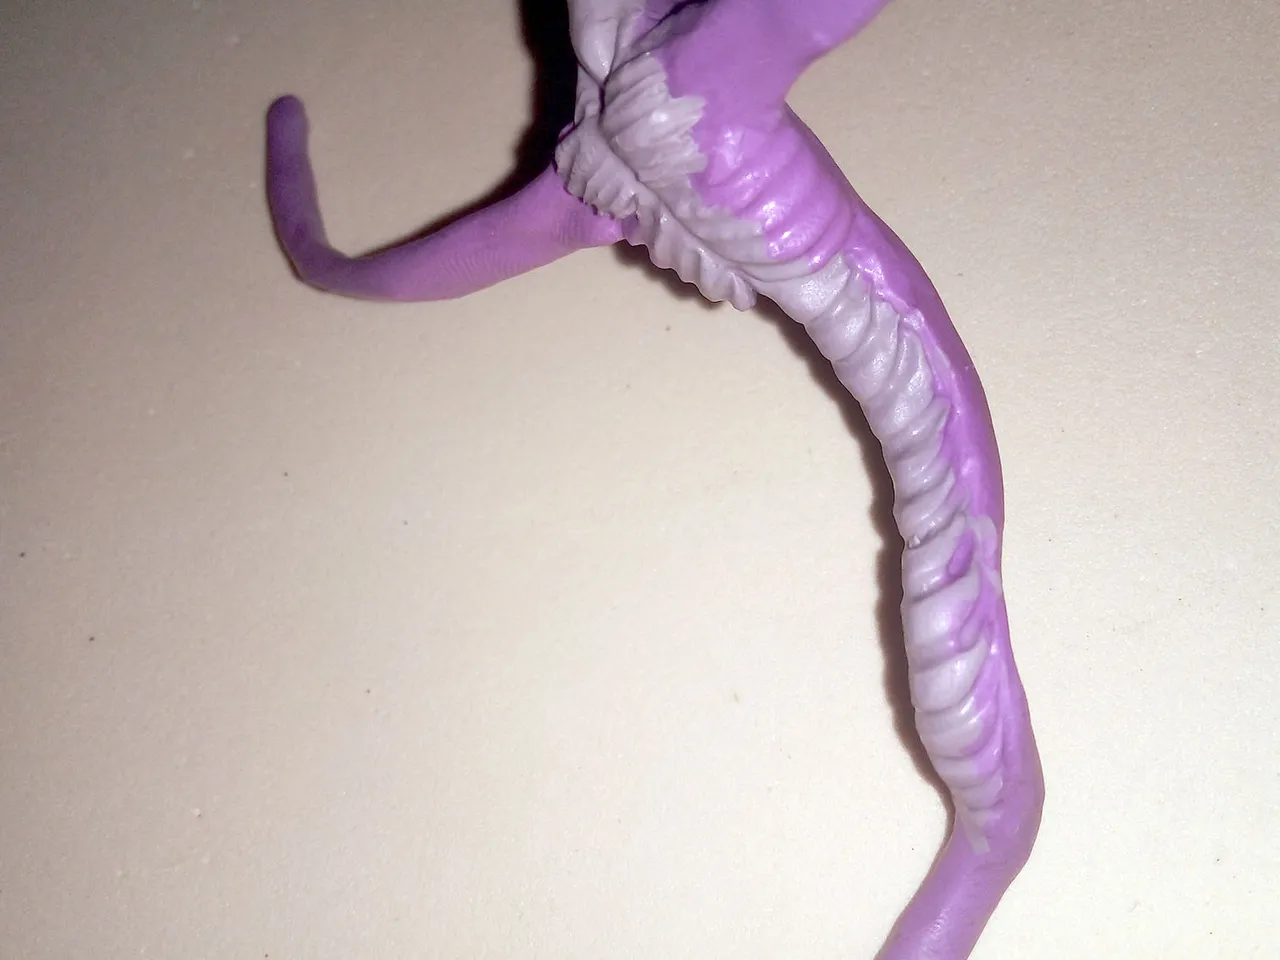
Once the plasticine was in place, I used the knitting needle to create the ribs and body lines of the figure.
It's an undernourished, skinny dyed dragon, so I made it with the ribs well marked and with a sunken belly. In the same way, I made some lines on the tail, as a continuity to the chest design.
Una vez que la plastilina estuvo en su lugar, usé la aguja de tejer para crear las costillas y líneas corporales de la figura.
Es un dragón con tinte desnutrido, delgado, así que lo hice con las costillas bien marcadas y con la panza hundida. De igual manera, hice unas líneas en la cola, como continuidad al diseño del pecho.
 |  |
|---|
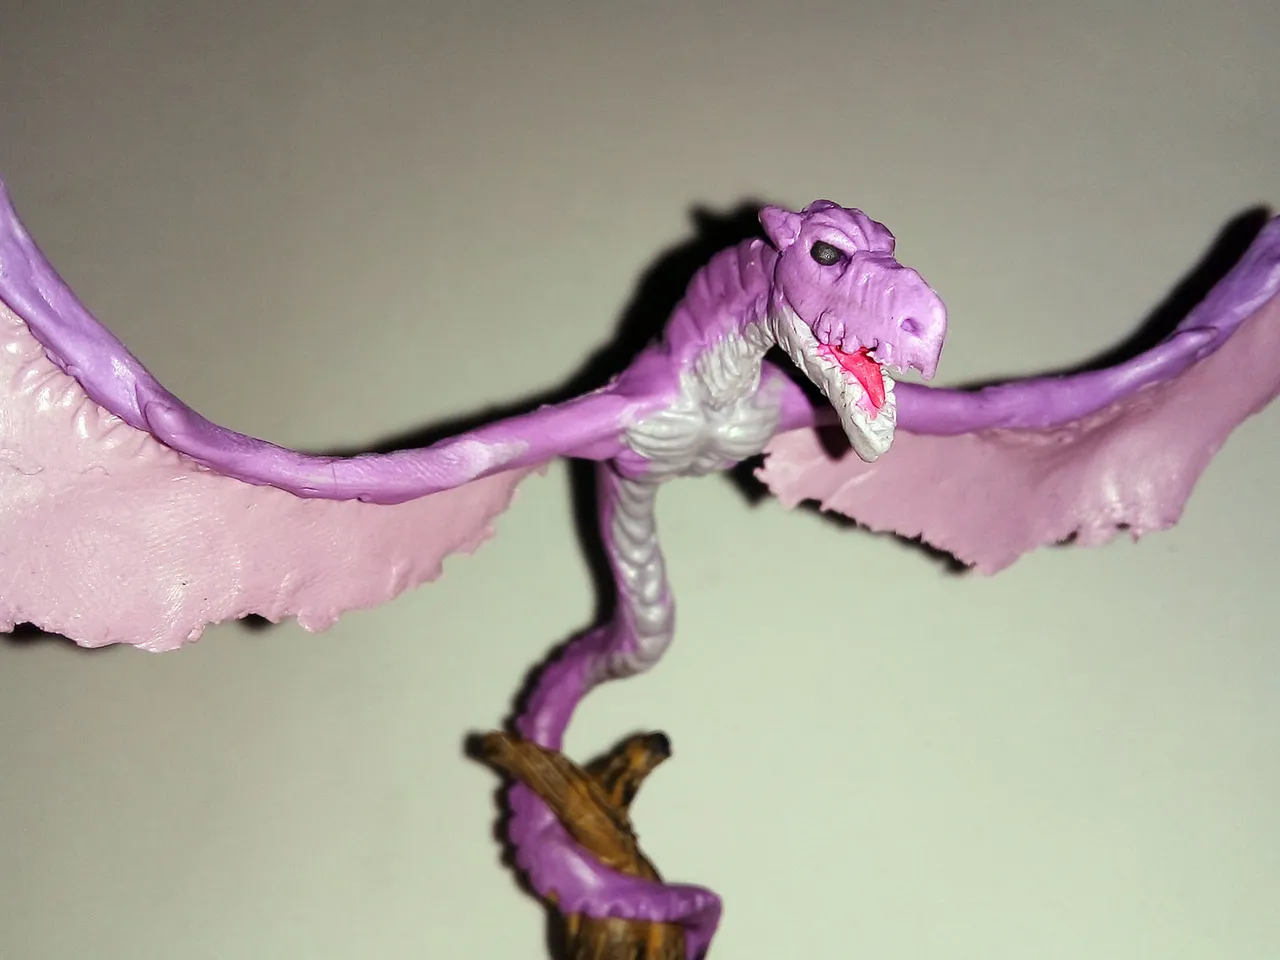
Below you can see some creases I made in the neck. I used the tip of a wooden stick to create this effect, which is similar to a stretched and wrinkled skin.
A continuación pueden ver unos pliegues que le hice en el cuello. Usé la punta de un palillo de madera para crear este efecto, el cual es similar a una piel estirada y arrugada.
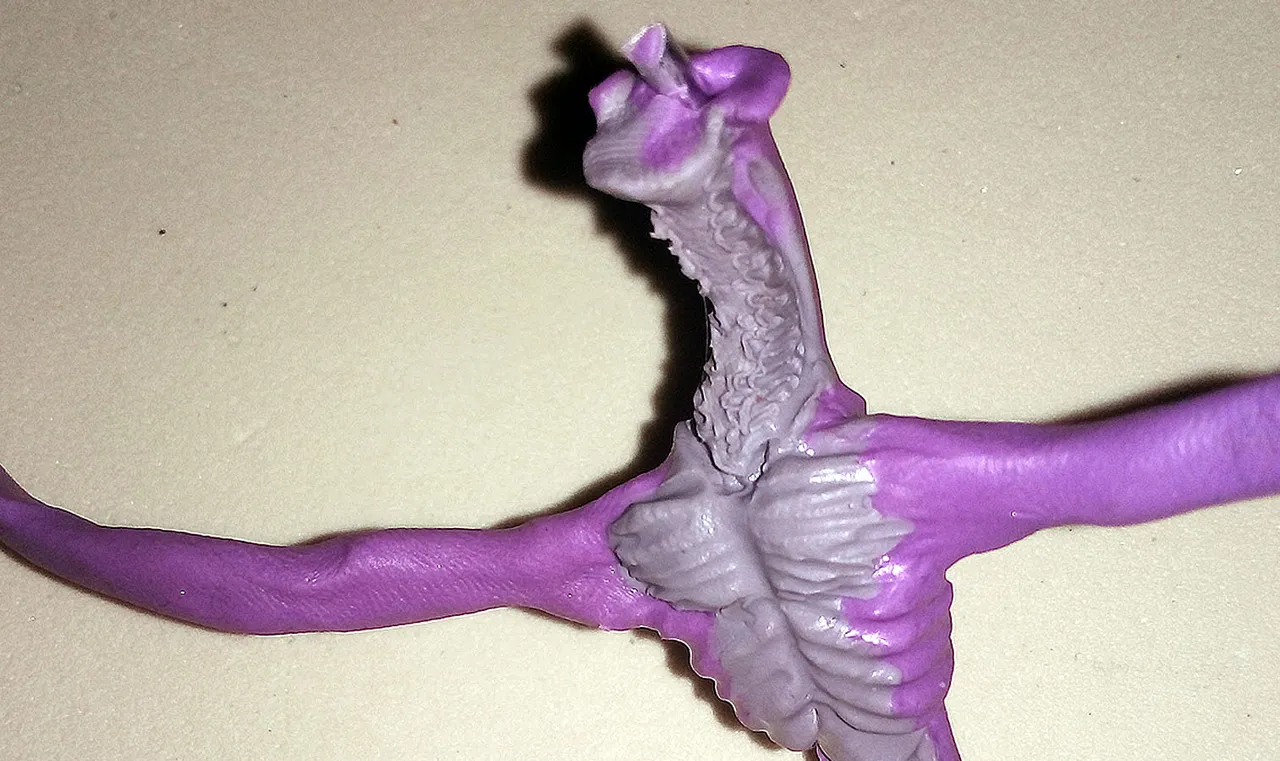
I also made those bones protruding from the back, as if they were the vertebrae protruding from the dragon's slender body.
También le hice esos huesos que sobresalen en la espalda, como si fuesen las vértebras que sobresalen del cuerpo delgado del dragón.

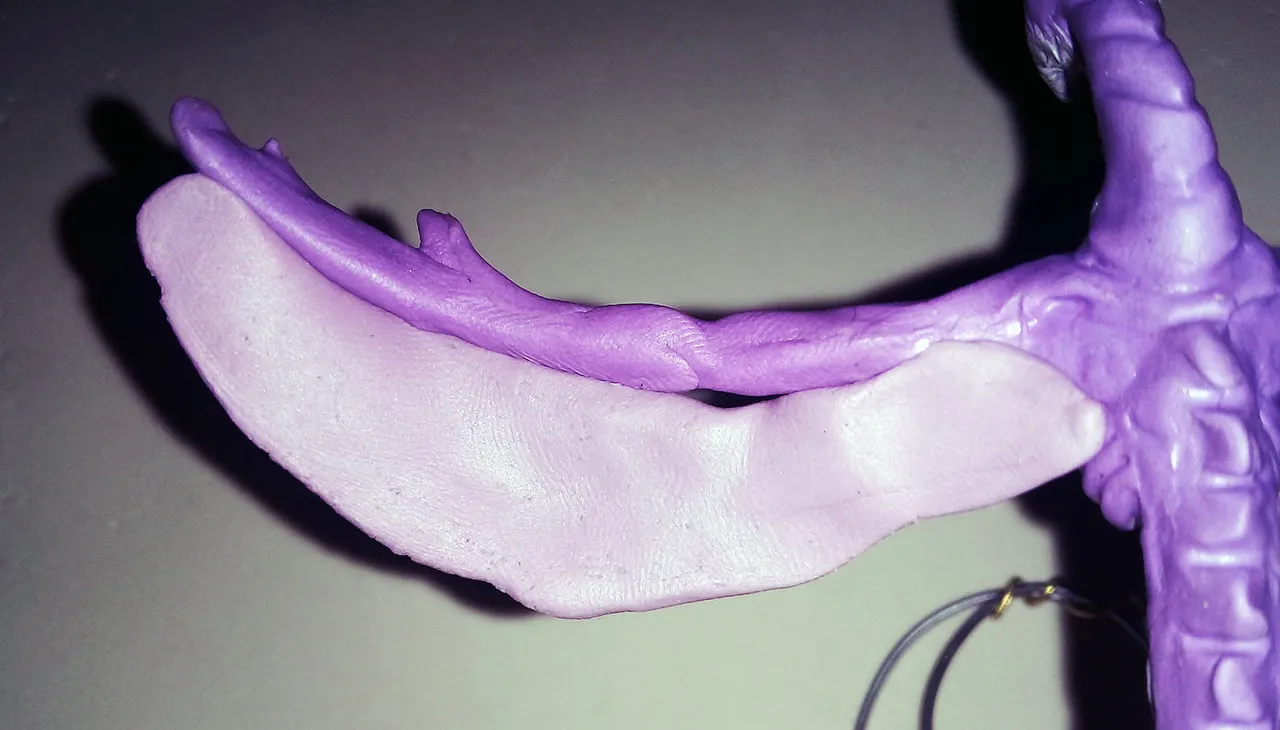
Next was to make the head. I used the same colors, purple for the top and clear for the bottom. Here is a before and after molding of the dragon's head.
Lo siguiente fue hacer la cabeza. Usé los mismos colores, el morado para la parte de arriba y el claro para la parte de abajo. Aquí está un antes y un después del moldeado de la cabeza del dragón.
 |  |
|---|
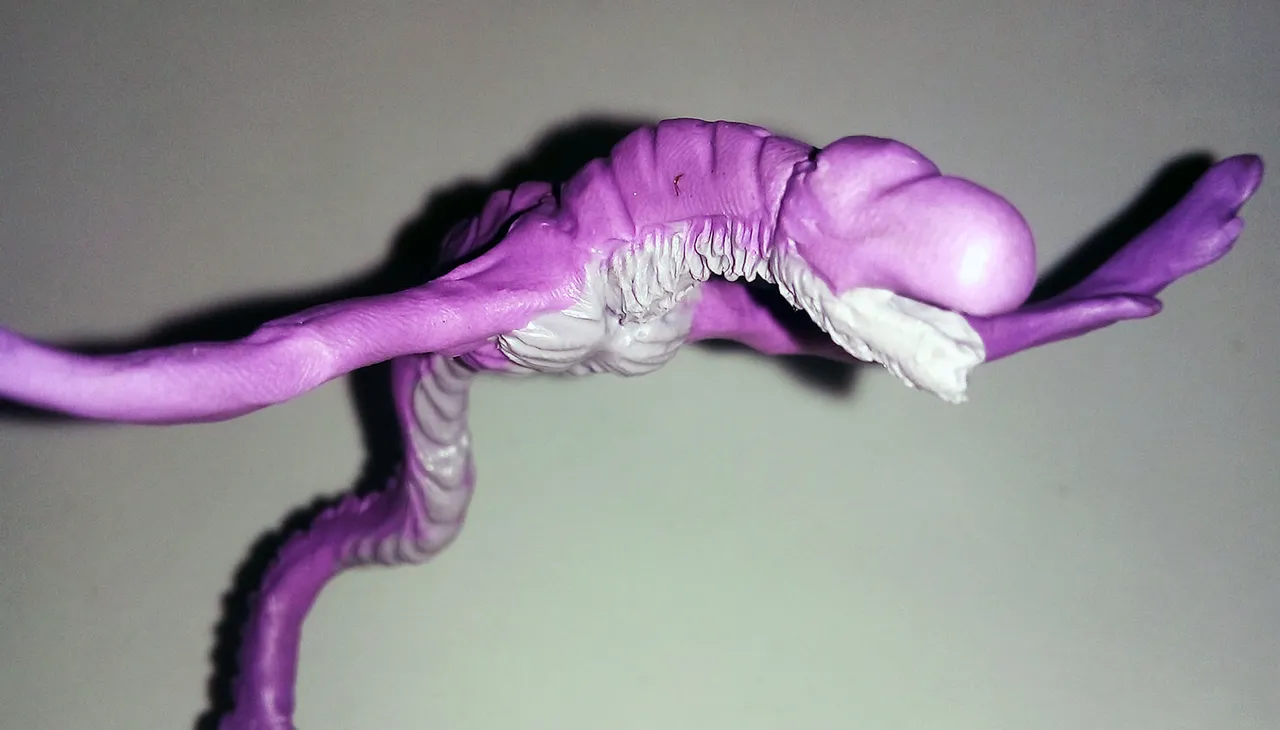
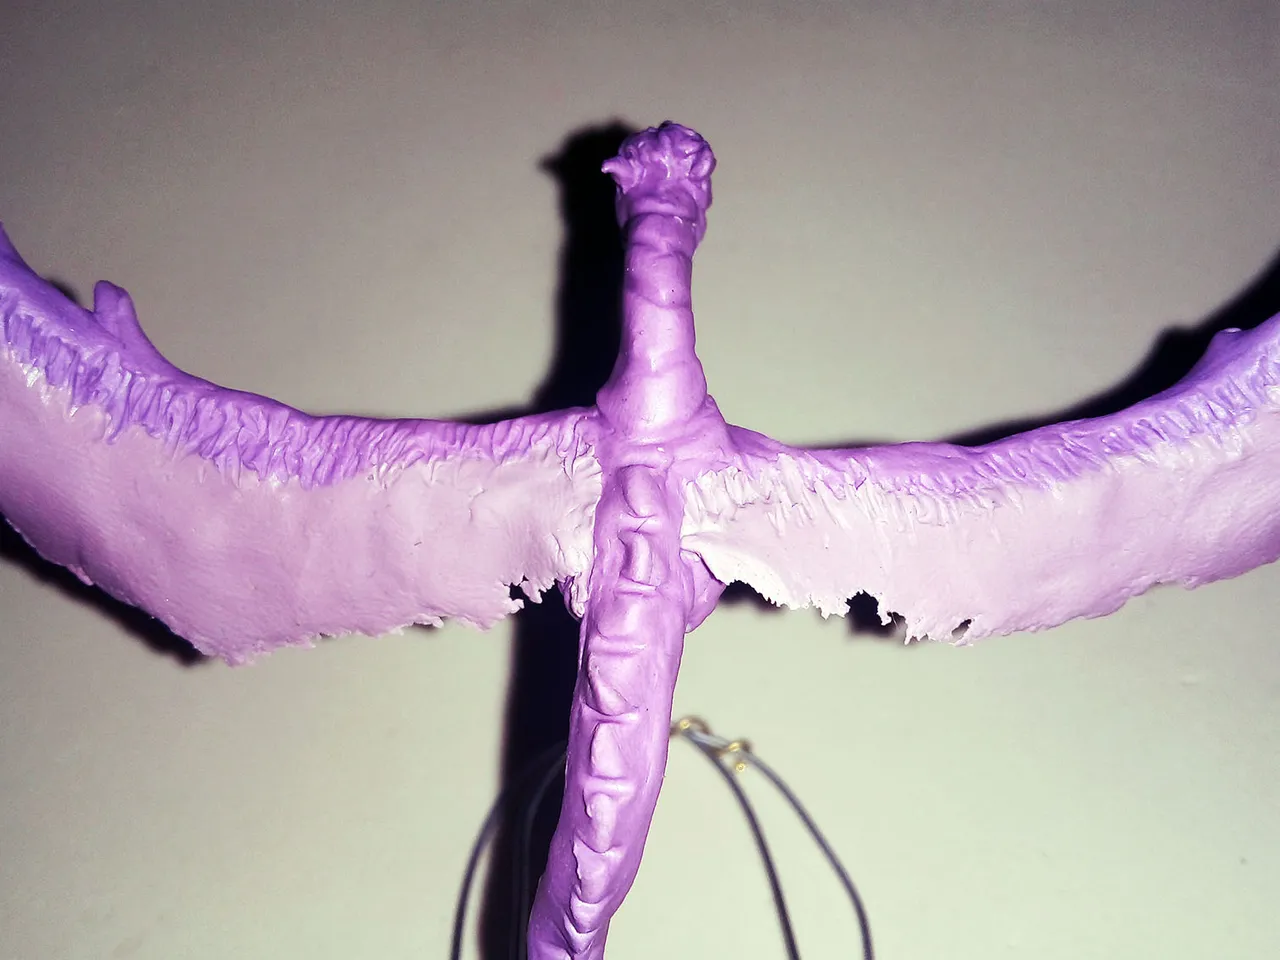
As I said, for the wings I would use the light color I had made. It was simply placing a long plate of plasticine of this color along the entire length of the arm and then using the tip of a wooden stick to make lines on top of the two plasticines to join them together.
Como dije, para las alas usaría el color claro que había hecho. Fue simplemente colocar una larga placa de plastilina de este color a lo largo de todo el brazo y luego usar la punta de un palillo de madera para hacer líneas sobres las dos plastilinas para unirlas.
 |  |
|---|
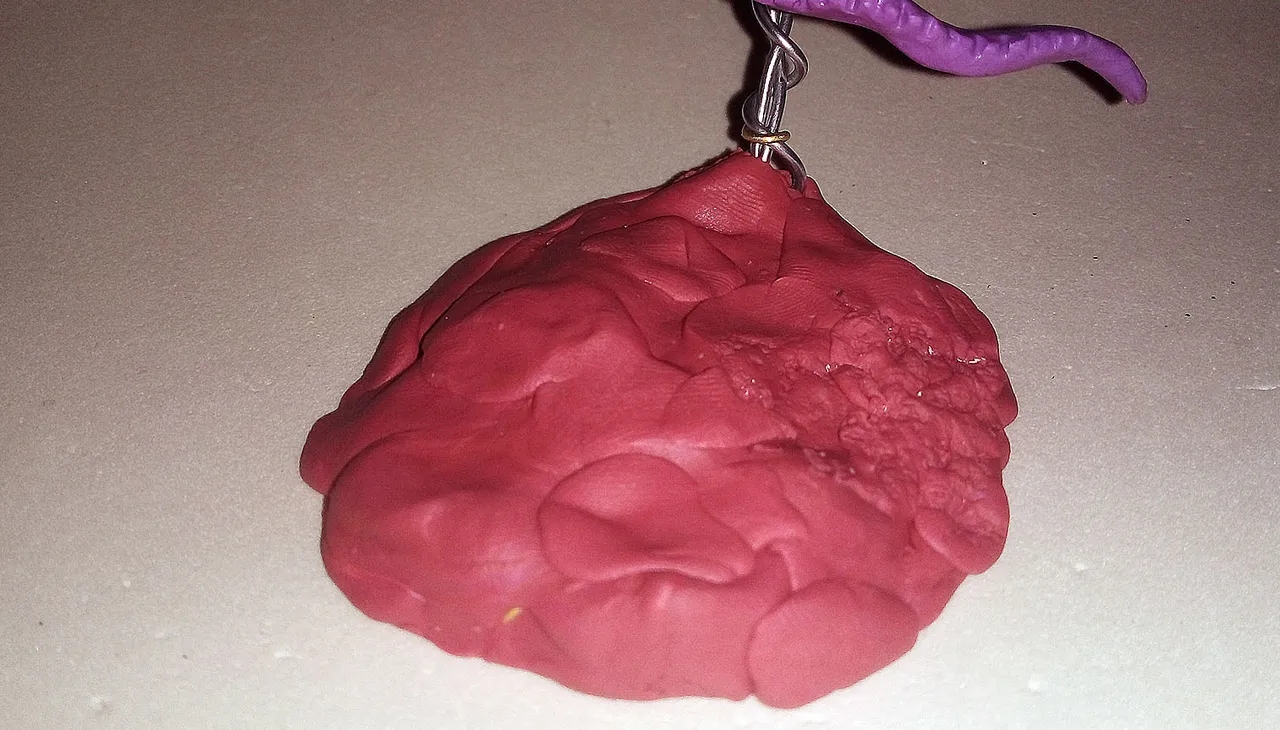
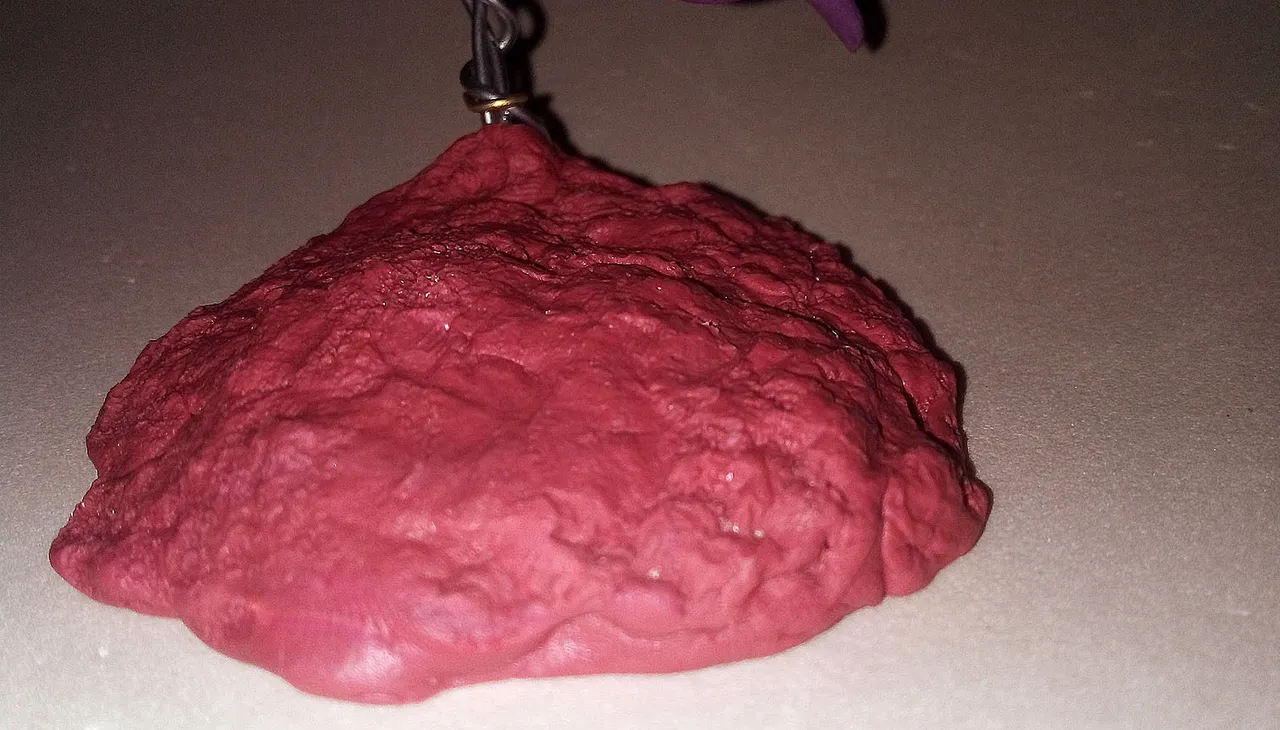
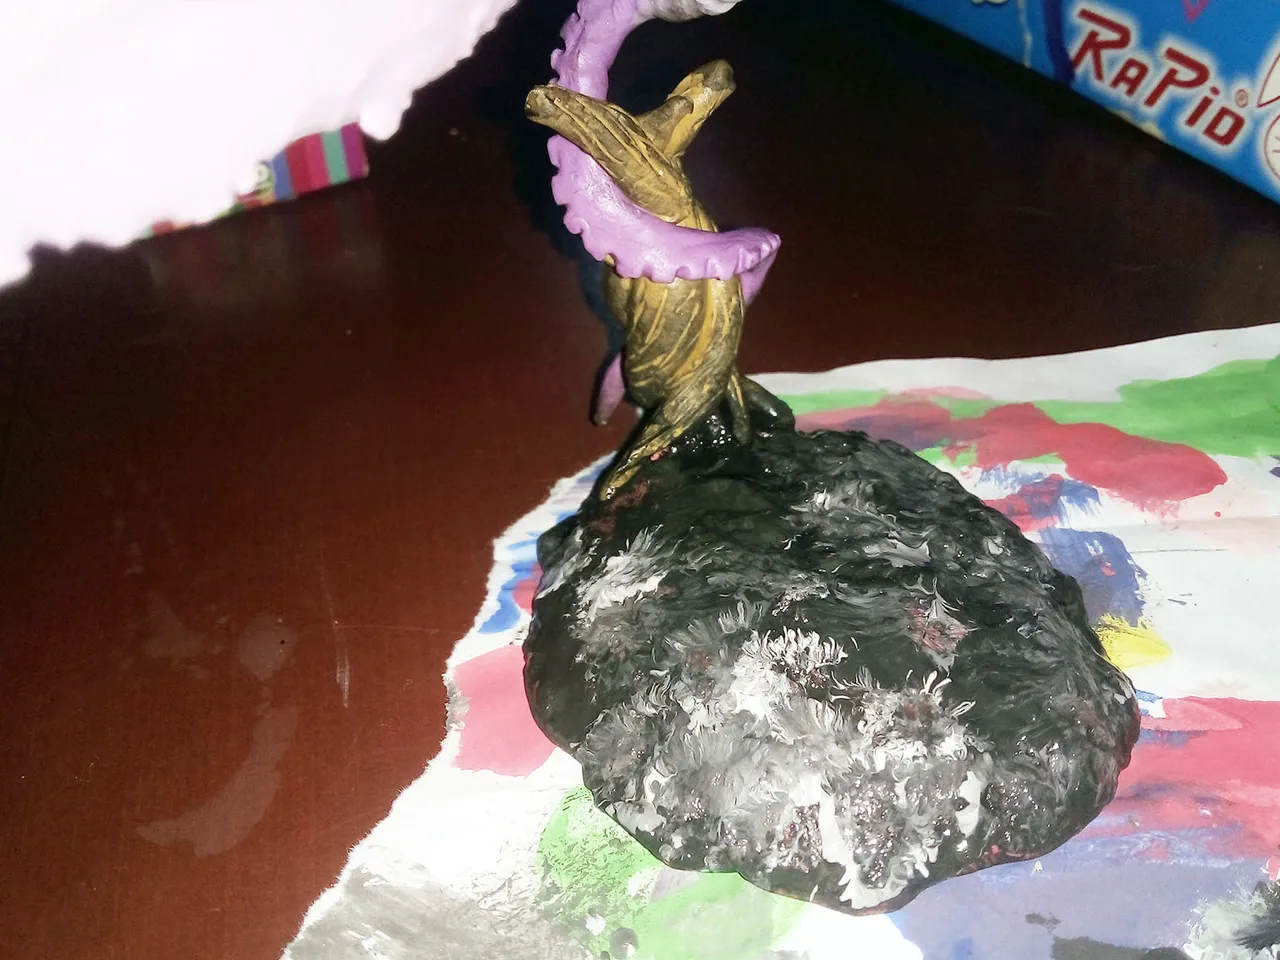
The last thing was the base. I used plasticine of a neutral color and then painted it.
I simply placed all the clay on the wire. Then I used a rock to hit all the clay and give it that rocky texture.
Lo último fue la base. Usé plastilina de un color neutro para luego pintarla.
Simplemente fue colocar toda la plastilina sobre el alambre. Luego usé una roca para golpear toda la plastilina y darle esa textura rocosa.
 |  |
|---|
Then I used some brown plasticine to cover the rest of the wire of the base to create a sort of tree to wrap around the dragon's tail.
Once this was done I just finished painting the base with shades of black, white and gray.
Luego usé un poco de plastilina marrón con la que cubrí el resto del alambre de la base para crear una suerte de árbol para enrollar la cola del dragón.
Una vez hecho esto solo terminé de pintar la base con tonalidades de negro, blanco y gris.
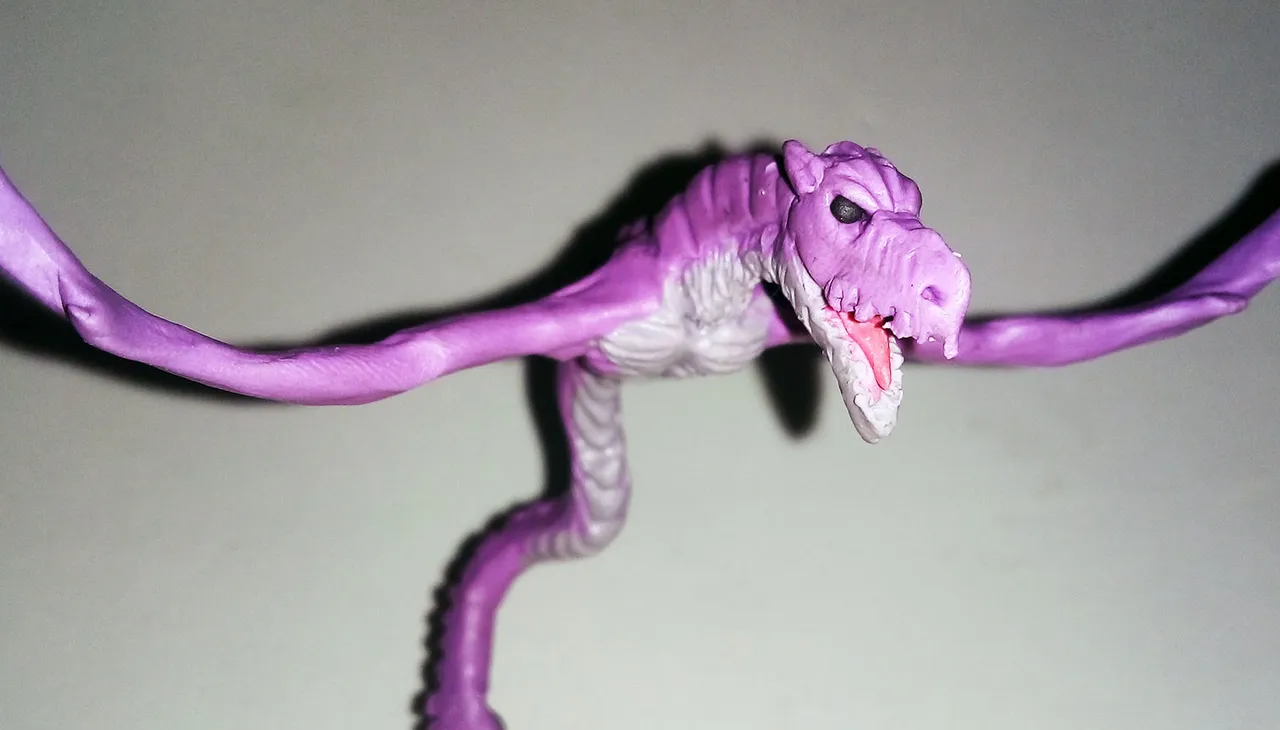
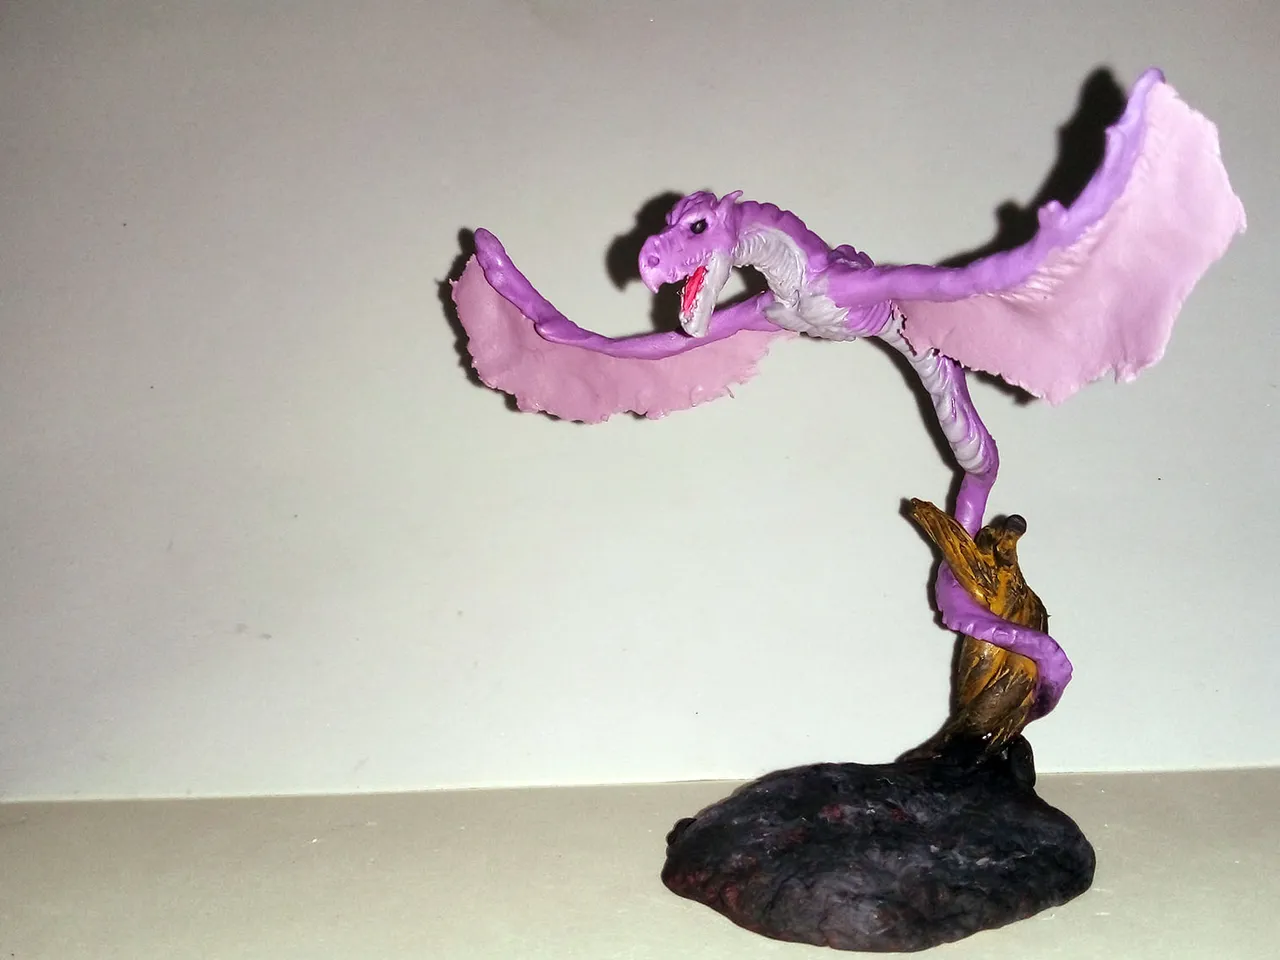
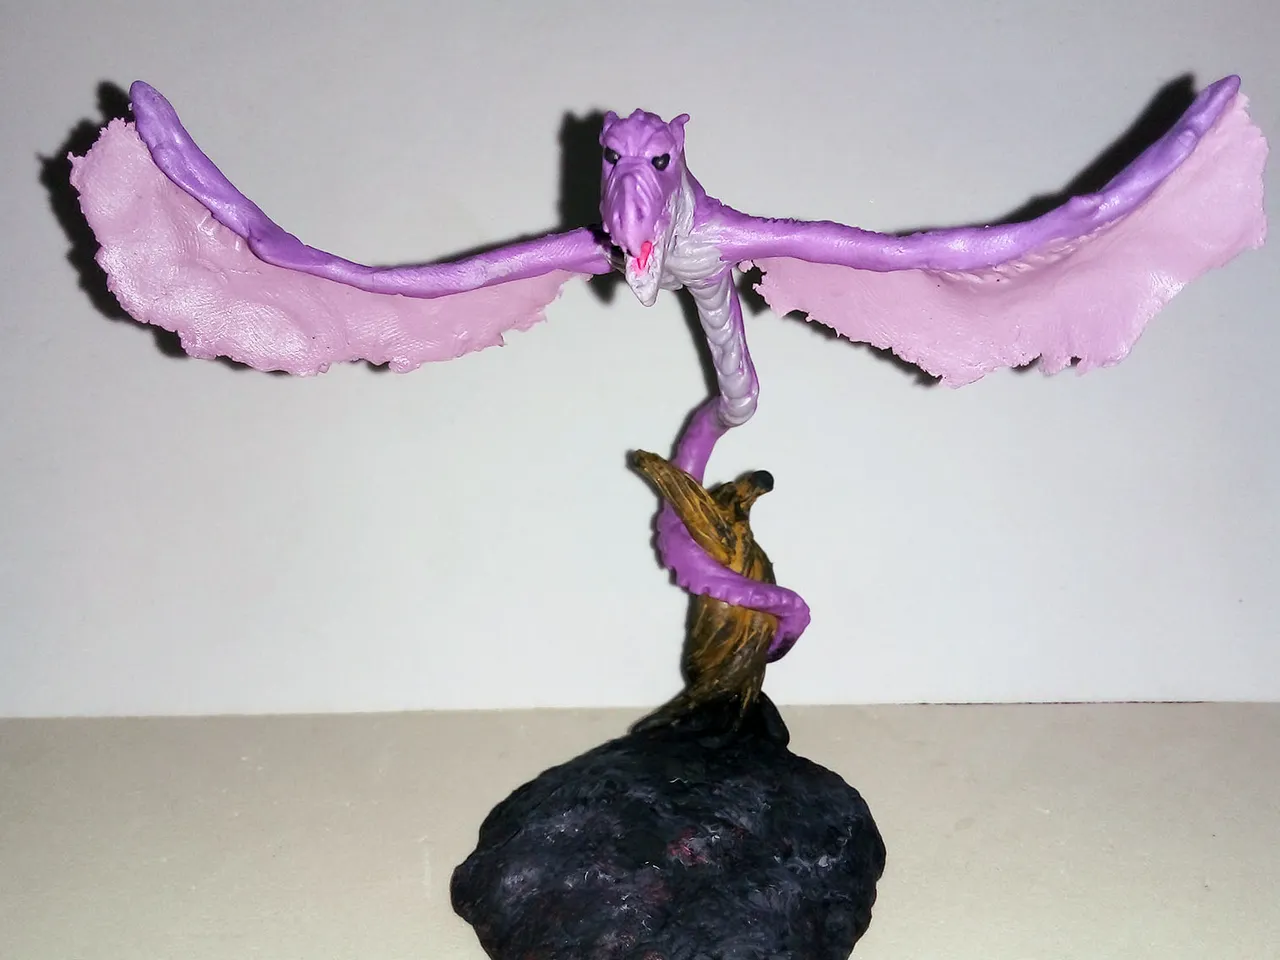
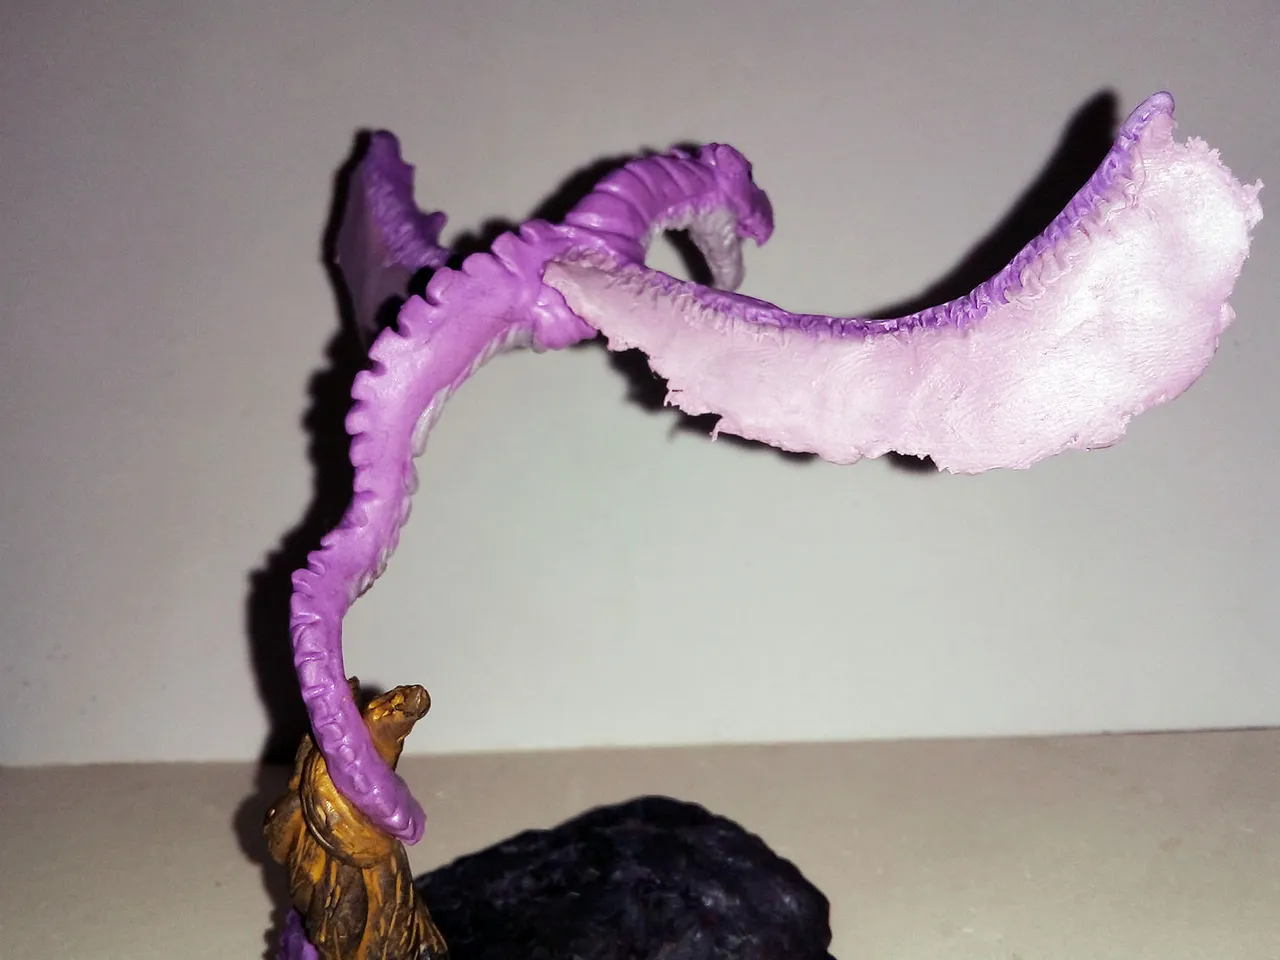
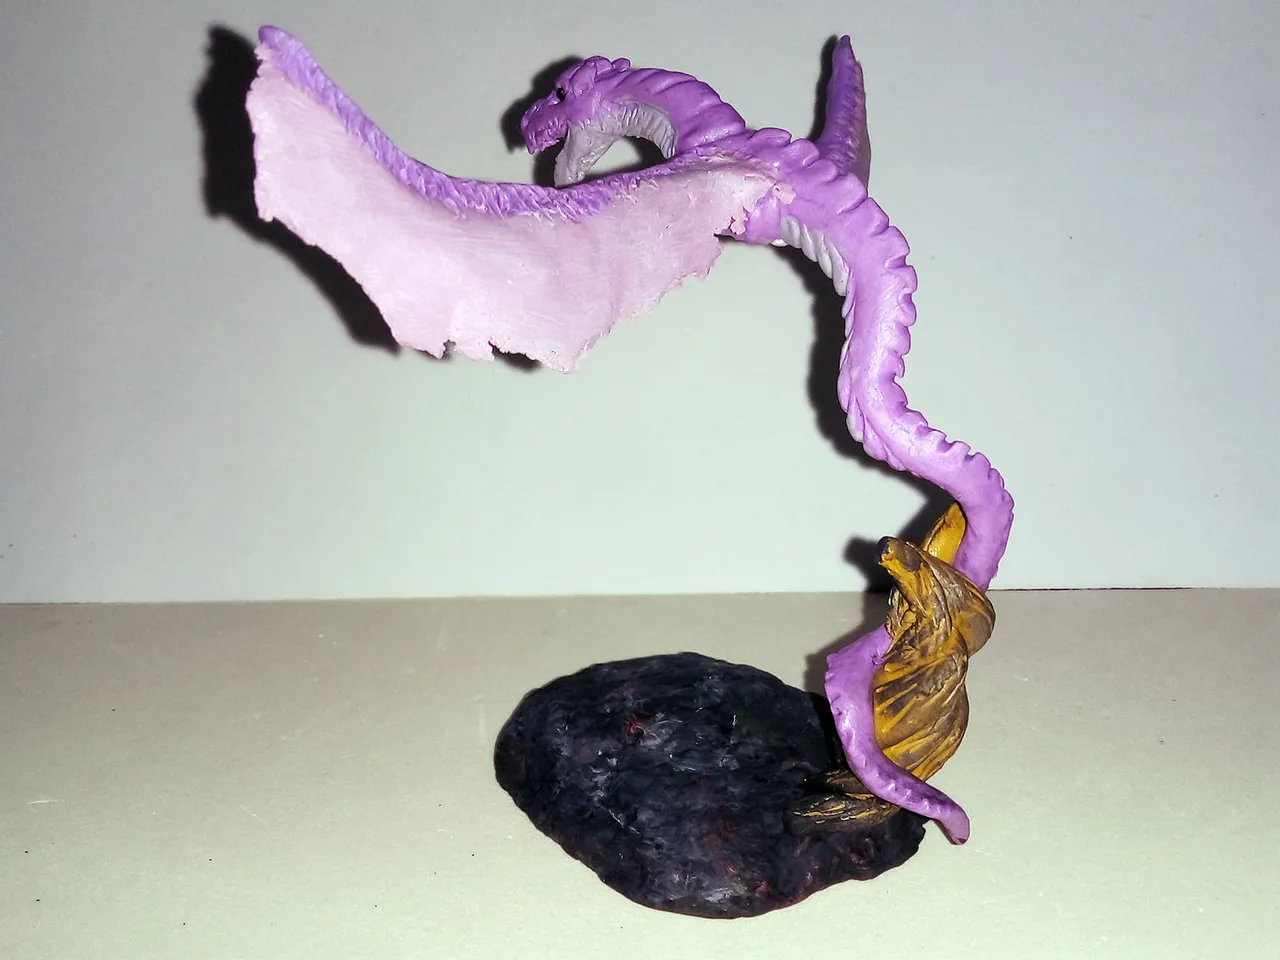
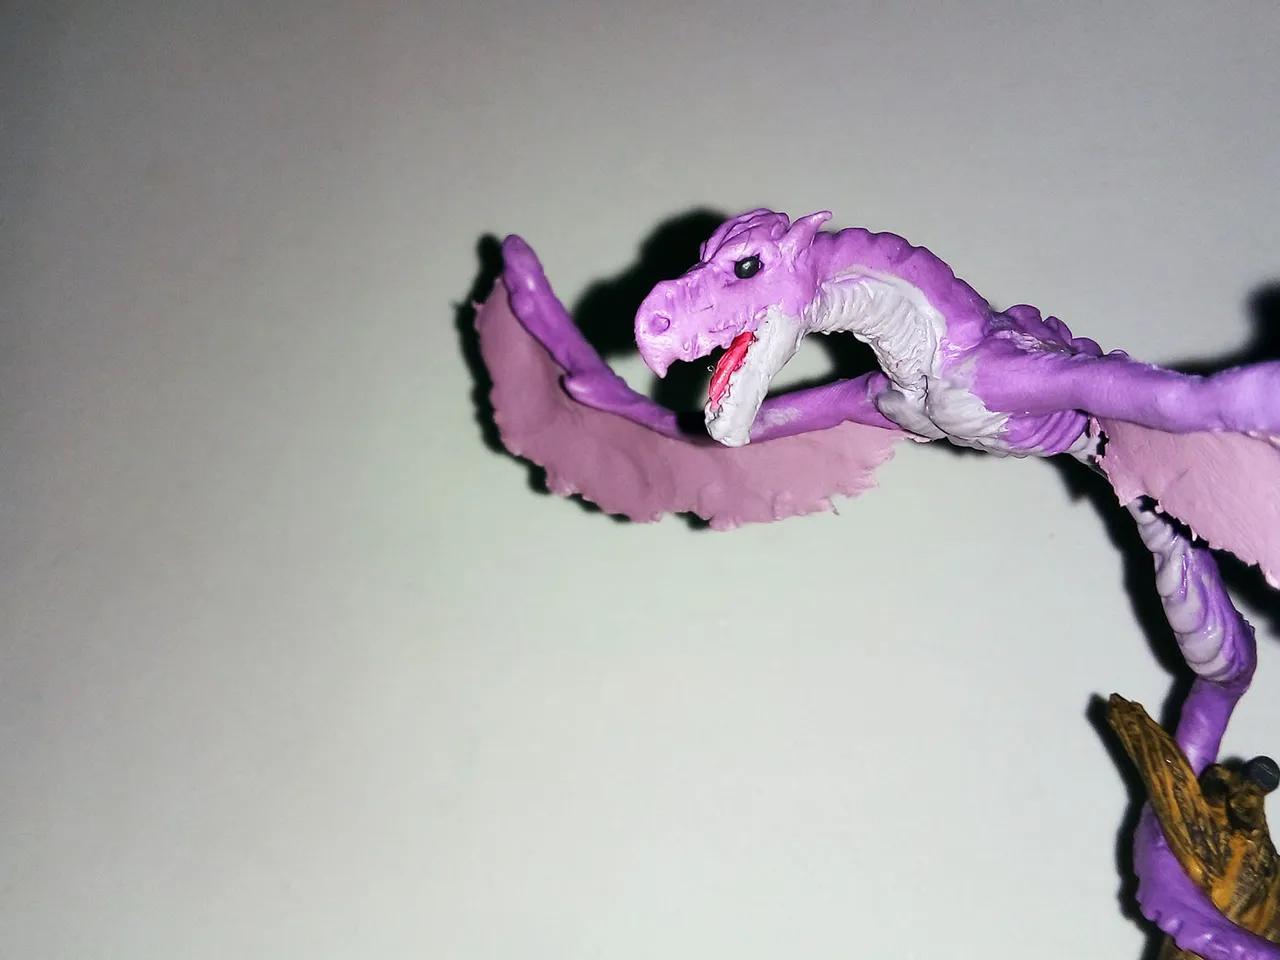
And with this last thing I did, this sculpture of a dark dragon was ready. Here are some pictures of the final result:
Y con esto último que hice quedó lista esta escultura de un dragón oscuro. A continuación les dejo una serie de fotografías del resultado final:

I take this opportunity to show you the two dragons I have made so far:
Aprovecho para mostrarles los dos dragones que he hecho hasta ahora:
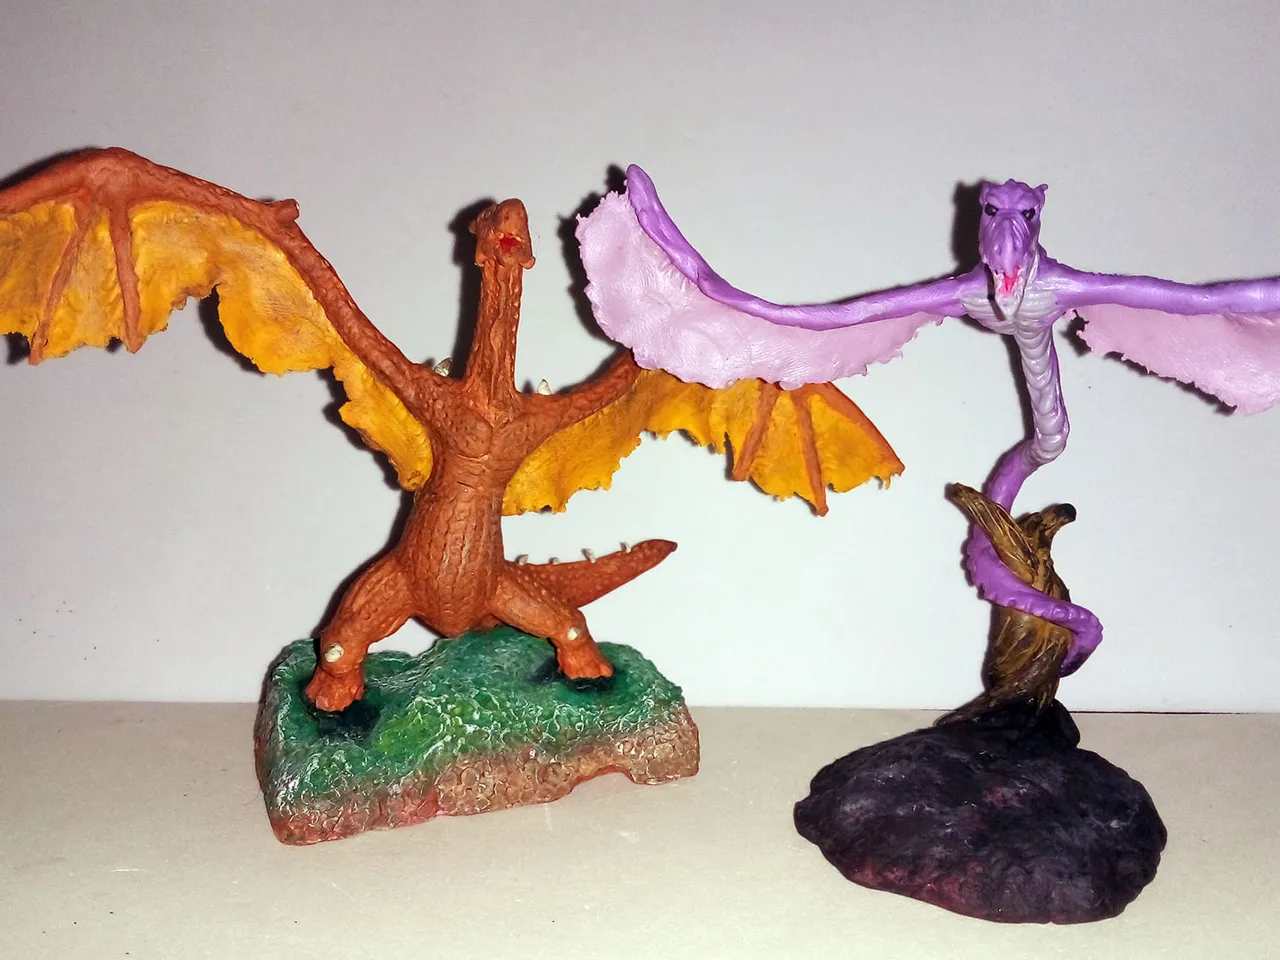
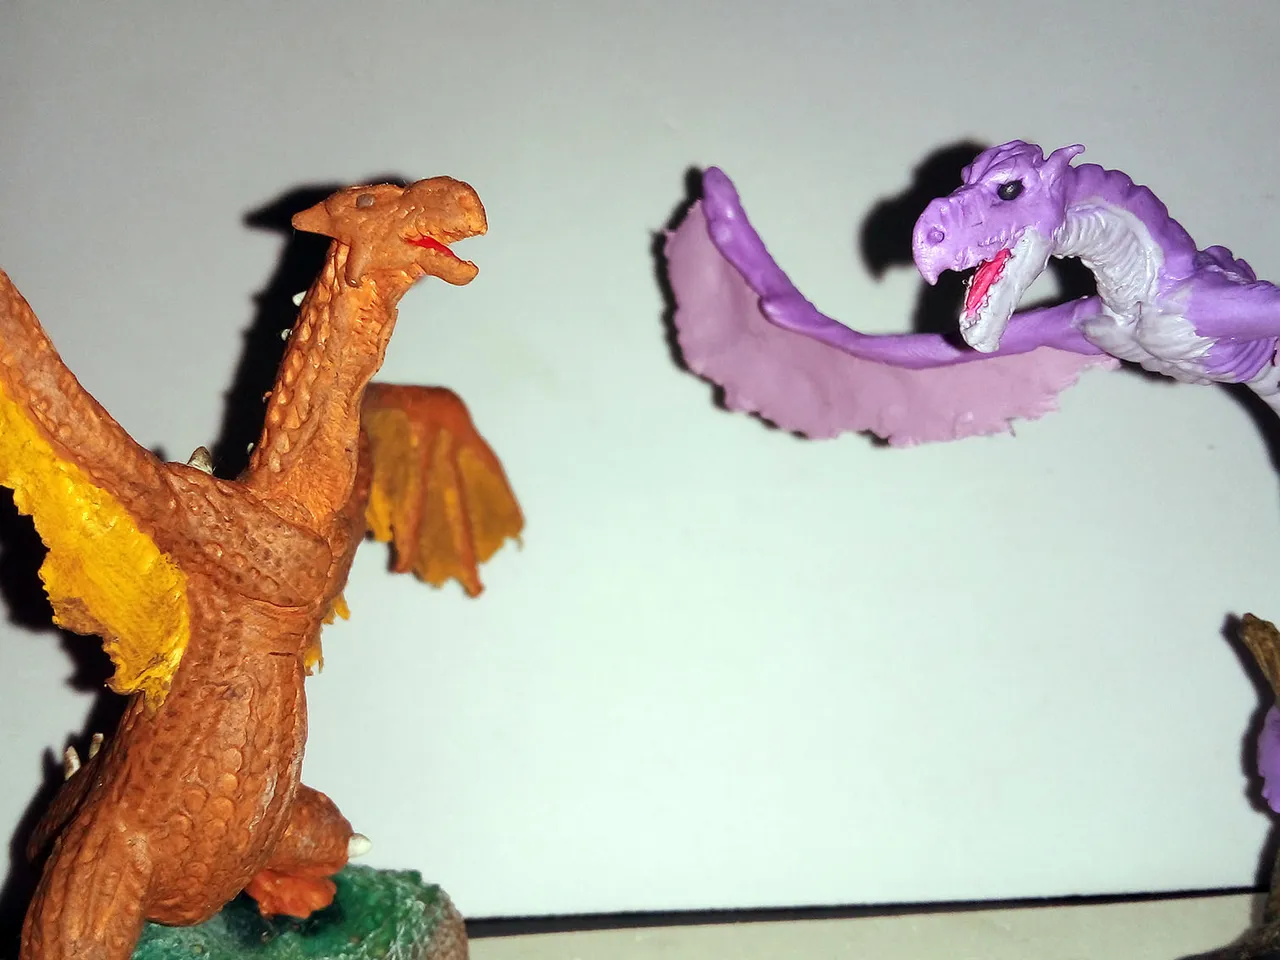
Well friends, that's all for now, what do you think of this dragon? It's not the same as the previous one, I like to think that it's like another race, another species, something like that; that's why I made it in another color and with another shape, without claws, without legs, only with the tail and its wings.
I would like to know your opinion about the figure, so I invite you to leave it in the comments, I will be happy to read them. Without more to add, I say goodbye then...
See you next time!
Bien amigos, esto ha sido todo por ahora. ¿Qué les ha parecido este dragón? No es igual que el anterior, me gusta pensar que es como de otra raza, otra especie, algo así; por eso lo hice de otro color y con otra forma, sin garras, sin patas, solo con la cola y sus alas.
Me gustaría saber sus opinion sobre la figura, así que los invito a dejarla en los comentarios, yo estaré encantado de leerlos. Sin más que agregar, me despido entonces...
¡Hasta la próxima!
Traducido con DeepL
Unboxing and analysis: Notebook Cooler
Challenge to Gabo #8
Continúa la historia: No deberías...