
Edited in Canva Pro.

Sources and Materials
Below are the materials I used in this art.
Edited in Canva Pro.
𝕴𝖓𝖙𝖗𝖔𝖉𝖚𝖈𝖙𝖎𝖔𝖓
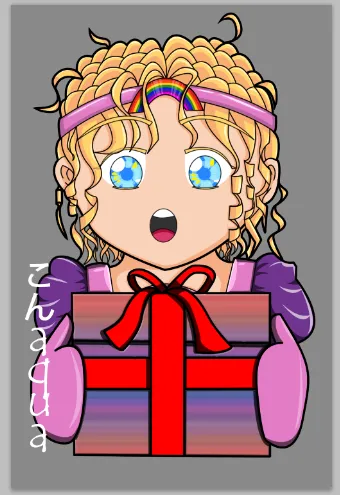
It'll be Christmas in less than a week and I want to make something Christmas themed for this week's art. I want to give highlight to a summoner that is not used a lot and probably forgotten, Kiara Lightbringer.
Also, check her lore page. I'm sure it's intended and if you've been around the Splinterlands universe for quite a while, you will notice some similar names related to Kiara Lightbringer.
Also, for this week, the first 5 commenters in this post will receive 100 Ecency points each from yours truly. Just as a thanks and a simple appreciation gift this Christmas.
Step 1 Draft
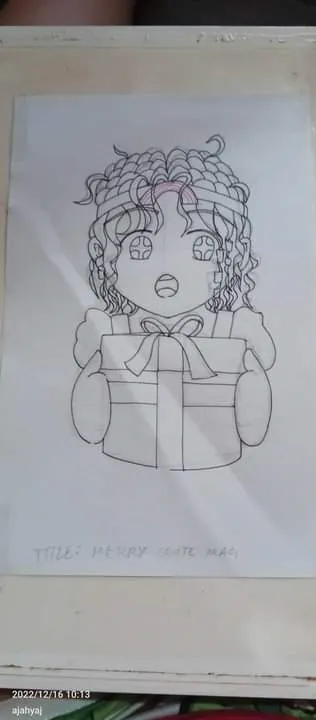
I decided to make Kiara Lightbringer for this week. Unexpectedly, I actually changed a lot from this initial draft.
Step 2 Full Draft
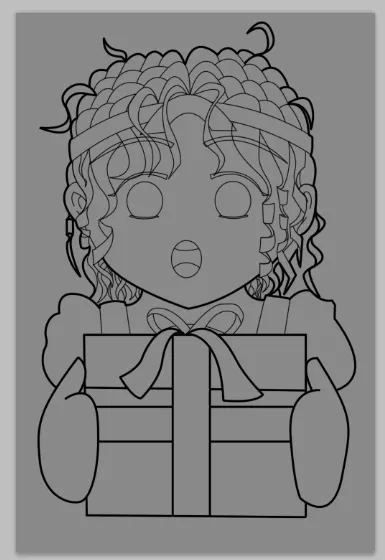
I decided to not add the eyes first because I planned to change it. I already made the eye style from the draft and I want to make shining eyes but not with that style.
Step 3 Base Color
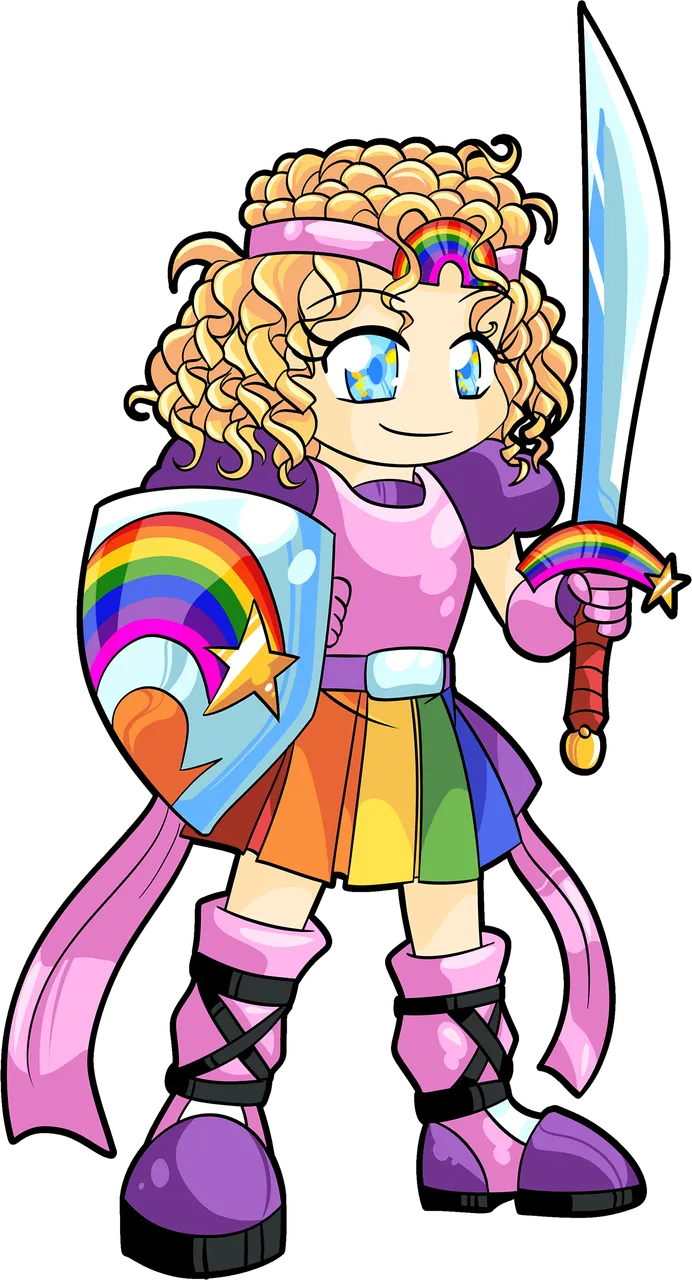
As usual, we need to learn from the masters so I will be using the original art's color scheme with Kiara Lightbringer.
This is how it looked after all the base colors are added. The gift are made with the pre-made patterns inside photoshop.
I'm sure this was unintended but one the original, there was a wrong arrangement of layers, which made this one specific color out of place.
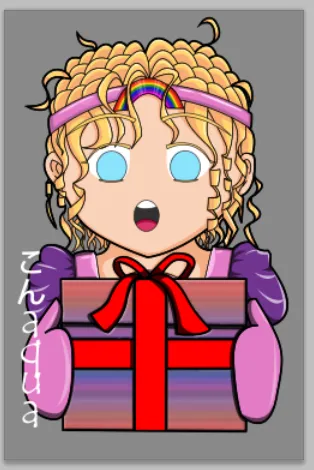
Step 4 Shadows
Added shadows on the clothes and everything. One big change I made is the shadows added on the purple area on the clothes. These creases made it look more look like a cloth than an armor.
Based on the cloud-like appearance of the clothes, I don't think it's metallic armor so adding these shadows highlighted it.
Step 5 Highlights
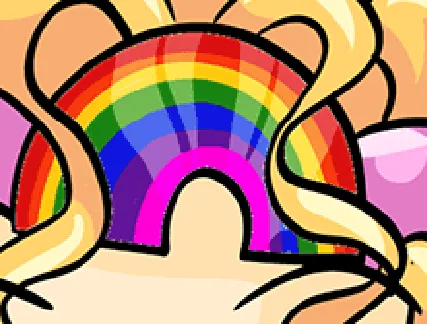
While it doesn't show, the hair shadows and highlights was a real peace of work. I had to do it manually. While it was hard, I think it's required to show the original's intent.
I added more obvious highlights in the clothes and armor. I want to highlight the creases and I think it worked really well.
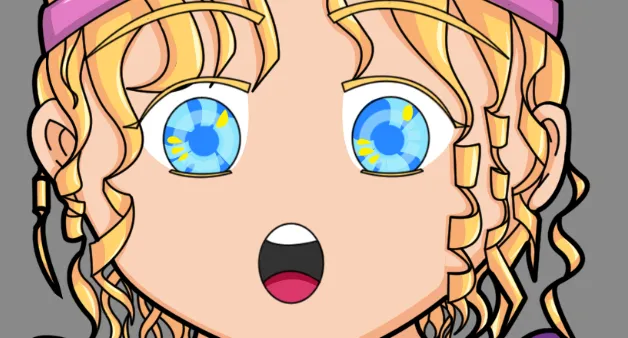
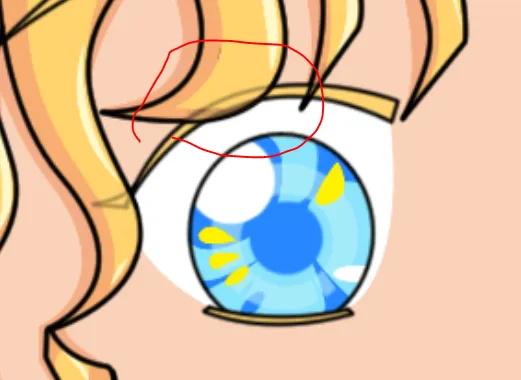
Step 6 Eyes
I will be making the step by steps in the eyes because it's really amazing.
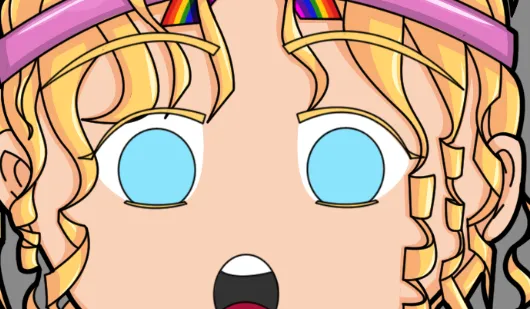
This is how we left the eyes from the base color.
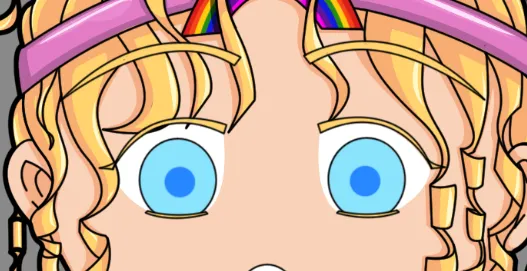
Add the eye pupil or center.
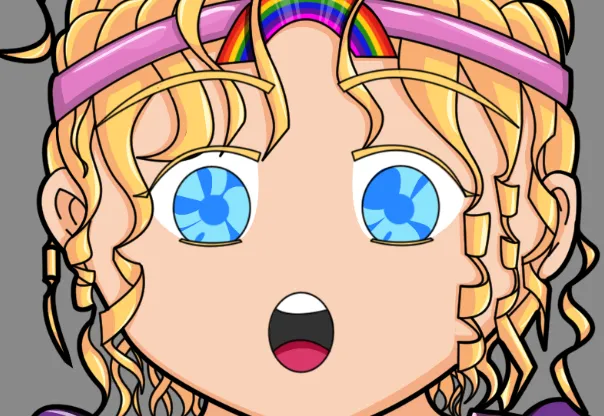
Add some more details on the eyes.
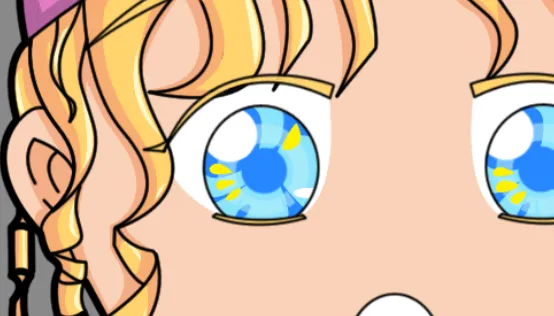
There was yellow spark-like highlights in the eyes so I tried adding the same.
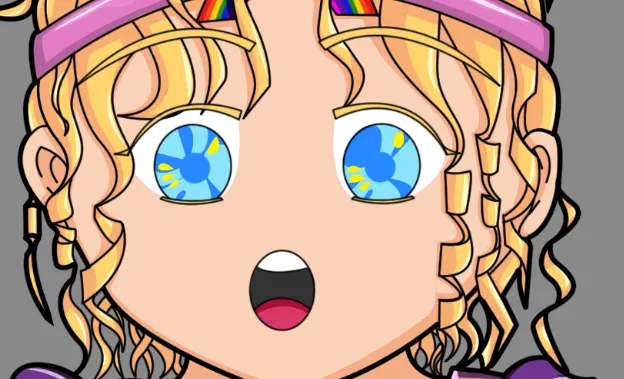
There was a weird ring-like highlights in the eyes. I'm not sure how to describe it but it's the most important part of the eyes which merged everything together.
Check how the the one below are different without the circular highlights.
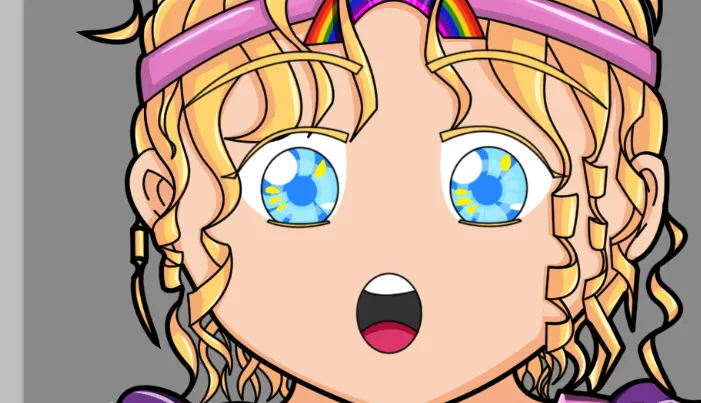
Lastly, add the white highlights in the eyes.
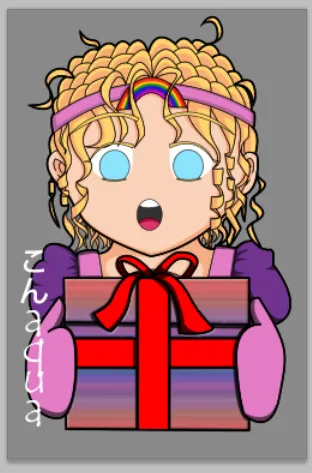
Step 7 Some Finishing Touches 1
I was watching this Vtuber named Enna Allouette from nijisanji and saw some very amazing effects that I wanted to copy.
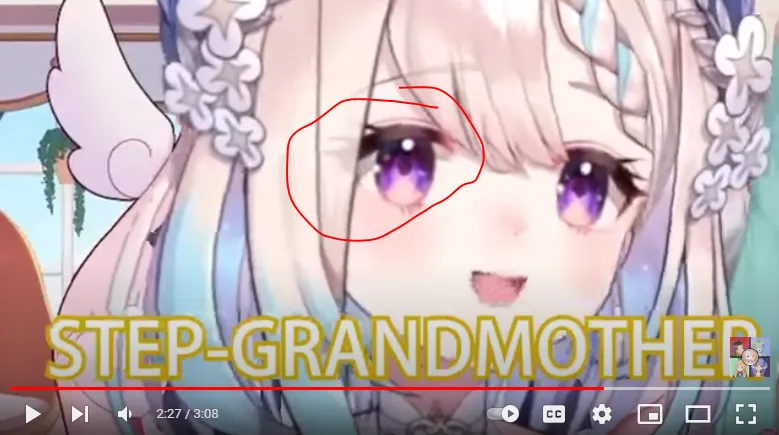
As you see here, you can see the eyes/eyelids behind the hair which looked amazing.
This is the one where the eyelids are above the hair and looked like very cartoonish.
I reorganized the layers, and added a new more transparent layer to do the same effect.
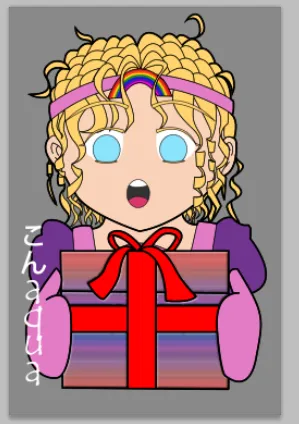
This is how everything becomes once they all go together.
I made a quick timelapse as a proof of work. In addition to that, I will also make a quick shine animation for eyes and the box.
On how to do this, I manually made like 12 layers of white stars then framed it each per animation frame.

This is how it looked when the shine animation is added.

- This post is an entry for Splinterland's Art Contest.
- Other sources that I do not own are cited under their respective photos. Photos and drawings without cited sources are mine and made for this post.
- Animated Banners and Dividers are edited in Canva Pro.
- Some of the fonts used are from instafonts.io
If you're interested in playing the game, support me by registering using my referral link here
ᕼᗩᐯE ᖴᑌᑎ ᗪᖇᗩᗯIᑎG!