Pan básico de masa madre
Basic sourdough bread
Hello, friends? I hope you are very well, for today I want to bring you the preparation of a basic sourdough bread. In a previous post I shared with you the preparation of the sourdough, now we had to make the bread with the dough that we previously made, if you want to know how it is made, here is the link of the post 👉 Mother dough I confess that it is the first time that I prepare a sourdough bread, and this type of bread takes time, so if you are craving to eat bread the same day this is not the case 😄 and well I made the decision and with a lot of patience I completed the task of making this bread, it was not so perfect but for the first time I was pleased with the result and more so because of all the breads that I made, finally I have a bread with a hard crust which is very tasty. And well, without further ado, I show you how to make this bread.
Hola que tal amigos? Espero estén muy bien, para el día de hoy quiero traerles a uds la elaboración de un pan básico de masa madre. En un post anterior les compartí la elaboración de la masa madre, ahora nos tocó elaborar el pan con la masa que previamente realizamos, si quieres saber su elaboración aquí les dejo el link del post 👉 Masa madre les confieso que es primera vez que preparo un pan de masa madre, y este tipo de pan lleva tiempo, así que si estás antojado de comer pan el mismo día este no es el caso 😄 y bueno tome la decisión y con mucha paciencia completa la tarea de hacer este pan, no quedó tan perfecto pero para ser primera vez quede complacido con el resultado y más porque de todos los panes que el realizado, por fin me queda un pan con corteza dura la cual es muy sabrosa. Y bueno sin más preámbulo les muestro la elaboración de este pan.
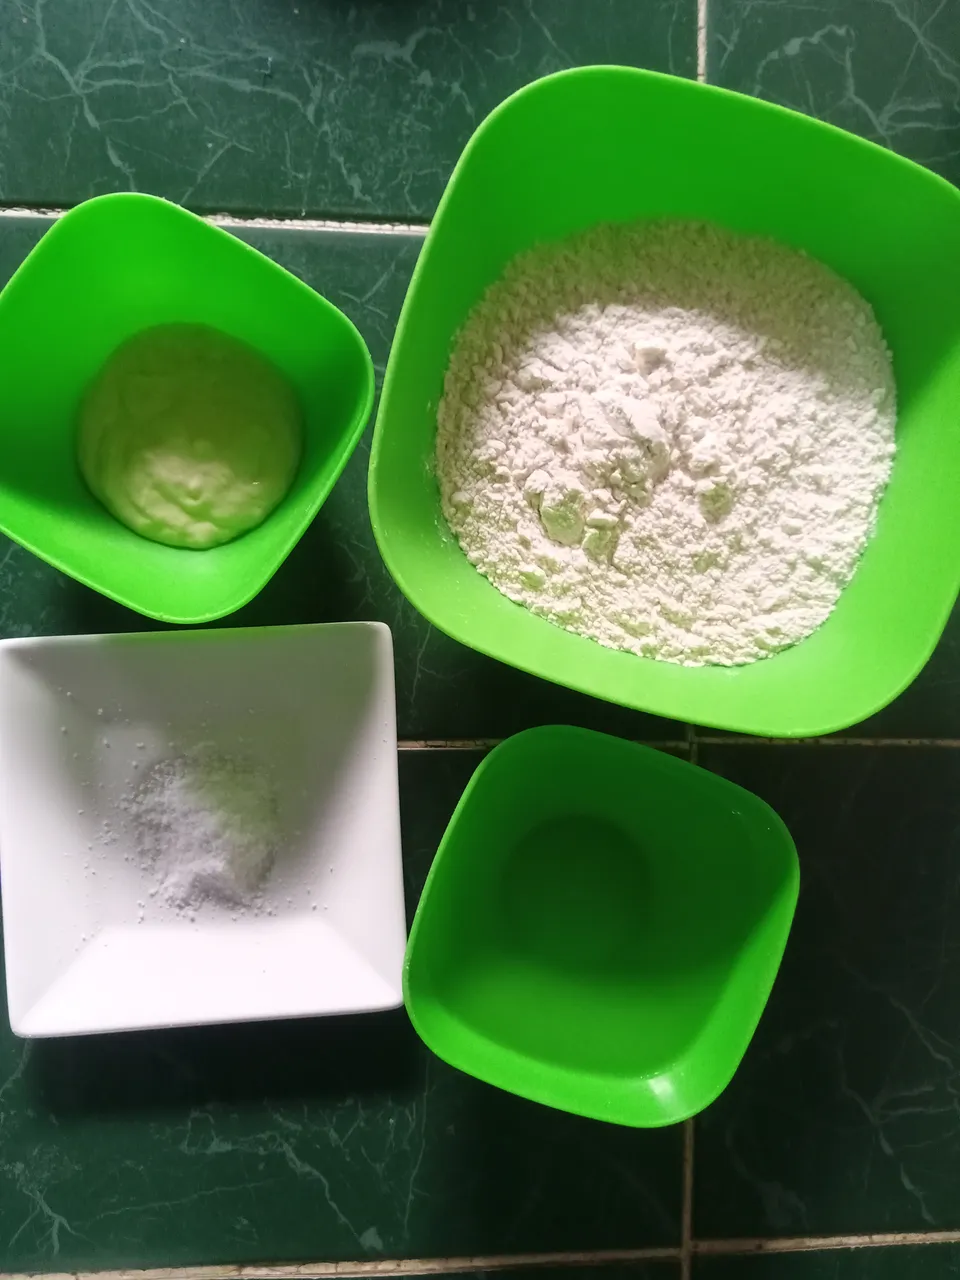
- 375 grams of flour 000
- 290 grams of water
- 80 grams of activated sourdough
- 8 grams of salt
- 375 gramos de harina 000
- 290 gramos de agua
- 80 gramos de masa madre acitvada
- 8 gramos de sal
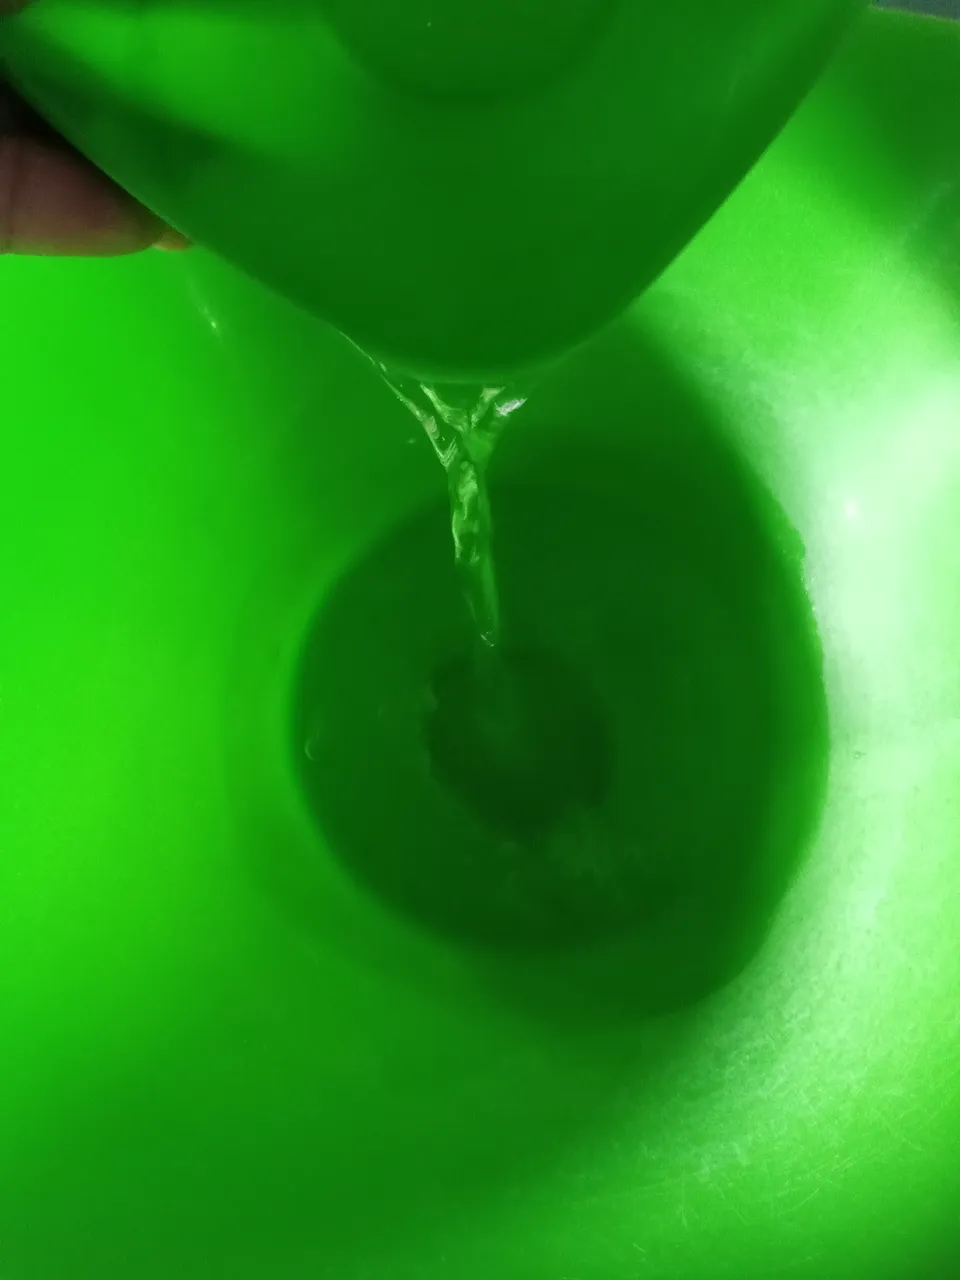
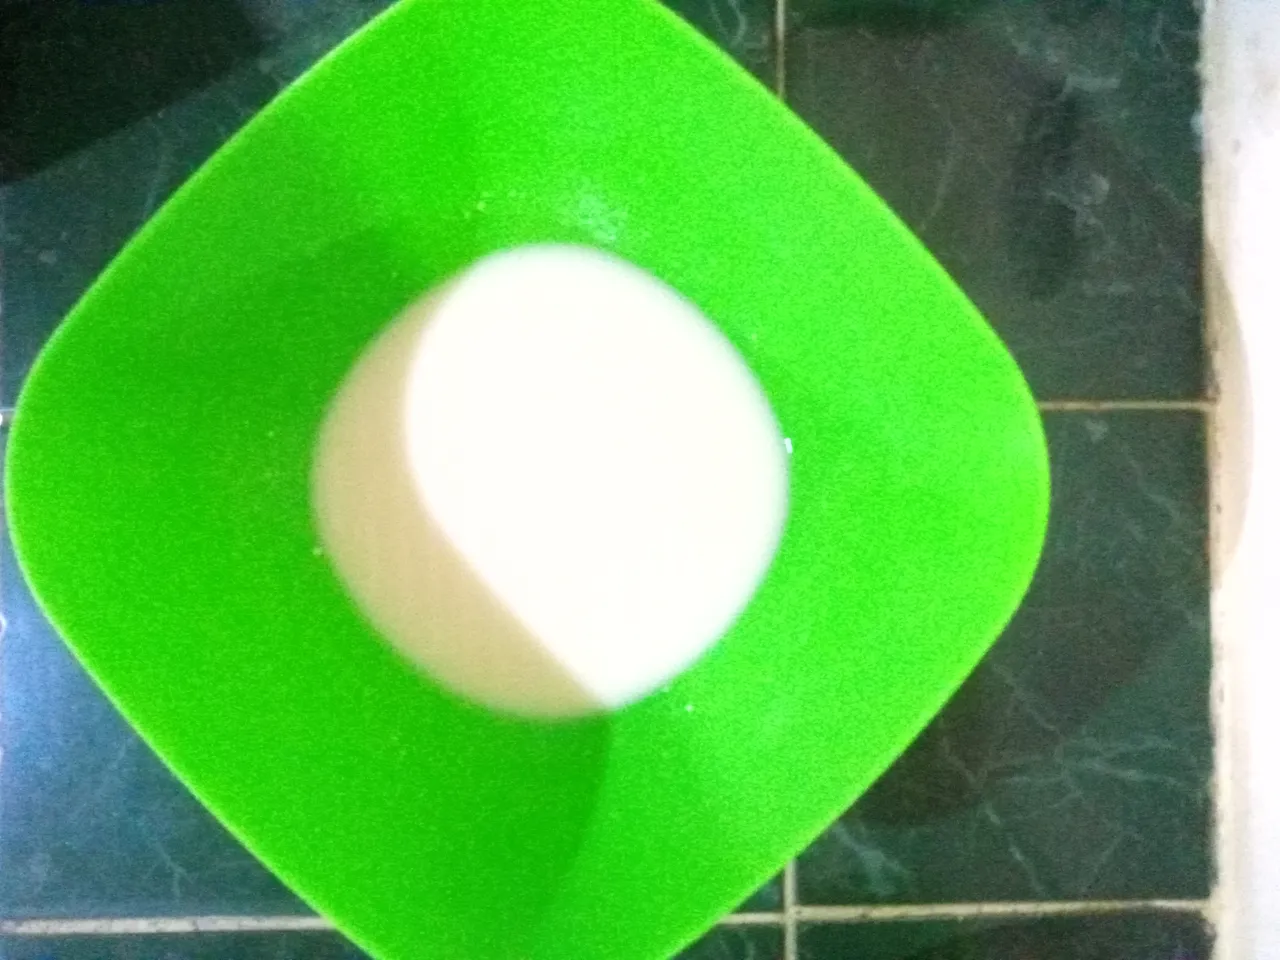
We begin by uniting the activated sourdough with 290 grams of water, mix very well until the sourdough dissolves, it should be noted that the sourdough must be active, how do we activate it? If we have it in the fridge, we must take it out a day before and feed it with about 20 grams of flour and the same amount of water, leave it at room temperature until it grows and that way we will know that it is activated.
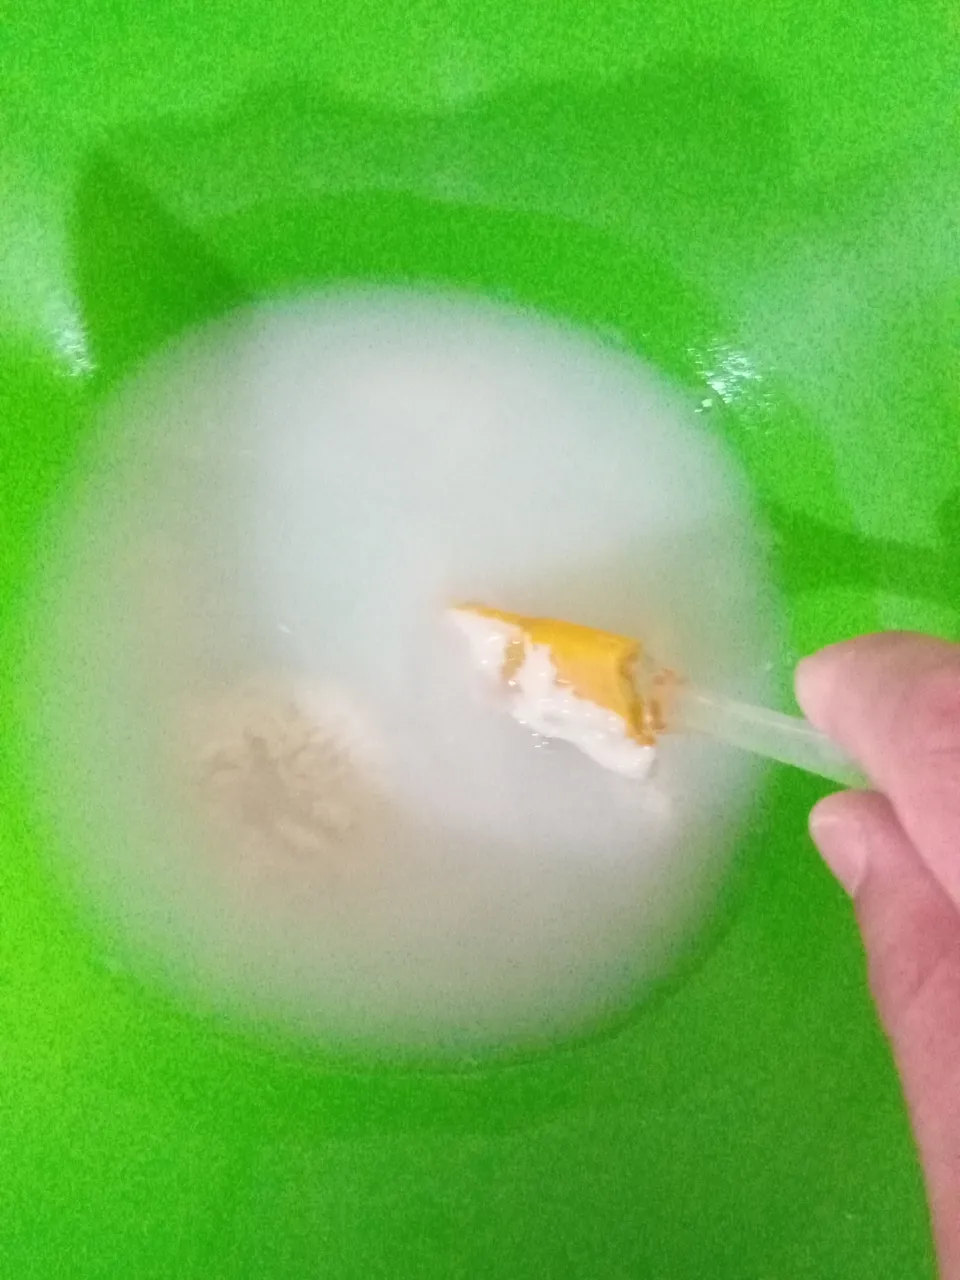
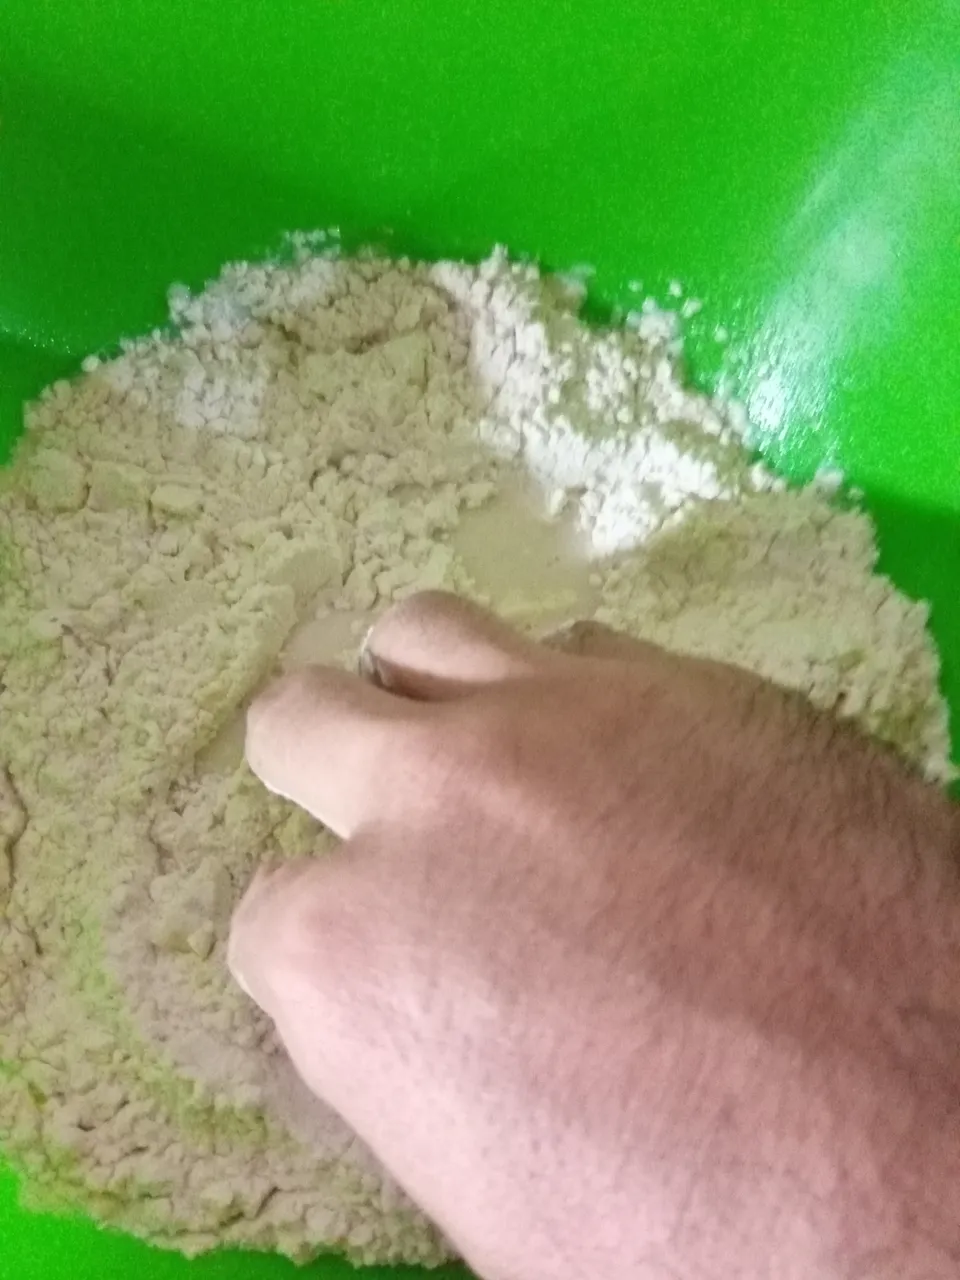
After dissolving the sourdough we add the flour, in this step we are ONLY going to integrate, unite the ingredients, we must not knead, since we will work with the process called AUTOLYSIS, it is basically letting the The dough "kneads itself" also in this process the gluten network will develop, which is essential for our bread to have body.
This AUTOLYSIS process will be left for 1 hour to complete its process.
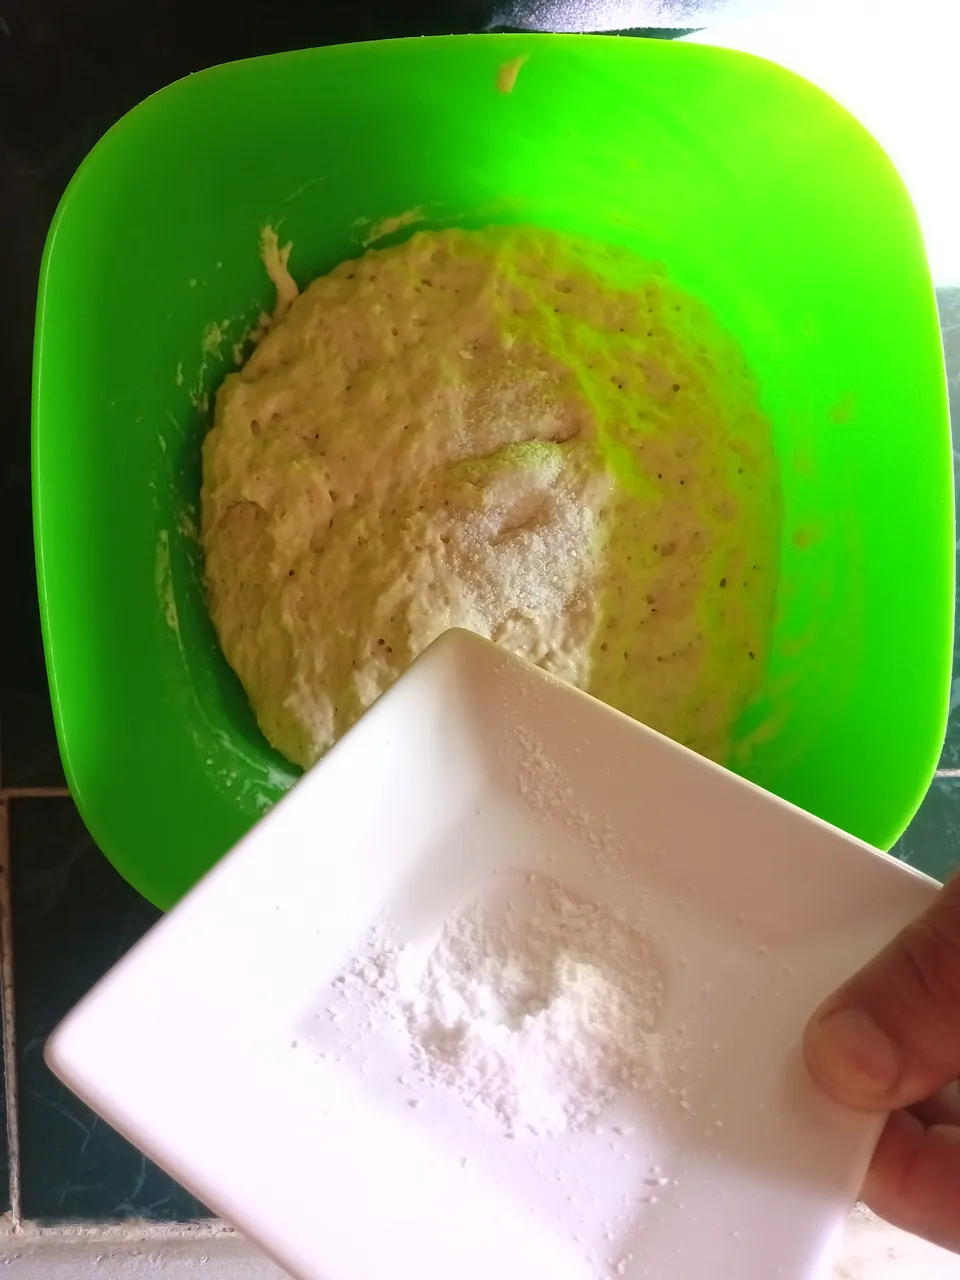
After one hour we will see that our dough has doubled in size and is generating the gluten network. At this point we will add the 8 grams of salt and here we begin to give a good kneading for about 5 or 8 minutes.
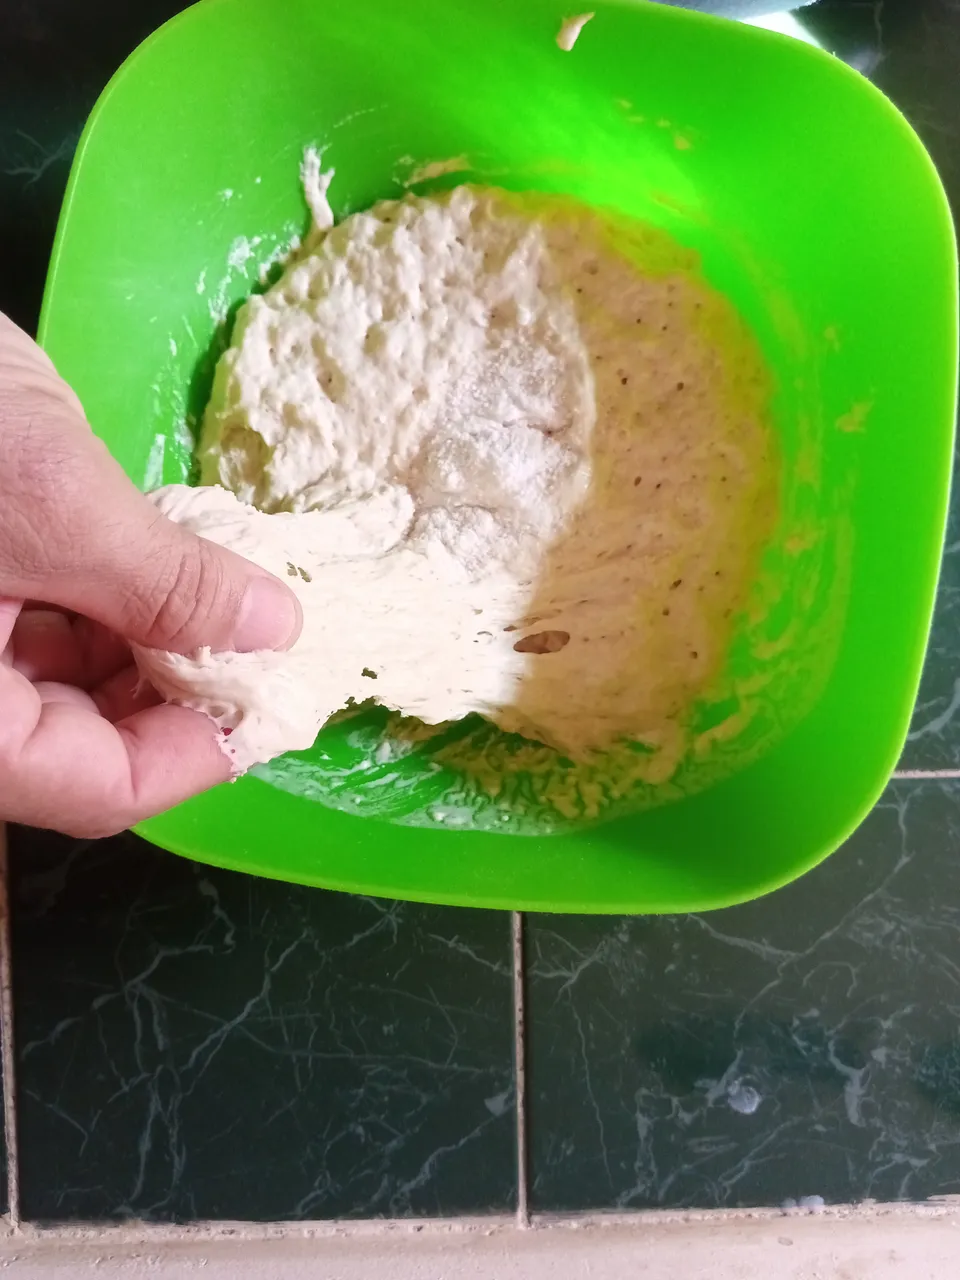
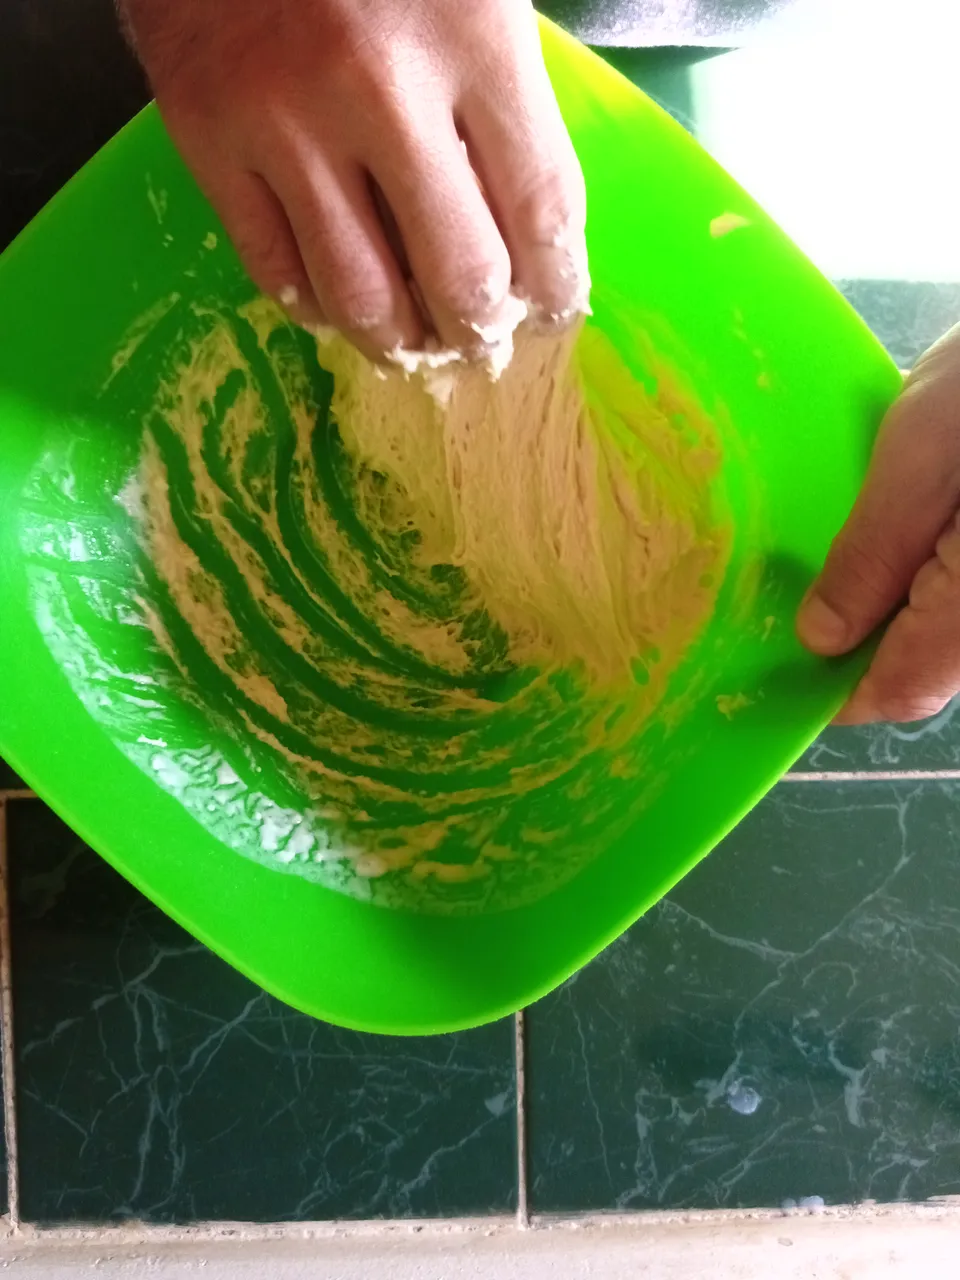
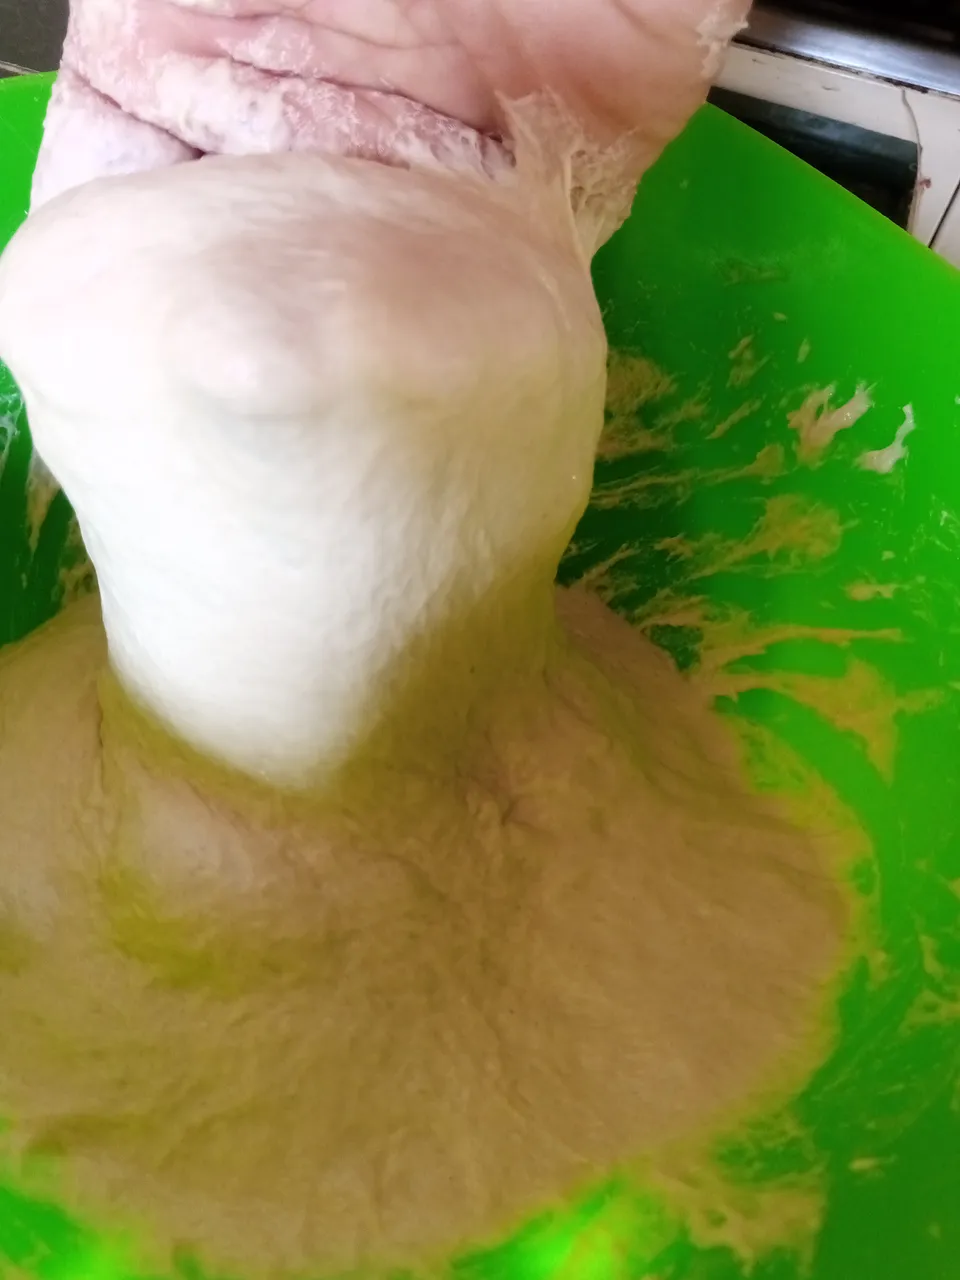
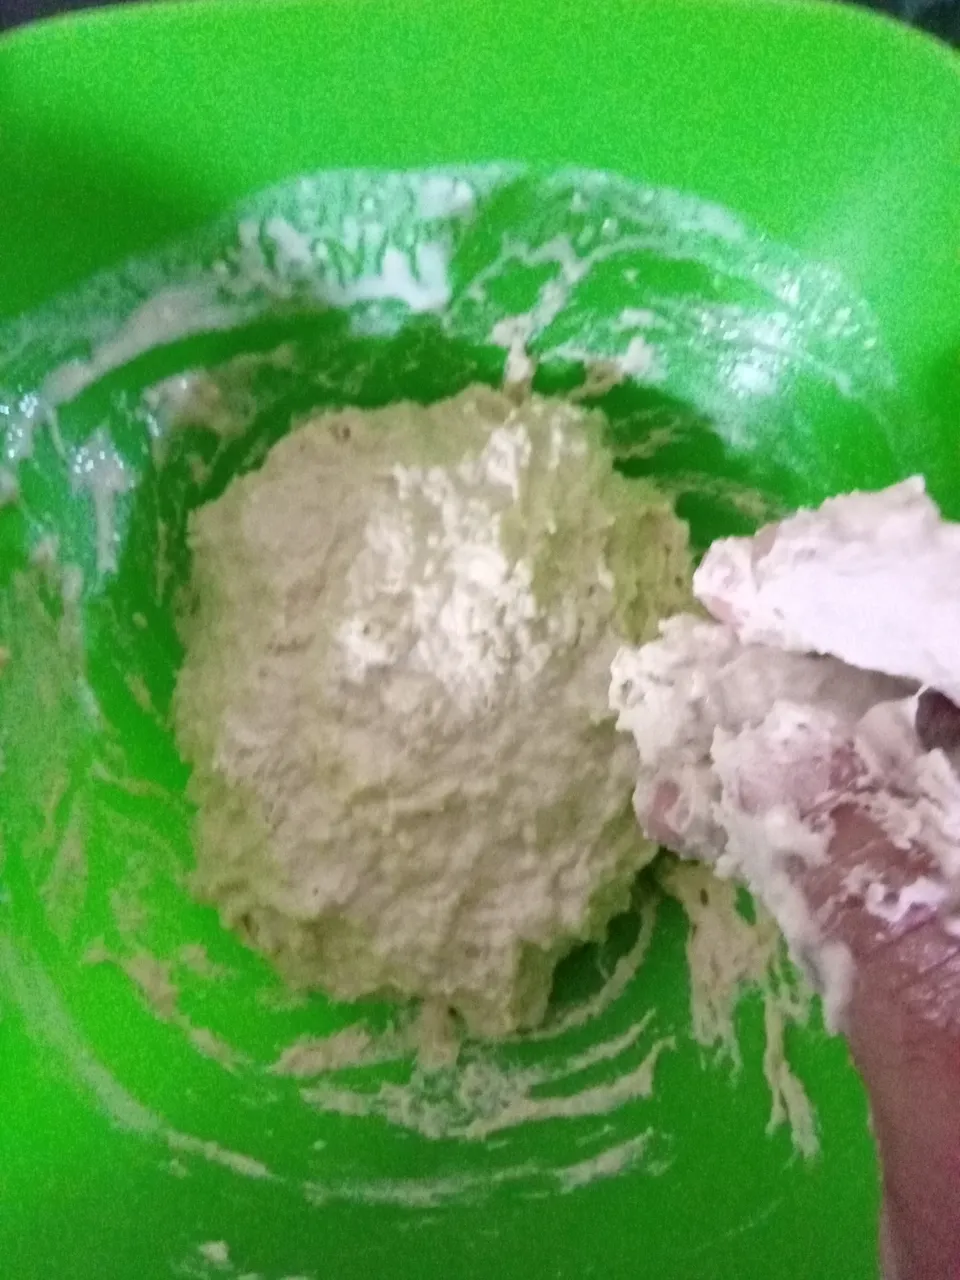
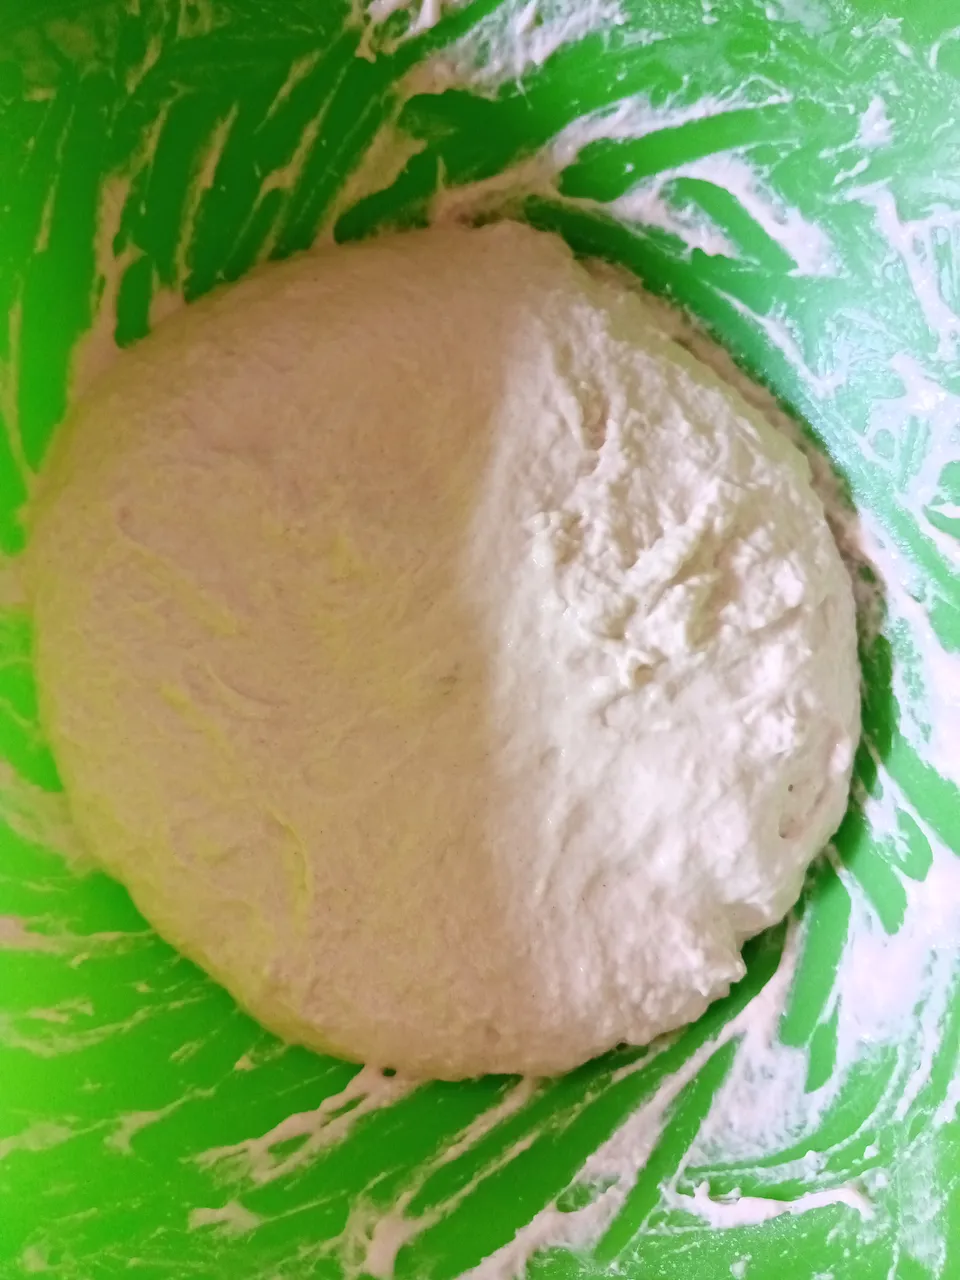
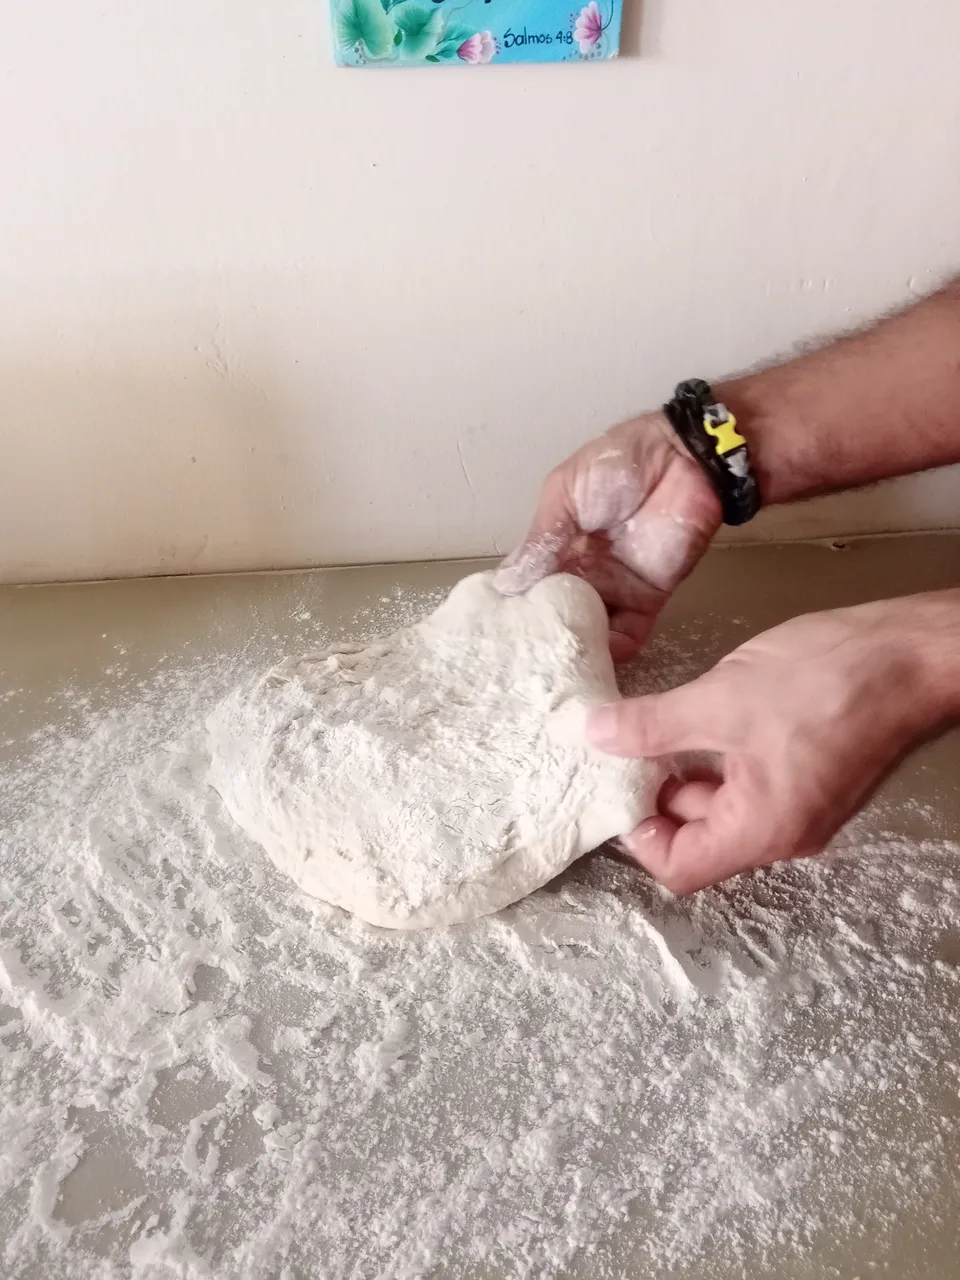
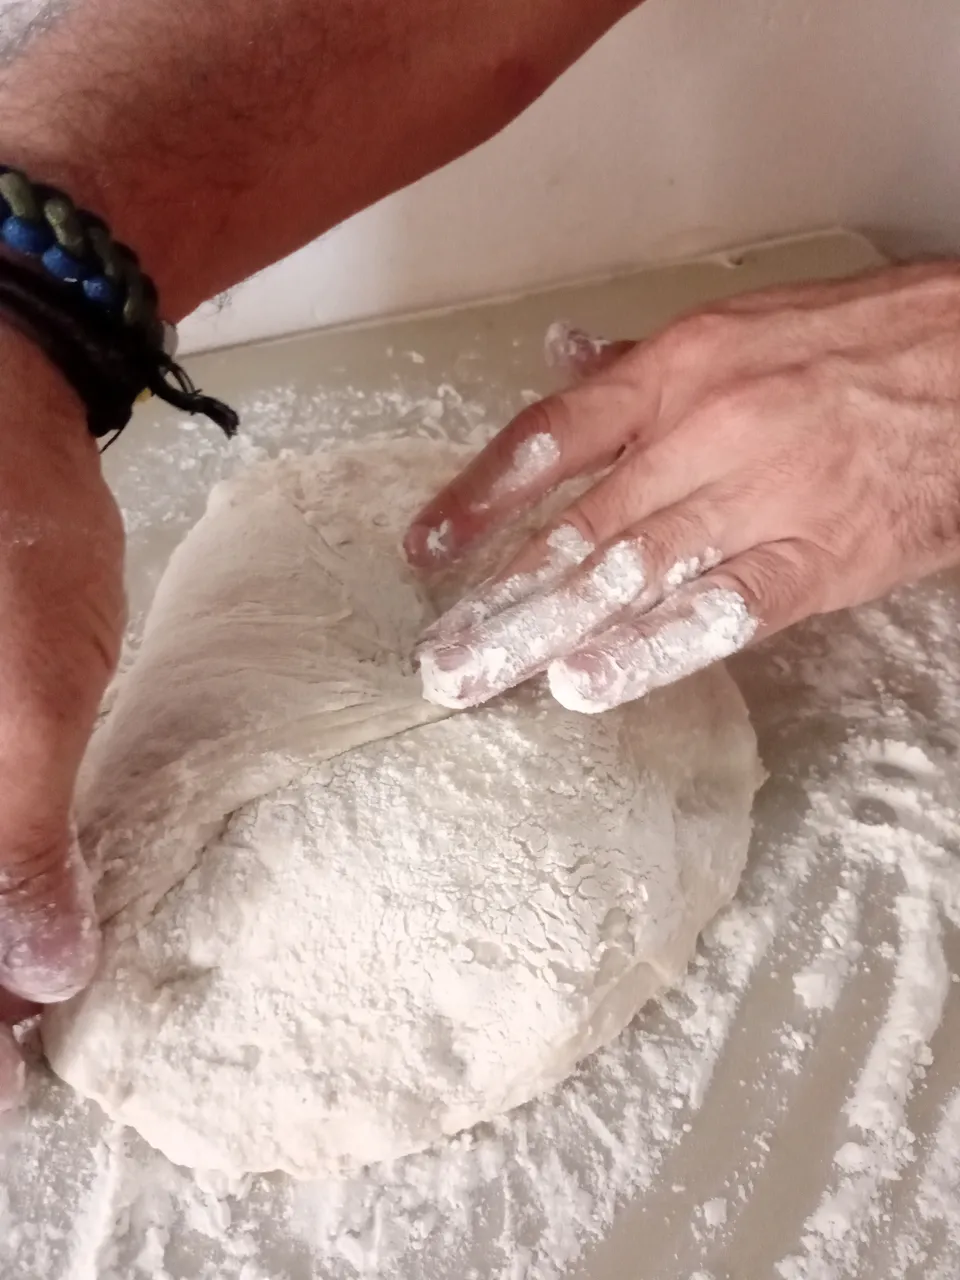
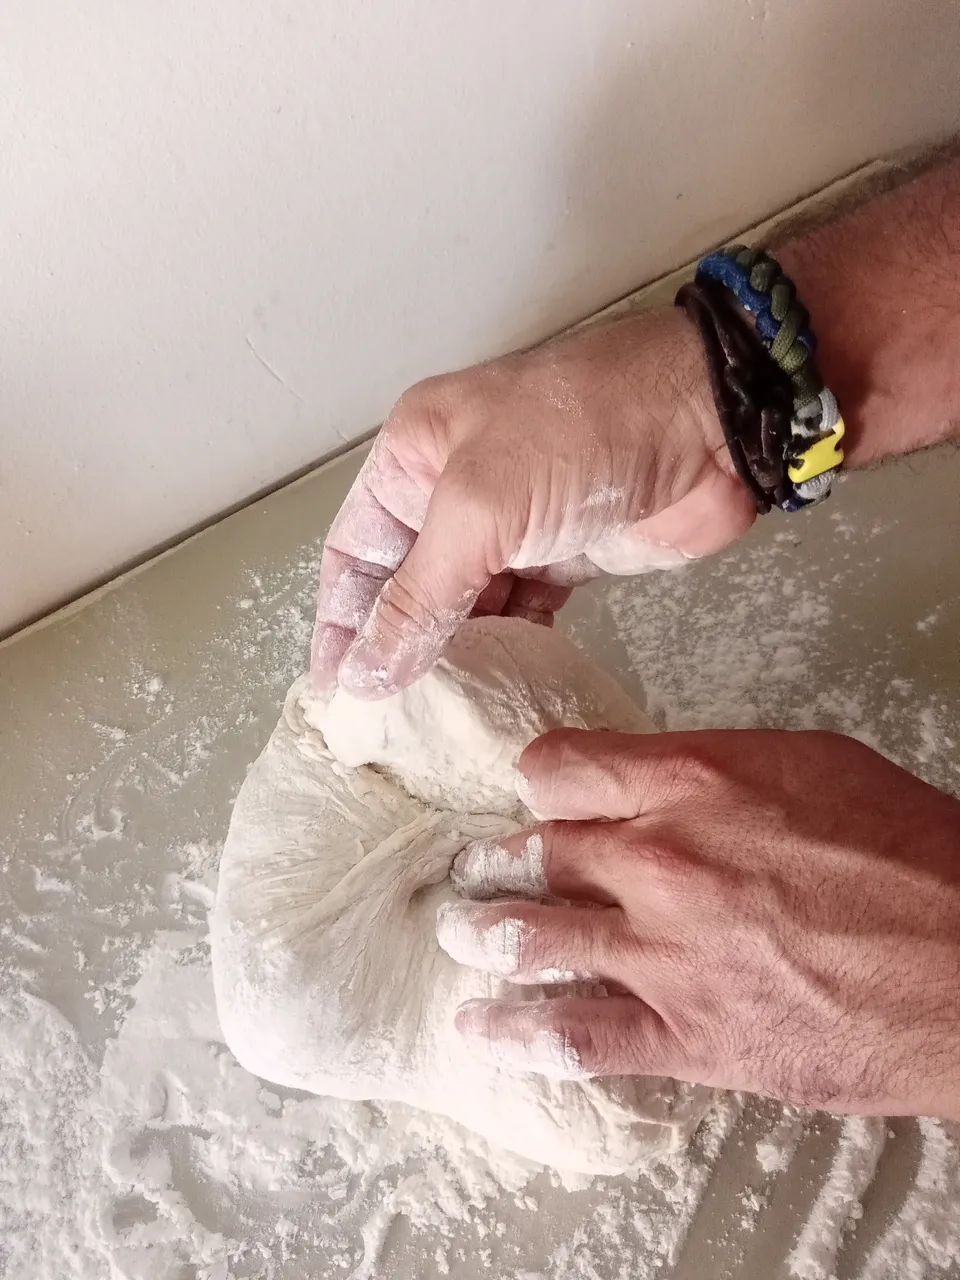
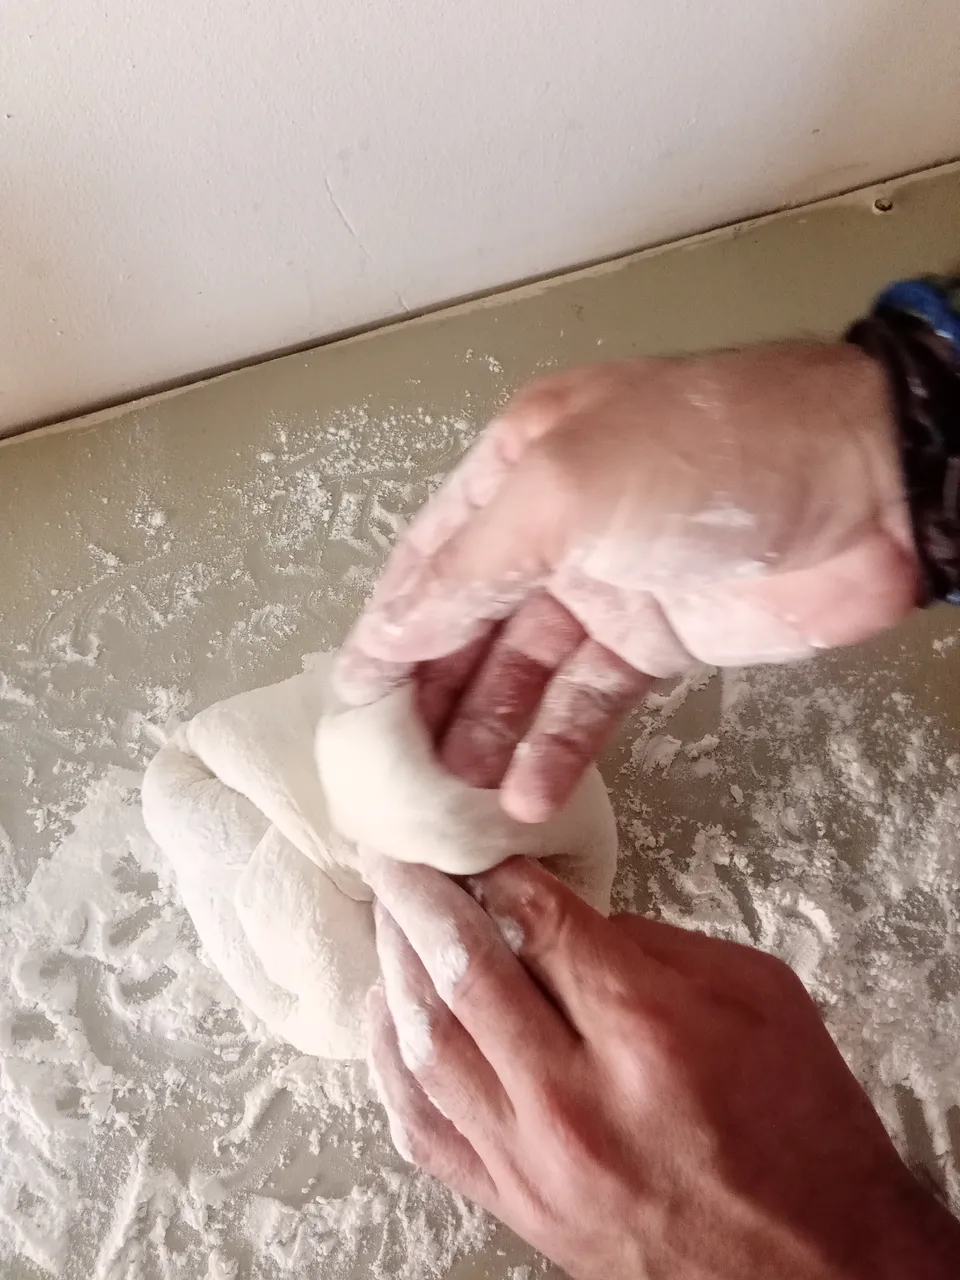
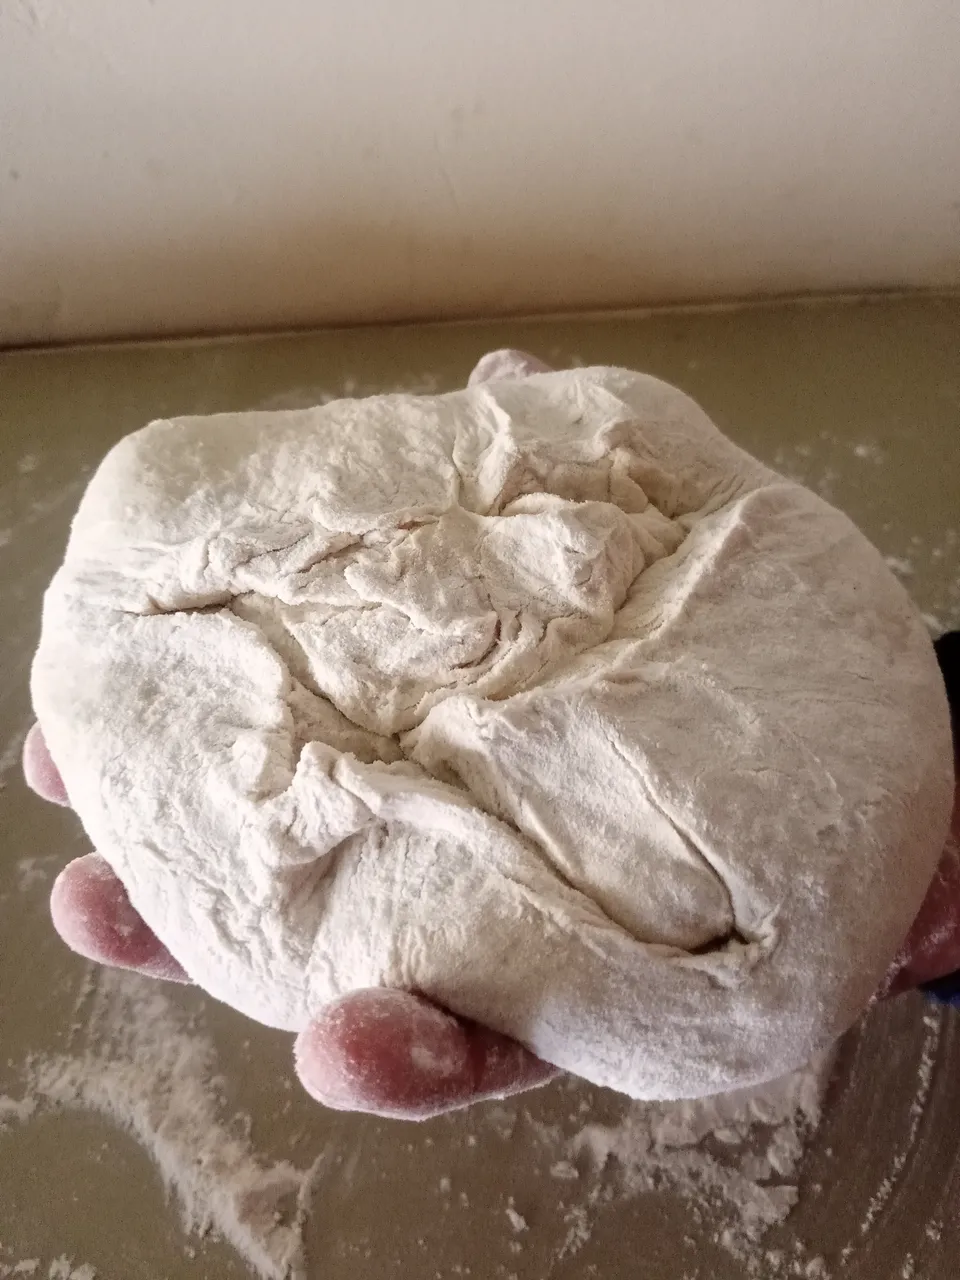
After we have kneaded the necessary time, the rising process arrives, fermentation in blocks that lasts approximately 4 hours, it is basically to create the necessary tension for our dough, we will do this by making folds at the dough, we wet our hands a little and take the dough from below, stretch as far as the dough allows us and we pay it will know itself. We repeat this process as many times as necessary, until we see that our dough has a little tension, this means that the dough should not touch the edges of our bowl, this tension will give us a stronger bread.
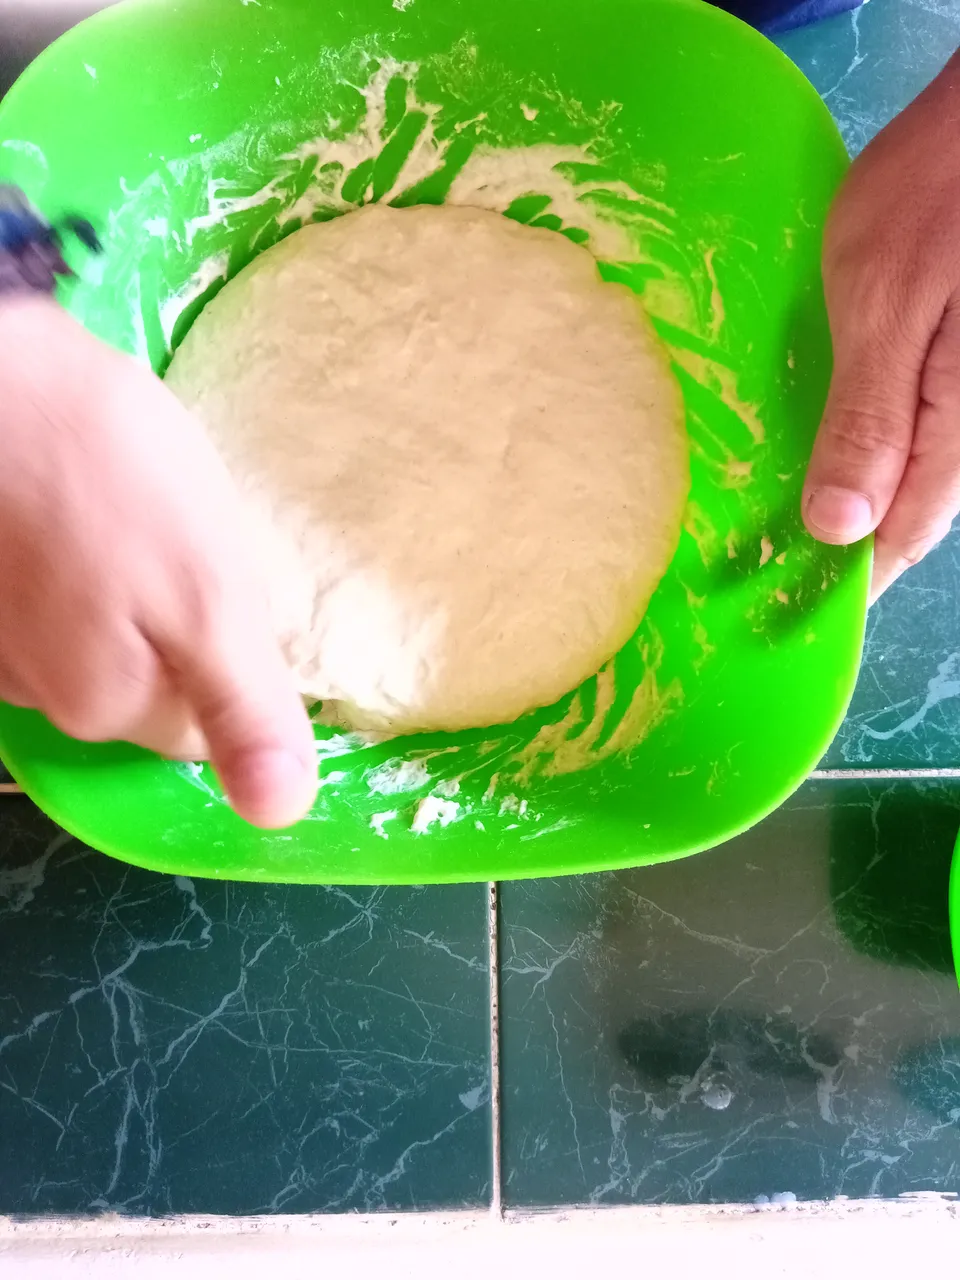

Over the course of this 4-hour wash, we will see two images, the first without tension and the second with the necessary tension.
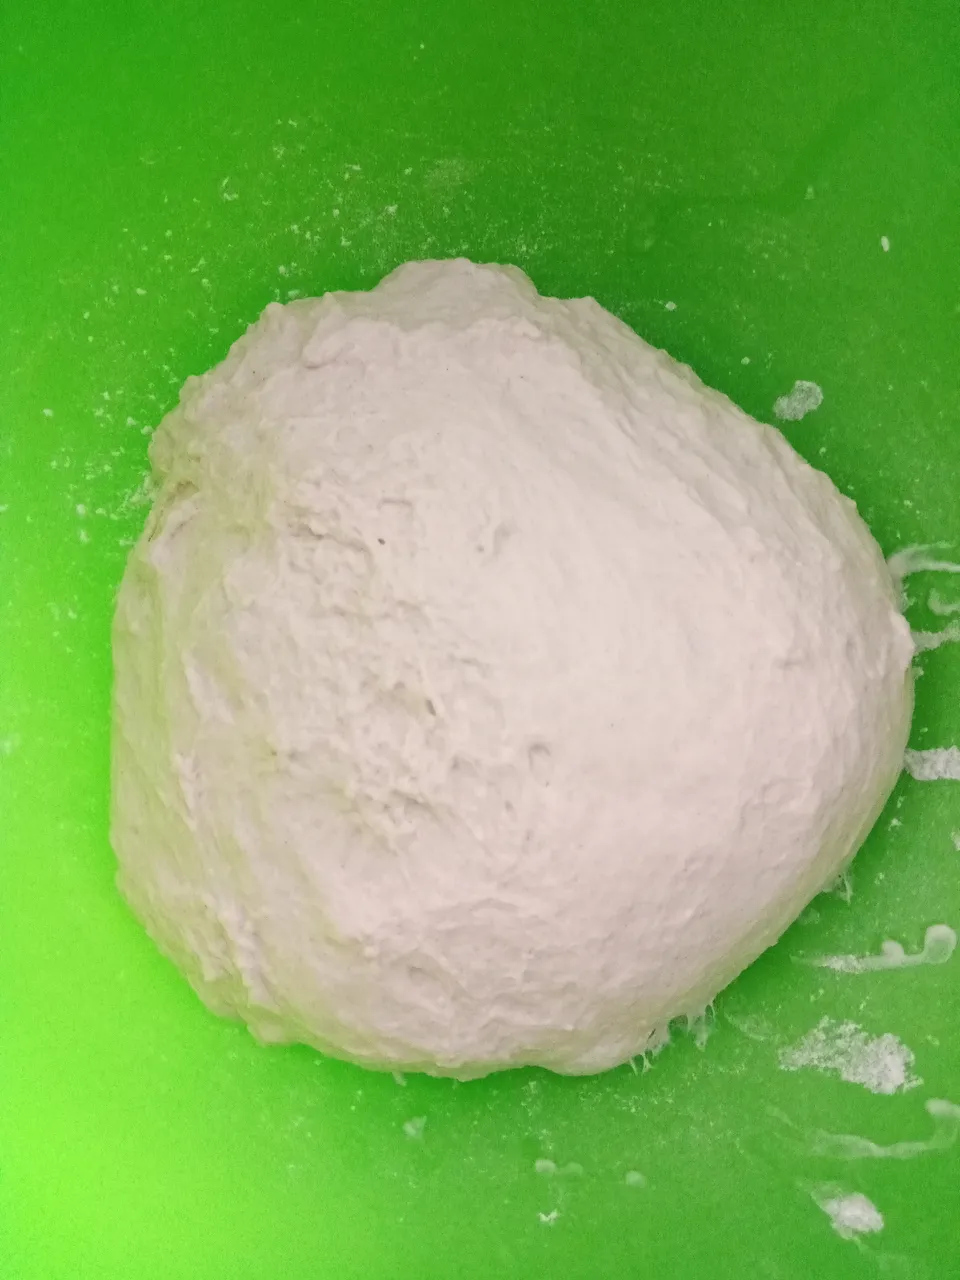
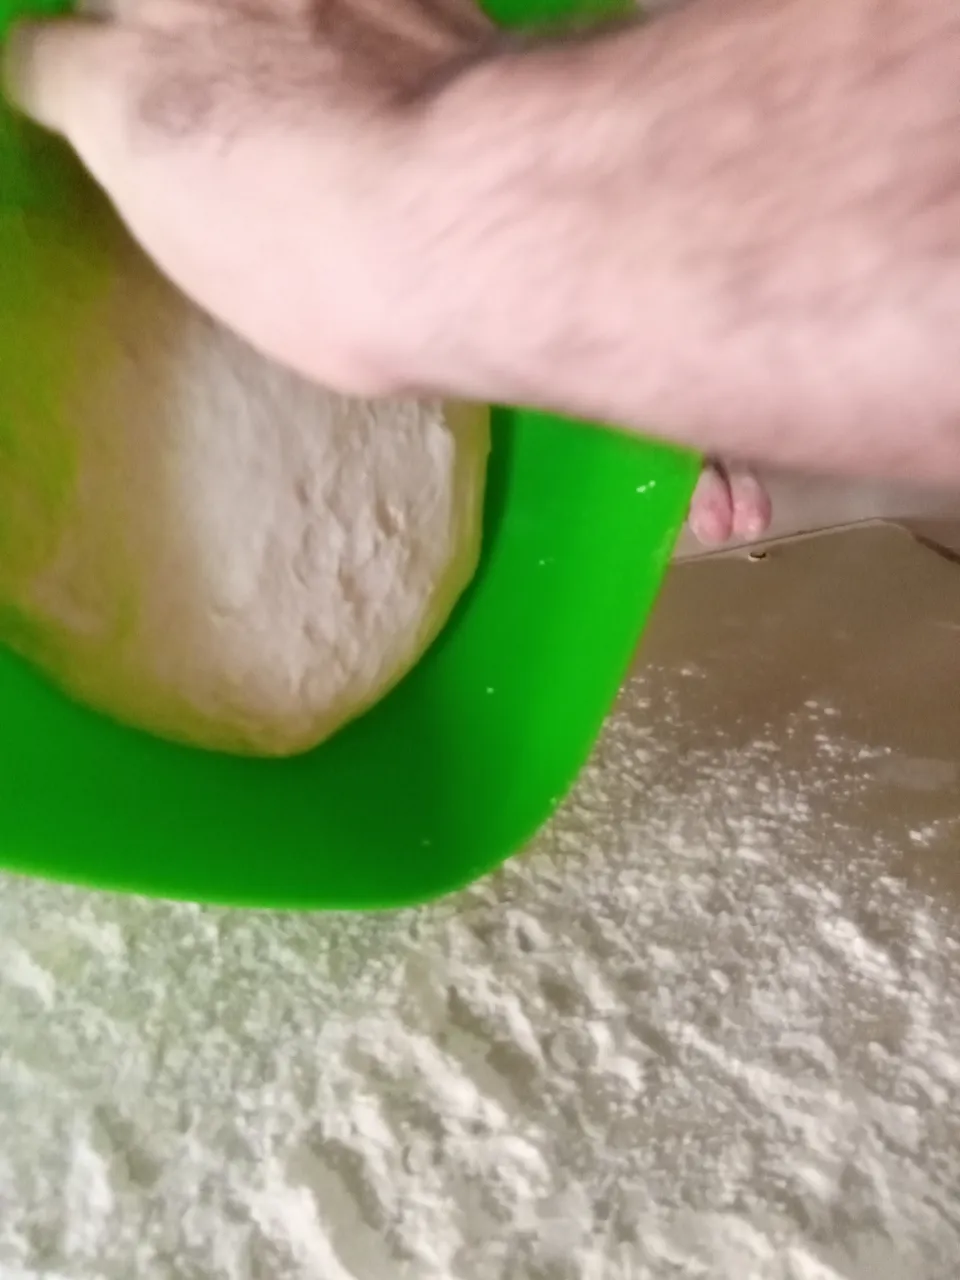
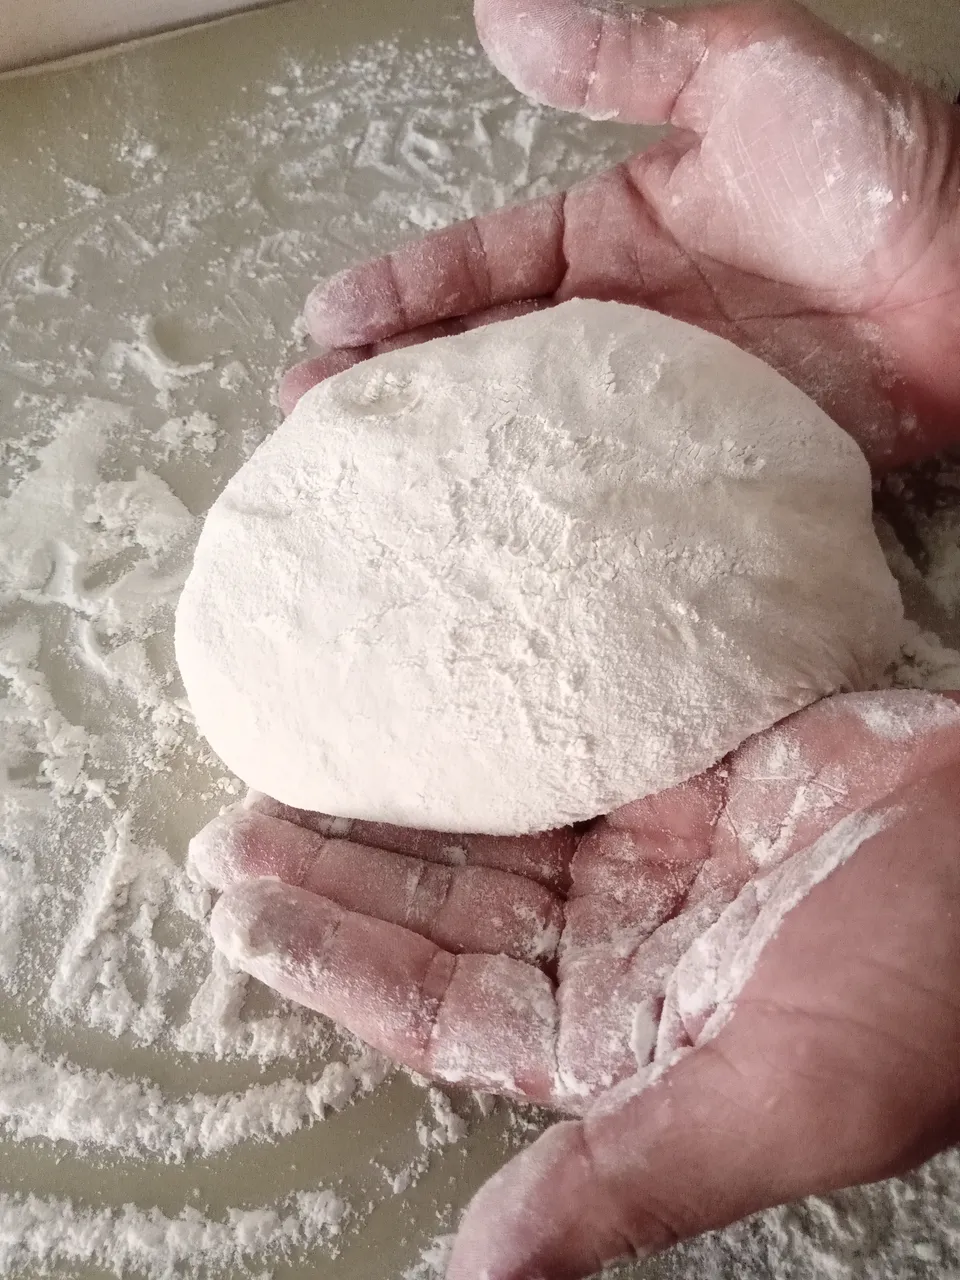
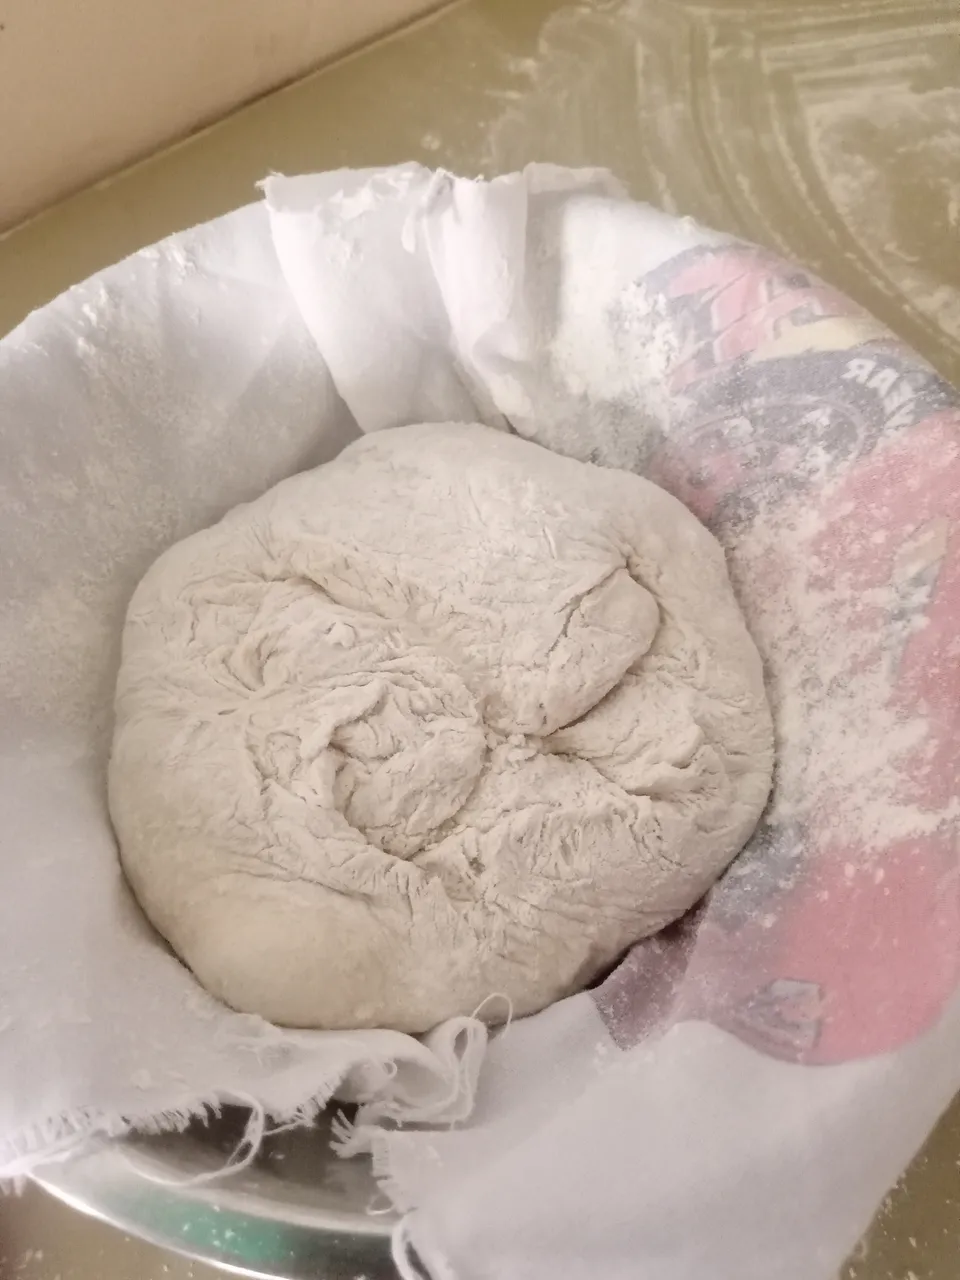
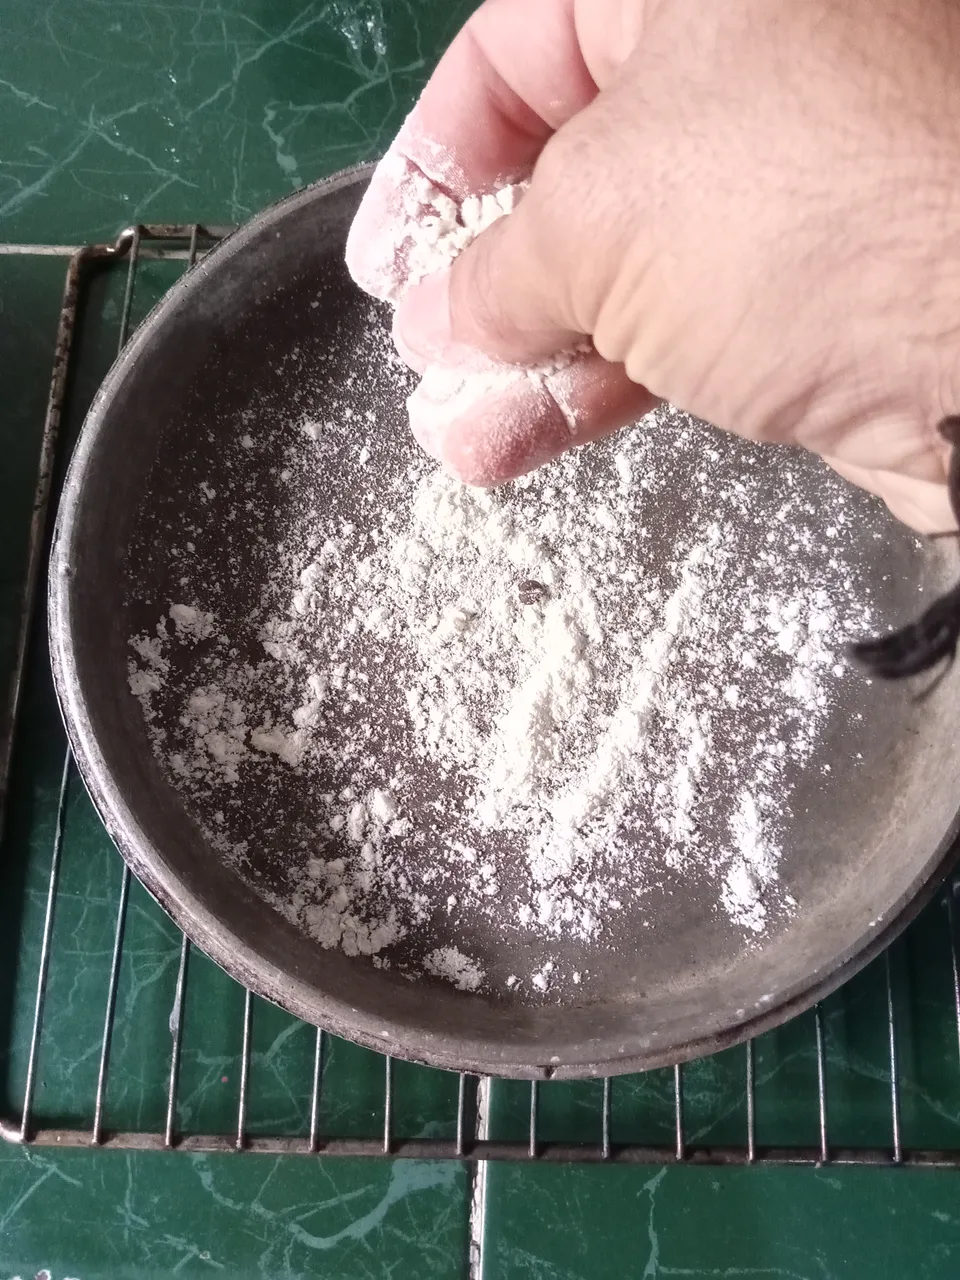
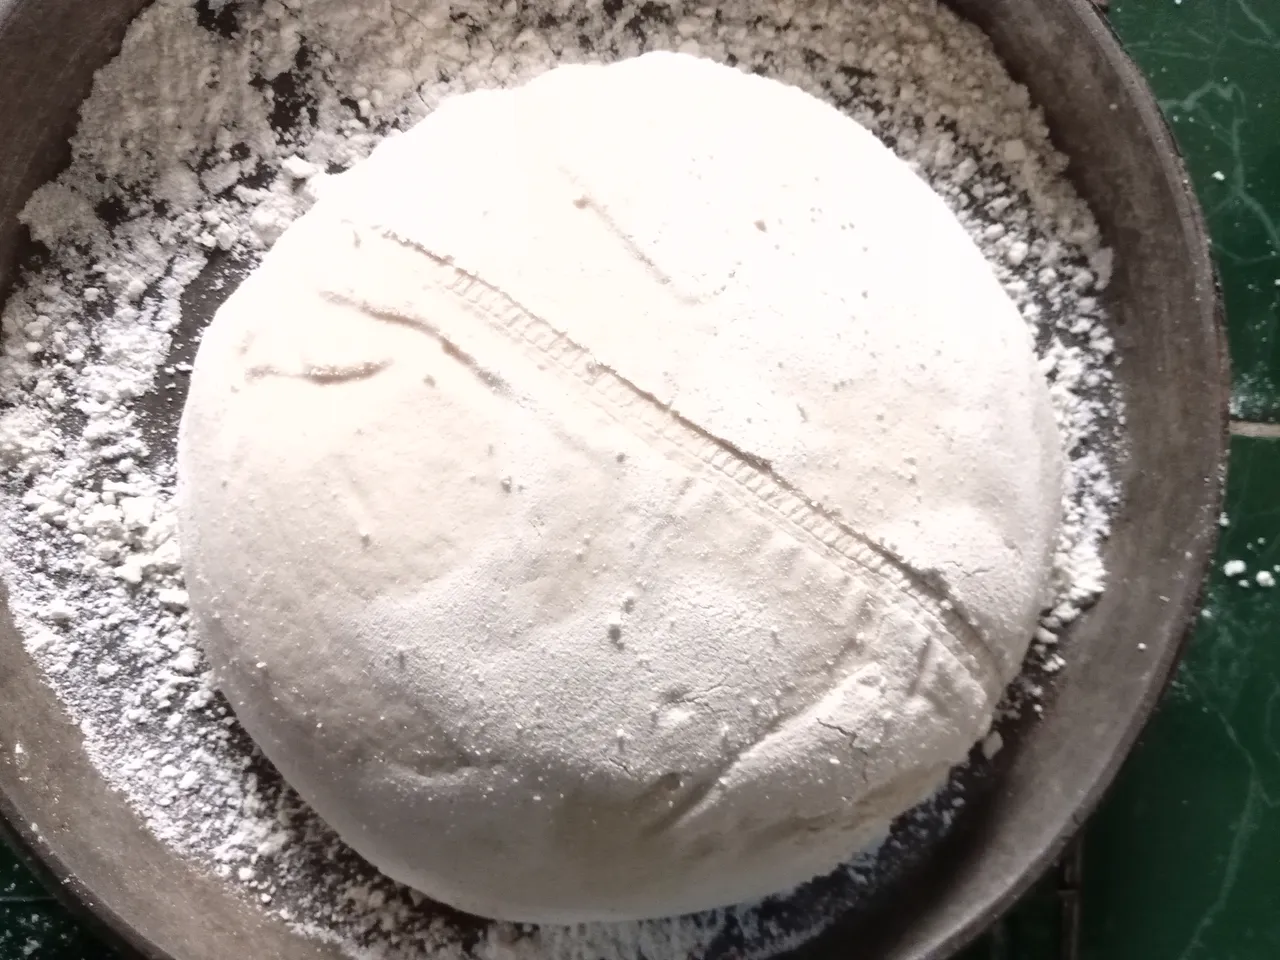
Well my friends, now we have the last step of proofing. Once the 4 hours of proofing have passed, now we have to form the bread, we spread a little flour on the counter, and being very careful not to degas, we dump the dough on the table, stretch it a little, take the corners and take them to the center making a little pressure, not so much so as not to lose the air of the dough. Then we turn our dough and form our bread into a ball shape. Then, again carefully place it on a bowl with a cloth with flour with the smooth part of the bread facing down.
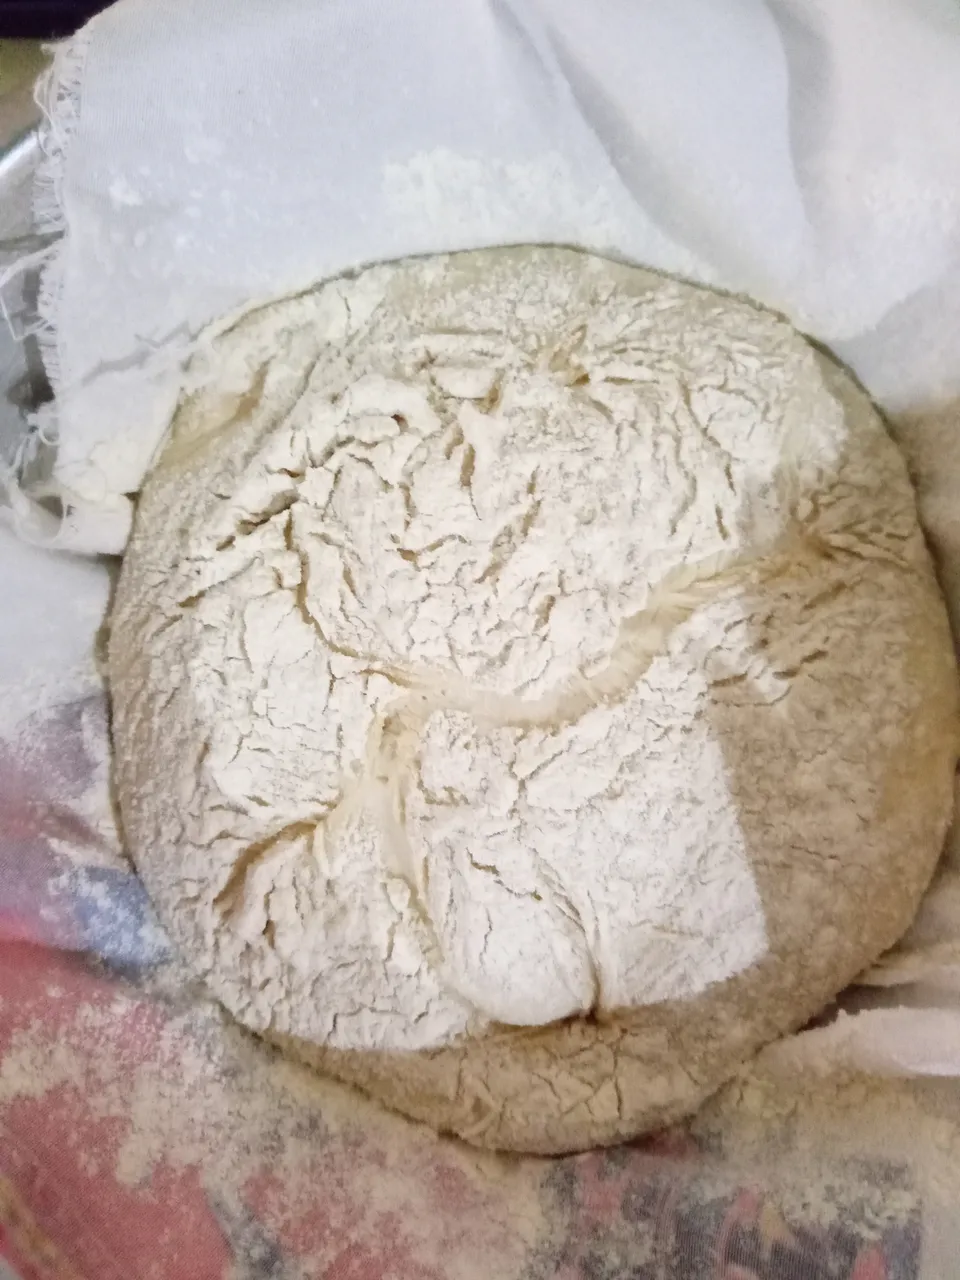
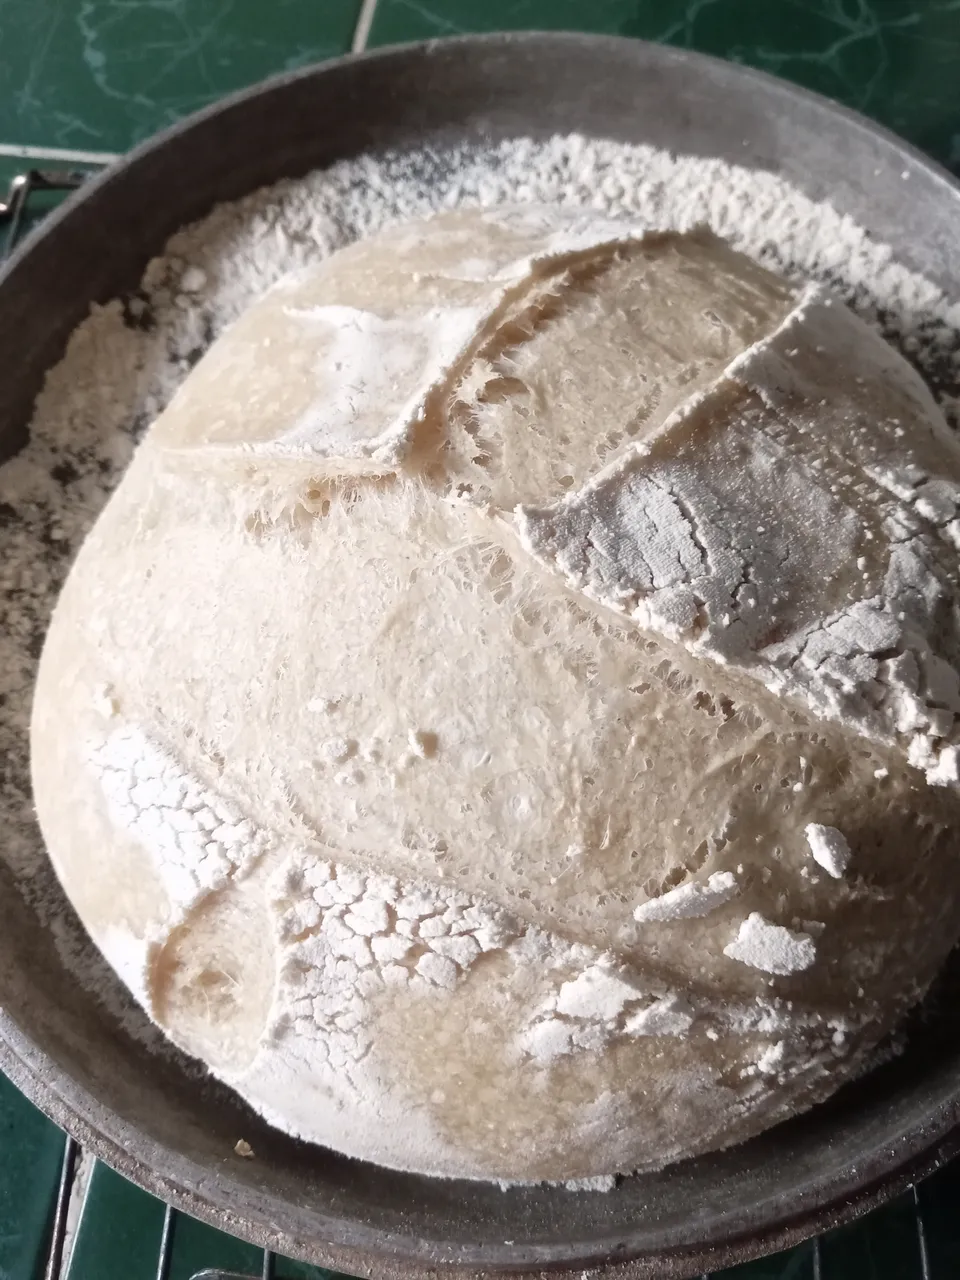
After the previous step comes the last cold proofing, which consists of taking the dough in our mold to the fridge, until the next day, once the 24 hours of cold proofing have passed , we will take an iron pot already preheated to about 200⁰c in it we will place our bread and thus covered we will take it to the oven for about 20 minutes with the lid.
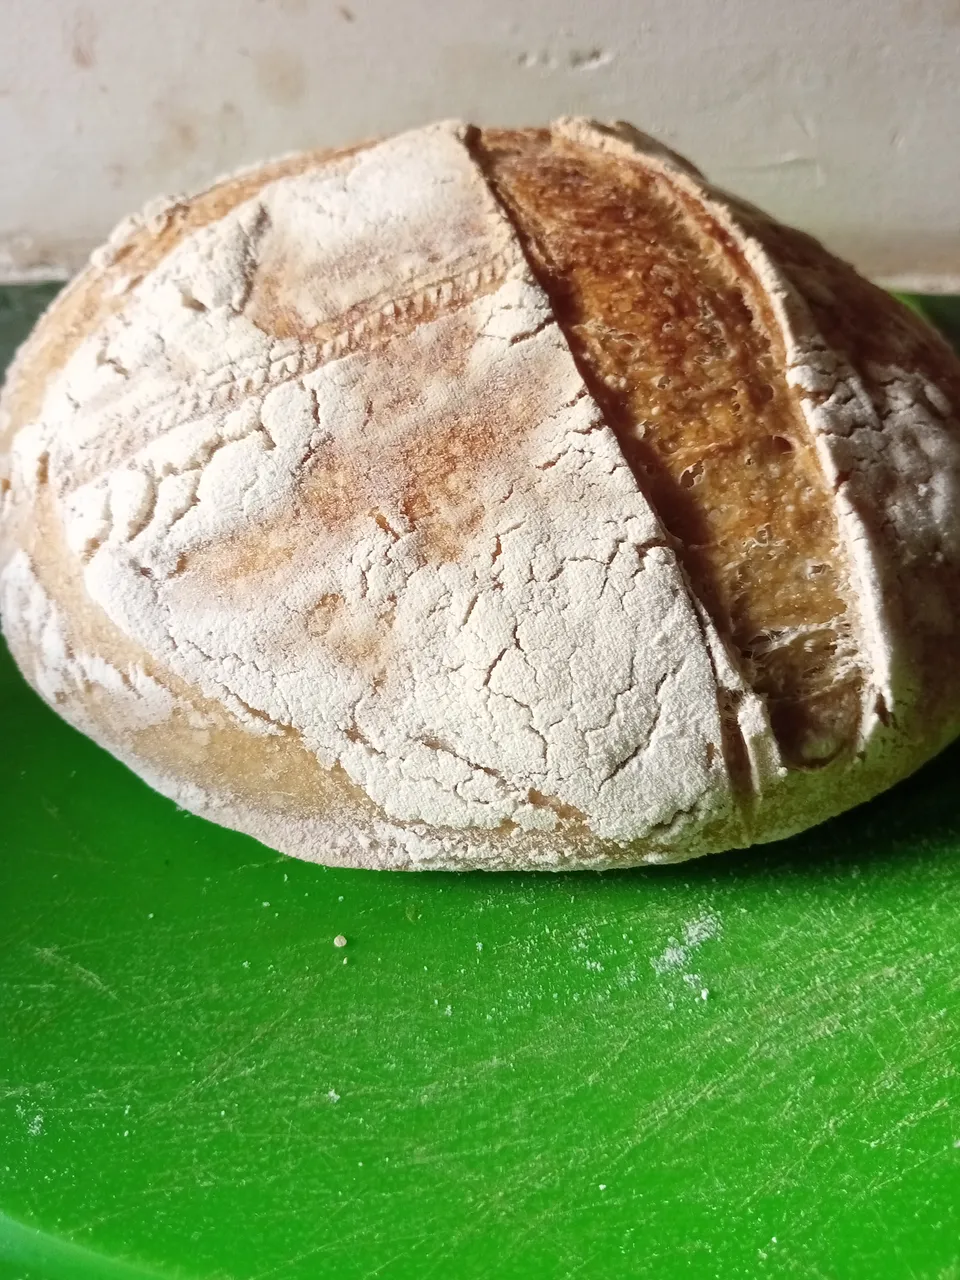
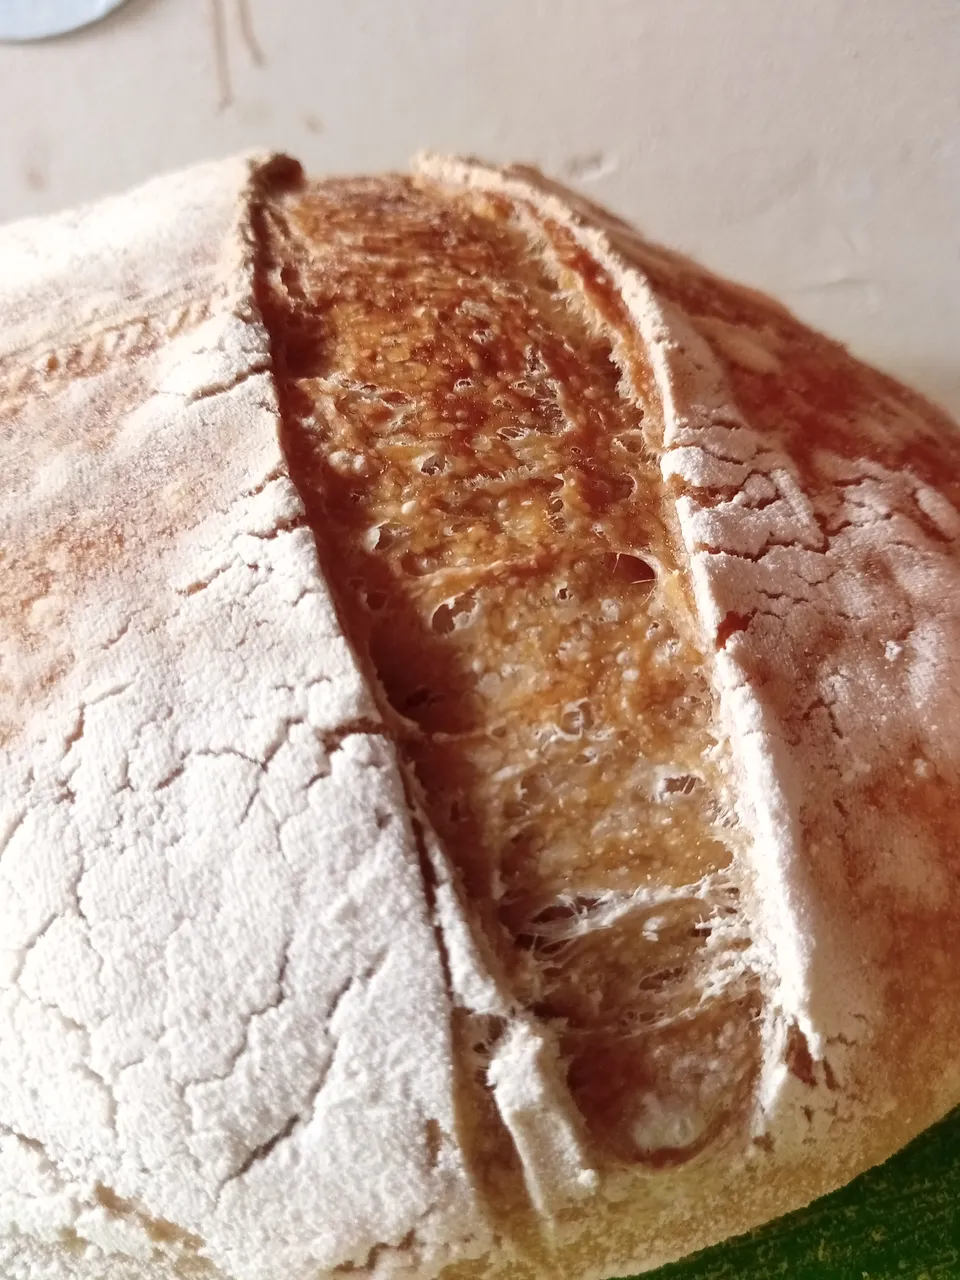
After 20 minutes in the oven we remove the lid and it will be seen as shown in the first image, then we return to the oven for 20 more minutes, the idea of baking the bread with an iron pot is so that the bread generates its own steam and thus generate its hard crust.
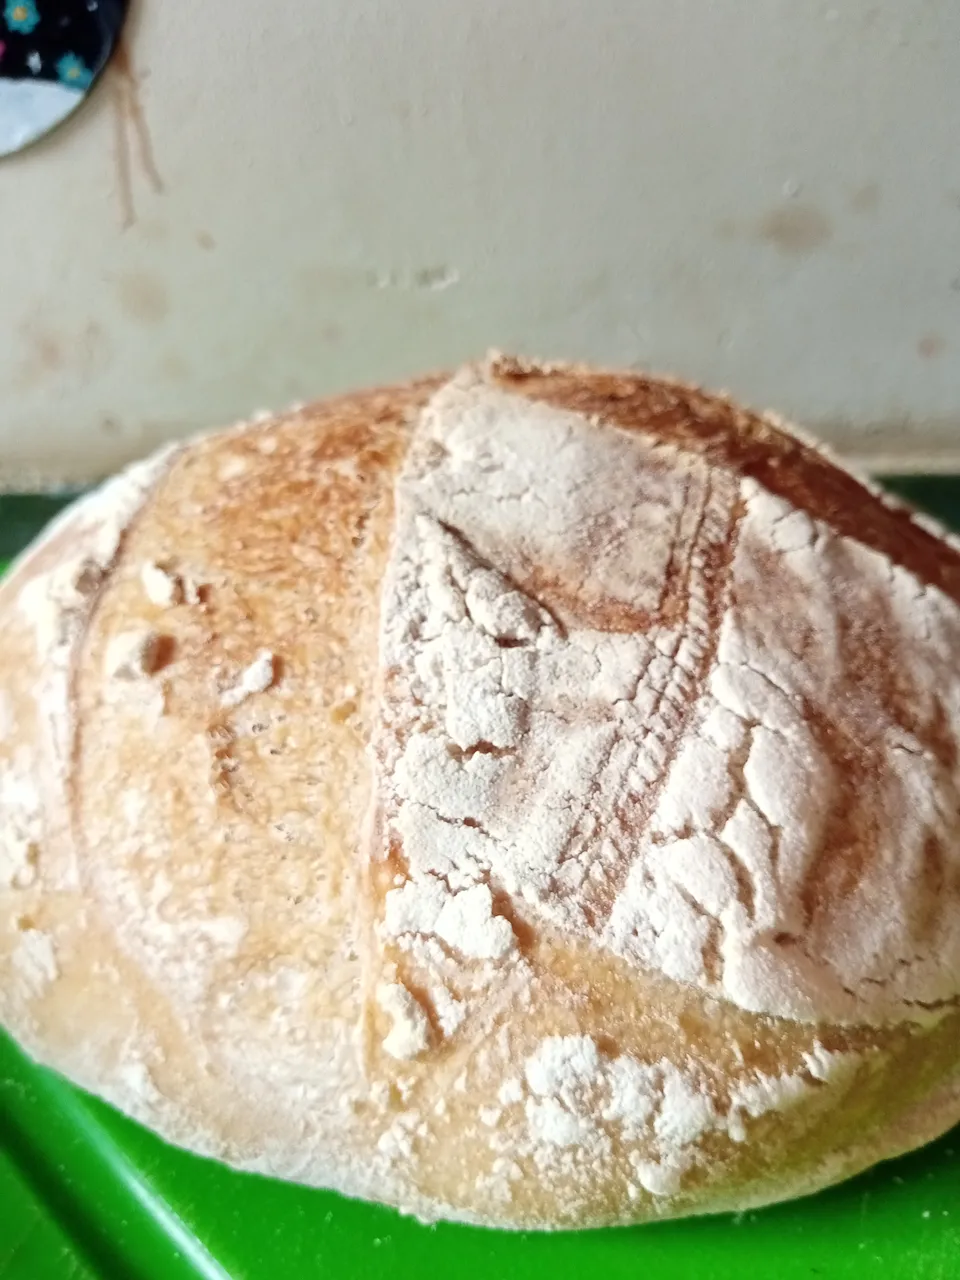
Well my friends spent the last 20 minutes of this long process 😄 of making sourdough bread, the result of my first bread is as follows, I hope you like it.
Final result of sourdough bread
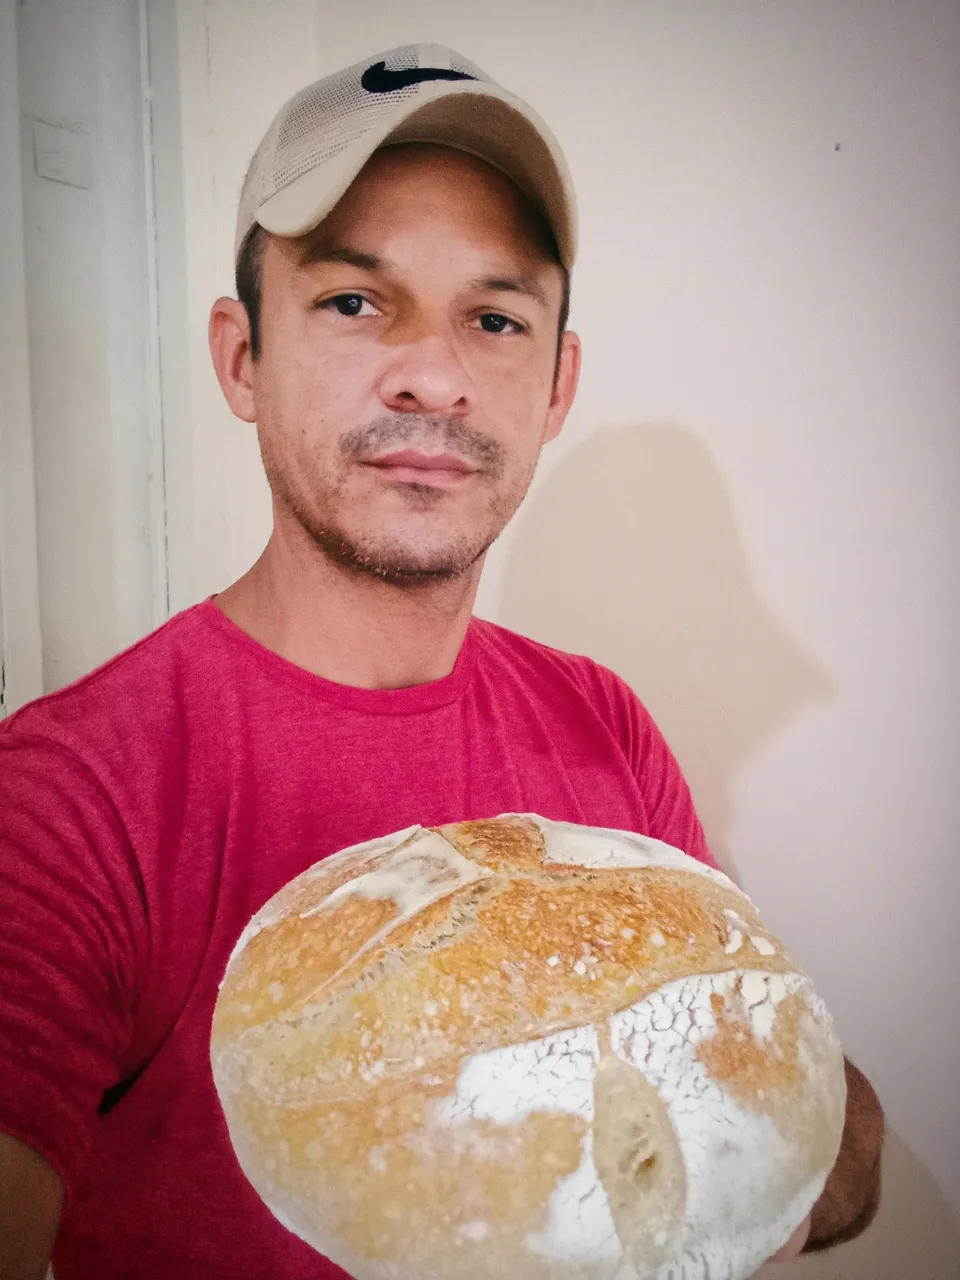
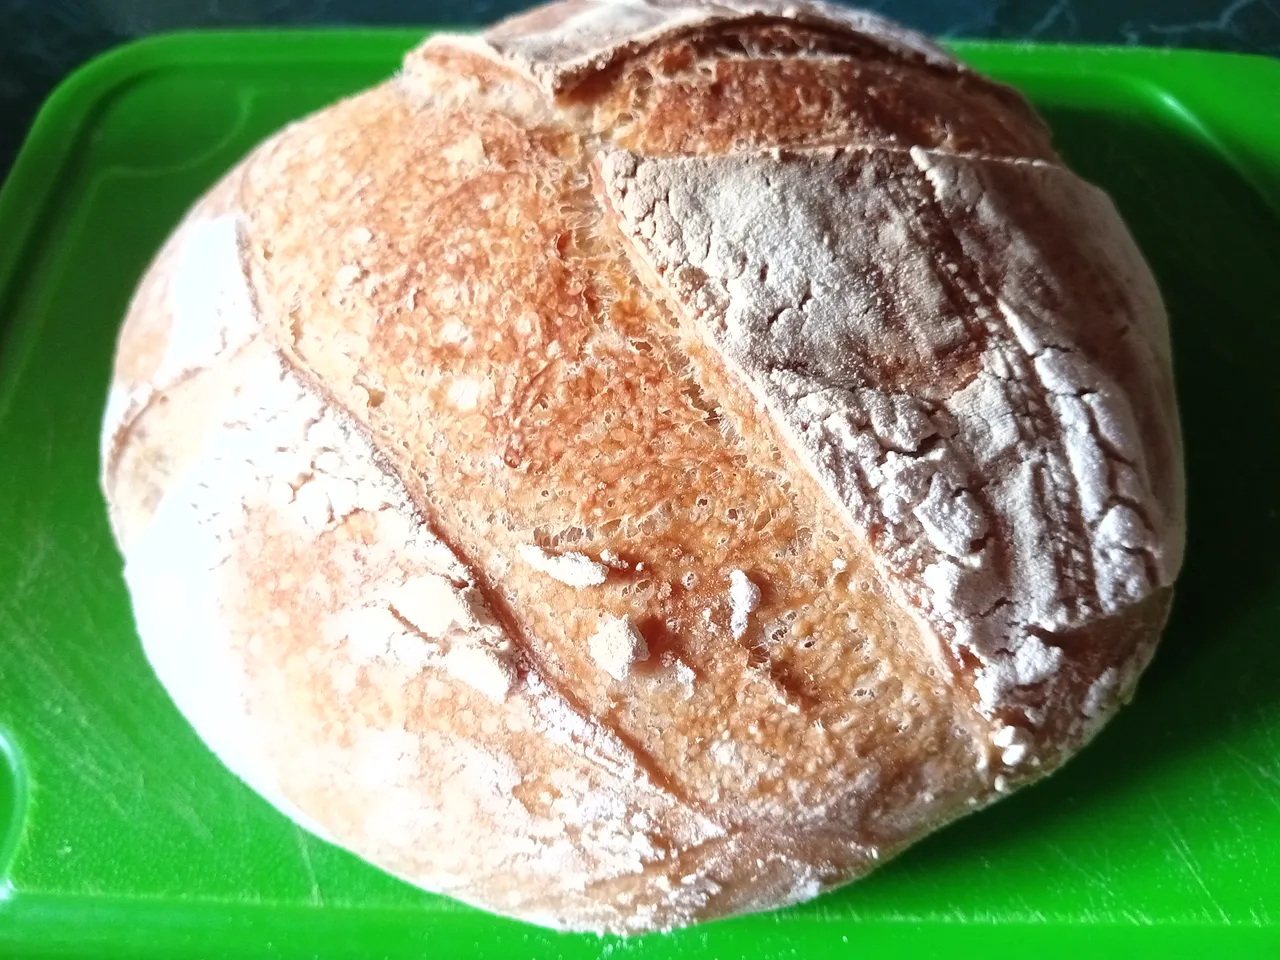
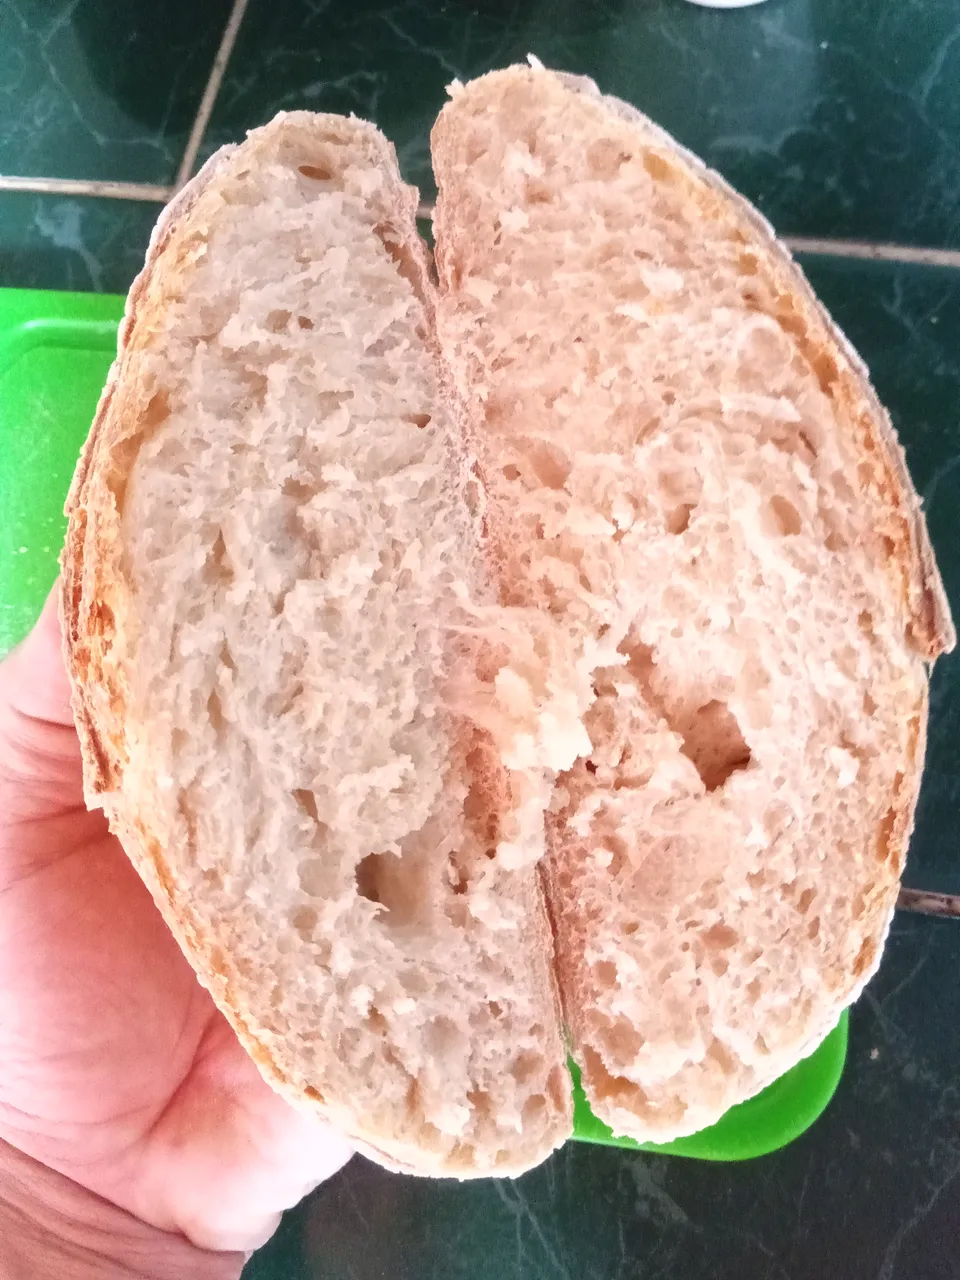
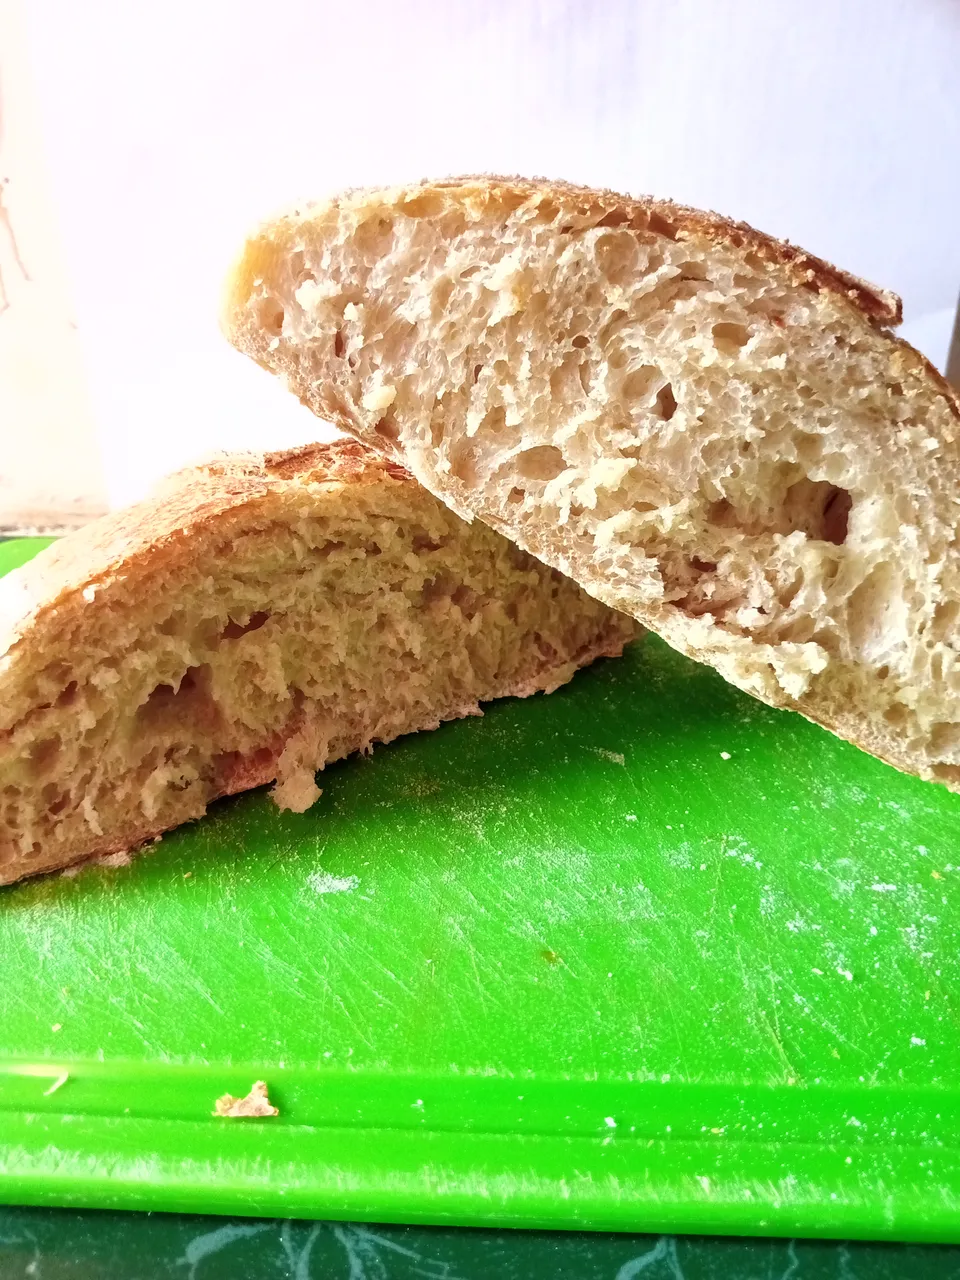
Friends, in this way I prepared this bread with sourdough, I hope you liked the post, I was very satisfied with the result of the bread for the first time, and thank you very much for visiting my post, God bless you greatly and see you another time
All photos were taken by my Alcatel 1v Smartphone
Todas las fotografías fueron tomadas por mi Smartphone Alcatel 1v