Hello HIVEs!
New lightpainting projects are coming up, which I would like to perform together with my dear LP art friends @lichtkunstfoto, @marlasinger, @stepko, @gunnarheilmann and Hans Roufflair. Of course, time at the locations is limited, so good preparation is all the more important. Today I'd like to show you how I prepare for a project.
Es stehen neue Lightpainting Projekte an, die ich zusammen mit meinen lieben LP-Kunst-Freunden @lichtkunstfoto, @marlasinger, @stepko, @gunnarheilmann und Hans Roufflair performen möchte. Natürlich ist die Zeit an den Locations begrenzt, deshalb ist eine gute Vorbereitung um so wichtiger. Wie ich mich auf ein Projekt vorbereite, möchte ich dir heute zeigen.

(Bild 1)
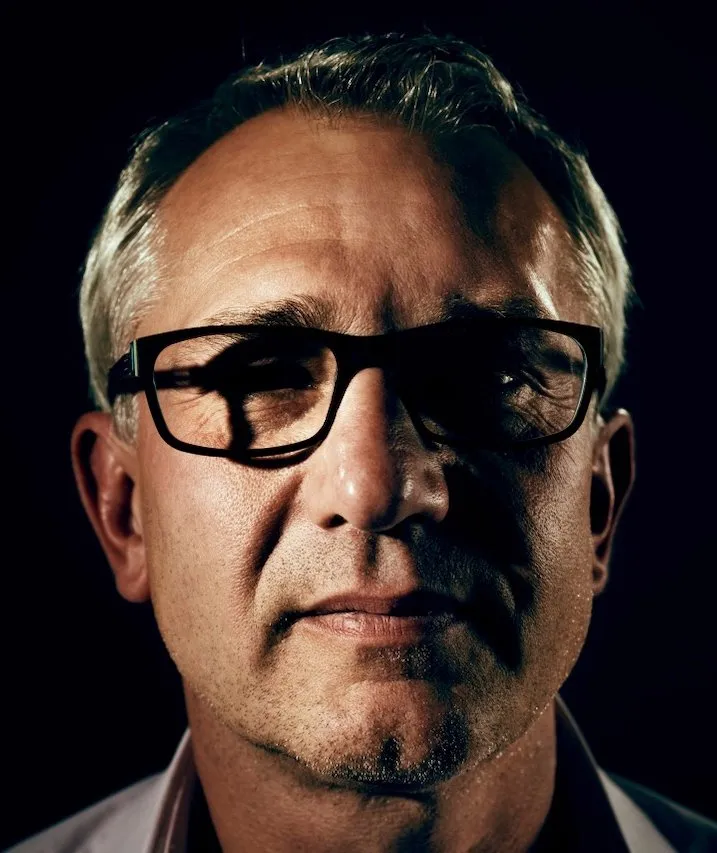
Canon EOS 6D Mark II
EF16-35mm ƒ4L IS USM
ISO 100, 35 mm, ƒ16, 112s
One of the planned projects will be a light painting in the Steinhagen Historical Museum. It is located in the Schlichte-Carree in Steinhagen. Of course, the famous Steinhäger is still distilled there today. Here it is called “Museumsbrand” and is of excellent quality. But let's leave it there for a change and move to the second floor. There you will find the facilities of a pharmacy, a corner store and a historic classroom. I have already planned picture ideas for the pharmacy and the classroom. I'm presenting the first part of the pharmacy project to you today.
Eines der geplanten Projekte wird ein Lightpainting im Historischen Museum Steinhagen sein. Es befindet sich im Schlichte-Carree in Steinhagen. Natürlich wird dort auch bis heute der berühmte Steinhäger gebrannt. Hier heisst er "Museumsbrand" und hat eine ausgezeichnete Qualität. Den lassen wir aber mal ausnahmsweise stehen und bewegen uns in die erste Etage. Dort befinden sich die Einrichtungen einer Apotheke, eines Tante Emma Ladens und ein historisches Klassenzimmer. Für die Apotheke und das Klassenzimmer habe ich bereits Bildideen geplant. Den ersten Teil des Apotheken-Projektes stelle ich dir heute vor.
(Bild 2)
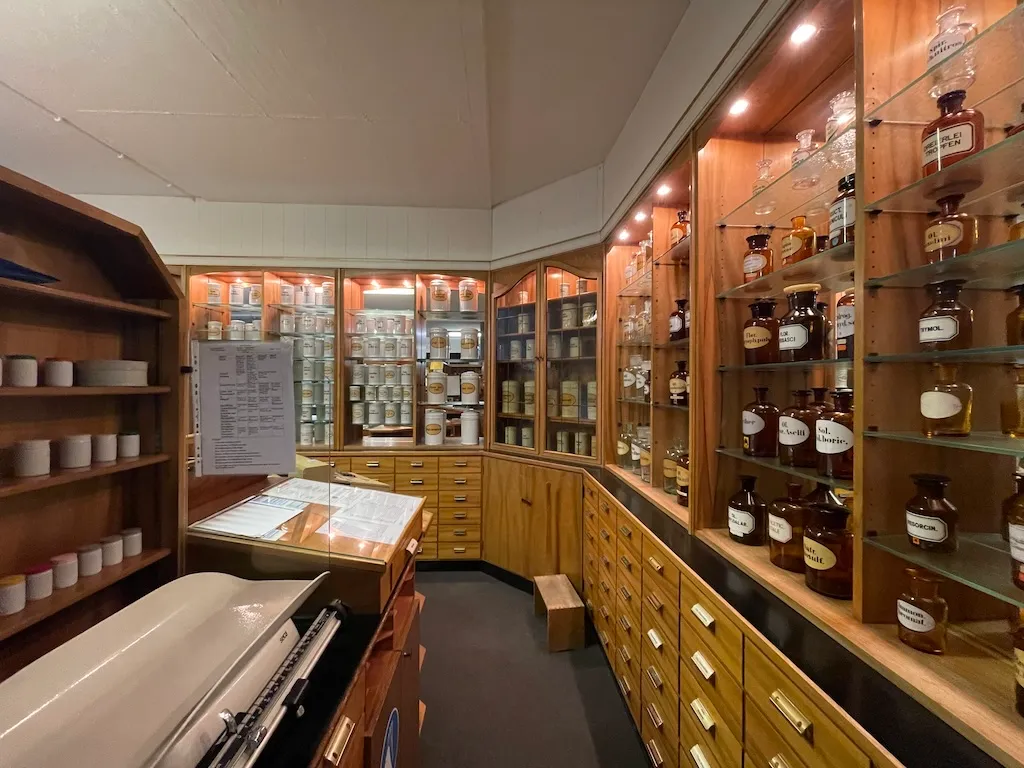
Die Apothekeneinrichtung im historischen Museum
The pharmacy furnishings in the historical museum
On the cover picture I show the first picture idea. The “pharmacist” is looking at a skull in a 500ml flask. Some oversized tablets are floating in the background. As so often, Geane was my model. I prepared this set in two steps over two evenings. The cover picture shows the second attempt. In picture 3 (below) you can see the first one, which I took a few days earlier.
Unfortunately, the 500ml flask and the white coat I had ordered especially for this had not yet arrived on the first evening. An empty port wine bottle and the white protective clothing had to suffice as a replacement.
Auf dem Titelbild zeige ich die erste Bildidee. Die "Apothekerin" betrachtet einen Totenkopf in einem 500ml Stehkolben. Im Hintergrund schweben einige überdimensionale Tabletten. Geane stand mir, wie so oft, Model. Dieses Set bereitete ich an zwei Abenden in zwei Schritten vor. Das Titelbild zeigt den zweiten Versuch. Auf dem Bild 3 (unten) siehst du den ersten, den ich einige Tage zuvor aufnahm.
Der extra dafür bestellte 500ml Stehkolben und der weisse Kittel waren am ersten Abend leider noch nicht bei mir eingetroffen. Als Ersatz mussten eine leere Portweinflasche und die weiße Schutzkleidung reichen.

(Bild 3)
Canon EOS 6D Mark II
EF16-35mm ƒ4L IS USM
ISO 100, 16 mm, ƒ16, 385s
The first step in planning is always to scout out a location. To do this, I visited the museum several times, had several conversations with some members of the association and finally arranged a date for the light painting. Of course, it always helps to take some photos of the location (picture 2) home with me so that I can plan the project better. Afterwards, I sketch out some ideas. (picture 4)
Der erste Schritt der Planung ist immer die Auskundschaftung einer Location. Dafür suchte ich das Museum mehrmals auf, führte mehrere Gespräche mit einigen Vereinsmitgliedern und vereinbarte schließlich einen Termin für das Lightpainting. Natürlich hilft es immer einige Fotos von der Location mit nach Hause zu nehmen, um das Projekt besser planen zu können. Danach halte ich einige Ideen auf Skizzen fest. (Bild 4)
(Bild 4)
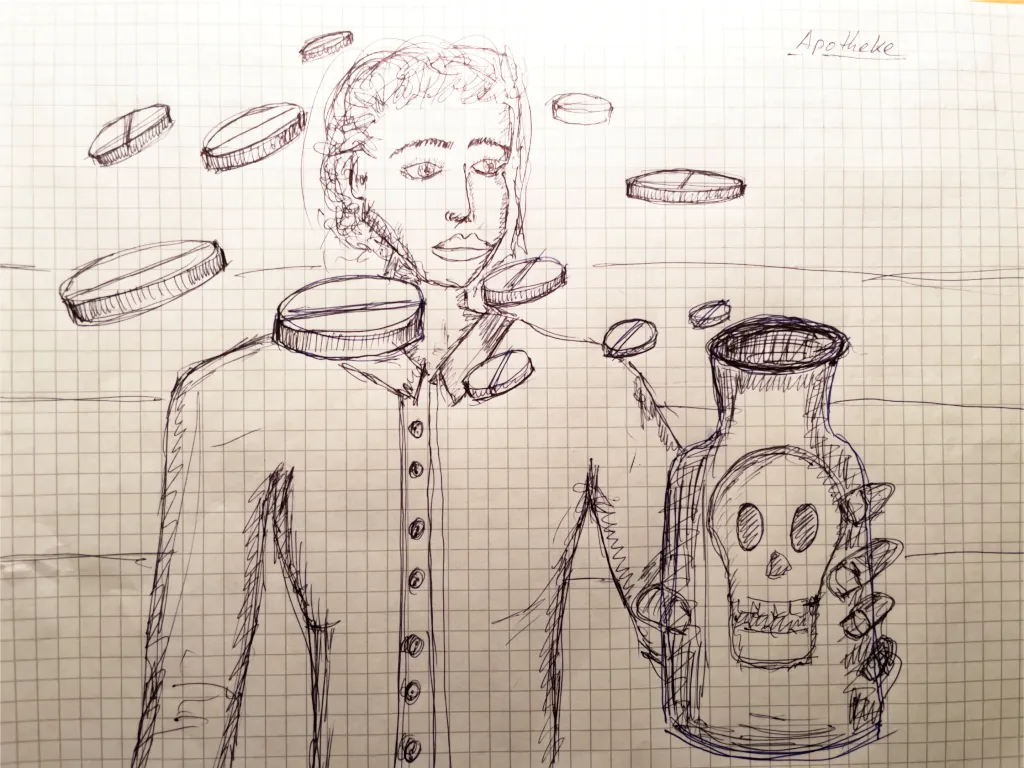
Skizze der Apotheken-Szene
Sketch of the pharmacy scene
hen a set is constructed. I make a note of the procedure and all the settings in my sketchpad. If something doesn't work out and changes need to be made, these are also noted down. This gives you a director's book for the light painting and makes it easier to work on location. At the same time, all the steps are practiced. This checks feasibility and saves time on set.
Dann wird ein Set aufgebaut. Die Vorgehensweise, sowie alle Einstellungen notiere ich in meinem Skizzenblock. Sollte etwas nicht gelingen und eine notwendige Änderungen vorgenommen werden, werden diese ebenfalls notiert. So erhält man ein Regiebuch für das Lightpainting und erleichtert die Arbeit vor Ort. Gleichzeitig werden bei diesem Vorgehen alle Handgriffe geübt. Das prüft die Machbarkeit und spart Zeit am Set.

(Bild 5)
Image 5 (above) shows the final version of the set. The first attempt (image 3) turned out a little blurry. Firstly, the model was not able to hold the heavy bottle steady in the camera for the entire exposure time and secondly, I had probably gone below the close-up limit of the lens of 28cm. So the concept was adapted and a support was built with the help of a tripod and the focal length was set to 35mm. For the second attempt, I positioned the standing piston a little further away from the camera. The plunger was now clamped to the tripod and the model held on to the support. As you can see on the cover picture (picture 1), this worked better.
Das Bild 5 (oben) zeigt das Set in seiner finalen Version. Der erste Versuch (Bild 3) ist etwas unscharf geworden. Erstens war das Model nicht in der Lage, die schwere Flasche während der gesamten Belichtungszeit ruhig in die Kamera zu halten und zweitens hatte ich wohl die Naheinstellgrenze des Objektives von 28cm unterschritten. Also wurde das Konzept angepasst und einen Support mit Hilfe eines Statives gebaut und die Brennweite auf 35mm gestellt. Beim zweiten Versuch wurde der Stehkolben etwas weiter von der Kamera weg positioniert. Der Stehkolben wurde jetzt am Stativ eingespannt und das Model hielt sich am Support fest. Wie man auf dem Titelbild (Bild 1) erkennen kann, funktionierte das schon besser.

(Bild6)
Canon EOS 6D Mark II
EF16-35mm ƒ4L IS USM
ISO 100, 16 mm, ƒ8, 176s
(Bild 7)
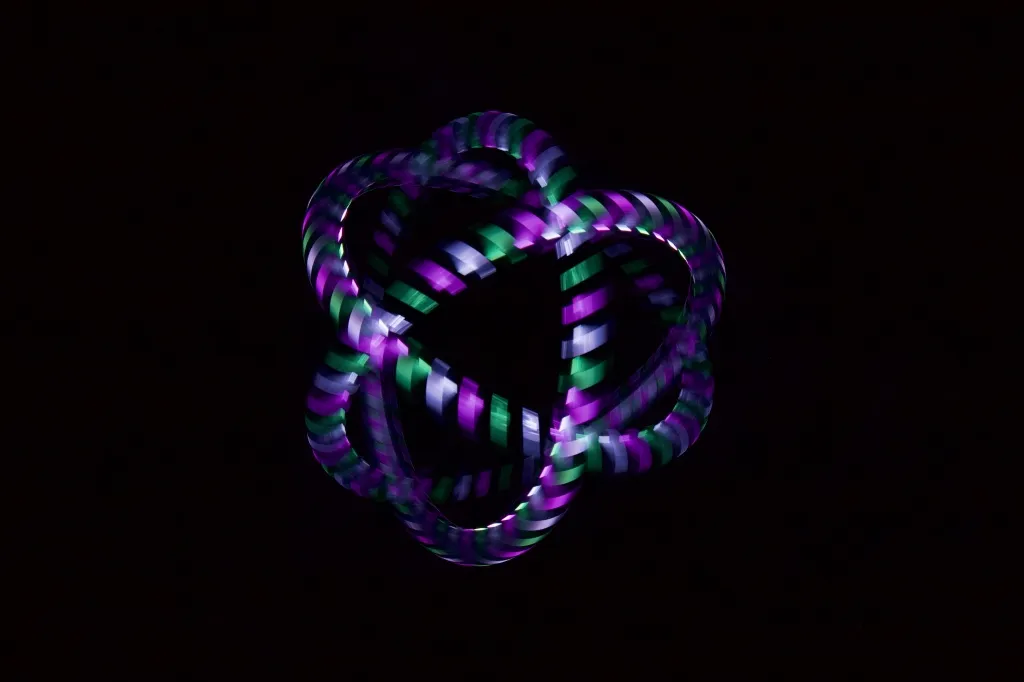
Figure 7 shows another variant of the Atomium that was not used.
Of course, as always at the end, you can see the tools used:
- an AOAM RGB CRITTER BT with an oval light blade.
- FOTORGEAR Magilight with round blade
- DIY scanner
If you're now curious to see what light art was created in the museum, I recommend you check back on my blog next Sunday, when I'll be presenting the results. So stay tuned!
Bild 7 zeigt eine weitere Variante des Atomiums, die nicht zum Einsatz kam.
Natürlich siehst du, wie immer zum Schluss, die eingesetzten Tools:
- eine AOAM RGB CRITTER BT mit ovalem Lightblade.
- FOTORGEAR Magilight mit rundem Blade
- DIY-Scanner
Wenn du jetzt neugierig geworden bist, welche Lichtkunst im Museum entstanden ist, empfehle ich dir, am nächsten Sonntag wieder auf meinen Blog zu schauen, denn dann werde ich die Ergebnisse präsentieren. Also bleib dran!


What Is Light Painting?
Light painting is a unique art form. As a rule, the darkness is illuminated by the artist with various light sources and traces of light are painted into the picture with various lighting tools. Various techniques are used, such as camera rotation or other movements of the camera during exposure. The creative possibilities are almost unlimited. When using ND filters, this technique can also be used in daylight. All images were taken during a single exposure. Apart from denoising, sharpening, cropping and possibly adjusting the white balance, the images are not processed on the computer.
Lichtmalerei ist eine einzigartige Kunstform. In der Regel wird die Dunkelheit mit diversen Lichtquellen vom Künstler ausgeleuchtet und Lichtspuren mit diversen Lichtwerkzeugen ins Bild gemalt. Dabei kommen verschiedene Techniken zum Einsatz, wie Kamerarotation oder andere Bewegungen der Kamera während der Belichtung. Die kreativen Möglichkeiten sind nahezu unbegrenzt. Bei Einsatz von ND-Filtern kann diese Technik auch bei Tageslicht angewand werden. Alle Bilder wurden während einer einzigen Belichtung aufgenommen. Abgesehen vom Entrauschen, Schärfen, Beschneiden und eventuellem Anpassen des Weißabgleichs werden die Bilder nicht am Computer bearbeitet.
CandelART
more about me and my art:

WE ARE LIGHT PAINTERS
To help and support the LightPainters community here on Hive I would appreciate your delegation of HivePower. Any amount is appreciated. It does not require much to get started, we are happy for any gesture. @lightpainters
How to delegate?
Delegate 50HivePower, [50HP]
Delegate 250HivePower, [250HP]
Delegate 500HivePower, [500HP]
Delegate 1000HivePower, [1000HP]
All the Hive Power will help to upvote the artist's contribution as part of the LightPainters community.