Hi, foodies in the Hive!
I hope you're all happy and healthy 💚
Fan of apple pie and apple crumble? Well, this is neither one nor the other, hehe, but a dessert halfway between the two. You can get up at 6 in the morning and say: "Hmm, I feel like eating something applelicious" and in less than an hour, voilà! At 7 a.m., you can brew coffee and sit down to a nice hot breakfast with the irresistible smell of baked cake, apple and cinnamon permeating the whole house and your mood to start the day 🤗
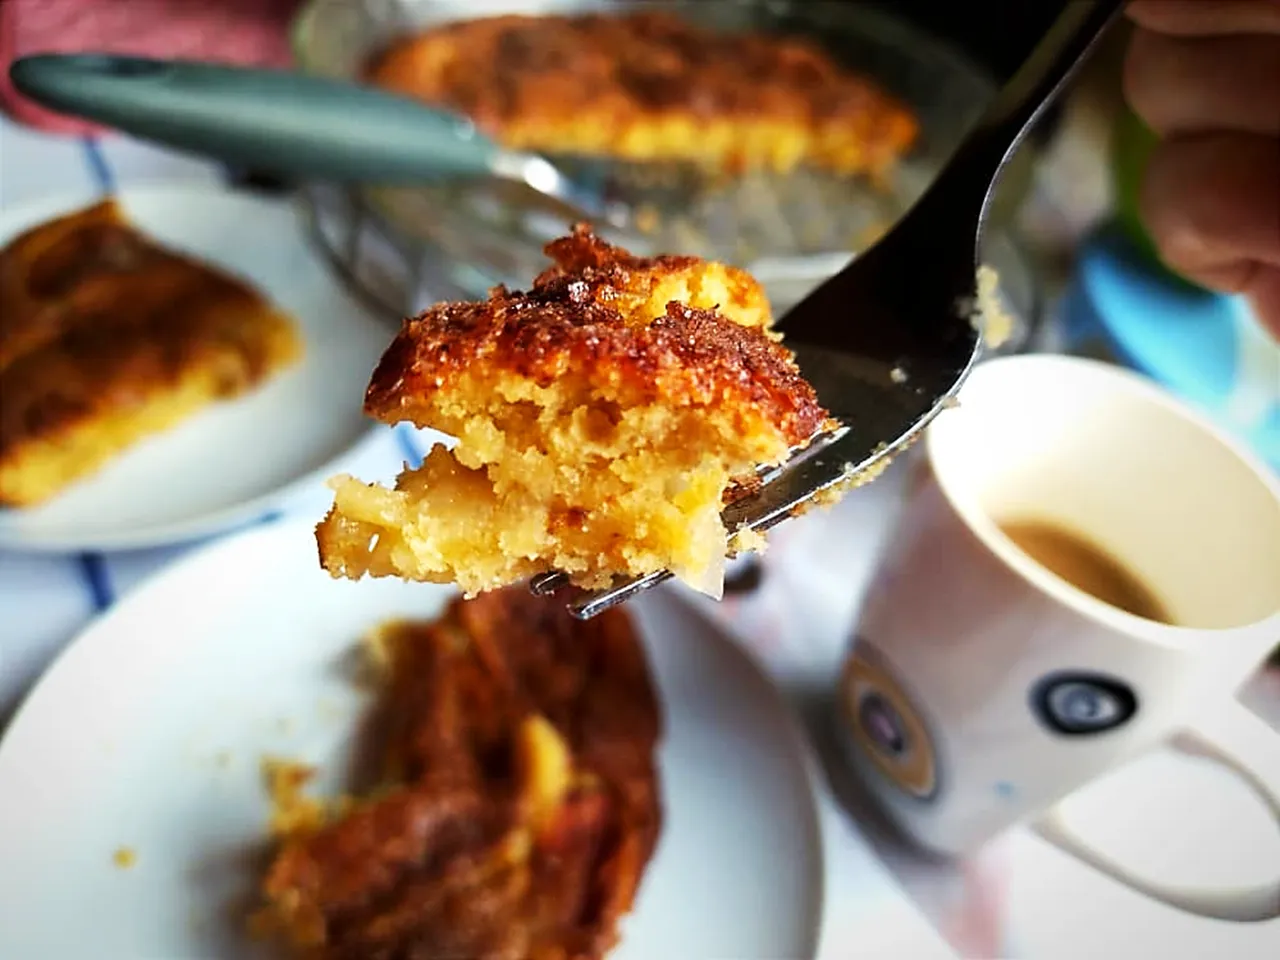

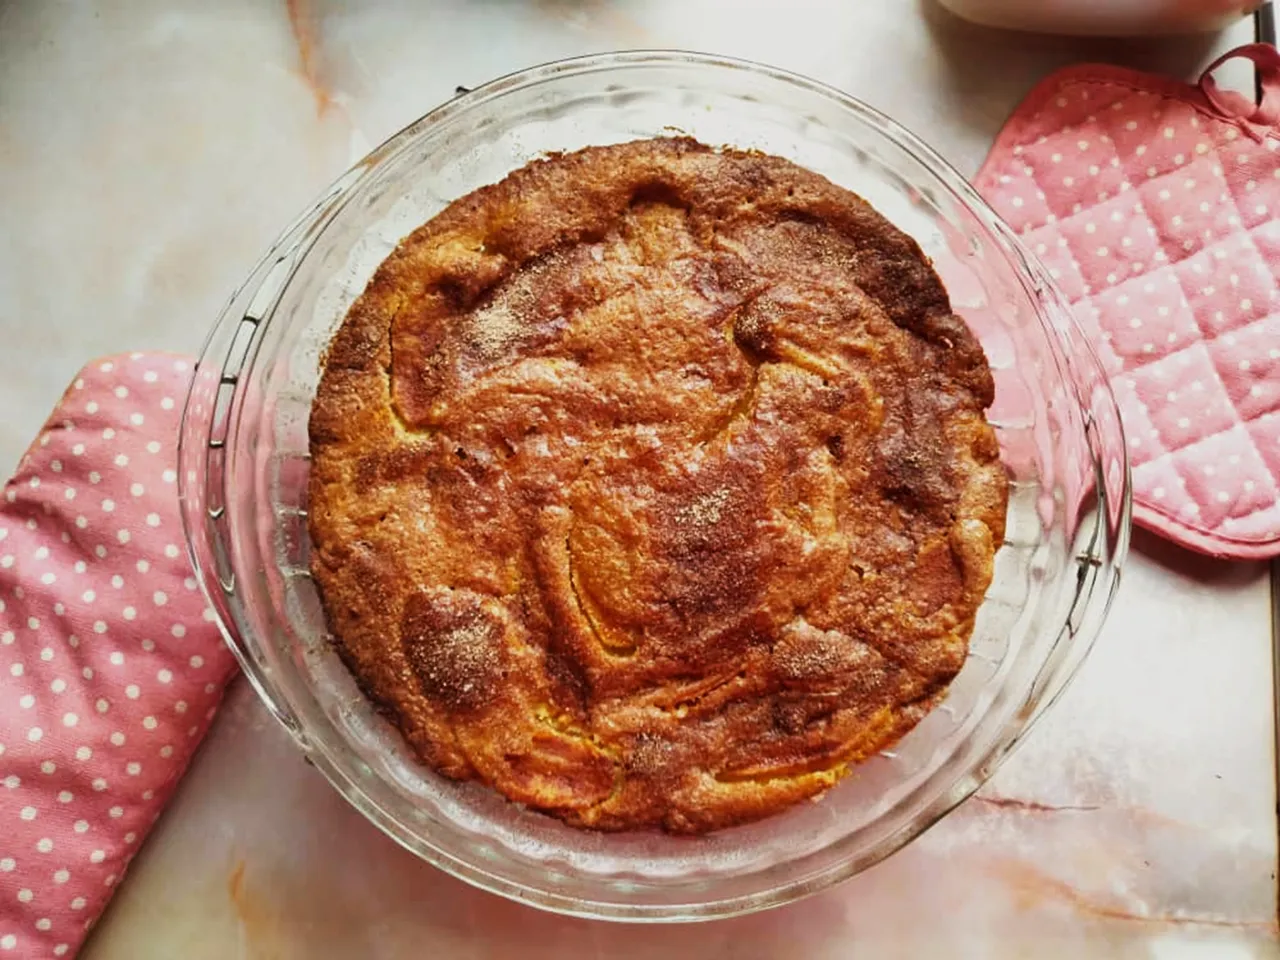
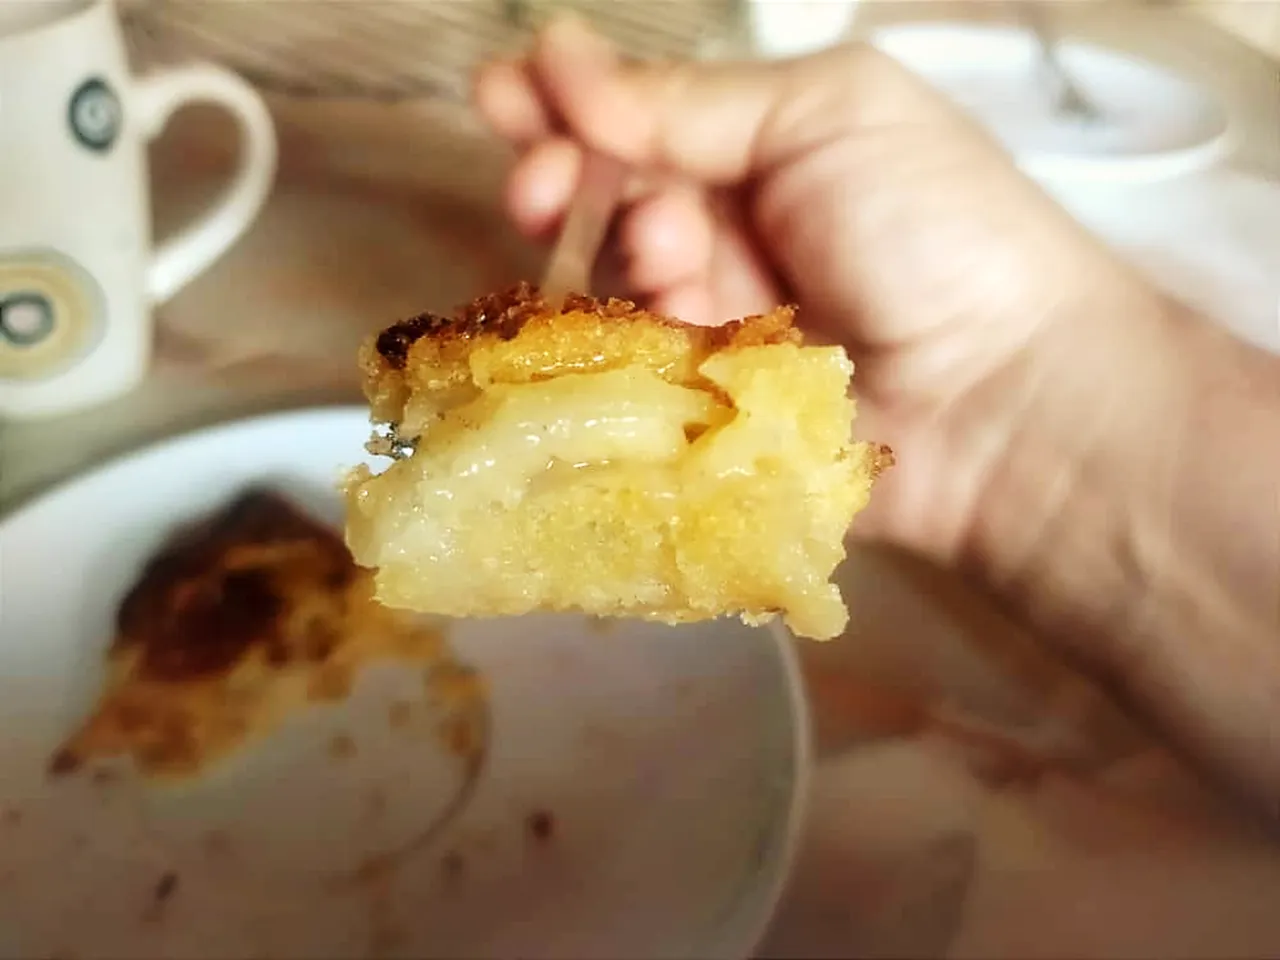
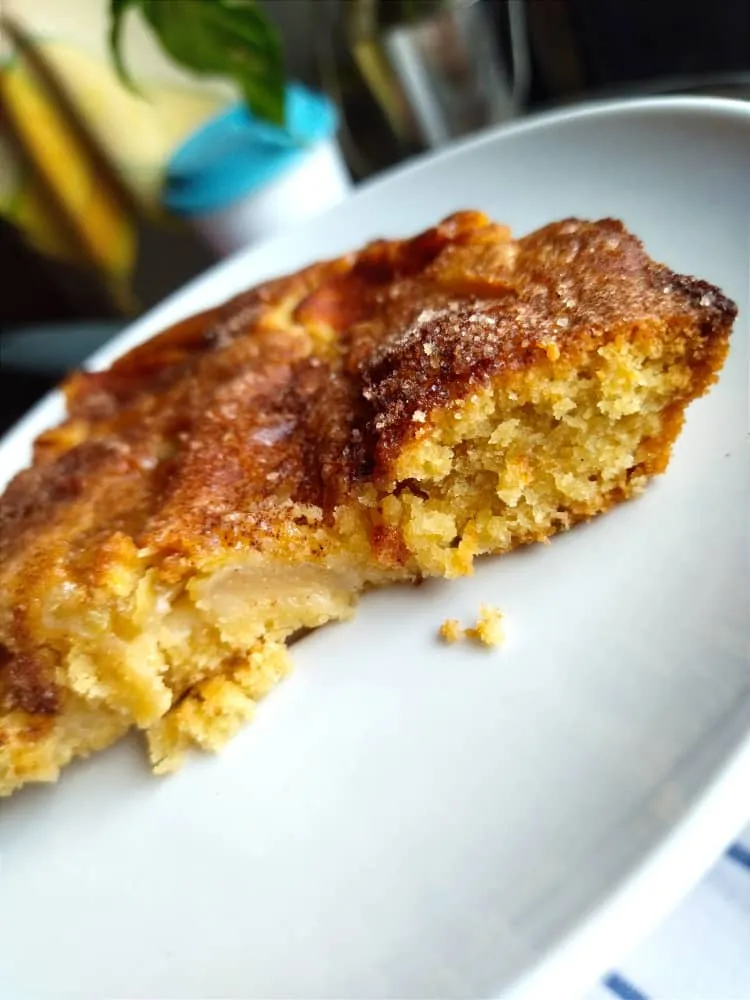
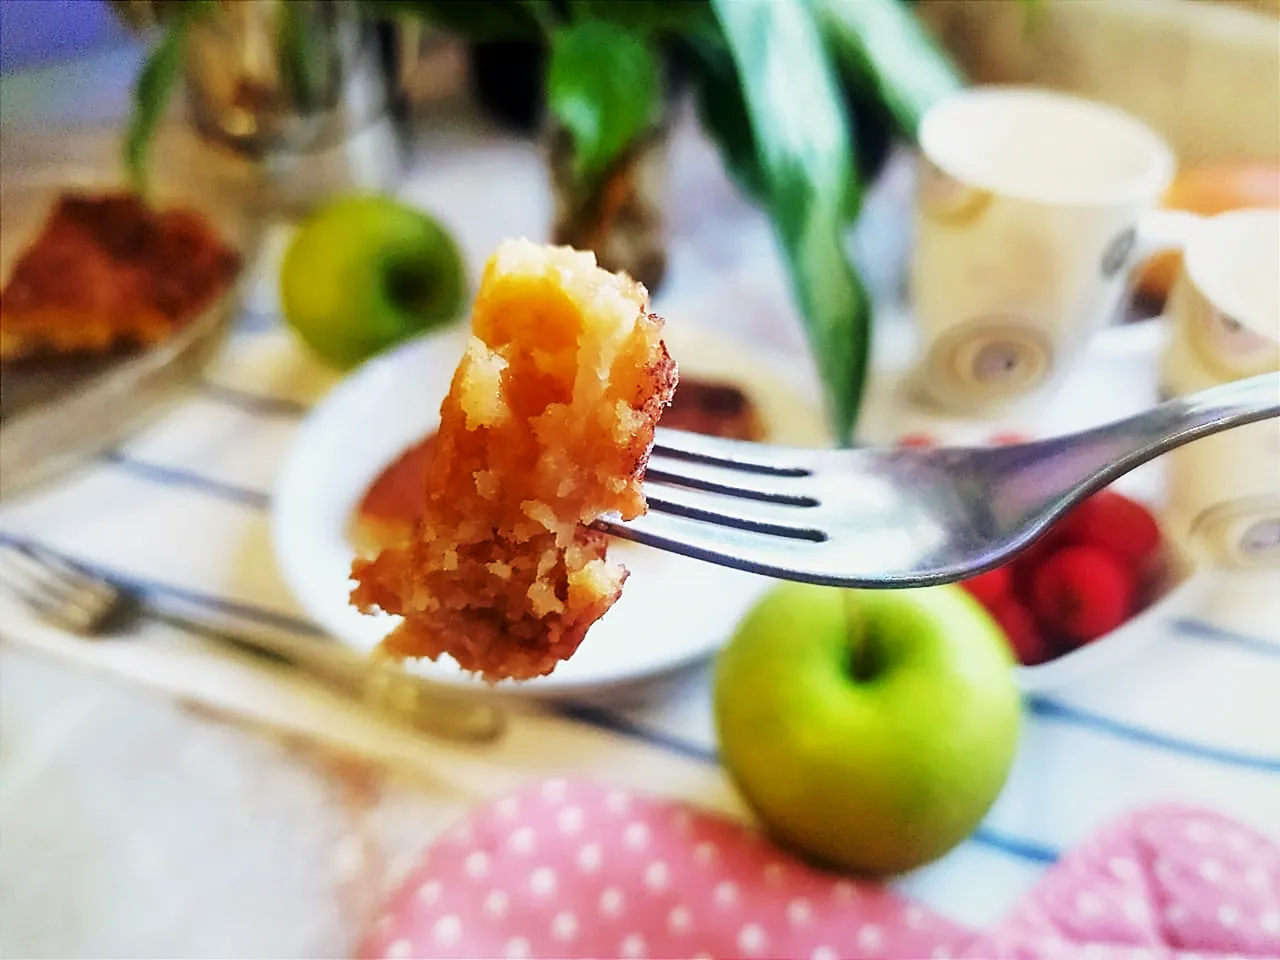
Really crunchy crumb on the outside that melts in the mouth, with juicy apple slices. If you love baked apple desserts, you'll love this one.

Ingredients
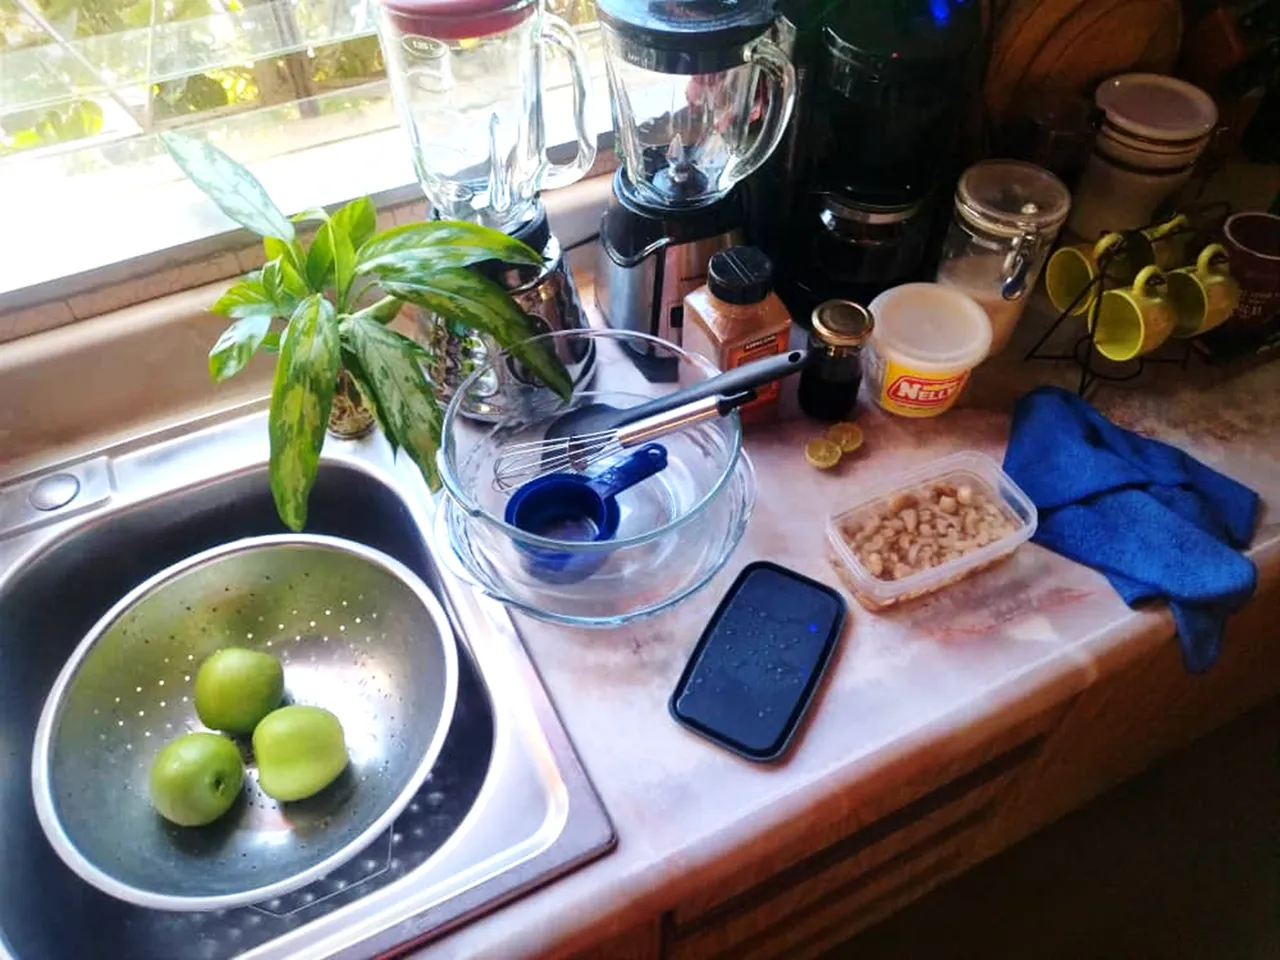
For the cake:
- 1 Granny Smith, peeled and sliced
- 50 gr margarine (sometimes I use the same quantity of coconut oil instead)
- 1/3 cup sugar
- 1 1/2 cup self rising flour
- 1 cup homemade creamy cashew milk
- the juice of a small lemon, freshly squeezed
- 1 tablespoon sugar + 1/2 tablespoon ground cinnamon for topping
For homemade cashew milk:
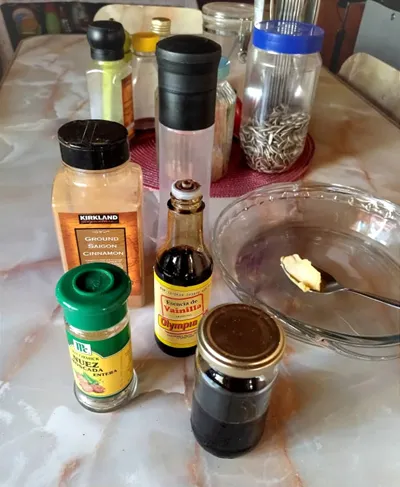
- 100 gr cashew nuts soaked x 4 hours
- 1 cup hot water
- 1/4 teaspoon salt
- 1/2 teaspoon ground cinnamon
- 1 teaspoon vanilla essence
- 1/4 spoon ground nutmeg
- 1 tablespoon cane honey
Cashew milk is, for me, the easiest vegetable milk to make at home because you process all the ingredients in the blender, no straining or squeezing needed afterwards.
I often add spices because I like it, but cashew milk is delicious and advantageously neutral without them.
If you don't add spices to the milk, you may want to add them to the cake batter.

Making Tasty Cashew Milk
I made this the same day, but you can make it a couple of days before and keep it in the fridge. The way I make it, it lasts up to a week in the fridge.
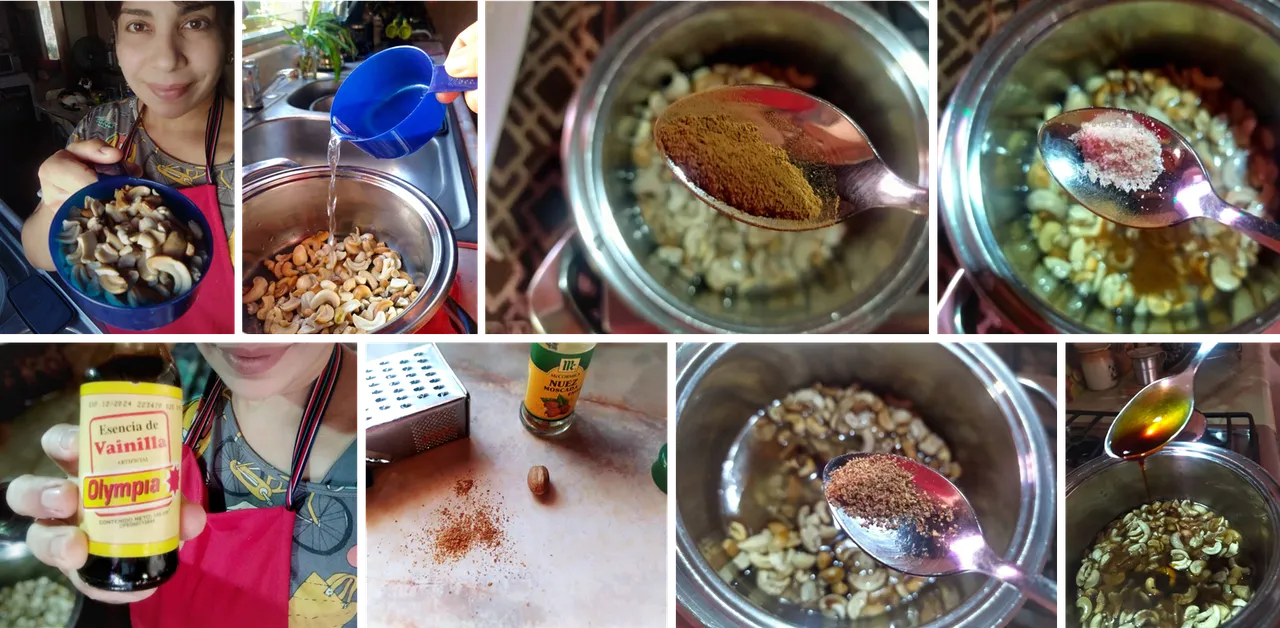
Put the soaked cashew nuts, water, ground cinnamon, salt, vanilla essence, ground nutmeg, and cane honey in a saucepan and let it simmer a little, until it's close to boiling. Then we take it to the blender.
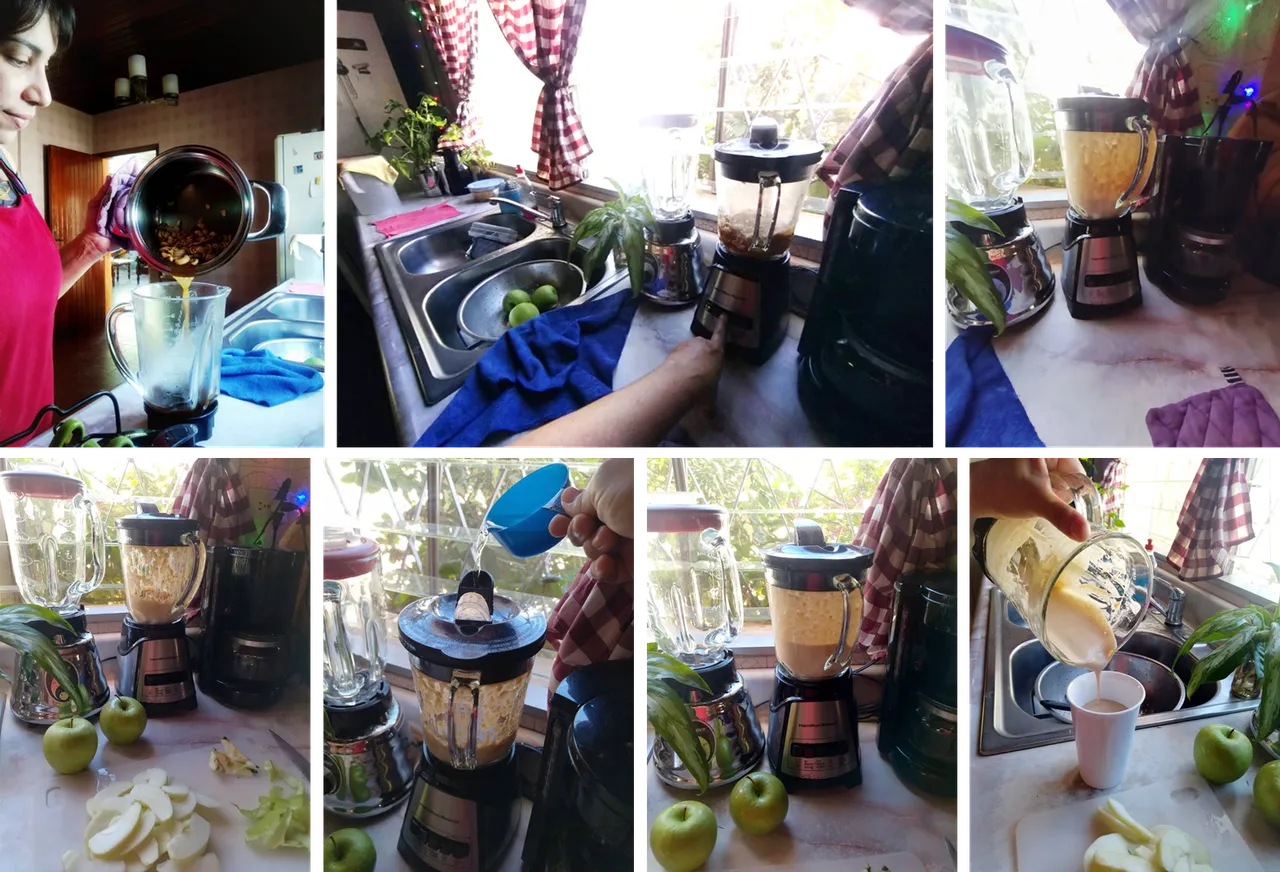
Pour all the contents of the pot into the blender glass and blend everything very well in two parts. Why in two parts? Well, this milk will thicken little by little until it thickens like pudding.

So I add half of the water first and then add more water little by little, until I achieve the desired consistency (depending on what I want to do with the milk that day). Today I wanted it a little creamy.
And here's the creamy cashew milk 😁
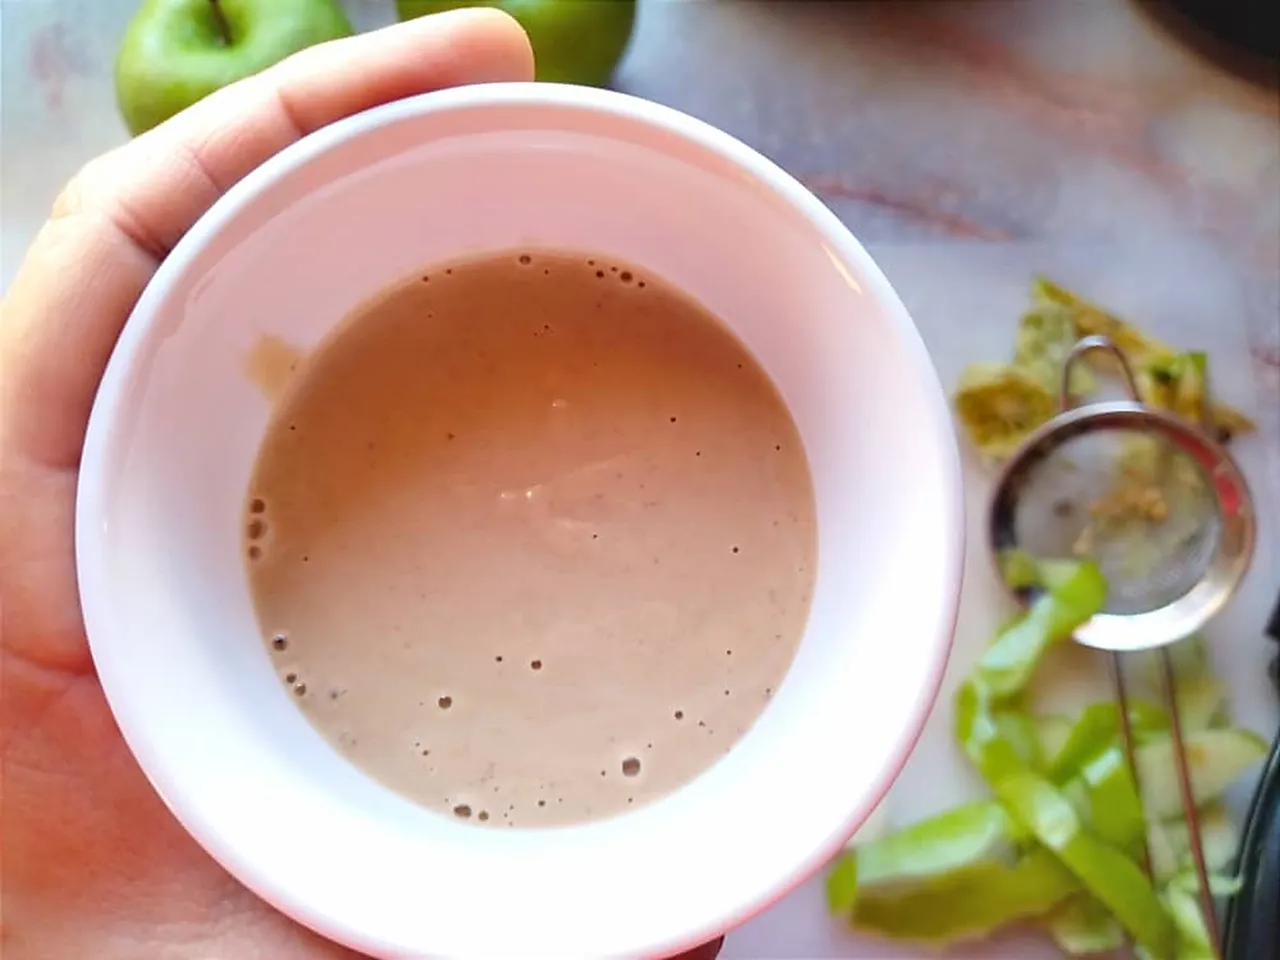
I used one cup for the cake and saved the rest for plant based latte.


Time to Make this Cake!
You'll see how quick and easy it is!
First, mix the margarine (or coconut oil) and sugar, just a little until it looks creamy. Then add the sifted flour. I used self raising flour, but if you use all purpose, then add a teaspoon of baking soda.

Mix with a pastry spoon, pressing gently against the bottom of the bowl...
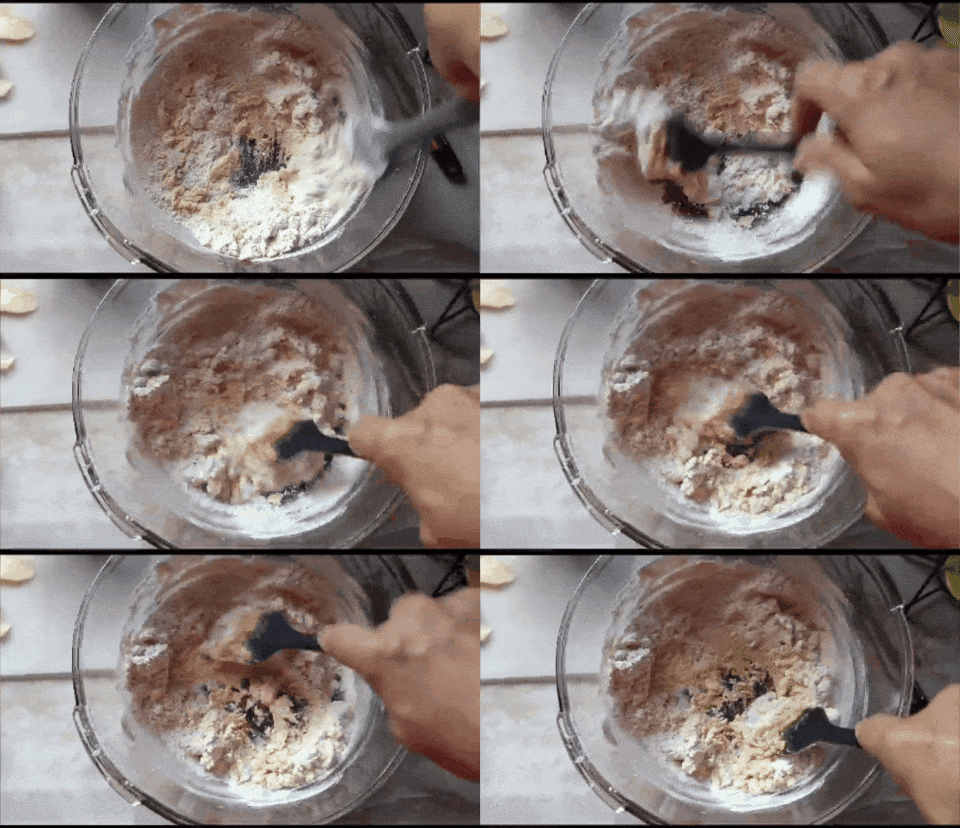
...until you get an homogeneous mixture.

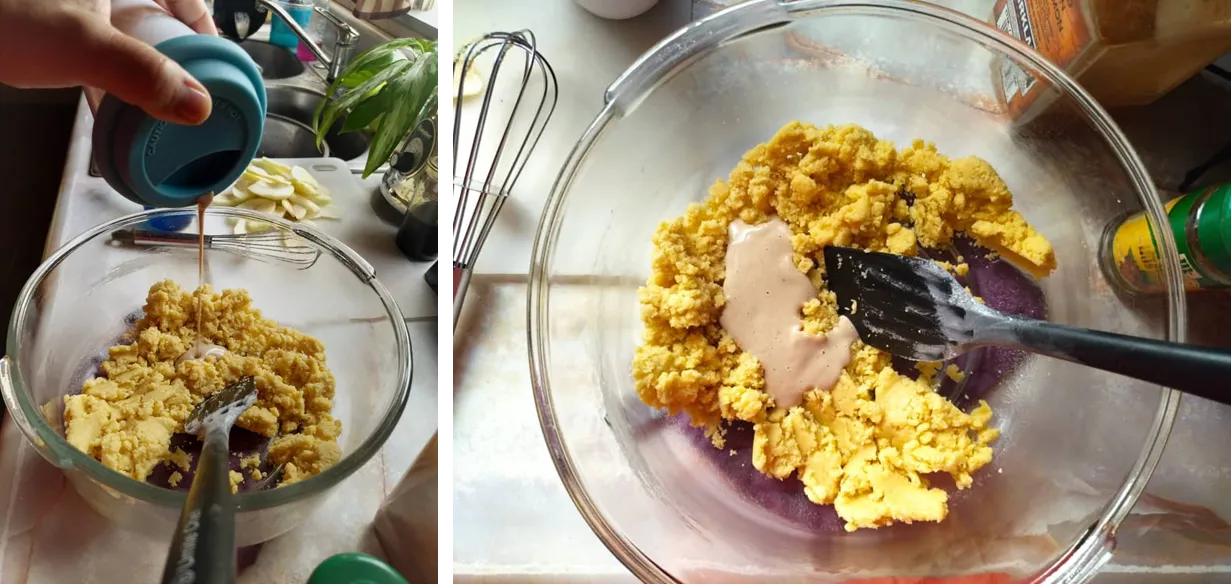
Then add the cashew milk, and mix well again pressing against the bottom of the mixing bowl with the pastry spoon until you get an homogeneous mixture.
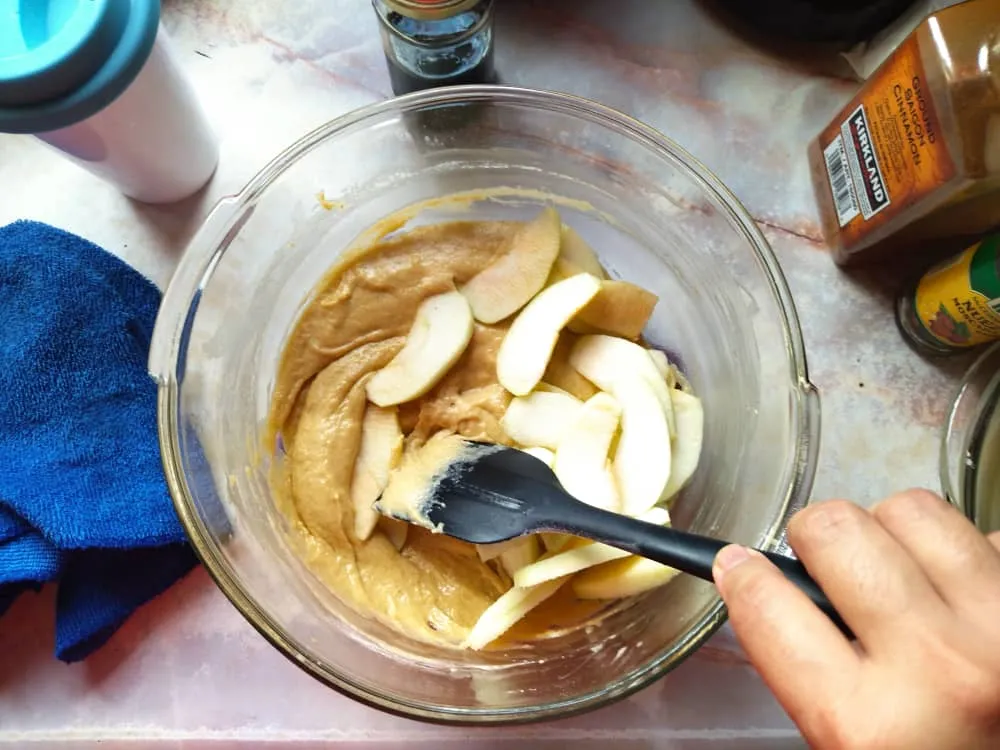
Now it's time to wash, peel, core, and slice the apple, rub with freshly squeezed lemon juice and add them into the cake batter. I don't have a coring tool, so I used my kitchen knife. I cut the slices about half centimeters thick.

Add the apple slices and mix until you feel that the slices are lose in the batter instead of sticking to one another.
Now you need to grease the baking pan.
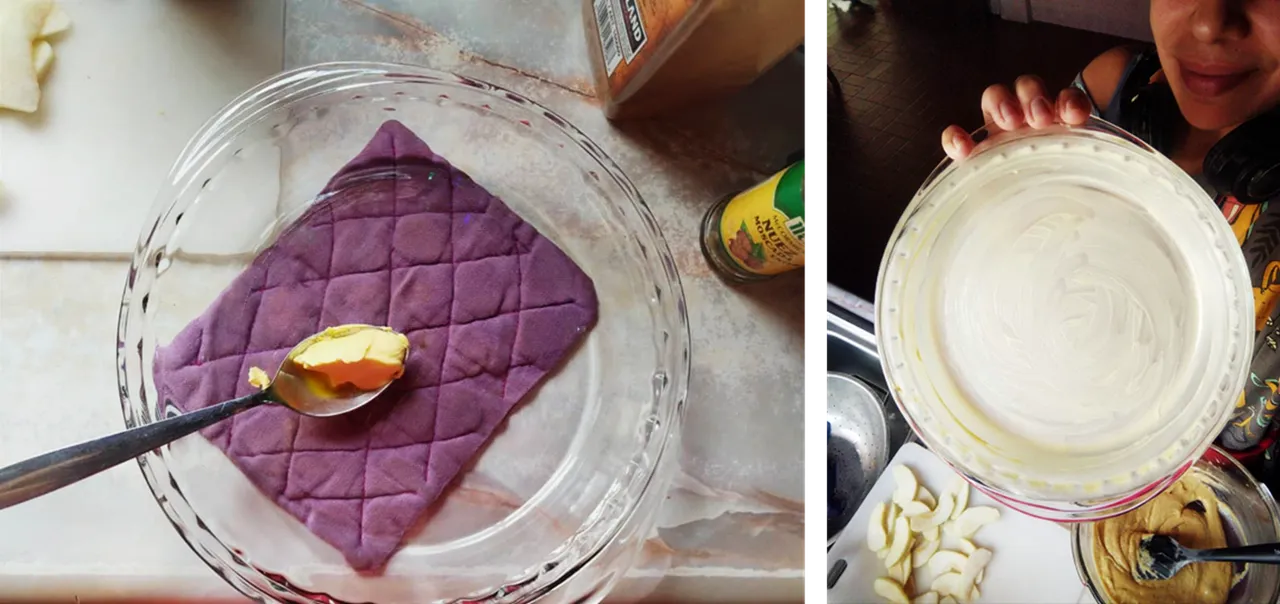
I chose the pyrex I use to make pie. This tray measures 24 cm in diameter and almost 5 cm high. I used my hand to grease it with one spoonful of margarine.
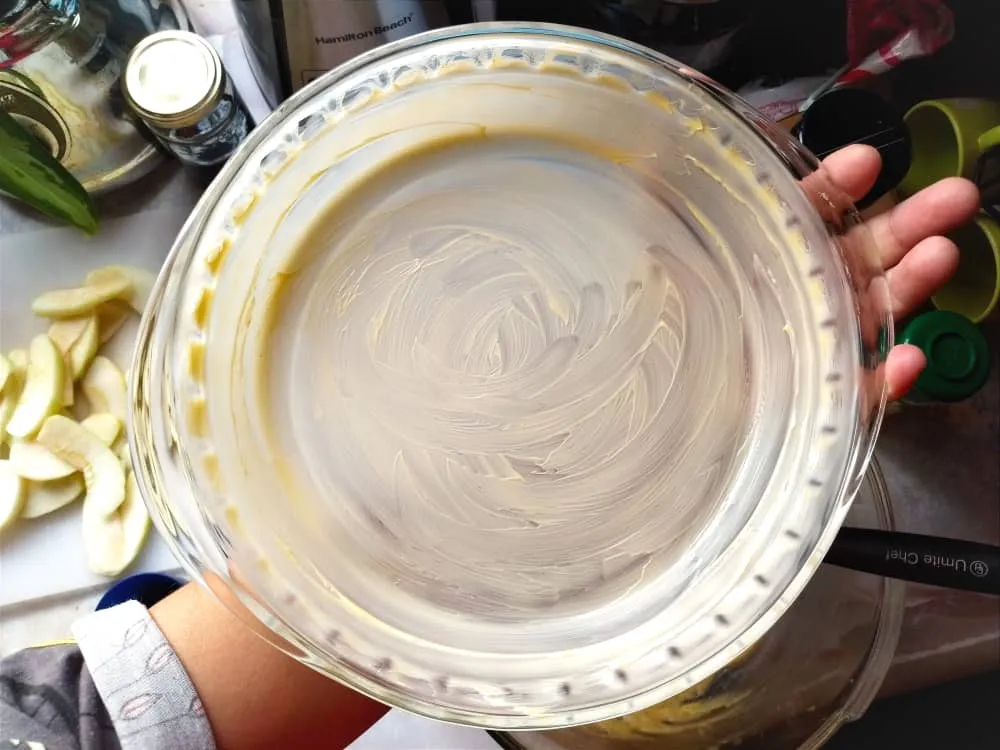
It's almost time to get it into the oven!
| Pour it gently | Press gently |
|---|---|
 | 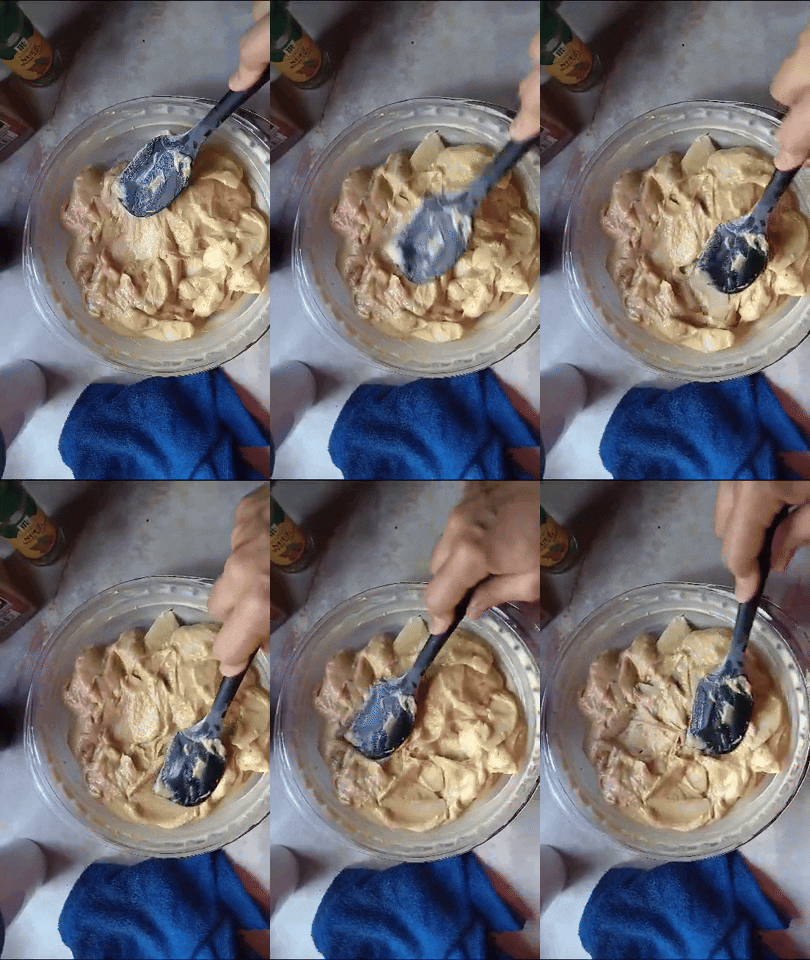 |
Once you have distributed the batter as evenly as possible...
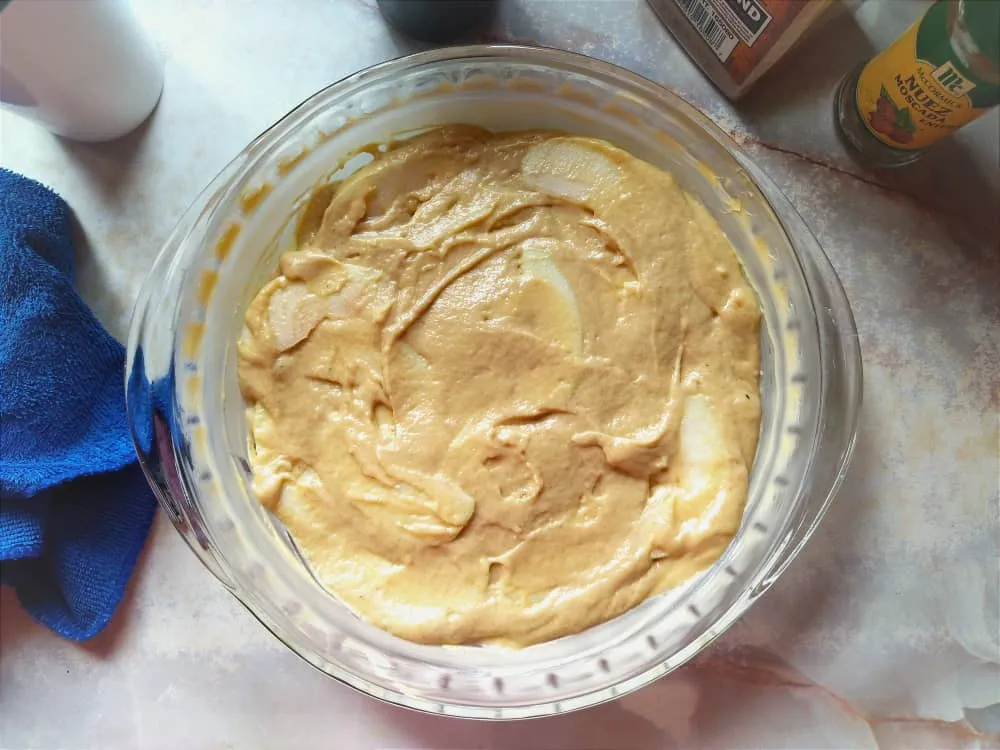
...we can sprinkle with sugar and cinnamon.

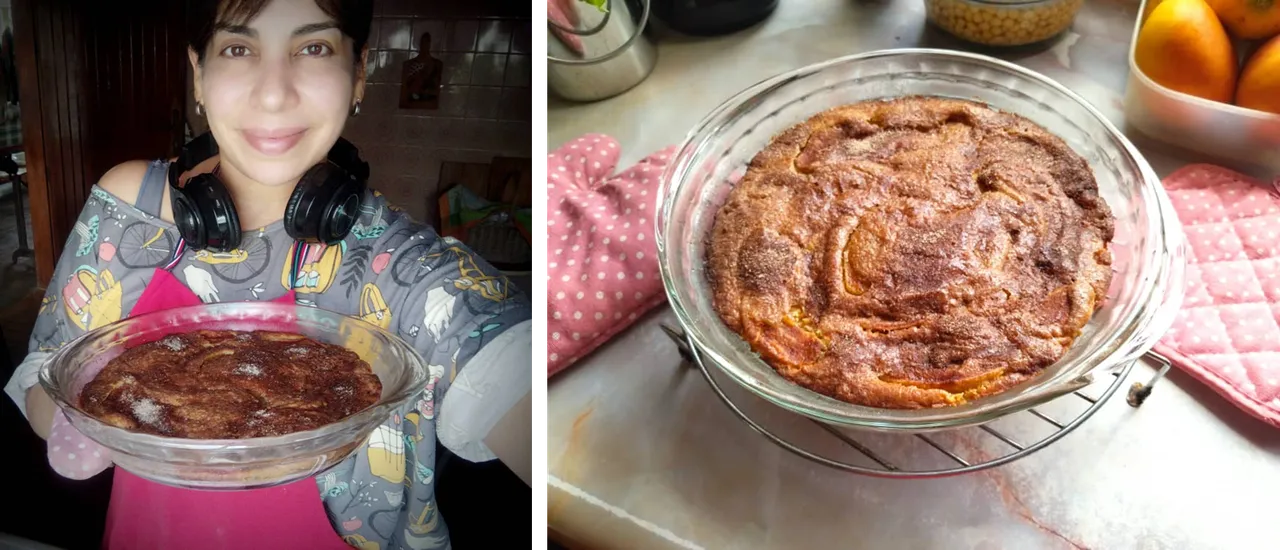
Ready to bake.
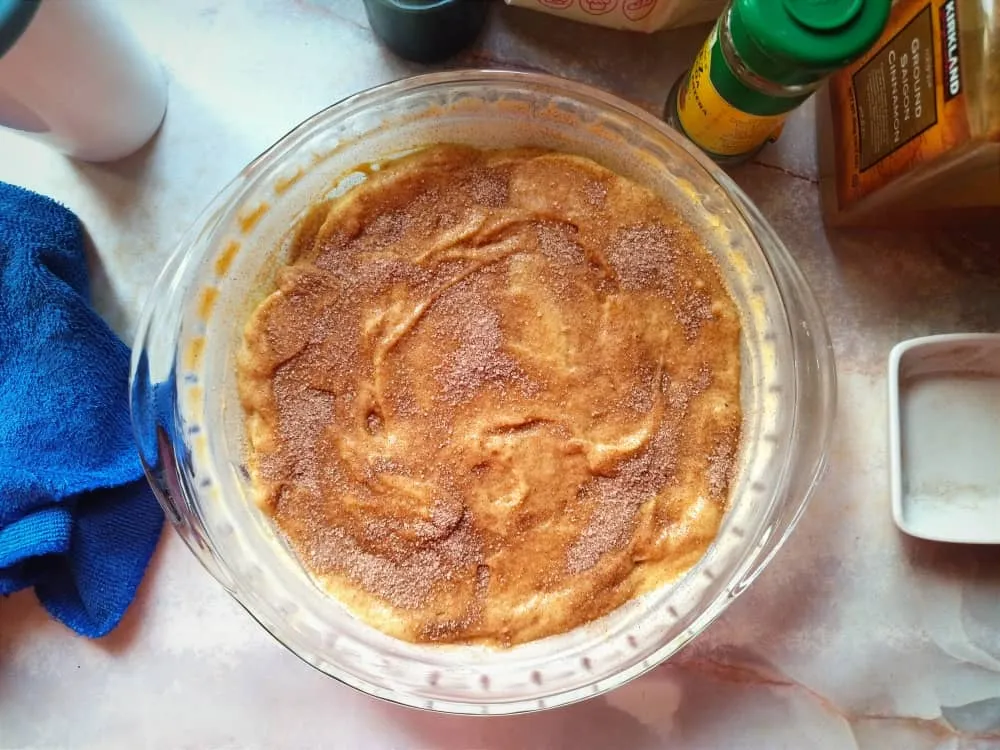
30 minutes at 350 degrees F is all you need.
I baked it in my little electric oven.
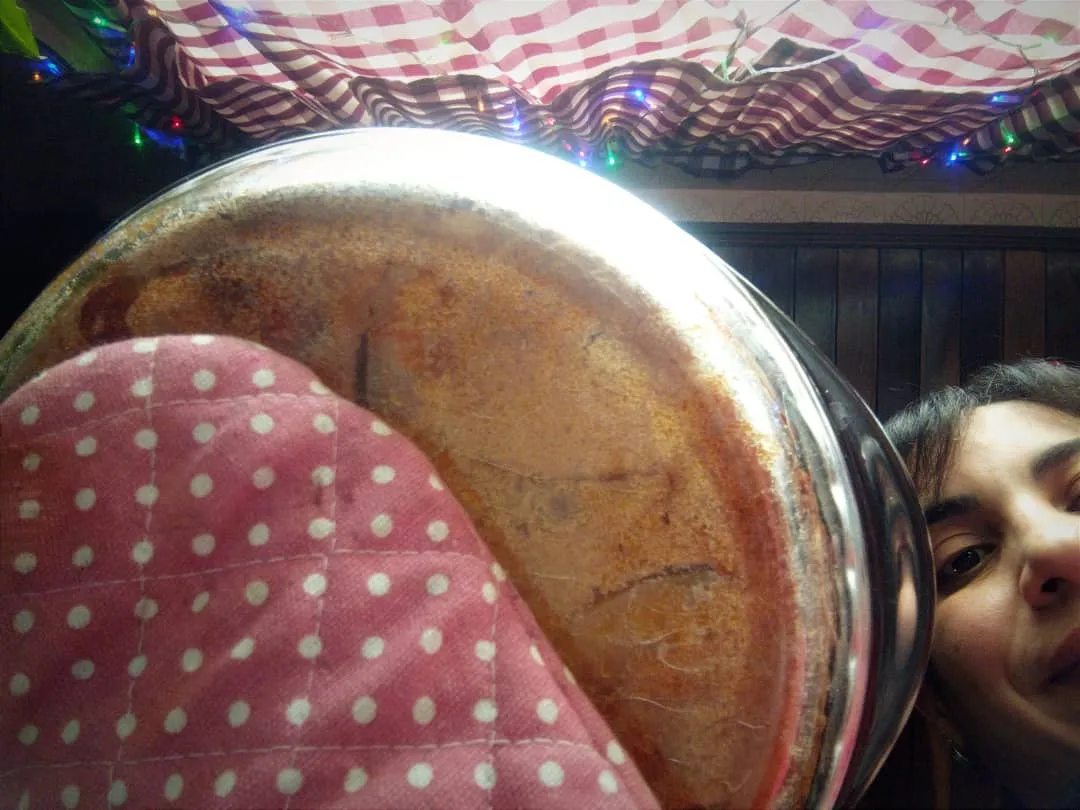
Look at the golden brown color of the bottom. This is how I like it because it means the outside is crunchy.
We like to eat this hot, so I cut it immediately.
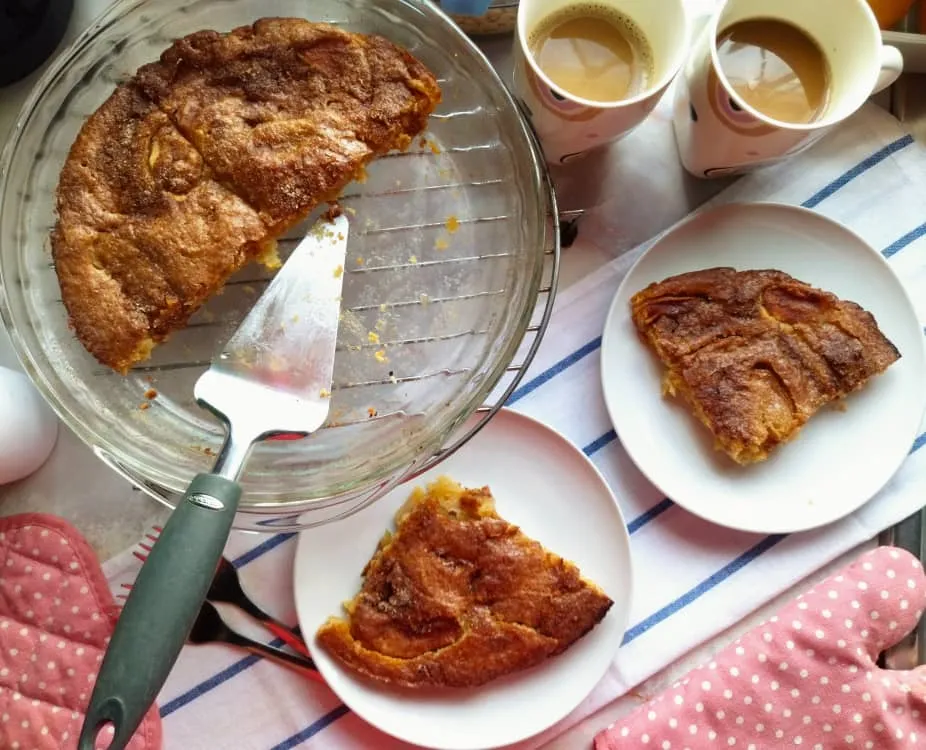
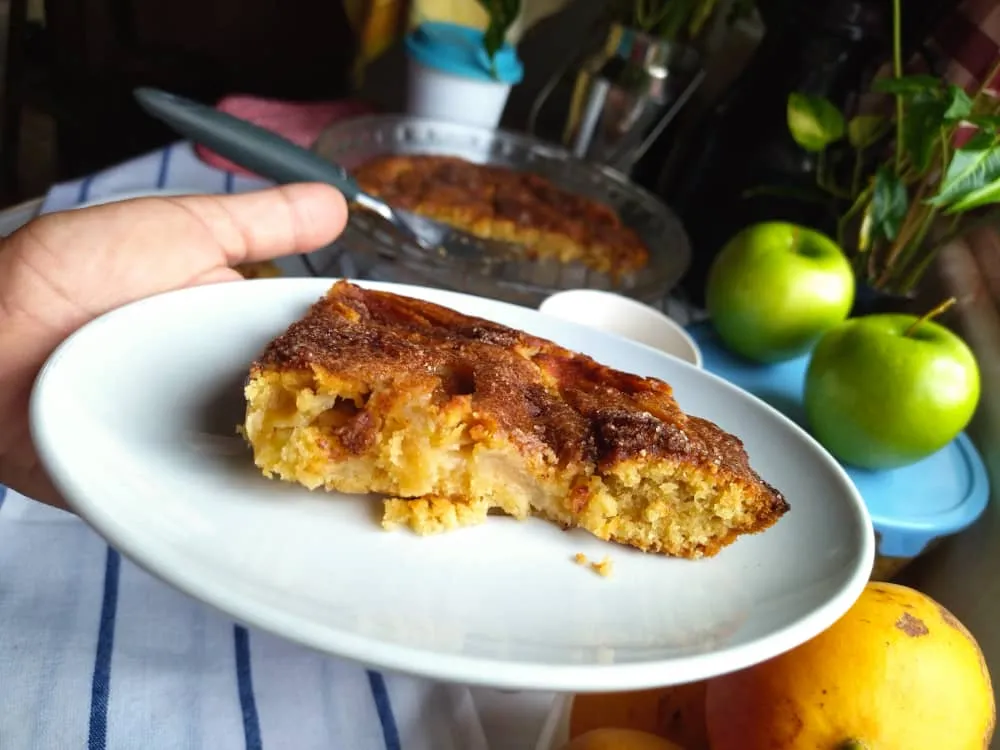
It came out as expected. I really think this recipe is foolproof, hehe.
As usual, I hope you have found this recipe useful 😁

Bon appetite!



All text and images are my own. I have taken the pictures with my Redmi 9T cell phone. And if any GIFs here, I've used GIPHY for all them.

Thank you so much for your visit :)
