✨¡Hola amigos amantes de la comida!✨ Espero estén pasando un gran día.
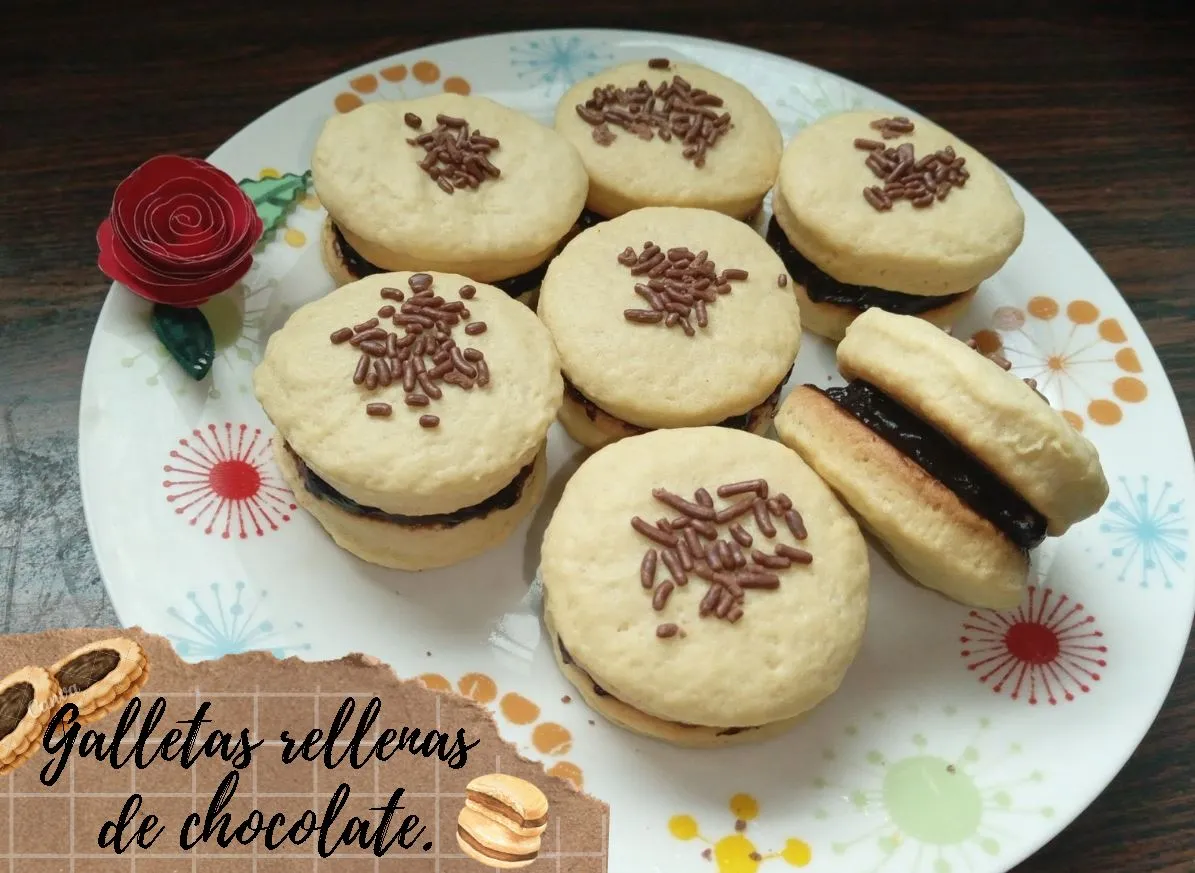
Espero todos hayan pasado una excelente semana y pasen un fin de semana bastante descansado. En esta ocasión les comparto la receta de unas deliciosas galletas rellenas con chocolate. Generalmente, suelo preparar algún postre dulce para degustar los fines de semana, pues intento comer cosas dulces solo estos días y aprovecho de compartir con ustedes estas recetas. Por otra parte, sé que también aman comerse un dulcito estos días y para los amantes del chocolate, pues mucho mejor.
Pensé en rellenar con mermelada o mantequilla de maní, pero sinceramente me interesaba más ver cómo quedaba esta preparación y la presentación con el paso a paso que les comparto del chocolate, y la verdad que quedo bastante bien de consistencia y de sabor.
🔸A continuación, los dejo con el paso a paso:
✨¡Hello food loving friends!✨ I hope you are super well on this day.
I hope everyone had a great week and had a restful weekend. On this occasion I share with you the recipe for some delicious cookies filled with chocolate. Generally, I usually prepare a sweet dessert to enjoy on the weekends, since I try to eat sweet things only these days and I take advantage of sharing these recipes with you. On the other hand, I know that they also love to eat a little sweet these days and for chocolate lovers, well, much better.
I thought about filling with jam or peanut butter, but honestly I was more interested in seeing how this preparation and the presentation turned out with the step by step that I share with you about the chocolate, and the truth is that it turned out quite well in terms of consistency and flavor.
🔸Next, I leave you with the step by step:
♥️Espero les guste. ¡Comencemos!
♥️I hope you like it. Let's get started!

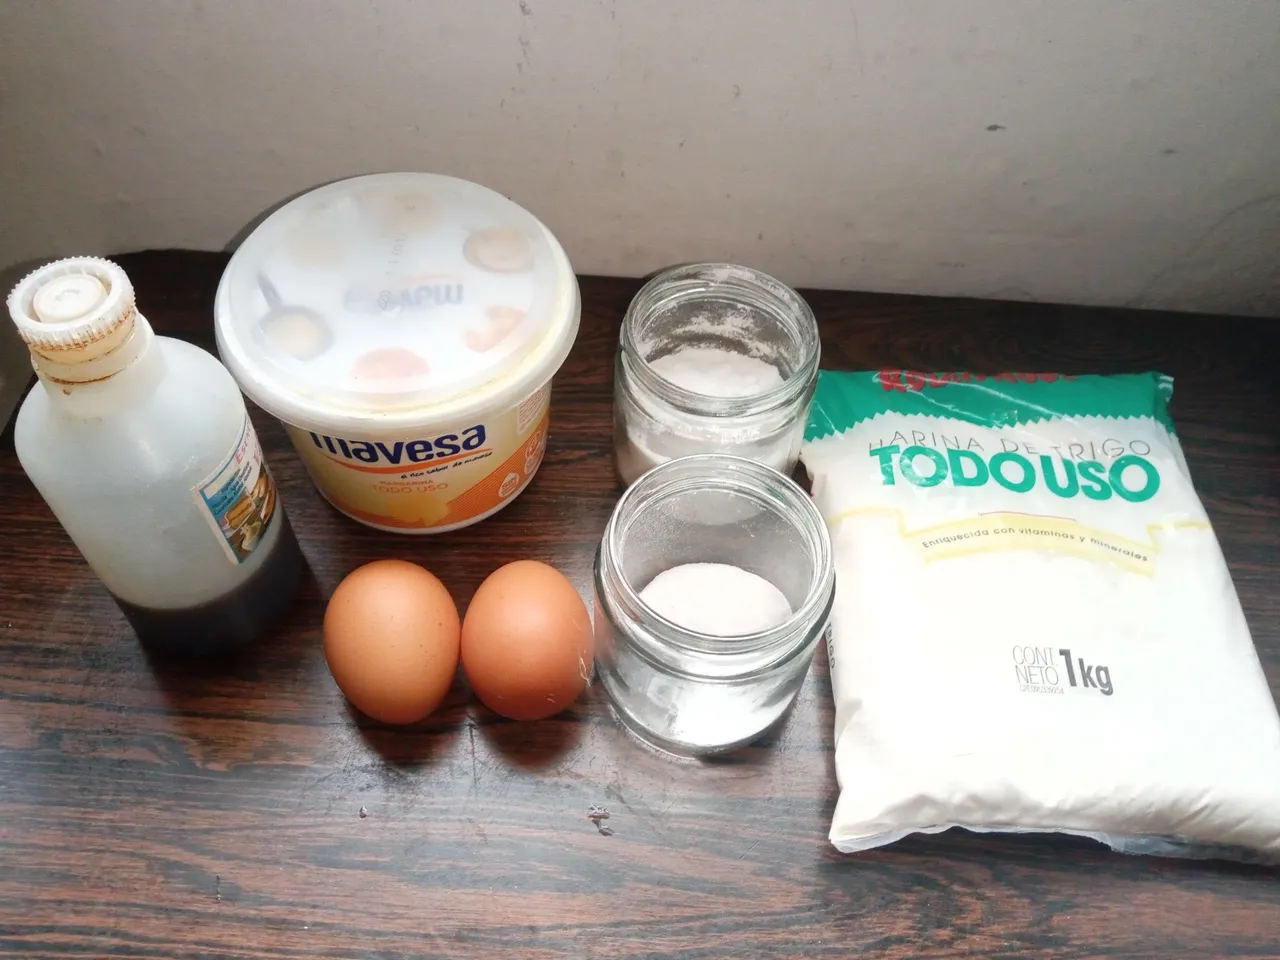
🍶 INGREDIENTES | 🍶 INGREDIENTS
- 350 gr de harina de trigo.
- 200 gr de mantequilla.
- 150 gr de azúcar glas.
- 1 cdta de polvo para hornear.
- 1 cdta de esencia de vainilla.
- 2 huevos.
Para decorar:
- Lluvia de chocolate.
- Molde para galletas.
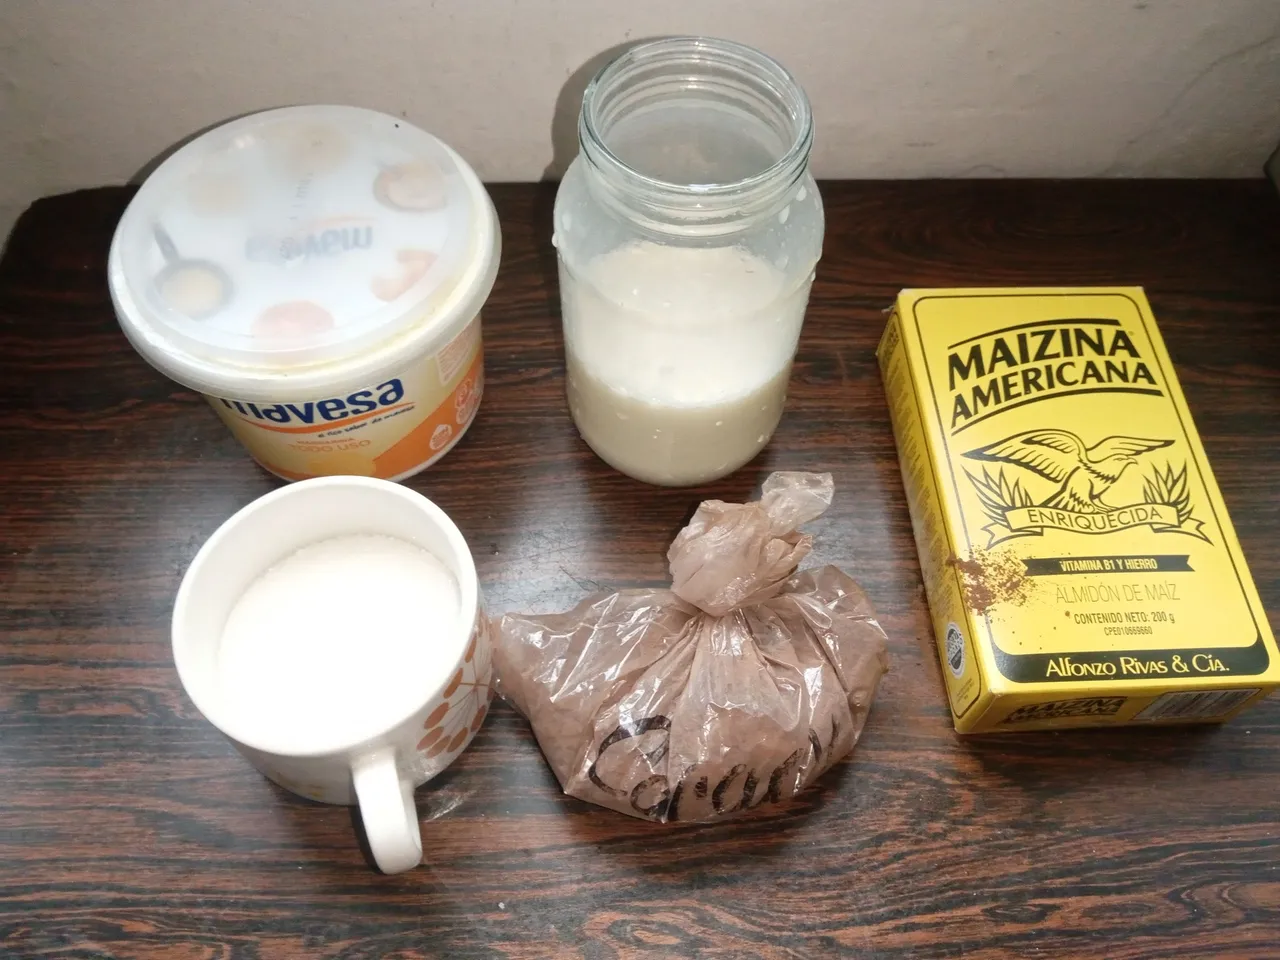
Para el relleno:
- 2 cdas de cacao en polvo.
- 1 cdta de mantequilla.
- 100 gr de azúcar.
- 200 ml de leche.
- 1 y ½ cdas de maicena.
- 350 gr of wheat flour.
- 200 gr of butter.
- 150 gr of icing sugar.
- 1 tsp baking powder.
- 1 tsp vanilla essence.
- 2 eggs.
To decorate:
- Chocolate Rain.
- Cookie mold.
For the filling:
- 2 tbsp cocoa powder.
- 1 tsp butter.
- 100 gr of sugar.
- 200 ml of milk.
- 1 and ½ tbsp cornstarch.
✨ PREPARACIÓN | ✨ PREPARATION
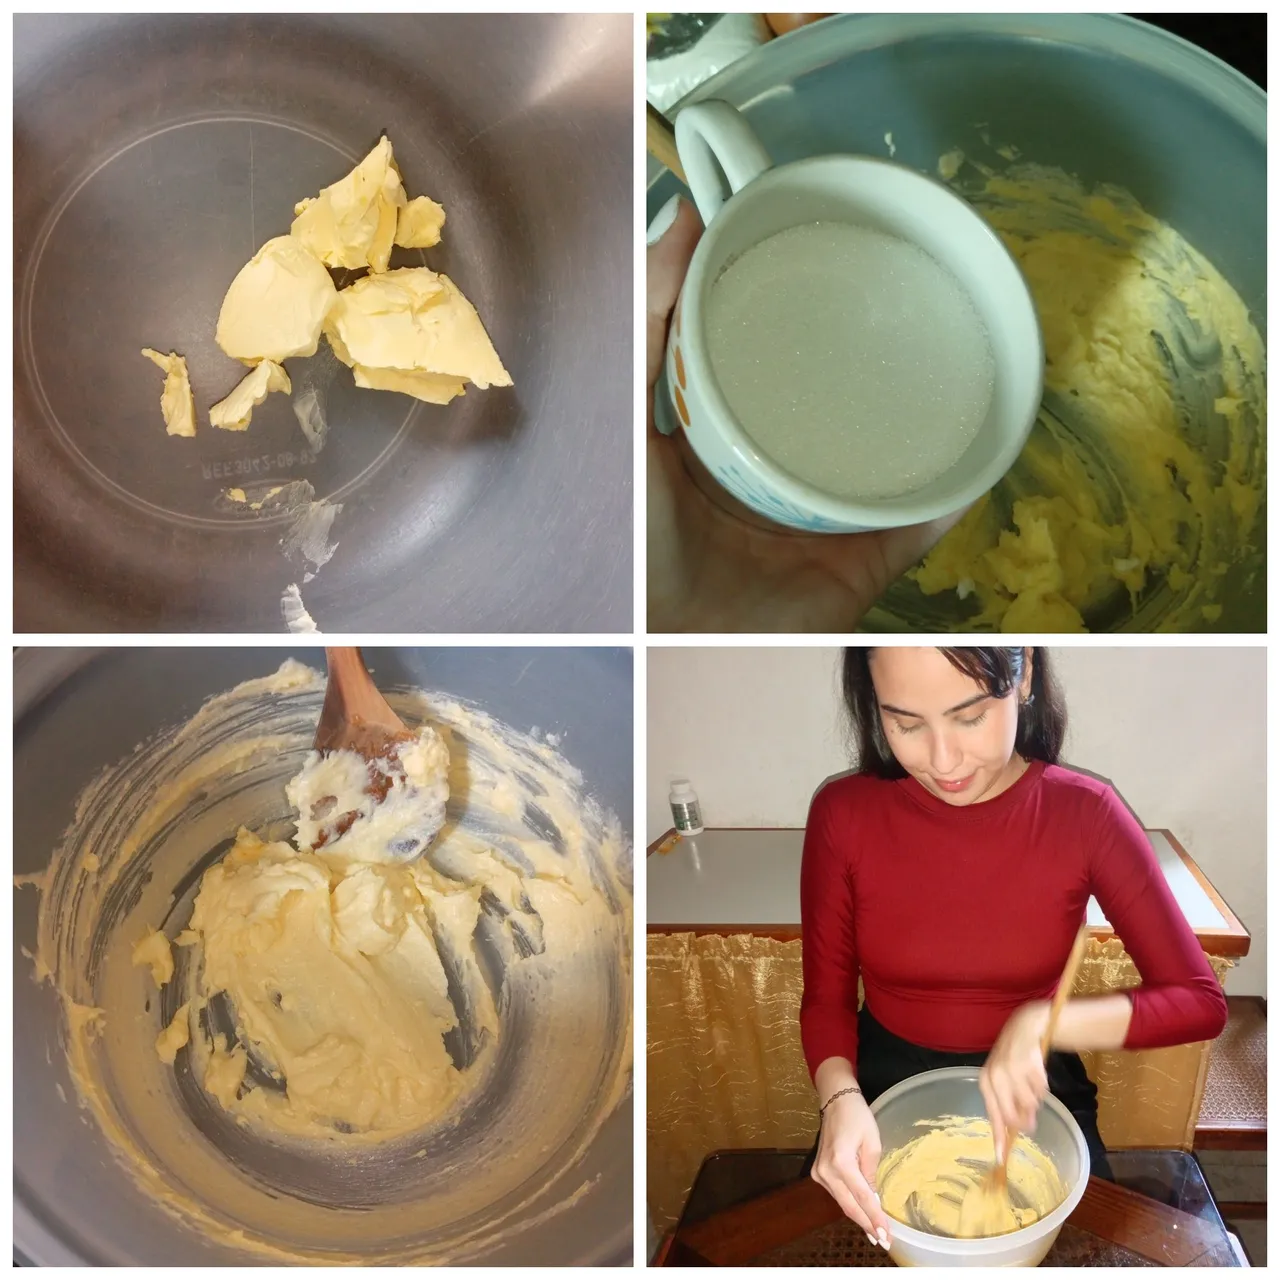
- PASO 1:
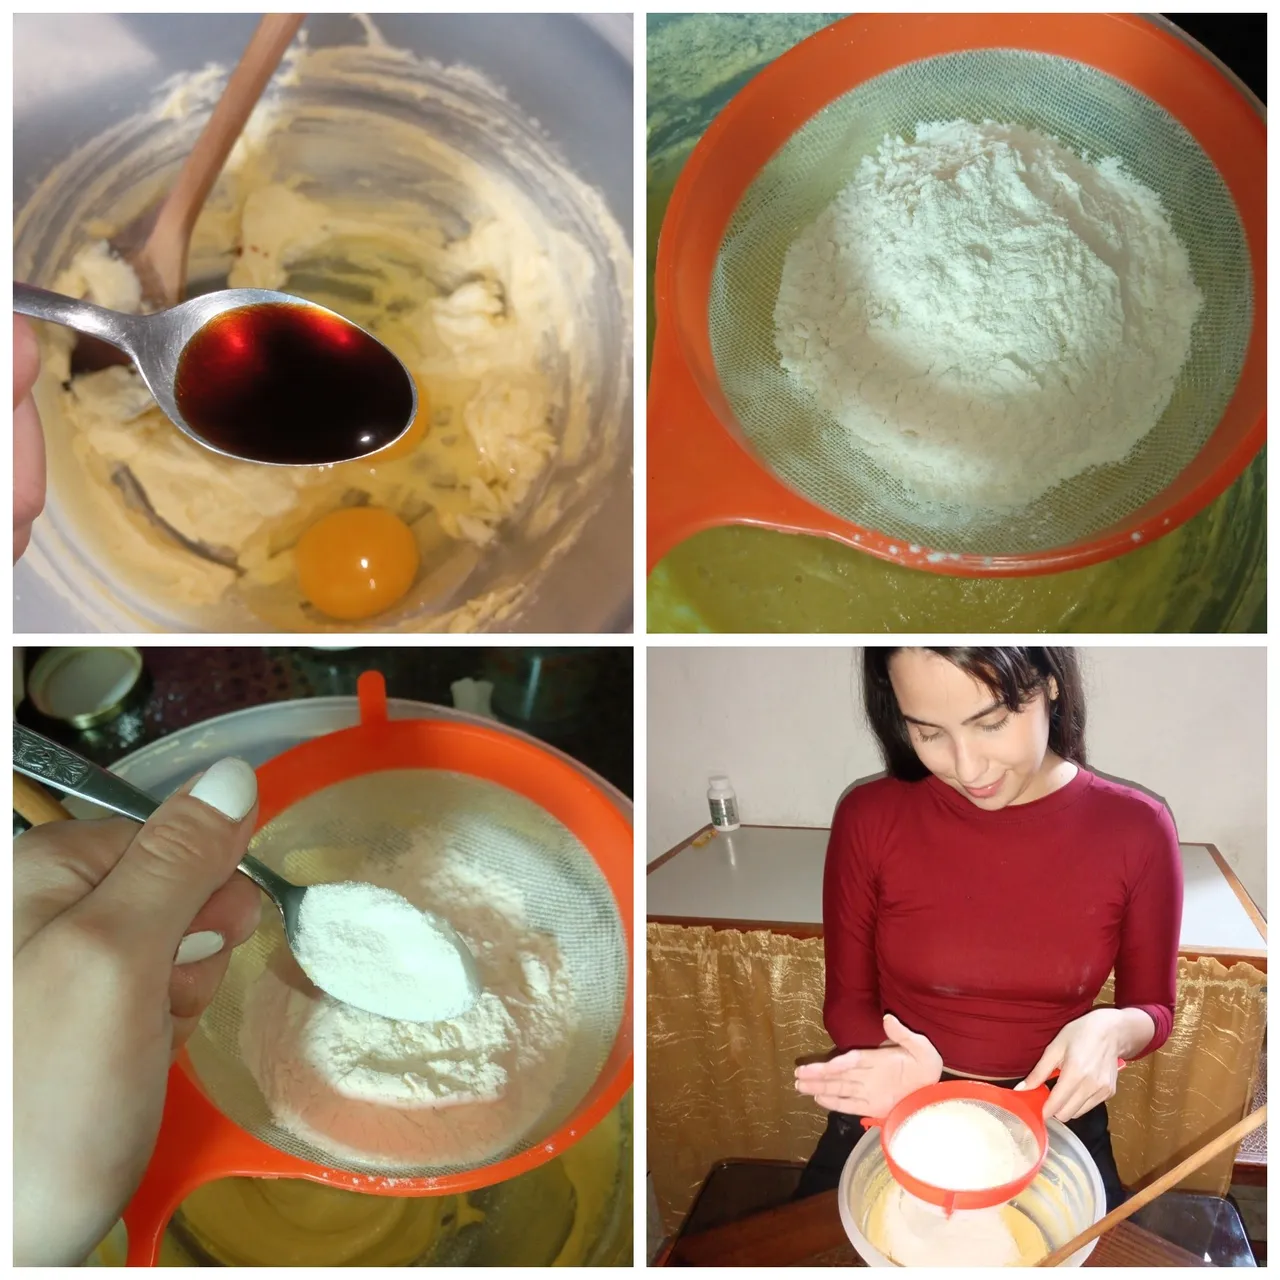
Lo primero que debemos hacer es agregar a un recipiente hondo, los 200 gr de mantequilla junto con los 150 gr de azúcar glas y comenzamos a mezclar muy bien con ayuda de una paleta o batidora, hasta que el azúcar se disuelva y la mantequilla tome una consistencia más cremosa.
- 1 STEP:
The first thing we must do is add the 200 g of butter to a deep container along with the 150 g of icing sugar and begin to mix very well with the help of a paddle or mixer, until the sugar dissolves and the butter takes on a creamier consistency.
- PASO 2:
Luego, comenzamos a incorporar los 2 huevos, 1 cucharadita de esencia de vainilla e incorporamos nuevamente. Seguidamente, comenzamos a agregar los 350 gr de harina de trigo en tres partes, previamente tamizada. Agregamos una parte de harina, comenzamos a incorporar y agregamos la otra junto con 1 cucharadita de polvo para hornear.
- 2 STEP:
Then, we begin to incorporate the 2 eggs, 1 teaspoon of vanilla essence and add again. Next, we begin to add the 350 g of wheat flour in three parts, previously sifted. We add one part of flour, begin to incorporate and add the other part along with 1 teaspoon of baking powder.
- PASO 3:
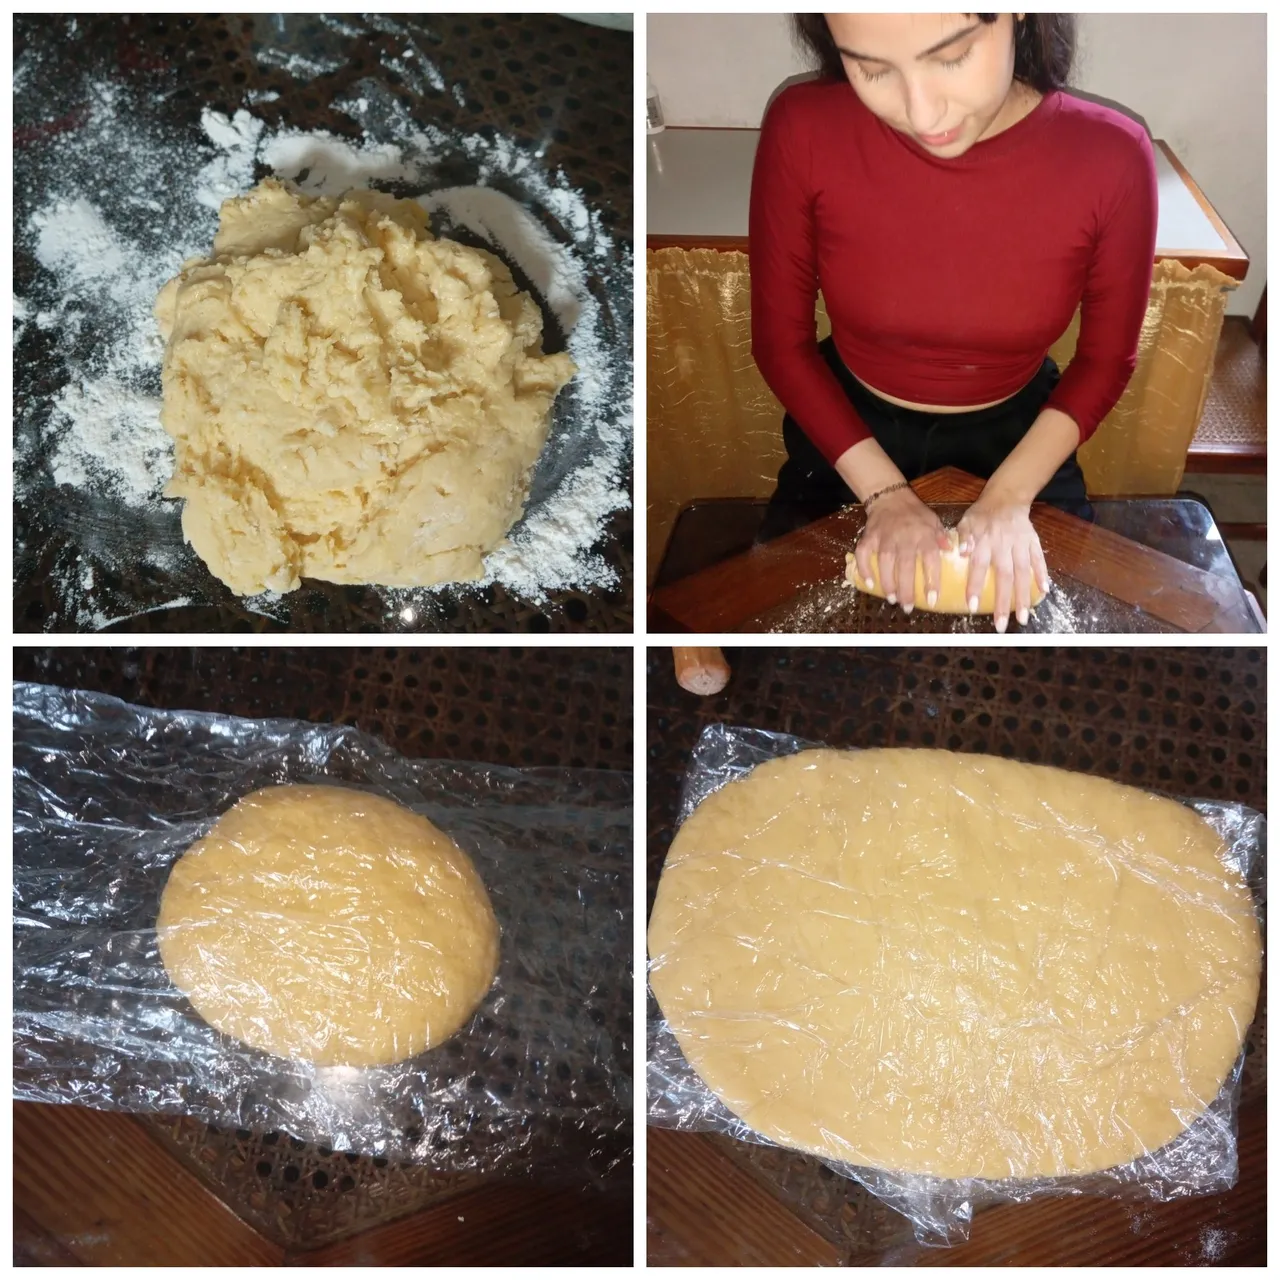
En este punto, se dificulta seguir incorporando la harina, así que agregamos el resto de harina a la mesa junto con la masa y comenzamos a amasar con las manos bien limpias por unos 3 minutos aproximadamente. Una vez lista la masa, hacemos una bola, envolvemos en papel film, estiramos un poco y llevamos al refrigerador por 15 minutos.
- 3 STEP:
At this point, it is difficult to continue incorporating the flour, so we add the rest of the flour to the table along with the dough and begin to knead with very clean hands for approximately 3 minutes. Once the dough is ready, we make a ball, wrap it in plastic wrap, stretch it a little and put it in the refrigerator for 15 minutes.
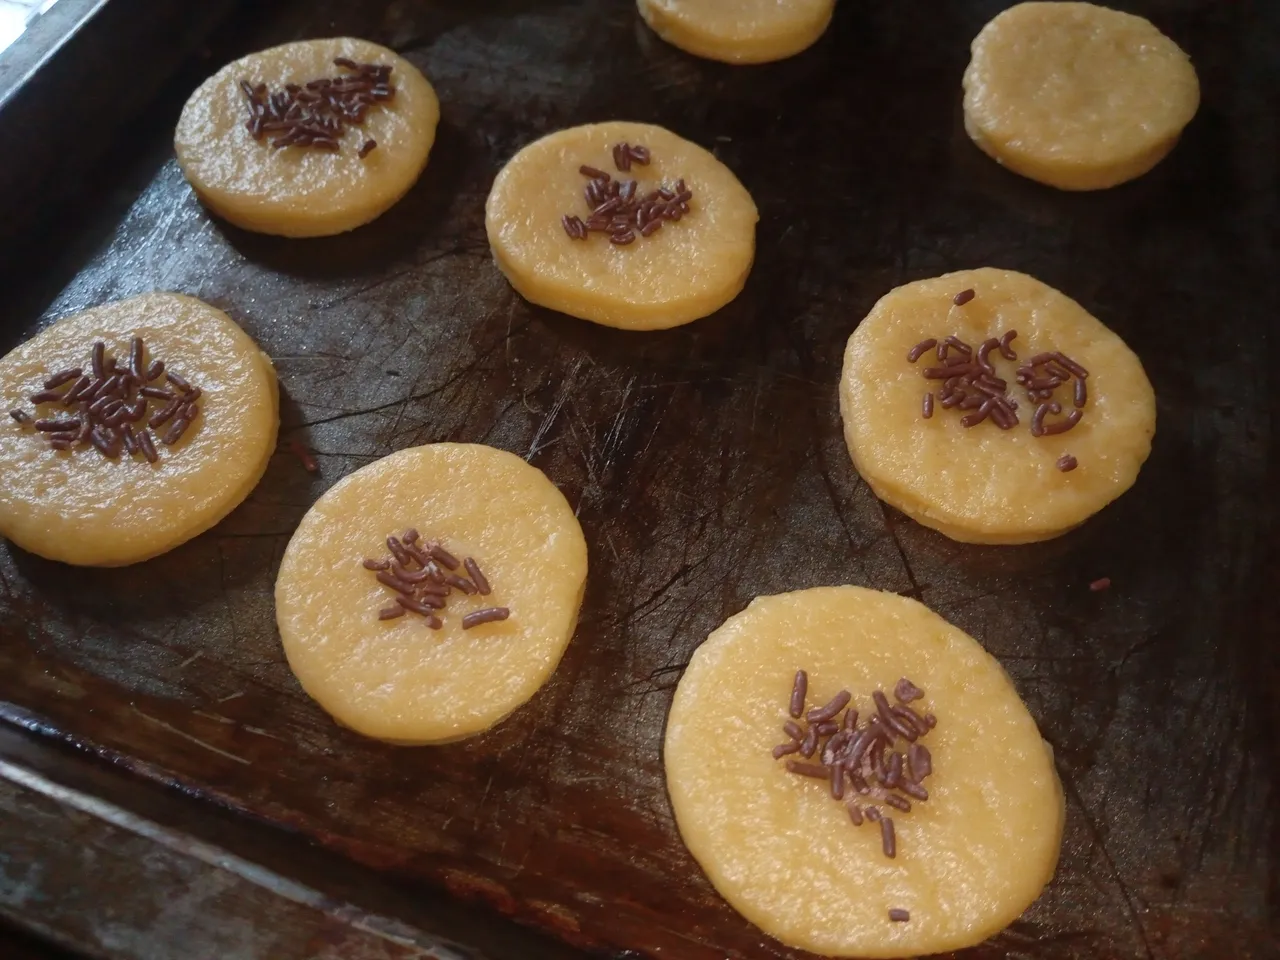
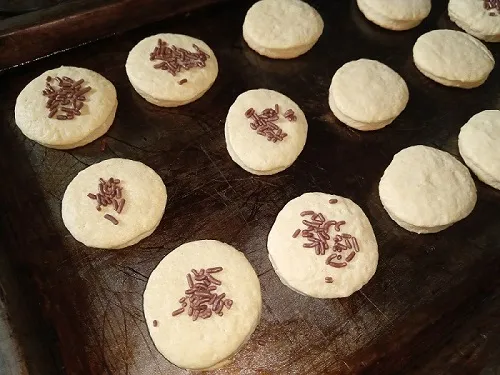
- PASO 4:
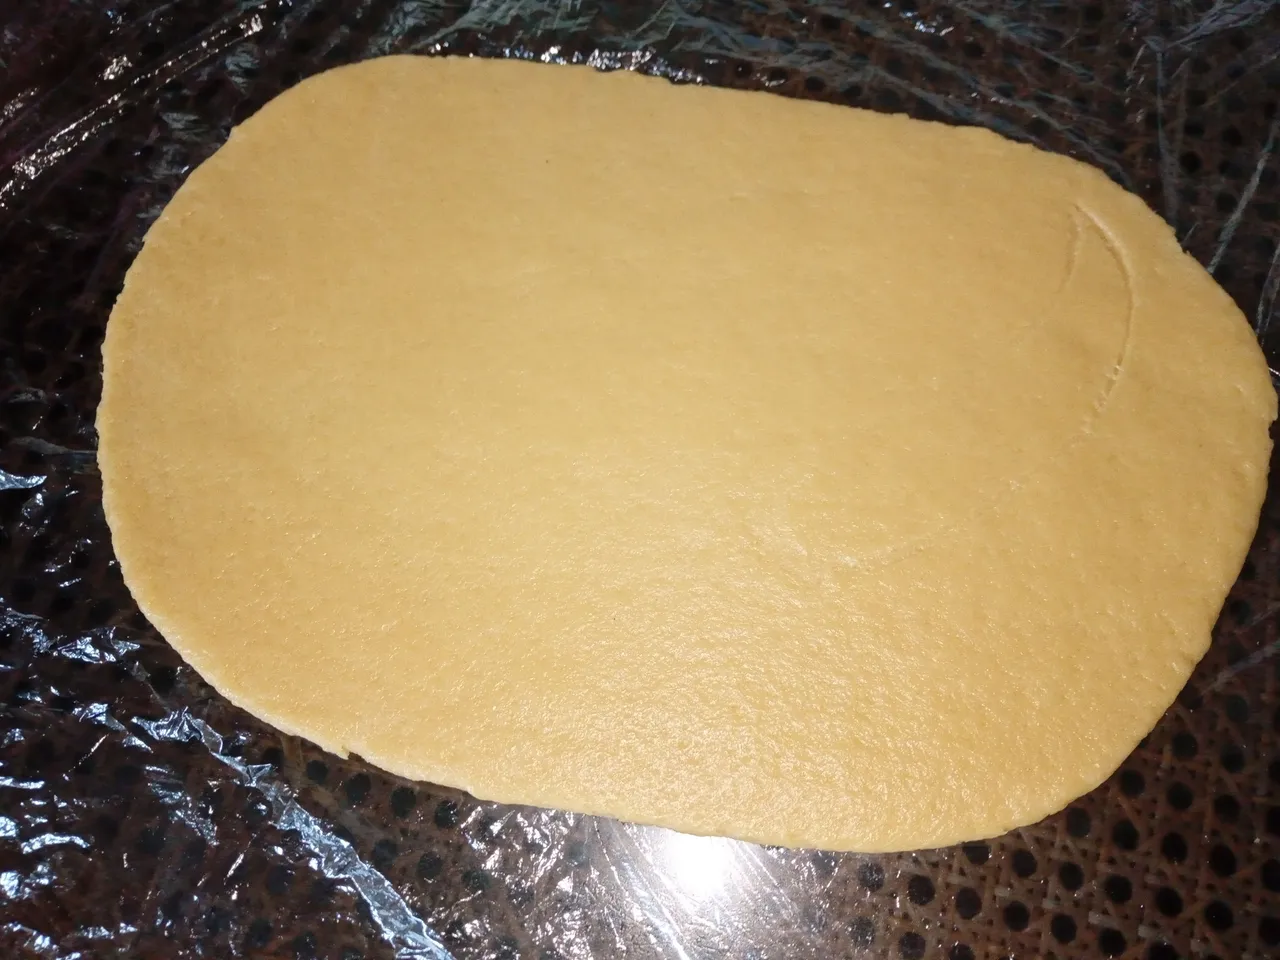
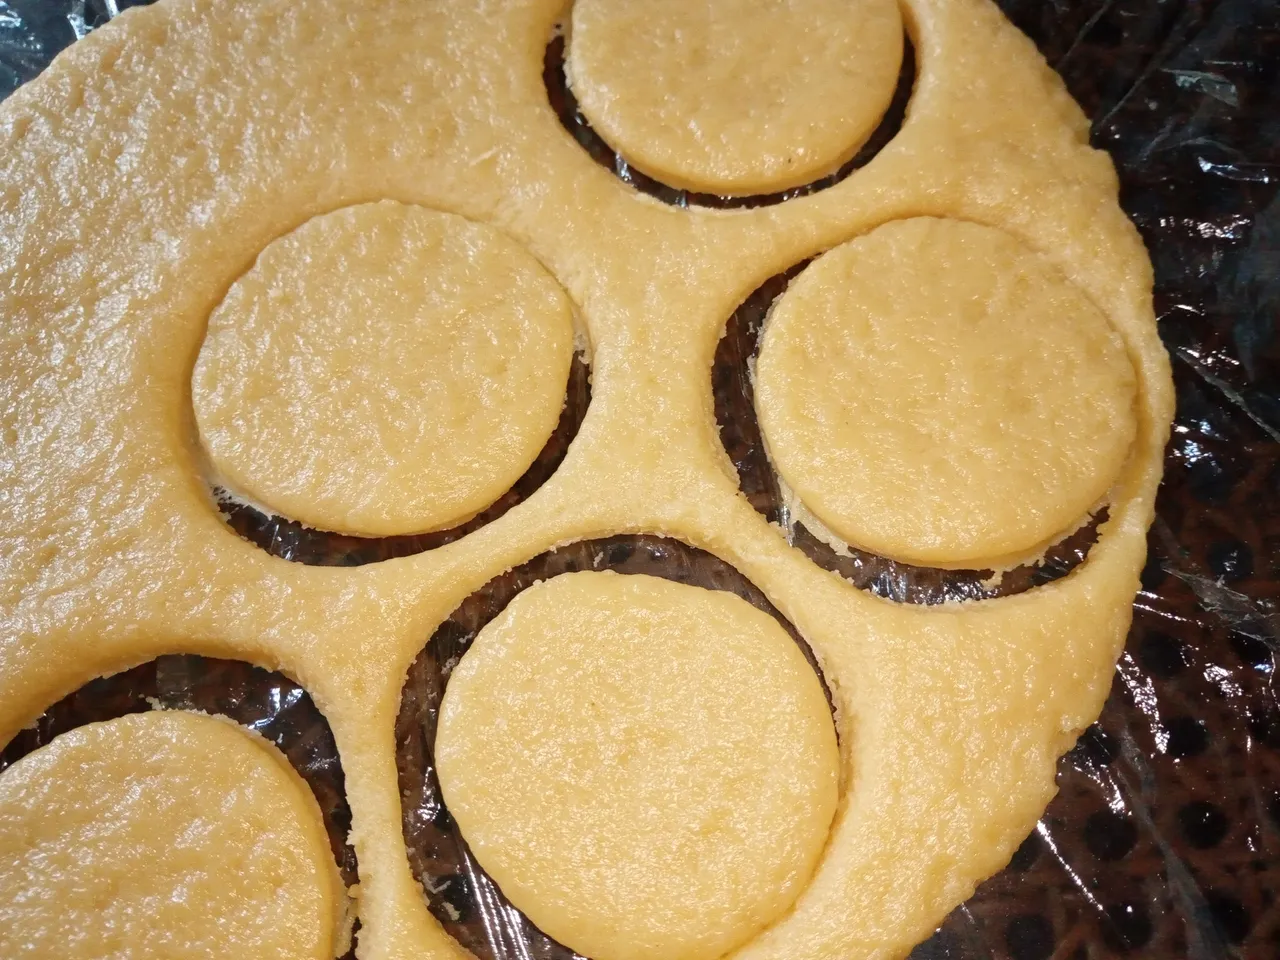
Pasado el tiempo, estiramos la masa con ayuda de un rodillo, dejando la masa 0.5 cm de grosor. Comenzamos a formar las galletas con ayuda de un molde y repetimos el mismo proceso. Luego, llevamos a una bandeja previamente engrasada y esparcimos las chispas de chocolate a la mitad de las galletas. Nuevamente, al refrigerador por 10 min y después, a horno precalentado a 180 °C por 20 minutos o hasta que se vean doradas por los bordes.
- 4 STEP:
After time, we stretch the dough with the help of a rolling pin, leaving the dough 0.5 cm thick. We begin to form the cookies with the help of a mold and repeat the same process. Then, we take it to a previously greased tray and spread the chocolate chips on half of the cookies. Again, in the refrigerator for 10 minutes and then in a preheated oven at 180°C for 20 minutes or until they look golden brown on the edges.
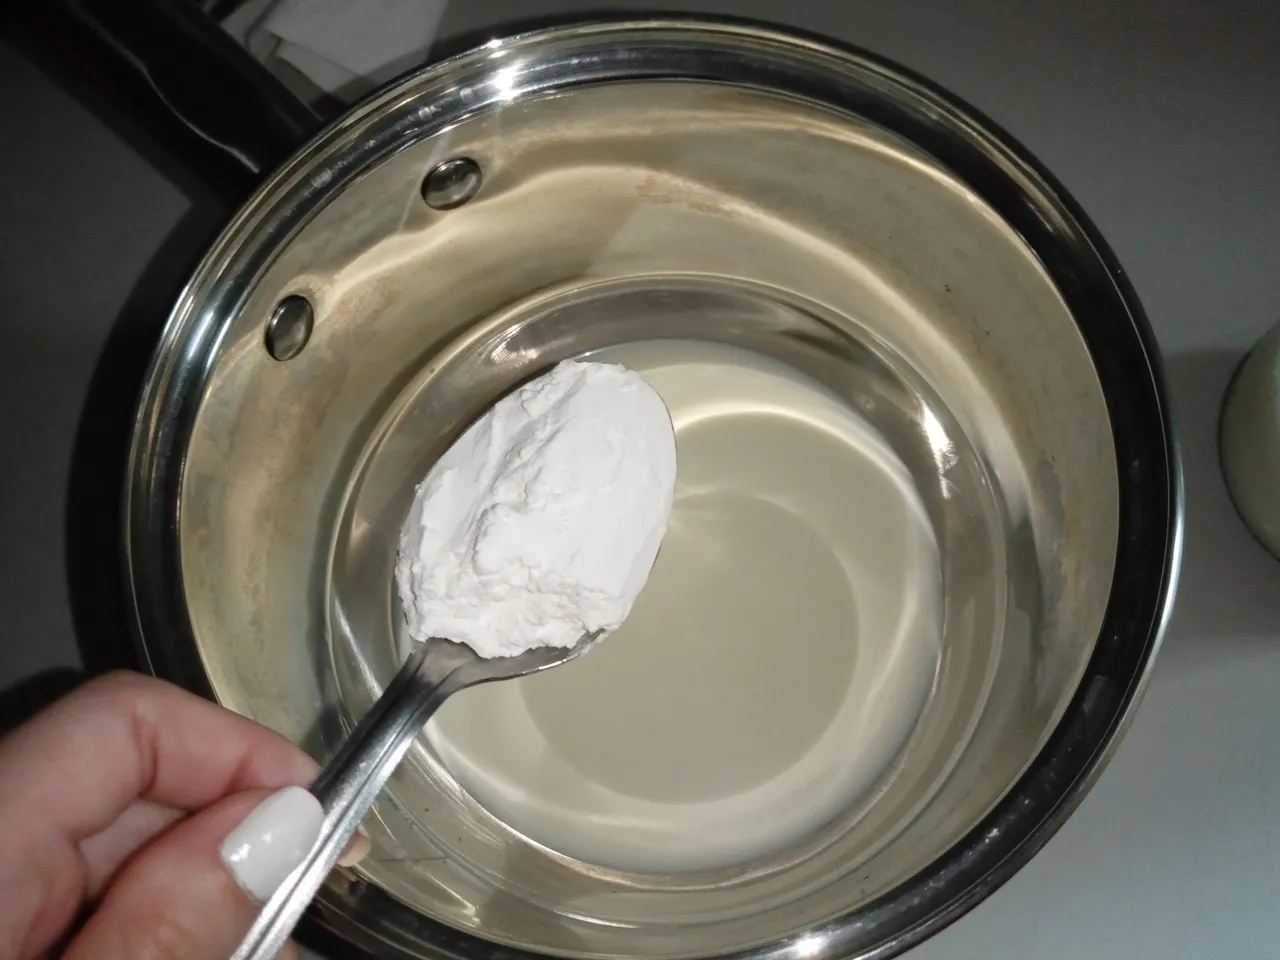
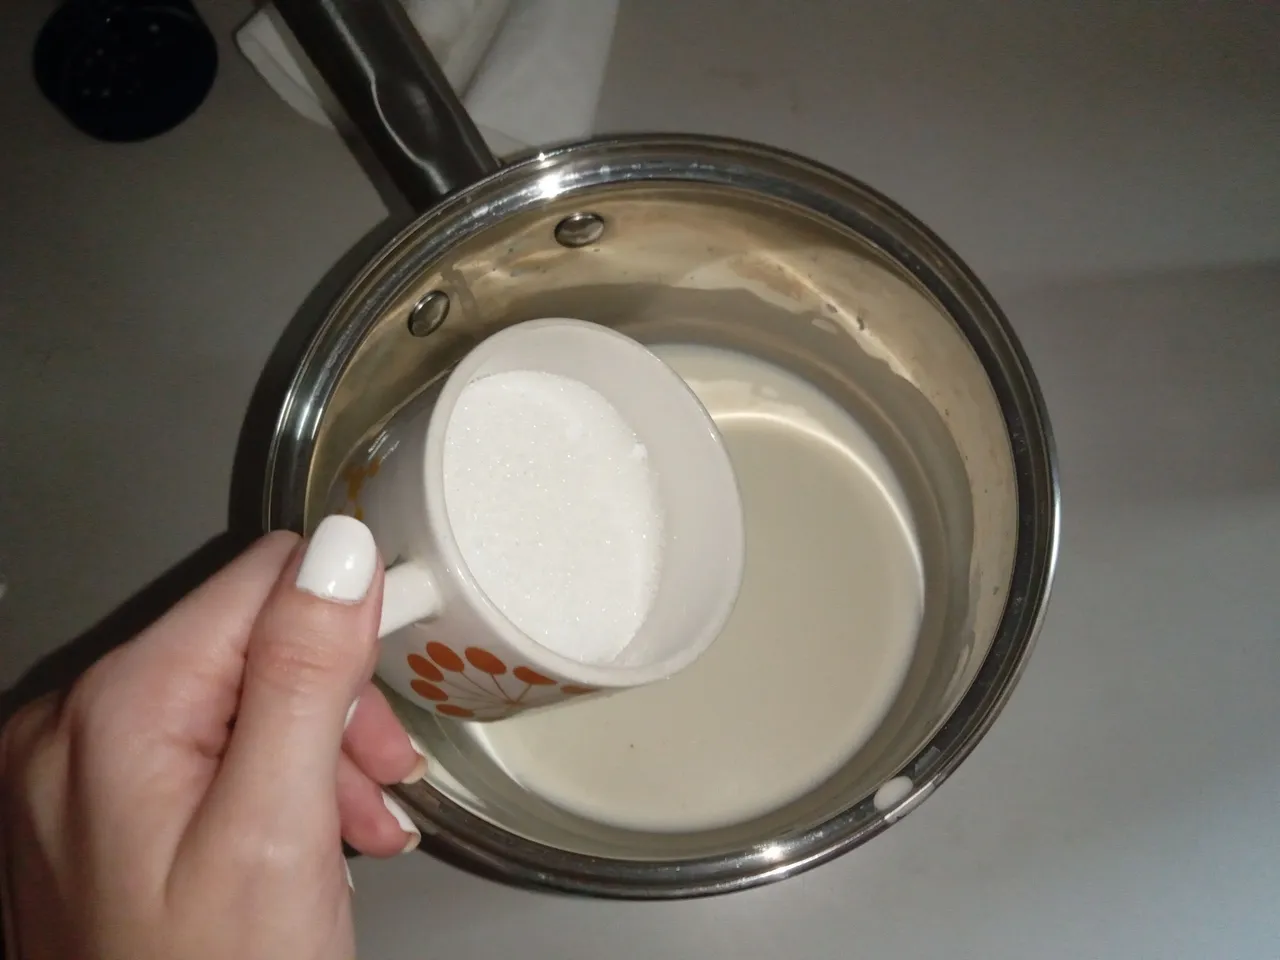
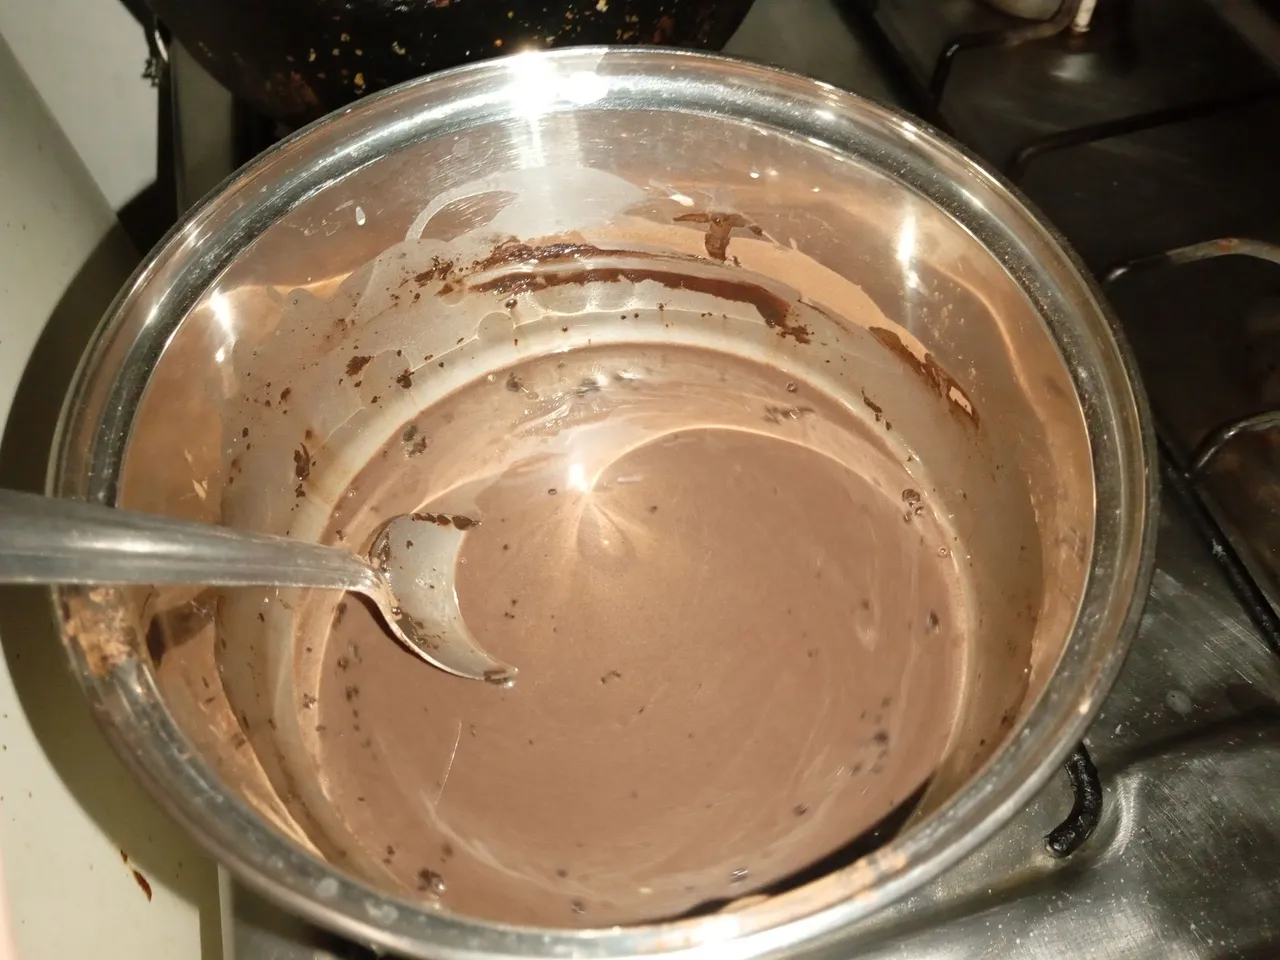
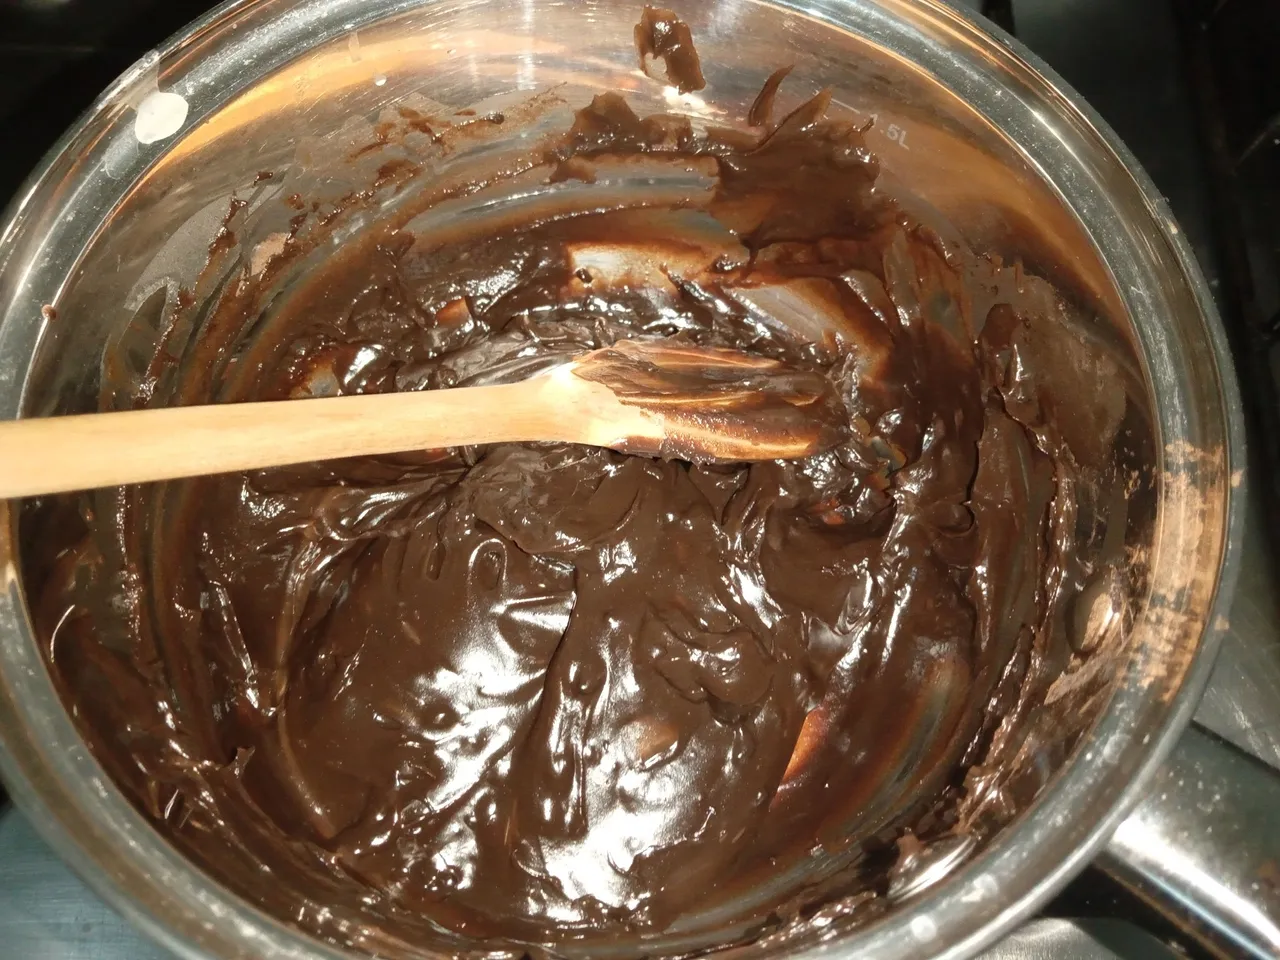
- PASO 5:
Luego comenzamos a preparar el relleno agregando a una olla los 200 ml de leche junto con 1 y ½ cucharadas de maicena y mezclamos hasta disolver. Luego, 100 gr de azúcar, 2 cucharadas de cacao en polvo, incorporamos y llevamos a fuego. Sin dejar de mezclar con ayuda de una cuchara, dejamos que espese, esperamos que hierva y apagamos el fuego. Debe quedar una consistencia espesa y perfecta para untar.
- 5 STEP:
Then we begin to prepare the filling by adding 200 ml of milk to a pot along with 1 and ½ tablespoons of cornstarch and mixing until dissolved. Then, add 100 g of sugar, 2 tablespoons of cocoa powder and bring to a boil. While continuing to mix with the help of a spoon, let it thicken, wait for it to boil and turn off the heat. It should be a thick and perfect consistency for spreading.
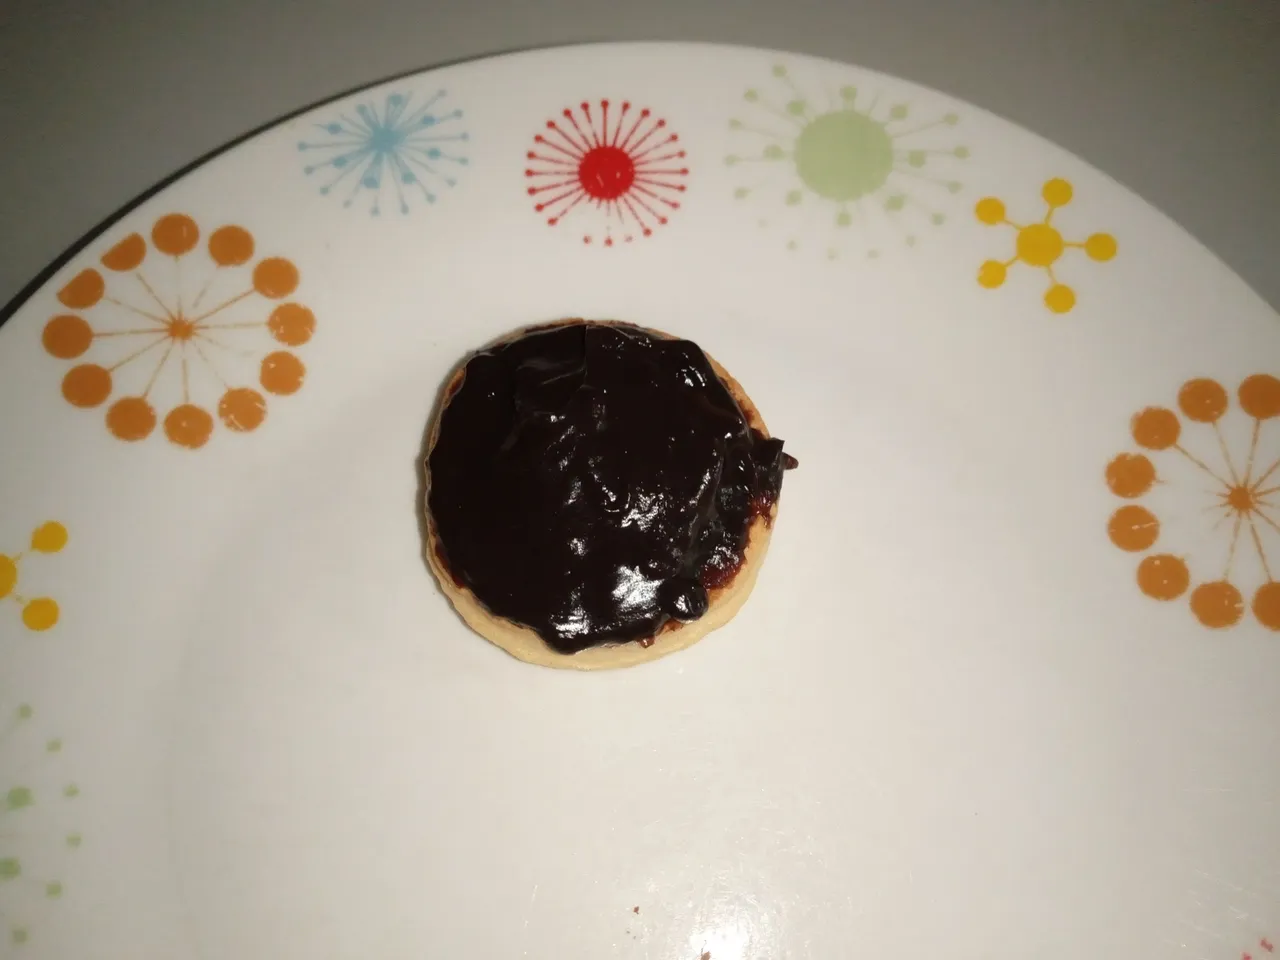
- PASO 6:
Al estar todo listo, comenzamos a untar las galletas sin chispas de chocolate con la preparación de chocolate y encima colocamos otra galleta, que en este caso sería la tapa utilizando las galletas con chispas de chocolate.
- 6 STEP:
Once everything is ready, we begin to spread the cookies without chocolate chips with the chocolate preparation and on top we place another cookie, which in this case would be the lid using the cookies with chocolate chips.
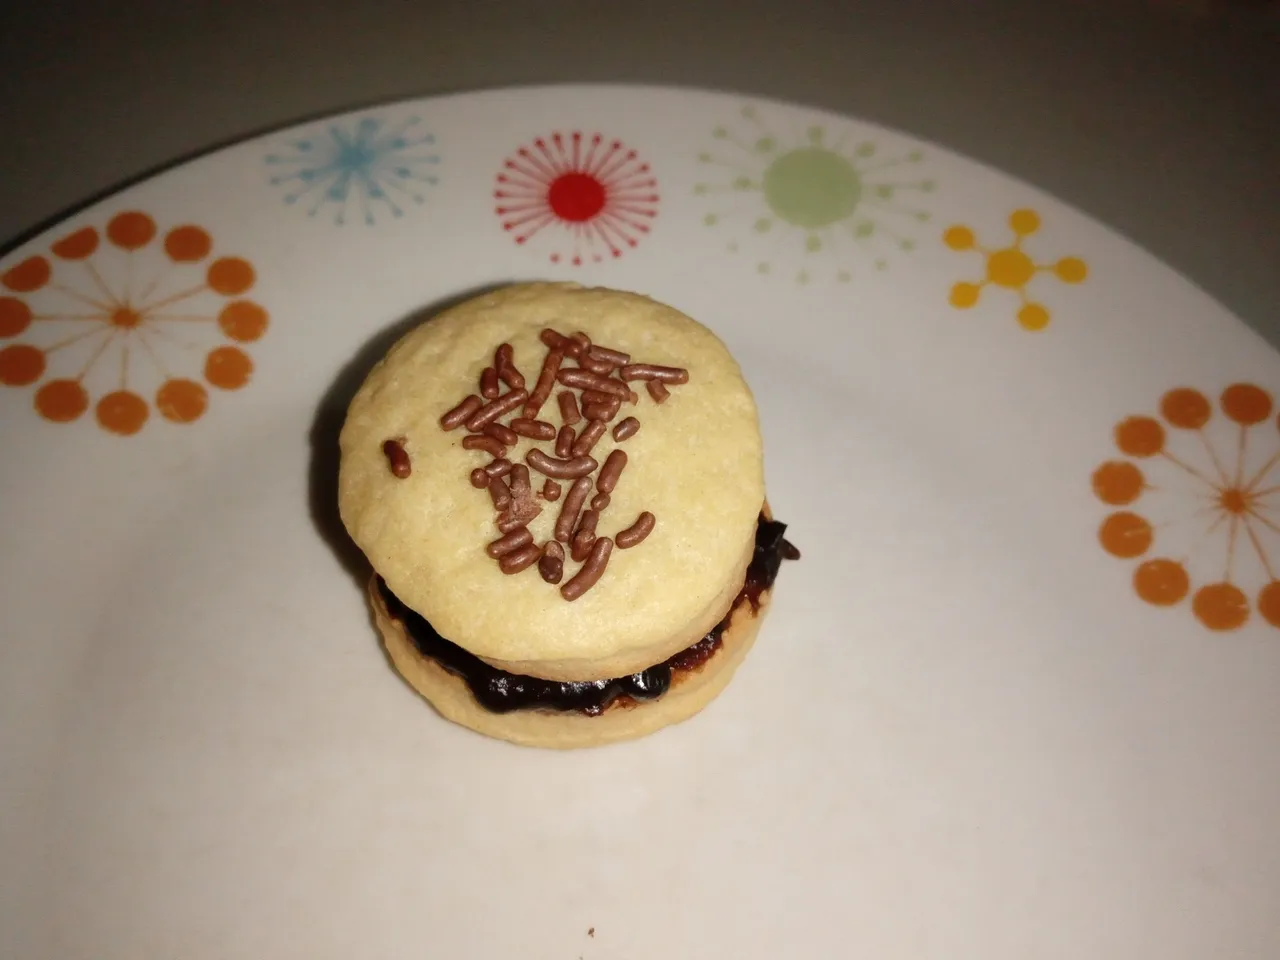
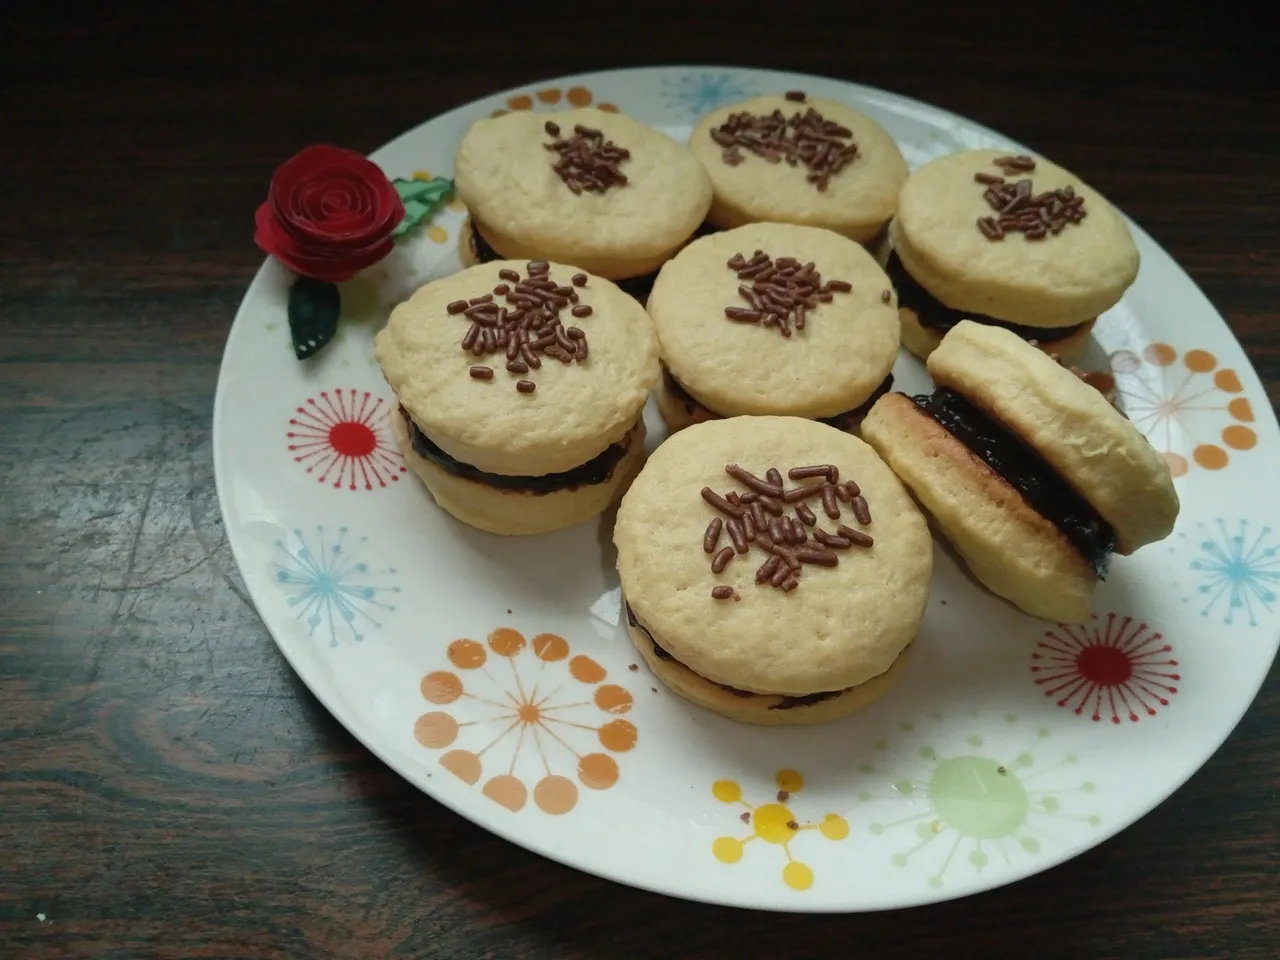
✨¡Y listo! De esta manera es como pueden preparar unas deliciosas galletas rellenas desde casa y sorprender a sus invitados en alguna reunión o para lo que deseen. Espero les haya gustado y se animen a preparar esta deliciosa receta.
❤️Hasta la próxima publicación.
✨✨¡And ready!✨ This is how you can prepare delicious filled cookies from home and surprise your guests at a meeting or for whatever you want. I hope you liked it and are encouraged to prepare this delicious recipe.
❤️Until the next post.
✨RESULTADO: | ✨RESULT:


Todas las fotografías son de mi propiedad.
Separador y Fotos editadas en Canva
All photographs are my property.
Photos edited in Canva