✨🎄🍪¡Hola amigos amantes de la comida! Espero estén pasando un gran día.
Espero todos hayan pasado una excelente semana y pasen un fin de semana bastante descansado. En esta ocasión les comparto una deliciosa receta de pasta seca. Como he pensionado unas mil veces, amo las galletas, pero mis favoritas son la pasta seca; me encanta la textura suave y crujiente que tienen, así que quise intentar prepararlas en casa para estas fechas decembrinas.
Me estuve informando un poco y algunos le agregan maicena, dicen que así toma esa textura blandita y quebradiza. Debo mencionar que las preparé una primera vez, pero le agregué mucho polvo para hornear y olvide que estás llevan solo un poco o nada, hubieran visto mi cara de dolor y risa jaja porque casi las hago pastel de lo esponjosas que me quedaron.
Pero bueno, lo intenté una segunda vez y quedaron realmente deliciosas, me encantó la textura y sabor, quería utilizar las boquillas típicas para estas galletas, pero las que tenía eran muy pequeñas, así que solo utilicé la manga para formar las galletas redondas. Aún me falta práctica, pero el sabor quedó bastante similar y con una bonita apariencia.
🔸A continuación, los dejo con el paso a paso:
✨🎄🍪¡Hello food loving friends! I hope you are super well on this day.
I hope everyone had a great week and had a restful weekend. On this occasion I share with you a delicious dry pasta recipe. As I have said a thousand times, I love cookies, but my favorites are dry pasta; I love the soft and crunchy texture they have, so I wanted to try preparing them at home for these holidays.
I did a little research and some people add cornstarch, they say it gives it that soft and brittle texture. I should mention that I prepared them the first time, but I added a lot of baking powder and I forgot that they only have a little or nothing, you would have seen my face of pain and laughter haha because I almost made them cake because of how spongy they turned out.
But anyway, I tried it a second time and they were really delicious, I loved the texture and flavor, I wanted to use the typical nozzles for these cookies, but the ones I had were very small, so I just used the piping bag to form the round cookies. I still need practice, but even so the flavor was quite similar and with a nice appearance.
🔸Next, I leave you with the step by step:
♥️Espero les guste. ¡Comencemos!
♥️I hope you like it. Let's get started!

🍶 INGREDIENTES | 🍶 INGREDIENTS
- 250 gr de harina de trigo (sin leudante).
- 40 gr de maicena.
- 120 gr de azúcar.
- 40 gr de mantequilla.
- 1 huevo.
- 1 cdta de vainilla.
- Lluvia de colores y chocolate.
250 g of wheat flour (without leavening agent).
40 g of cornstarch.
120 gr of sugar.
40 gr of butter.
1 egg.
1 tsp vanilla.
Rain of colors and chocolate.

🍪 PREPARACIÓN | 🍪 PREPARATION
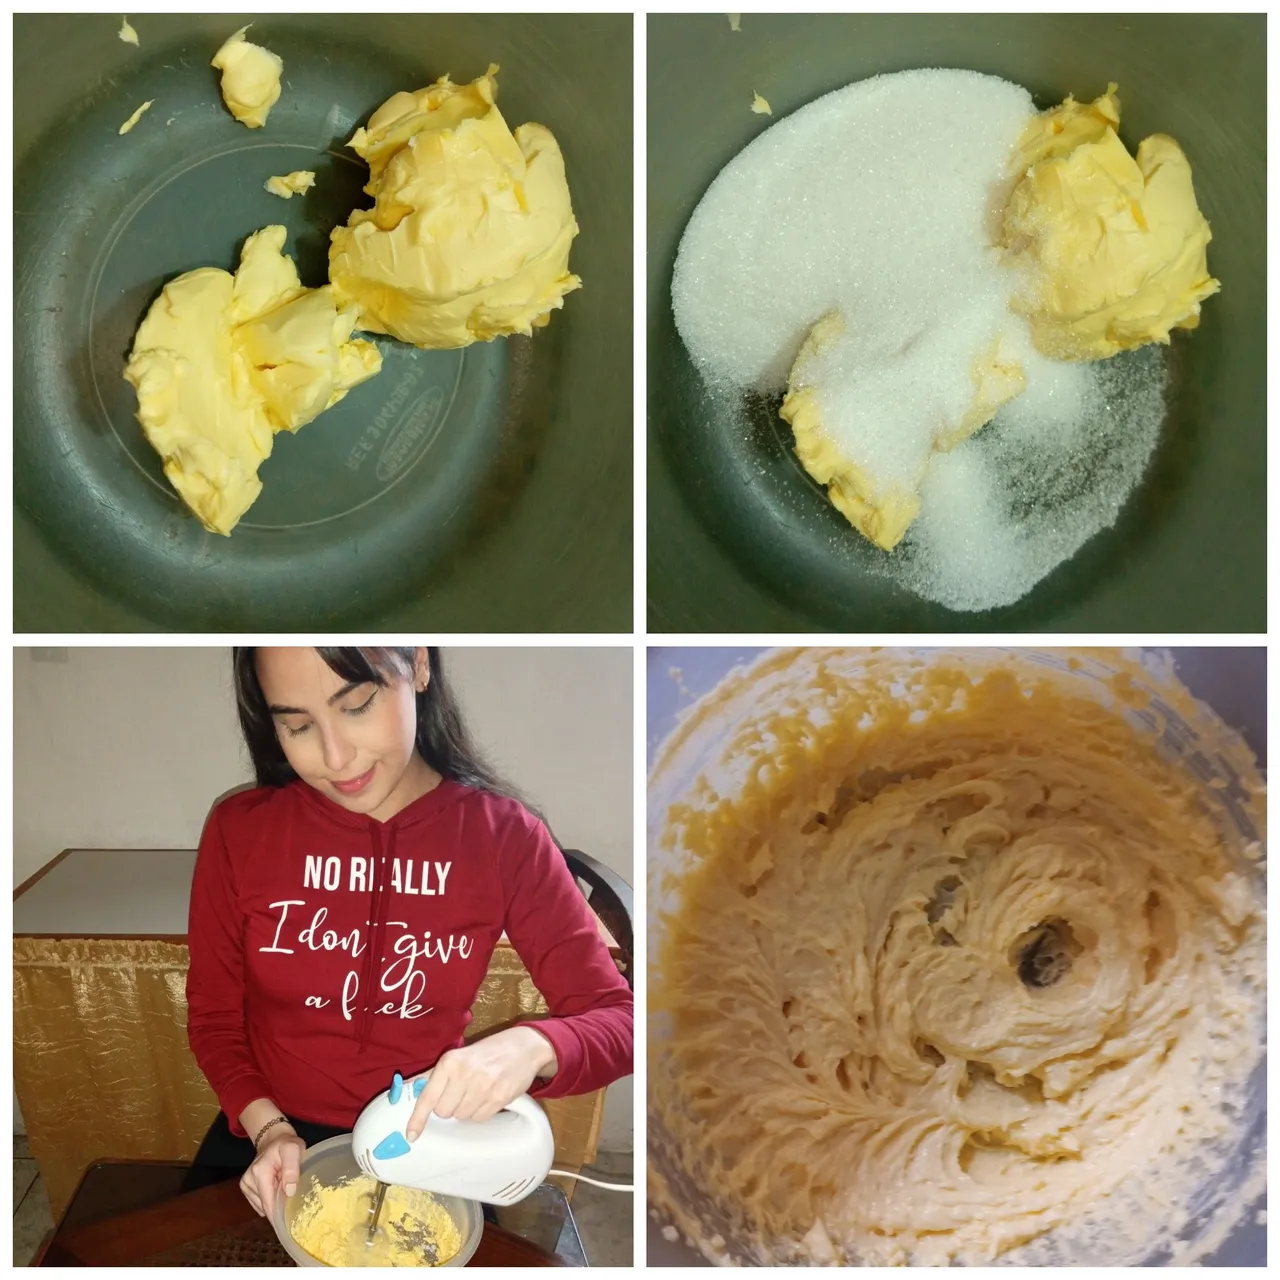
- PASO 1:
Lo primero que debemos hacer es agregar a un recipiente los 120 gr de azúcar, los 40 gr de mantequilla y comenzamos batir (yo utilicé batidora eléctrica, pero pueden utilizar batidor de mano). Batir hasta que ambos ingredientes se incorporen muy bien y la mantequilla blanquee.
- 1 STEP:
The first thing we must do is add 120 g of sugar and 40 g of butter to a container and begin to beat (I used an electric mixer, but you can use a hand mixer). Beat until both ingredients are incorporated very well and the butter whitens.
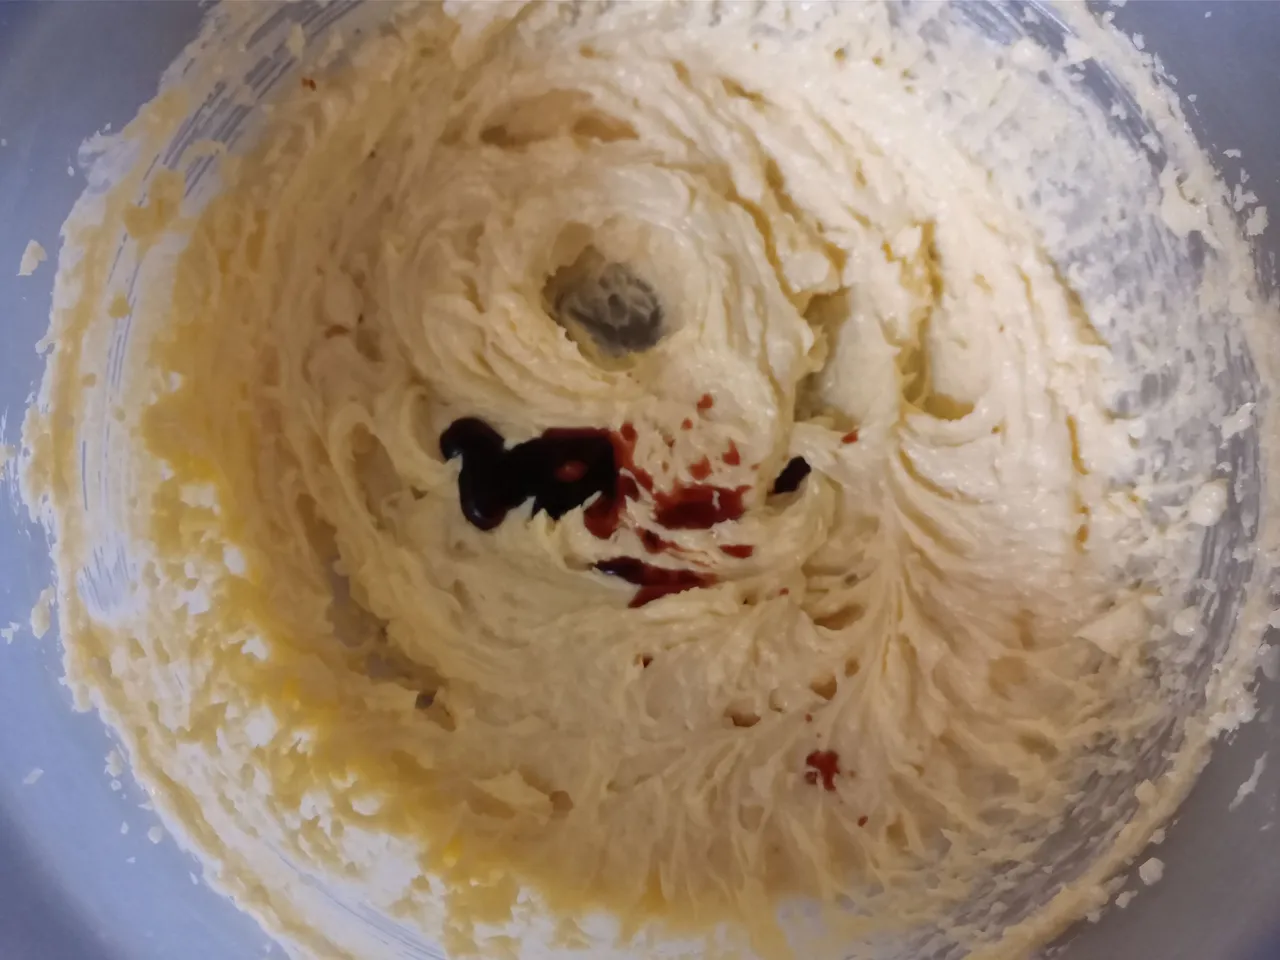
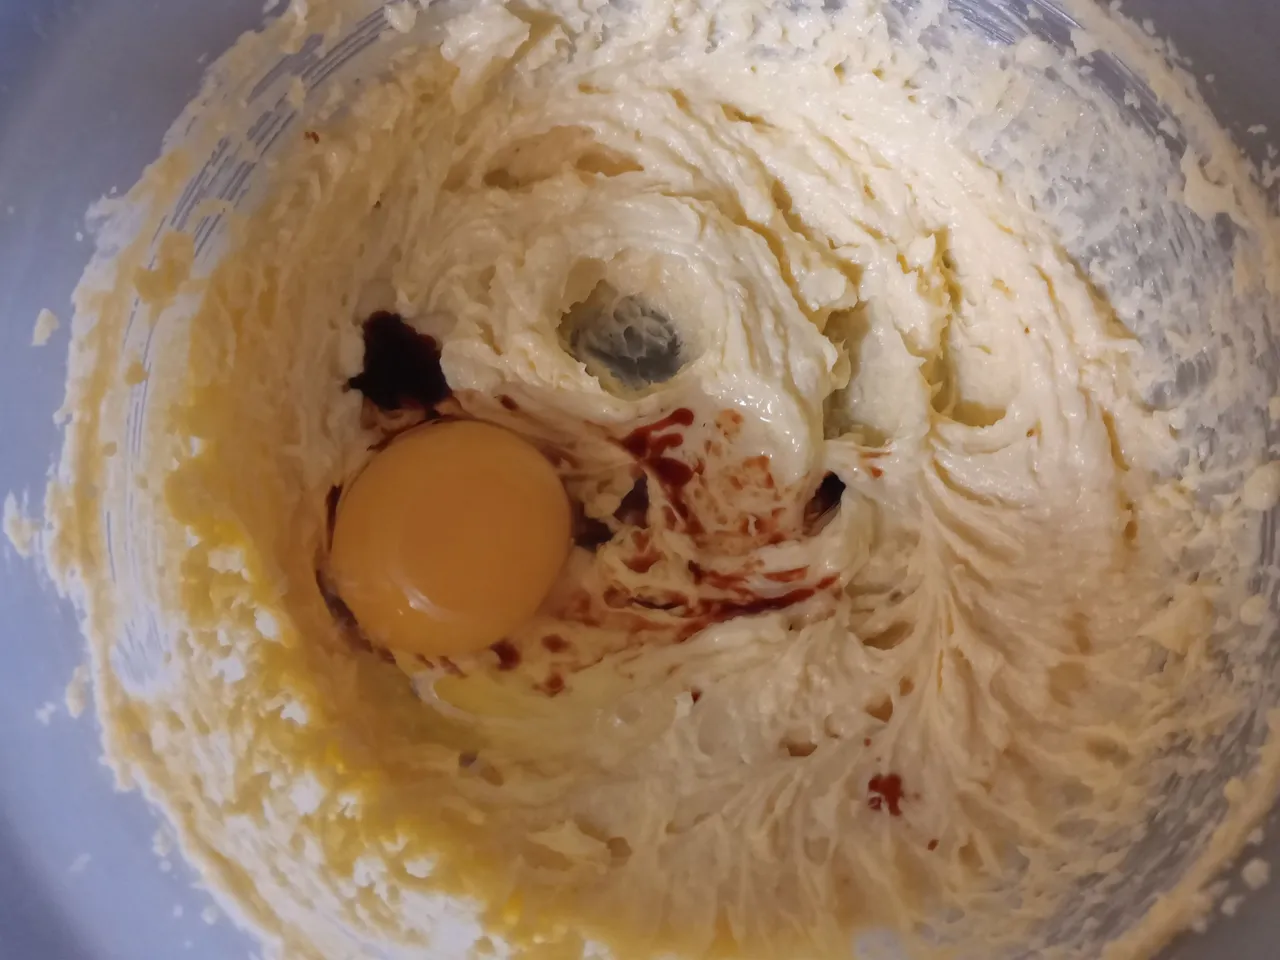
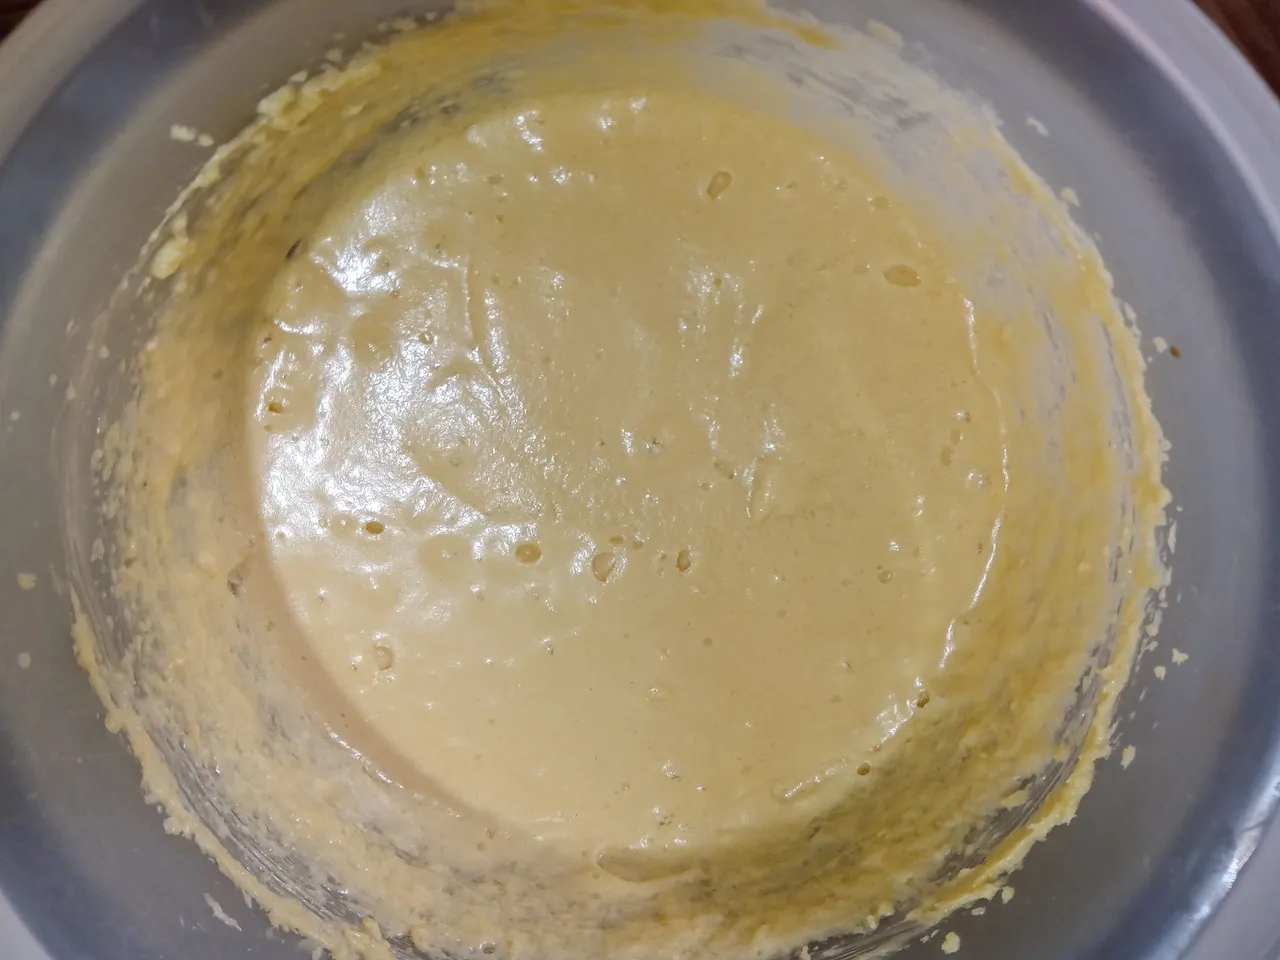
- PASO 2:
Después, agregamos 1 cucharadita de vainilla, 1 huevo y seguimos batiéndolos durante tres minutos aproximadamente.
- 2 STEP:
Then, we add 1 teaspoon of vanilla, 1 egg and continue beating them for approximately three minutes.
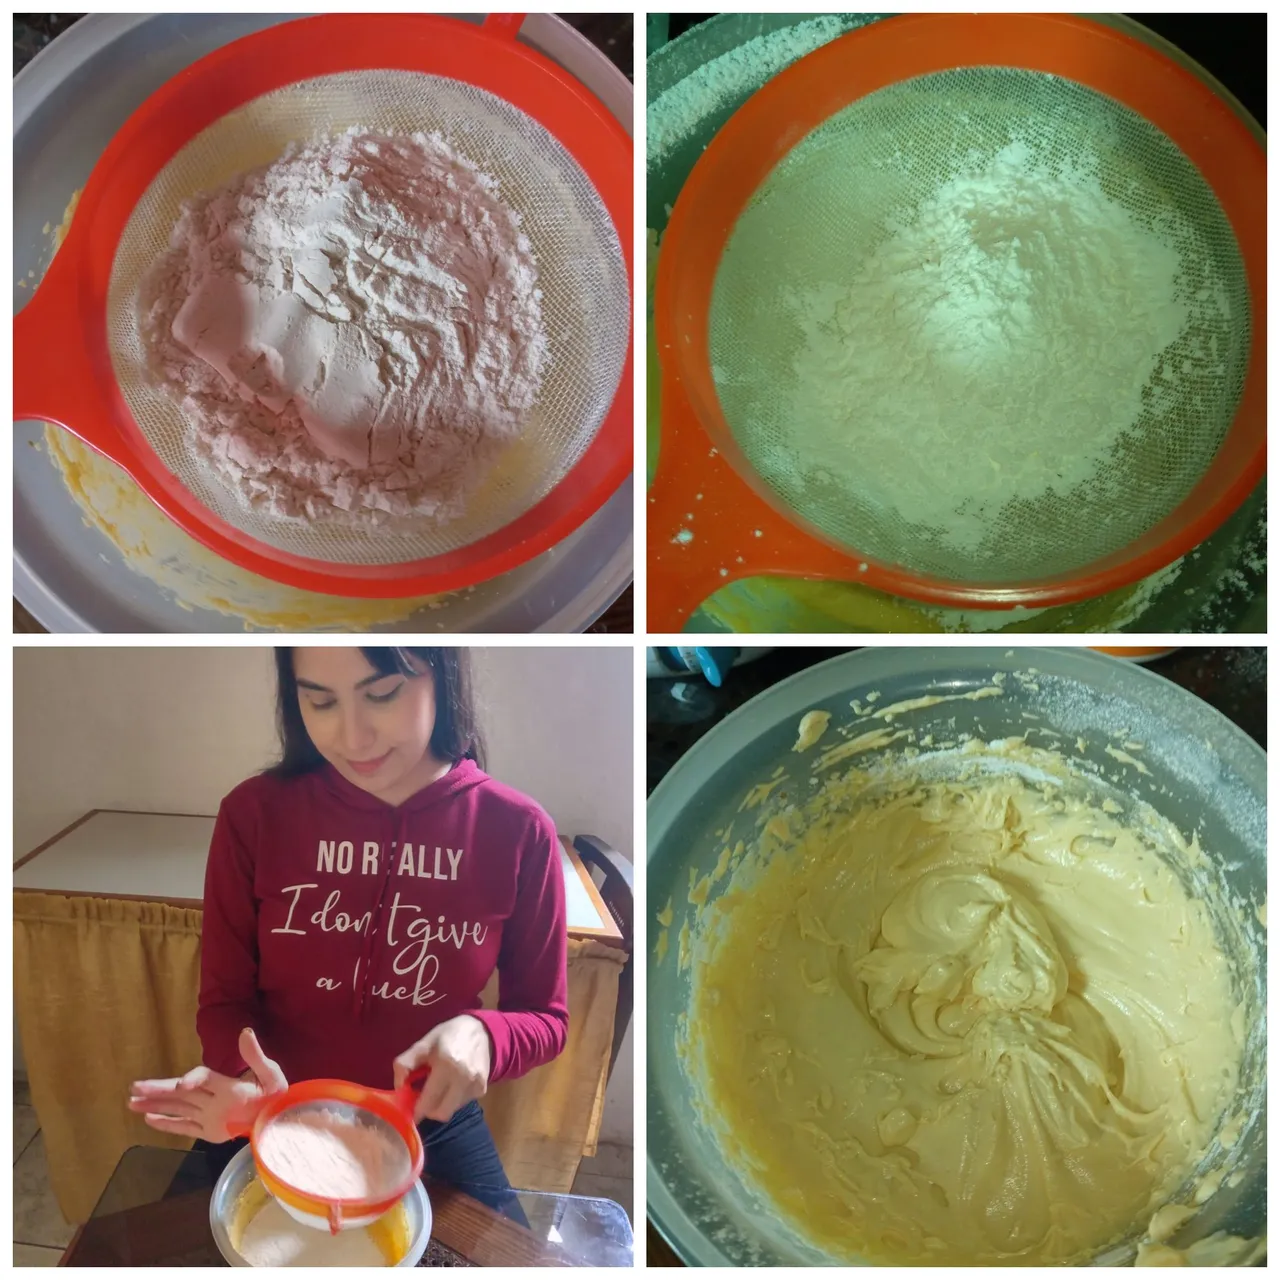
- PASO 3:
Después de esto, es momento de agregar los ingredientes secos, es decir, los 250 gr de harina de trigo, los 40 gr de maicena y tamizamos para que no se formen grumos. En este punto, vamos solo a unir los ingredientes por unos segundos y listo.
- 3 STEP:
After this, it is time to add the dry ingredients, that is, the 250 g of wheat flour, the 40 g of cornstarch and sift so that lumps do not form. At this point, we're just going to combine the ingredients for a few seconds and that's it.
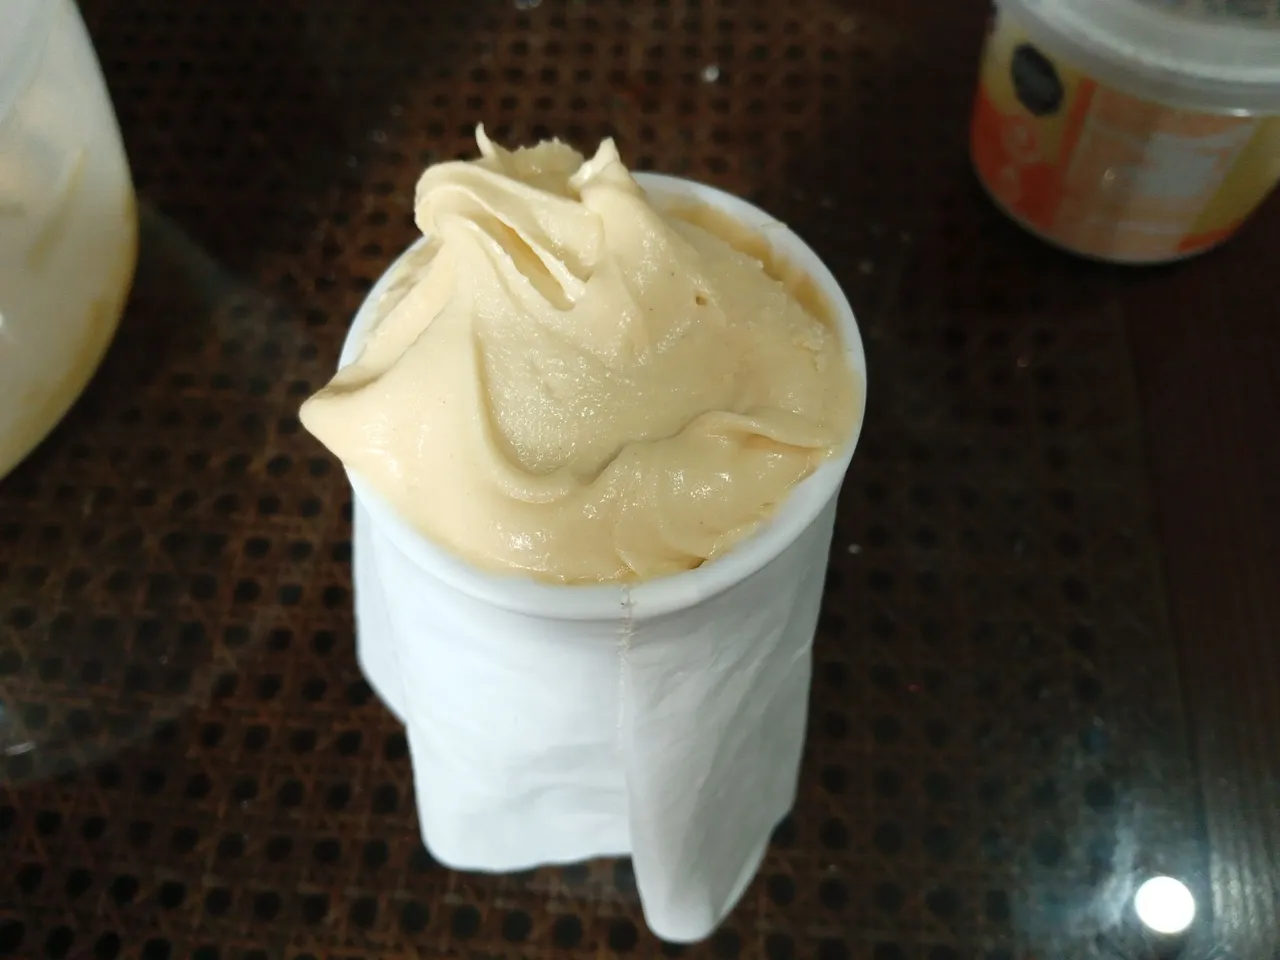
- PASO 4:
Al estar lista la mezcla, vamos a tomar la manga pastelera o una bolsa, vamos a agregar la mezcla y llevamos al refrigerador por 1 hora aproximadamente, para que endurezca un poco.
- 4 STEP:
When the mixture is ready, we are going to take the pastry bag or a bag, we are going to add the mixture and put it in the refrigerator for approximately 1 hour, so that it hardens a little.
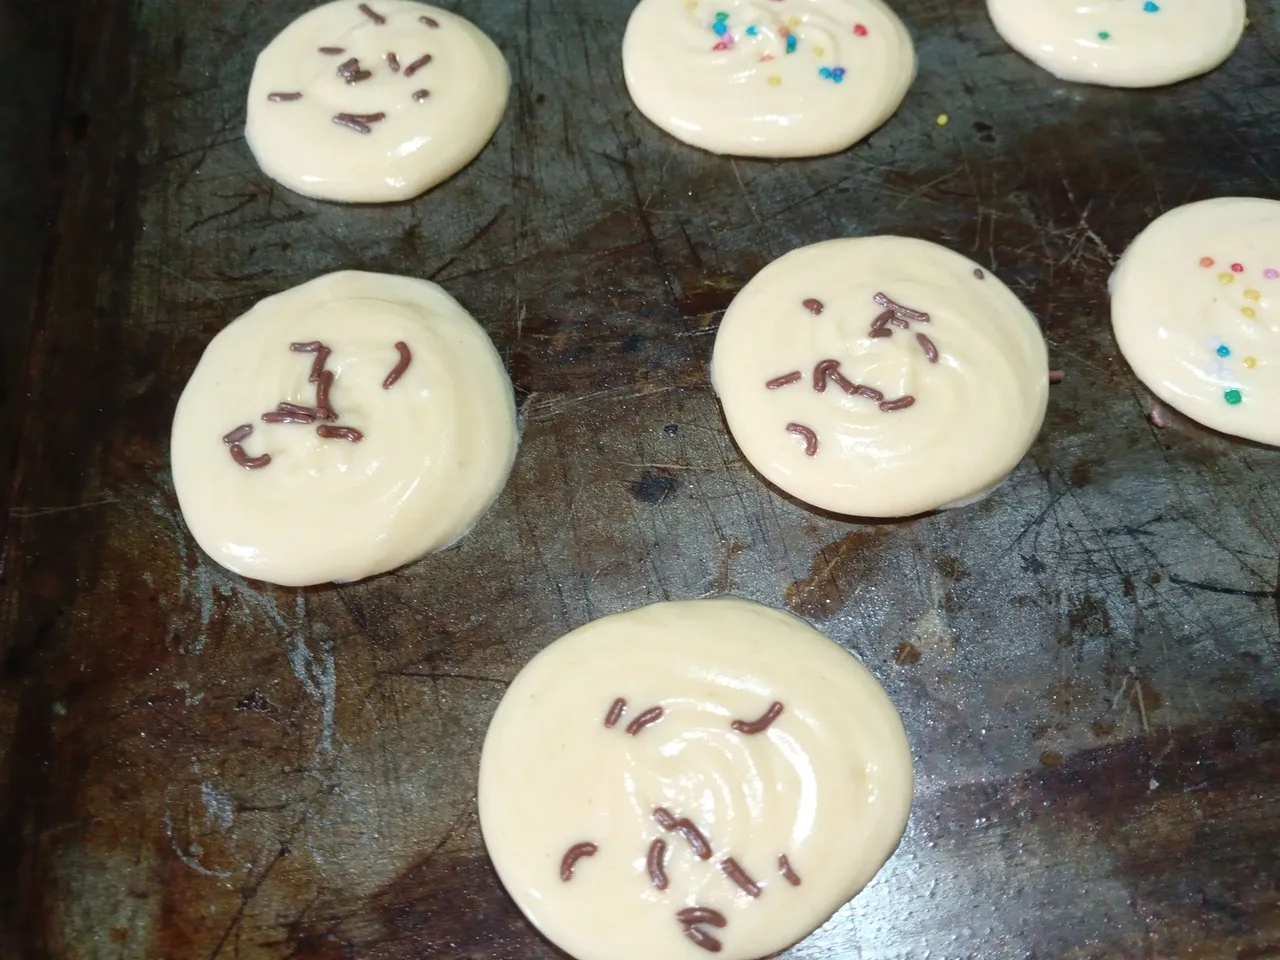
- PASO 5:
Pasado el tiempo, comenzamos a formar las galletas en una bandeja previamente engrasada y agregamos la lluvia de colores y chocolate. Llevar a horno precalentado a 180 °C por 15 minutos o hasta que los bordes estén doraditas. Pasado el tiempo, retirar del horno.
- 5 STEP:
After time, we begin to form the cookies on a previously greased tray and add the rain of colors and chocolate. Bake in a preheated oven at 180°C for 15 minutes or until the edges are golden brown. After time, remove from the oven.
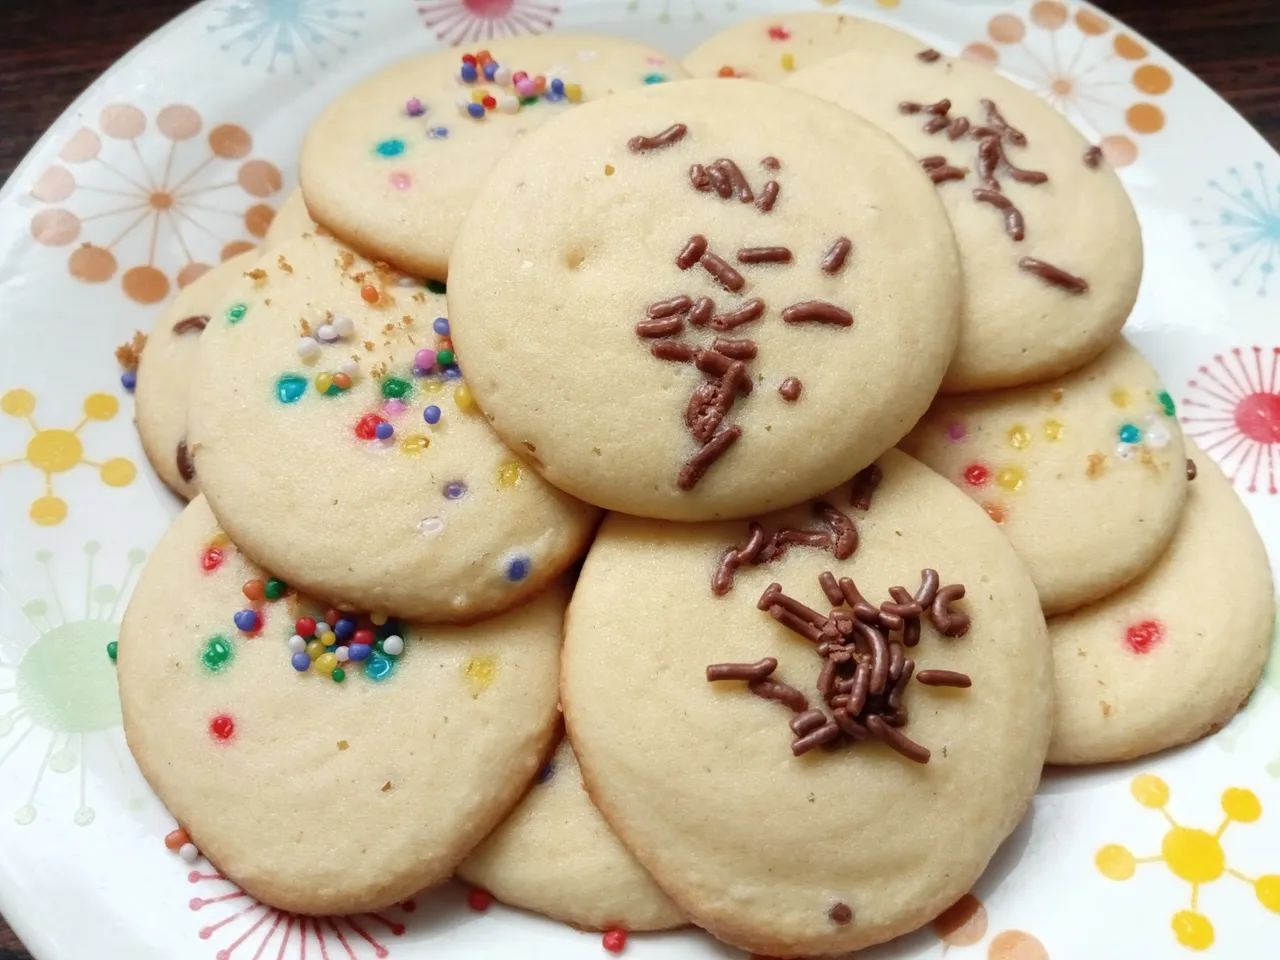
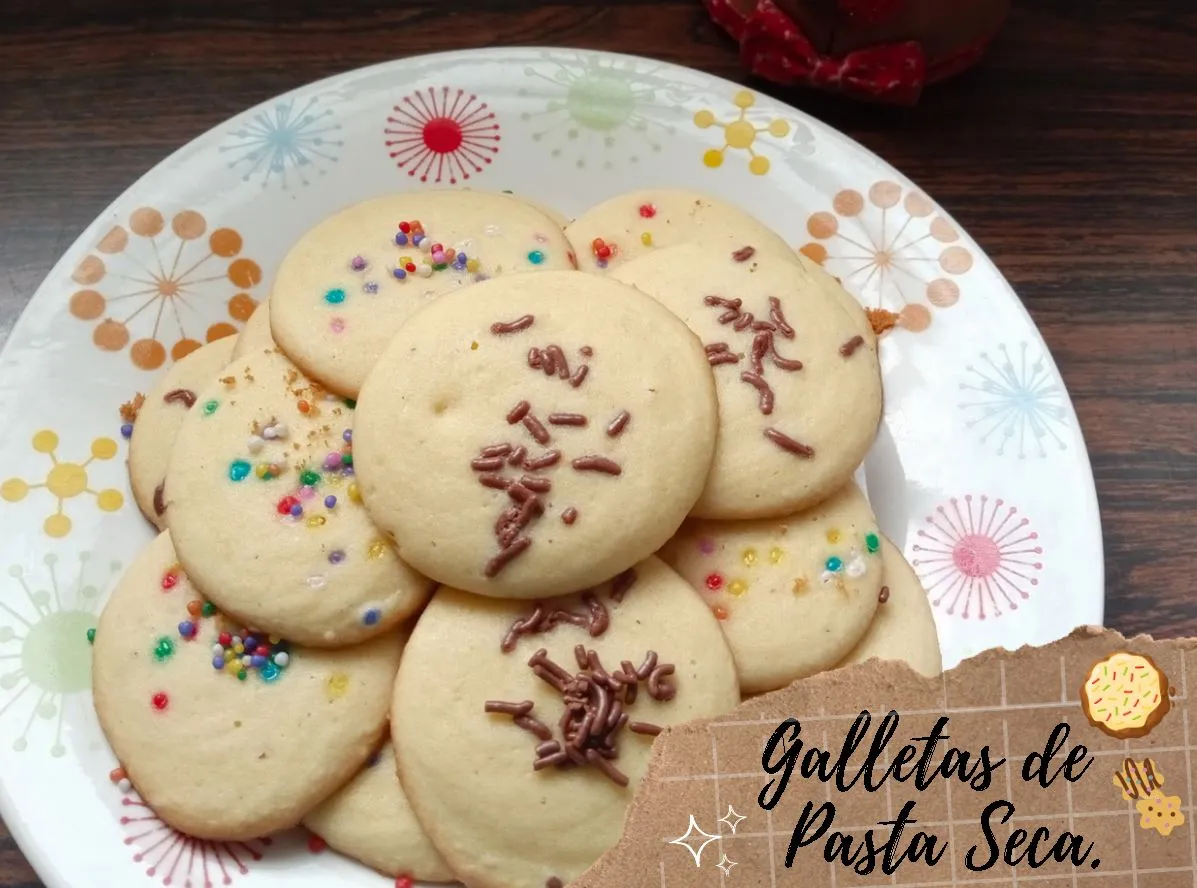
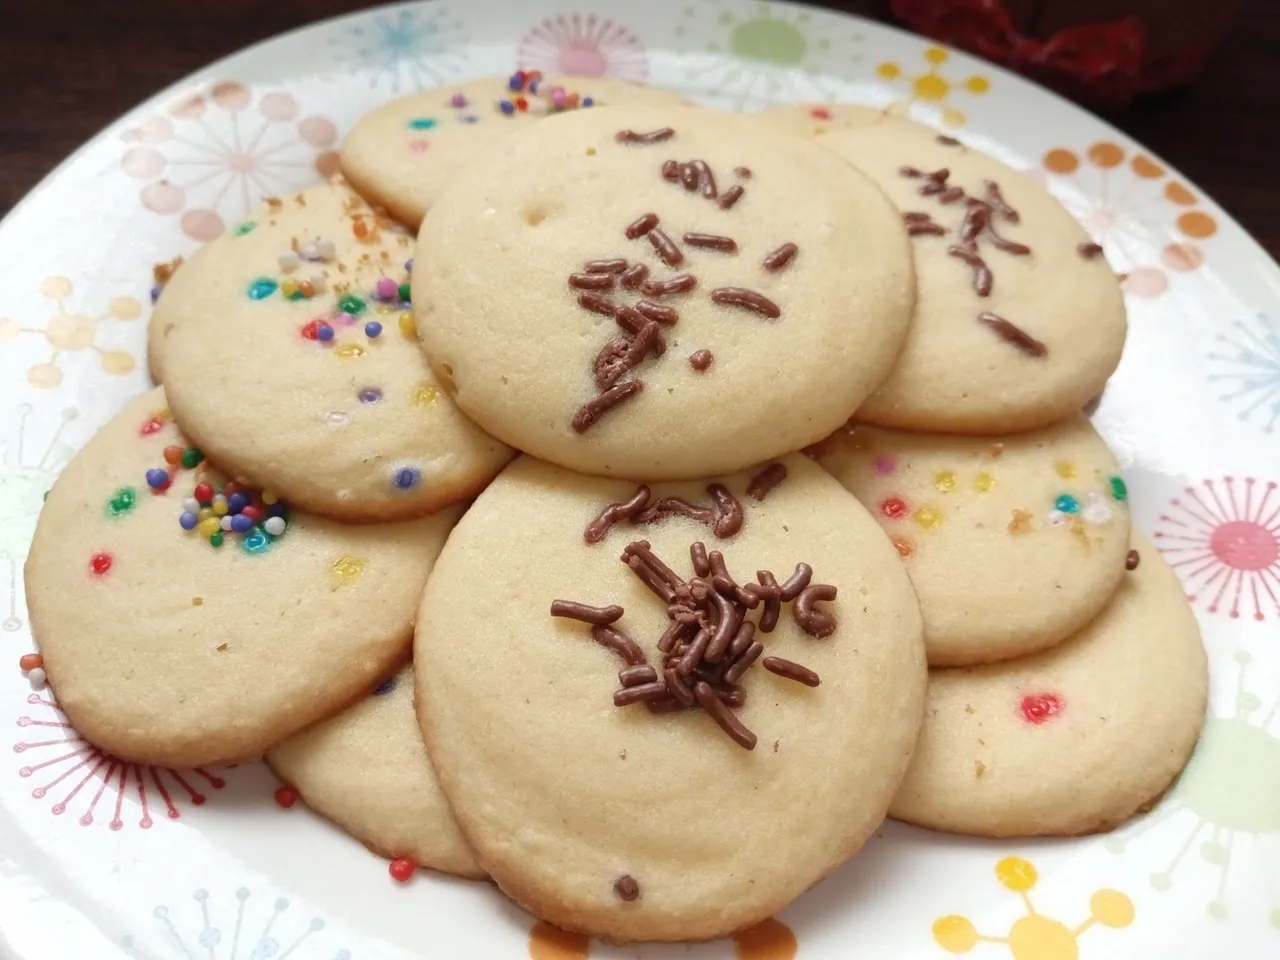
✨¡Y listo!✨ De esta forma puedes preparar tus deliciosas galletitas de pasta seca. Me gustó mucho el resultado final, pronto las haré de nuevo con su forma original que se ven mucho más bonitas, pero estaban deliciosas, que es lo importante. Espero les haya gustado y se animen a preparar esta receta.
❤️Hasta la próxima publicación.
✨¡And ready!✨ This way you can prepare your delicious dry pasta cookies. I really liked the final result, soon I will make them again with their original shape, they look much prettier, but they were delicious, which is the important thing. I hope you liked it and are encouraged to prepare this recipe.
❤️Until the next post.
✨RESULTADO: | ✨RESULT:


Todas las fotografías son de mi propiedad.
Separador y Fotos editadas en Canva
All photographs are my property.
Photos edited in Canva