Hi, foodies in the Hive!
I hope you're having a good day, a green day, perfect to enjoy your favorite green dessert 🍋🥝
Thanks a lot, @foodiesunite & @sirenahippie for hosting this contest and thank you, @sagarkothari88 for sponsoring it 😁🖤

About this dessert:
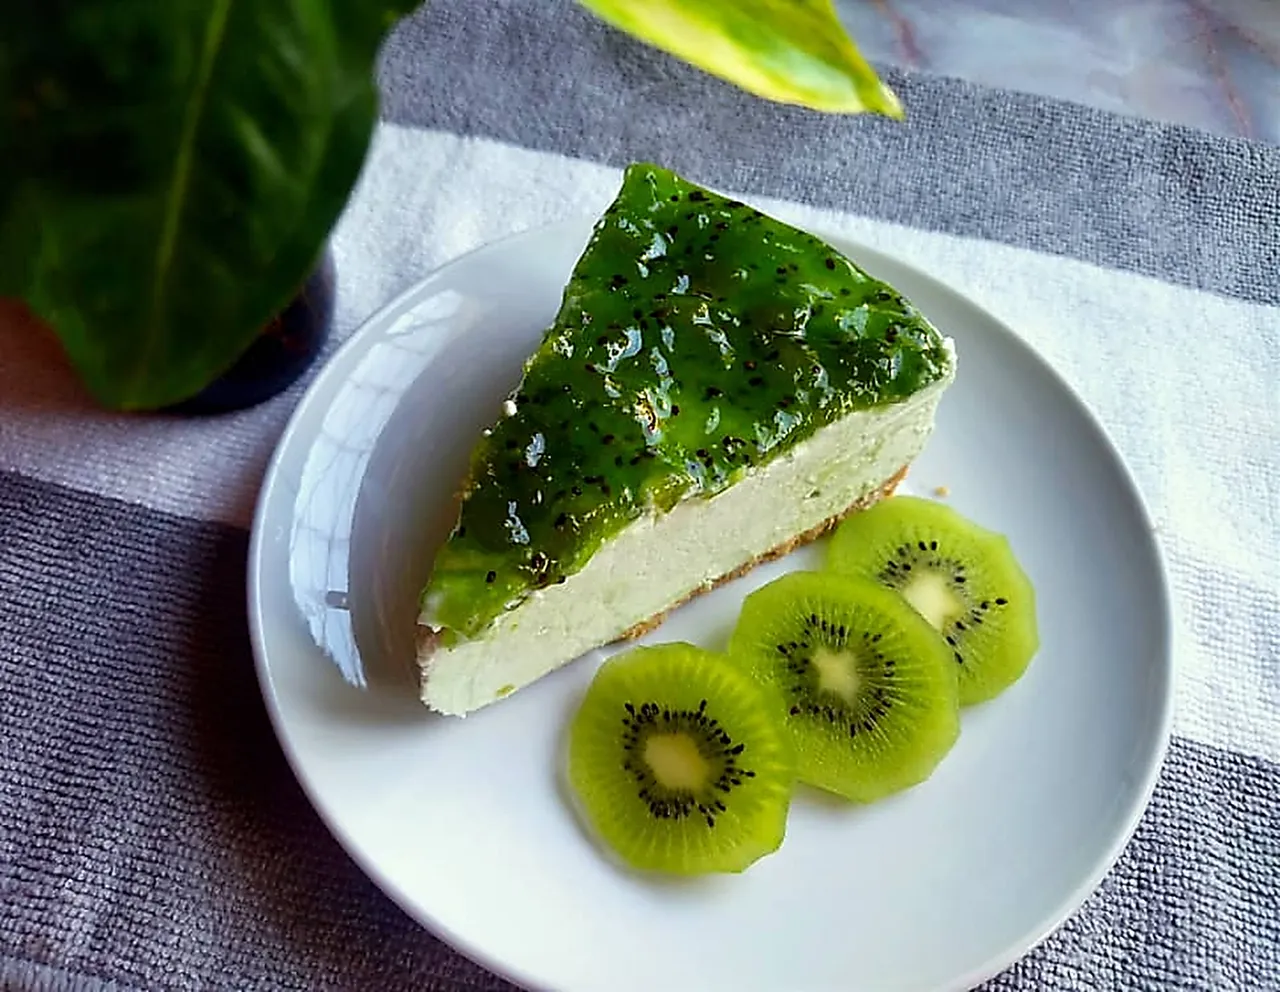
This dessert is halfway between a cheesecake and a mousse. I have read somewhere that before Christ the Greeks already had cheesecake; back then, it was prepared with fresh cheese, flour and honey. Many years later, in the mid-18th century, British colonists brought their version of cheesecake to America, where, over the years, curd cheese became cream cheese. The latter is the version I knew when I was a child. Now I've added unflavored gelatine, which makes it take a texture similar to that of French mousse.
My eldest sister used to prepare it with Maria Biscuits and Philadelphia cream cheese; it was quite an event that happened very rarely, since only she knew how to prepare it. I learned from her later. With her, it was always a strawberry jam topping. Now I have used kiwi jam.
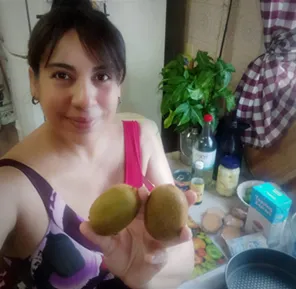
I've never been fond of kiwis. Perhaps the ones I've tried are not sweet enough, or tangy enough? But I do buy a couple of kiwis now and then.
I love their textures and how they taste in a fruit salad, you know, combined with other fruits like bananas, dates, and pineapple. And I do love how they look, so when I read "green," I thought of kiwis right away.
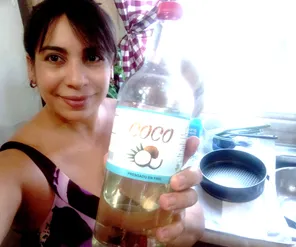
As the weather is so hot these days, it also occurred to me that this dessert should be cold and creamy but also refreshing. Lemons! I thought.
As you may know, lemons aren't so good to give color to food; having kiwis in the recipe would help...
![]()
However, I knew I'd be needing some extra green. Fortunately, I had leftover food coloring in the fridge. So it seemed, this green dessert was meant to be.
It'd be green, sweet and tangy, creamy, and refreshing. My ideas revolved around delicious cheesecake you din't need to bake.
I felt motivated. My sister's birthday was approaching; she's really fond of this kind of dessert, and she loves kiwis, so I'd take most of it to her.
Finally, I can tell you that I love how versatile cheesecake can be, since you can experiment a lot with types of cheese and even make very delicious vegan versions; for me, cooking is a lot about playing and doing creative therapy. So I made up my mind immediately.

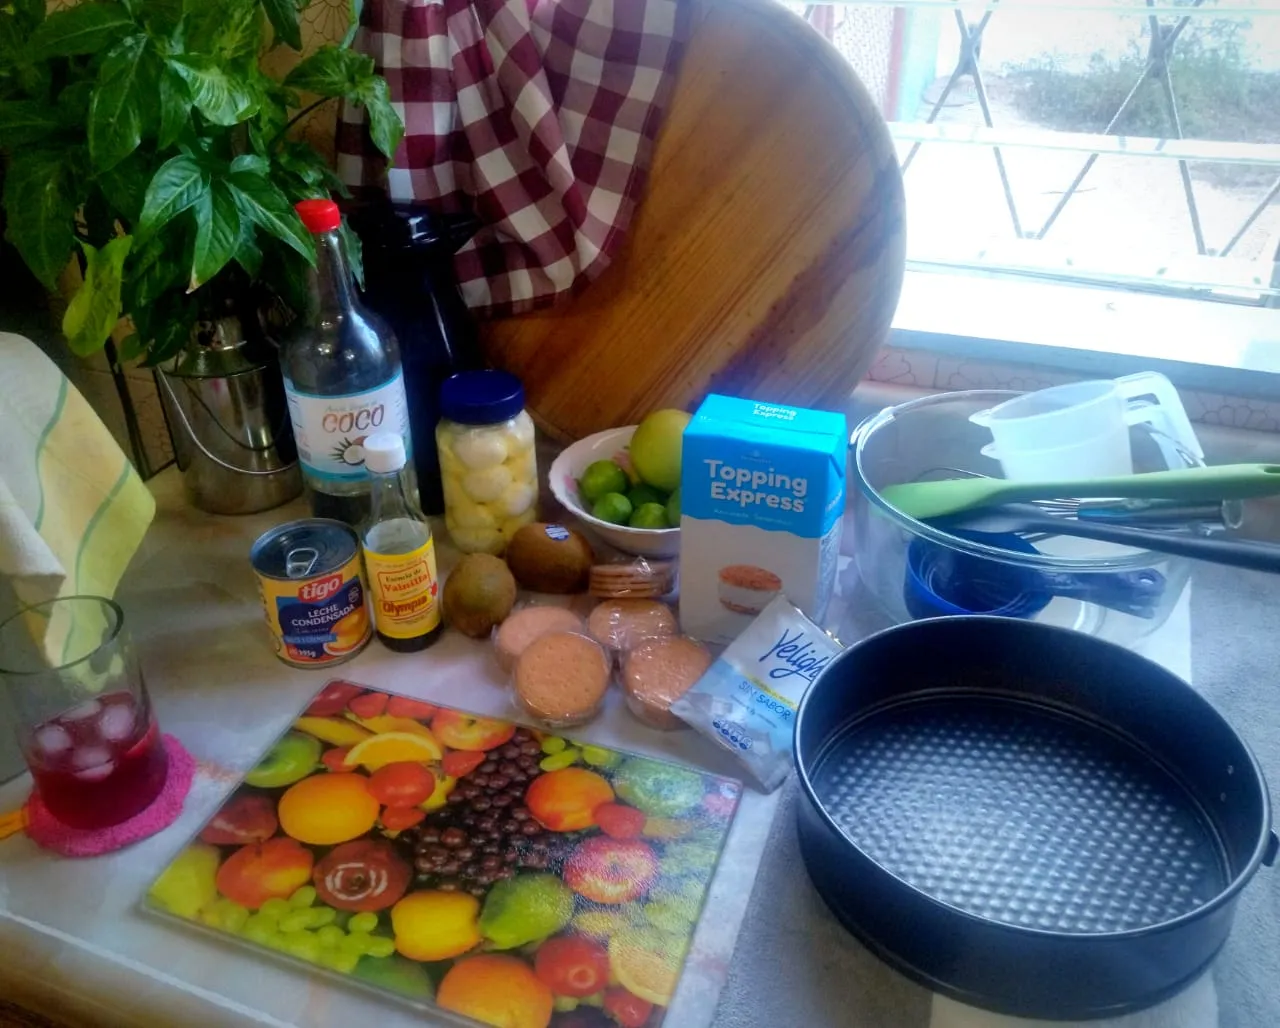
For the Crust
- 140 gr María biscuits
- 4 tablespoons cane sugar
- 70 ml coconut oil
For the creamy cake
- 250 gr cheese cream
- 250 gr whipping cream
- 150 gr condensed milk
- 75 gr labneh
- 3/4 cups freshly squeezed lemon juice
- 174 cups unflavored gelatine
- 2 teaspoons vanilla essence
- 1/2 cups powdered sugar (no cornstarch)
- green food coloring to taste
For the topping
- 1 1/2 cups peeled and chopped kiwis
- 1/2 cups sugar
- 1/2 water
- 1 cup pineapple jam
- green food coloring to taste

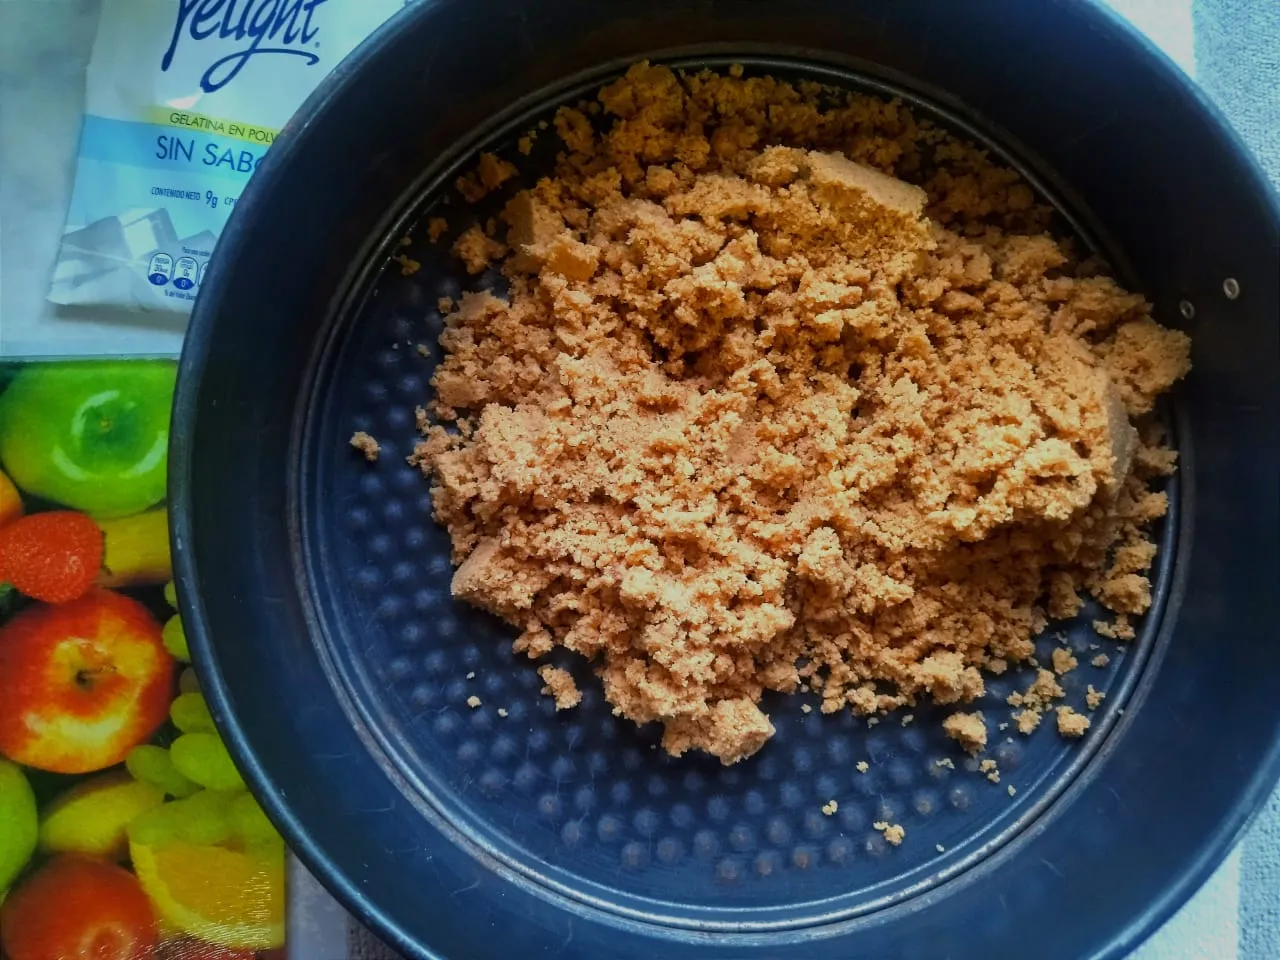
I always choos Puig when it comes to María biscuits. They make delicious crust for cheesecake.
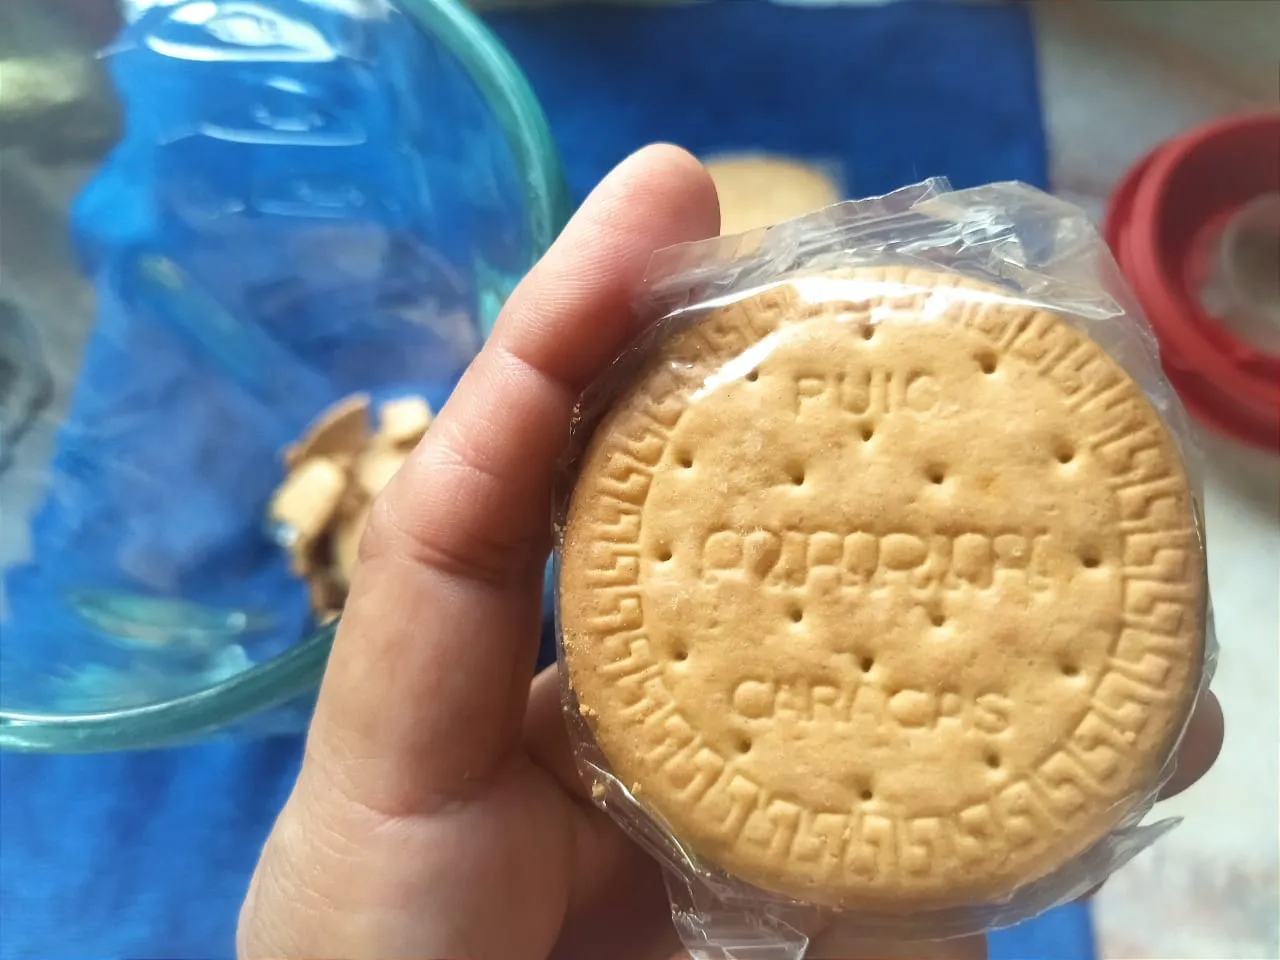
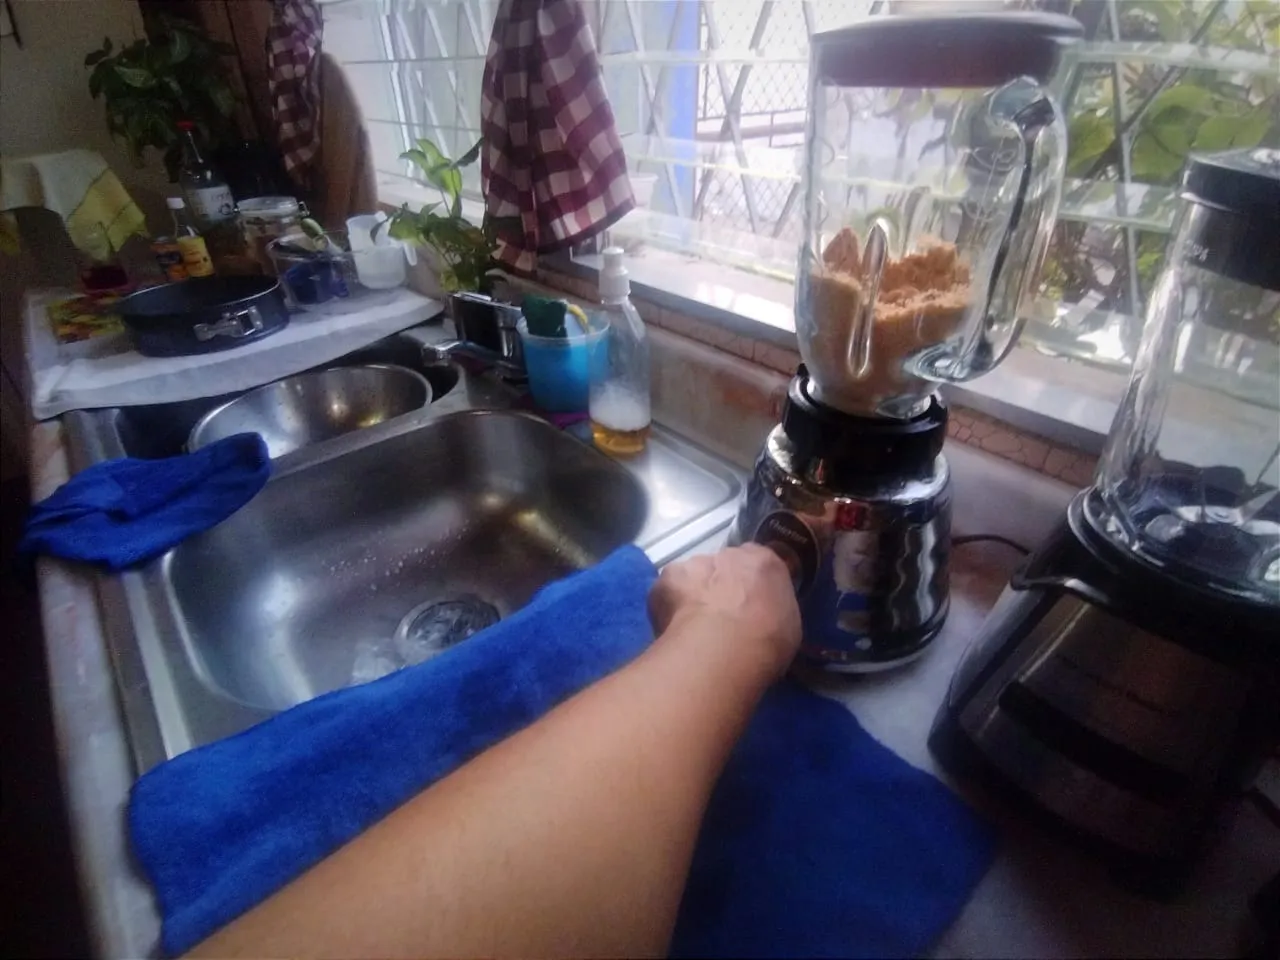
To make the crust of this cake, I broke the biscuits into pieces and put them in the blender.
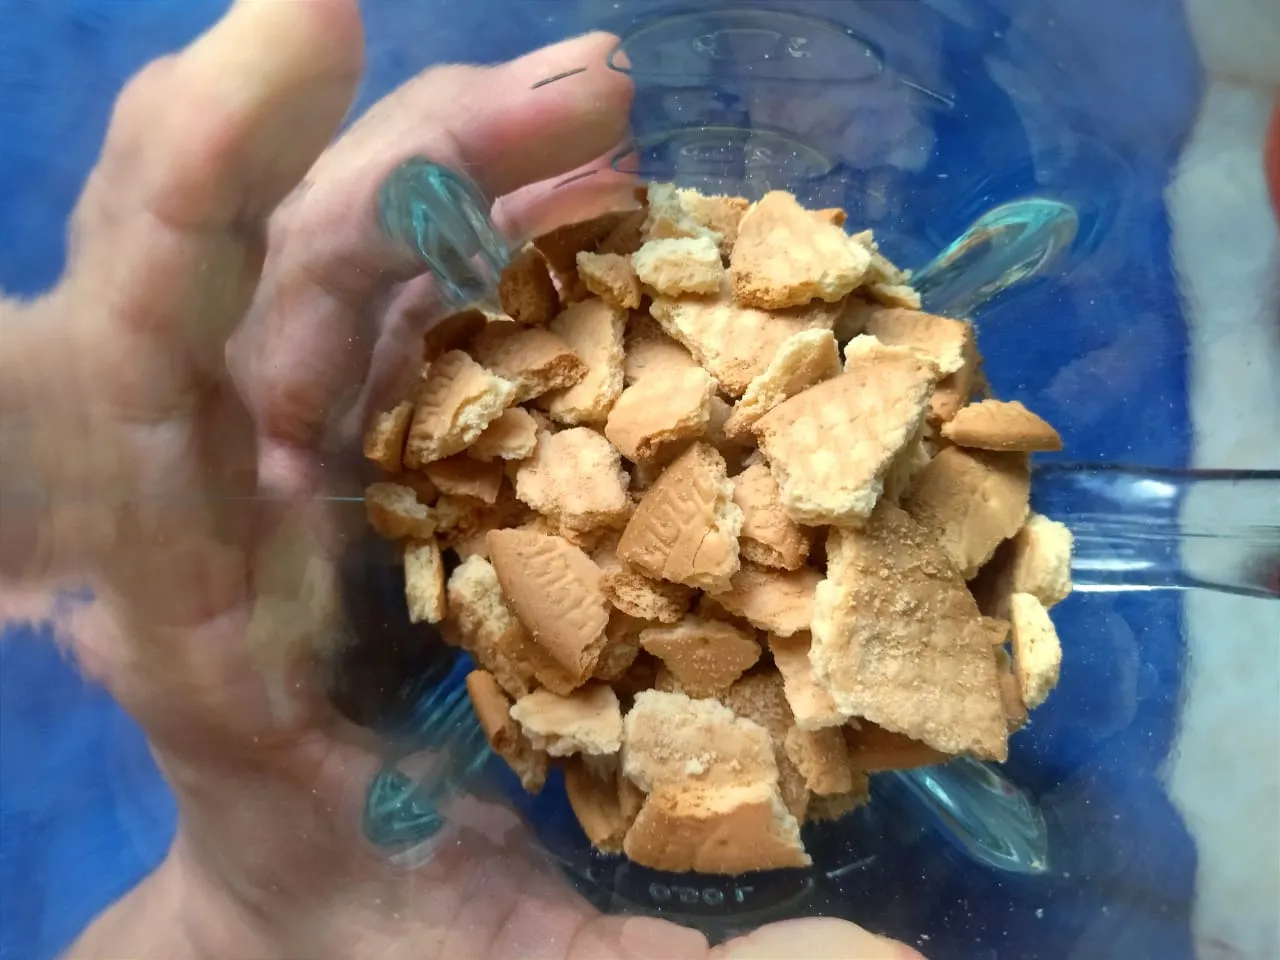
They became dust in no time!
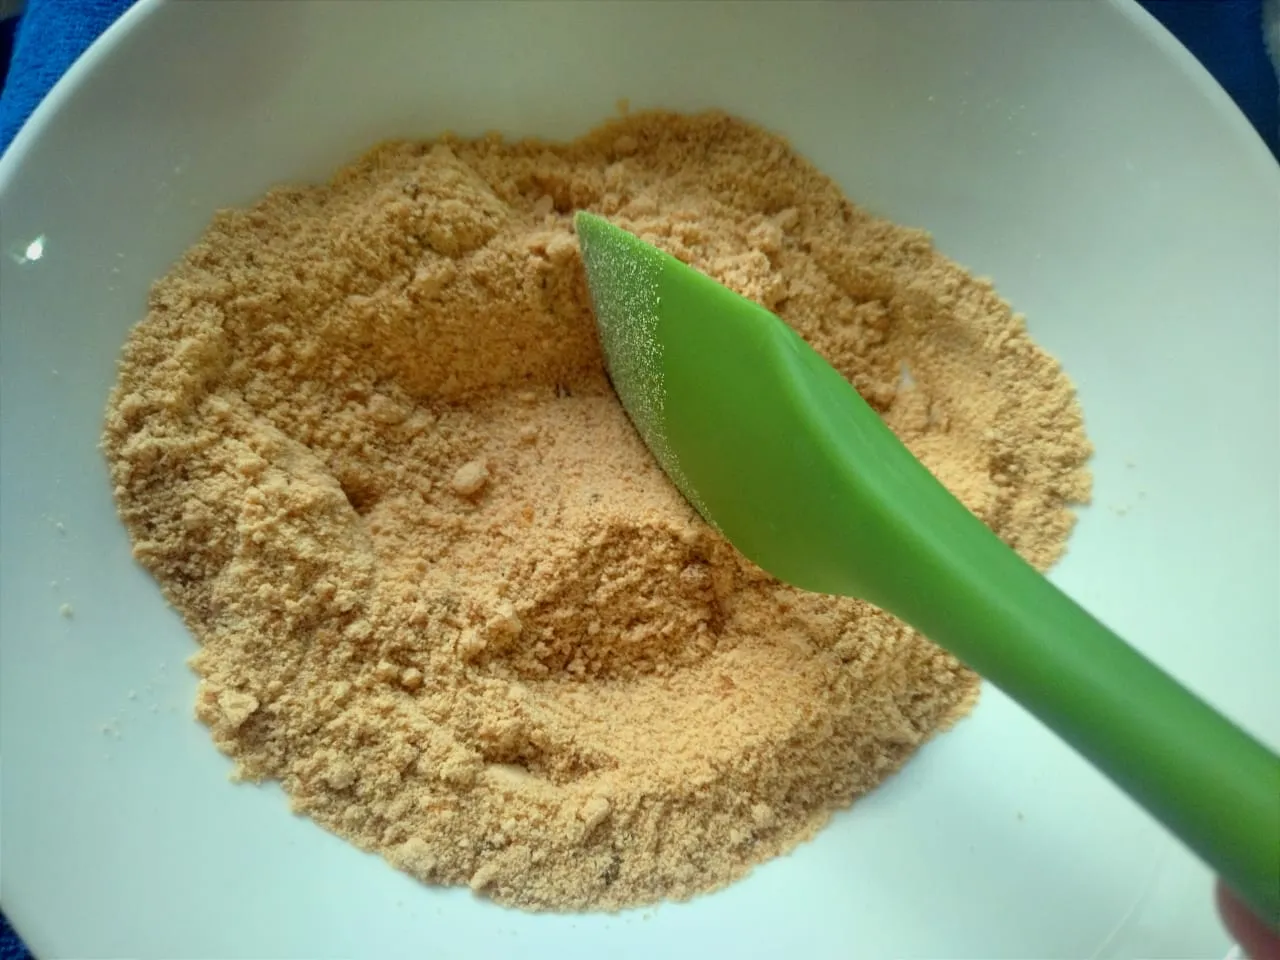
Then I added the cane sugar, which will add more moist and flavor than regular sugar.

Mixed well...
...And add the coconut oil. The smell was incredible 🖤
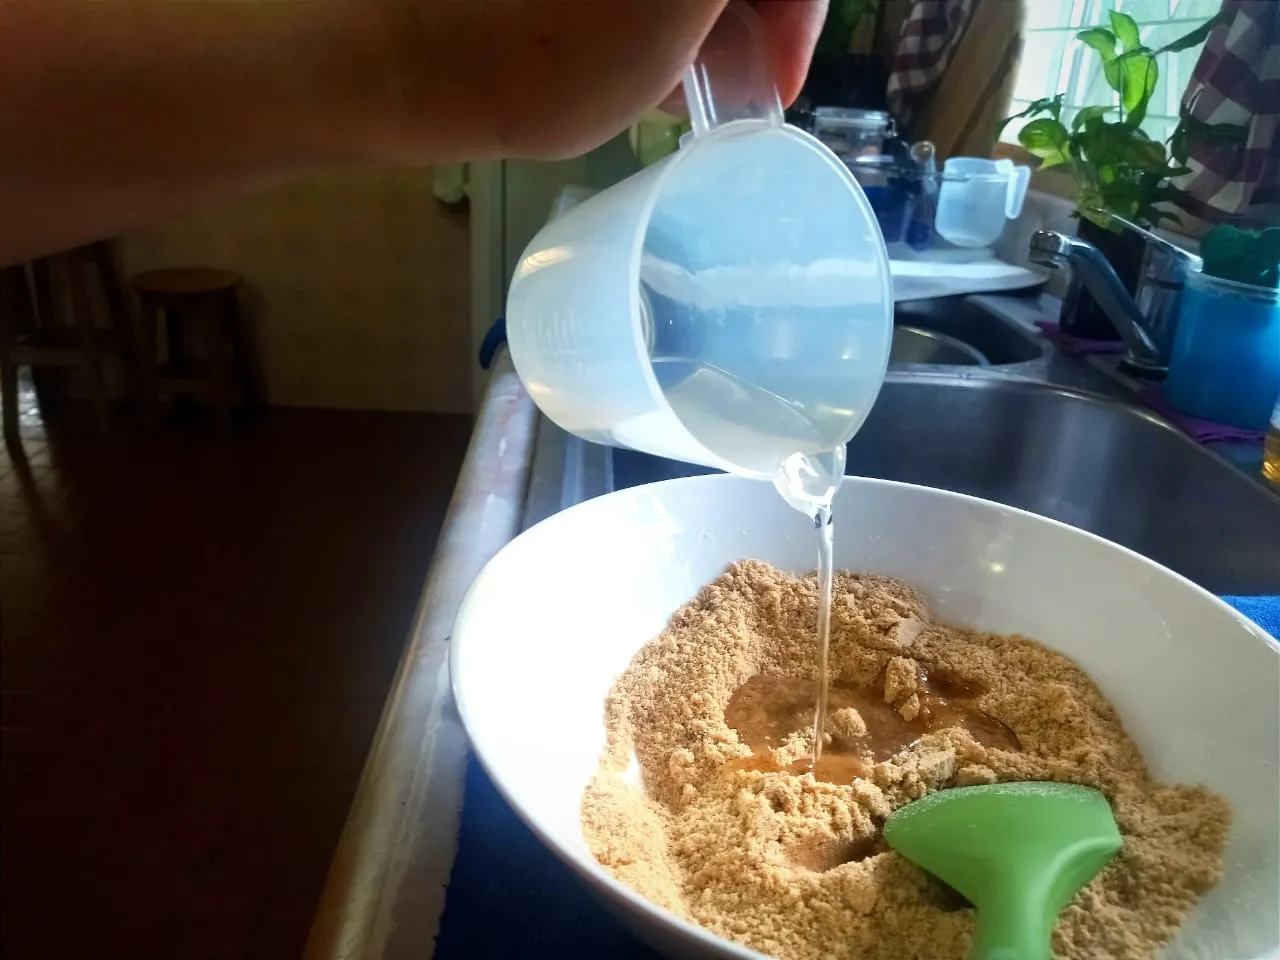
I used a pastry spoon to mix the ingredients, but then I had to use my hands.
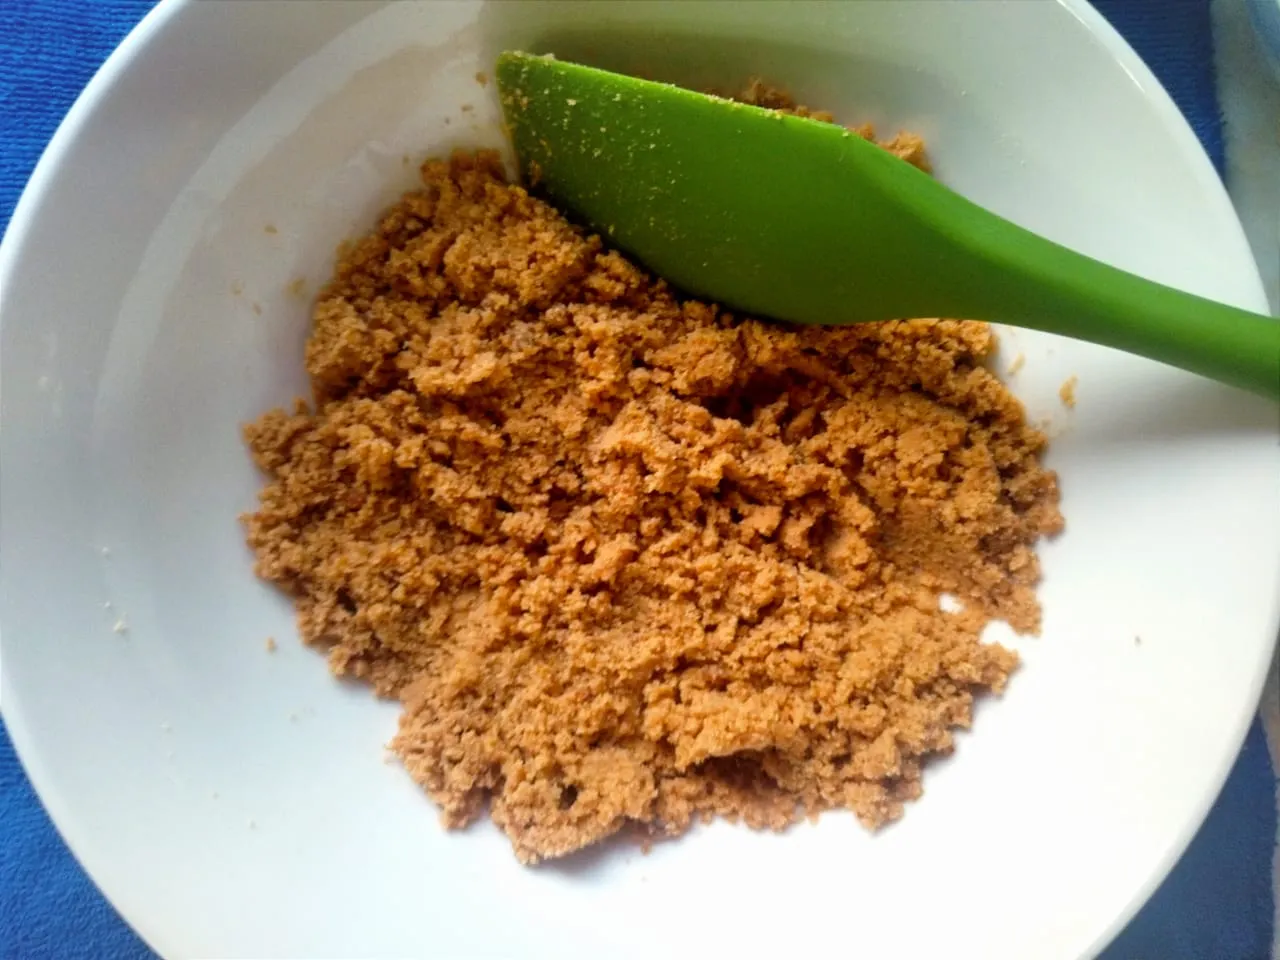
It's important that the cookies absorb the oil well and evenly to make a solid and crunchy crust that will melt in your mouth.

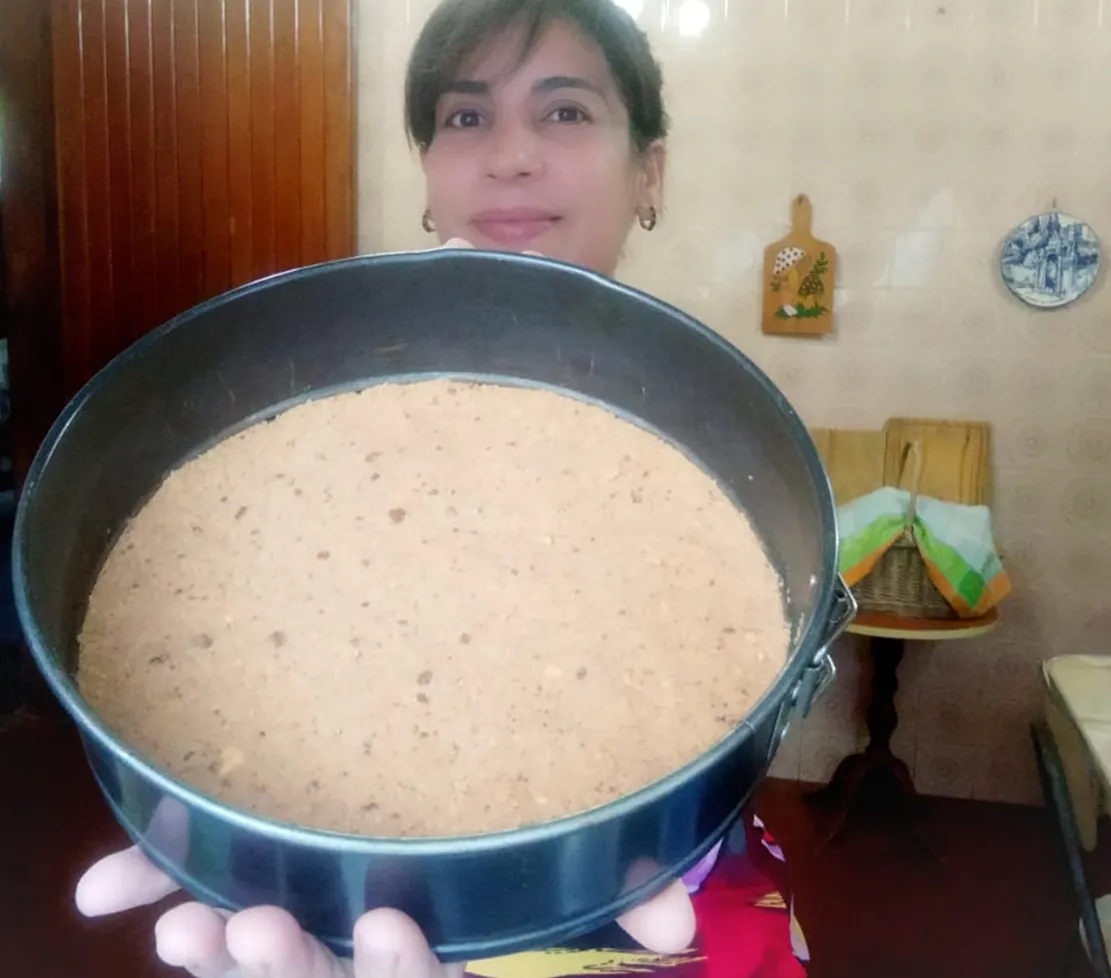
I used a 9" cheesecake pan with a honeycomb textured base. I just put the crumbles inside the pan and distributed the mixture evenly to cover all the base.
I pressed well to form a solid crust and took it to the freezer while I prepared the rest of the dessert.
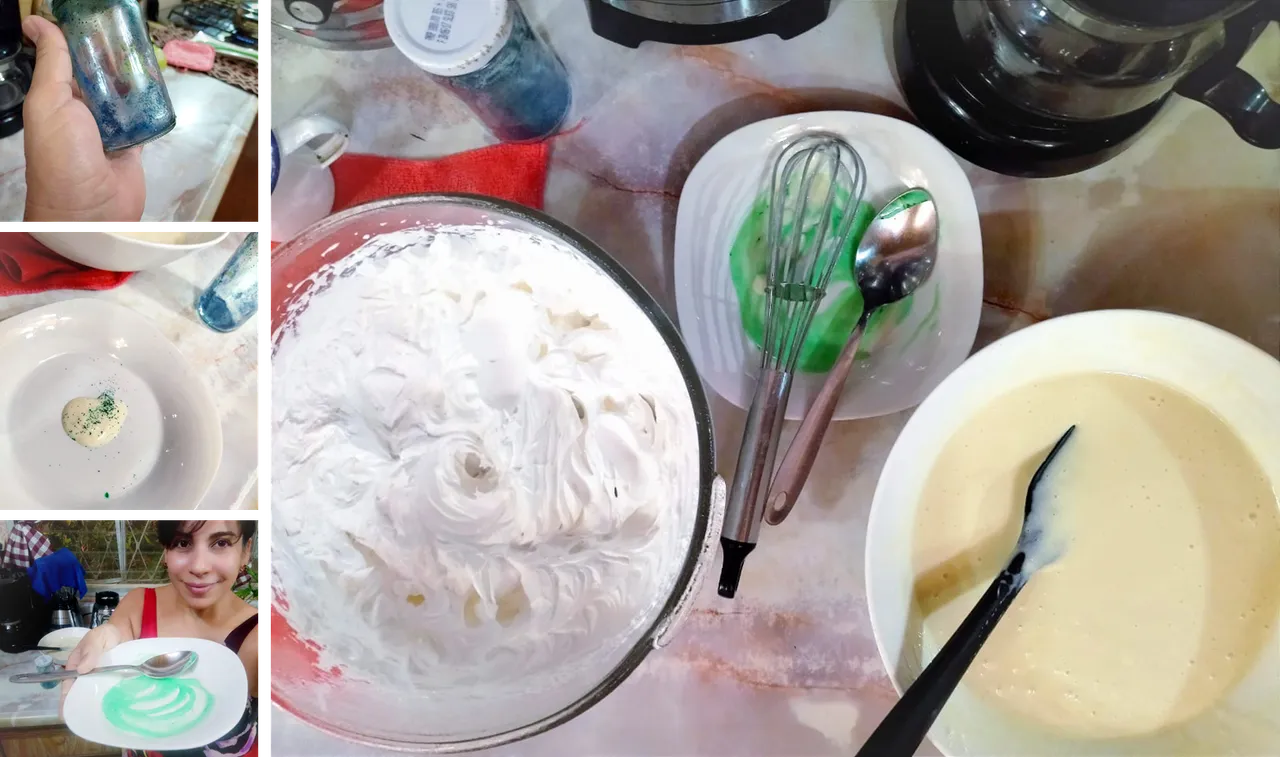
Once the crust was in the freezer, I prepared the cream that would become the heart of this cake.
The process couldn't be easier. I just mixed everything except the whipping cream. I used the mixer to make my work easier. You can use a blender as well, as sometimes lumps can form and this is not good.
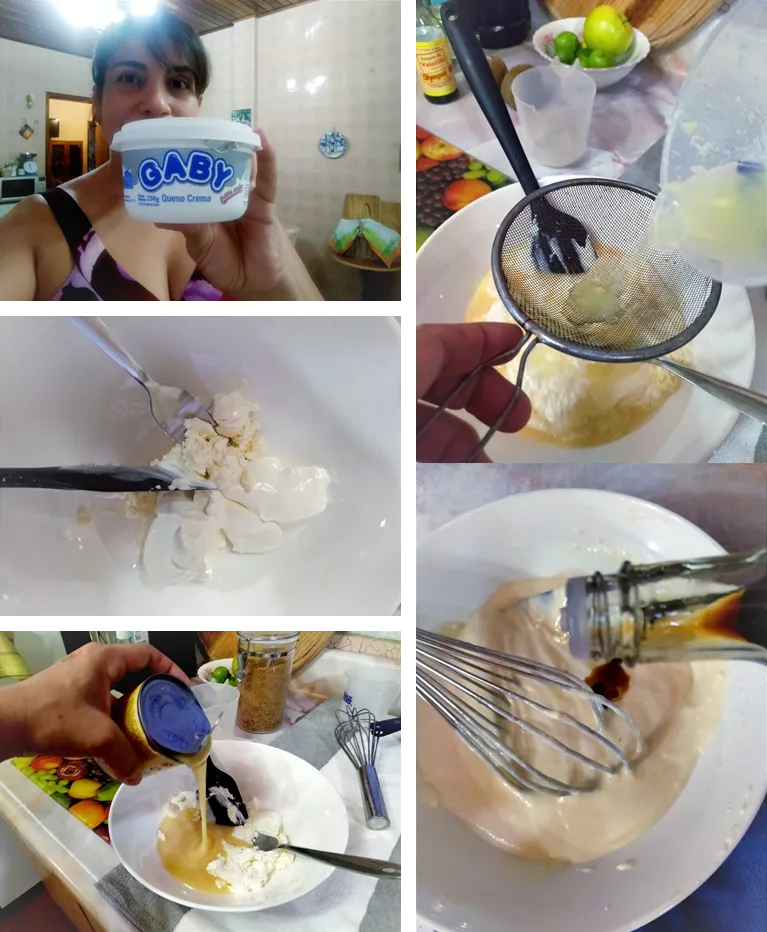
I powdered the sugar in a dry blender.
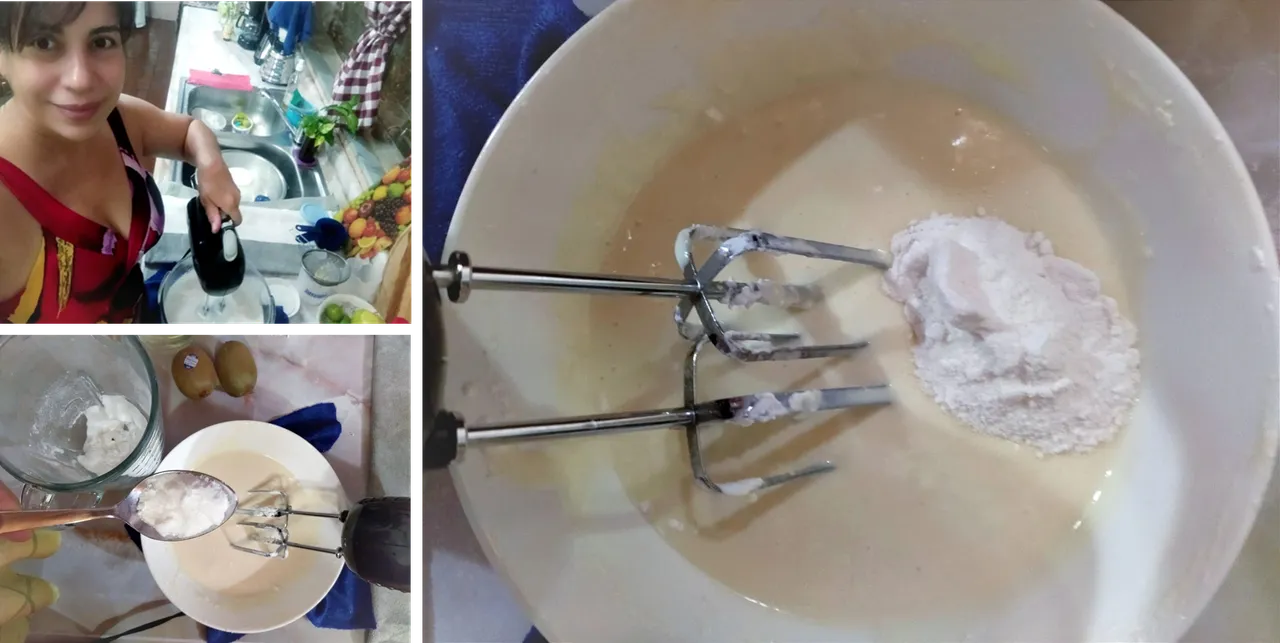
I continued to dissolve the unflavored gelatine. I used a double boiler.
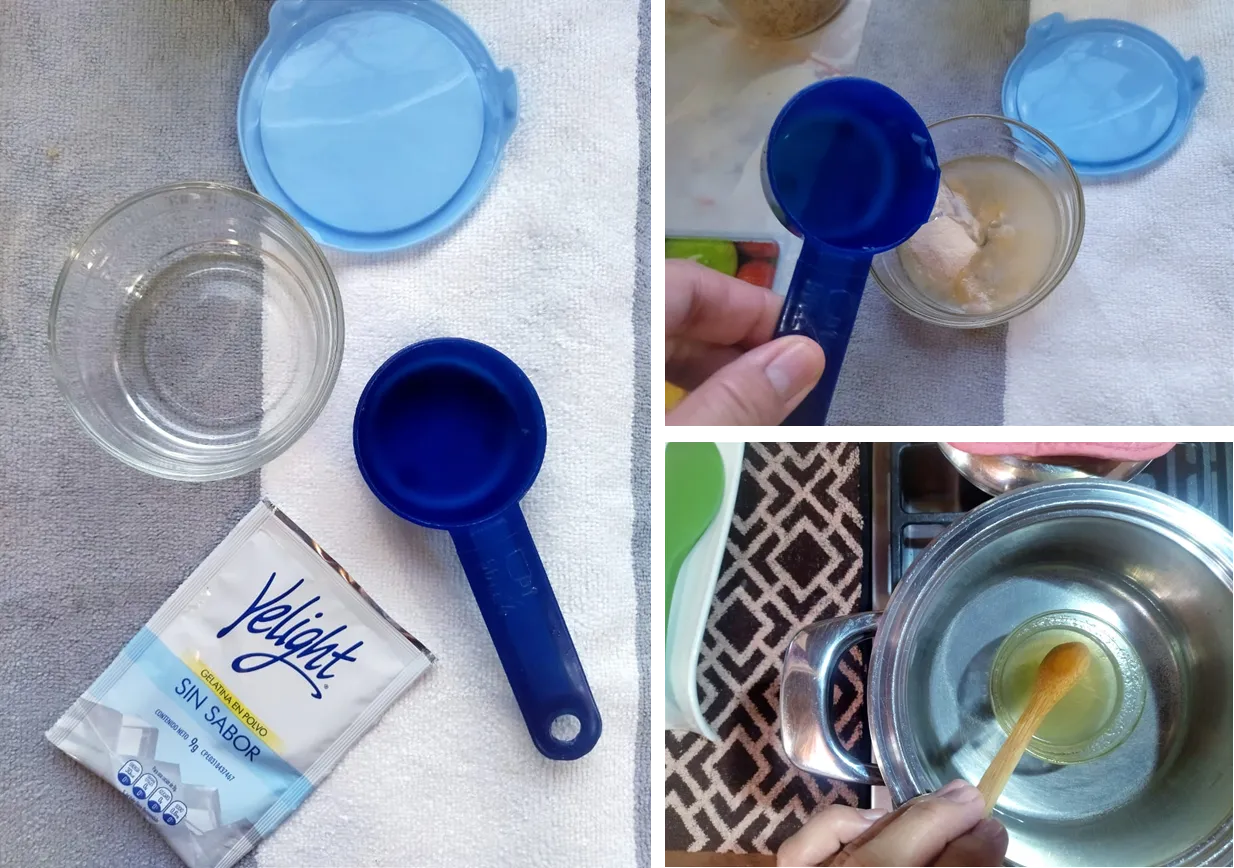
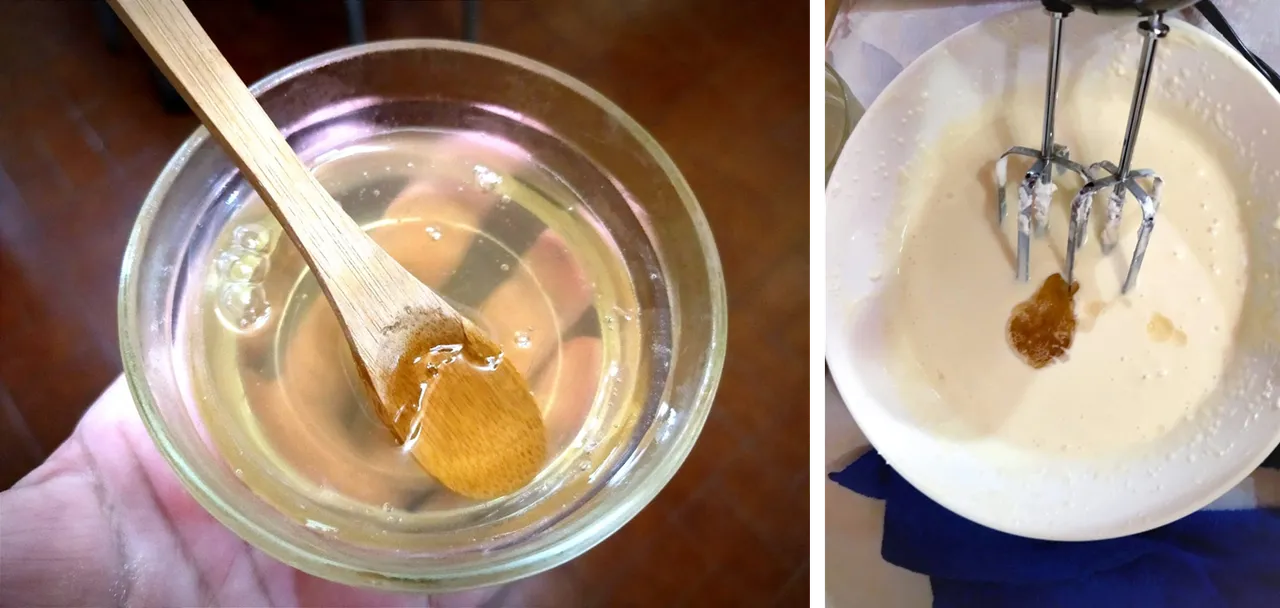
I let the gelatine on the counter for some minutes to release the heat.
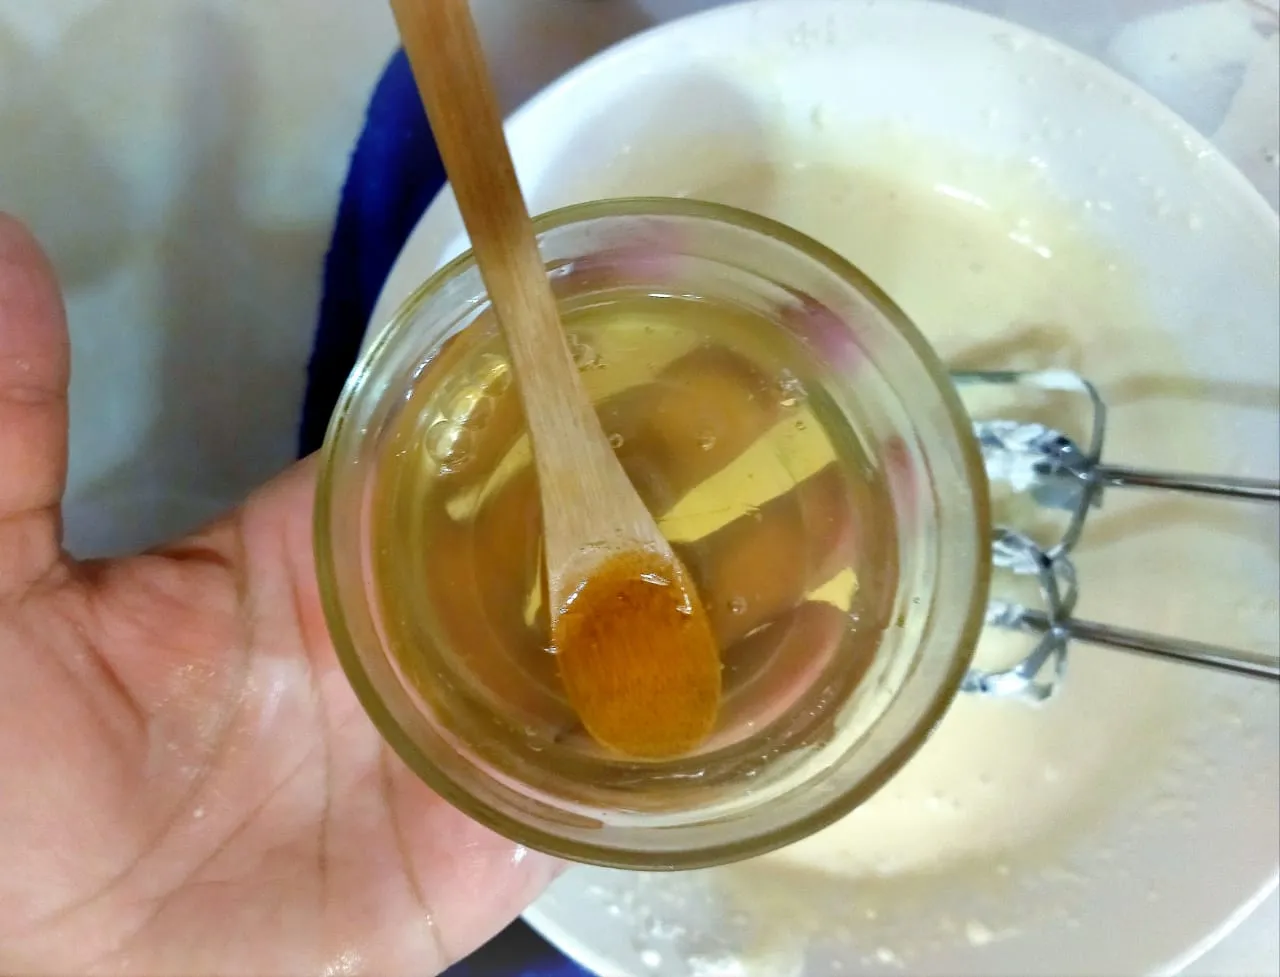
When the gelatine had cooled enough, I mixed it with the cream and took it to the freezer.
I took the whipping cream out of the freezer where it'd been for an hour.
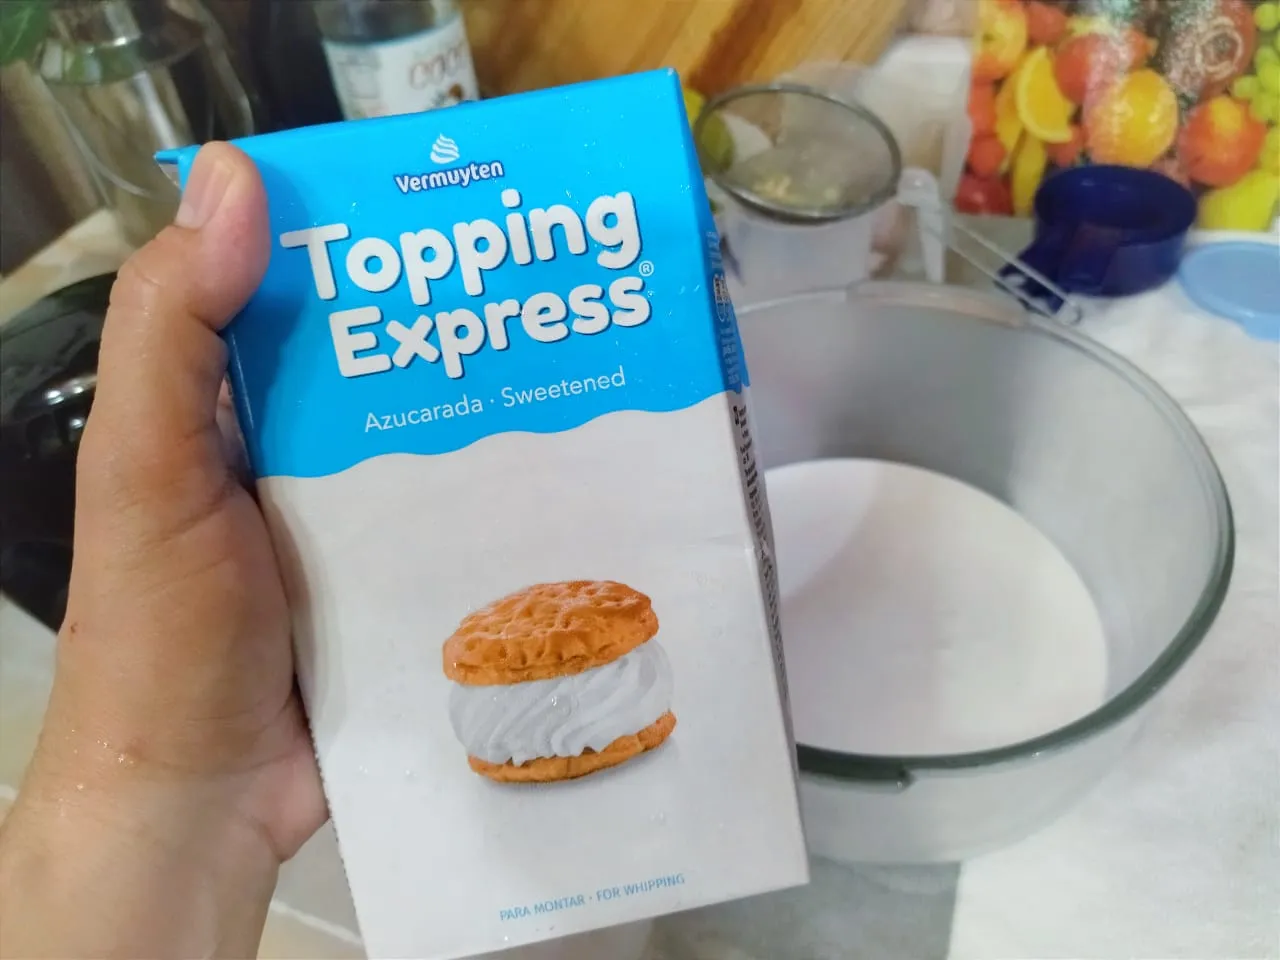
As it was really cold, it was easy to whip. I used my mixer.

I took the whipped cream to the freezer and waited until both creams were about to freeze. (Meanwhile, I prepared the topping.)
After half an hour or so, I mixed the creams together.
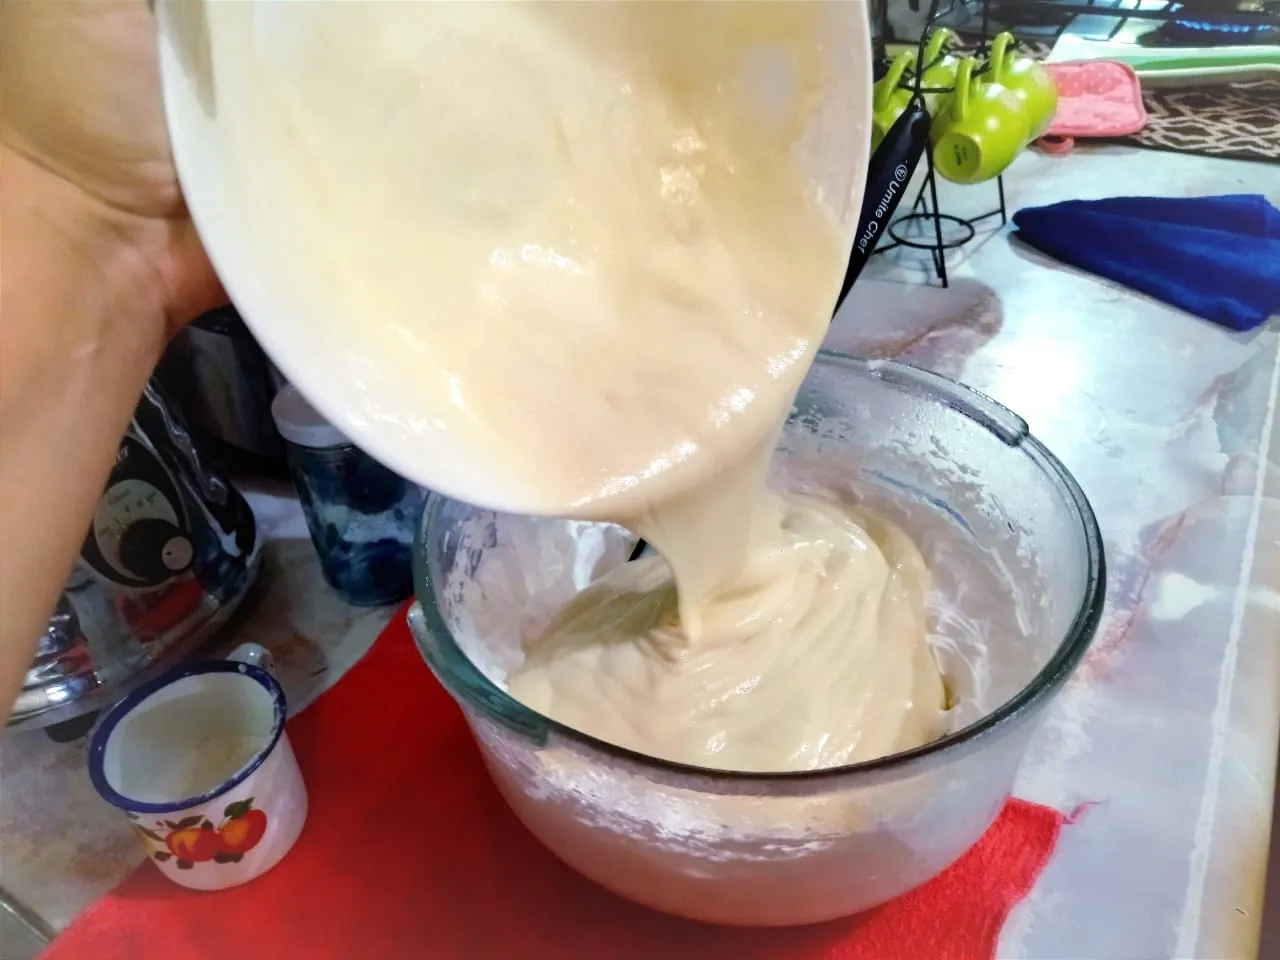
No mixers or blenders this time! I folded it with a silicone pastry spoon...
...so the mixture wouldn't lose its fluffiness.
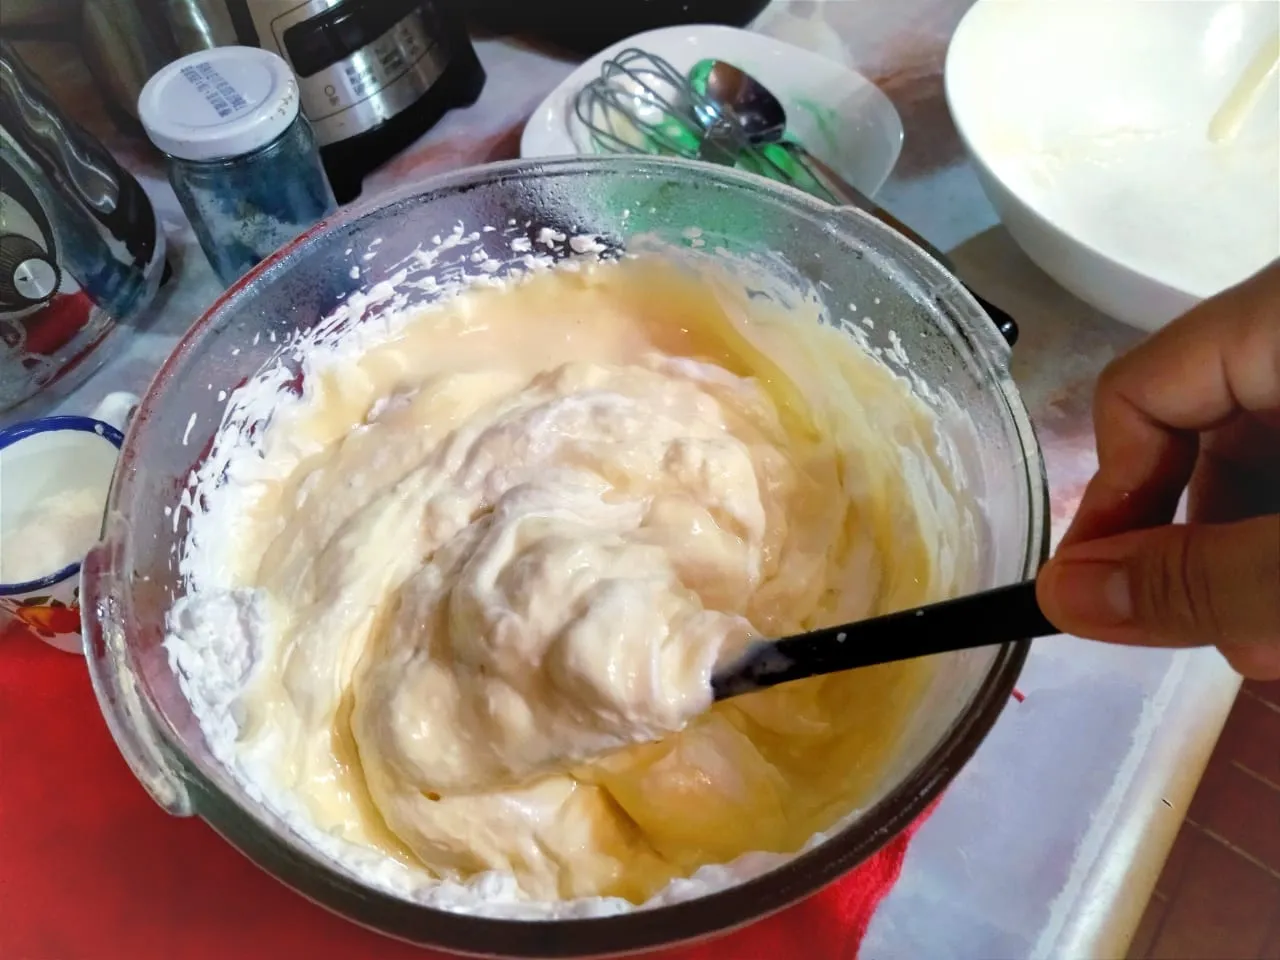
When it was homogeneous, I added the food coloring. I made a little test first to check the color. Food coloring is something I never use. Well, almost never. I prefer natural colors.
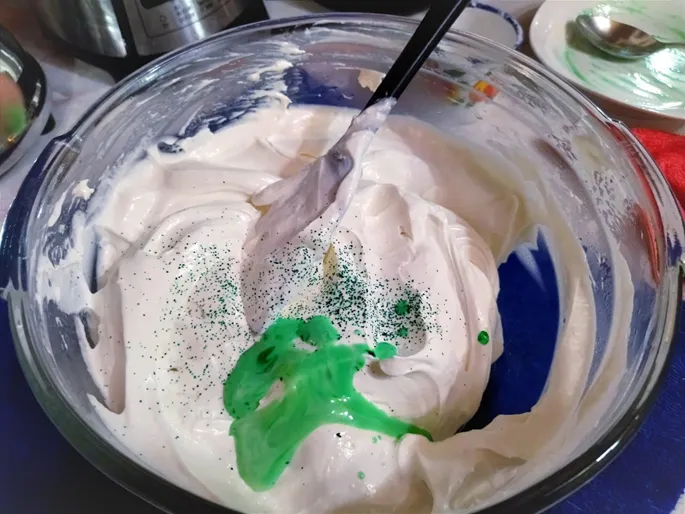
... But this green was really pretty.
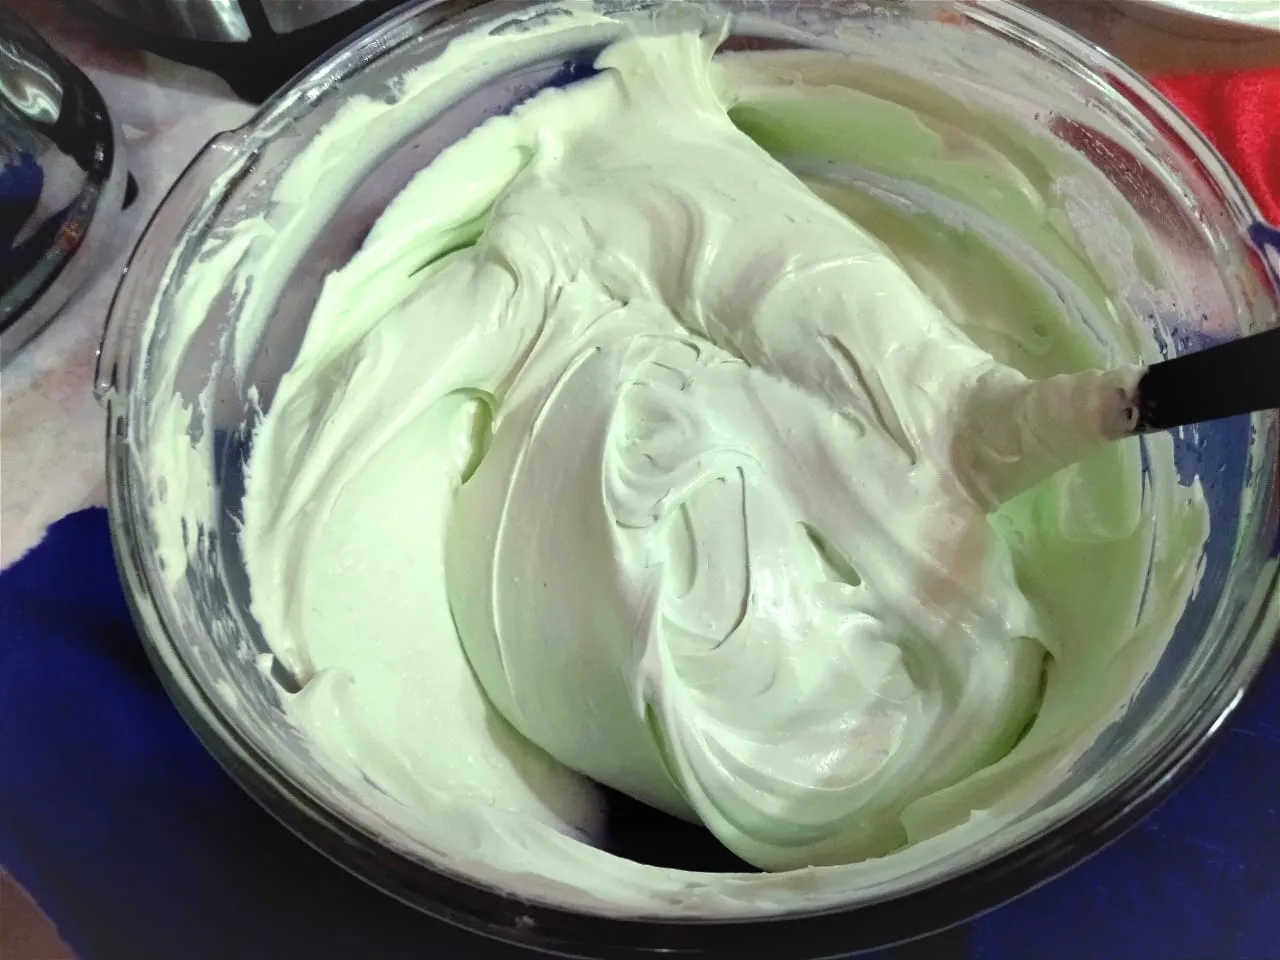
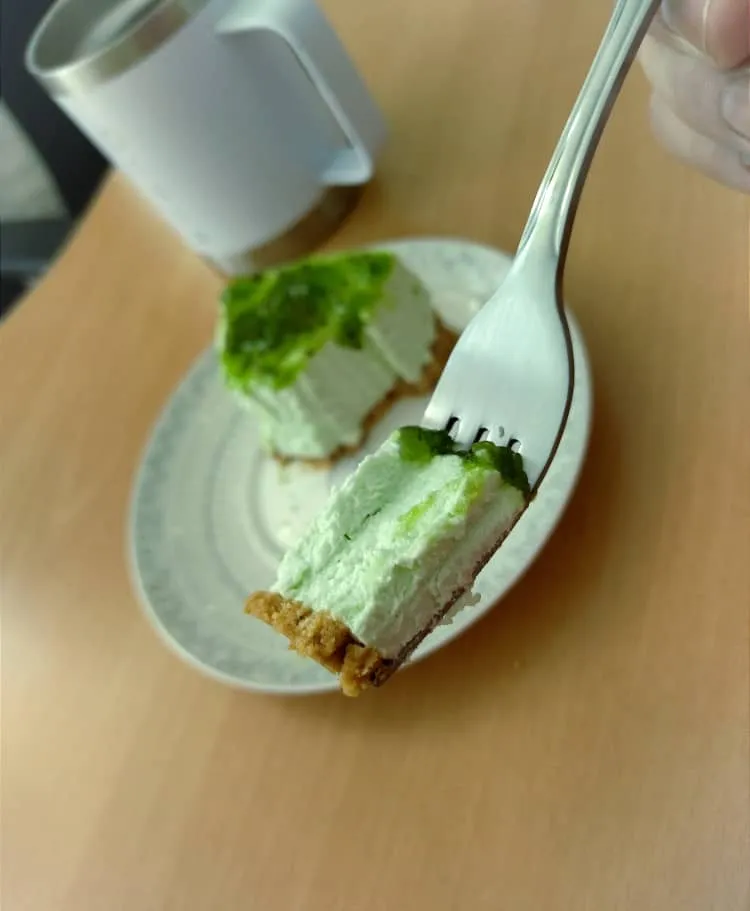
I checked the flavor and texture 😁
It was super yummy and ready to join its crust in the pan.
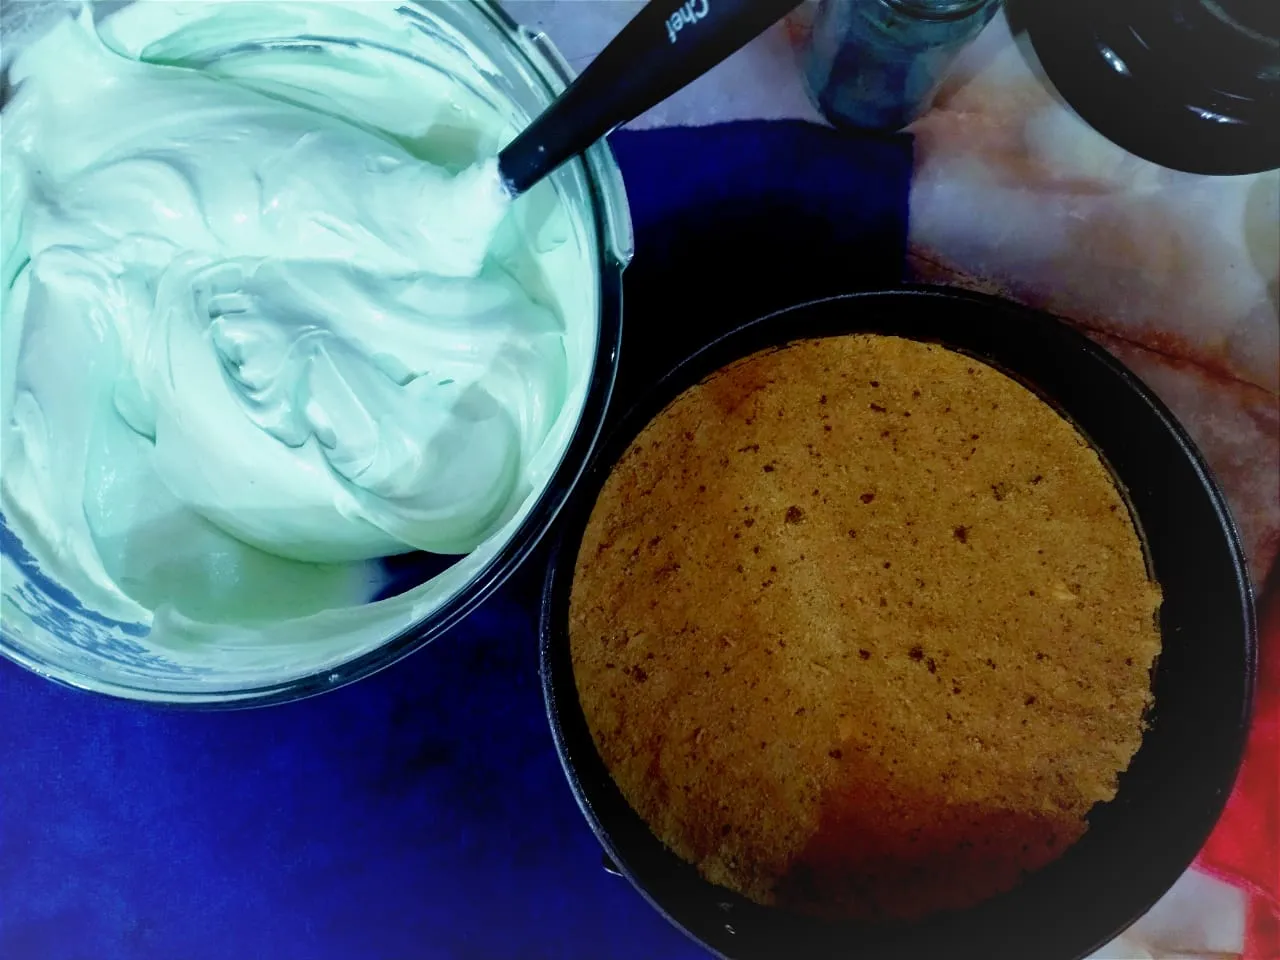
It was soft.
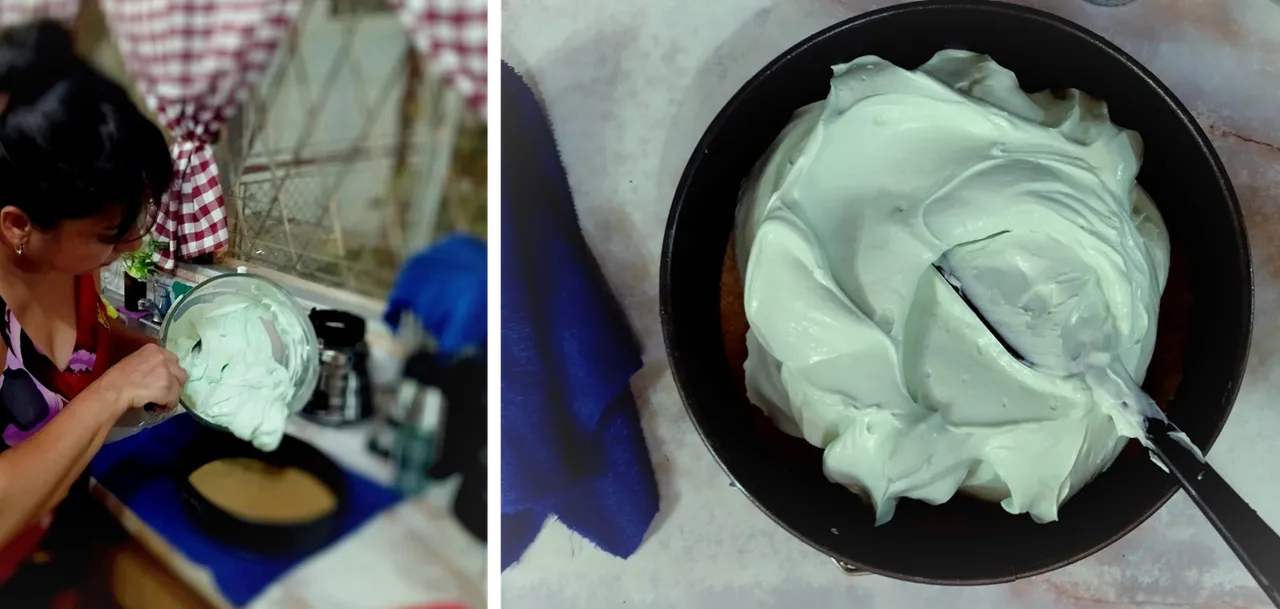
Like silk.
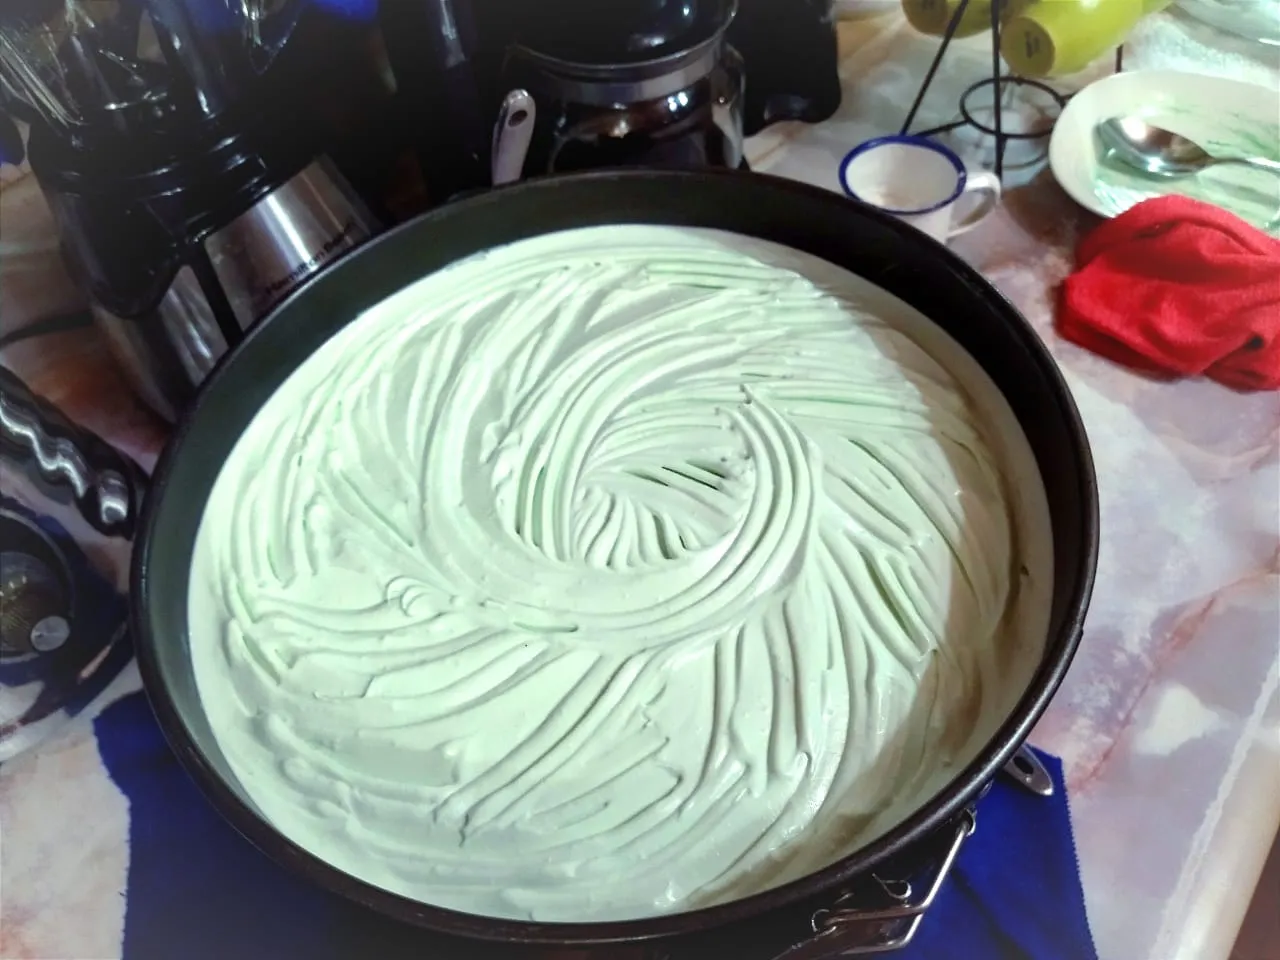
I distributed the cream as evenly as I could and drew some lines with a fork on the surface of the cream so that the jam in the topping would hold better.
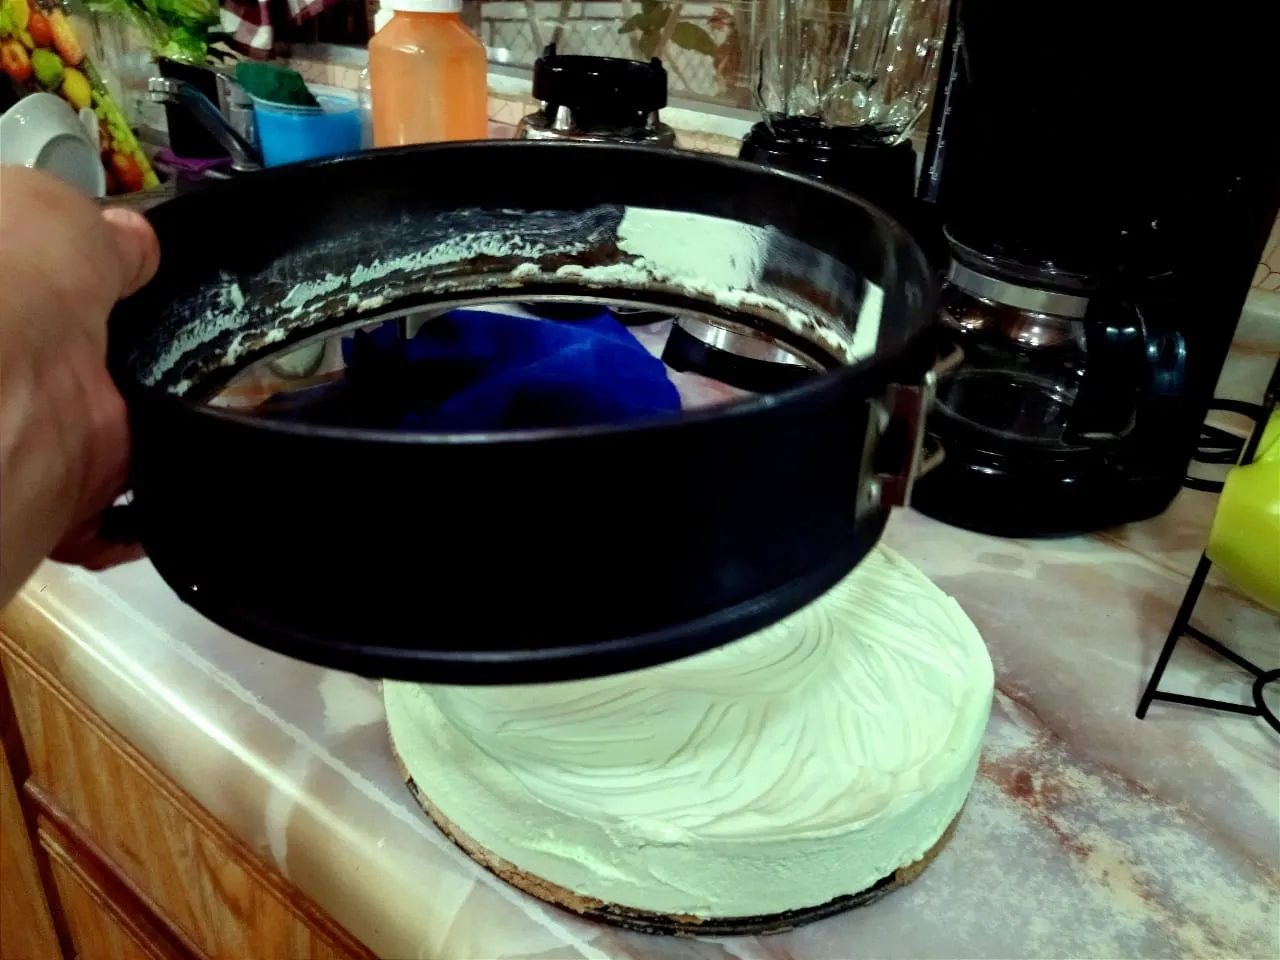
After 1 hour in the freezer, it was firm enough to remove the outer ring from the base of the cheesecake pan.
Now I'll show you how I made the topping.
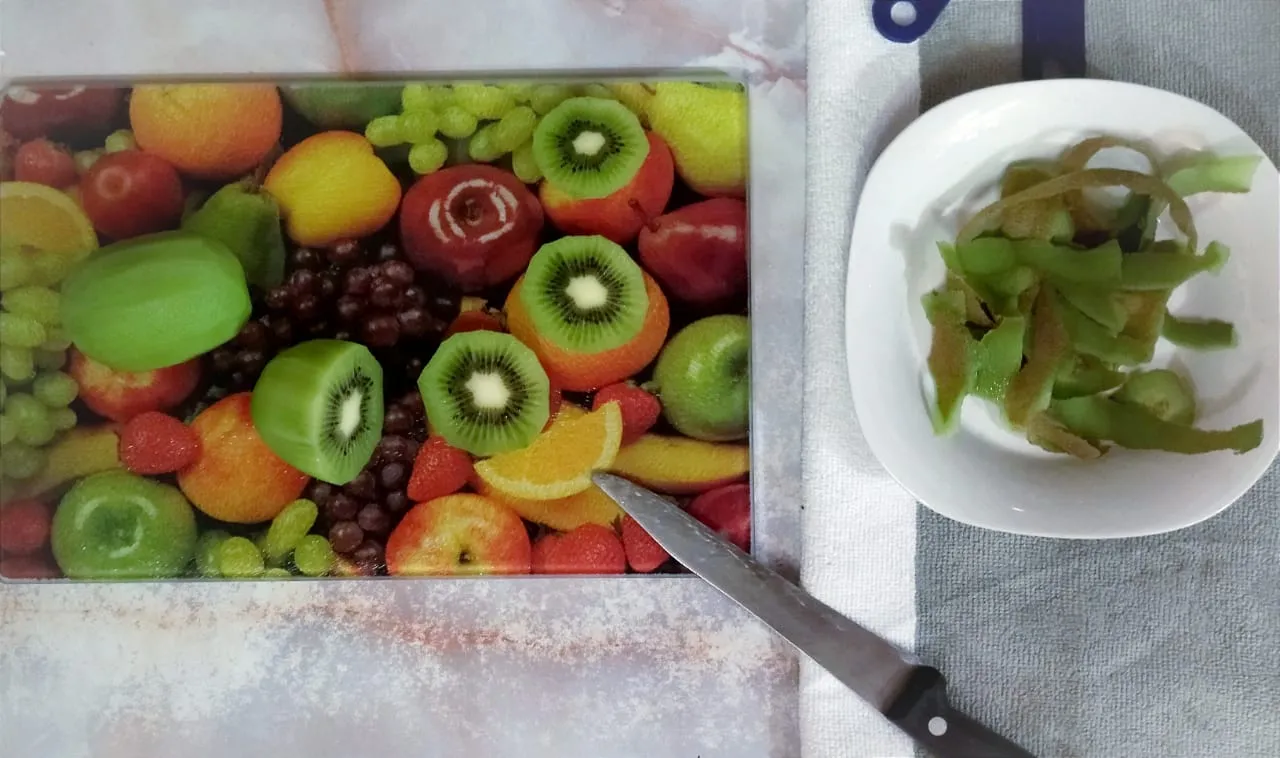
It all started with kiwis. I peeled the kiwis and cut them in small pieces of 3 cm wide and half a centimeter thick approx. I saved three slices to add and extra to the simple decoration of this dessert.
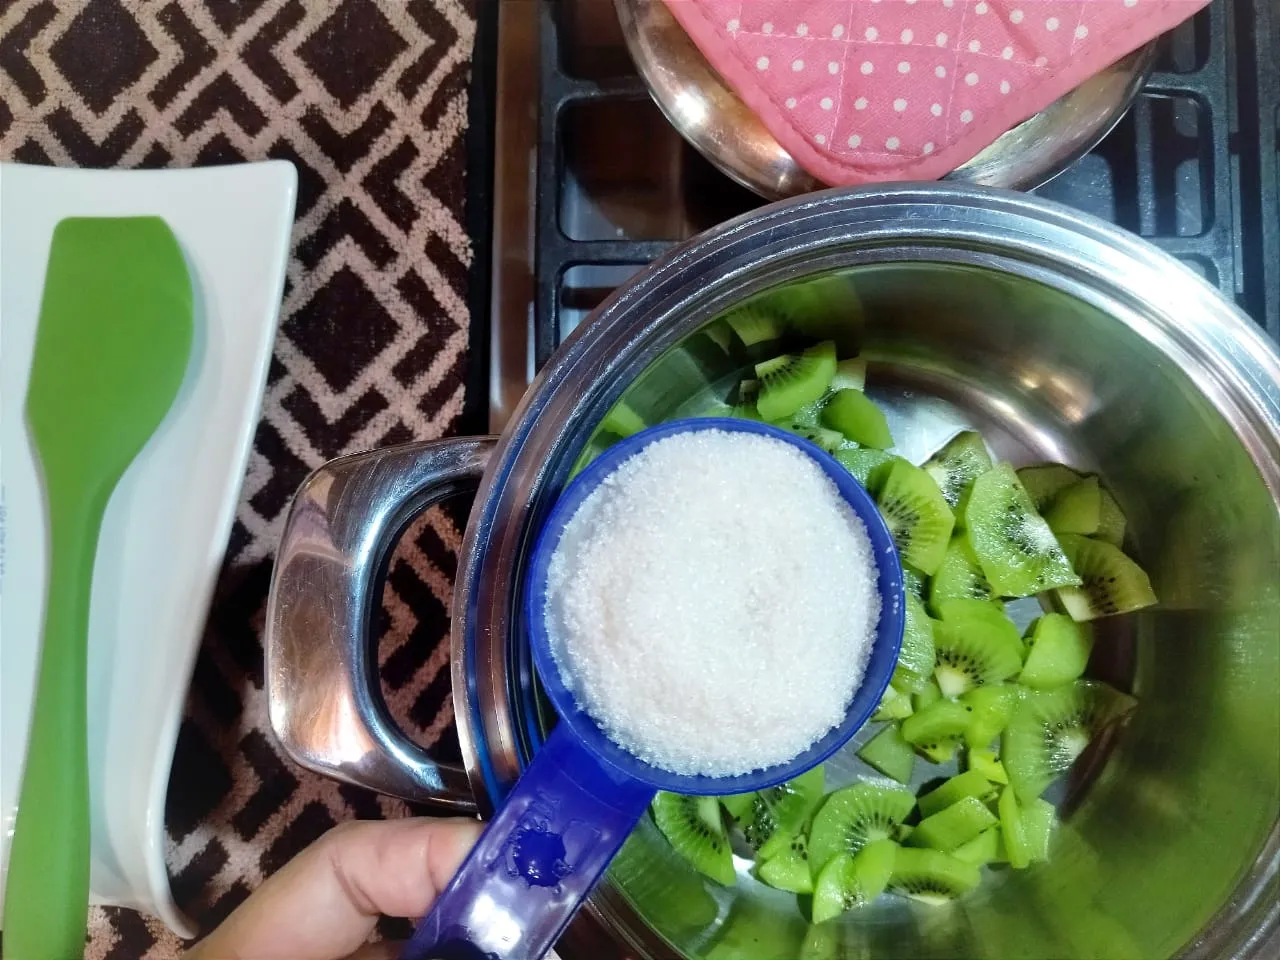
I put the copped kiwis, sugar, and water in a little pot and let it cook over low heat for twenty minutes approx.
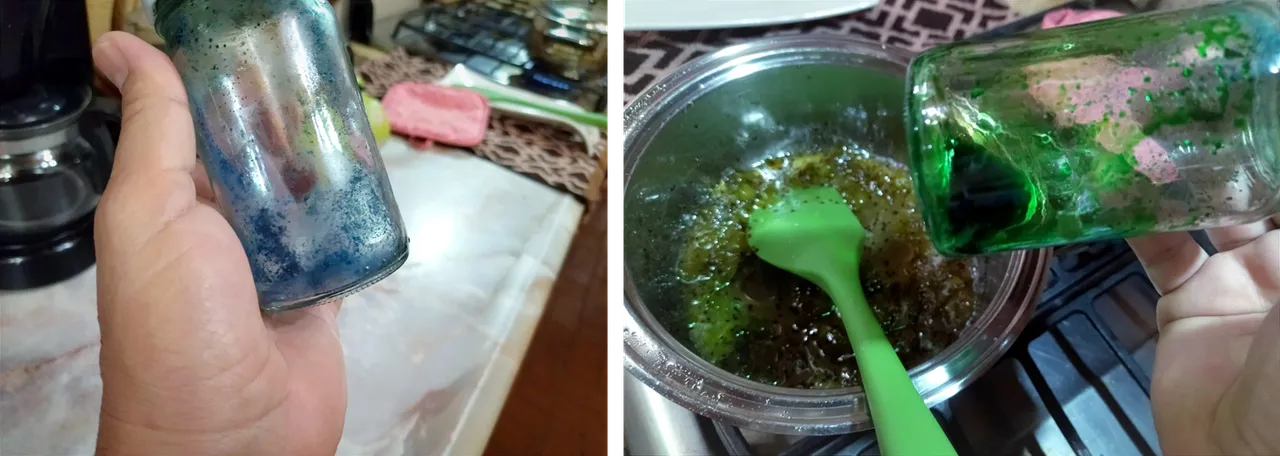
It was obvious that it wasn't going to be enough topping! 🙈 So I added some of the pineapple jam my sister had made for me 🤣

Loved the result!

I used a little water to wash out the little bit of powdered colorant that was left in the jar. So this beautiful green jam was the last show of this food coloring.
When the jam had cooled, I was ready to decorate.
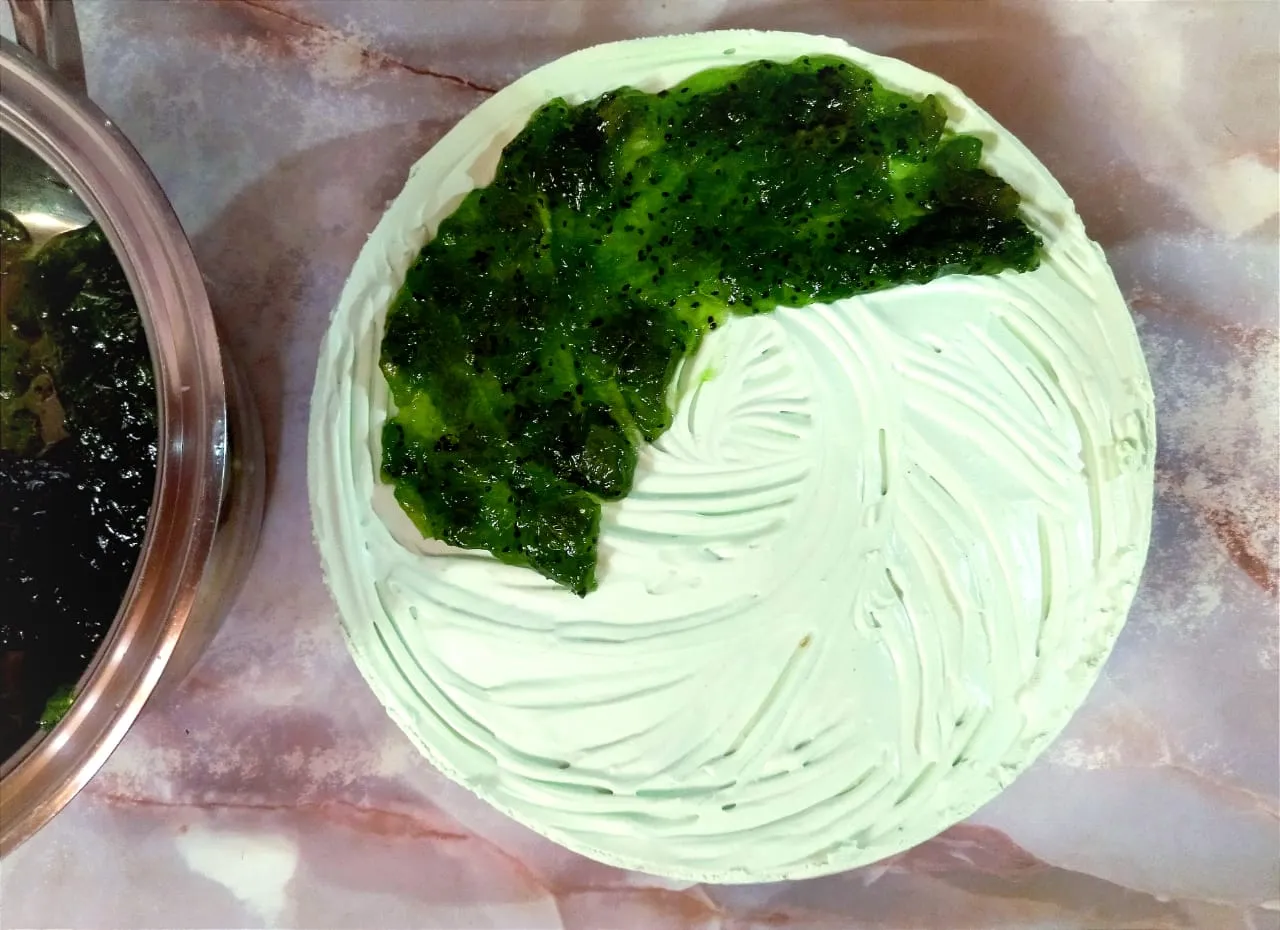
I spread the jam all over the top.
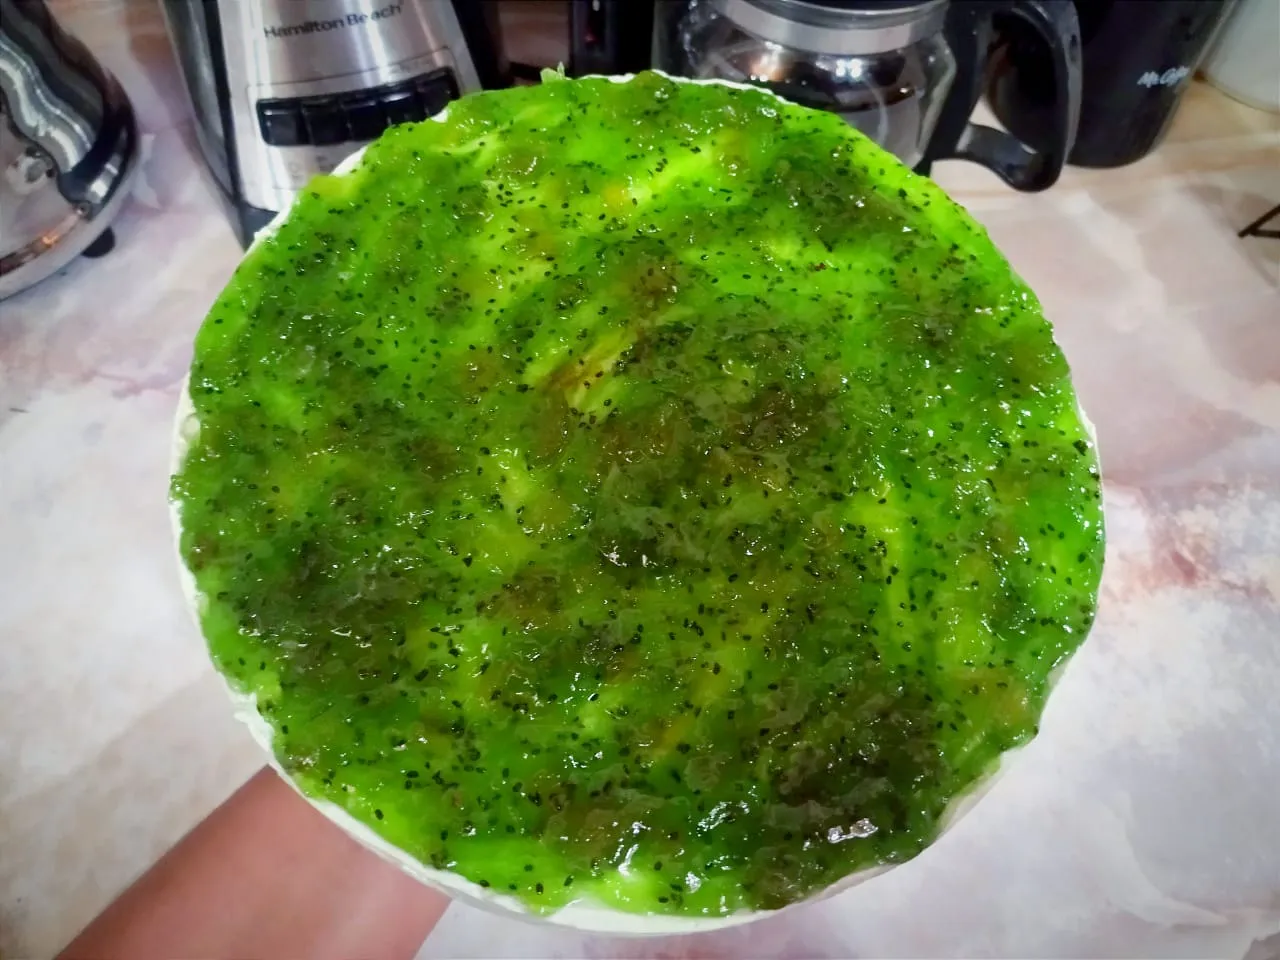
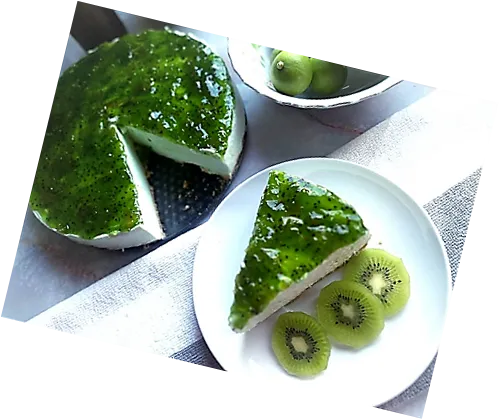
The layer of jam was thick enough and made a beautiful green topping.
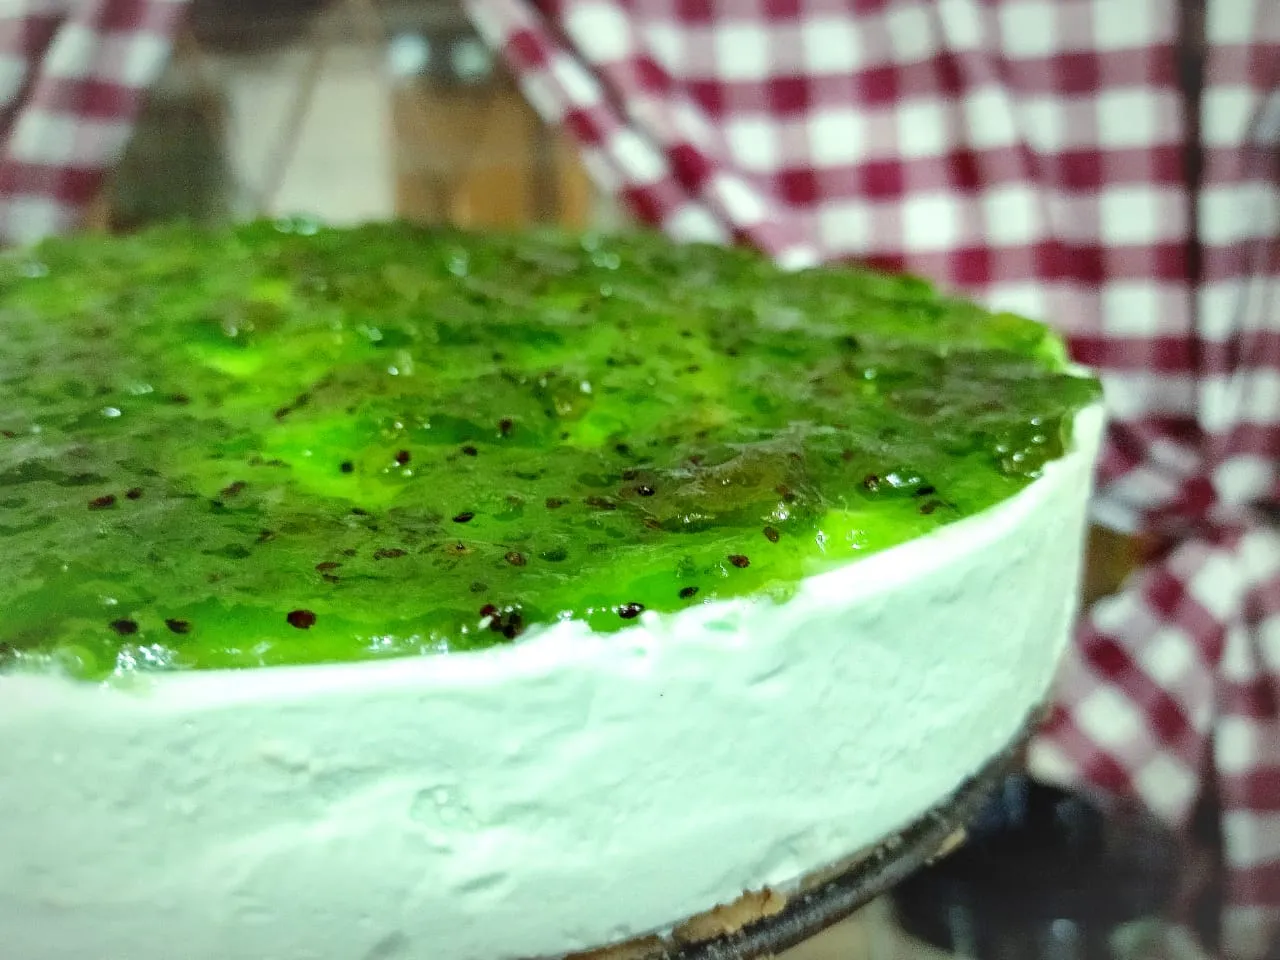
I let it in the freezer overnight.
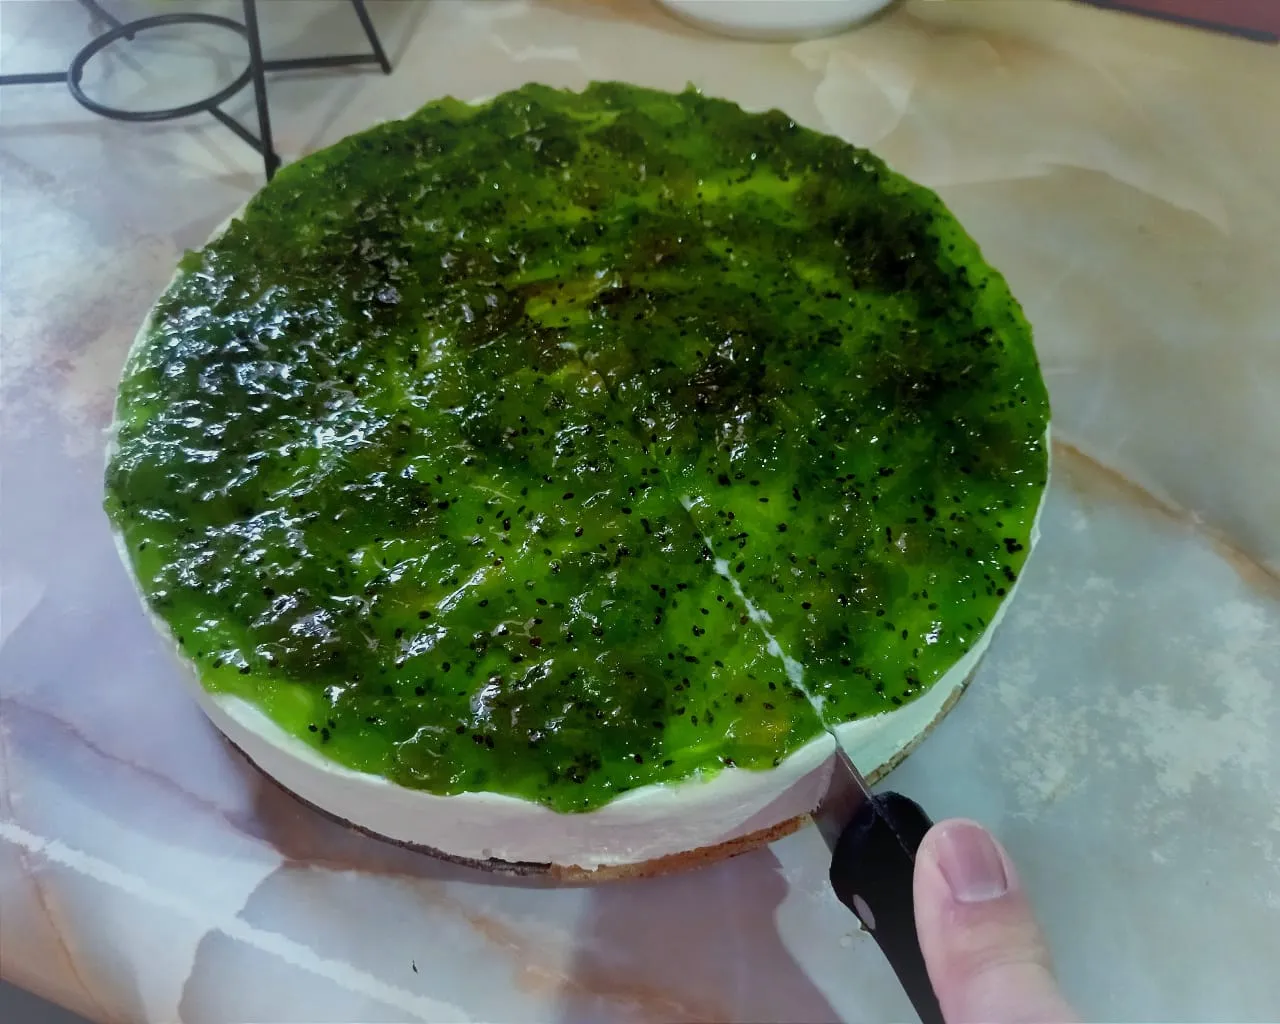
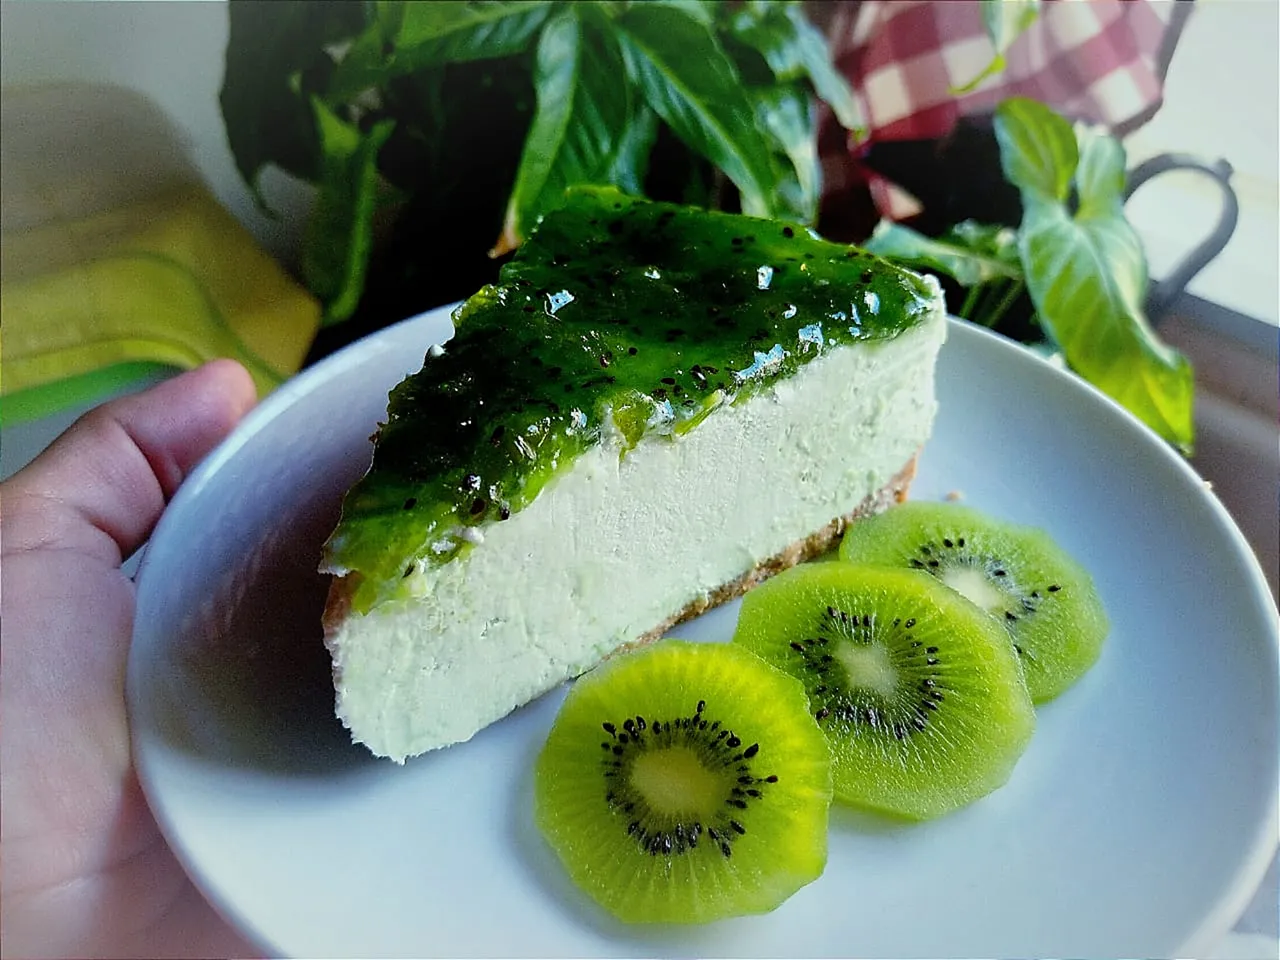
The knife blade should be immersed in hot water to make clean cuts.
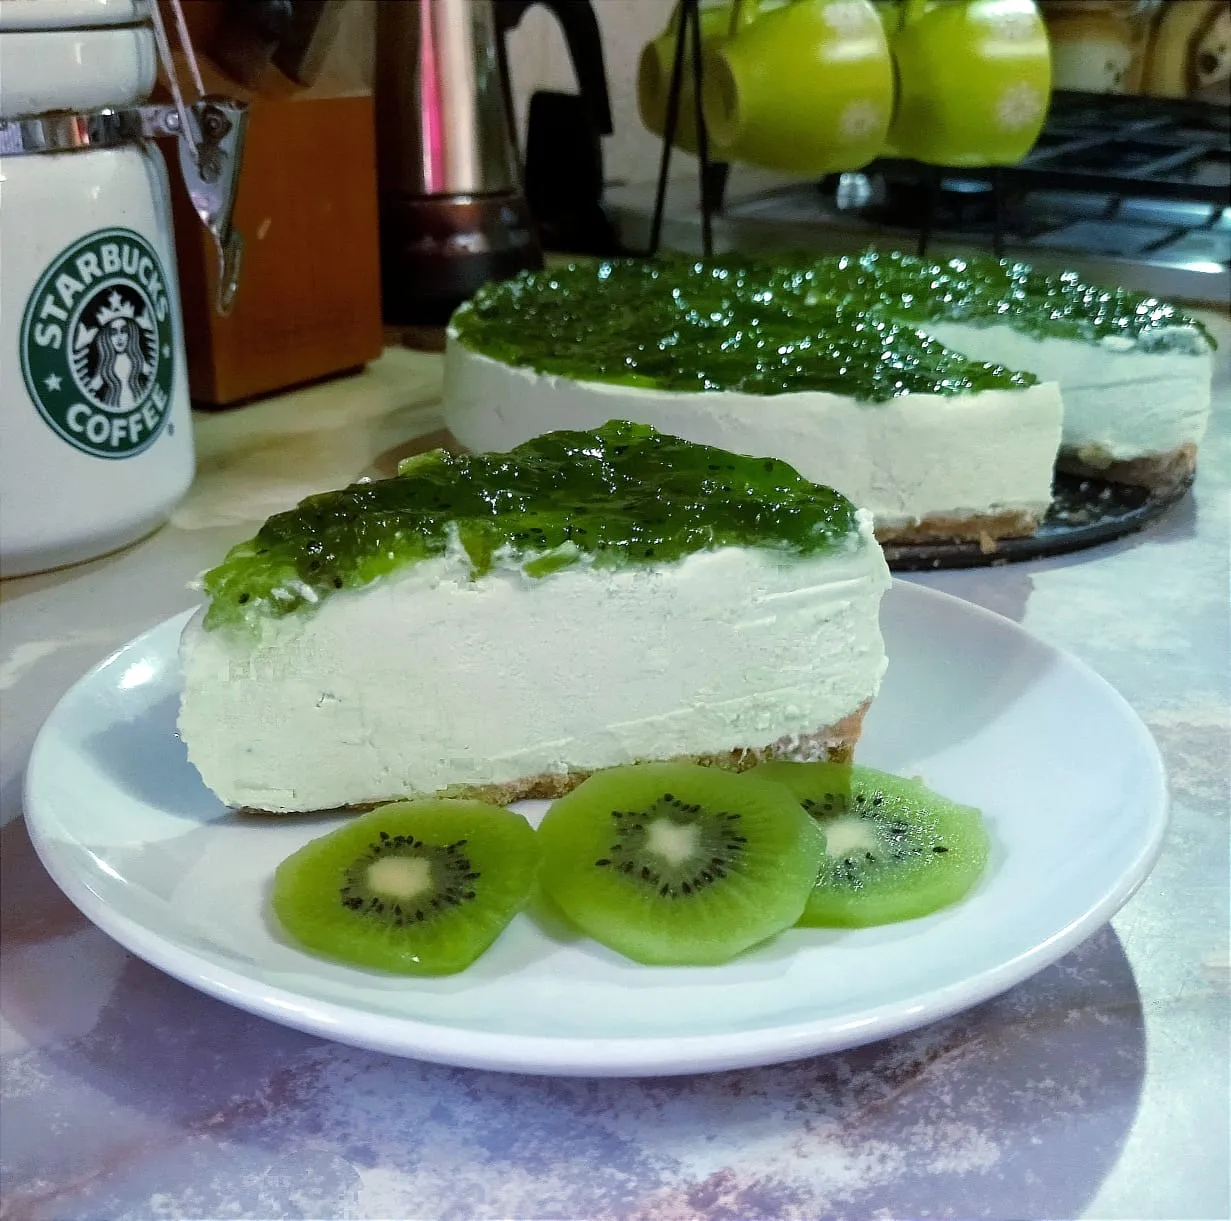
Enjoy!
All text and images are my own. I have taken the pictures with my Redmi 9T cell phone. And if any GIFs here, I've used GIPHY for all them.
Thank you so much for your visit :)