Gelatin Flowers with Gradient Effect
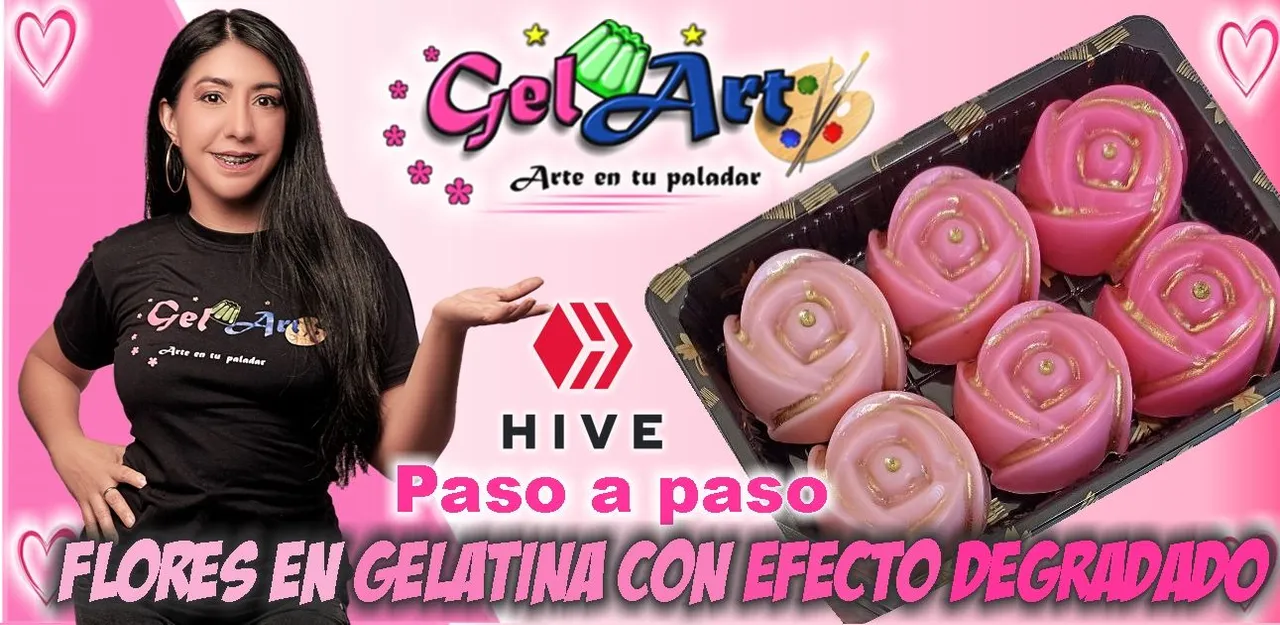
Hello to all the Hivers of the #FoodiesBeeHive Community, this is the first time I have participated here and I wanted to choose you to share with you a tutorial on how to make Flowers in Gelatin with Gradient Effect, I hope it is to your liking and also useful or inspirational.
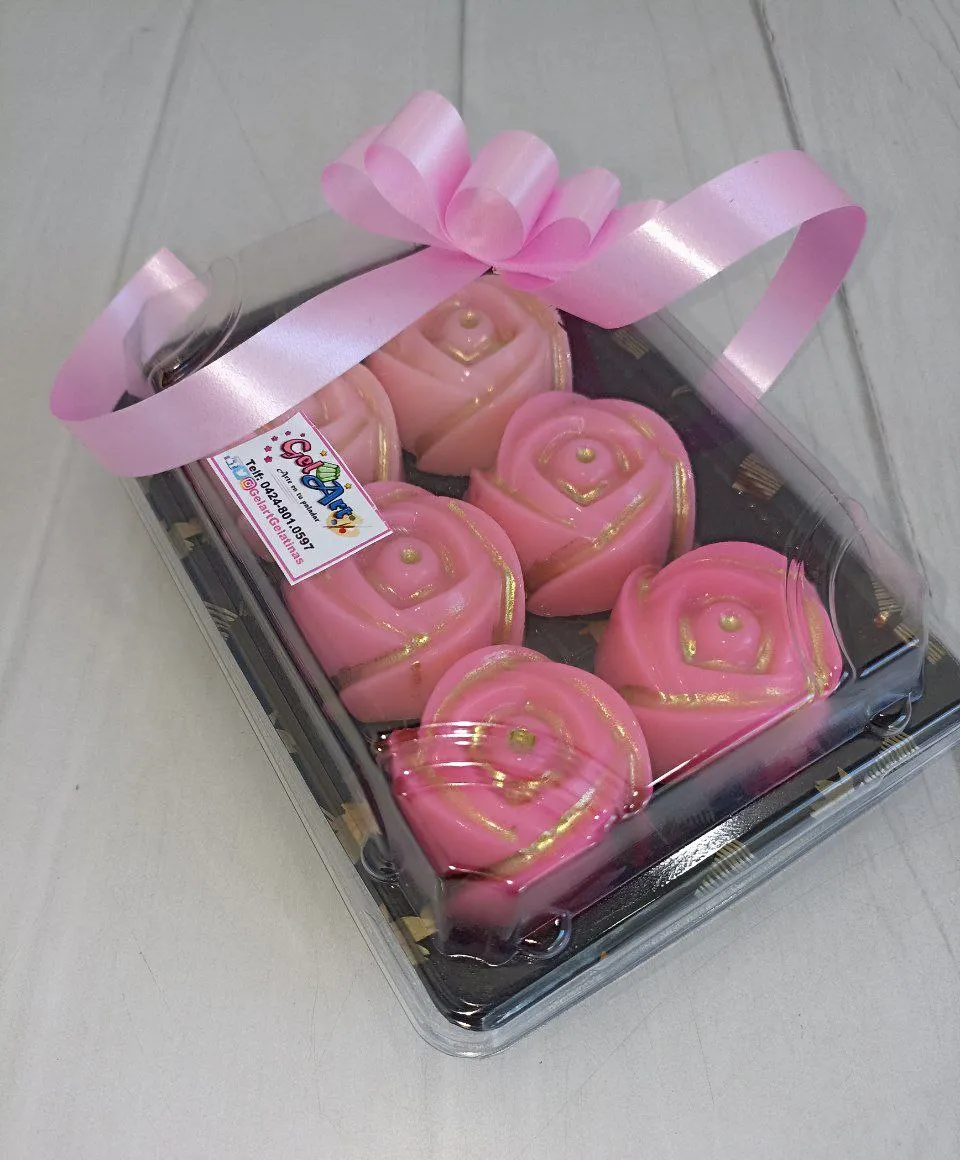
🌸❤️Flowers in jelly for HIVE's beautiful people!❤️🌸
This little model of gelatins is ideal for a little gift, cute, delicious, and affordable, we offer it in Gelart for only 3$ and it has become one of the most requested since September when I thought of making yellow flower details with molds of different types of flowers and roses.
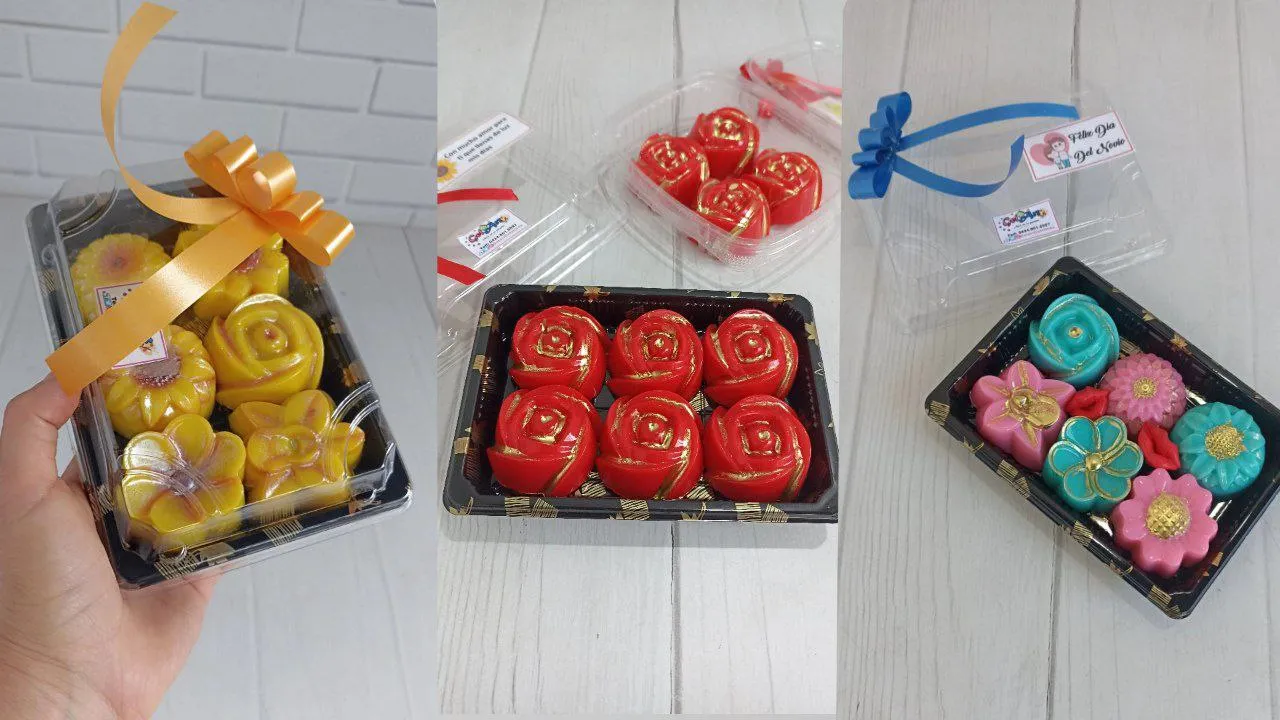
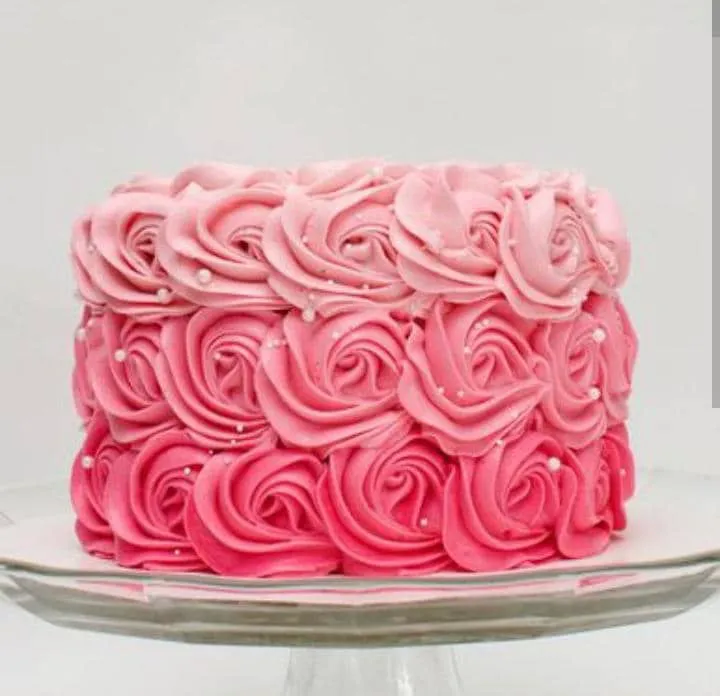
Since then I have made them in various colors, but this time I was asked to make a gradient effect to resemble the cake that was going to be made for the birthday girl (the image of the cake is a reference image that the client sent me, I do not know who made it but it is very nice, my respects and admiration for the author of this beautiful work).
 |  |
|---|
When I was making this order, I took the opportunity to take some pictures of the step-by-step to share with you and show you a little of the process of making these jellies. I hope you like it and you can make your gelatin flowers to give as gifts.
To make them you need gelatin in the flavor of your choice, here I used strawberry, you also need milk gelatin, this is made with unflavored gelatin, and in some countries, you can find ready mixes to prepare them and you also need molds in the shape of flowers and spheres (these spheres are optional you can place squares of chopped gelatin).
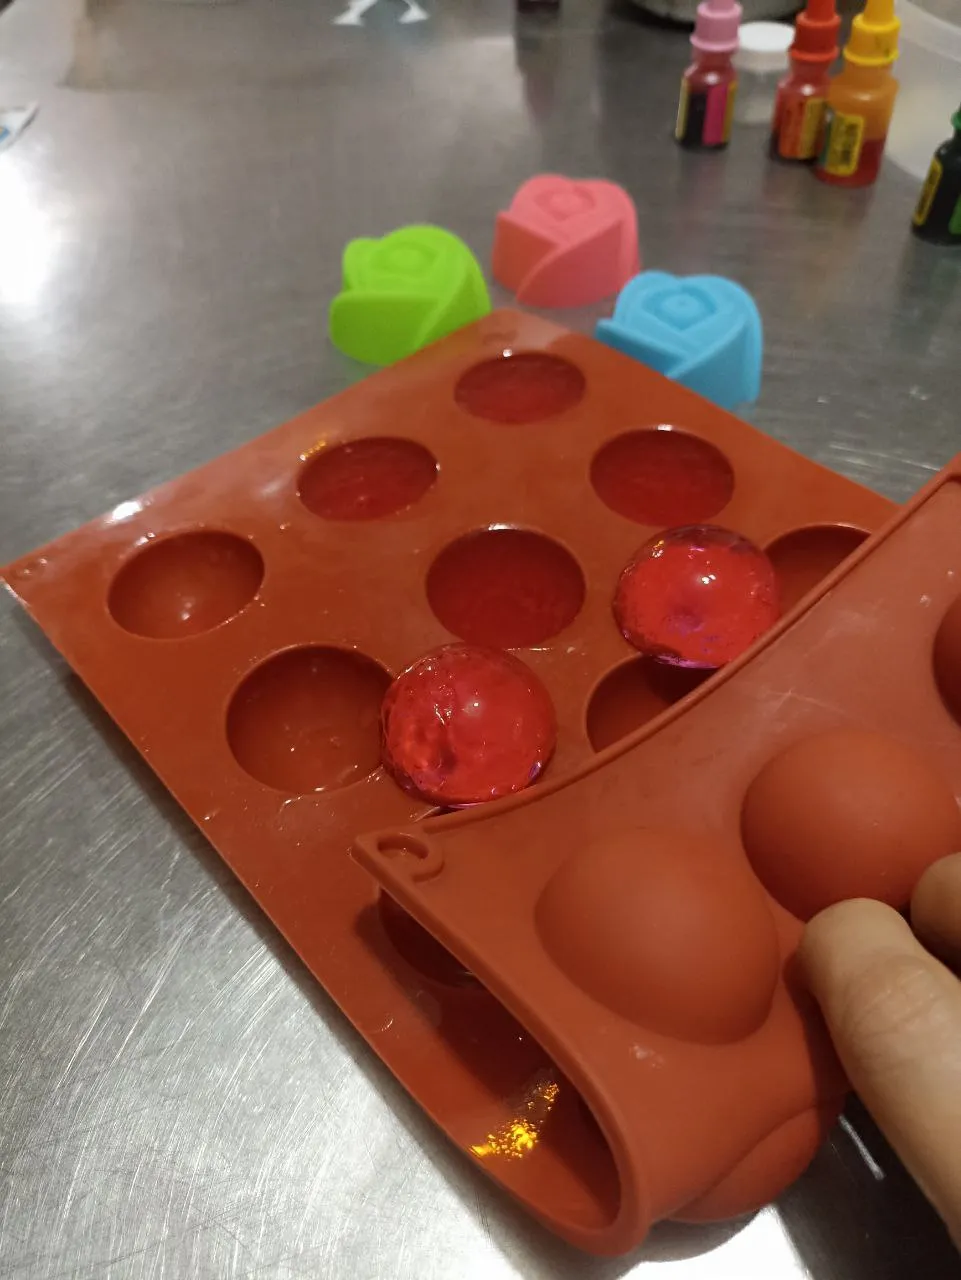
The first thing to make is the citric gelatin of the flavor of your preference, here I used strawberry, you can use commercial gelatin for those sachets (type of gelatin I recommend preparing it with half the liquid indicated in the recipe on the box), after you prepare your gelatin following the instructions on the package but with less liquid to make it harder and more manageable, put it to set until it is very hard, here I used a mold of medium spheres of 1.5 inches (almost 4 cm). You can buy such molds on Amazon.
 |  |  |
|---|
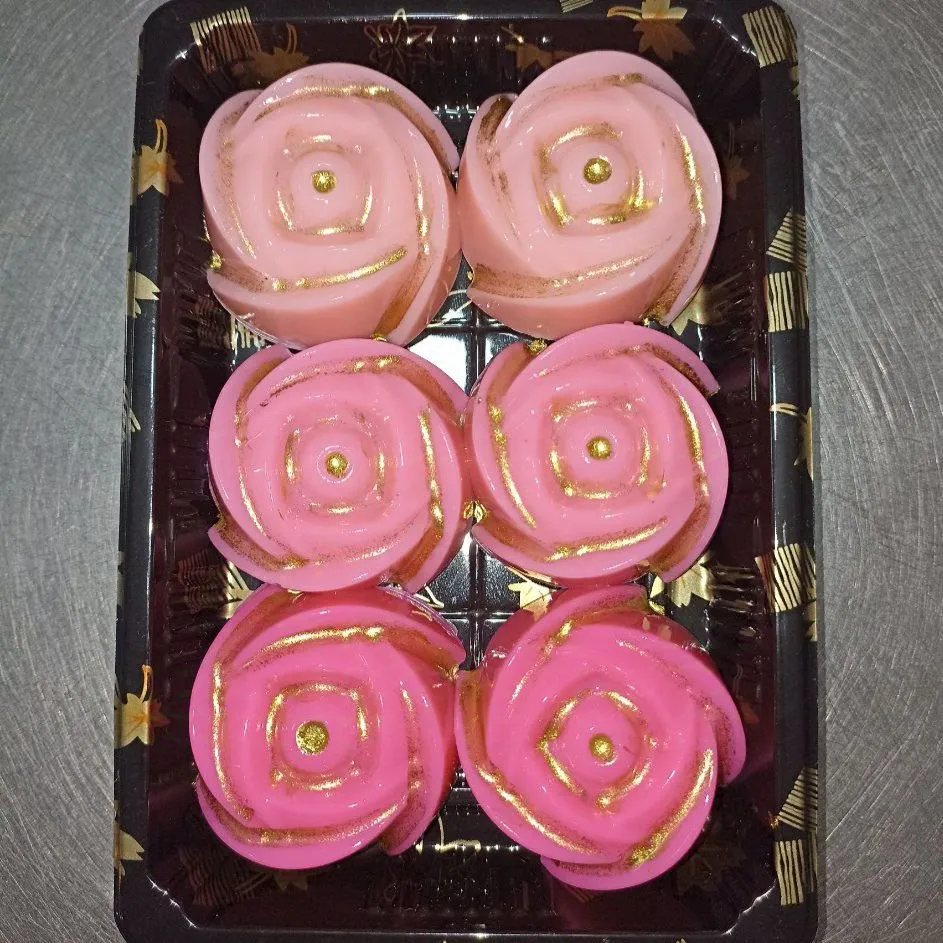
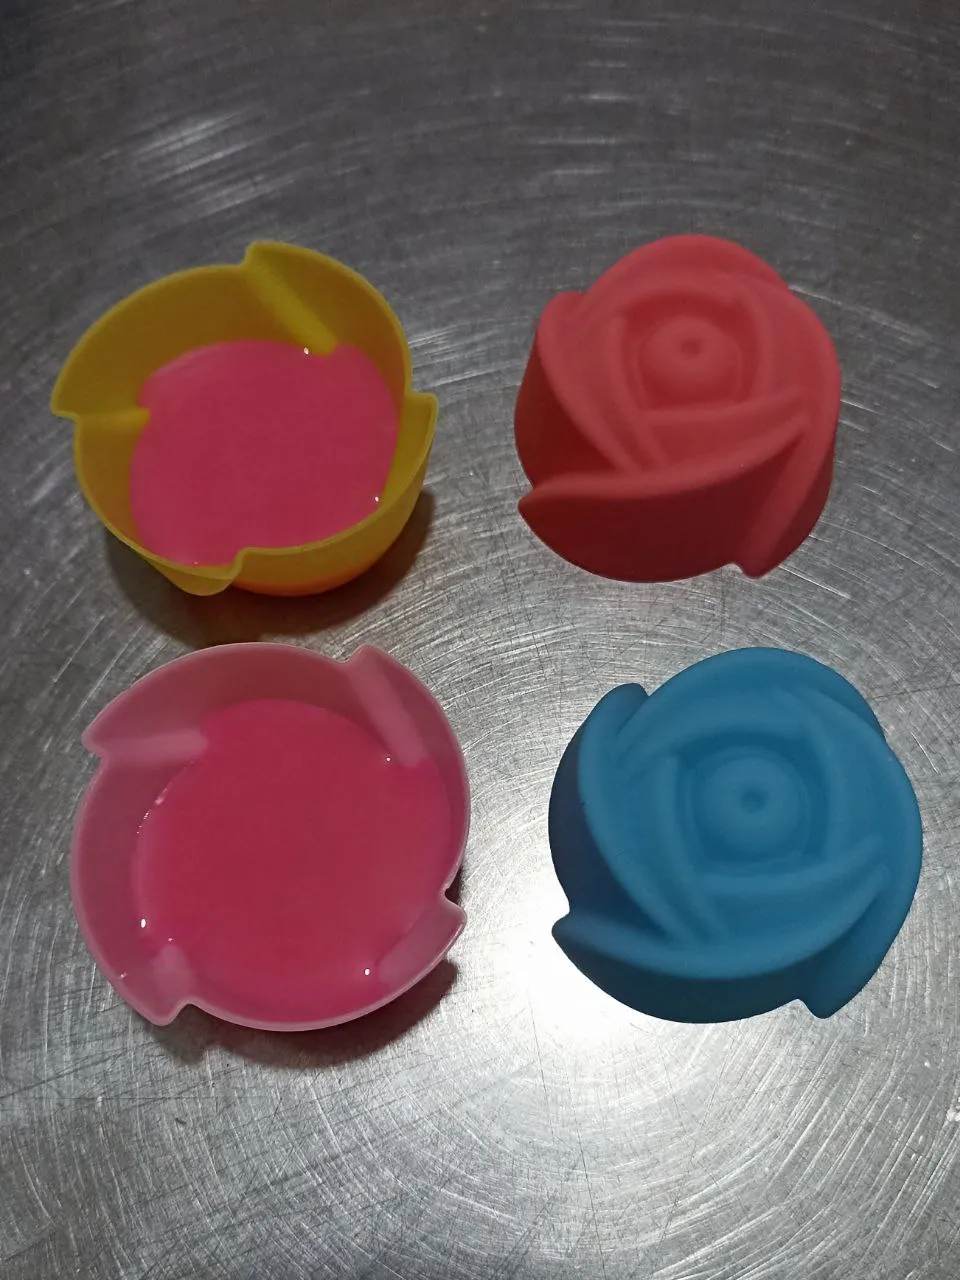
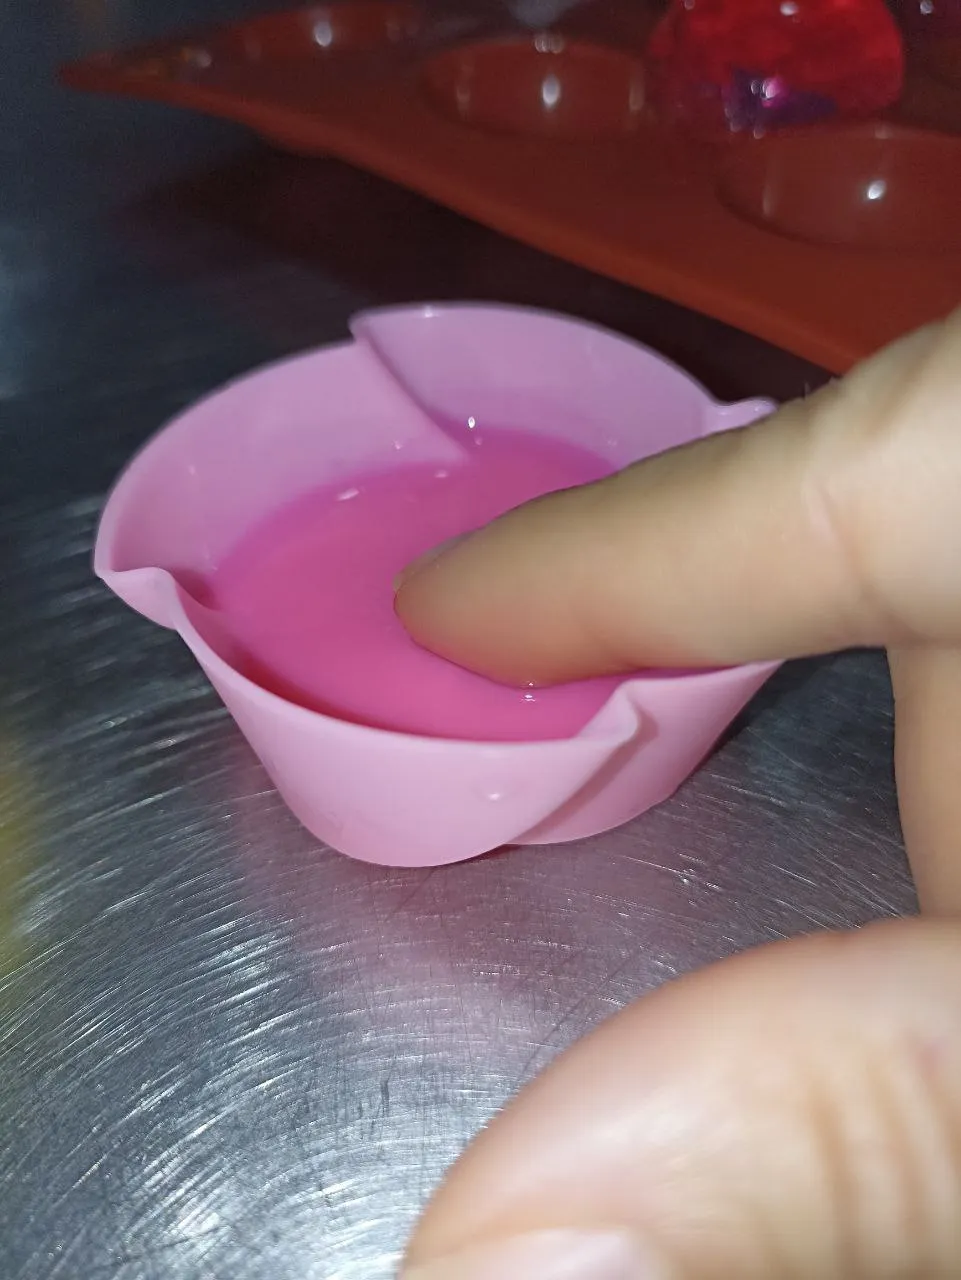
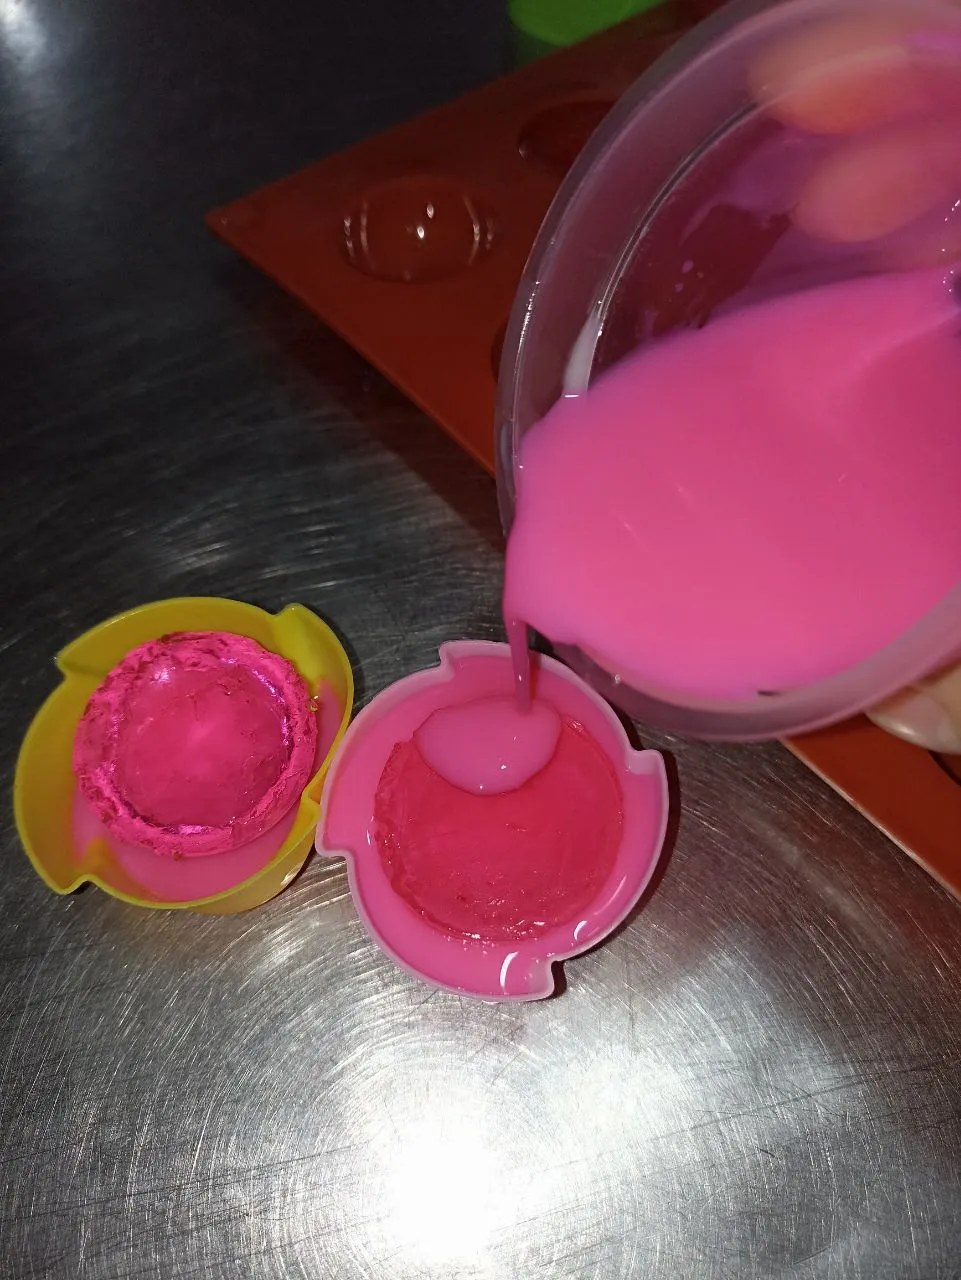
After the citrus gelatin spheres were set, I added pink coloring to half of the milk gelatin mixture until I obtained an intense pink tone and added to two of the rose molds a thin layer of gelatin that barely covered the bottom of the mold, I started making the ones with the darkest shade after that gelatin was almost ready to set (a point still viscous but that supports the next layer I touch it to check) I placed the spheres and filled up to the top with more milk jelly with pink color.
 |  |  |
|---|
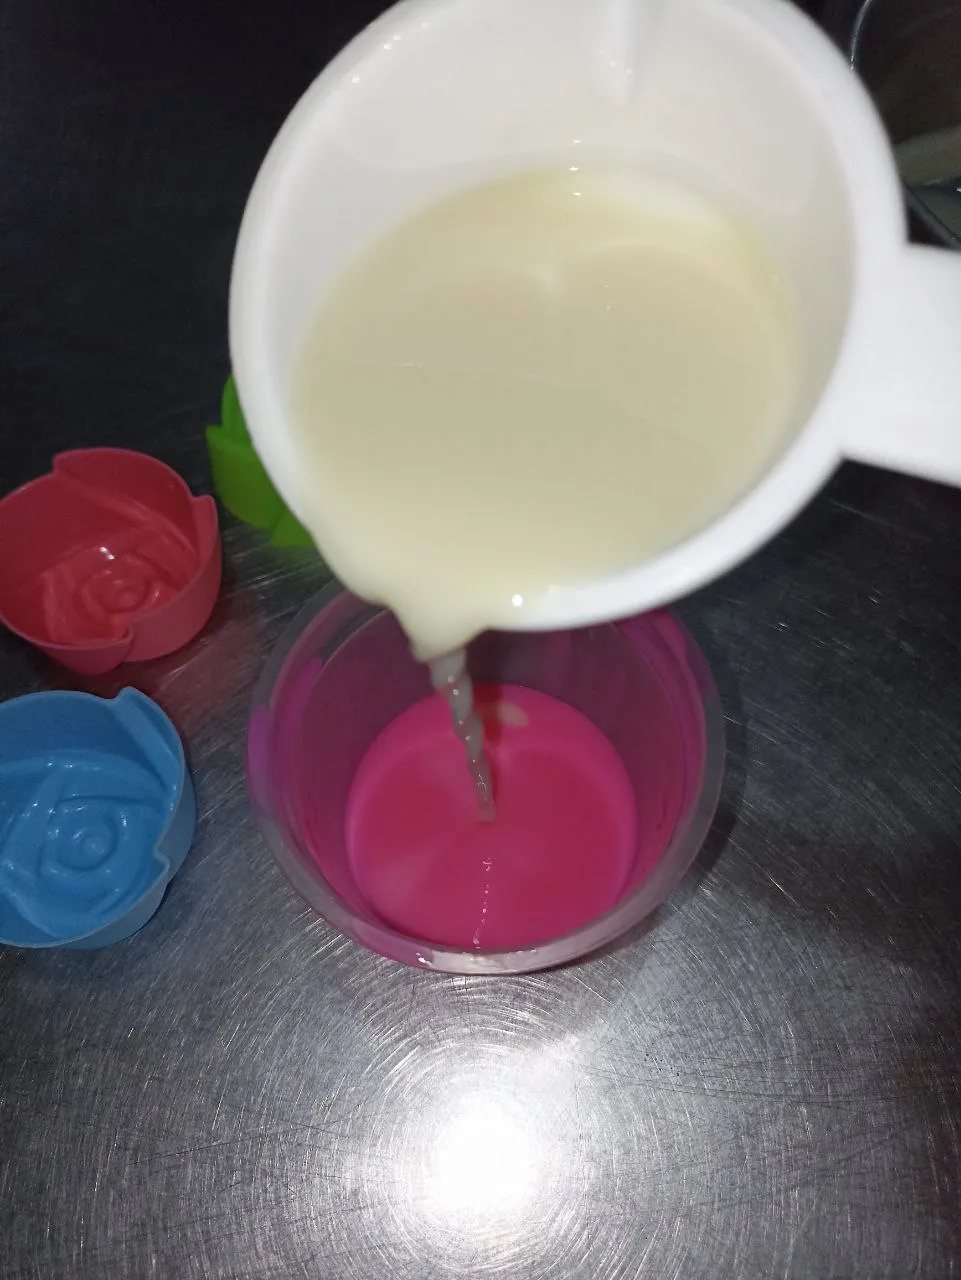
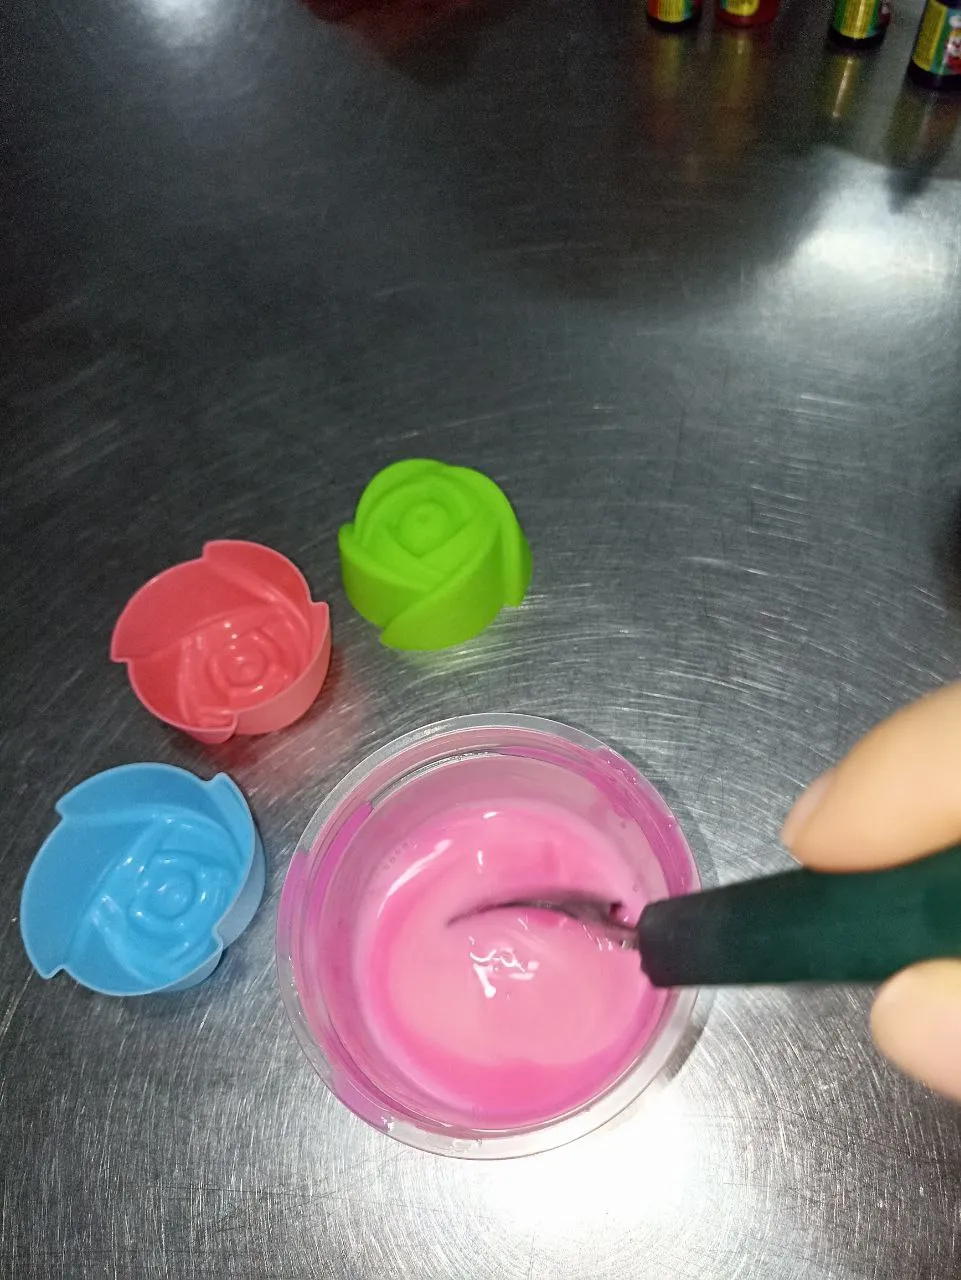
To continue with the process, to the intense pink milk gelatin I added a little milk gelatin to lighten the color tone a little and to get the gradient effect I was looking for, this less intense pink color was added to two of the pink molds and I repeated the previous process.
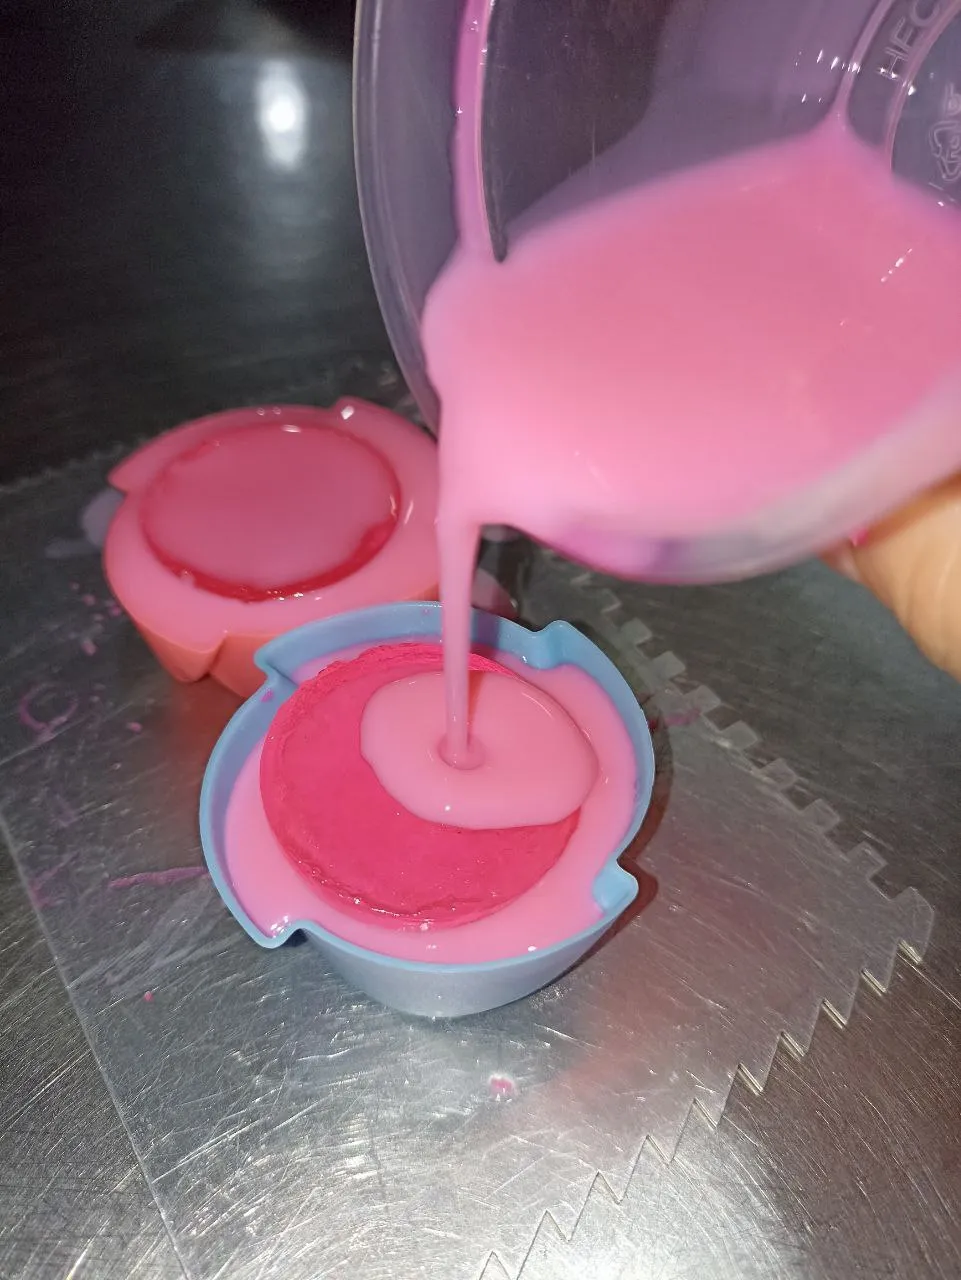 | 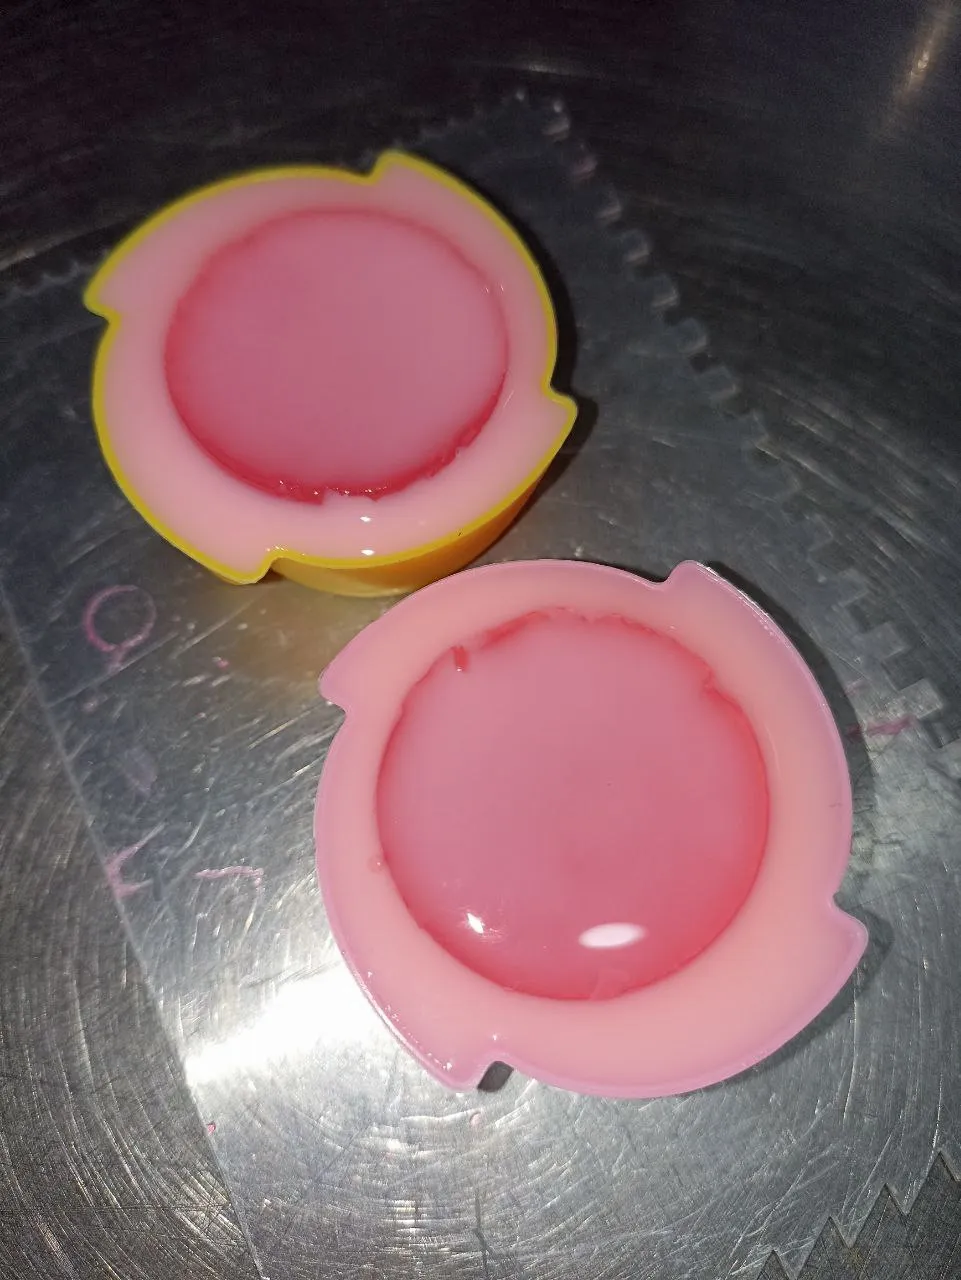 | 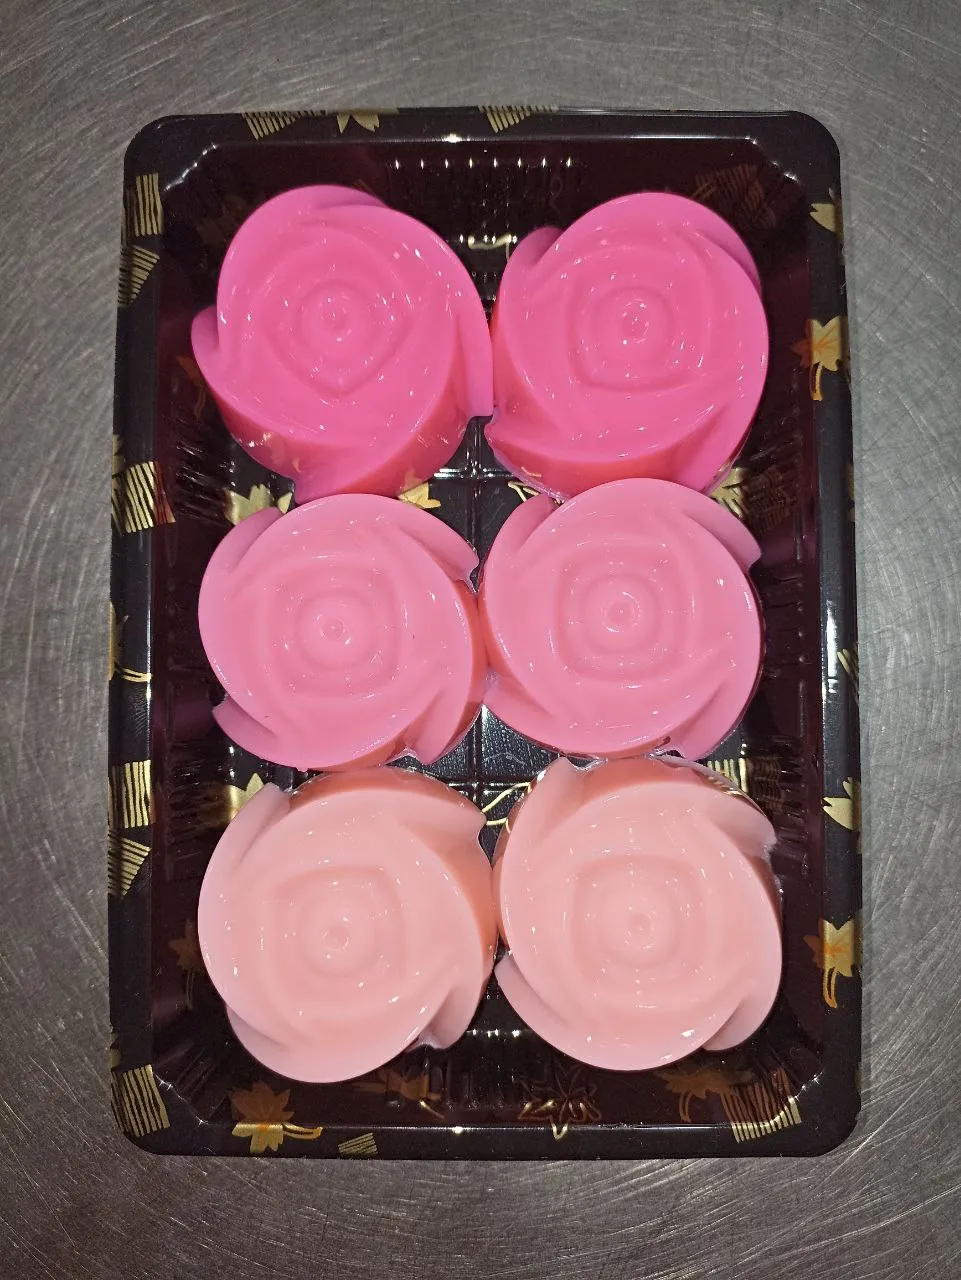 |
|---|
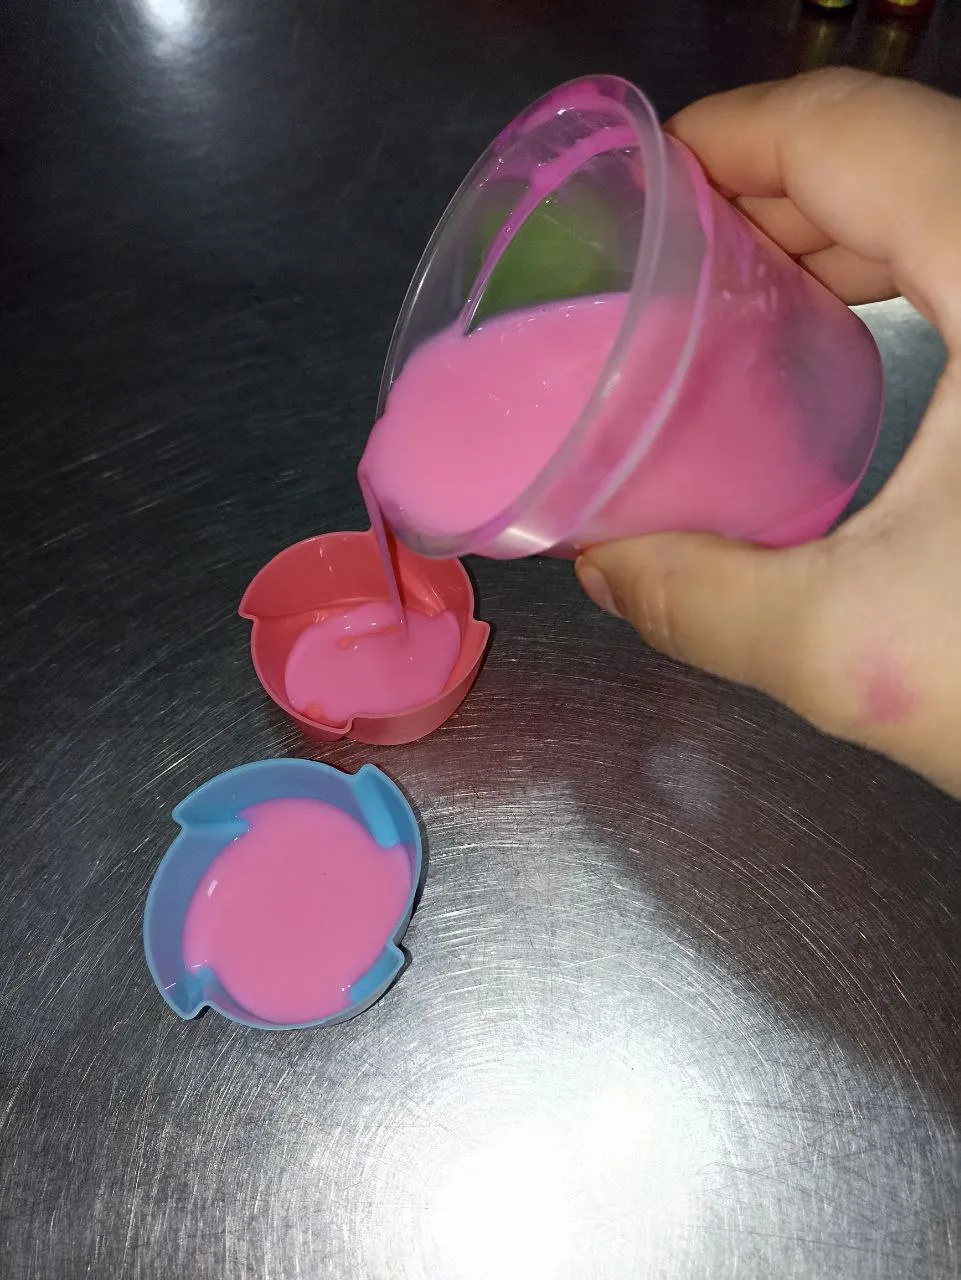
To finish add more white milk gelatin to the previous mixture of intermediate pink to obtain an even lighter shade of pink and repeat the process, wait until all the jellies are very hard before unmolding, in this type of silicone molds when using milk gelatin unmold super easy without adding oil or anything extra other than gelatin.
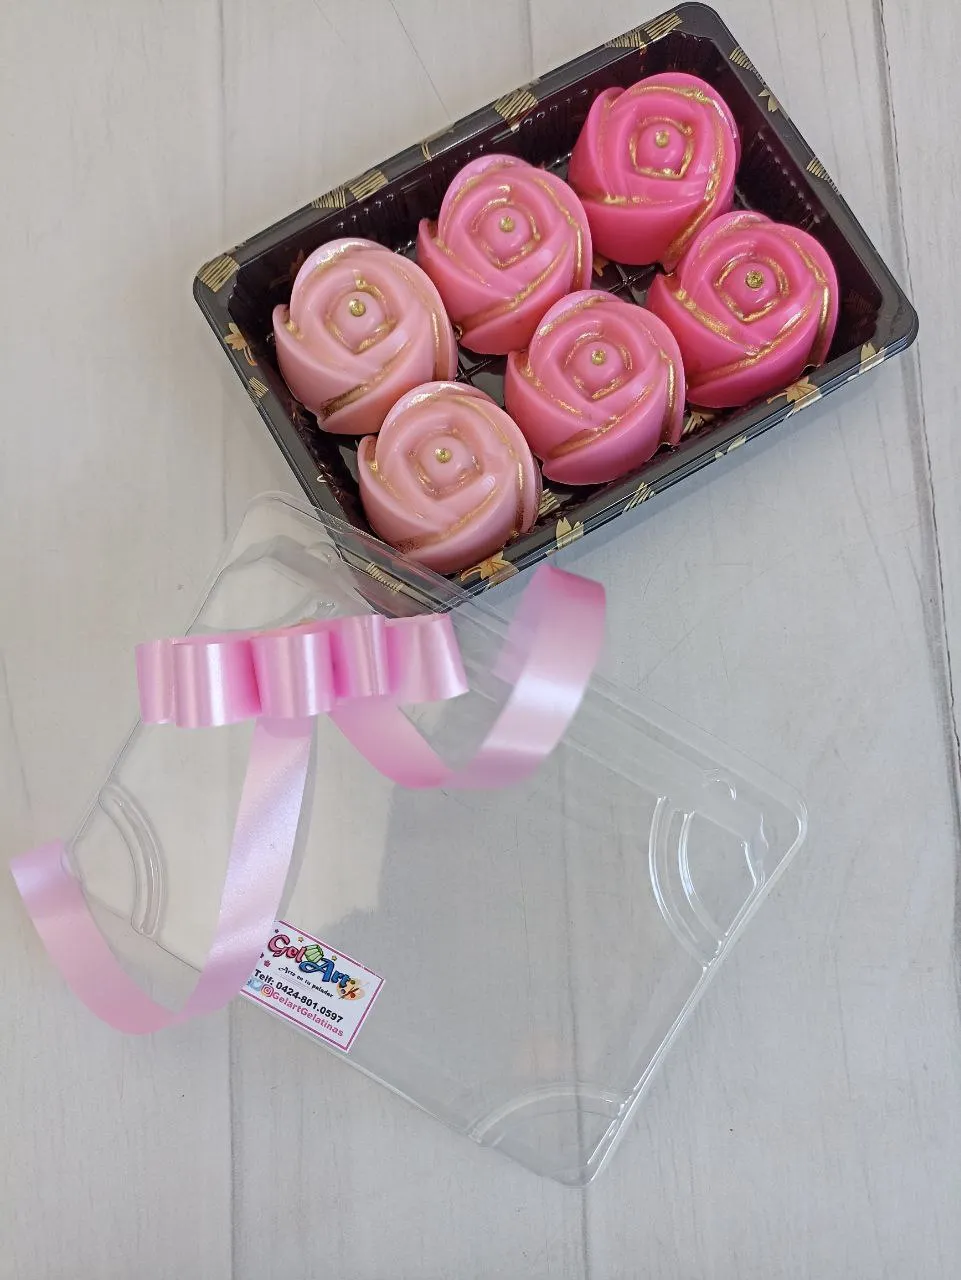
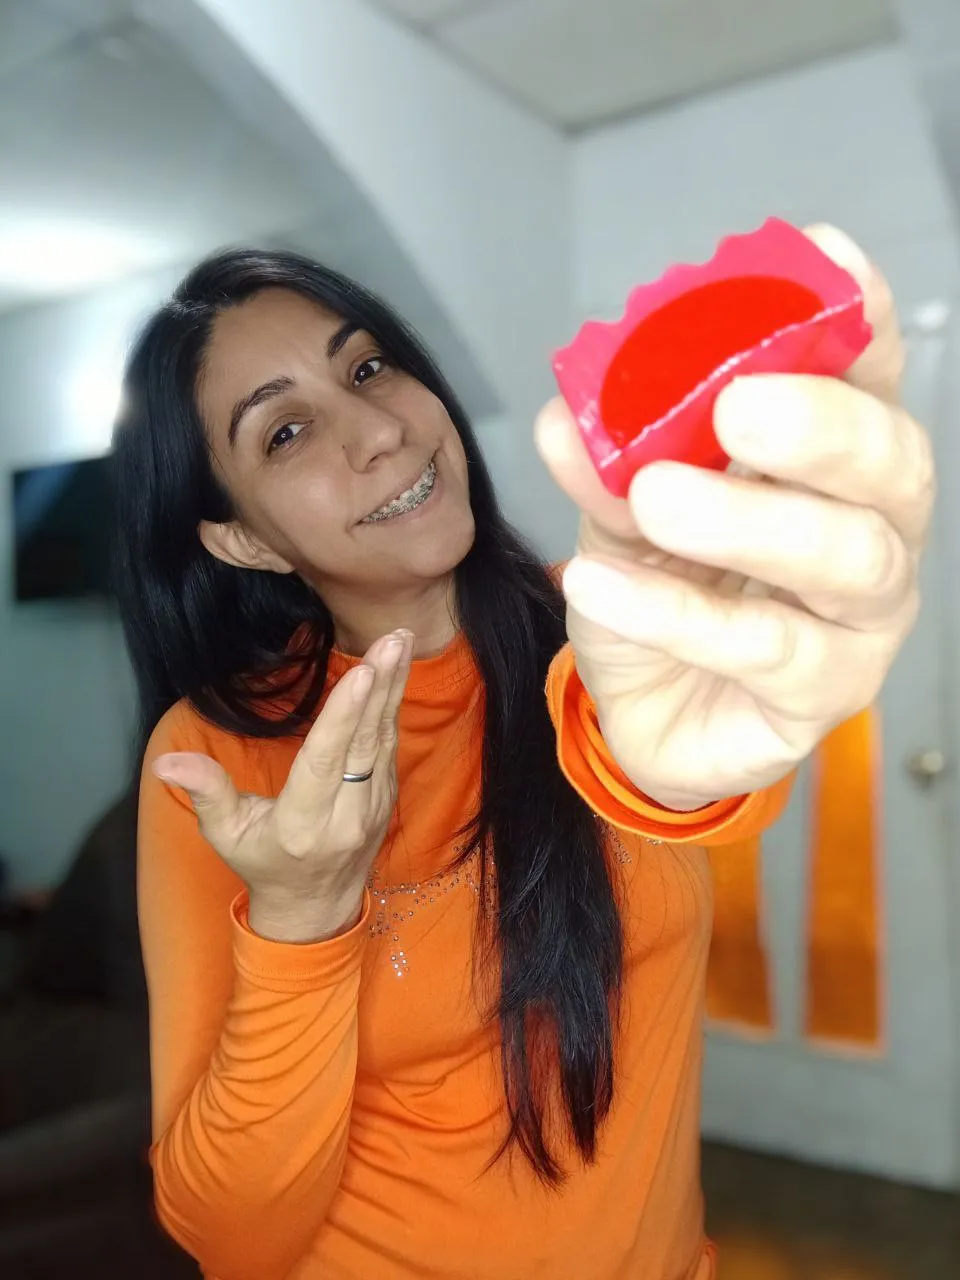
As a special touch I added a little bit of gold on the edges, to prepare the gold I used gold shading powder which I mixed with a little bit of liquor, I kept them in their pretty little box with a bow and so they were ready to sweeten the day to a very special birthday girl. I hope you liked it, I'll say goodbye by showing you what this kind of jellies looks like when you chop them. They are beautiful.
❤️ If you made it this far, thank you very much for reading me! ❤️
❤️ I'll be waiting for you in my next post! ❤️
Photos Captured at Different Moments with my Redmi 10A Phone
Banners and Signatures Made in Corel Draw Photo-Paint
English translation with DeepL

FULL VERSION ESPAÑOL
Español
Flores en Gelatina con Efecto Degradado
Hola a todos los Hivers de la Comunidad de #FoodiesBeeHive, esta es la primera vez que participo con ustedes y quise elegirlos para compartirles un tutorial de cómo hacer Flores en Gelatina con Efecto Degradado, espero que sea de su agrado y también de utilidad o inspiración.

🌸❤️¡Flores en gelatina para la gente linda de HIVE!❤️🌸
Este modelito de gelatinas es ideal para un regalito, lindo, delicioso y accesible, lo ofrecemos en Gelart por tan solo 3$ y se ha convertido en uno de los más pedidos desde septiembre cuando se me ocurrió hacer detalles de flores amarillas con moldes de diferentes tipos de flores y rosas.

Desde ese entonces he realizado de varios colores, pero en esta oportunidad me pidieron con efecto degradado para que se pareciera a la torta que le iban a hacer a la cumpleañera (la imagen de la torta es una imagen referencial que me envió la cliente, desconozco quien la realizo pero está muy linda, mis respetos y admiración para el autor de ese lindo trabajo).
 |  |
|---|
Cuando estuve realizando este pedido, aproveché la ocasión para tomar algunas fotos del paso a paso para compartirles y vean un poco del proceso de elaboración de estas gelatinas. Espero que les guste y puedan hacer sus propias flores de gelatinas para regalar.
Para realizarlas necesitas gelatina de sobrecito del sabor de tu preferencia acá yo use de fresa , también necesitas gelatina de leche, esta se realiza con gelatina sin sabor y en algunos países pueden encontrar mezclas listas para prepararlas y también necesitan moldes en forma de flores y de esferas (estos de esferas son opcionales pueden colocarles cuadritos de gelatina picada).

Lo primero que debes hacer es la gelatina cítrica del sabor de tu preferencia, acá yo utilice de fresa, puedes usar gelatinas comerciales de esas de sobrecitos (este tipo de gelatinas recomiendo prepararla con la mitad del líquido que indica en la receta de la caja), luego que preparas tu gelatina siguiendo las instrucciones del empaque pero con menos líquido para que quede más durita y manejable, la pones a cuajar hasta que esté bien durita, acá yo utilicé un molde de esferas medianas de 1,5 pulgadas (casi 4 cm). Moldes así puedes comprarlo en Amazon.
 |  |  |
|---|
Luego que las esferas de gelatina cítrica estaban cuajadas agregue colorante rosado a la mitad de la mezcla de gelatina de leche hasta obtener un tono rosado intenso y agregue a dos de los moldes en formas de rosa una capa delgada de gelatina de esta que apenas cubría el fondo del molde, comencé haciendo las del tono más oscuro, luego que esa gelatina estaba casi a punto de cuajar (un punto aun viscoso pero que soporta la siguiente capa la toco para comprobar) le coloqué las esferas y llene hasta arriba con más gelatina de leche con color rosado.
 |  |  |
|---|
Para continuar con el proceso, a la gelatina de leche rosada intenso le agregue un poco de gelatina de leche para aclarar un poco el tono del color y se viera el efecto degradado que estaba buscando, este color rosado menos intenso se lo agregue a dos de los moldes de rosa y repetí el proceso anterior.
 |  |  |
|---|
Para finalizar agregue más gelatina de leche blanca a la mezcla anterior de rosado intermedio para obtener un tono de rosado aún más claro y repetí el proceso, espere estuvieran bien duritas todas las gelatinas antes de desmoldar, en este tipo de moldes de silicón cuando se usa gelatina de leche desmoldan súper fácil sin necesidad de agregar aceite o nada extra que no sea la gelatina.

Como toque especial le agregue un poquito de dorado en los bordes, para preparar el dorado utilice matizador dorado en polvo el cual mezclé con un poquito de licor, las guarde en su cajita bien bonita con lacito y así quedaron listas para endulzar el día a una cumpleañera muy especial. Espero les haya gustado me despido mostrándoles cómo quedan este tipo de gelatinas por dentro al picarlas. Una preciosura.
❤️ Si llegaste hasta aquí muchas gracias por leerme! ❤️
❤️ Te espero en mi próxima publicación! ❤️

Fotos Capturadas en Diferentes Momentos con mi Teléfono Redmi 10A
Banners y Firma Hechos en Corel Draw Photo-Paint
Traducción al Inglés con DeepL
