It's been ages since I last baked something, can't even remember what it was. The truth is, I've been eyeing focaccia on YouTube, whenever I go to YouTube, there's always a video, or two, recommending food, more precisely focaccia, bread or buns.
Today I decided to make some good old focaccia, sprinkled with rosemary, Italian style, but my arm hurts like hell, so I can't knead the dough and was lazy to take out the kneading mixer. So I went for a no-knead product and this video offered me something I liked. There's no need for kneading with this one and it looked fairly easy as well.

Come with me to show you what I've done.
Ingredients:
- 350ml warm water,
- 7g dry yeast,
- 1tsp salt,
- 1tsp sugar,
- 480g flour (I used 380g 000 flour and 100g buckwheat flour).
source
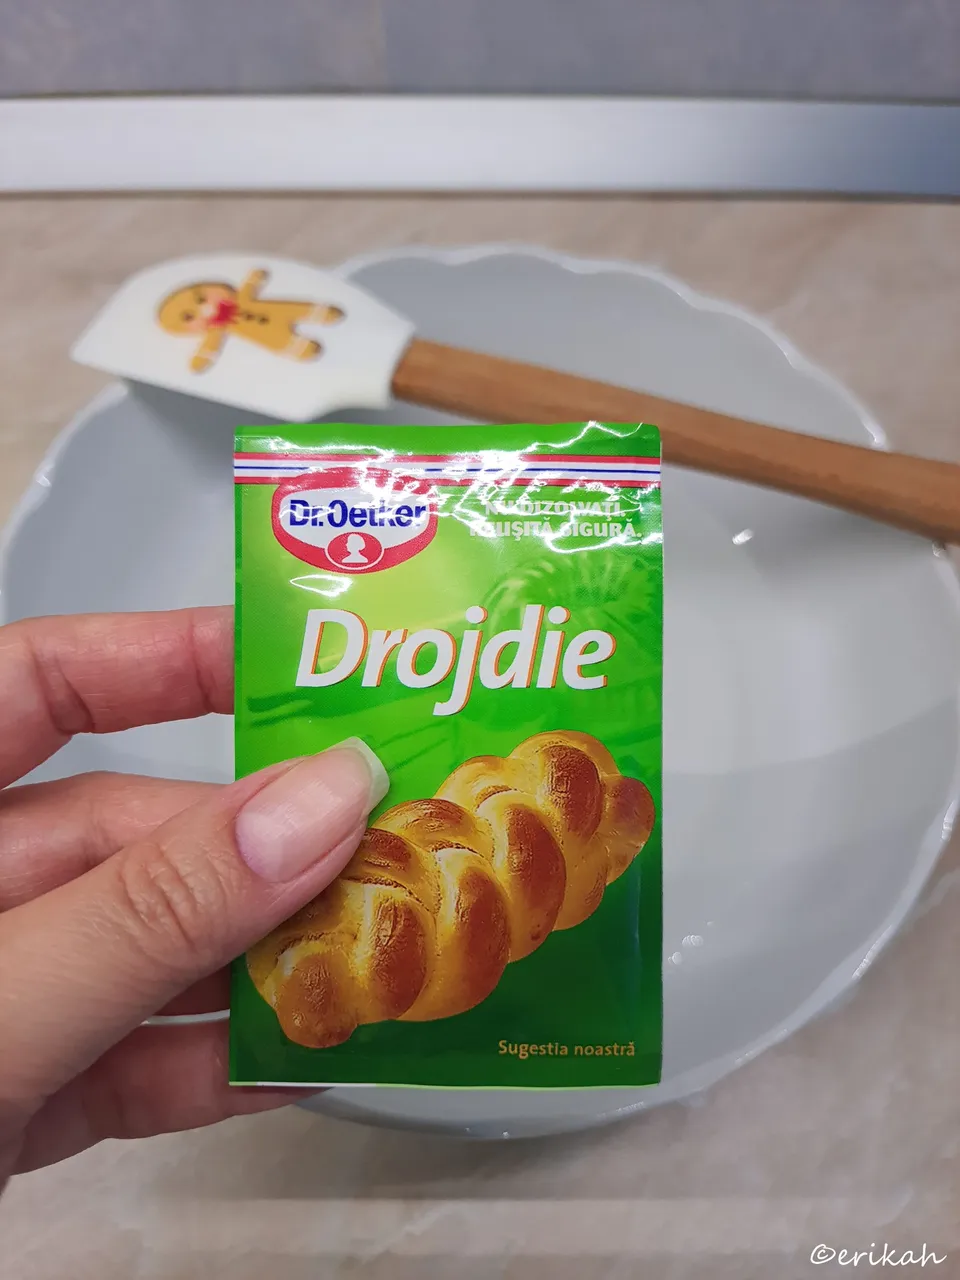
The funny thing is, this video says mix the dry yeast with warm water. 7g is one packet of dry yeast, so I did just that.
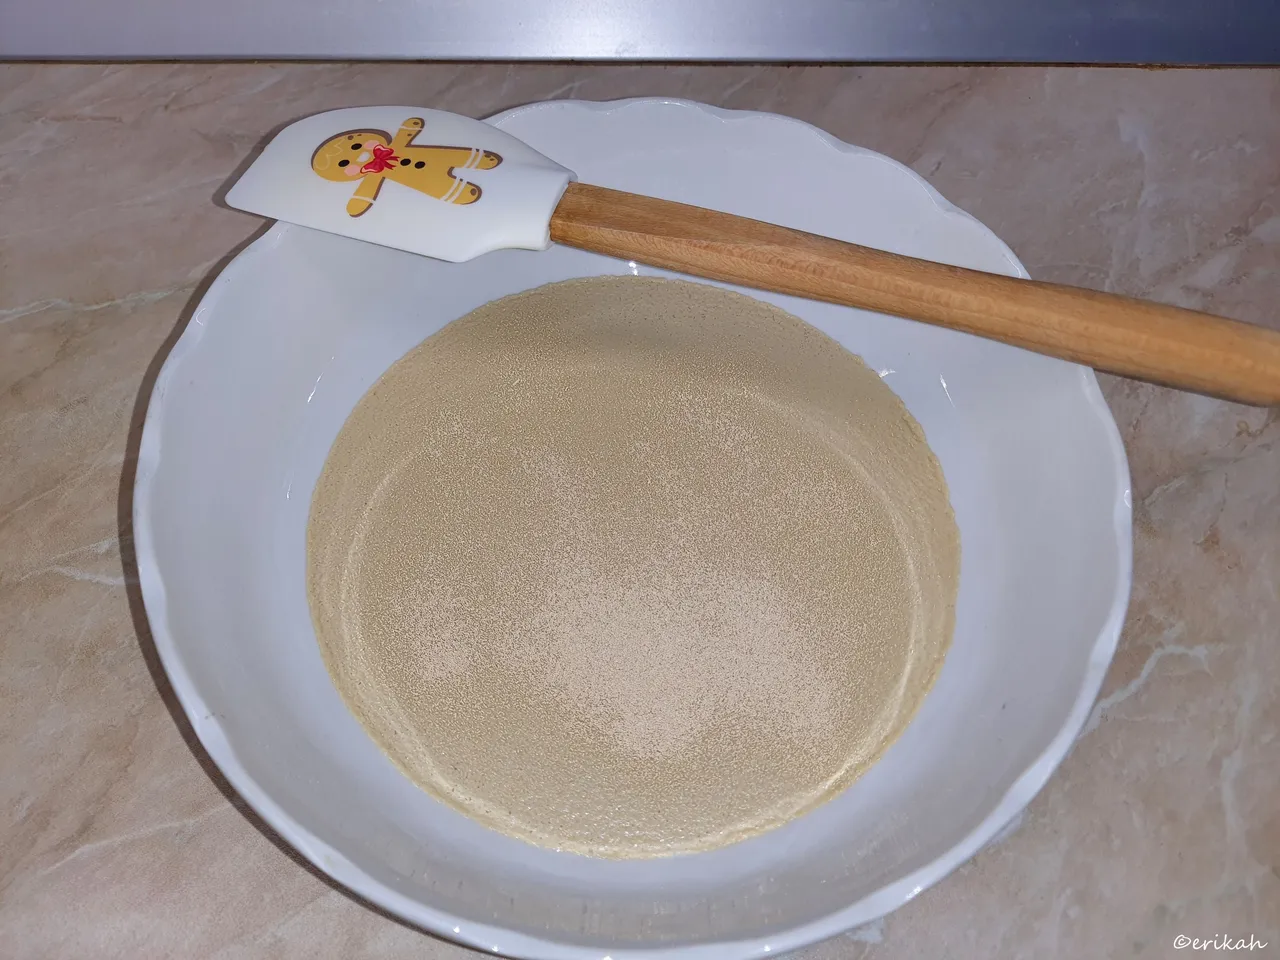
Why is it funny? I know quite many say dry yeast has to be added to dry ingredients, like flour and never mix with water. Why? I have no idea, but if the video said that, I did exactly the same.
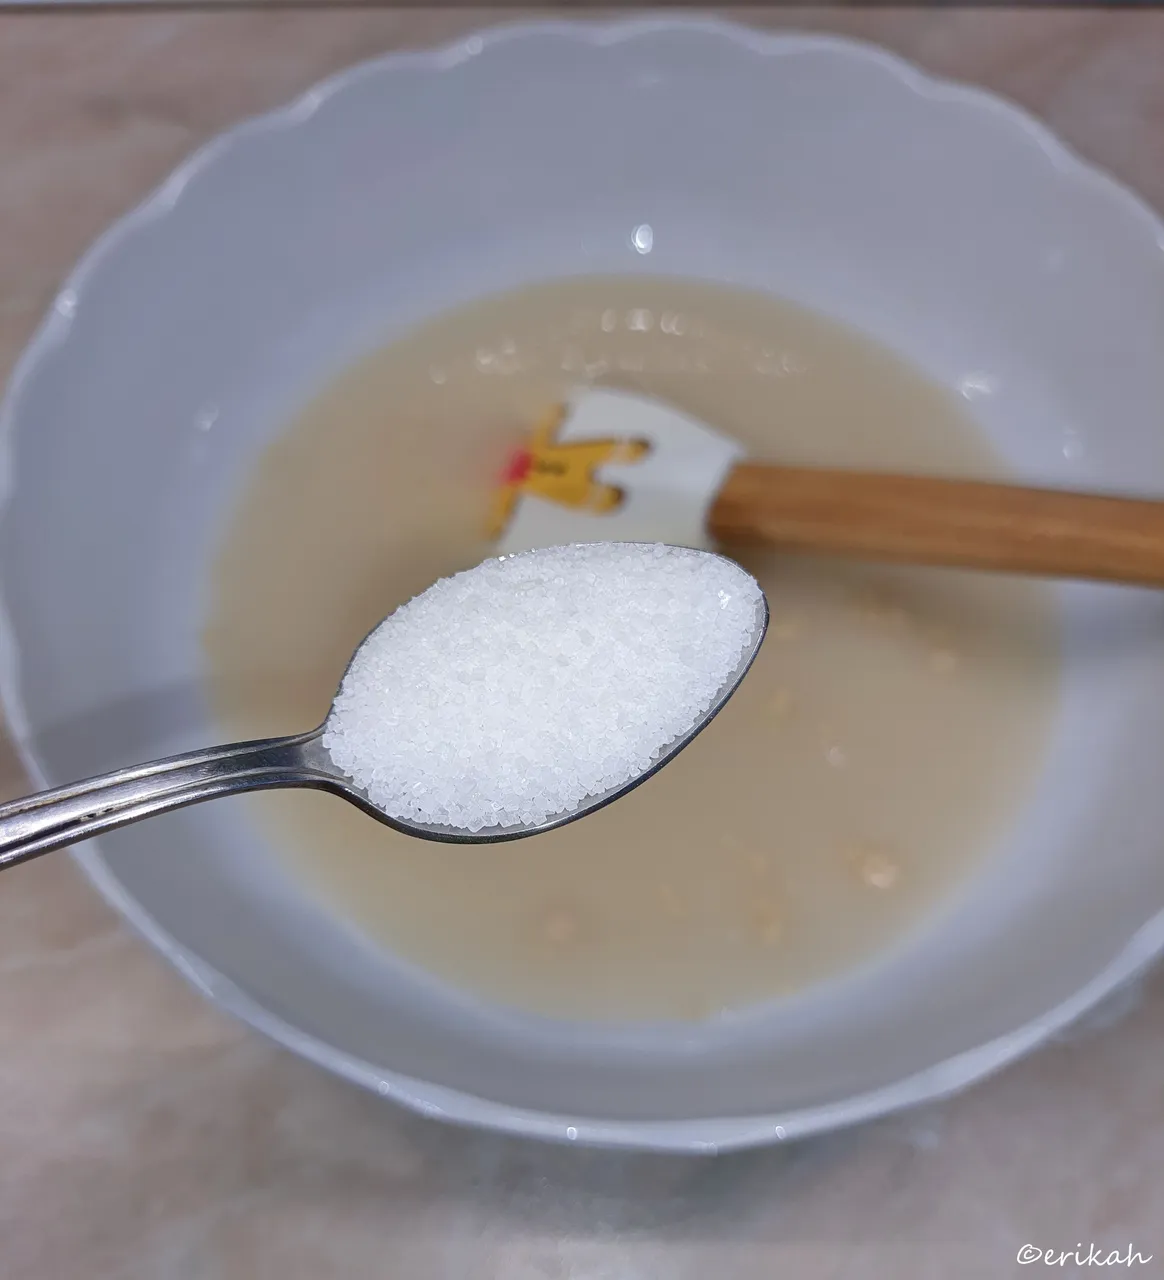
Then added sugar and salt, and mixed it well.
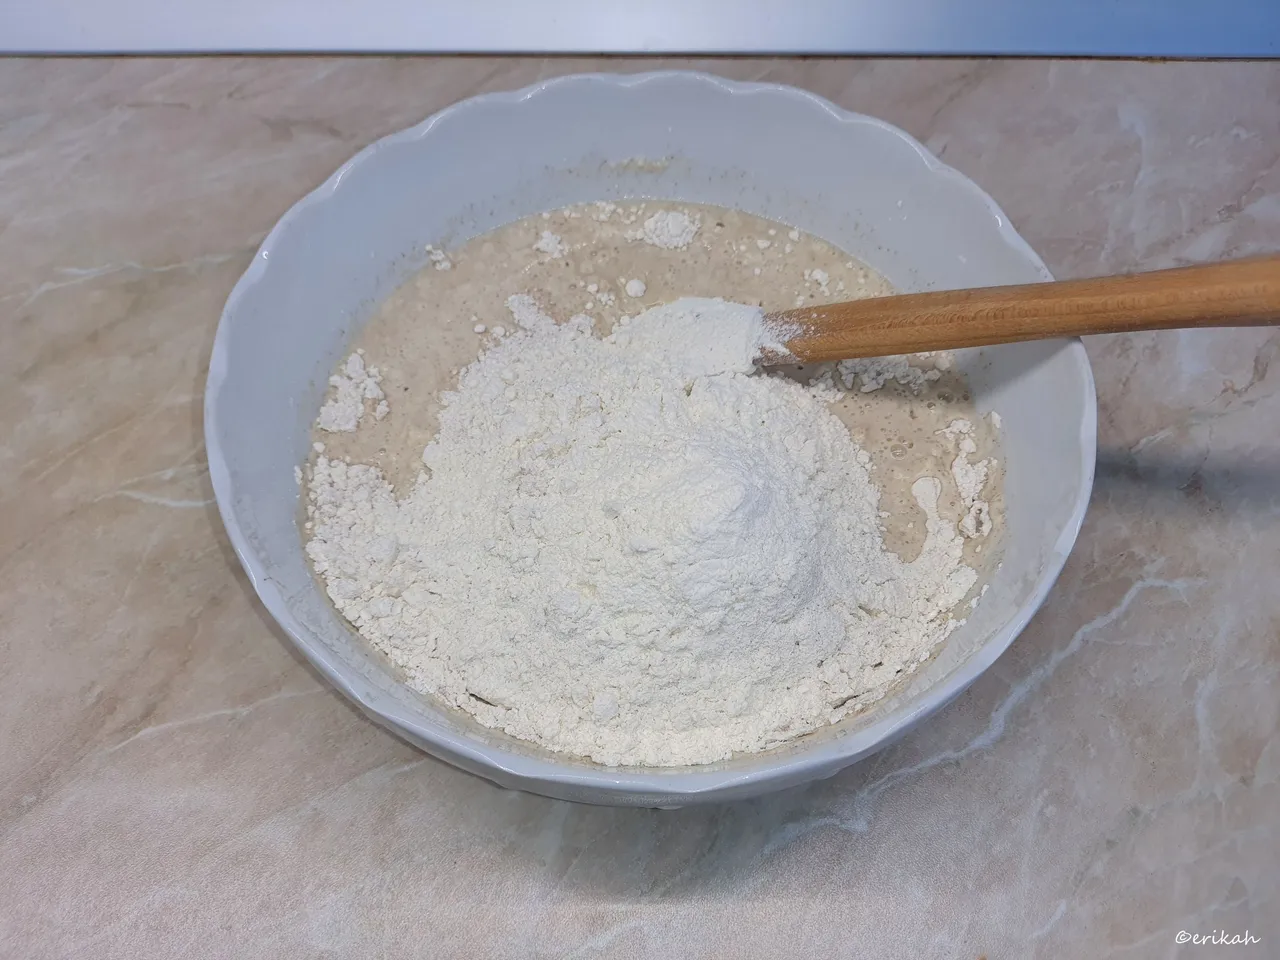
Then I added the flour mix. Now, the recipe only says flour, most likely it refers to all purpose flour but that can be of many types as well, I mean most like there are different types of all purpose flours in each country. I chose to use a mix or type 000 and buckwheat flour. Why? Because I did not want white buns and definitely did not want sponge bread. The other reason I chose to use buckwheat flour in this recipe was that I got 4 different types of flours, one of which was buckwheat flour. One of my acquaintances was growing grain to sell flour, but the business went south and he gave me a good quantity of flour, special types. Now I knew nothing about buckwheat flour, but I thought it can't be bad. Reading up on the subject, I learnt that it is gluten-free. The trick is always mix it with all purpose flour as on it's own may not give you the desired result and that's what I did. Gluten-free flour is not holding the dough together.

After mixing it well, I got that I had to get, which was a sticky dough. What I hate the most about baking is a sticky dough, but you can't have it all, can you?! Most of the no knead type dough are sticky, so I had to accept it and deal with it.
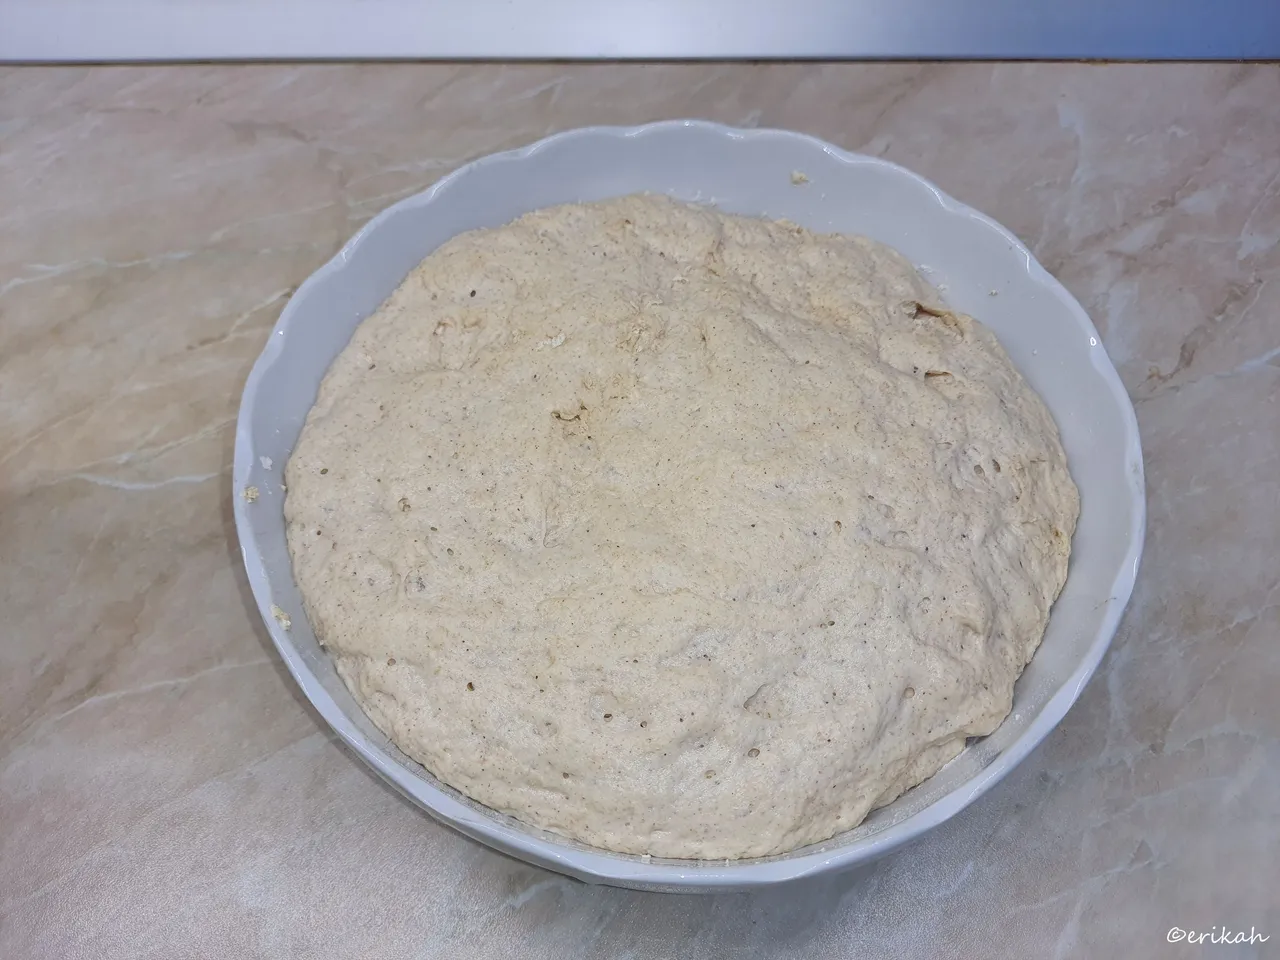
To let it rest, I covered it with a clean table cloth and left it at room temperature for an hour. Now the woman in the video sprinkled the cloth with water. I didn't do that as I have nothing to do that with. But I don't know what it serves for either. Regardless, in an hour, my dough doubled nicely.
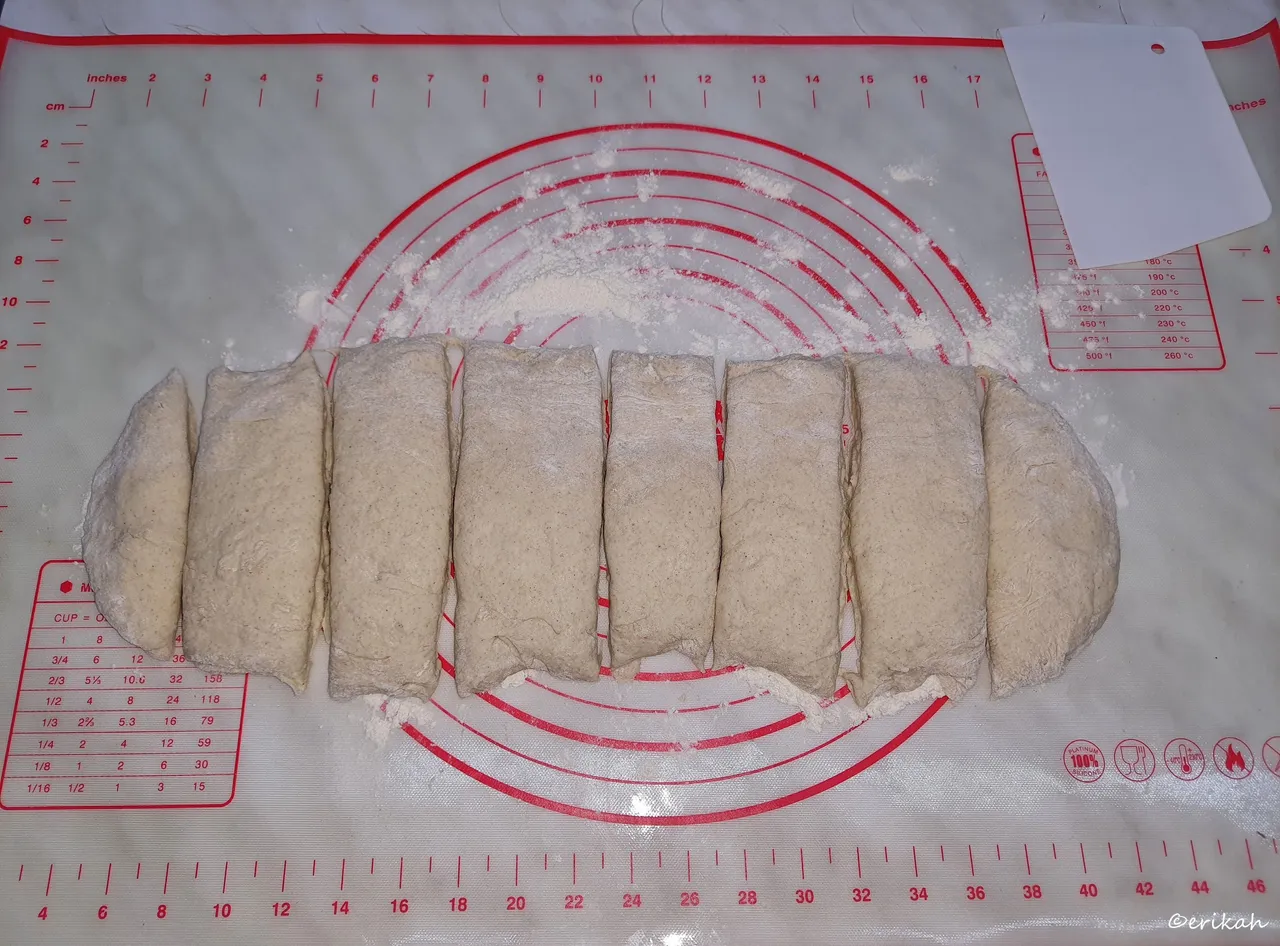
Next, I transferred the dough on a floured working surface, kneaded a bit, for 30 seconds, then divided it. And this is where you can see, I'm not very good at cutting equal pieces.

Next mistake, the video says sprinkle some flour on the baking paper. But definitely not as much as I did 😂 That was a mistake for sure. Not fatal as the excess flour can be taken off afterwards.
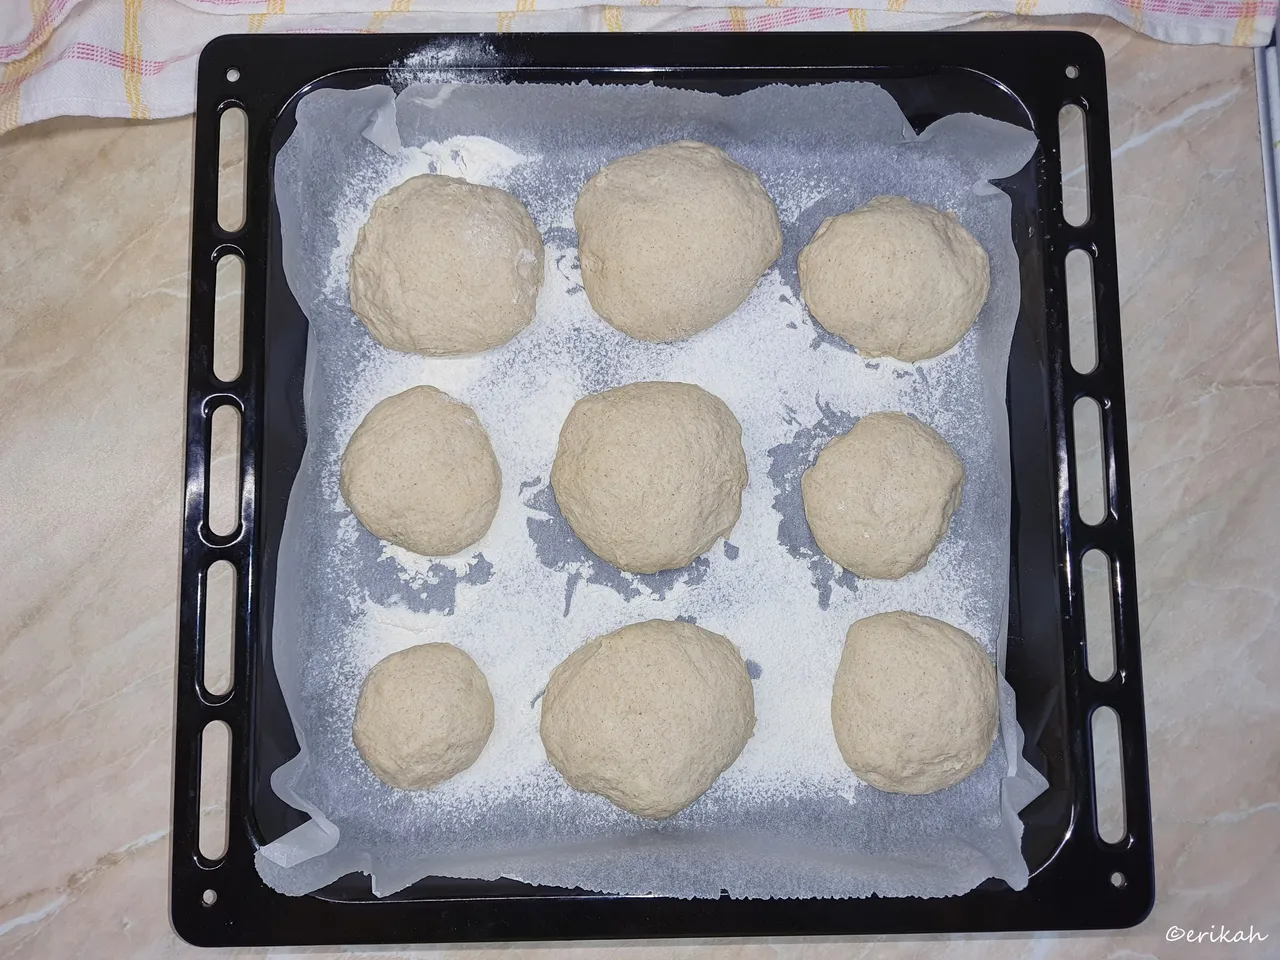
I got 9 buns, some small, some bigger, but at the end of the day, who cares. So after placing them on the paper, covered the tray and let them rest for another 20 minutes.
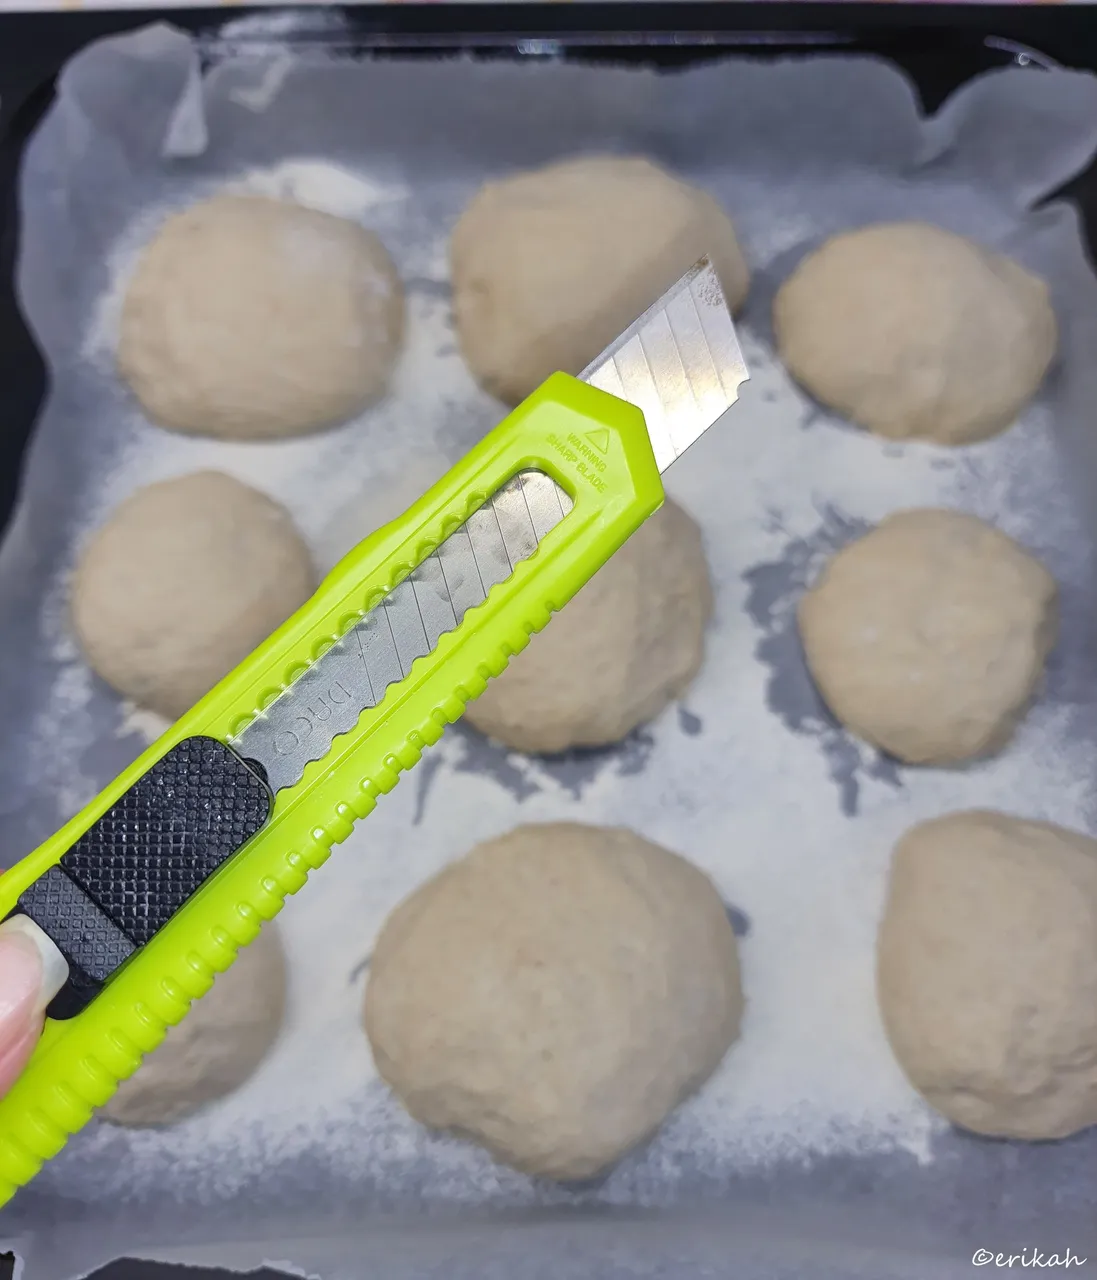
Next you need to cut a cross on top of each bun, not for religious reasons, but to allow them to grow, without cracking. With a tough dough, this is easy, but with this sticky one, it is quite a nightmare. I have a cutter that is used exclusively for dough as it has a thin blade and it's sharp too (which is needed), but still ruined each bun pretty badly.
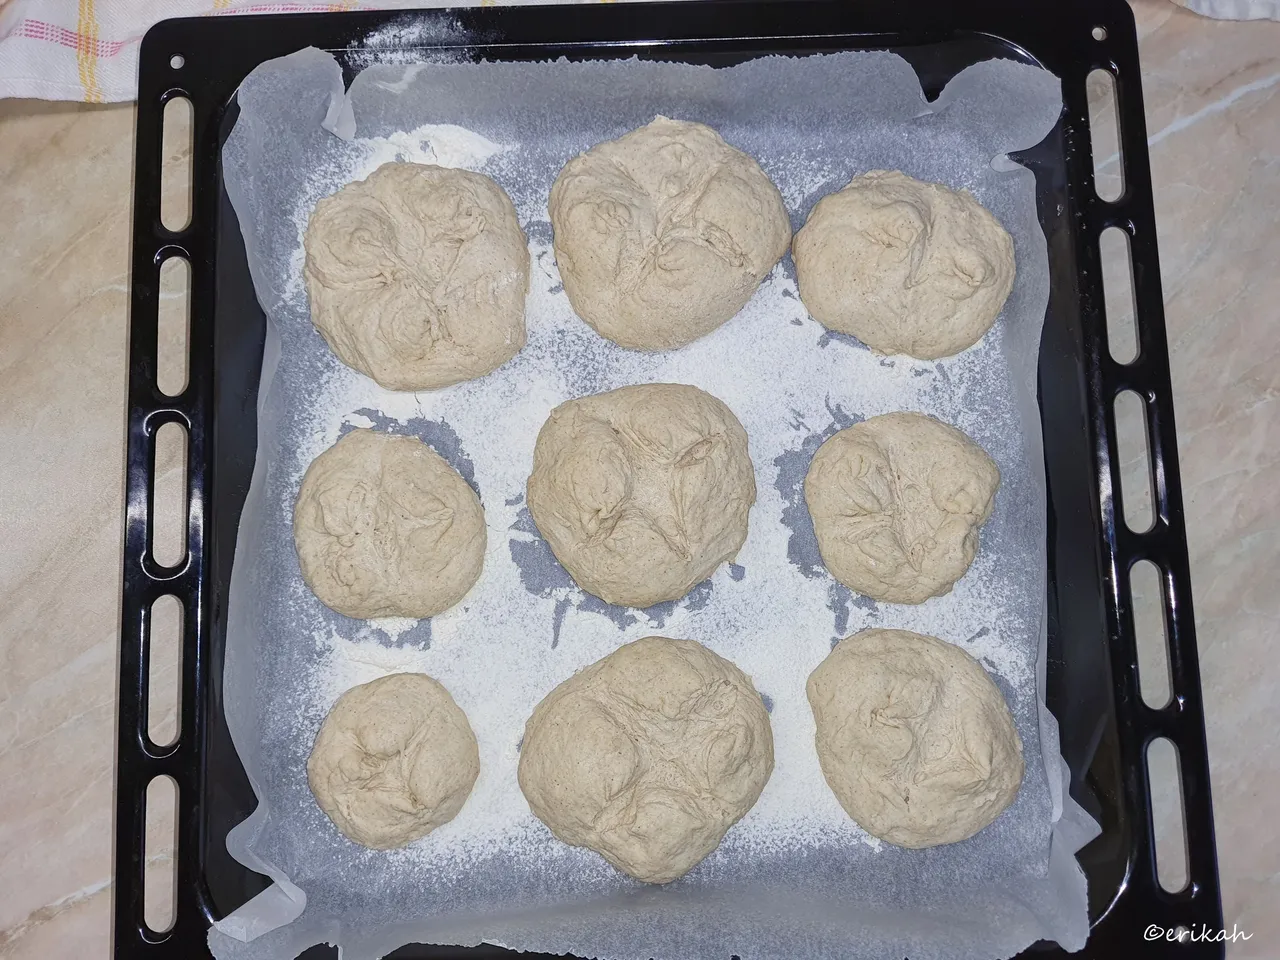
So this is how my masterpieces looked like, before going into the oven.
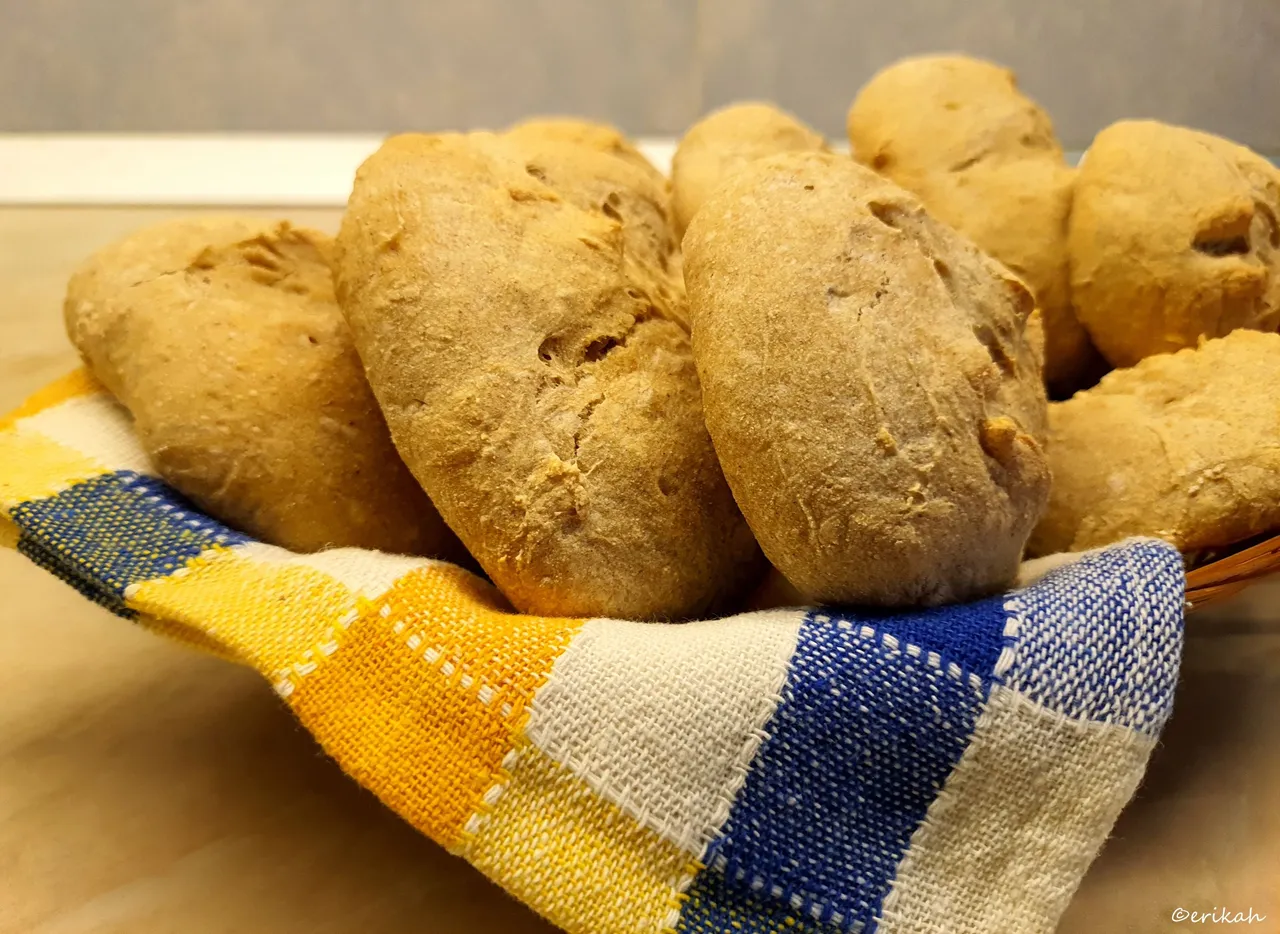
I preheated the oven to 190°C and baked them for 30 minutes. The recipe says 20 minutes, but I needed an extra 10 minutes.
And this is how they came out of the oven. Mine are not so elegant as the ones in the video, these have a rustic look, but I don't mind at all.
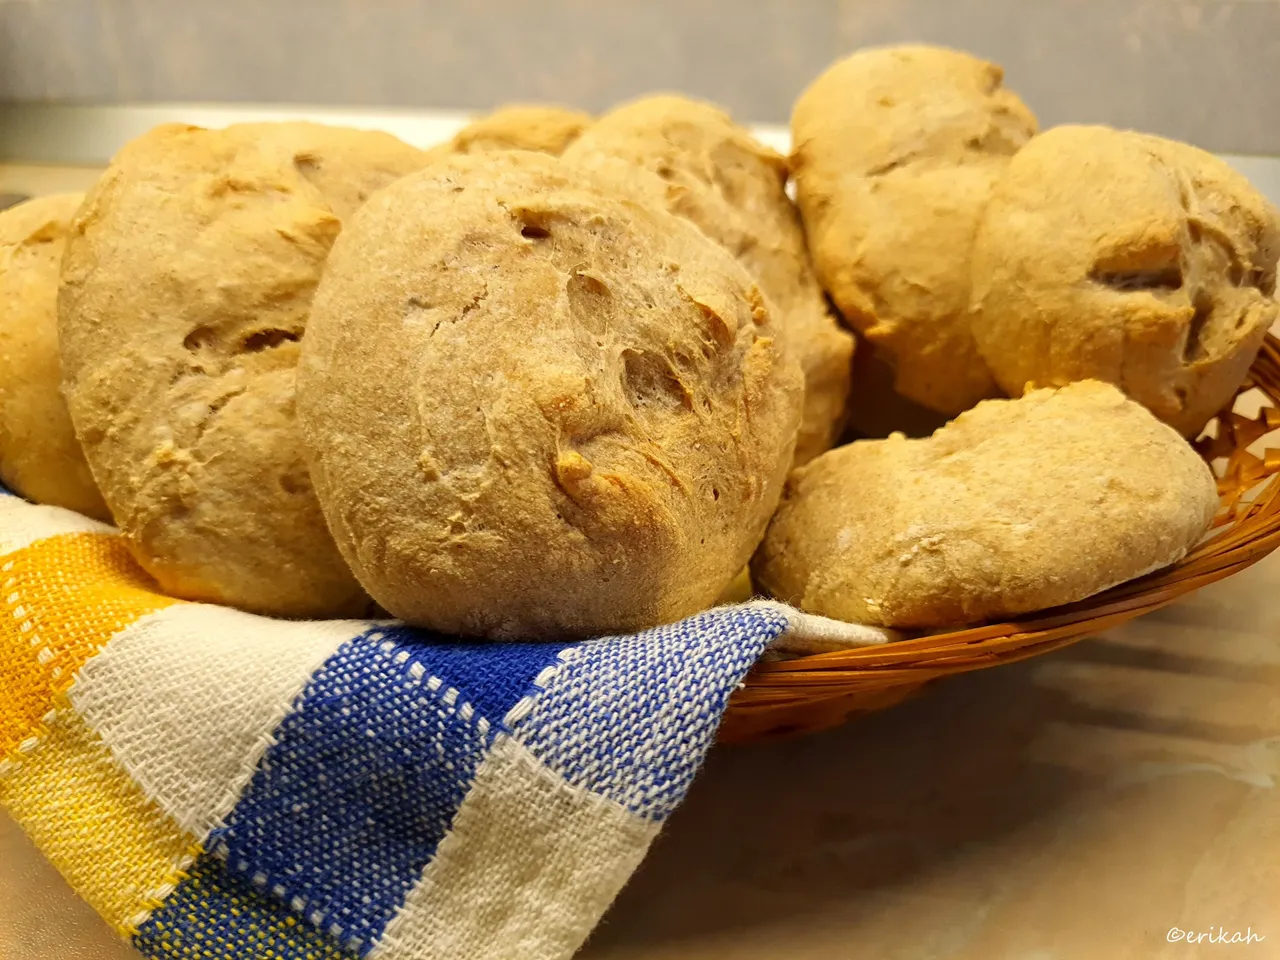
There were two important things I was looking for here. One was a crispy bun crust and the other was not to get a sponge like interior and I got them both. Yes, these don't look do good, but I did not bake these buns for the show.
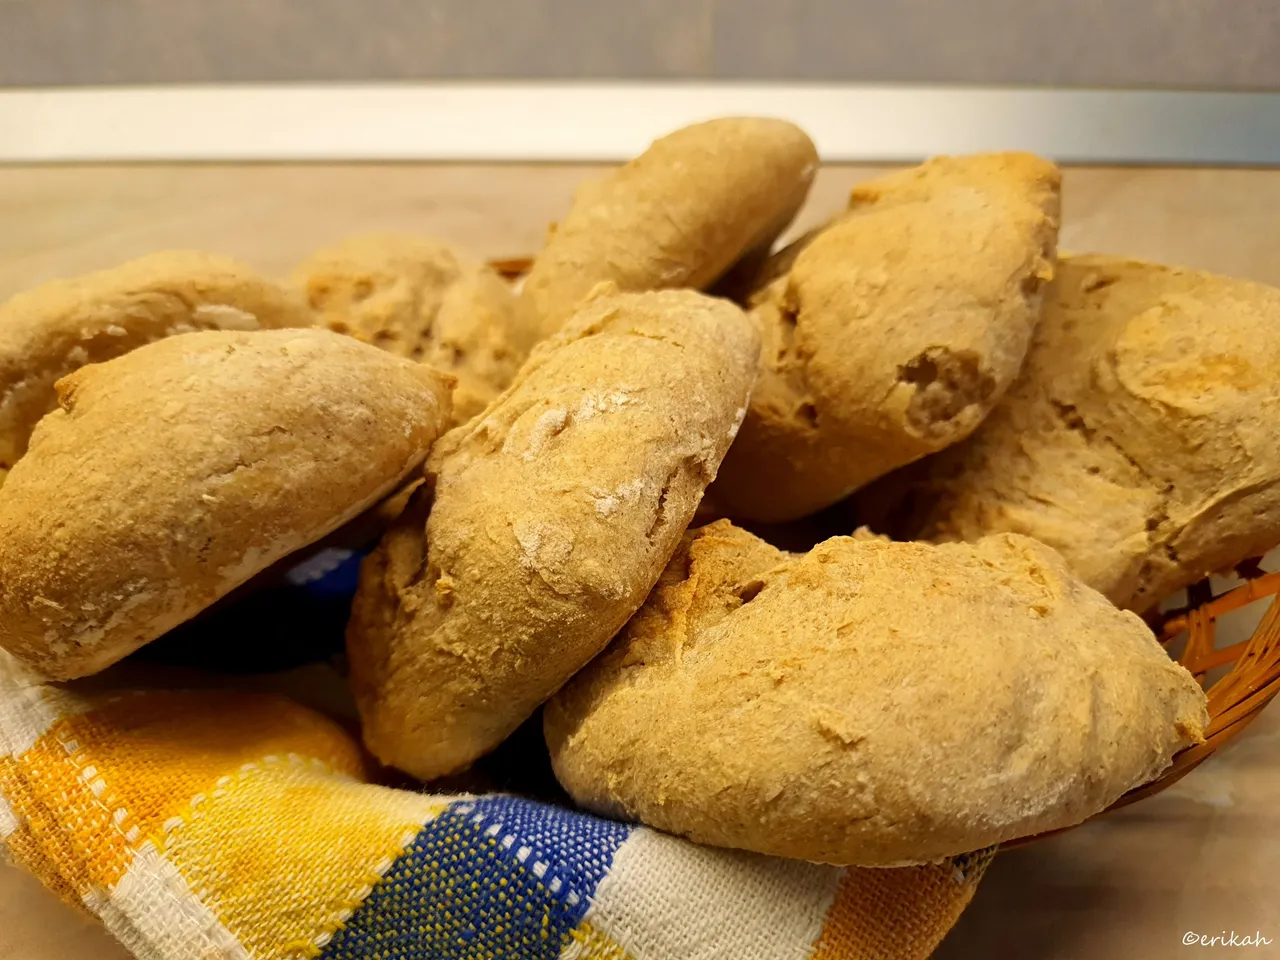
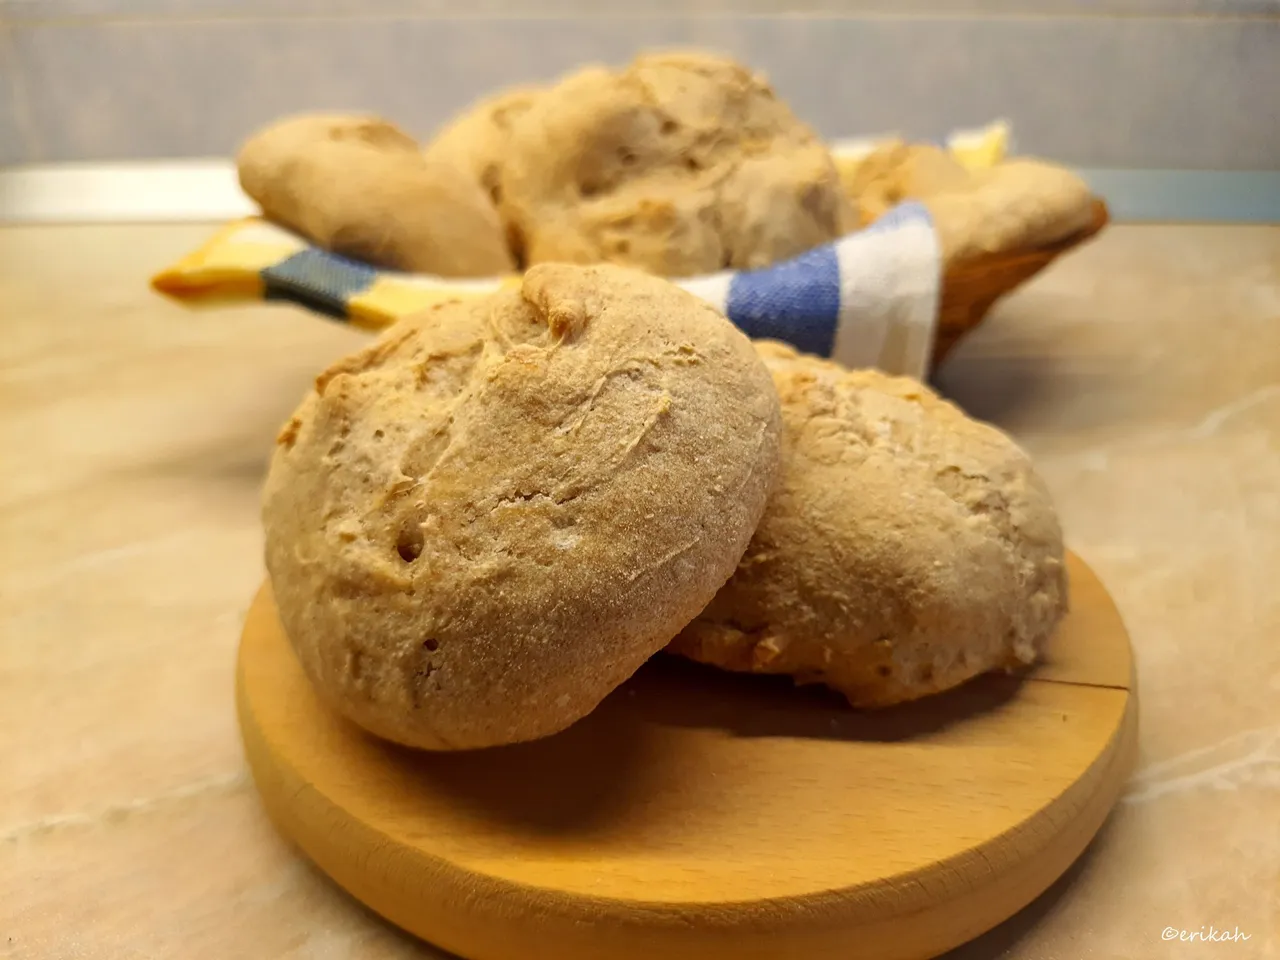
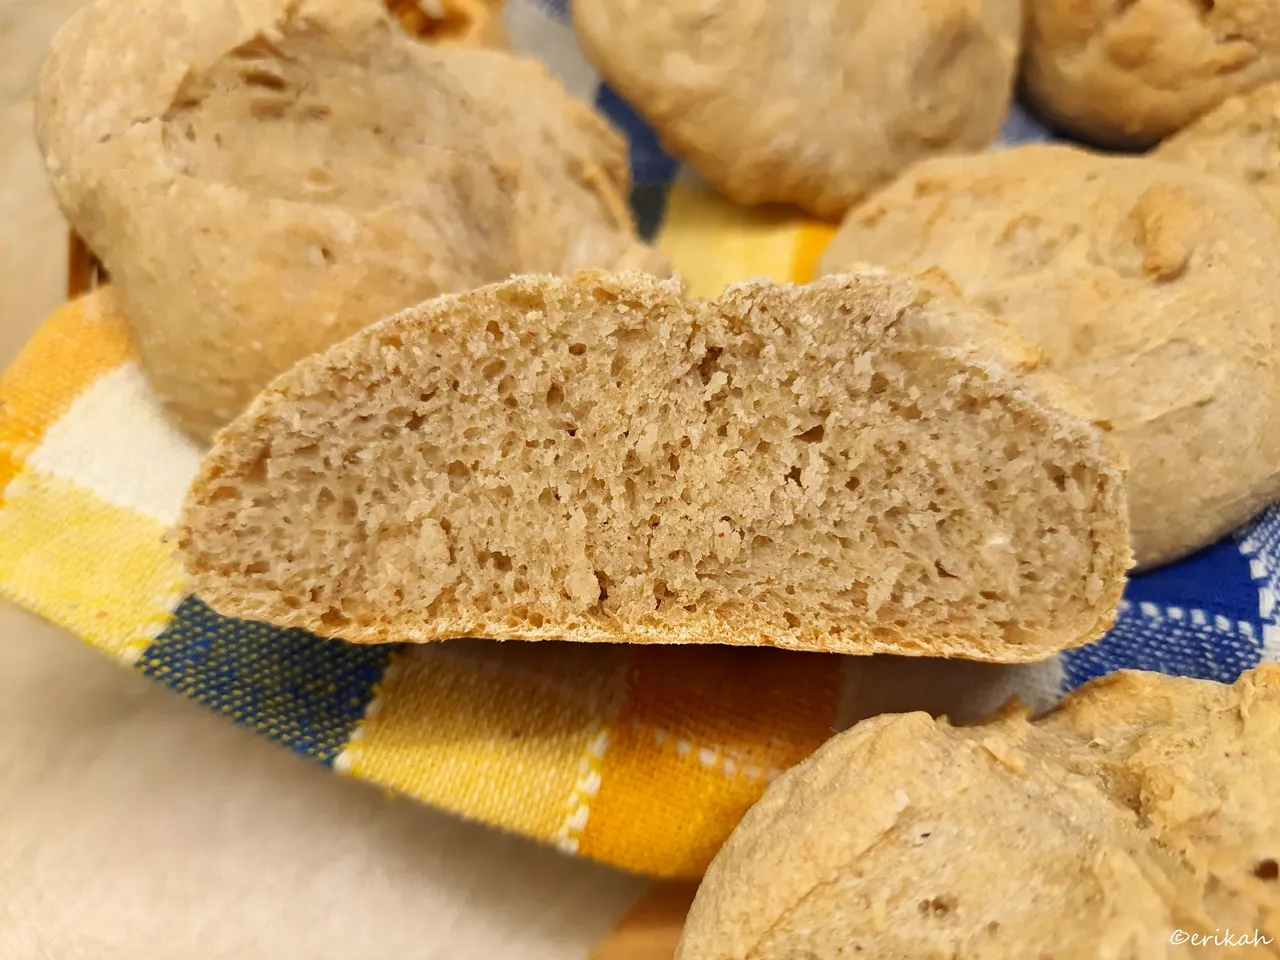
The buckwheat flour made it dark, but it tastes heavenly good. Mine did not rise as high as the original in the video, I suppose it's because of the buckwheat flour, but I'm on with that.
In conclusion, I love the recipe, so it's saved now on Hive, I can use it anytime I want to bake some nice buns.
Sooo, who want some? Who's brave enough to taste one?

If you're a newbie, you may want to check out these guides:
- Communities Explained - Newbie Guide
- Cross Posting And Reposting Explained, Using PeakD
- Hive Is Not For Me
- How To Pump Your Reputation Fast - Newbie Guide
- Tips And Tricks & Useful Hive Tools For Newbies
- More Useful Tools On Hive - Newbie Guide
- Community List And Why It Is Important To Post In The Right Community
- Witnesses And Proposals Explained - Newbie Guide
- To Stake, Or Not To Stake - Newbie Guide
- Tags And Tagging - Newbie Guide
- Newbie Expectations And Reality
