Saludos estimados Hivers y comunidad del buen comer, espero estén pasando un lindo fin semana y con muchos proyectos en desarrollo, para seguir leyéndolos y tomando las ideas que me puedan ayudar en cualquier preparación de esas tantas exquisiteces que podemos encontrar en los maravillosos post publicados.
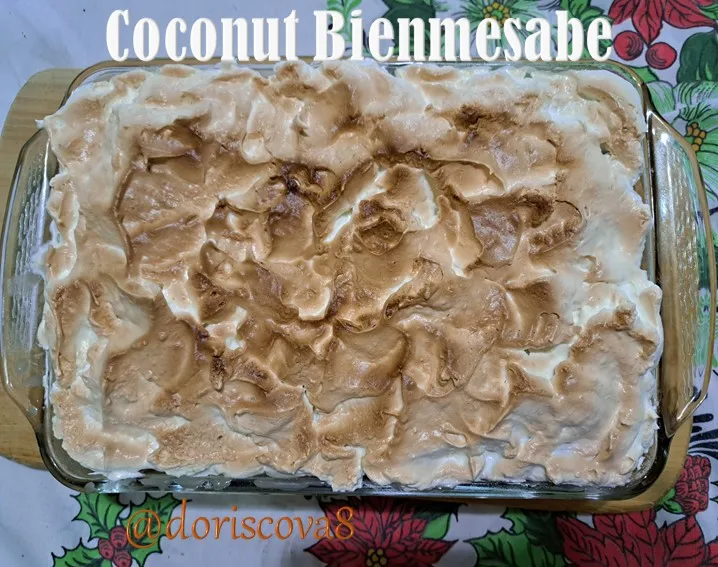
Hoy les traigo un postre que puedo decir es uno de mis favoritos, ya que se sale del tradicional chantilly que es lo que usualmente encontramos en la mayoría de las pastelerías y sitios que se dedican a elaborar postres, y es el famoso Bienmesabe de coco.
Este postre se dice que es de origen de las Islas Canarias, donde lo preparan con almendras almíbar de sidra y biscochos de plantillas y canela molida, pero también algunos autores señalan que este postre puede ser de origen árabe, no obstante, lo que lo hace muy venezolano es su preparación con coco en sustitución de las almendras, lo cual considero que este ingrediente le aporta al postre un sabor muy especial y exquisito.
Ingredientes
Para el biscocho
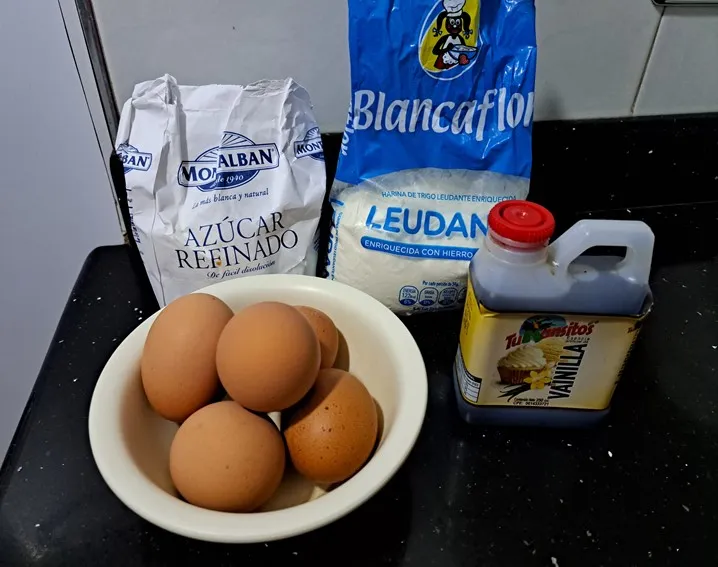
5 huevos
1 taza de harina
¾ taza de azúcar
Para la crema bienmesabe
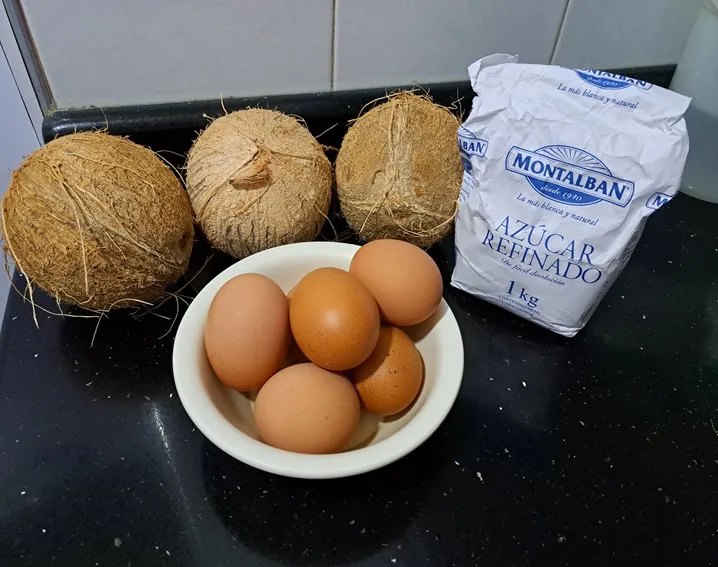
3 cocos
800 gr de azúcar
8 yemas
Para el merengue
4 claras de huevo
1 taza de azúcar
Ralladura de un limón
Preparación
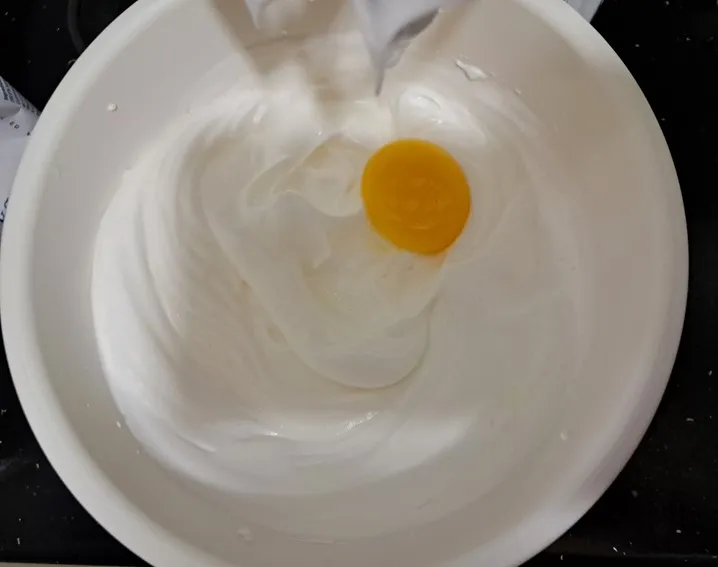
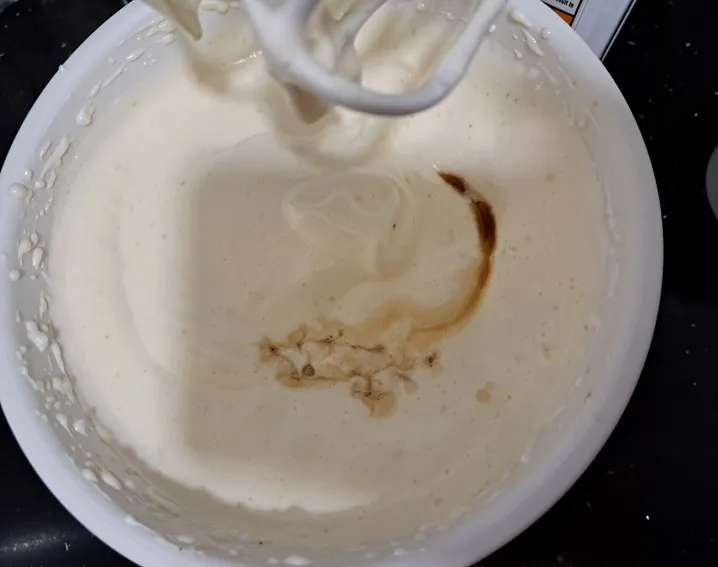
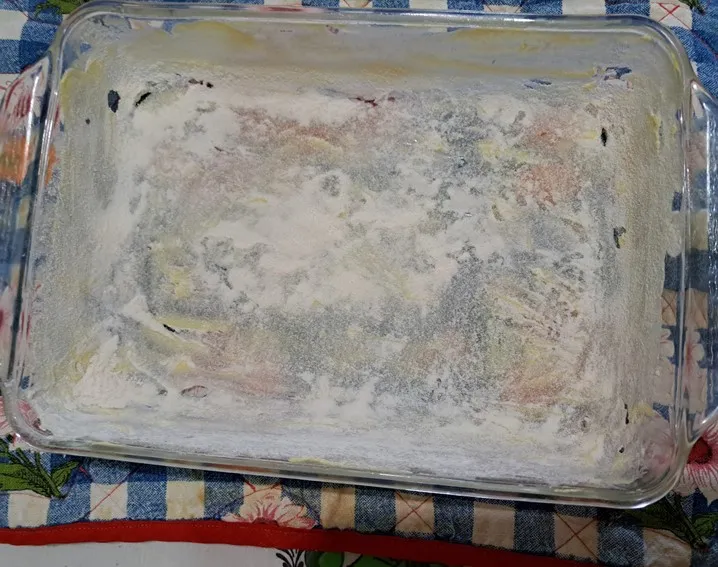
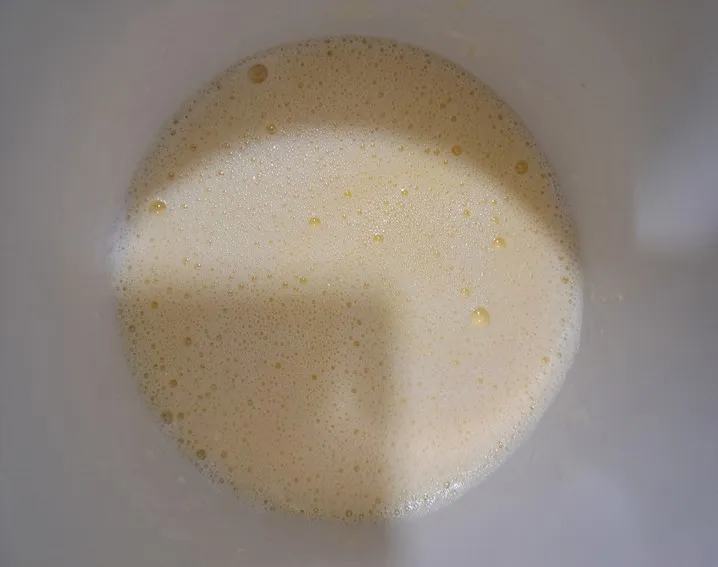
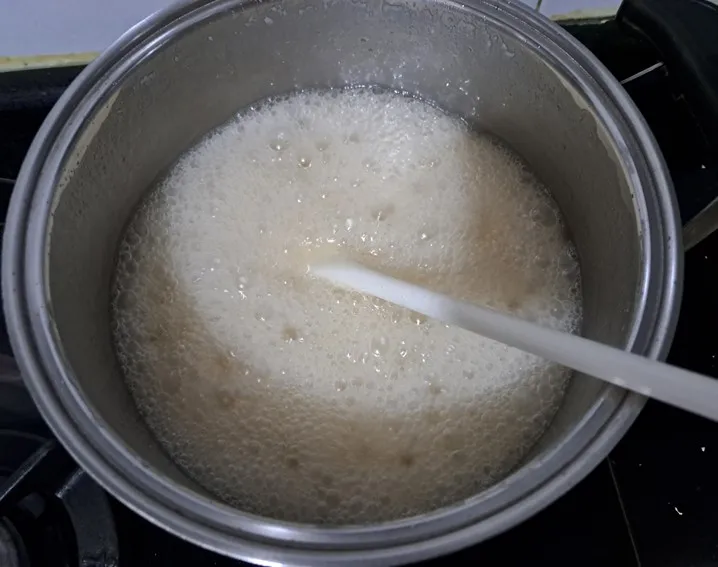
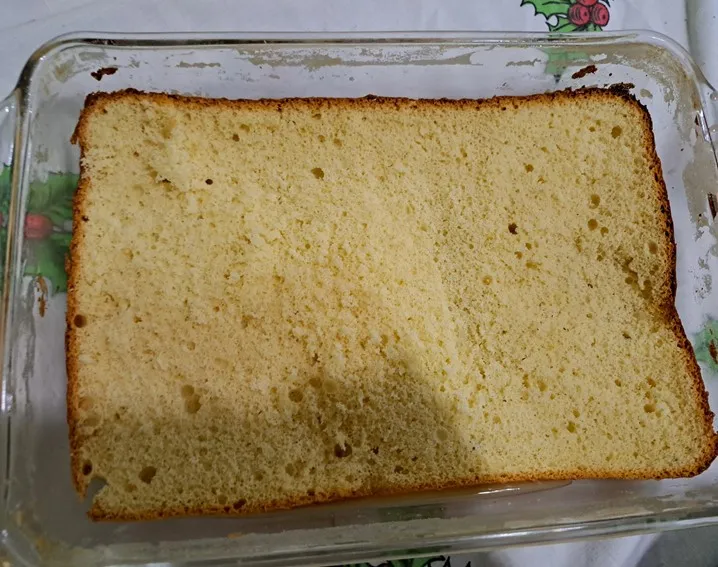
Lo primero que realizo es el biscocho de vainilla para ello inicialmente separo yemas y claras y bato las claras con el azúcar hasta alcanzar el punto suspiro, entonces le voy agregando las yemas una a una, una vez agregadas todas las yemas se le añade la harina en forma envolvente, y en una bandeja engrasada y enharinada se coloca la mezcla y se lleva al horno precalentado a 180 °C por 45 minutos.


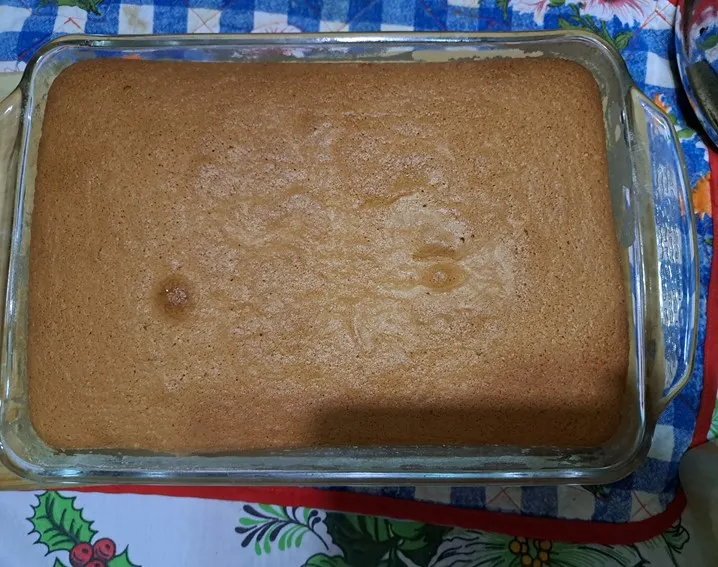
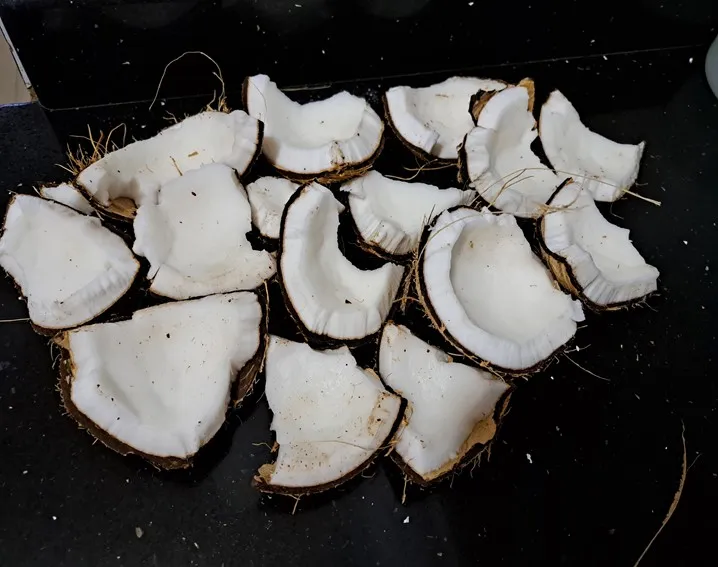
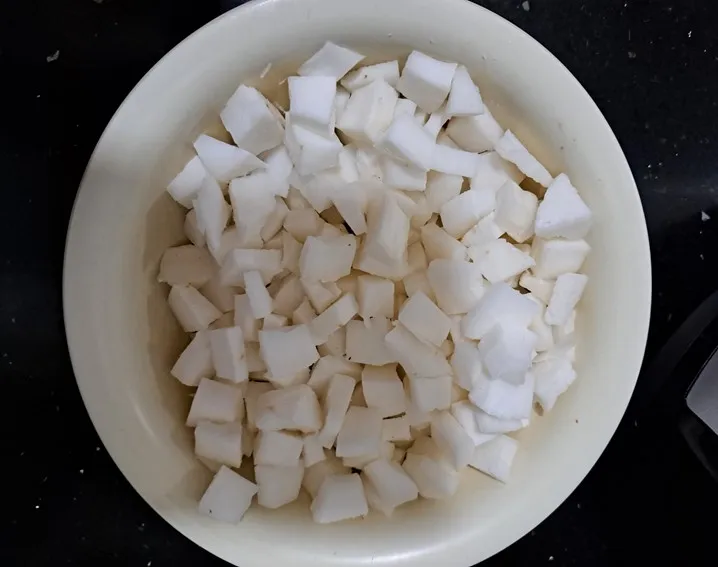
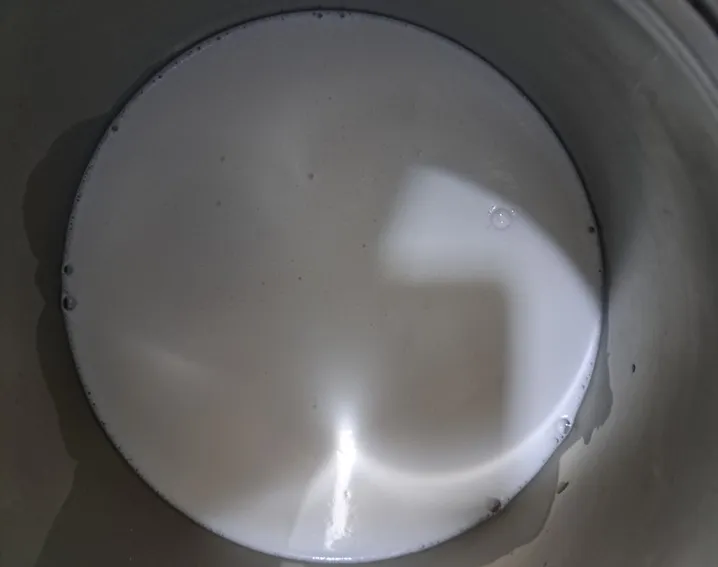
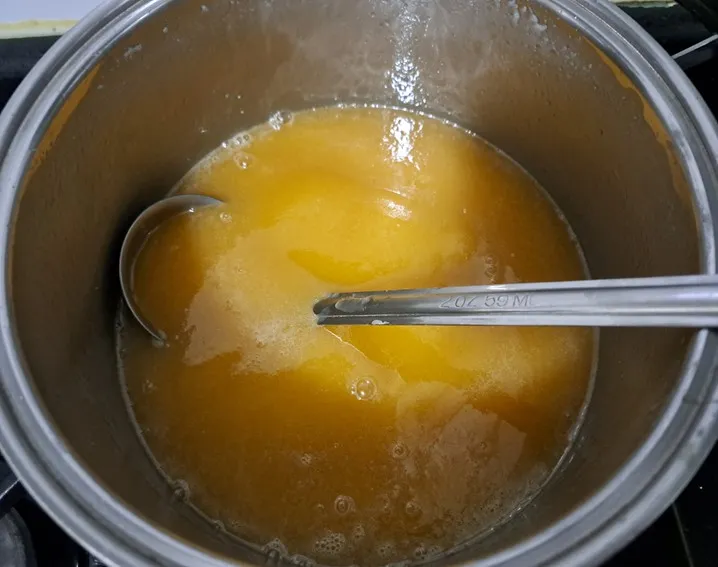
Una vez sacado del horno el biscocho y mientras se enfría, empiezo a preparar los cocos, cortándolos y quitándoles las cascaras, luego lo corto en trocitos para que la licuadora no trabaje tanto, ya que los voy a licuar con agua caliente para sacar la leche de coco, después de licuado se cuela para separar y extraer la leche de coco, unas 3 tazas.
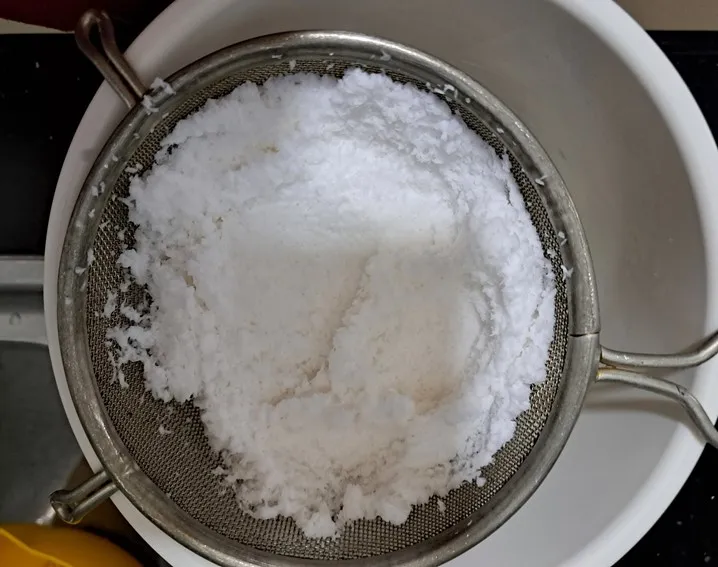
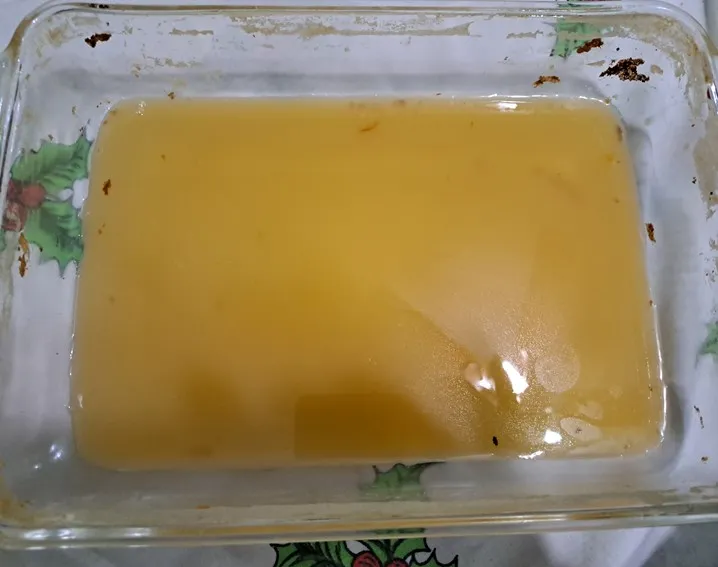
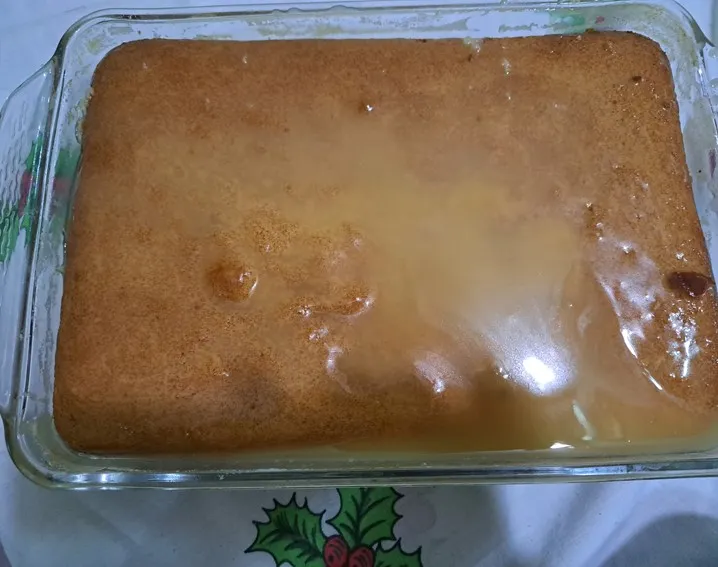
Una vez extraída la leche de coco, separo 1 taza para agregar las yemas y las otras dos se le agrega el azúcar y se lleva a la estufa hasta tener una consistencia espesa que es cuando se le va a agregar la otra porción con las yemas, pero esto se realiza en forma muy lenta para que no se vaya a cortar, luego que ya se ha agregado toda la porción con las yemas, se espera que suelte el hervor y se retira del fuego, se espera que se enfríe para rellenar el biscocho.
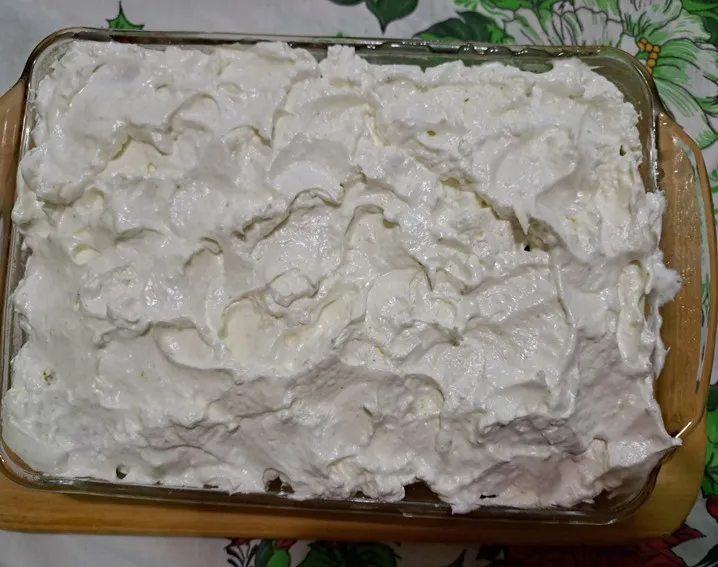
Para agregar la crema al biscocho, primeramente se coloca un poco de crema en la bandeja donde se va a preparar el postre, luego se coloca una parte del biscocho y se le agrega la crema, luego se le coloca la otra capa y se vuelve a bañar con la crema, en este caso me gusta que el biscocho quede bastante húmedo y que inclusive se le sobresalga la crema, para luego colocar el merengue en la parte superior.
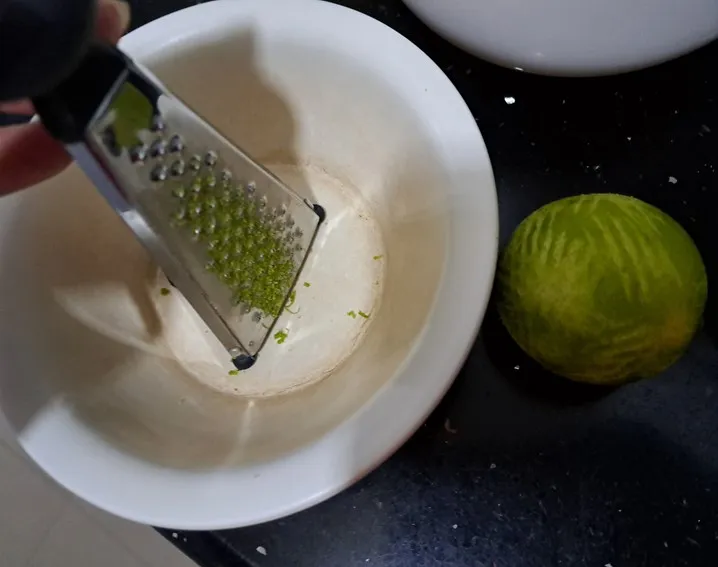
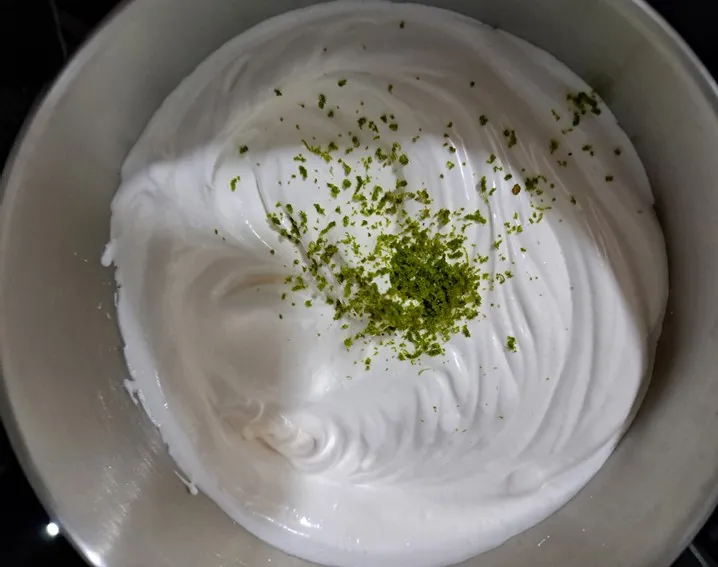
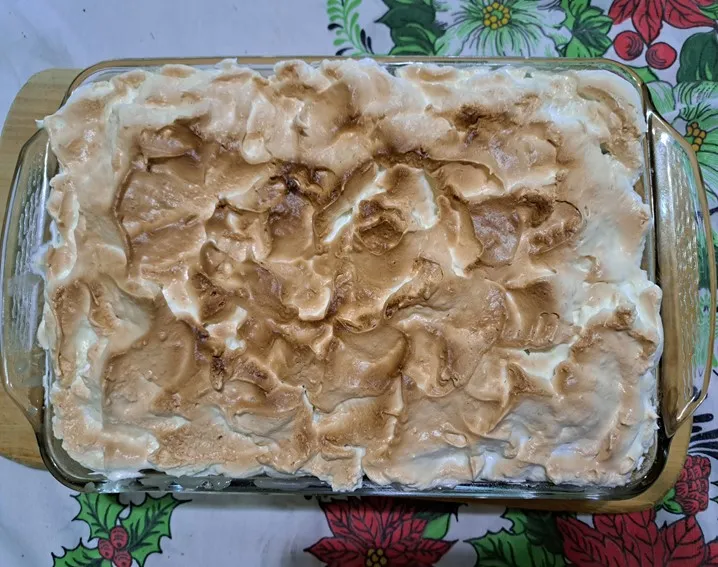
Para la preparación del merengue es en forma sencilla, ya que no tiene que hacerse caliente, ya que luego se mete al horno, entonces para esta preparación coloca las claras en un bol con el azúcar y bato unos 6 minutos con batidora eléctrica hasta alcanzar el punto nieve, luego le agrego la ralladura de limón y bato 1 minuta más, y listo para colocarlo sobre el biscocho con la crema de bienmesabe, esto lo realizo con una espátula y luego lo róseo canela molida, lo llevo al horno y enciendo solo la parte de arriba del horno hasta que las puntas se vean doradas.
Se deja enfriar y se lleva luego al refrigerador, y luego de frío ya estará listo para degustar.
In English
Greetings dear Hivers and good food community, I hope you are having a nice weekend and with many projects in development, to continue reading and taking ideas that can help me in any preparation of those many delicacies that we can find in the wonderful post published.
Today I bring you a dessert that I can say is one of my favorites, as it is out of the traditional chantilly which is what we usually find in most bakeries and sites that are dedicated to making desserts, and it is the famous Bienmesabe de coco.
This dessert is said to come from the Canary Islands, where it is prepared with almonds, cider syrup and biscochos de plantillas and ground cinnamon, but some authors also say that this dessert may be of Arab origin, however, what makes it very Venezuelan is its preparation with coconut instead of almonds, which I consider that this ingredient gives the dessert a very special and exquisite flavor.
Ingredients
For the biscocho
5 eggs
1 cup flour
¾ cup sugar
For the bienmesabe cream
3 coconuts
800 grams of sugar
8 egg yolks
For the meringue
4 egg whites
1 cup sugar
Zest of one lemon
Preparation
The first thing I make is the vanilla cake, for this I initially separate the egg yolks and egg whites and beat the egg whites with the sugar until they reach sigh point, then I add the egg yolks one by one, once all the egg yolks are added the flour is added in a wrapping way, and in a greased and floured tray the mixture is placed and it is taken to the preheated oven at 180 °C for 45 minutes.
Once the biscocho is out of the oven and while it cools, I start preparing the coconuts, cutting them and removing the shells, then I cut it into small pieces so that the blender does not work so hard, since I am going to blend them with hot water to extract the coconut milk, after blending it is strained to separate and extract the coconut milk, about 3 cups.
Once the coconut milk is extracted, I separate 1 cup to add the yolks and the other two I add the sugar and take it to the stove until it has a thick consistency which is when I will add the other portion with the yolks, but this is done very slowly so it will not be cut, after I have added all the portion with the yolks, I wait for it to boil and remove it from the fire, I wait for it to cool down to fill the cake.
To add the cream to the cake, first place a little cream on the tray where the dessert is going to be prepared, then place a part of the cake and add the cream, then place the other layer and bathe it again with the cream, in this case I like the cake to be quite wet and even the cream to stand out, and then place the meringue on top.
For the preparation of the meringue is simple, since it does not have to be made hot, since it is then put in the oven, then for this preparation place the egg whites in a bowl with the sugar and beat about 6 minutes with an electric mixer until it reaches stiff peaks, Then I add the lemon zest and beat 1 more minute, and ready to place it on the cake with the cream of bienmesabe, I do this with a spatula and then I sprinkle ground cinnamon, I take it to the oven and turn on only the top of the oven until the tips are golden brown.
Let it cool and then take it to the refrigerator, and after it is cold it will be ready to taste.


Translated with www.DeepL.com/Translator (free version)
Fuente de imágenes: Archivo Personal.


MIS REDES SOCIALES