Este post está escrito en dos idiomas y dividido para facilitar la lectura.

Ésta semana me he puesto a prueba y me dispuse a preparar algo totalmente diferente a lo que acostumbro. Entre nervios y acomodarme un poco a la receta, ha salido como resultado estos bizcochos de soletilla o, también conocidos como dedos de señora que se pueden utilizar para el tiramisú o bien si deseas, acompañarlos con un café.
Ingredientes
- 3 huevos
- 1 cdta. de esencia de vainilla
- 1 pizca de sal
- 90 gr de azucar
- 10 gr de fécula de maíz
- 90 gr de harina todo uso
- azúcar glass
This week I put myself to the test and set out to prepare something totally different from what I usually do. Between nerves and getting comfortable with the recipe, the result is these bizcochos de soletilla, also known as ladyfingers, which can be used for tiramisu or if you want to accompany them with a coffee.
Ingredients
- 3 eggs
- 1 teaspoon vanilla essence
- 1 pinch of salt
- 90 gr of sugar
- 10 gr of corn starch
- 90 gr all-purpose flour
- powdered sugar

Comenzaremos por separar la clara de nuestra yema en diferentes recipientes.
Una vez hecho esto trabajaremos primero con las yemas.
We will start by separating the egg white from our yolk in different containers.
Once this is done, we will work first with the yolks.
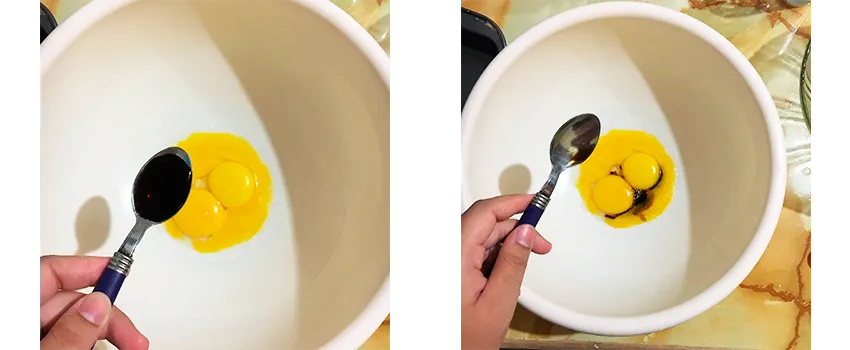
Colocaremos nuestra cucharadita de esencia de vainilla en las yemas y procedemos a batir, primero comenzaremos a baja velocidad hasta llevar nuestra batidora casi al máximo.
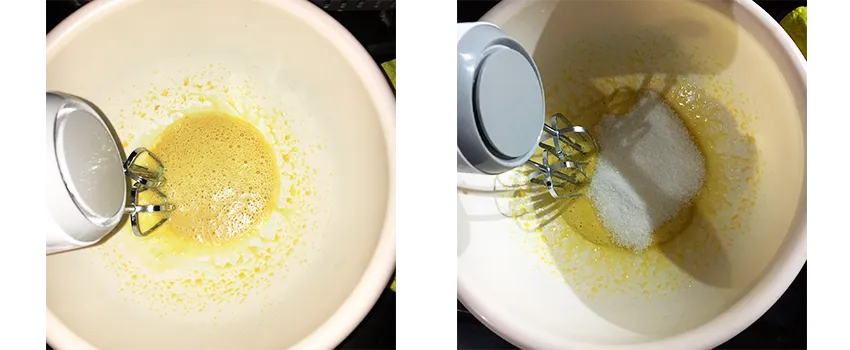
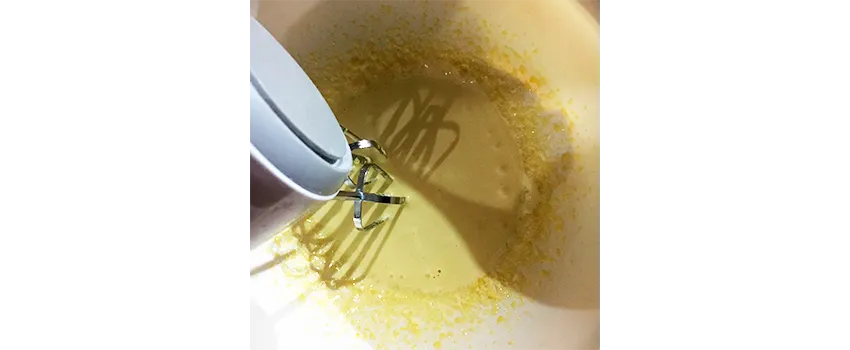
Pasados unos 3 minutos colocaremos la mitad de nuestra azúcar a las yemas y batiremos hasta que adquiera una consistencia cremosa entre espesa y suave.
Tener mucho cuidado a la hora de batir los huevos porque pueden cortarse.
We will place our teaspoon of vanilla essence in the yolks and proceed to beat, first we will start at low speed until we bring our mixer almost to the maximum.
After about 3 minutes, add half of our sugar to the yolks and beat until it reaches a creamy consistency between thick and smooth.
Be very careful when beating the eggs because they can be cut.
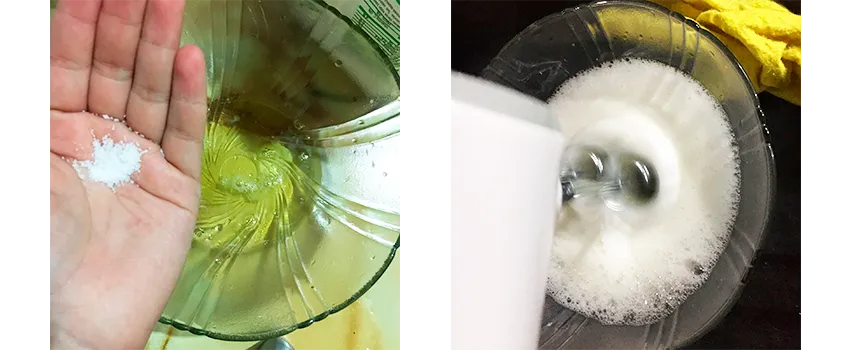
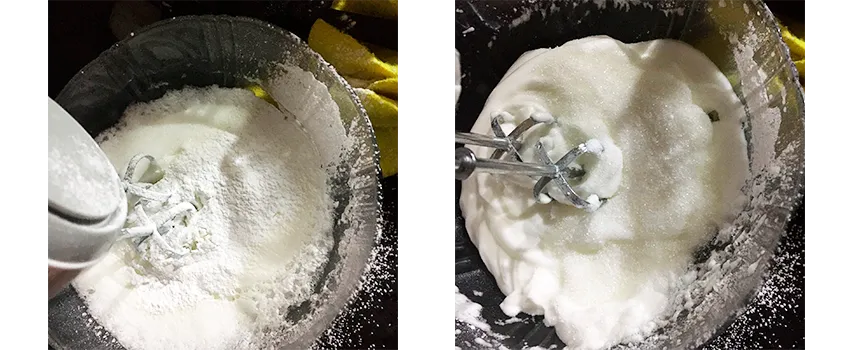
Ahora le pondremos nuestra pizca de sal a las claras y comenzaremos a batir para llevarlas a punto de nieve.
Cuando nuestras claras comiencen a tomar consistencia y produzcan espuma, con un colador colocaremos los 10 gr de fécula de maíz y continuaremos batiendo.
En el momento en que nuestras claras comiencen a ponerse cremosas, pondremos la mitad restante del azúcar y dejaremos de batir cuando la propia mezcla haga efecto de ''olas''.
Las claras son más propensas a cortarse, tener mucho cuidado, evitar el sobre-batirlas.
Now we will add our pinch of salt to the egg whites and begin to whip them to stiff peaks.
When our egg whites begin to take consistency and produce foam, with a strainer we will place the 10 gr of corn starch and we will continue beating.
When our egg whites begin to cream, add the remaining half of the sugar and stop beating when the mixture itself makes a ''wave'' effect.
The egg whites are more prone to cut, be very careful, avoid over whipping them.
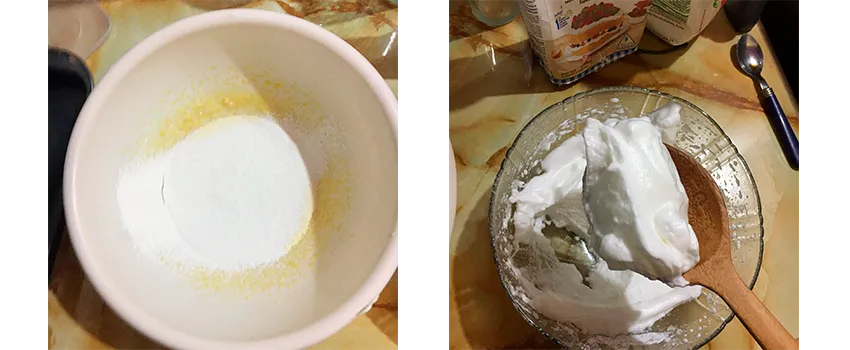
Ahora si, con ambas preparaciones juntas procederemos a mezclar. Con un colador pondremos la mitad de nuestra harina en nuestras yemas, con la ayuda de un cucharón o espátula pondremos la mitad de nuestras claras llevadas a punto de nieve y con movimientos envolventes (no batir), con mucho cuidado iremos juntando.
Now, with both preparations together we will proceed to mix. With a sieve we will put half of our flour in our yolks, with the help of a spatula we will put half of our egg whites brought to stiff peaks and with encircling movements (do not beat), very carefully we will put them together.
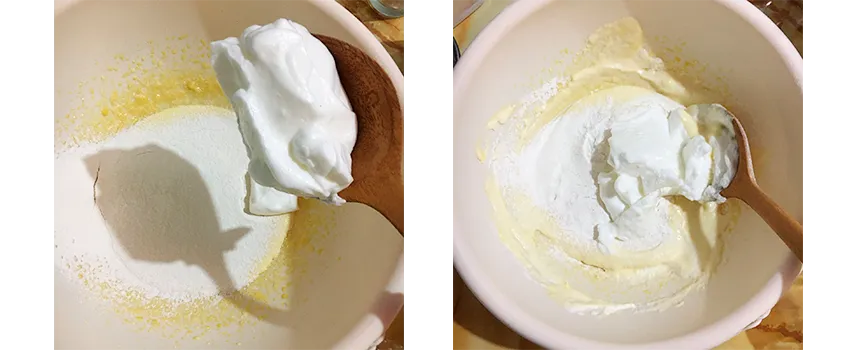
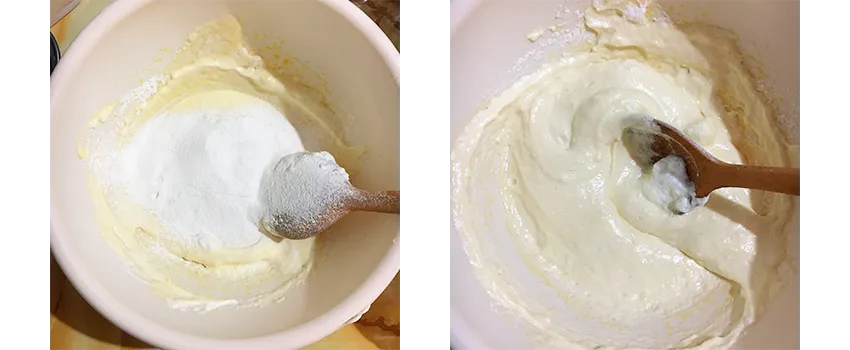
Una vez que hayamos juntado la primera parte, colocaremos nuevamente el restante de harina y el restante de las claras llevadas a punto de nieve.
Continuaremos mezclando con mucho cuidado y con movimientos envolventes.
Once we have gathered the first part, we will add again the remaining flour and the remaining egg whites brought to stiff peaks.
Continue mixing very carefully and with enveloping movements.
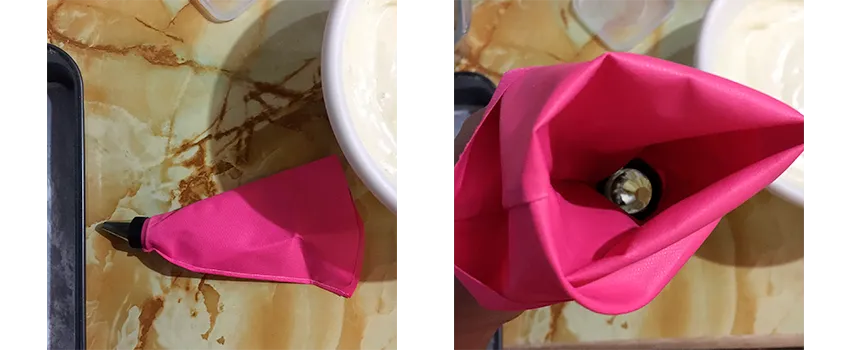
Cuando nuestra mezcla esté toda del mismo color y tengamos por seguro que todo esté perfectamente unido, tomaremos una manga (si no tienes una puedes utilizar una bolsa tipo ziploc) la rellenamos con nuestra mezcla y con mucha precisión en nuestra bandeja haremos la forma de estos bizcochos.
Nota: Recomiendo utilizar papel manteca para realizar las mismas, yo no tenía y tuve que ponerle un poco de harina a mi molde. Si tu tampoco tienes, te recomiendo que las dejes enfriar MUY BIEN antes de retirarlas del molde.
When our mixture is all the same color and we are sure that everything is perfectly mixed, we will take a piping bag (if you do not have one you can use a ziploc bag) fill it with our mixture and with great precision in our tray we will make the shape of these biscuits.
Note: I recommend using butter paper to make them, I didn't have any and had to put some flour in my mold. If you don't have any either, I recommend that you let them cool VERY WELL before removing them from the mold.

Yo la verdad no tengo mucha precisión para éstas cosas. 😂
Nuestro horno debe estar precalentado a 350º F. Una vez que hayamos hecho la forma (o bueno, el intento 😂) espolvoreamos por sobre ellas un poco de azúcar glass y las llevaremos al horno por unos 15 - 20 minutos.
I really don't have much precision for these things. 😂
Our oven must be preheated to 350º F. Once we have made the shape (or well, the attempt 😂) we sprinkle over them a little powdered sugar and take them to the oven for about 15 - 20 minutes.
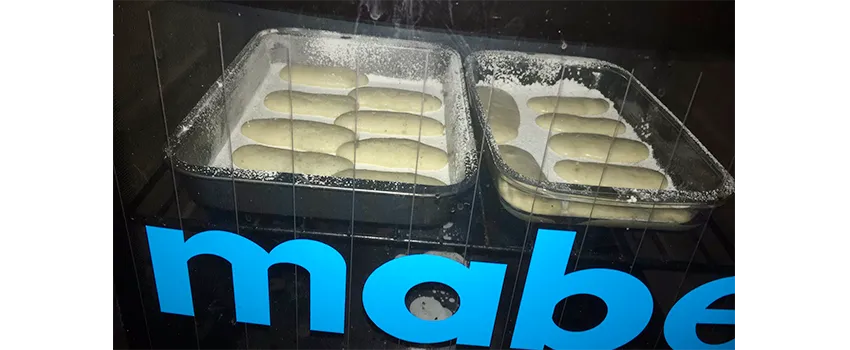
Crecerán un poco y la verdad es que no suelen tostarse por arriba o adquirir un color más oscuro, así que no te preocupes si pasado los 15 minutos sigues viéndolos un poco pálidos.
Una vez transcurrido el tiempo, debemos dejarlos enfriar bien para desmoldar, en ésta última parte puedes poner un poco más de azúcar glass por sobre ellas y ¡listo! a disfrutar.
They will grow a little and the truth is that they don't usually brown on top or acquire a darker color, so don't worry if after 15 minutes you still see them a little pale.
Once the time has elapsed, we must let them cool well to unmold, in this last part you can put a little more powdered sugar on them and ready to enjoy.

