
Hello dear friends. In my previous post, I shared khachapuri photos with you. In this post, I want to share the recipe for khachapuri, one of our national dishes. We'll be making Adjaruli khachapuri or khachapuri boats. I believe this is the best recipe to achieve a beautiful, crispy, extremely soft and delicious khachapuri. I've tried various versions of Adjaruli khachapuri recipes and among them, I will share what I consider to be the best one. This recipe was passed down to me by a Georgian chef who is a close friend of my mother.
And for the past few years, I've kept a note about this recipe with great enthusiasm inside one of my cookbooks. After trying this recipe, I can finally say that yes, this is the same khachapuri recipe we had at Retro cafe. Now let's get to the recipe. It's quite simple to make. I'd like to thank my sister for helping me take the photos.
Ingredients
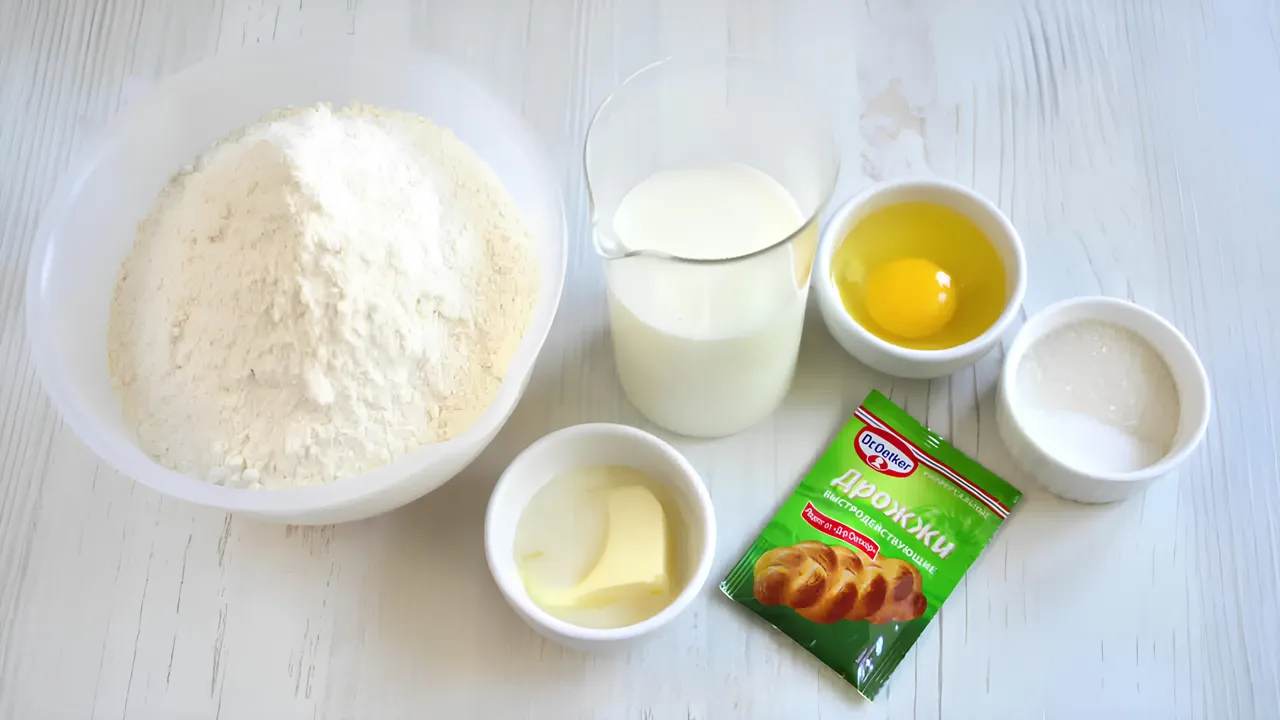
- 500 grams of flour
- 150 grams of warm water
- 100 grams of warm milk
- 1 egg
- 2 teaspoons of sugar
- 1 teaspoon of salt
- 30 grams of softened butter
- 1 packet (7 grams) of instant yeast
How to make:
I mixed flour, water and milk in a bowl.
I added one egg, 2 teaspoons of sugar, 1 teaspoon of salt, 30 grams of softened butter and 1 packet (7 grams) of instant yeast.
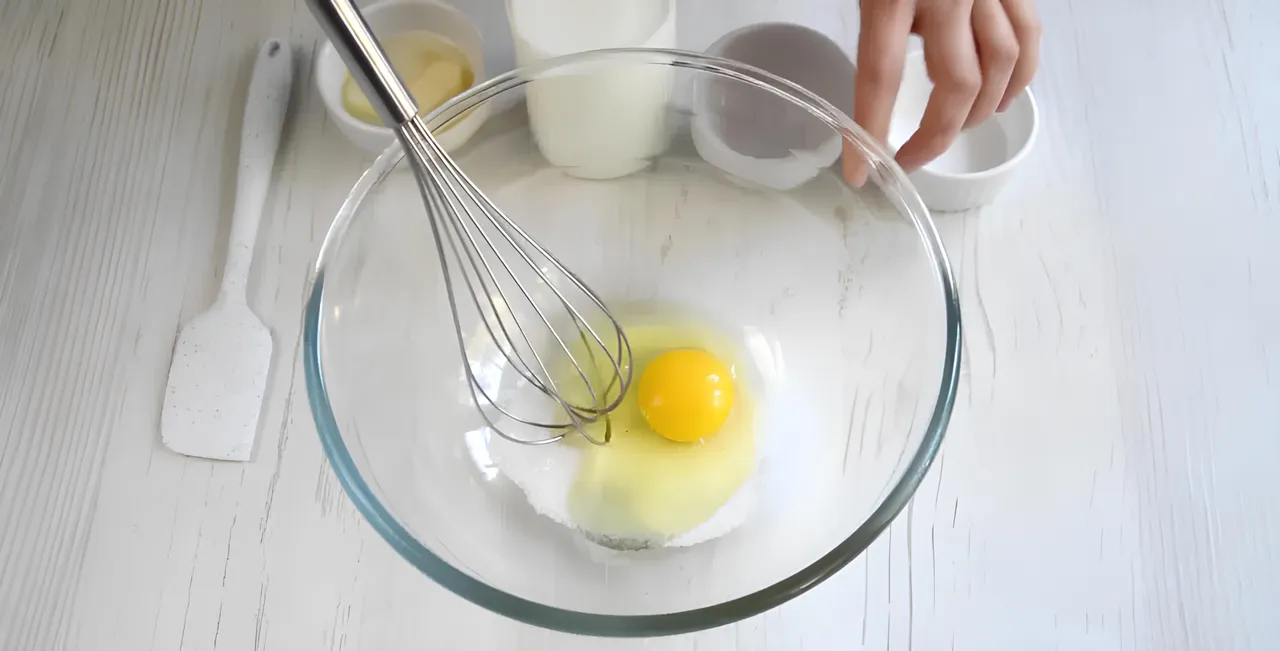
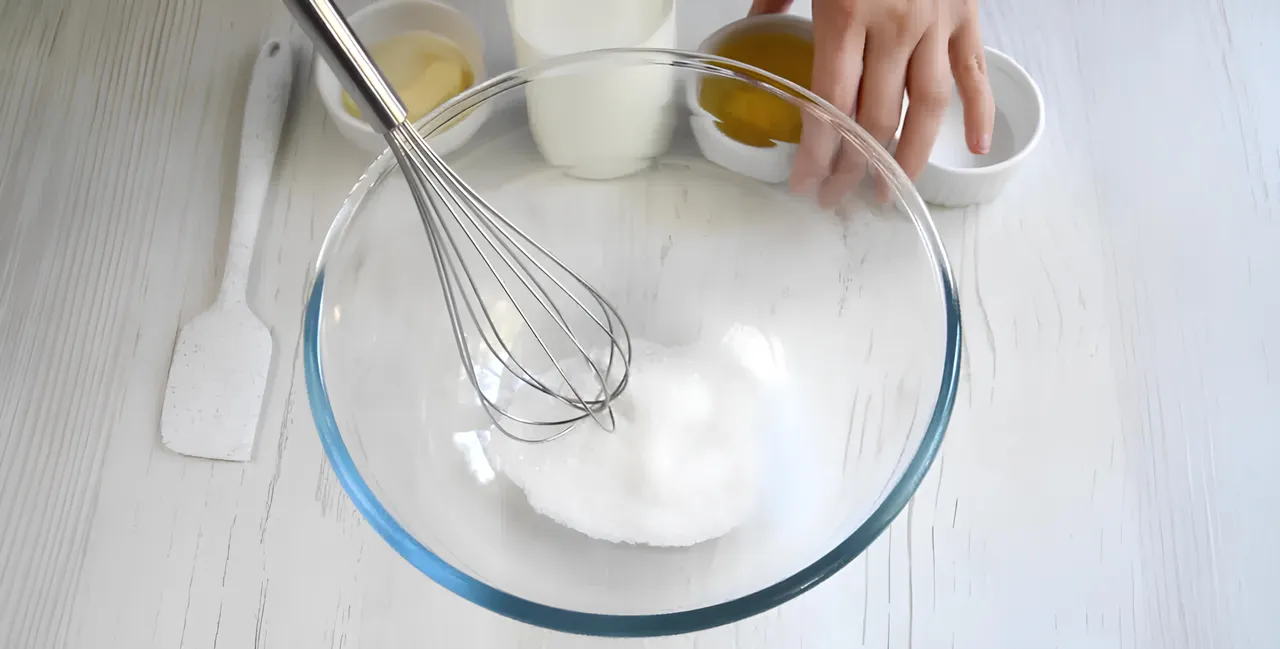
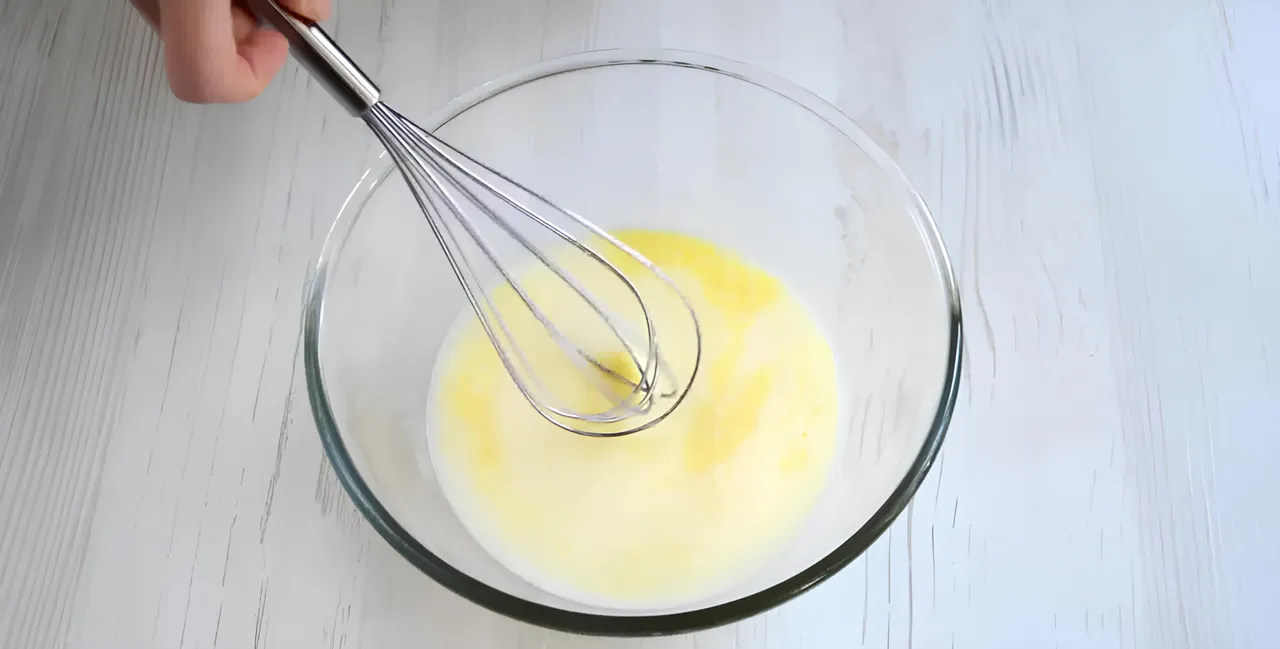
Before starting I whisked the salt, sugar and egg in a bowl until obtaining a homogeneous mixture. I melted the softened butter slightly in the microwave and added it along with warm milk and water, mixing until homogeneous.
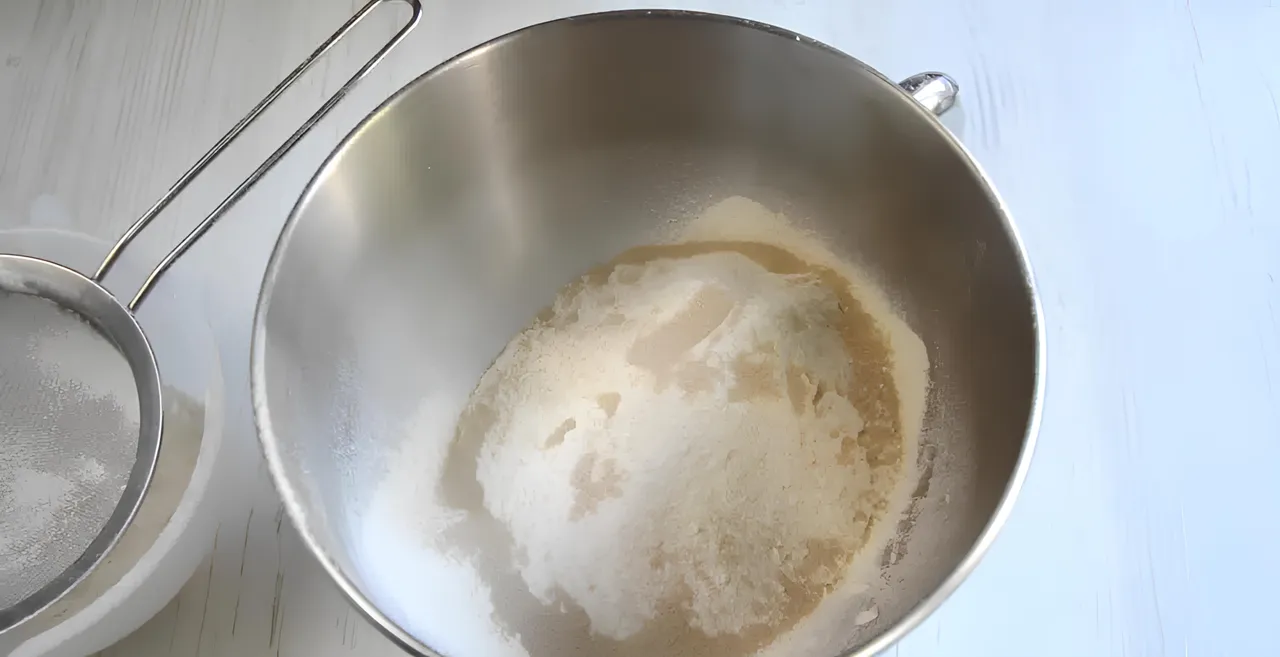
Then in another bowl, I sifted the flour (I recommend sifting the flour to ensure it's aerated and to remove any particles). I mixed the yeast into the flour, ensuring an even distribution.
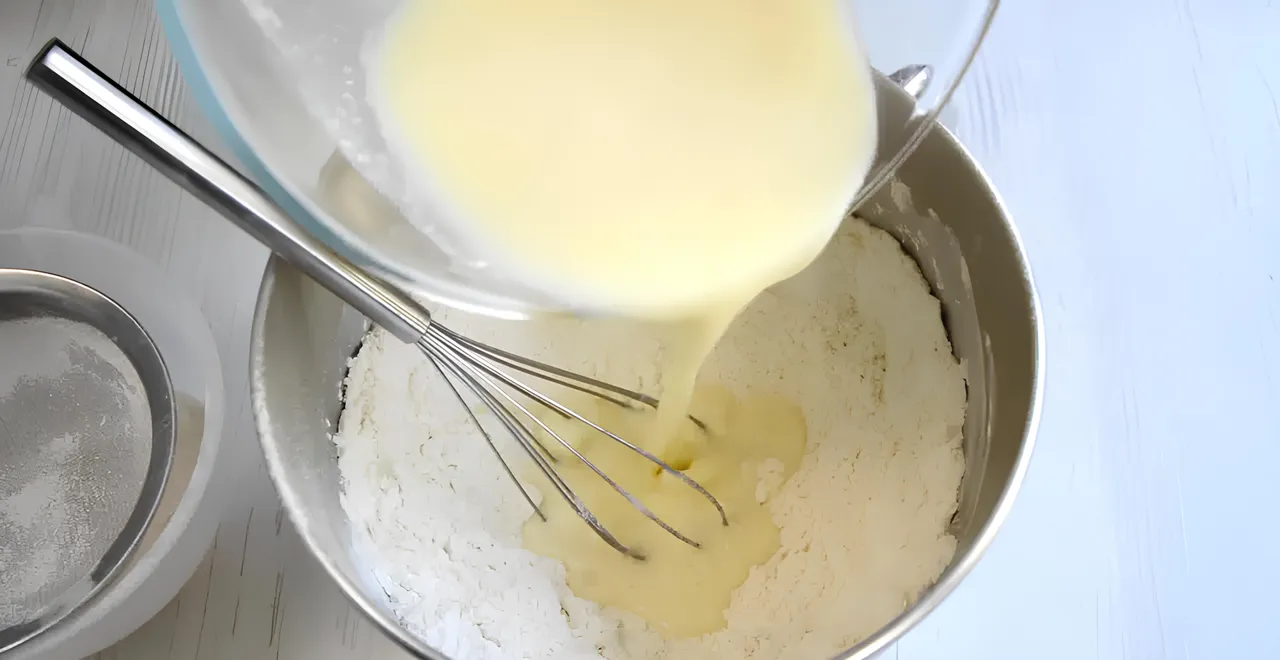
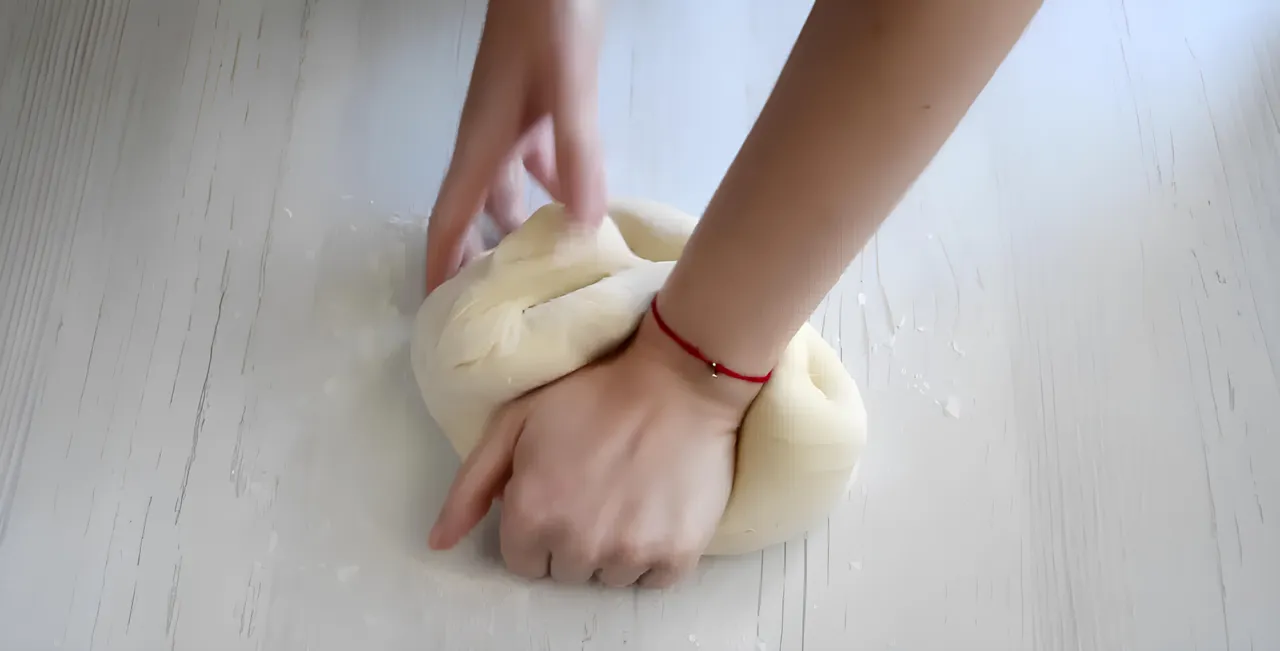
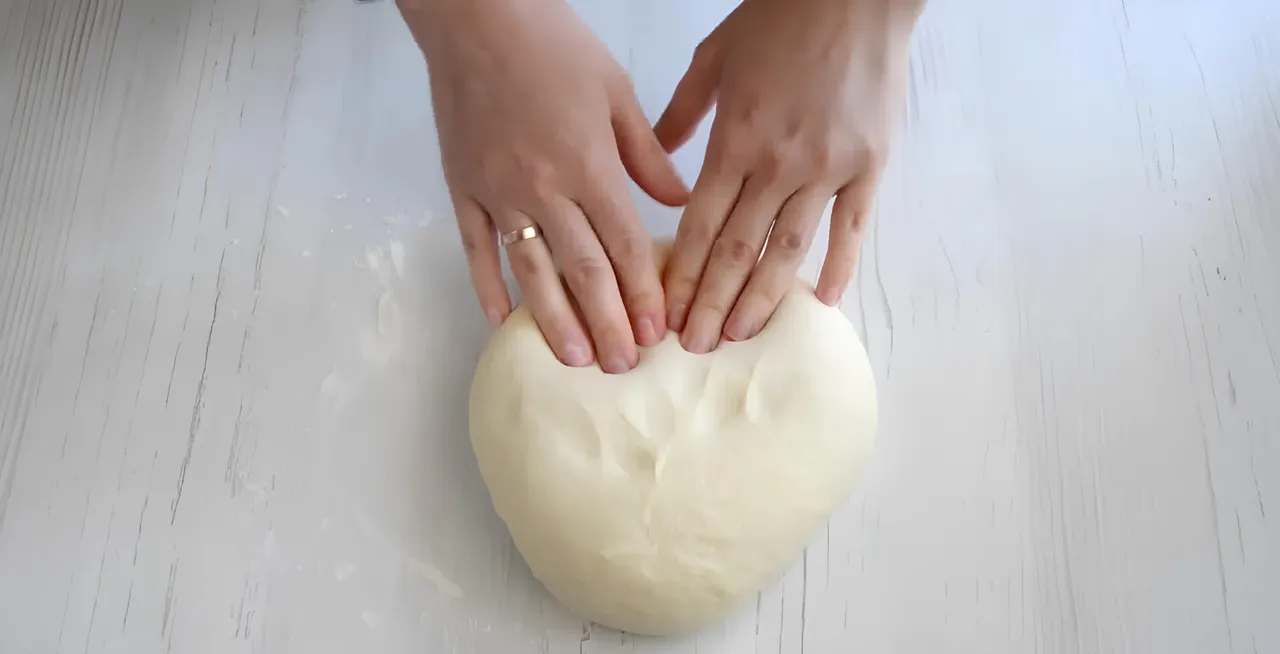
I created a well in the center of the flour and added the liquid mixture prepared earlier. I slowly began to knead the dough, using a whisk initially and then transitioning to using my hands for kneading when the dough thickened, adding the remaining flour as needed. I kneaded the dough for 8-10 minutes, adding the remaining flour as necessary. The dough should be soft and smooth, slightly sticky is okay but avoid overkneading with too much flour.
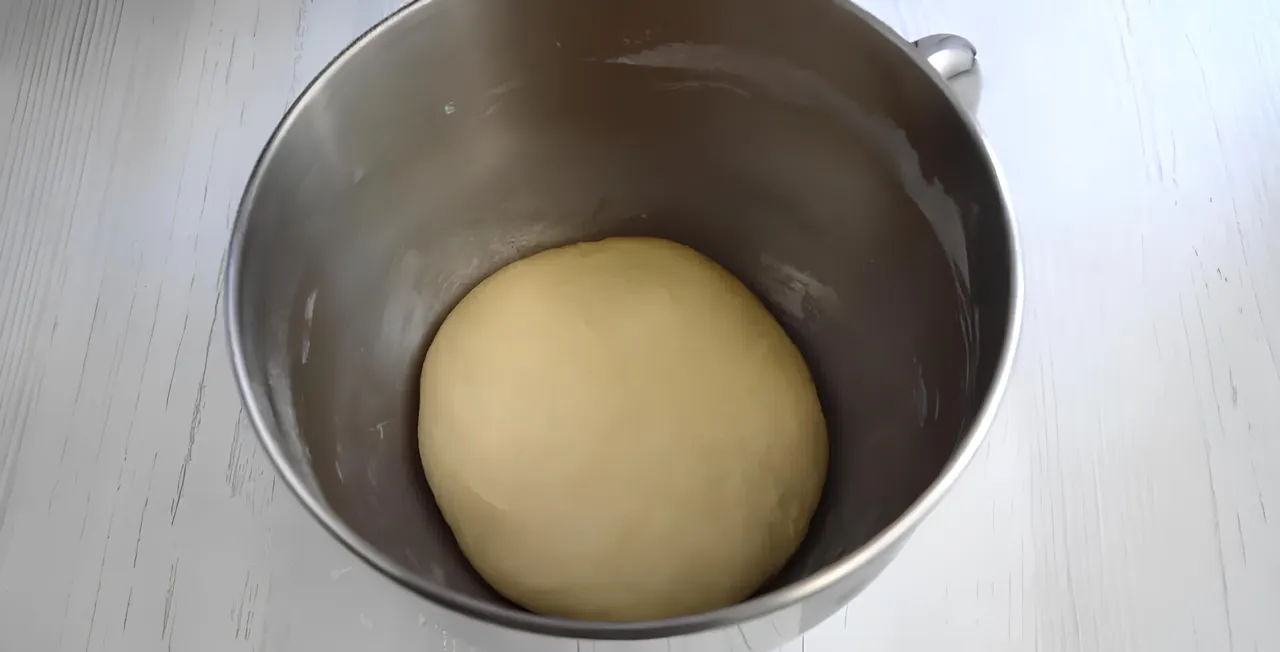
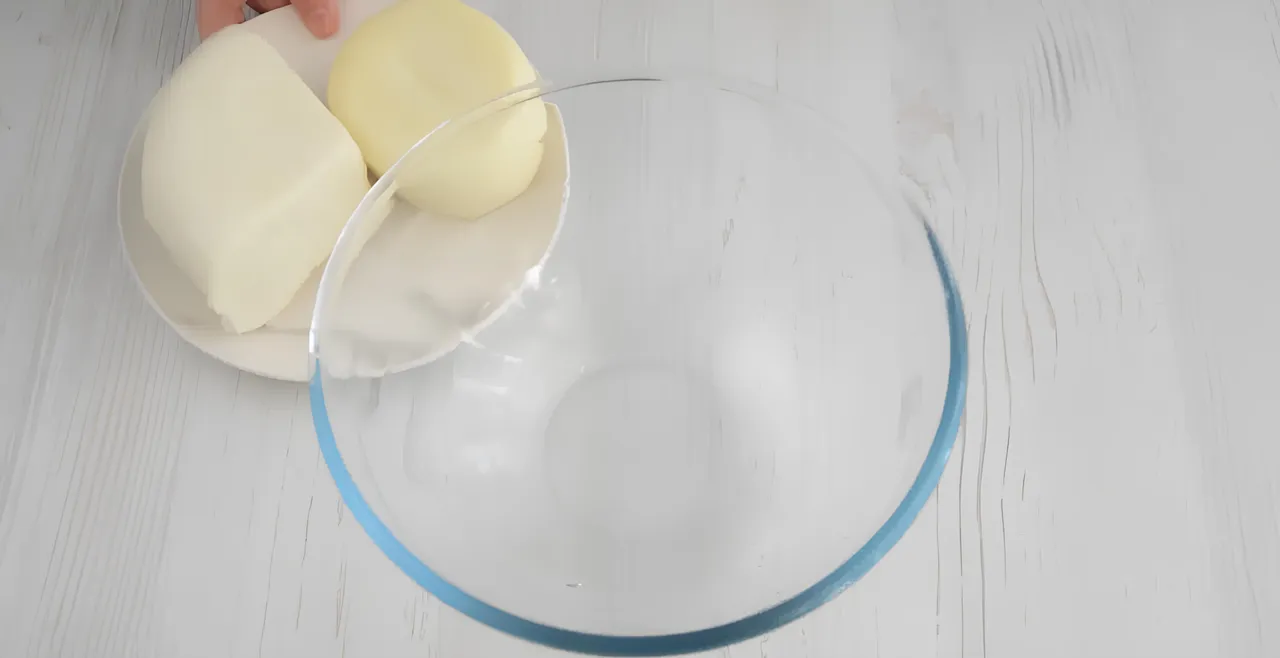
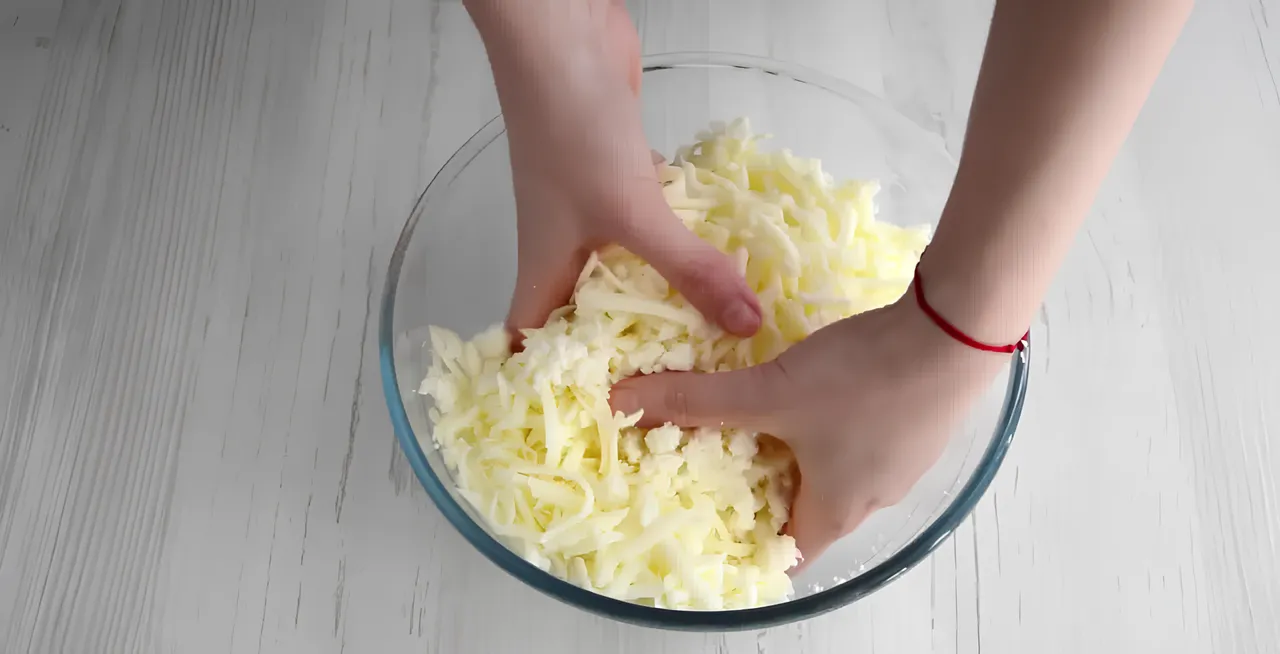
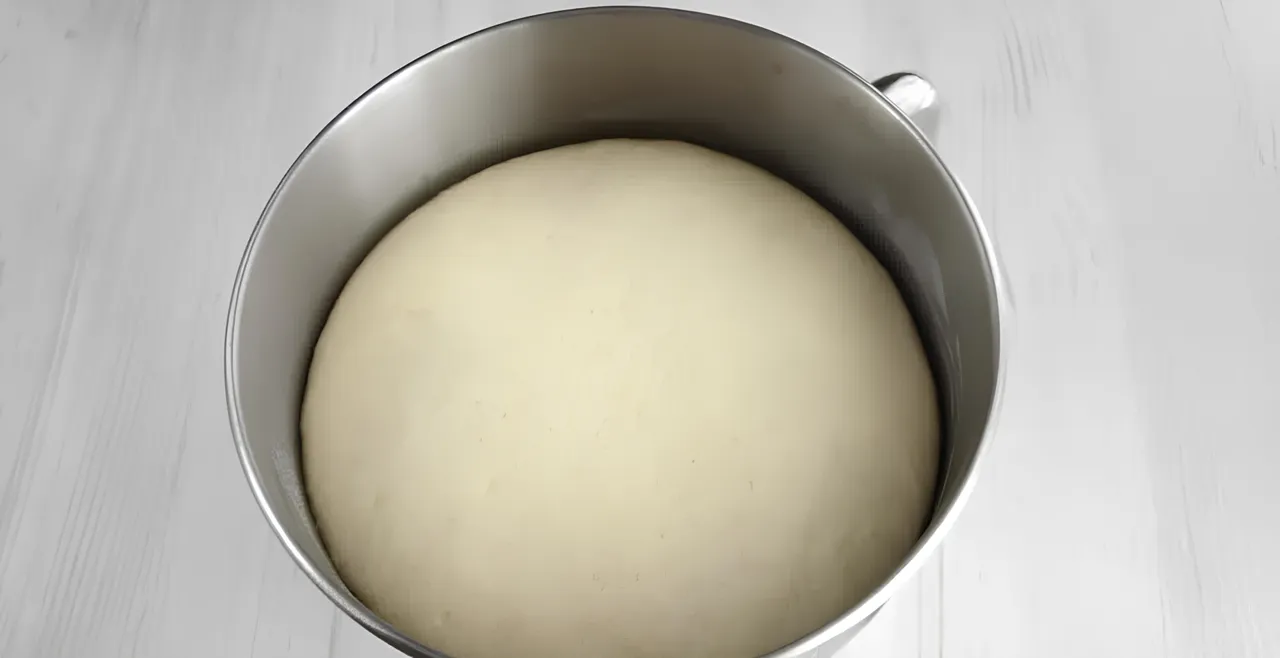
I placed the dough in a bowl, covered it with plastic wrap or a damp cloth and let it rise in a warm place. During this time, I prepared the cheese filling for khachapuri. For the filling, I used two types of cheese: Imeruli (salty) cheese and sulguni. I crumbled both cheeses by hand to achieve a smooth consistency for the filling and I added milk for a softer texture.

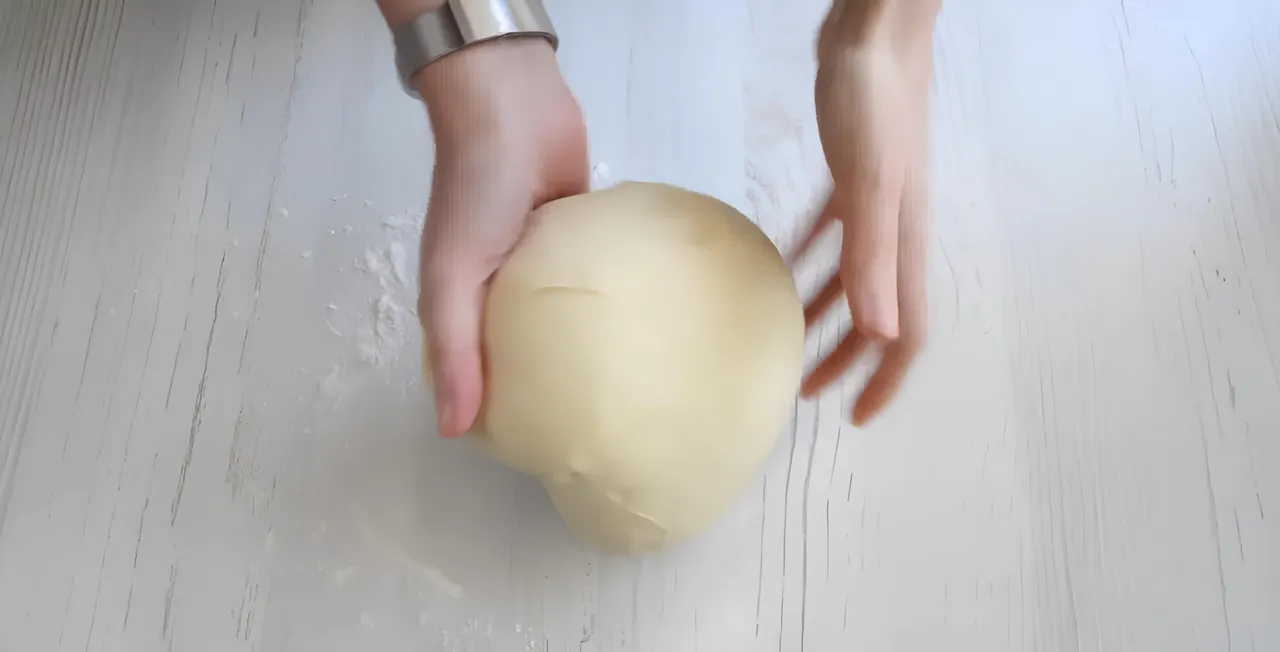
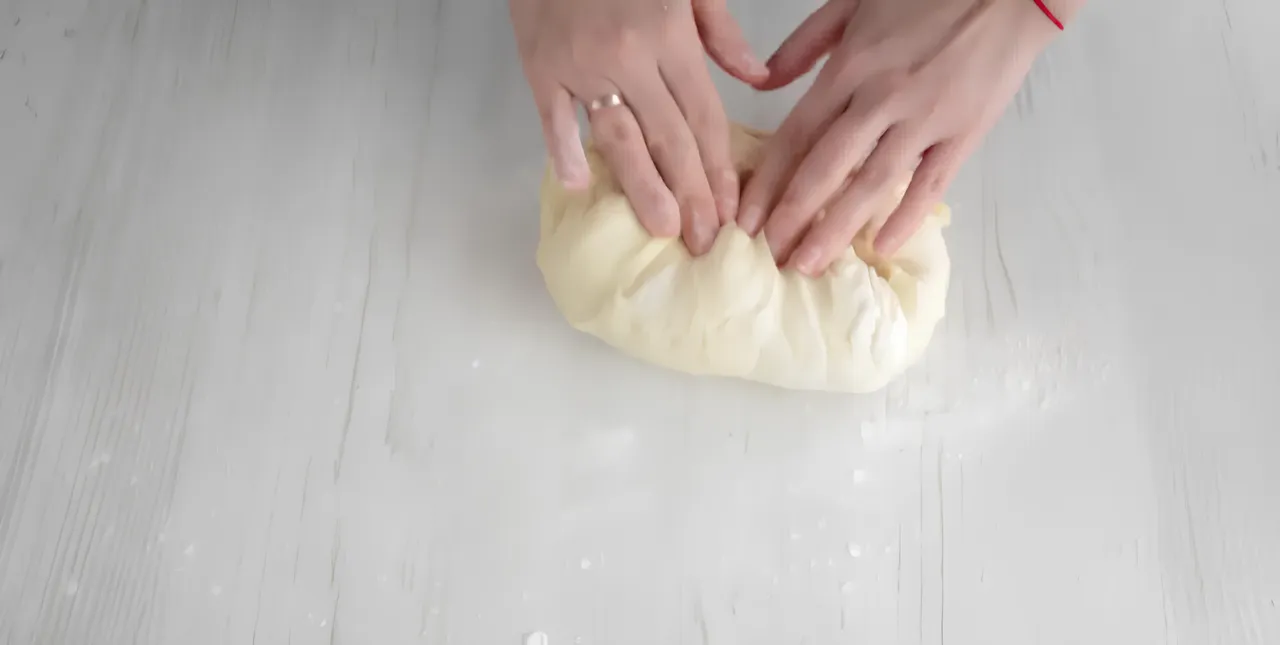
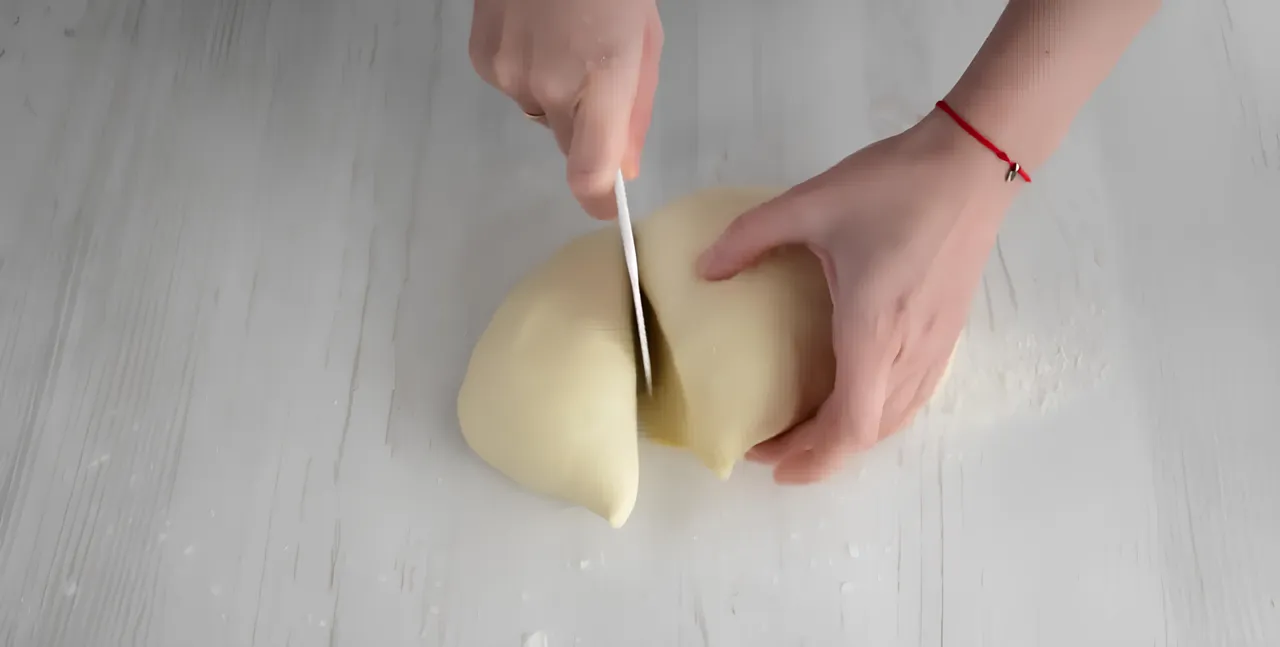
When I returned to the risen dough I saw that it had expanded and grown. It had a wonderful porous and fibrous texture. I placed the dough on a floured surface and lightly shaped it. I divided the dough into the required number of pieces. With the ingredients mentioned in the recipe you can make three large boats or four medium-sized ones. I divided the dough and filling into equal portions to ensure they're the same size.
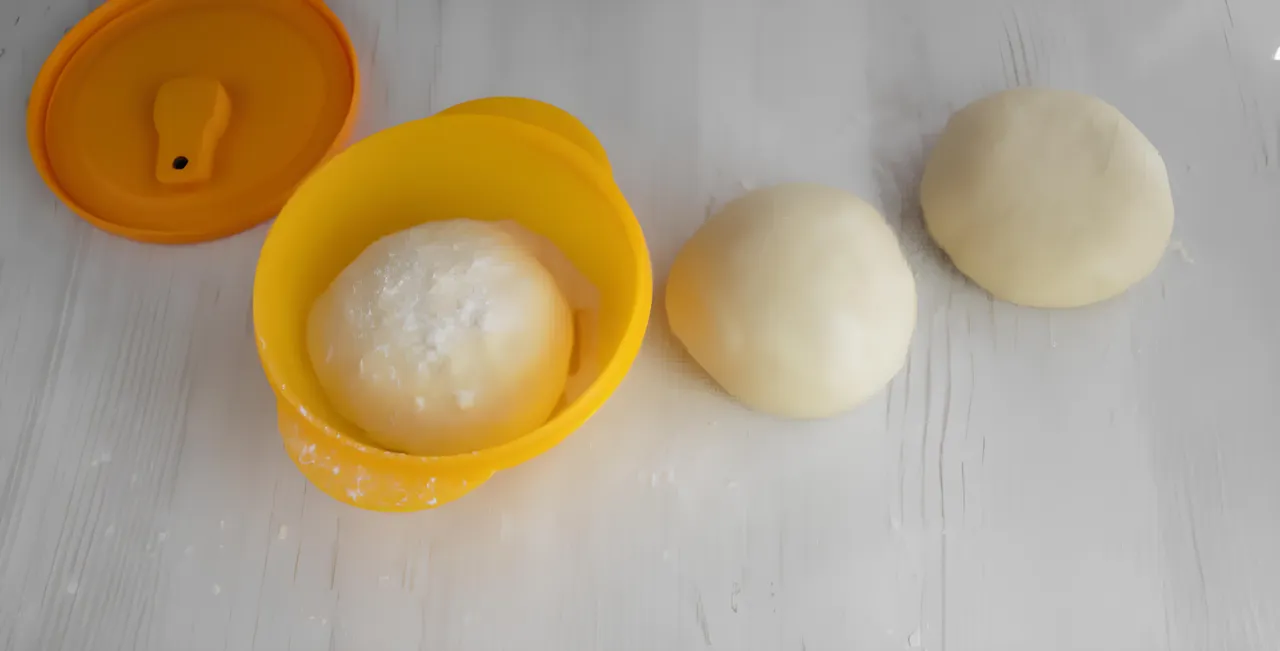
Next I roll each piece into a ball in the center. I cook one piece of dough first, then cover it and store it in the fridge. The dough can wait perfectly in the fridge for a day because Adjaruli khachapuri should be consumed fresh. Reheating might not provide the same taste. Therefore,it's better to prepare a fresh batch the next day.
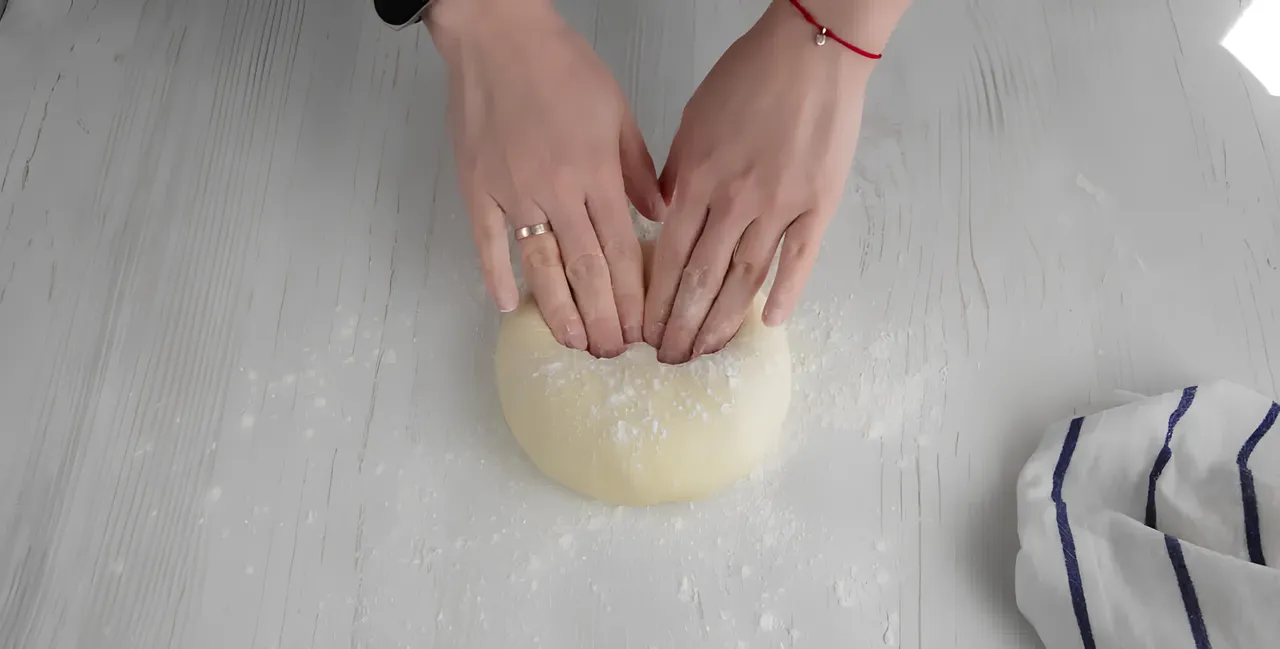
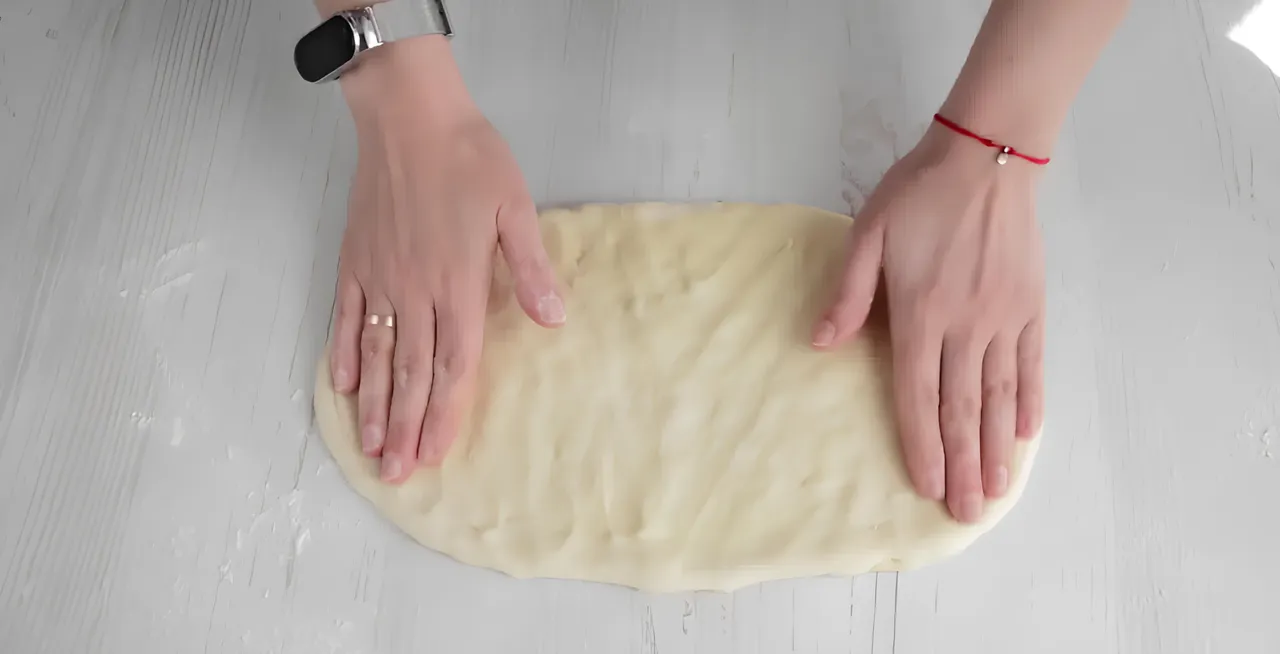
I cover the remaining dough with a damp cloth and let it rest for just about 10 minutes allowing the gluten to relax. Then I lightly flour the countertop and start rolling out the dough. Look at how fluffy and incredibly soft it is; you might not even need a rolling pin. I need to shape the dough into an oval and most importantly, ensure that the center of the dough is as thin as possible.
Now let's move on to the filling. I divide the filling into equal portions as well and sprinkle some cheese under the edges. Then I carefully fold the edges.
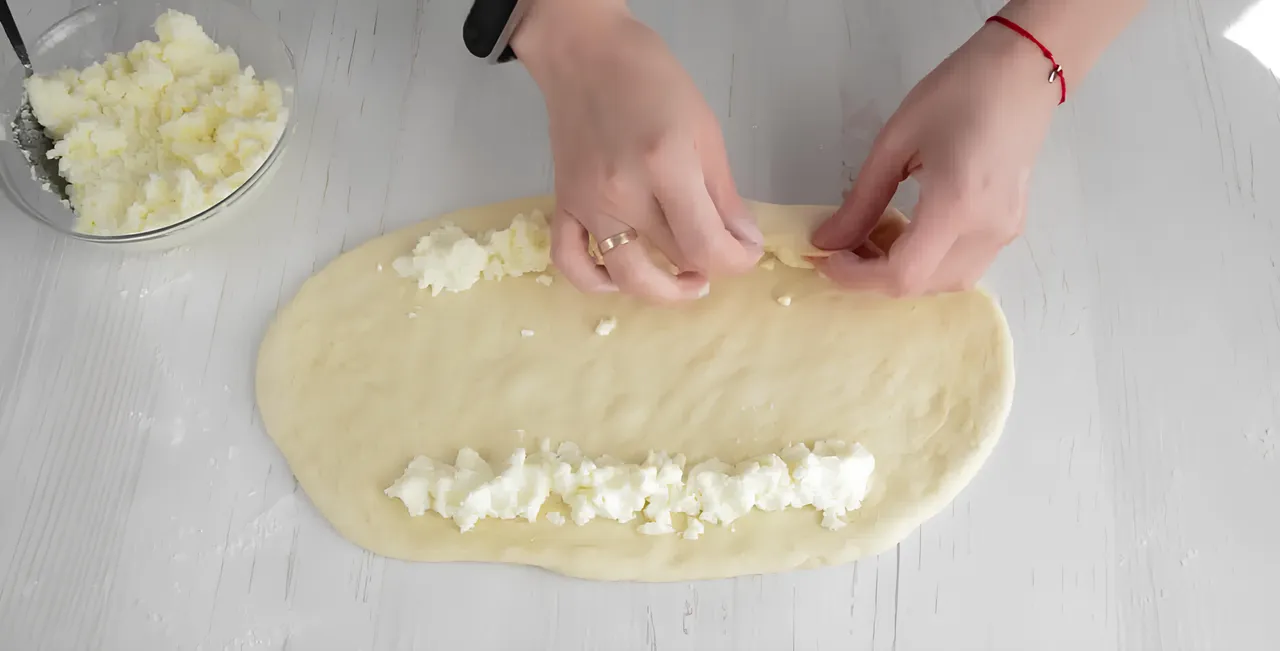
By gently folding the edges we eventually achieve the boat shape. It's important to fold the edges well so that they don't come apart while baking. Next I place the prepared khachapuri on a baking sheet lined with parchment paper and gently push the dough towards the edges to create a thin base if needed.
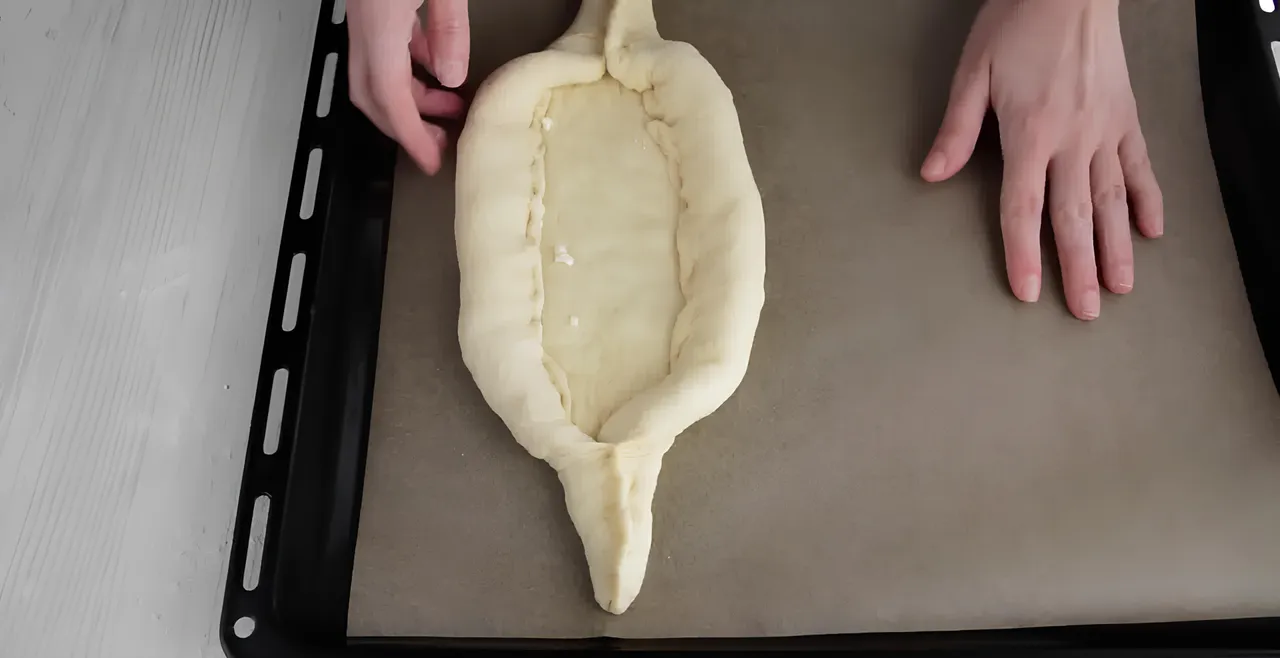
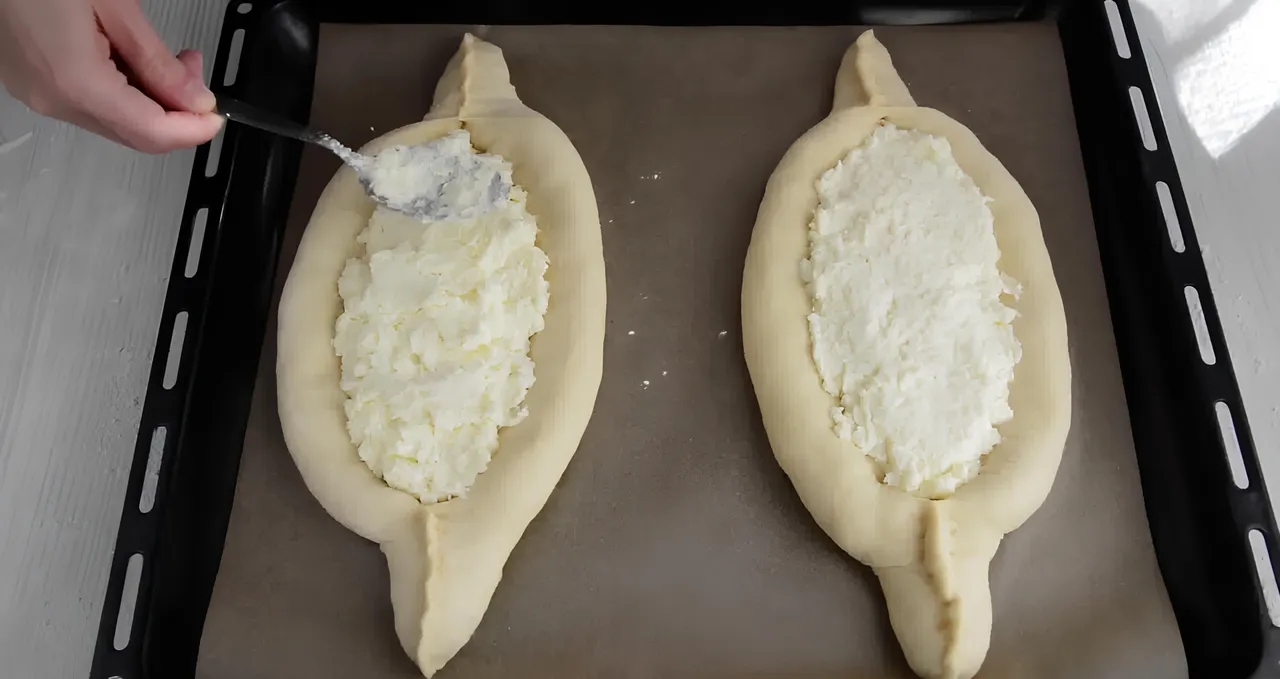
Now we fill the boat with the cheese mixture, making sure it's compact and slightly piled up because the dough will rise during baking. Repeat the same process with the second boat. Then we place them in a preheated oven at 200 degrees Celsius (about 390 degrees Fahrenheit). Bake for 15-20 minutes until they become golden brown.
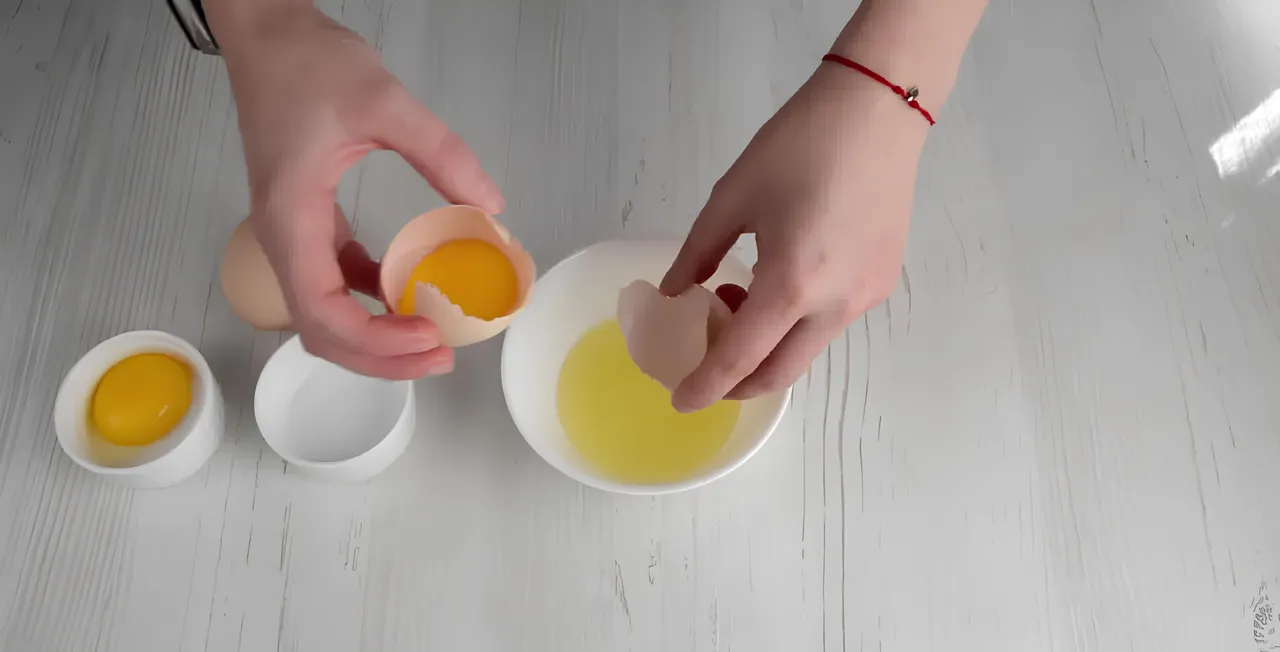
While the khachapuri is baking I prepare the egg yolks for the filling. I had a large egg with two yolks in it. One egg was enough for two khachapuri. I separate the yolks from the whites.


After taking out the beautifully baked khachapuri from the oven I create a small well in the center and pour in the egg yolks. Then I put them back into the oven for a few more minutes. In Georgia we put two egg yolks in larger khachapuri. After a few minutes I take the khachapuri out of the oven and they are ready to be served. When serving I add a few pieces of butter on top.

You'll agree that they look fantastic and taste the same way. Now remember the most important rule: don't use forks and knives. Adjaruli khachapuri should be eaten with your hands tearing off a piece of dough and dipping it into the cheesy filling.

Wishing you success in the kitchen, be bold and experiment.