*Ok so here it is so far.
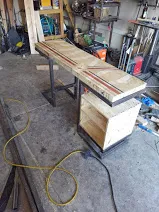
*Boo vertical picture.
I went to the recyling center today to make sure that by the time pickup day comes around that we're not starving for room in it.
On the way back I decided I'd stop by the home center and plan out my cabinets for the desk I'm making if you haven't seen my other posts on it it's a butcherblock top done up in a custom paint and stain job, the rest of the wood work will recieve the same treatment; the cabinetry and top are to be mounted on a welded metal frame.
Anyway back to framing out the side cabinet.
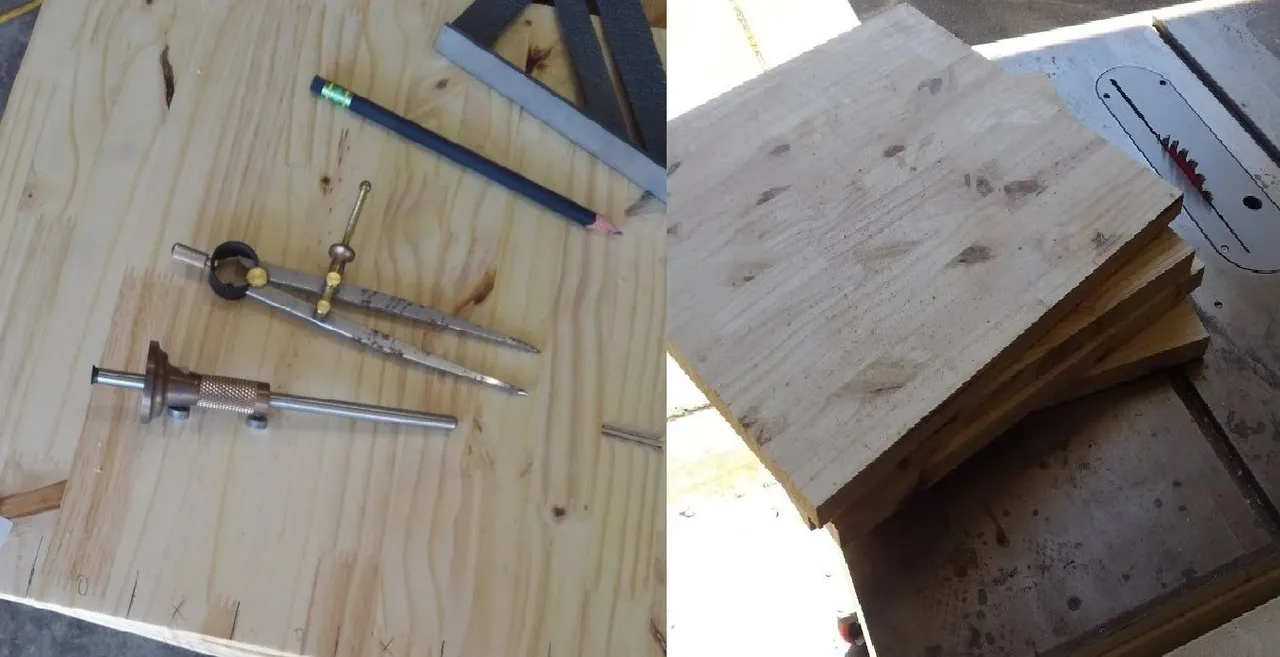
First I began with a paint grade panel from the home center not the greatest, but it's what I can afford to invest.
Being it would be 16 by 16 I marked of greater than 34" and cut with a circular saw so it would be more manageable for me on the table saw as it originally was 8 feet long, once I had a nice square cut on both sides of all 4 pieces I began laying out.
Being as how it would be also 16" deep minus the common measurement of they always oversize it when they sell it to you, anyway I'm ranting I set my marking gauge to just under an inch, scribed a line from the edge; to which I also set my dividing caliper.
*I planed on starting on the half (center anyway) that way if in the end it came out uneven or didn't turn a perfect pattern it would be less apparent.
But starting on the scribed line I trammed 4 sets of roughly just under two inch box joints for a total of just under 16".
Once laid out I cut to the widths of the waste on my regular thin kerf blade on my crosscut sled just to establish the pattern. Afterwards I hoged out between those kerfs with my box joint set.
It's important to line your cut on the inside of your waste marking to right on it.
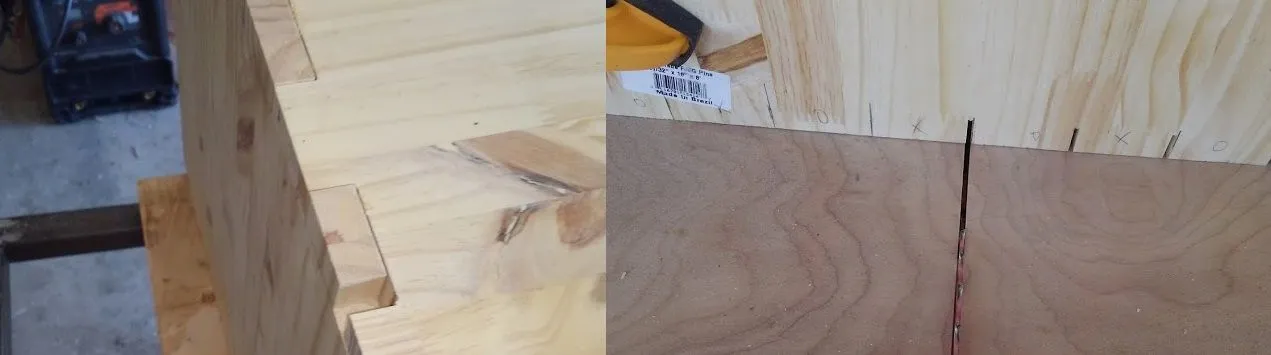
As you can see on one cut of clearing it out with the dado blade I messed that up but figured out a way to hide it in the project so no biggy.
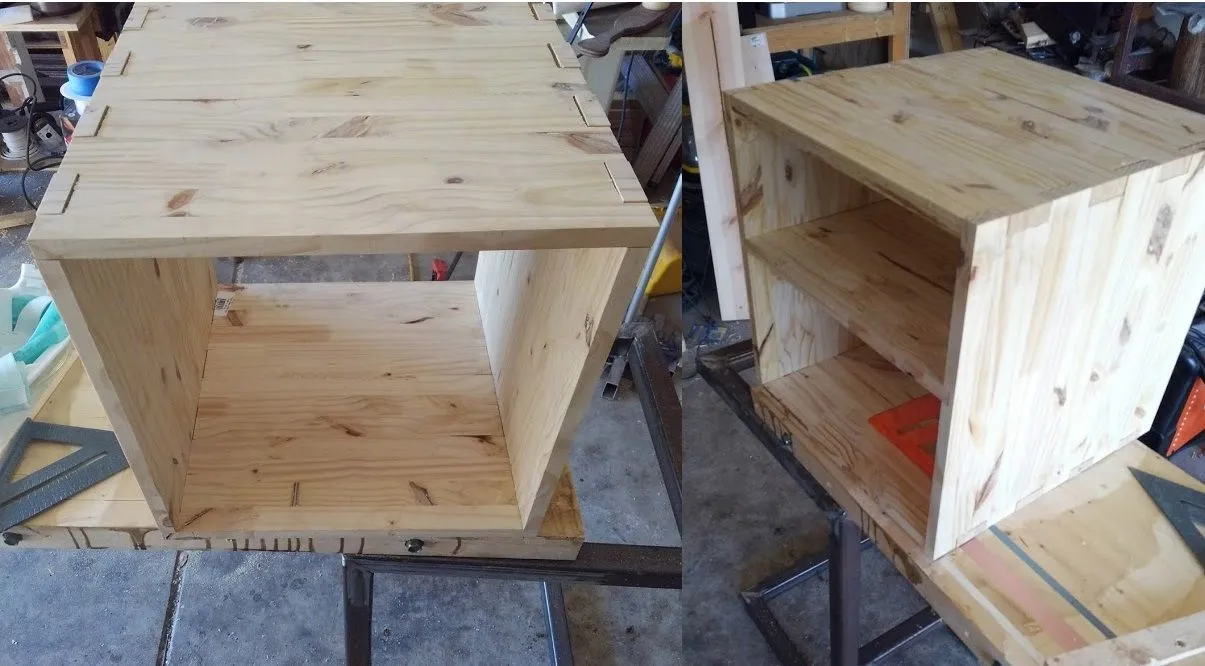
Once all sides were cut I test fit them and ran back over to the tablesaw and crosscut sled where necessary.
When I was happy with the fit I decided I'd only do one drawer and a shelf. I knocked it down and used the dado blade to house the shelf into the sides. I marked them so that I wouldn't have another miss cut. I put the shelf in and double checked fit. Being I didn't feel like cleaning up glue and have some nice copper roofing nails laying around I just decided to nail it together on the keys two for the large keys in the middle; only one on the half keys at the edge and where they wouldn't be visible anyway.
Thank you for reading.
PS I went with asymmetric box joints because I'd have allot fewer to cut and I don't have a jig for it anyway.
As well as you can just cut your pieces to your target outside dimension, it's really simple that way.