GLYMUR
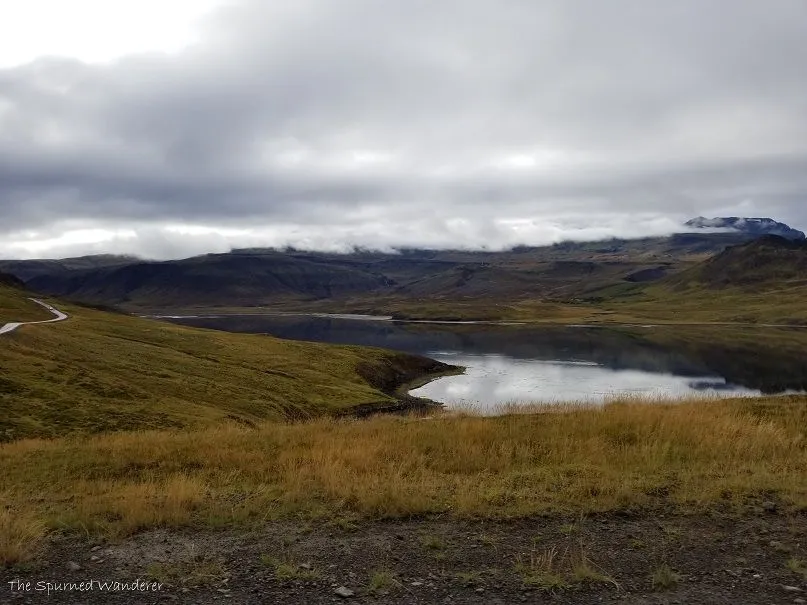
The hike is only about an hour away from Reykjavik and was right about half way back in our case. You follow more stunning Fjords along the drive like this one!
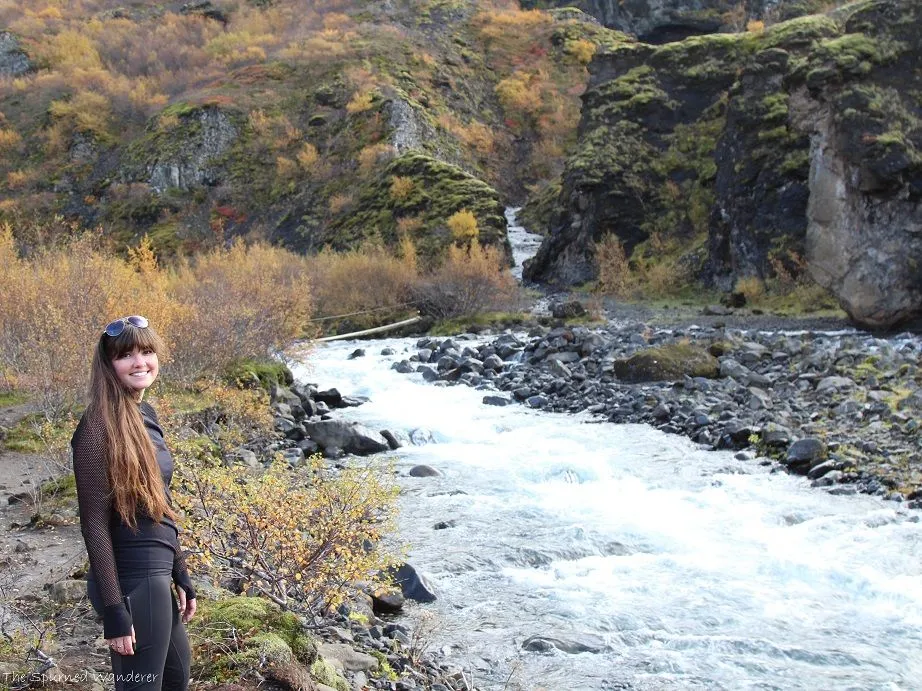
We got there bright and early to beat any possible crowds so we were briefly in the shade but not for long!
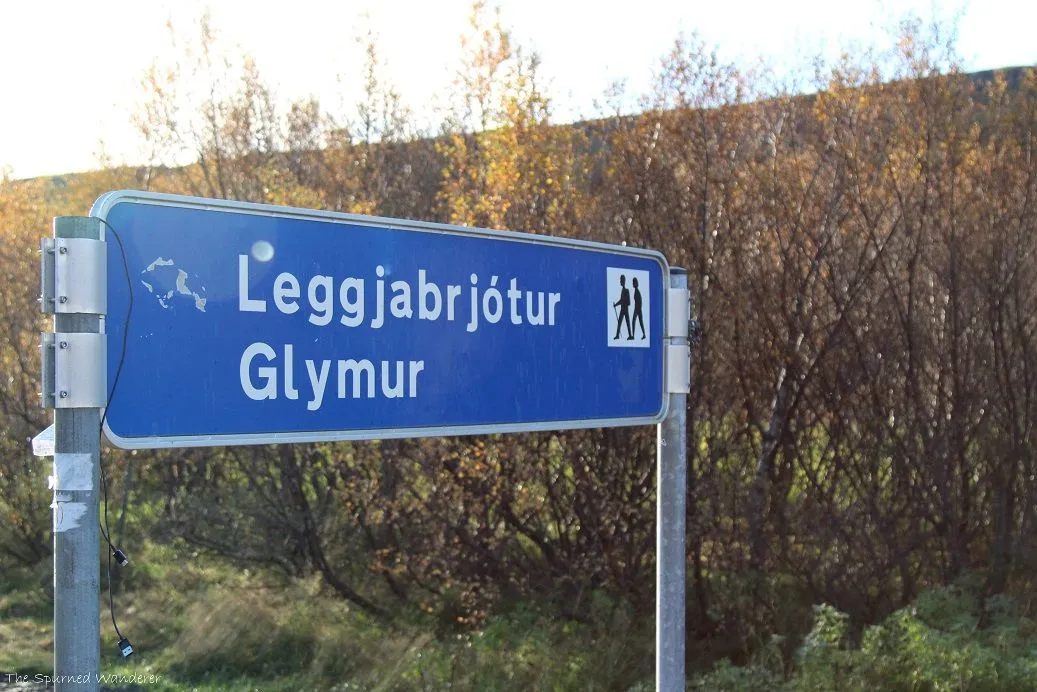
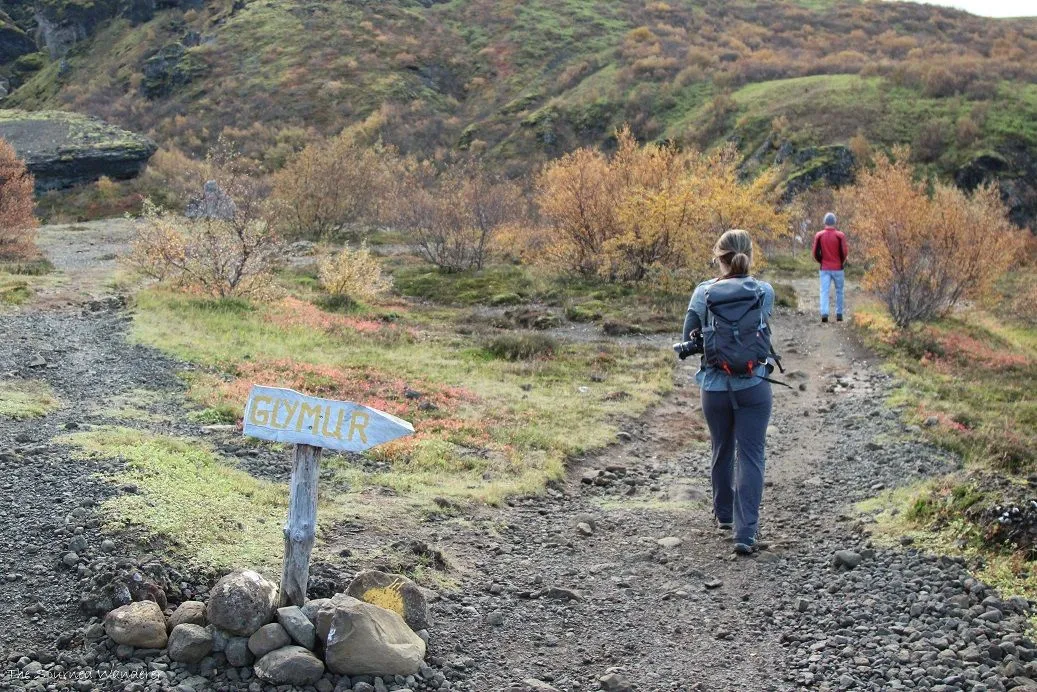
The start of the hike had excellent well marked signs!
Trail stats: around 7.5 km RT (depending on route) and plan for 3-4 hours
Elevation gain: 378 m or around 1200 feet
Parking is free and there are NO FACILITIES at the trail head... or really any close by for that matter
There are 2 routes, I would HIGHLY recommend going up the "normal" marked way as A. it is easier to follow and B. you'll want to experience this side of the canyon no matter what and it would truly be more terrifying coming down than going up.. you'll see what I mean.
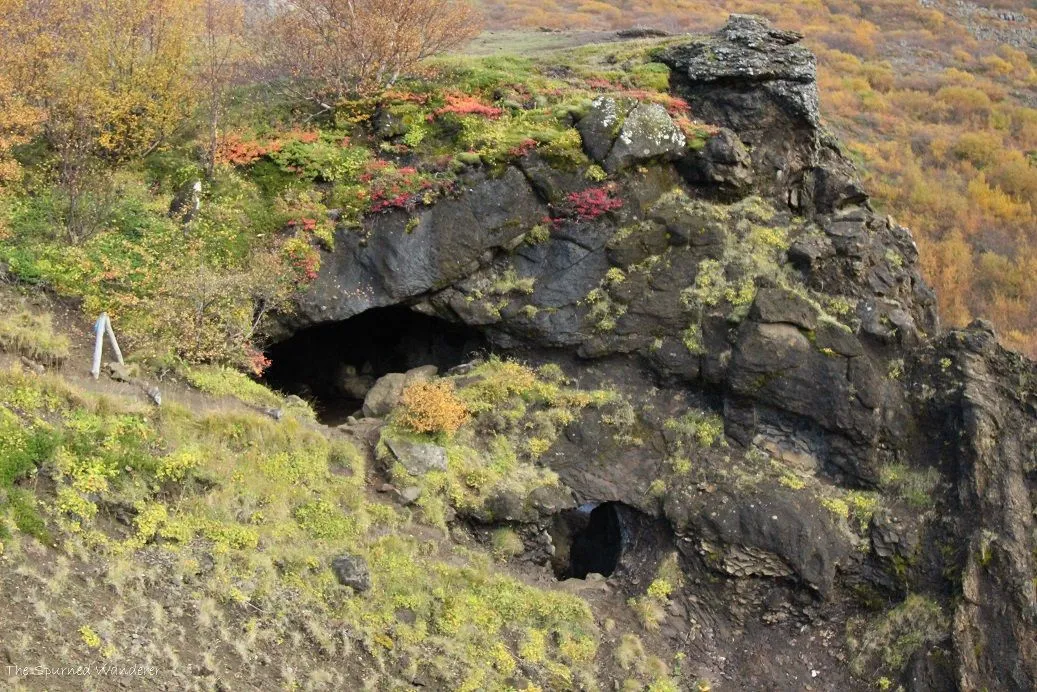
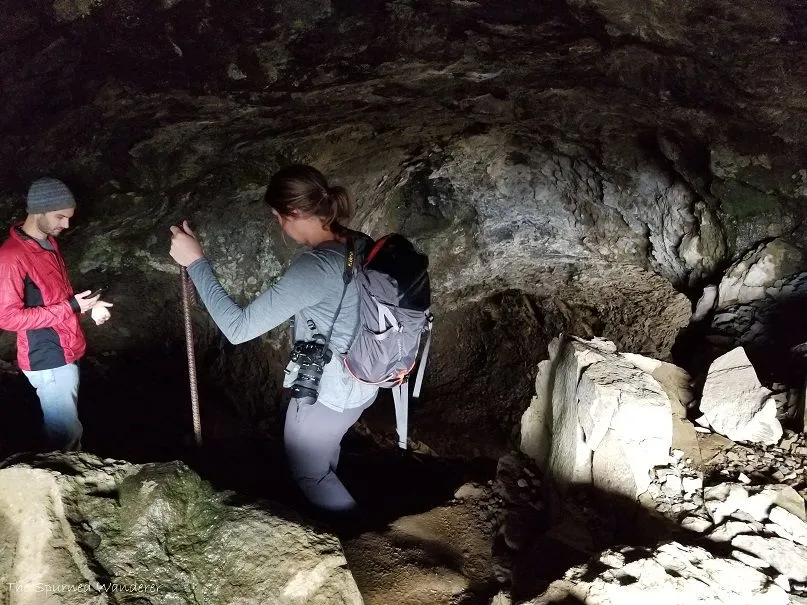
After not too long you'll come to this cave/ tunnel overlook which is actually where the trail passes through!
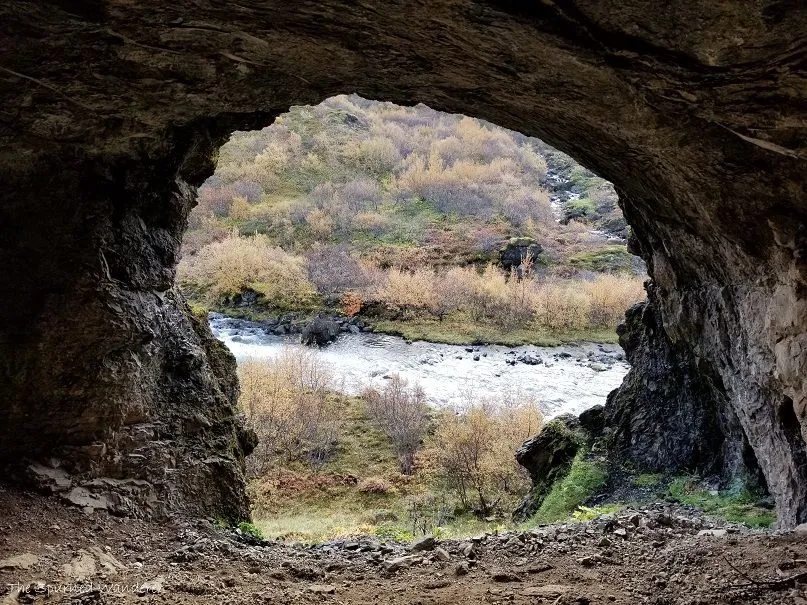
The view through the other side of the tunnel.
There are 2 large cave openings here. You can see the trail continues from the one on the left
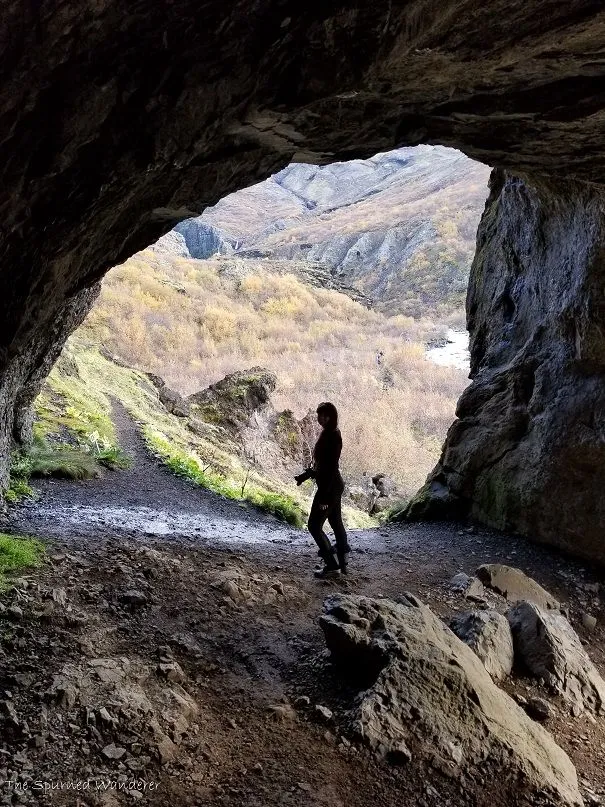
The view once you emerge from the cave. A little further down you'll have to cross the river and start your uphill trek. The narrow canyon up there is where Glymur is!!!
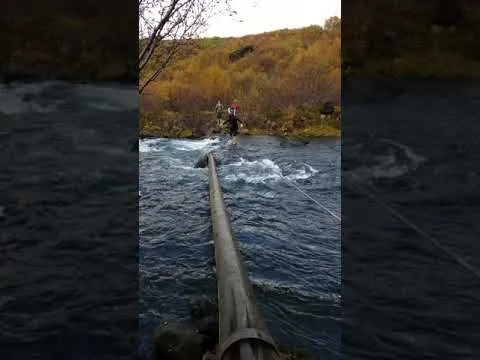
The RAGING river crossing we were holy unprepared for! We had read that there is a log crossing.. which there is but as you can see it only covers about HALF the river. Apparently you can normally have a dry crossing but not us! NOPE round 1 of taking our shoes off, strapping them to our bags, and wading across. This actually turned out to be fairly EASY and crossing the log was infinitely easier barefoot than with clunky boots on.. so maybe a blessing none of us slipped and fell off the log! haha
And moving on up a little higher. I must say that the next part after the log crossing was pretty CHALLENGING. There were parts that were so STEEP we had to cling to a rope to pull ourselves up. The ground was muddy and wet and needless to say, I did not look forward to coming back down this way.
Risking my life to go stand out on that ledge... to look absolutely tiny in this amazing landscape!
(jk mom... it wasn't THAT dangerous)
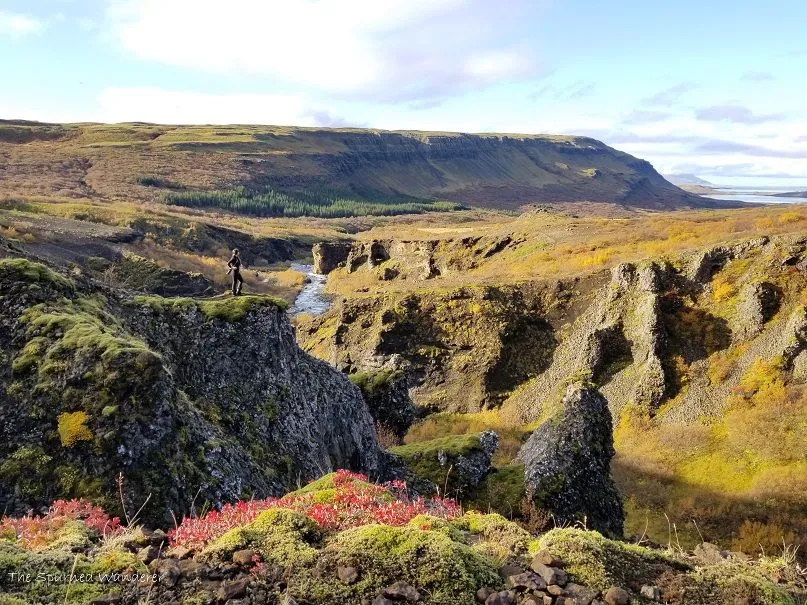
You can see the big amazing fjord we drove along to get to the parking area!
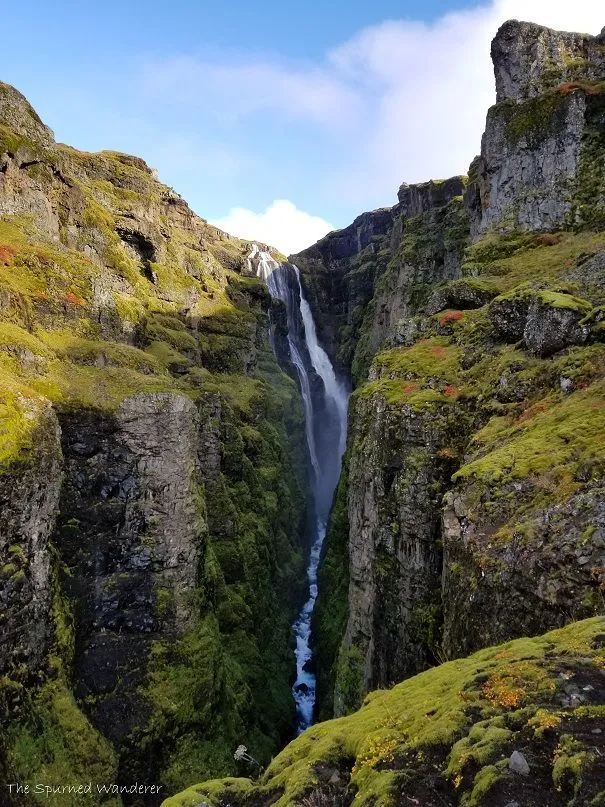
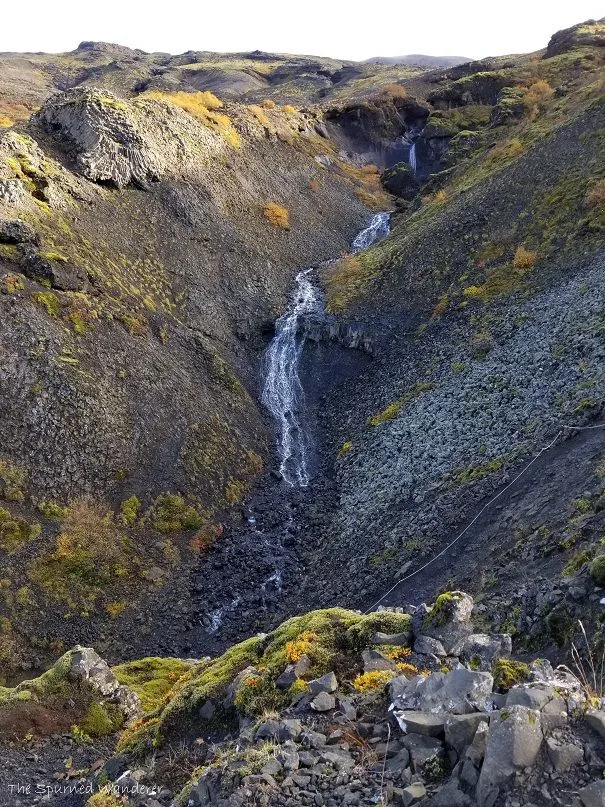
Our first glimpse of the waterfall! Along with all the other waterfalls emptying down into the same canyon!
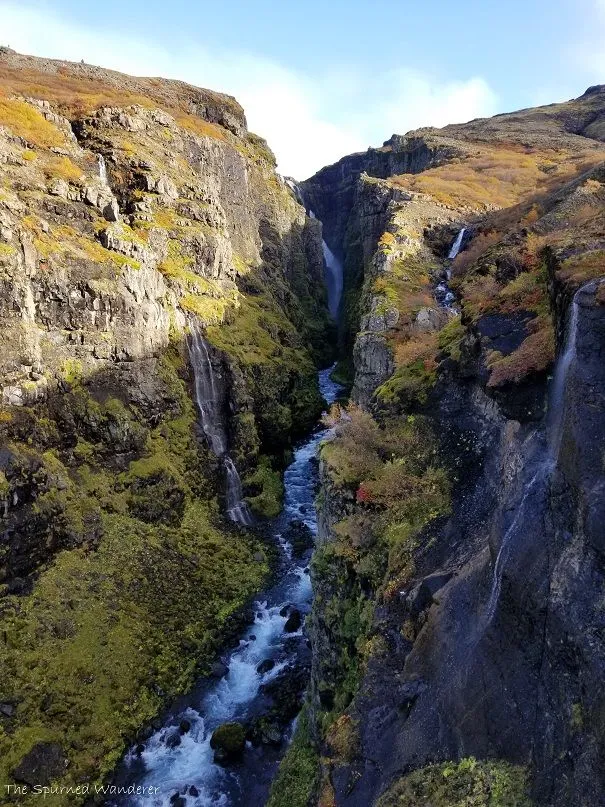
And another viewpoint a little bit closer up. The waterfall is TALLER than what you see as it has a few ledges that are above the narrow canyon walls

Waterfall facts: 193m(643 feet) tall
The top of this magnificent waterfall! So big, there's no way to even fit it all in one photo!
We'd read that there is another trail on the opposite side of the canyon and waterfall and had SEEN people hiking up it across the way. Since it was SO STEEP and scary at times the way we came up, we figured we'd attempt to LOOP hike it and go down the other trail.
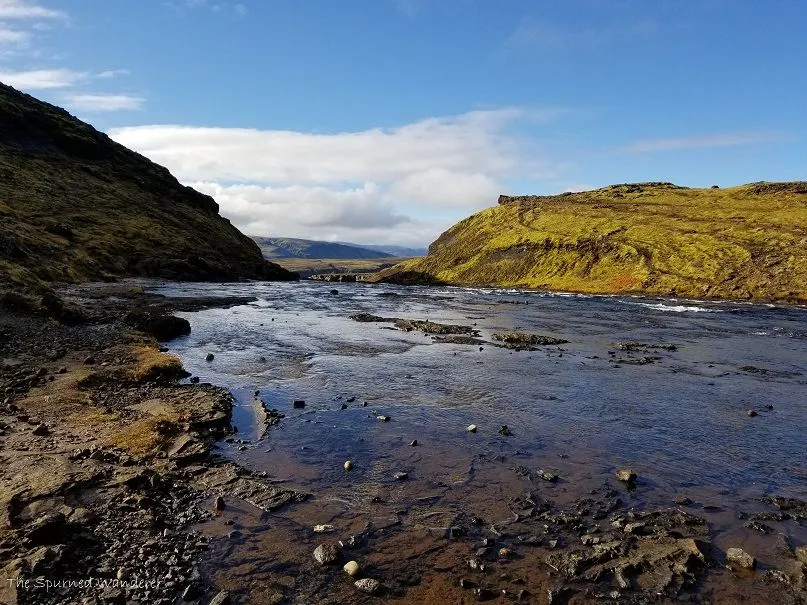
A peaceful river flows directly toward a 645 foot drop of a waterfall... and the same river that is not a fun crossing if you want to loop back down the other side.
The river is thankfully fairly shallow and gentle, but extremely WIDE and ROCKY. With chacos or water-shoes, this would probably be a cinch. But wading across barefoot (water wasn't that deep but DEF too deep for all our boots) with $1000 worth of camera equipment around your neck was definitely NOT my cup of tea. (I cursed more in that 10 minutes or so than I probably have ever in my whole life haha!
But we all made it across and have never been so happy to put warm dry boots back on my feet while hiking.
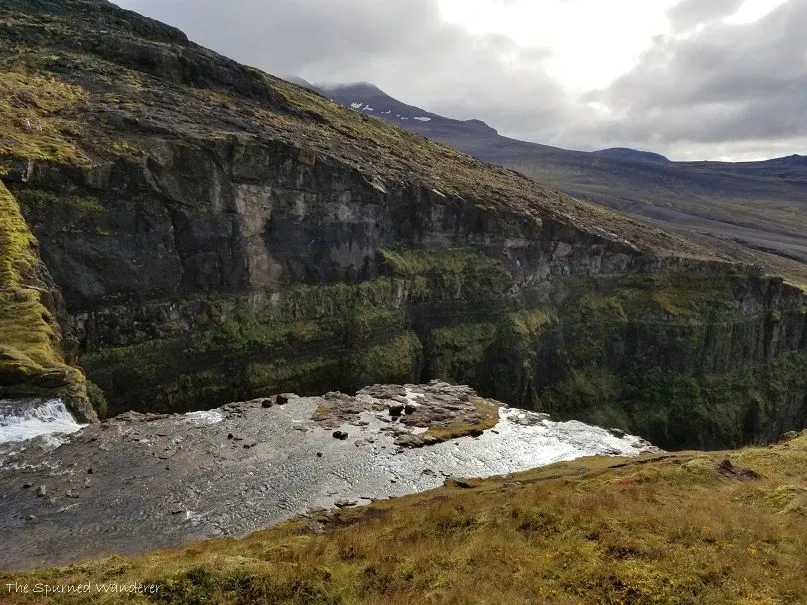
The reward was a view from the opposite side to see the water as it serenely falls off a steep cliff.
It was worth the pain of 1,000 sharp rocks under my feet to see the top of these falls from both sides!
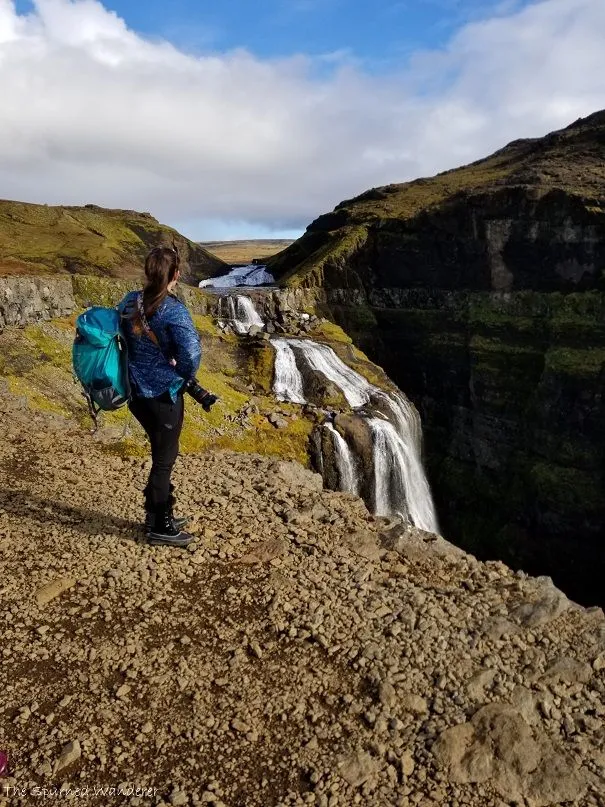
So keep in mind future wanderers, if you choose to go up the easy side and avoid all river crossings, this is the most of the waterfall you'll see as all of the other shots can only be seen from the OTHER side. Considering the steep climbs and mud, I would DEF recommend coming up the other way and down the more gradual sloping way if you want to loop like we did.
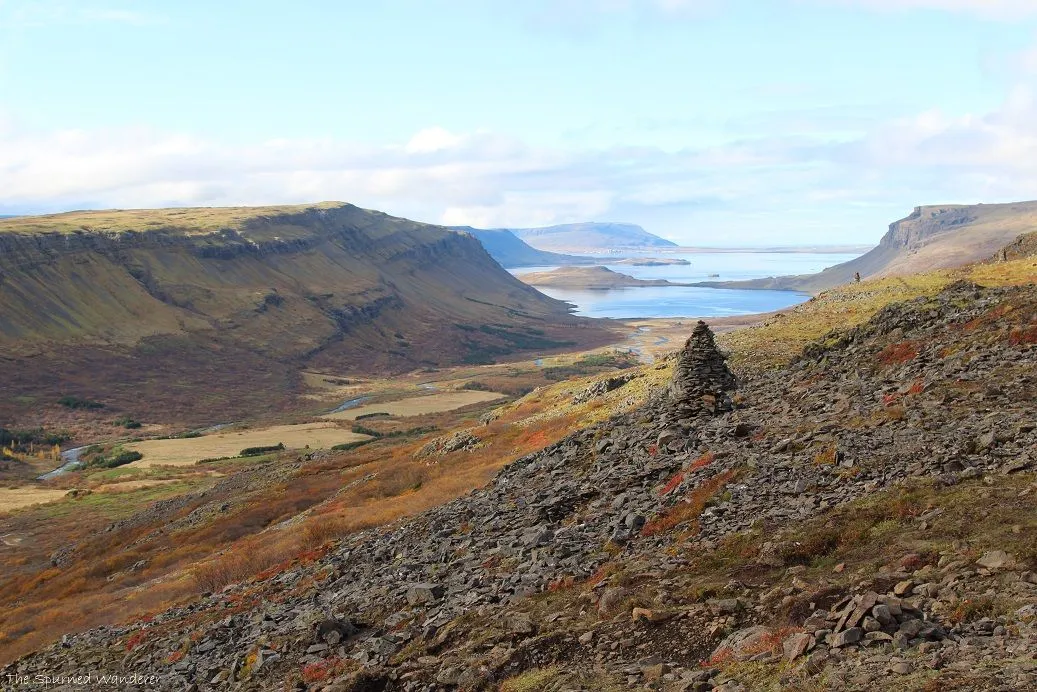
Looking out toward the fjord and amazing fall colors!
This is where this trail gets TRICKY. There are 2 routes and several foot paths that are NOT trails. If you follow the CAIRN towers, this will be a LONG route as it winds itself over beyond the car park and has to back track back. The other trail I believe starts right around this area and follows the canyon cliffs back down.
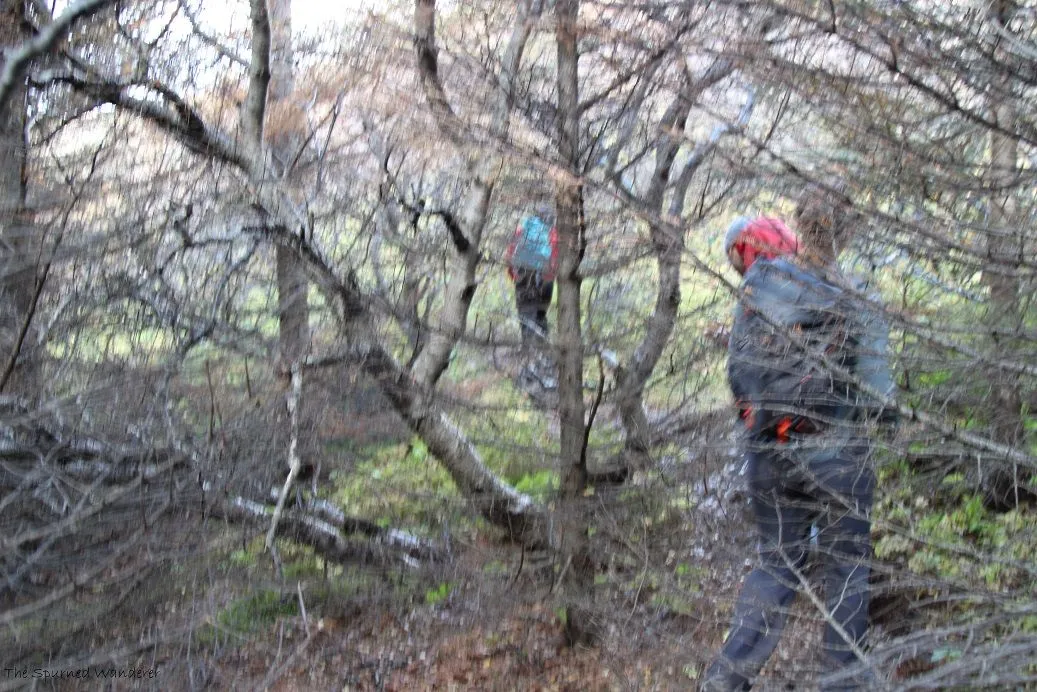
Unfortunately we did a sort of... combo. We followed the cairns until we saw how far it was going out of the way, then we followed a spur trail that very much looked LEGIT, but took us to NO WHERE. Begin out time being absolutely LOST in Iceland. haha We spent quite a lot of time bush whacking, getting excited thinking we found THE trail when really.... it wasn't and having our hopes dashed SEVERAL times. It probably took us twice as long as it would've to get back down but eventually... we found the actual trail... several muddy boots later. (I think I was the only one who didn't fully douse my foot in a mud pit.. and that my friends is why I am a slow hiker haha)
So that's it, the majority of our last day was spent hiking Glymur before we headed back to Reykjavik for a warm dinner and even warmer shower.
Tips
- Start early to beat the crowds, especially if you are there in the summer. We got there before 9 AM and were the 3rd car. When we finished there was over 20 cars and some where shuttles for companies that offer this hike as a tour.
- BRING WATERSHOES. I can't stress this enough. If you want to do the loop hike, bring something to cushion your foot against all the little rocks in the river bed. Keep in mind the water may be flowing too high for waterproof boots.
- Prepare for an adventure! Make sure your bring adequate water and snacks (and maybe a beer or 2 to enjoy at the top) to see you through 3-4 hours of hiking.
Budget
Parking and hiking Glymur is FREE
Lodging
Airbnb apartment (with 1st time user of airbnb discount): $184 for 4, or $92 for 2 : This is the same apartment that we stayed in the first night but has been taken off airbnb unfortunately
Food
Breakfast: groceries picked up in Bogarnes day previous
Lunch: kind of skipped...
Dinner: sausage marinara pasta made in airbnb apartment $15
Rental Car:
Daily rate split with another couple $66
Daily Gas rate split $18