Now that the insulation was finished the time had come to put up the vapor barrier. The vapor barrier, although tedious, is very important to get right because it prevents water vapor from inside the house getting into the walls and causing condensation.
We also have an unconventional roof on our tiny house which is designed more like a wall than a traditional roof. In a conventional house the attic space is kept cold and has high airflow to wick away any moisture that finds it's way up there. Our "attic" is basically a wall with no air flow. In my line of work I deal with condensation related roofing issues all the time which is why I knew that this would work if I had absolutely no air flow. Having some airflow is where you can run into big trouble because when there is enough flow to bring moisture into the area but not enough to dry it out condensation occurs. So, if this type of roof system was to work doing the vapor barrier properly was critical.
 As with the insulation, the poly was a tedious process for such a small area because of the relatively large numbers of windows, doors and electrical boxes.
How I Installed the Vapor Barrier
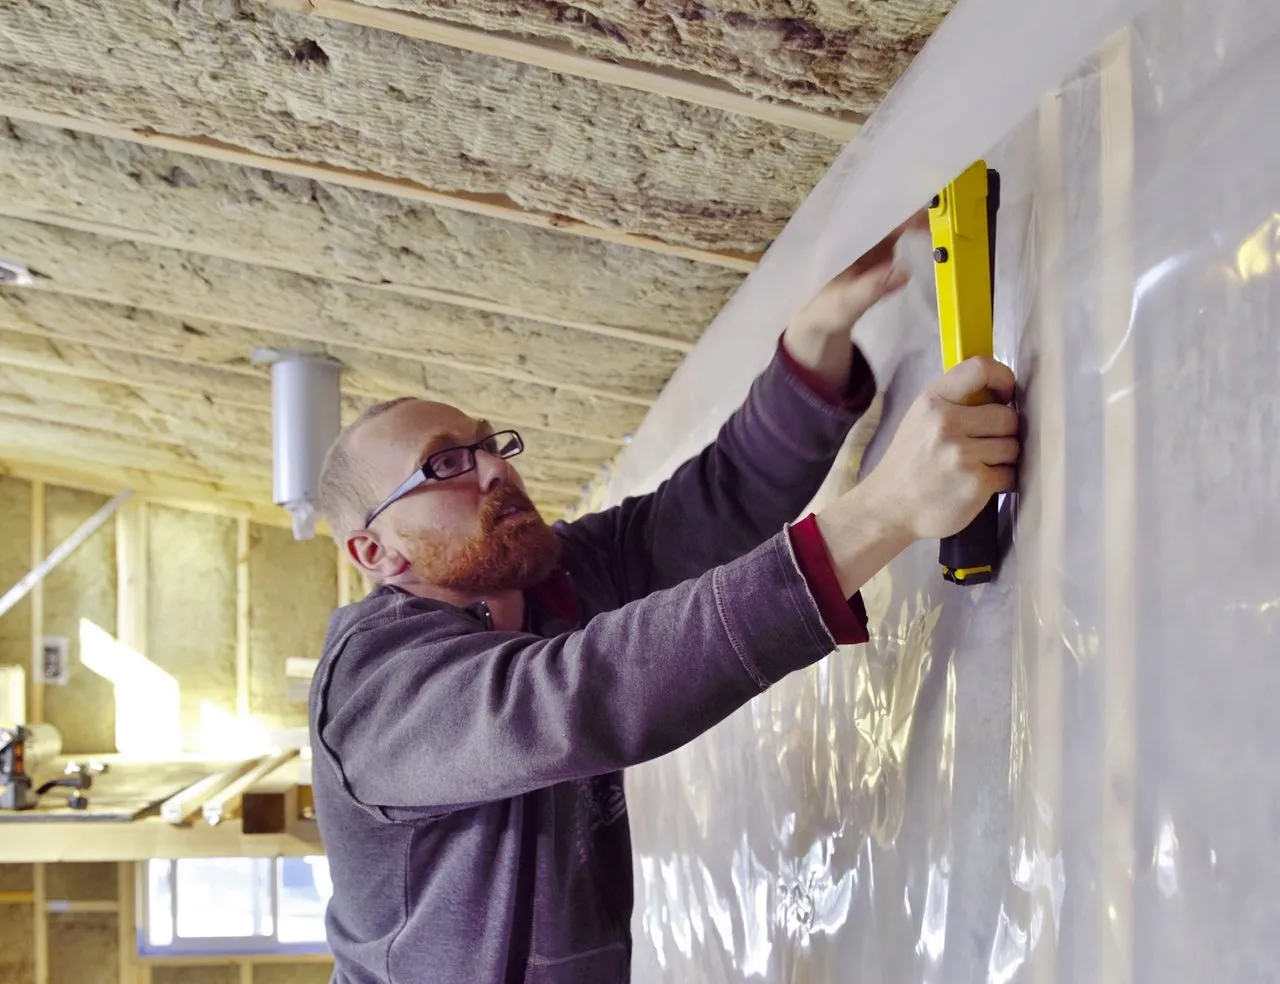
The installation of the poly is a fairly challenging process to describe so hopefully having pictures to follow along with will make the steps easier to understand.
 The majority of the poly was fairly easy to install. I kept it as flat and wrinkle free as possible and stapled it every 16" on the studs. Where one wall met another, or the ceiling, I overlapped the poly about 6 inches and used a bead of acoustical sealant to help separate one wall section from another. Separating the wall sections was an extra precaution. Should one section develop condensation the moisture would be contained to a single area.
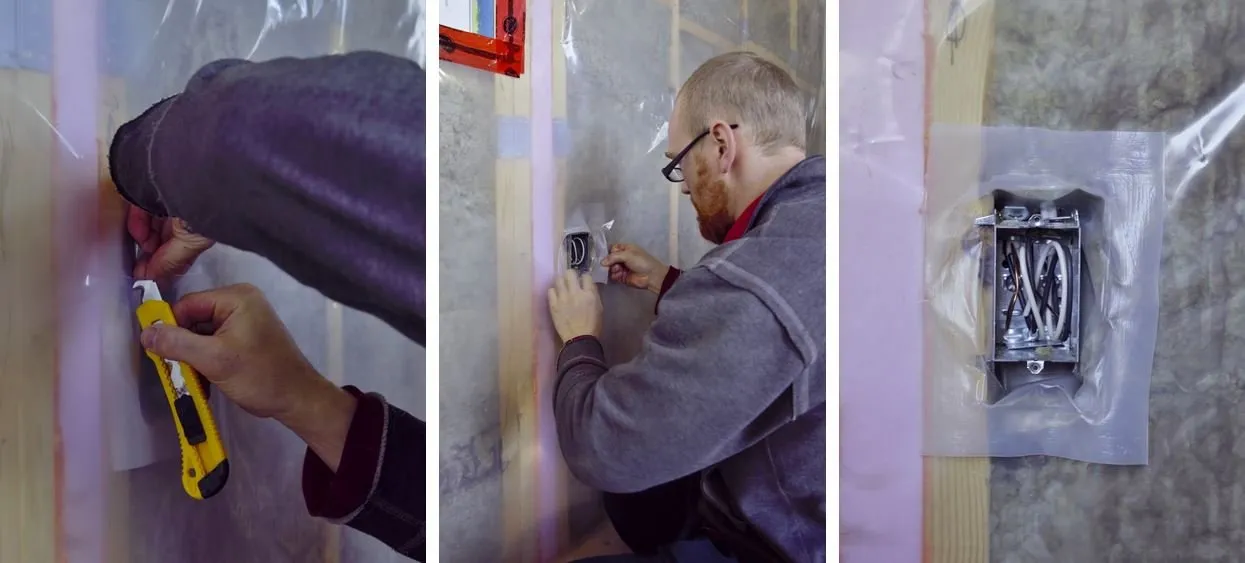 The poly hats that we installed at the same time as the electrical boxes are actually part of the vapor barrier. I made a cut in the poly about 1/2" wider than the electrical box on all sides and then pulled the poly hat through the hole.
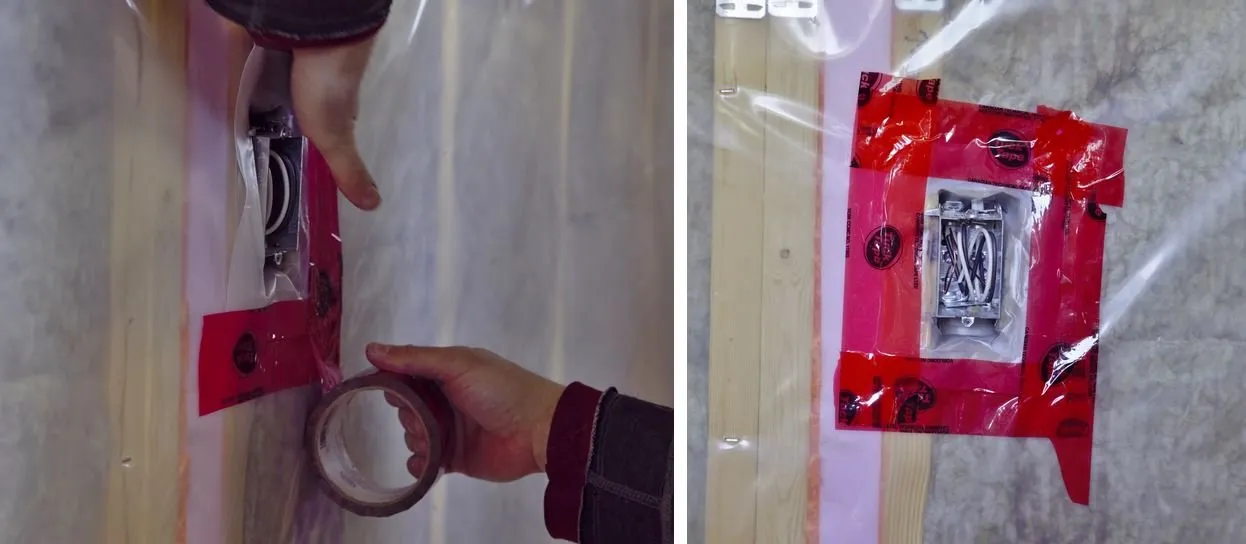 Once the flange of the hat is through I sealed it with Tuck Tape starting with the bottom, then the sides and finally the top.
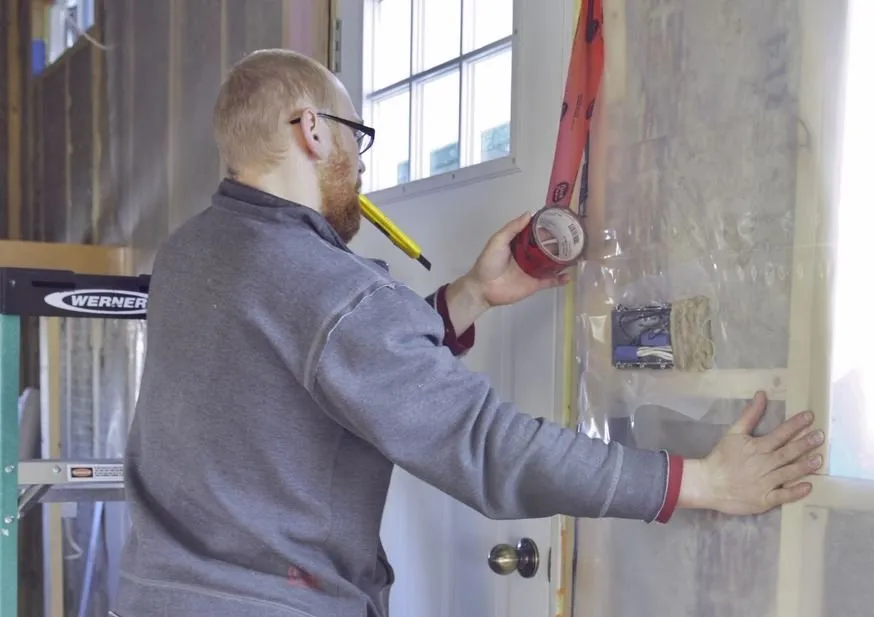
 For the windows I cut the poly 1/2" to 3/4" from the edge of the frame. As you can tell I was not in the mood the day these pictures were taken. Aimee made me do it anyway!
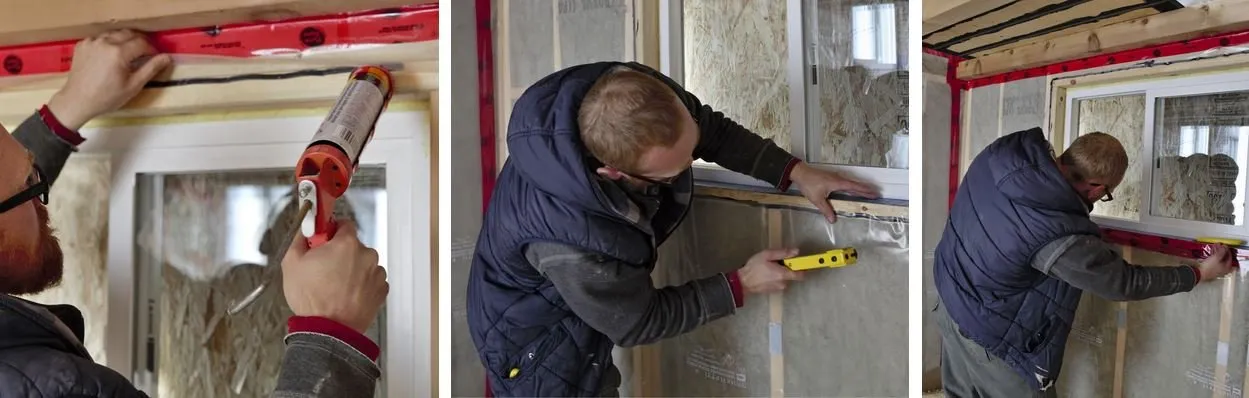 Next, I applied the acoustical sealant to the window frame. I made sure to be precise with this stuff as it has a tendency to stick to anything it touches and it can really make a mess. Once it's on I stapled the poly and apply the tuck tape to the window frame.
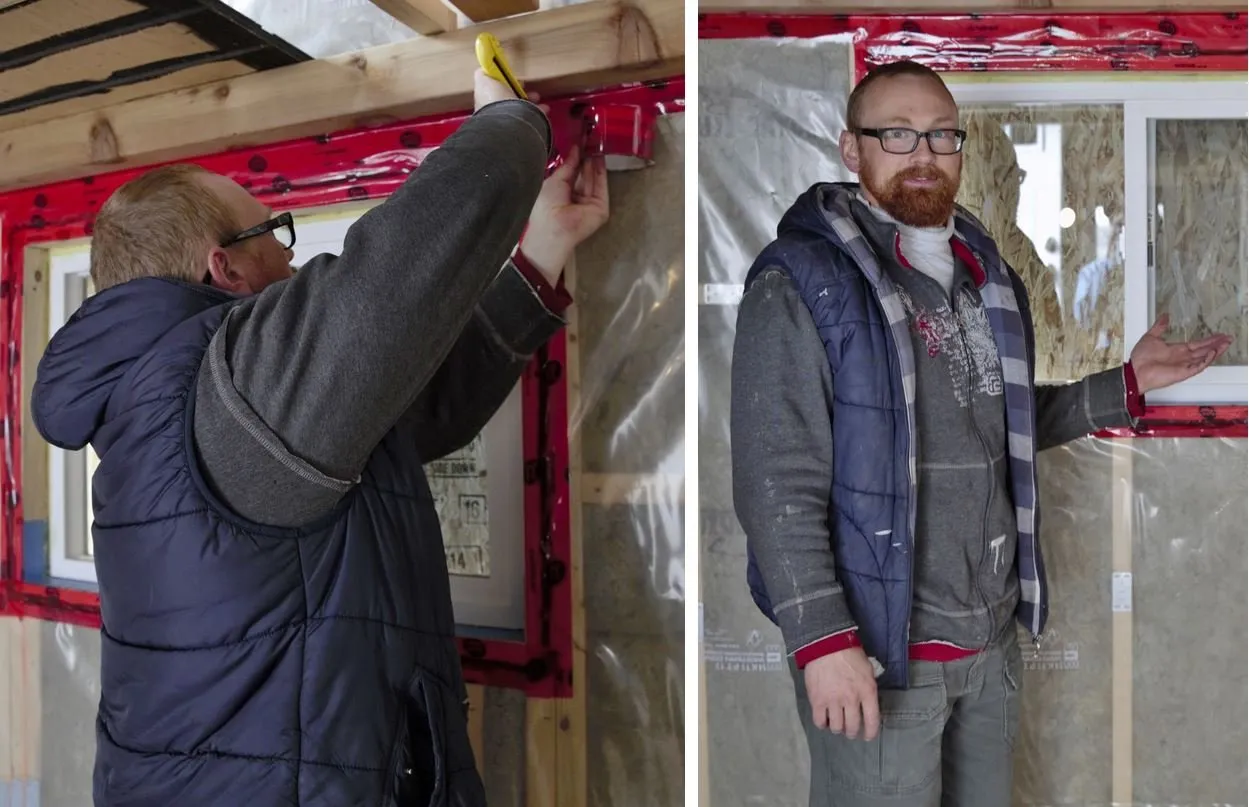 As with the poly hat I applied the tape to the bottom, then the sides and finally the top. Look! I even managed a half assed smile!
I don't have any photos of the vapor barrier along the walls where it meets the floor, however, I used the same cutting, acoustical sealant and taping method I used around the windows to seal this area as well.
 Just because it's getting dark doesn't mean the fun stops!