Hola amigo, espero se encuentren muy bien! Quiero presentarles este rico pastel que hice partiendo de ingredientes accesibles. Se trata de un pastel marmoleado de vainilla y chocolate y con una pasta de Arequipe sobre él.

Estos son los ingredientes:
- Harina de Trigo 800 gr
- 250 gr de mantequilla
- 500 gr de Azúcar
- vainilla
- chocolate
- Fecula de Maíz
- 4 huevos
- Tortura
- Batidora
- 10 cucharas de leche soperas
Crema de Arequipe
- 10 cucharas de leche entera soperas
- Agua
- Bicarbonato
- leche condensada 395 gr
Paso a Paso
Torta
1
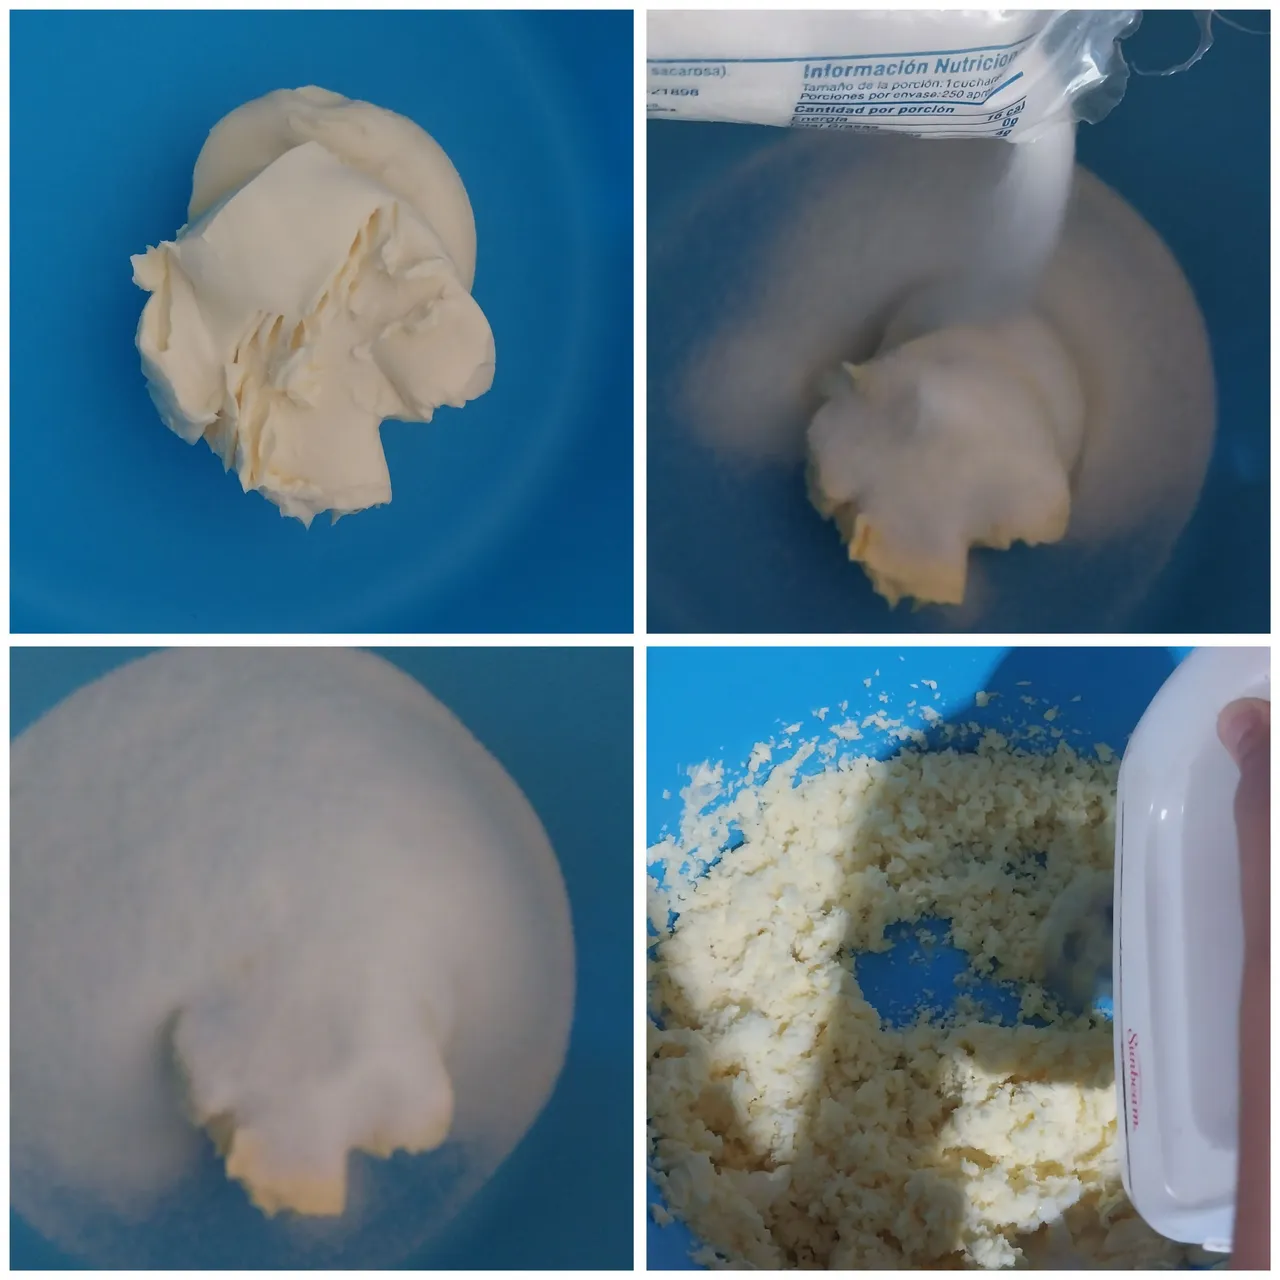
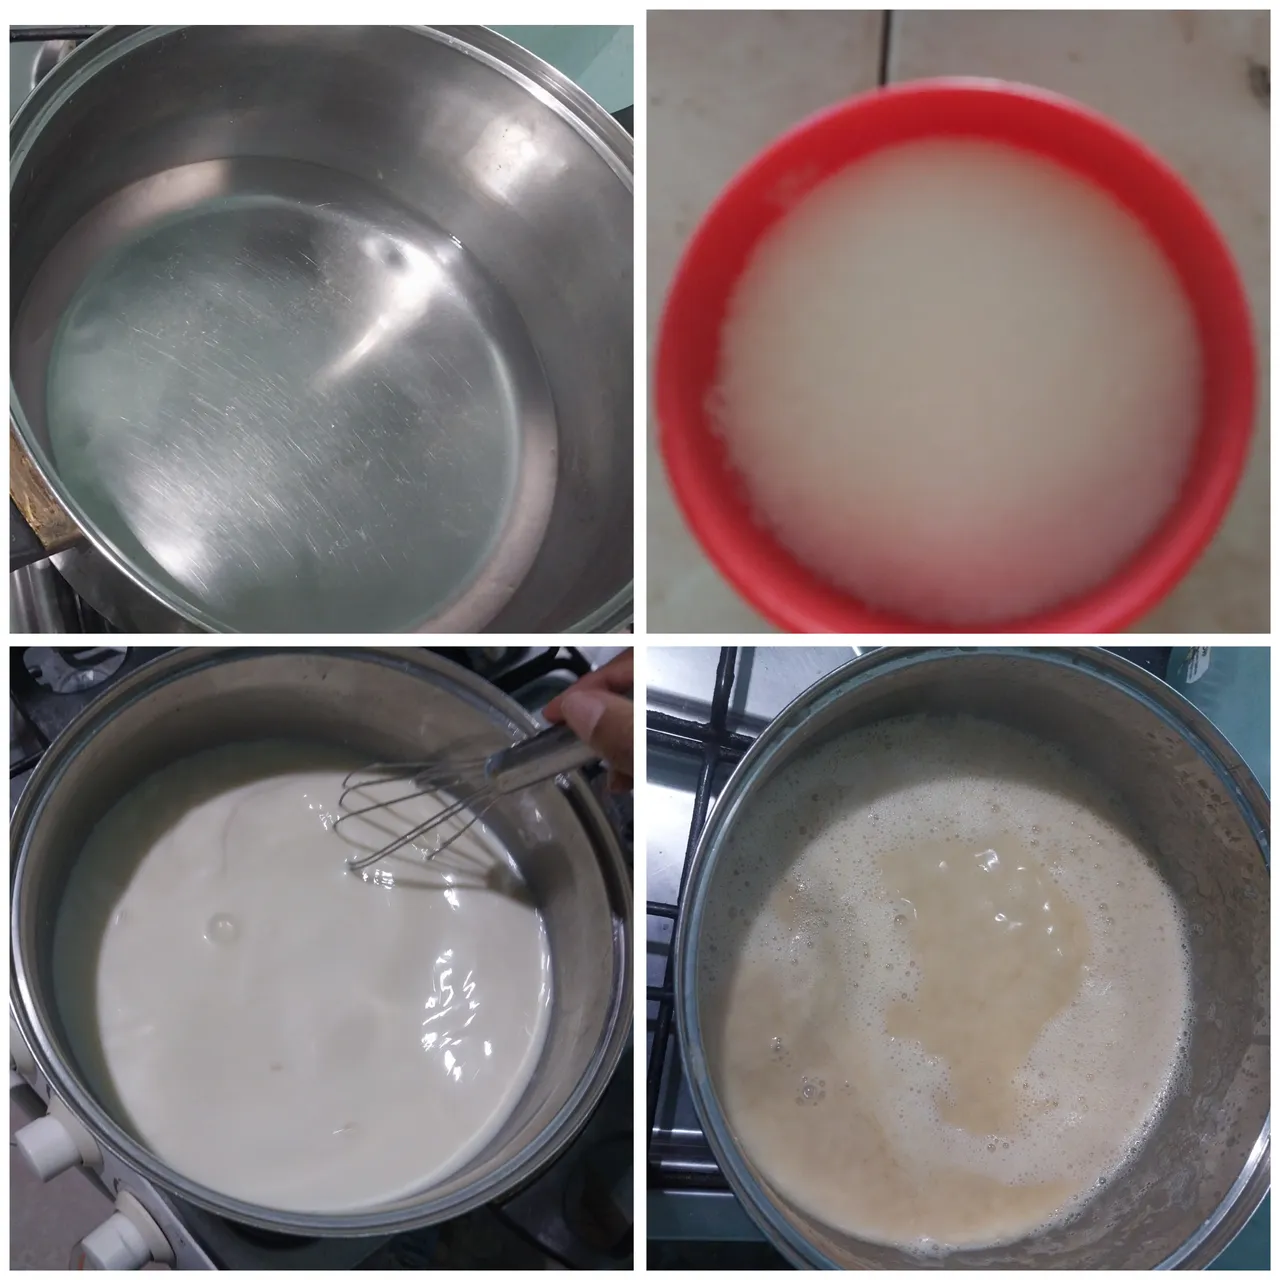
Inicio agregando la mantequilla y el azúcar en un bol. Luego empezamos a batir y también aplicamos los 4 huevos. Después añadimos también 5 gotas de vainilla.
2
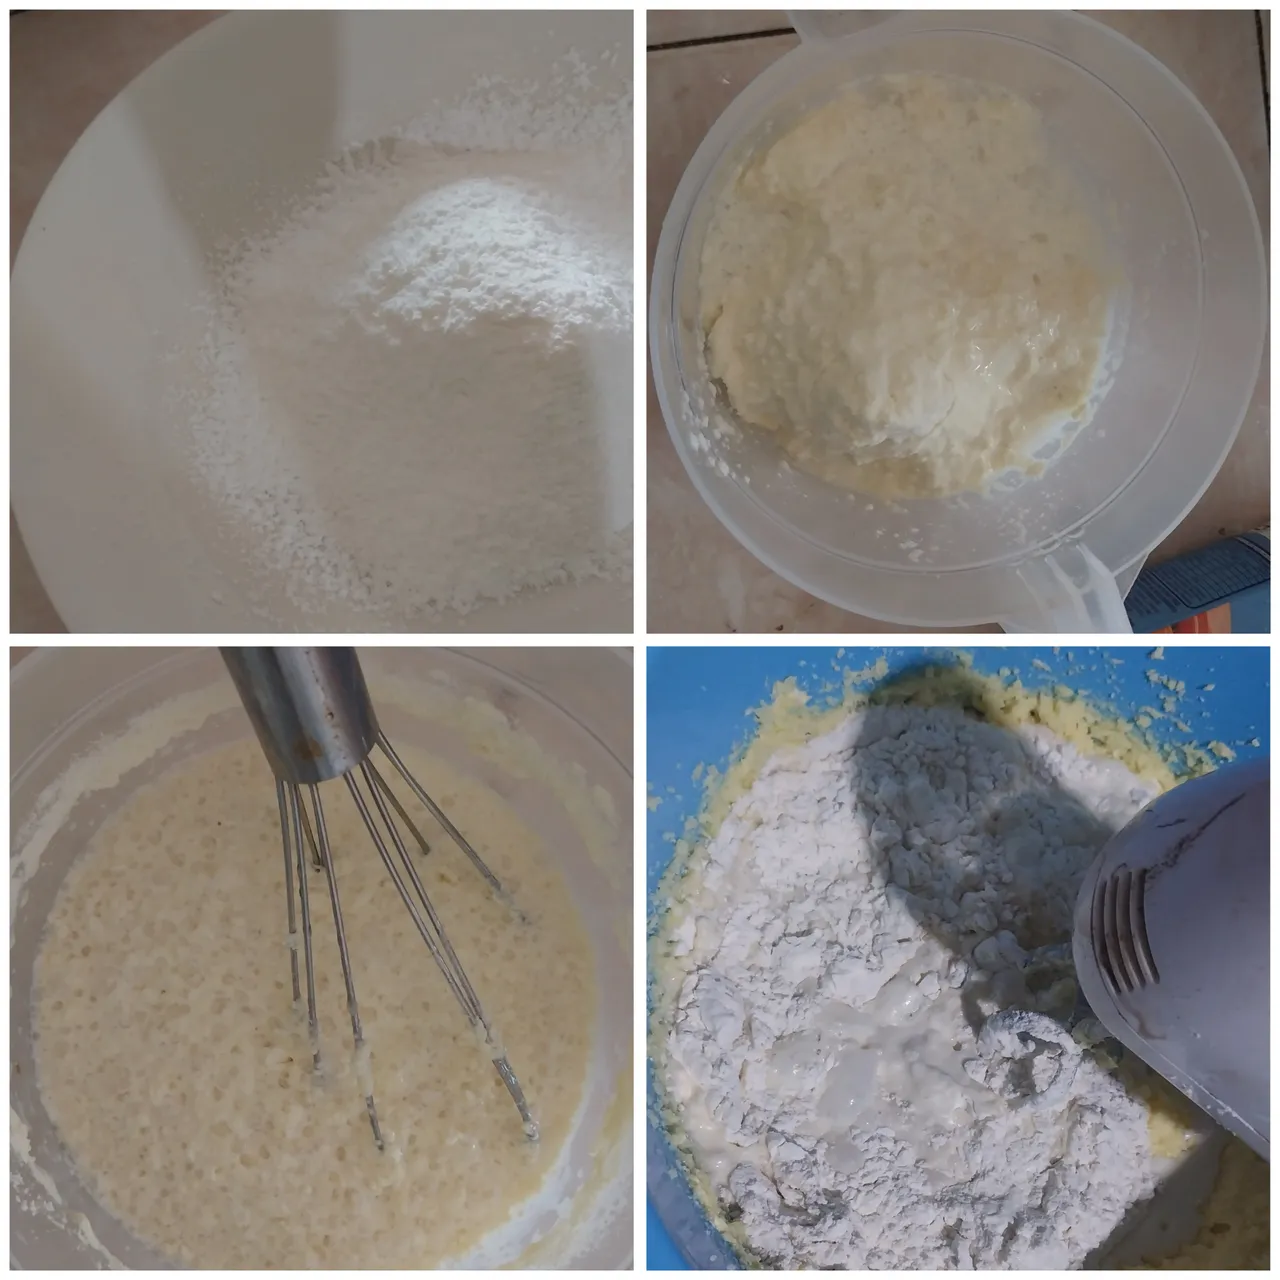
En una jarra con agua batimos la leche, batimos 300ml de agua con la leche, luego en un bol agregamos alternadamente la leche y la harina batiando esta mezcla con la Batidora.
También aprovechamos para aplicar un poco de fecula de maíz y batimos.
3
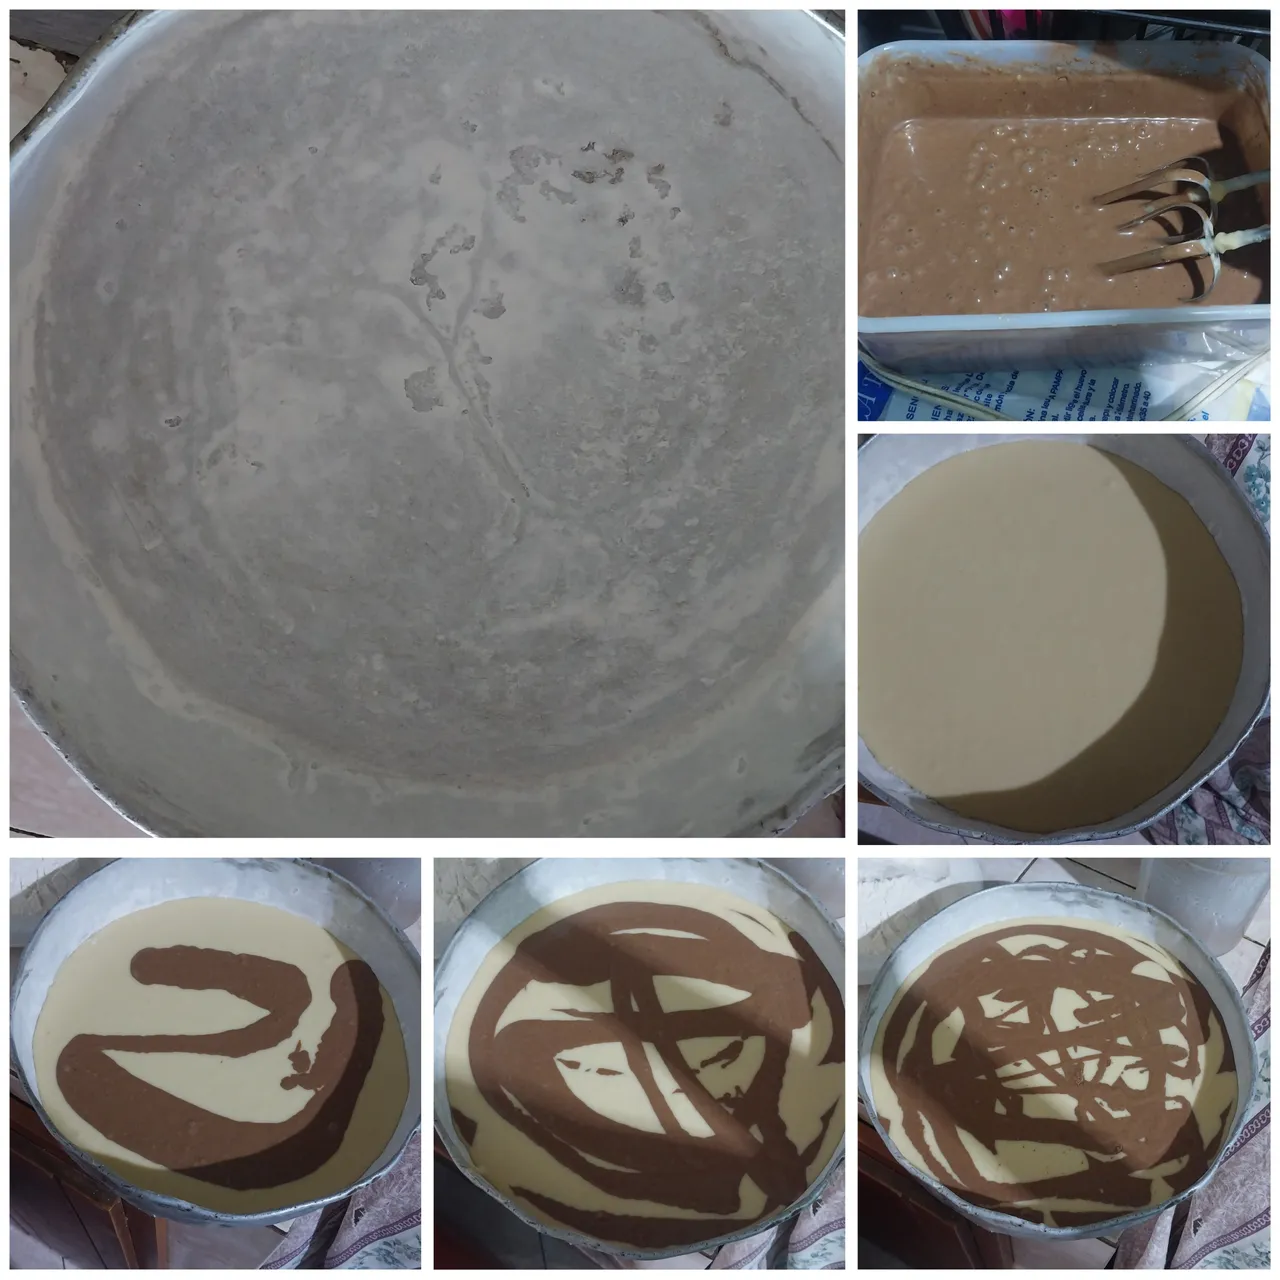
Luego prepaaram9s la tortura, utilizamos mantequilla y aplicamos un poco de esta sobre las paredes de la tortura y luego espolvoreamos un poco de harina.
Después debemos separar las mezclas y en una de ellas agregar el cacao en polvo y batir.
Luego aplicamos alternadamente las mezclas, haciendo capaz estre estas sobre la tortura.
Luego metemos la mezcla en el horno.
Arequipe
1
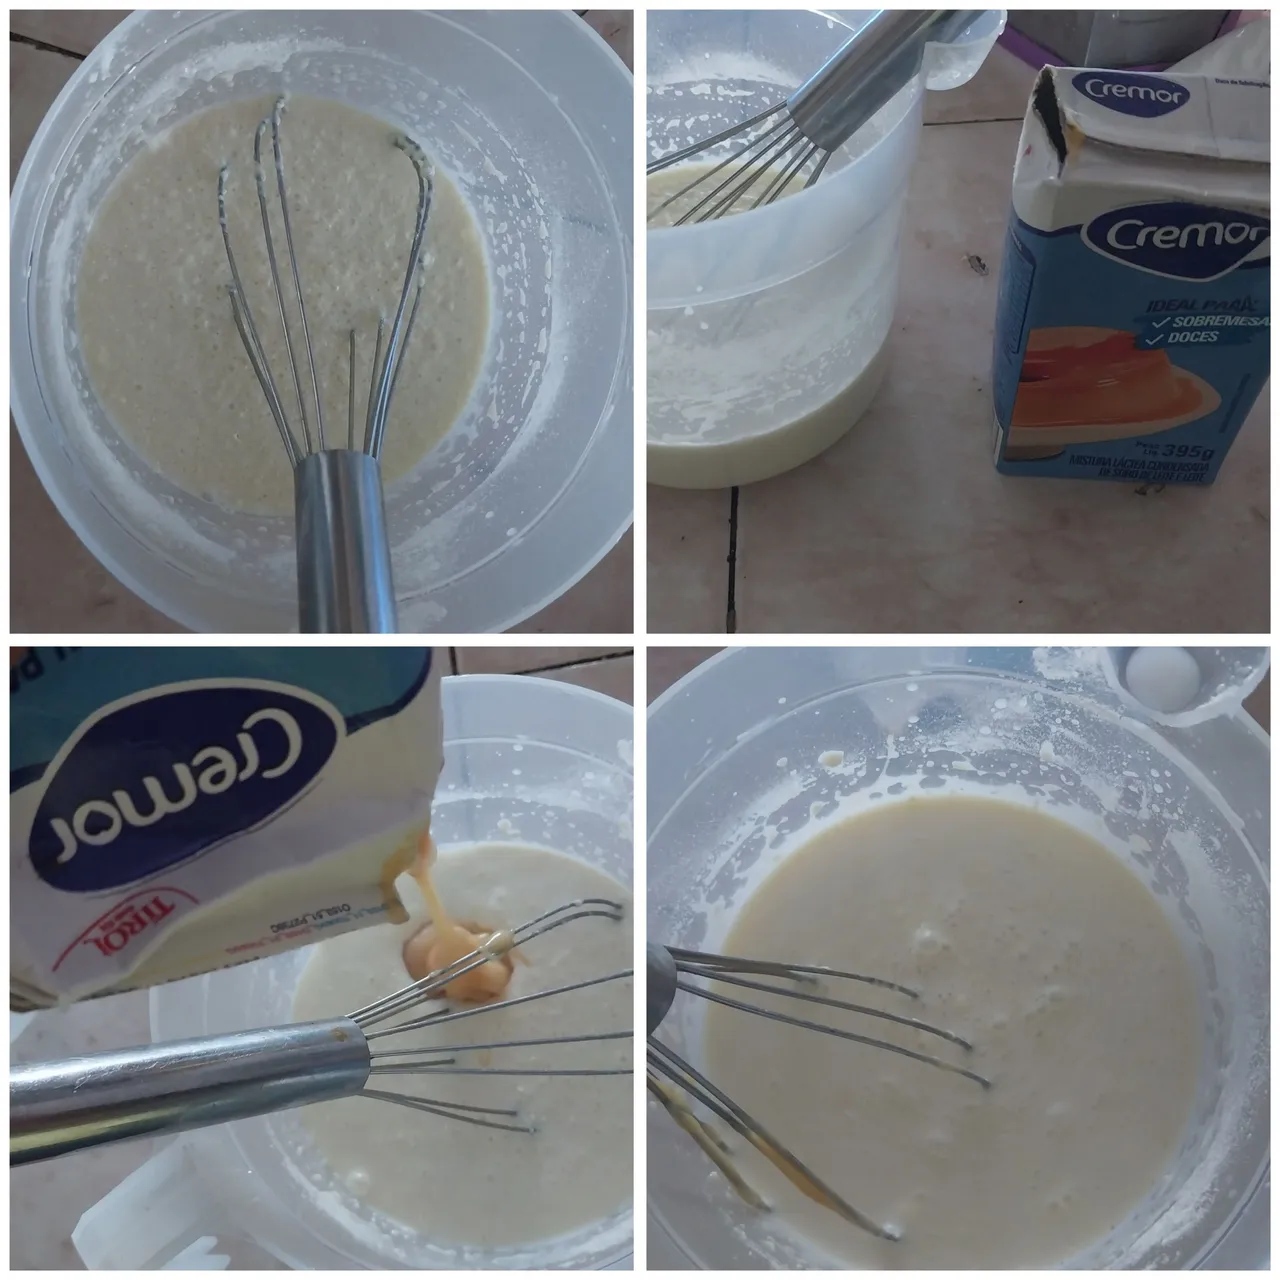
En un jarra con agua de 300ml vamos a batir la leche y la leche condensada utilizando aproximadamente 395 gr de esta y el azúcar.
2
Debemos luego llevar a fuego lento la mezcla y con una paleta ir batiendo esto poco a poco hasta que la mezcla inicie a espesar.
3
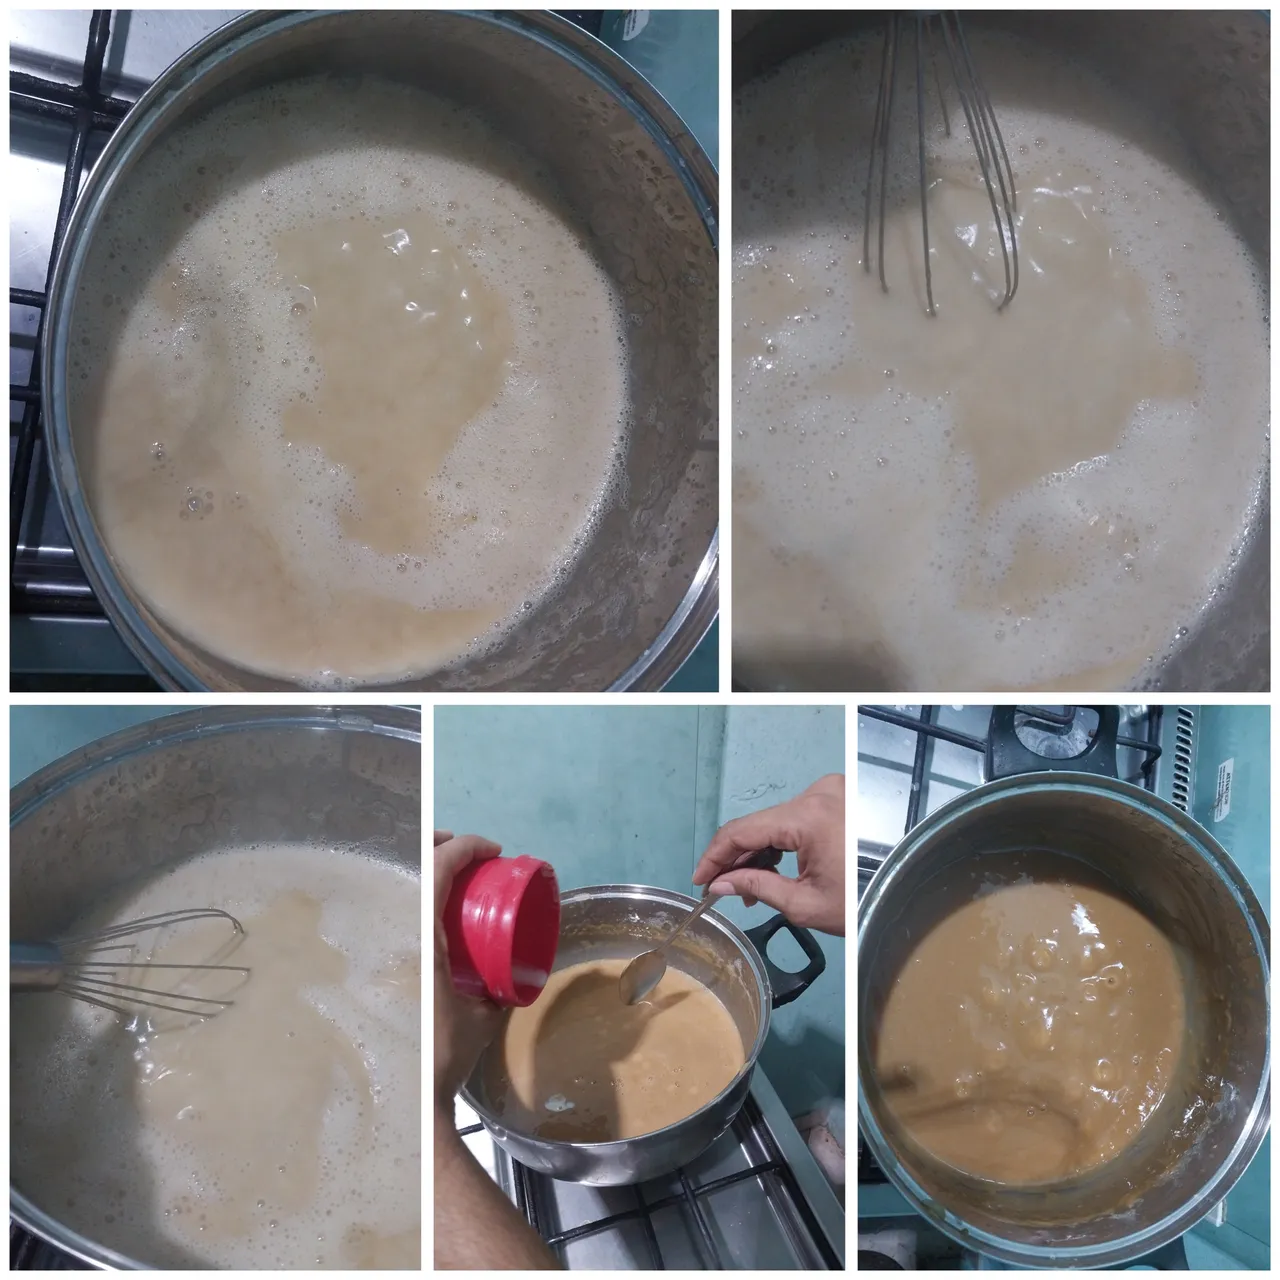
Luego aplicamos media Cuchara de Bicarbonato y removemos, así de wsta forma adquiere más tonalidad marrón y hasta que tenga la contextura deseada.
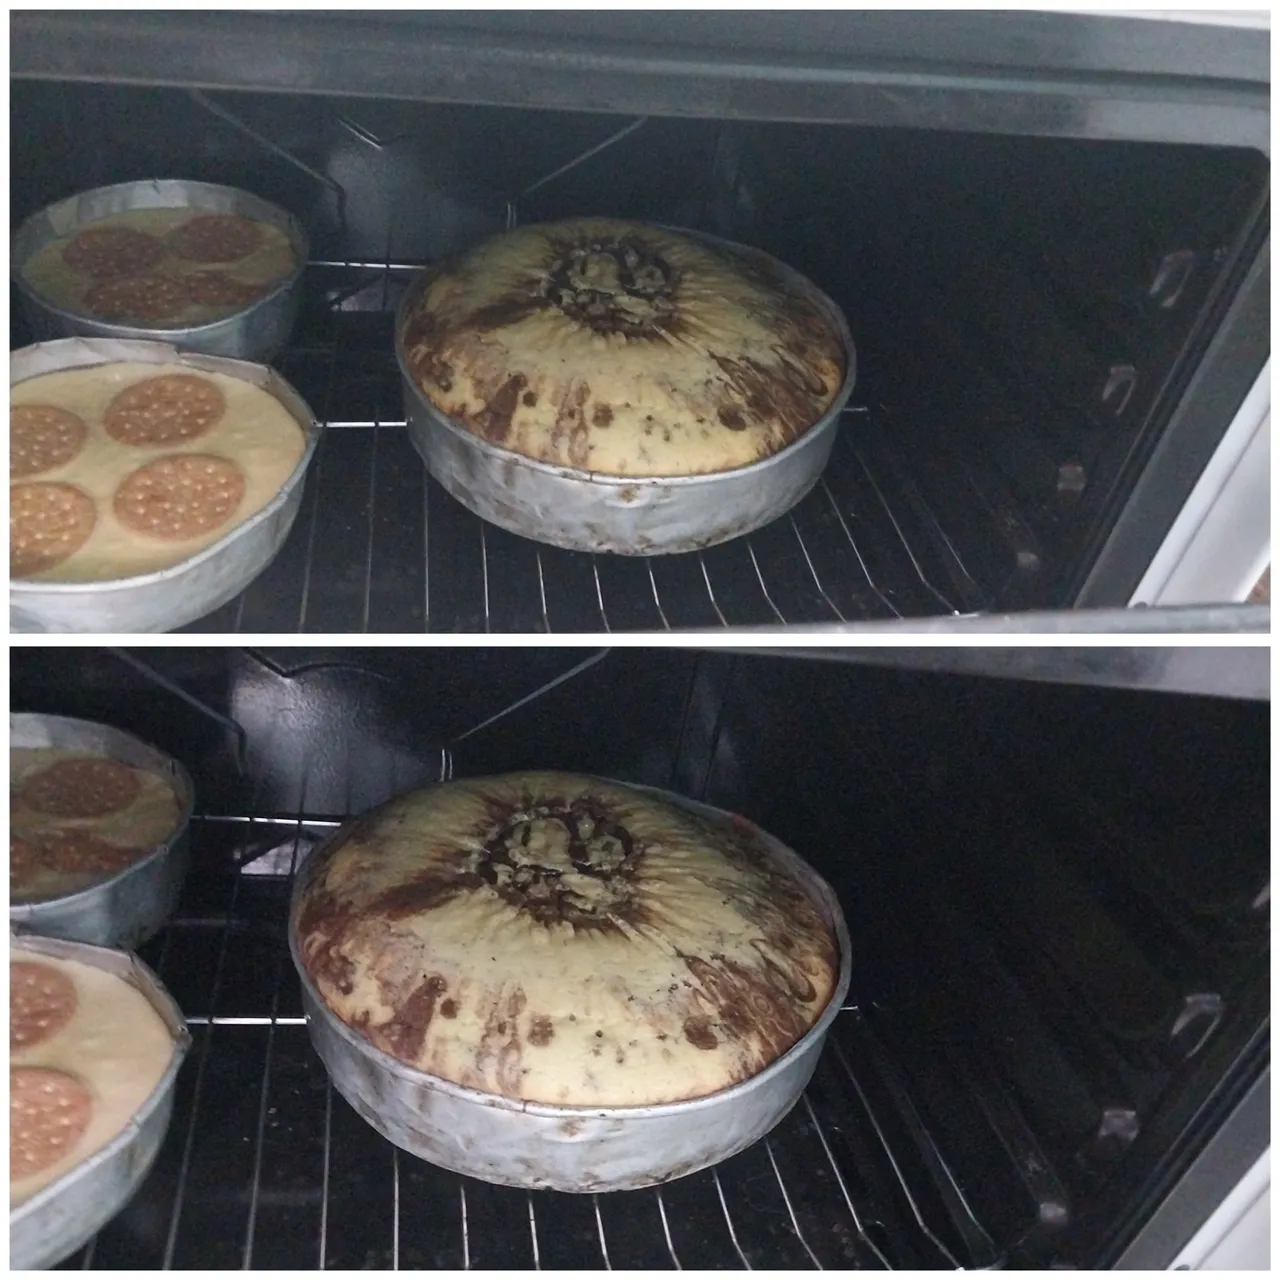
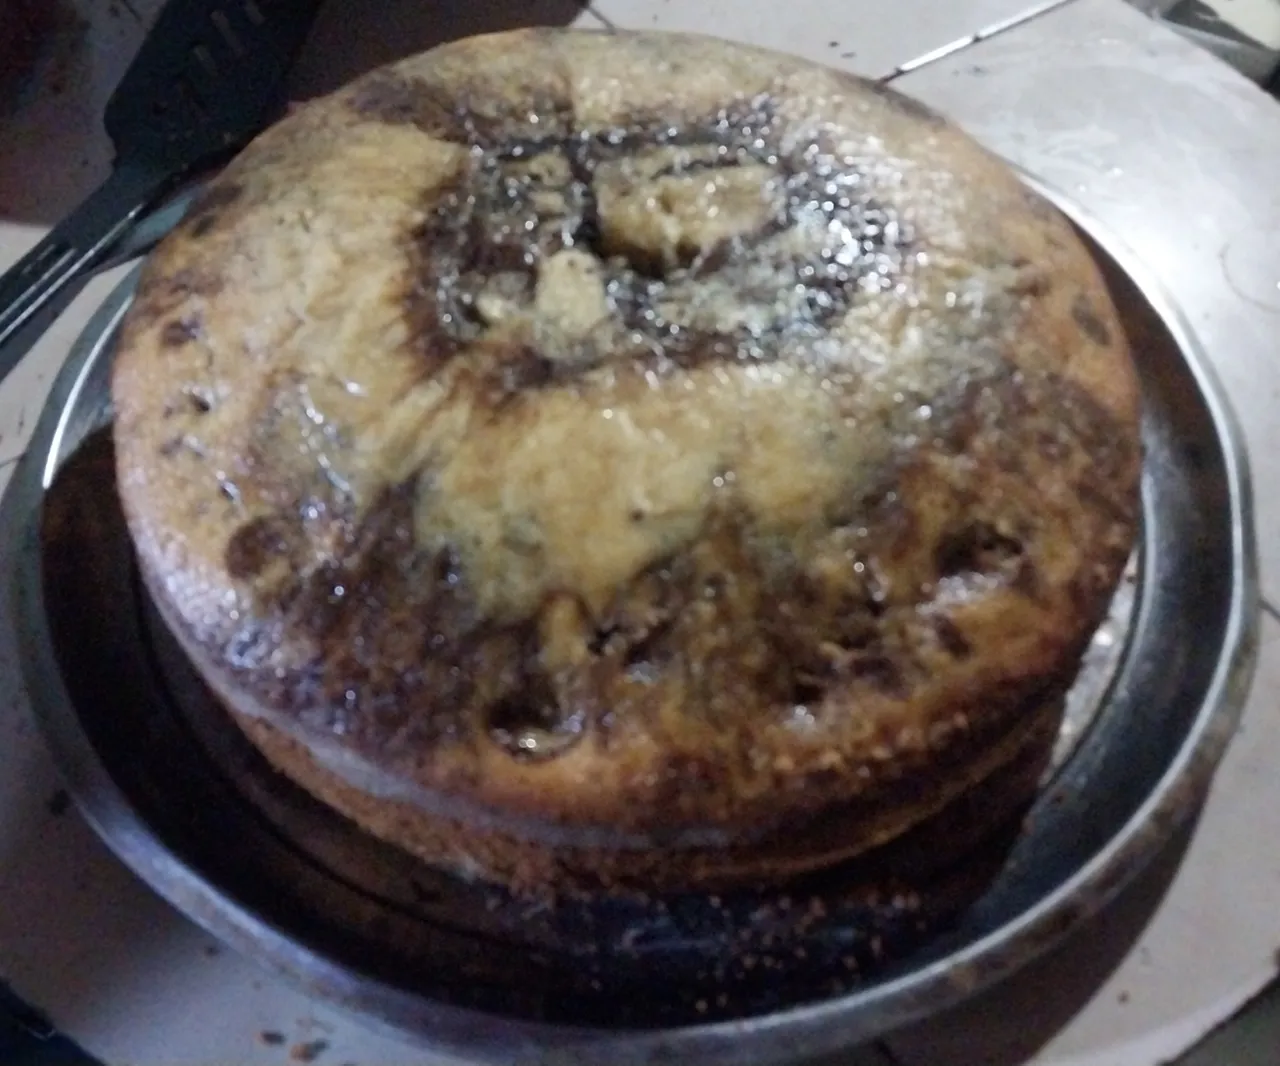
Luego sacamos del horno lo que sería el bizcocho y después decoramos.
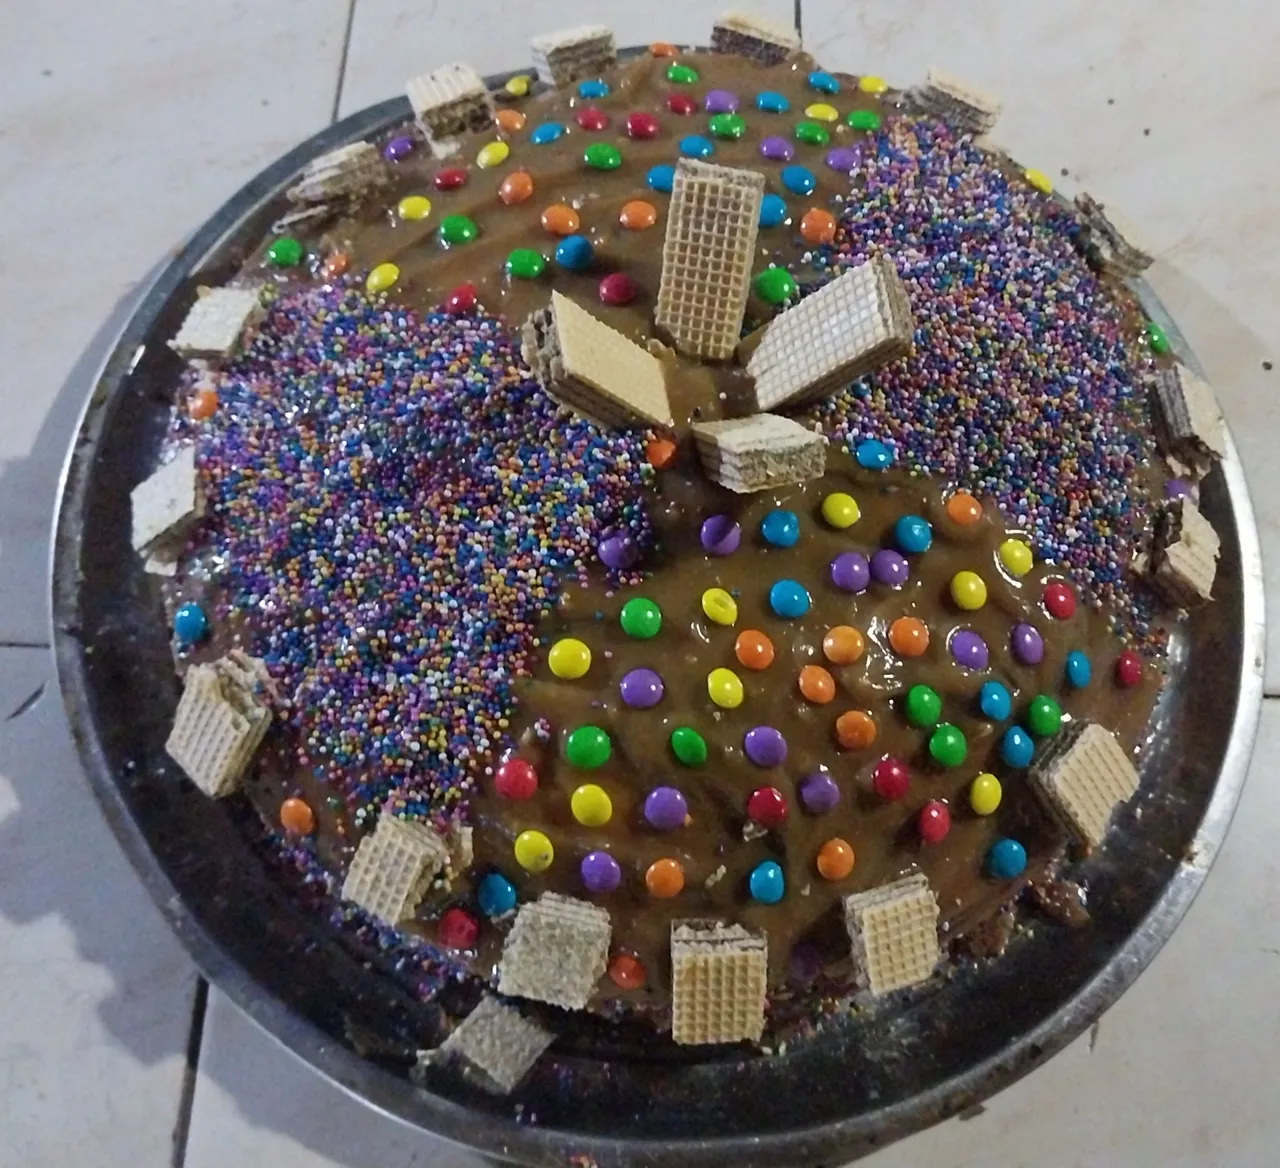
Así quedaría.
Hello friends, I hope you are feeling well! I want to present you this delicious cake that I made from affordable ingredients. It is a vanilla and chocolate marbled cake with an Arequipe paste on top.
These are the ingredients:
- Wheat flour 800 gr
- 250 gr butter
- 500 gr of sugar
- vanilla
- chocolate
- Corn starch
- 4 eggs
- Tortura
- Mixer
- 10 tablespoons of milk
Arequipe cream
- 10 tablespoons of whole milk
- Water
- Baking soda
- condensed milk 500 gr
Step by Step
**Cake
1
Start by adding the butter and sugar in a bowl. Then we start beating and also apply the 4 eggs. Then we also add 5 drops of vanilla.
2
In a pitcher with water we beat the milk, we beat 300ml of water with the milk, then in a bowl we add alternately the milk and the flour beating this mixture with the Blender.
We also take the opportunity to apply a little corn starch and beat.
3
Then we prepaaram9s the torture, we use butter and we apply a little of this on the walls of the torture and then we sprinkle a little flour.
Then we must separate the mixtures and in one of them add the cocoa powder and beat.
Then we apply alternately the mixtures, making able to narrow these on the torture.
Then we put the mixture in the oven.
Arequipe **Arequipe
1
In a pitcher with water of 300ml we are going to beat the milk and the condensed milk using approximately 395 gr of this and the sugar.
2
We must then bring the mixture over low heat and with a paddle whisk this little by little until the mixture begins to thicken.
3
Then we apply half Spoon of Bicarbonate and we stir, this way it acquires more brown tonality and until it has the desired contexture.
Then we take out of the oven what would be the cake and then decorate.
This is how it would look like.
- Las imágenes me pertenecen
- Traductor: Deelp traslator
- Edicion: Canva
- Images belong to me
- Translator: Deepl Traslator
- Editing: Canva