The time has finally come to put some colors to this bike frame. After almost 3 weeks after we took off the paint of this frame, this is the day that we're gonna be seeing a brand new look.
First thing to do, of course prepare the things that will be used.
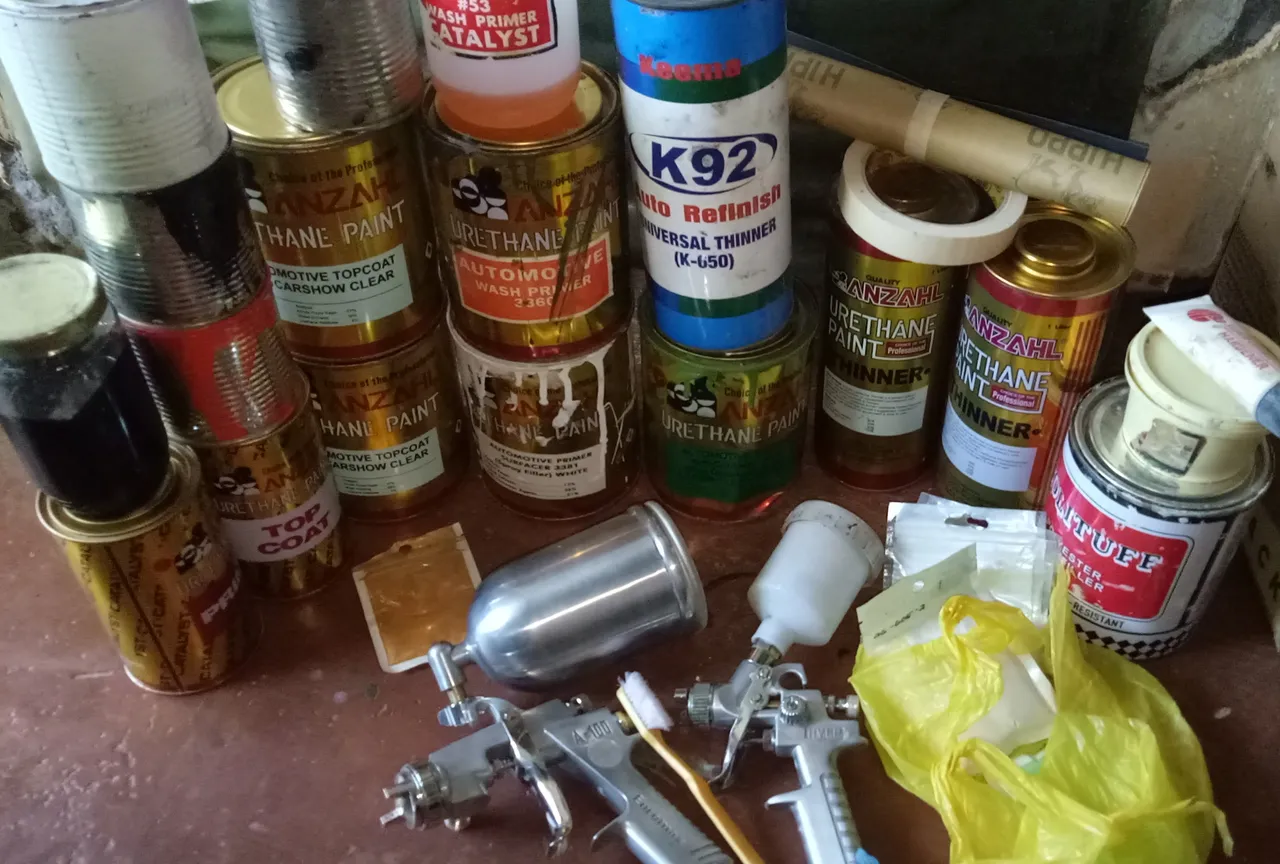
(Paint)
Adhesive, anti corrosion, spray filler, color and finally clear coat.
(Tools)
Spray gun, sanding paper, masking tape, strainer, disposable cups and compressor.
(Colors)
Jet Black, Titanium Gray and Deep Red/Orange
Process:
1.Applying the spray filler and color on designated area where stencils stickers are put.

2.Put in the right place the stencil stickers carefully.
3.After an hour when it is completely dried, apply the black color until it is set.
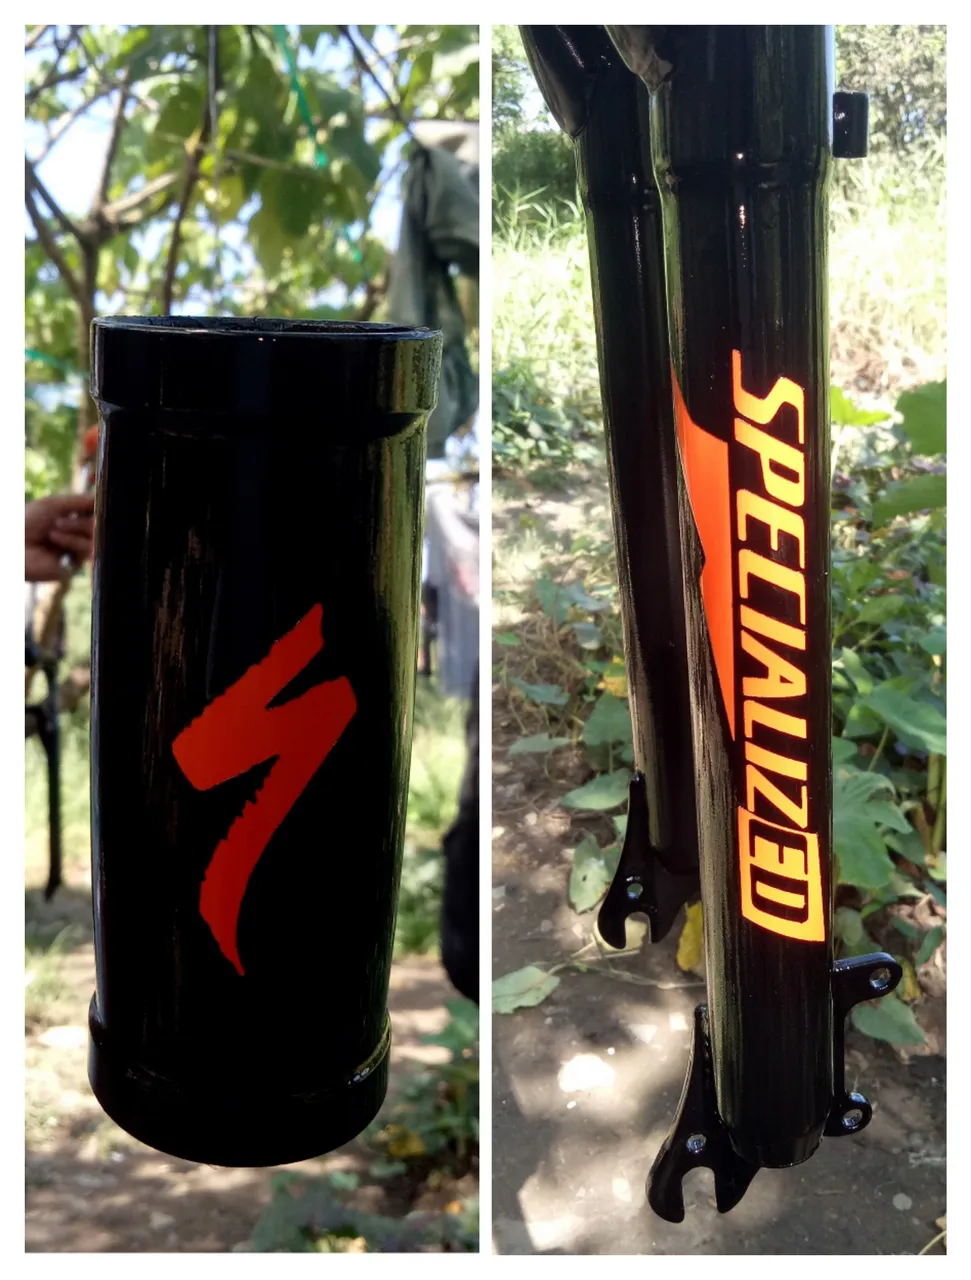
4.Allow to dry for atleast half hour then remove the stencil using a cutter.
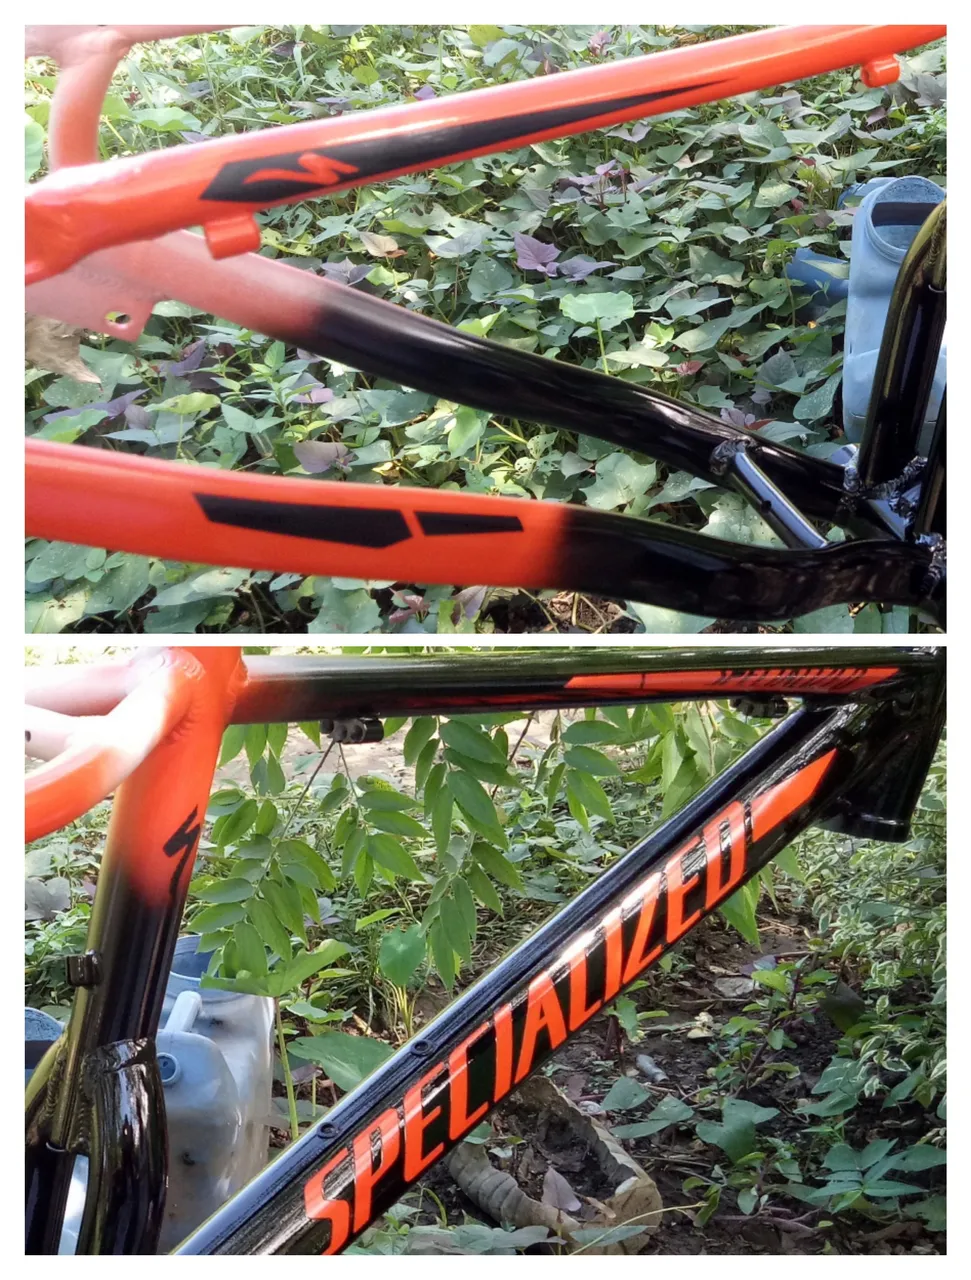
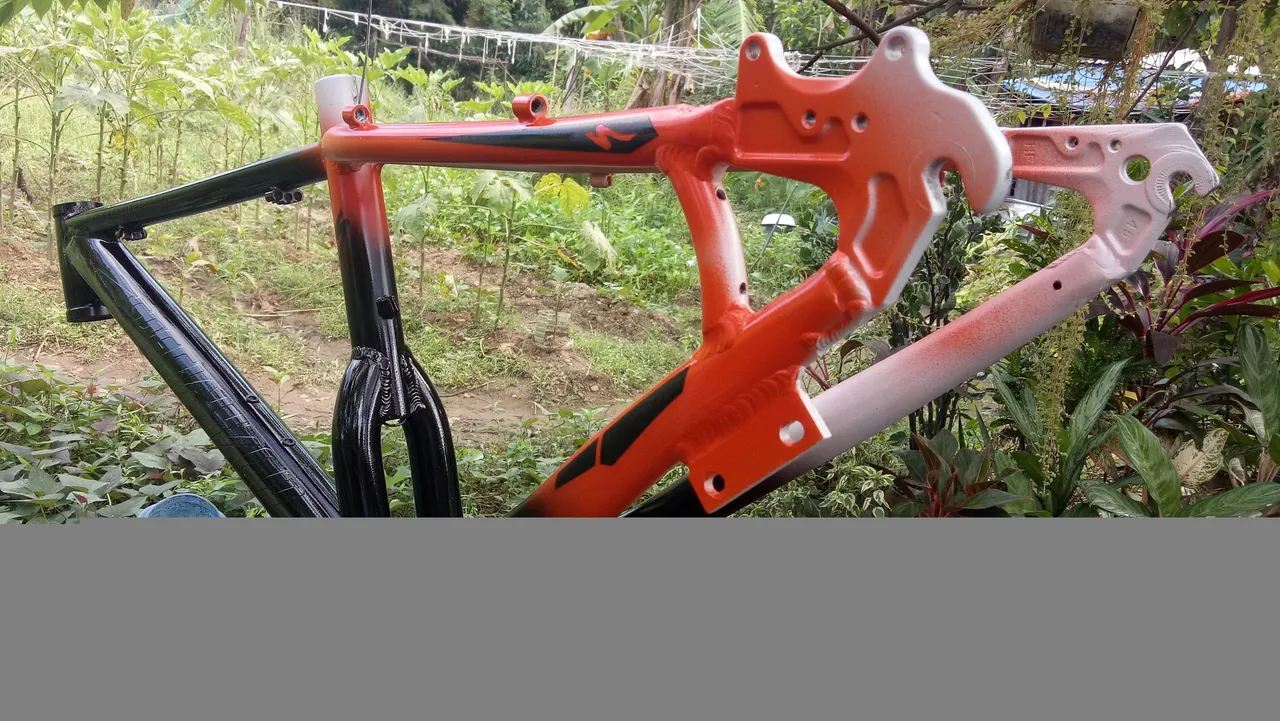
5.Create a gradient look with titanium gray. Once dry apply clear coat.
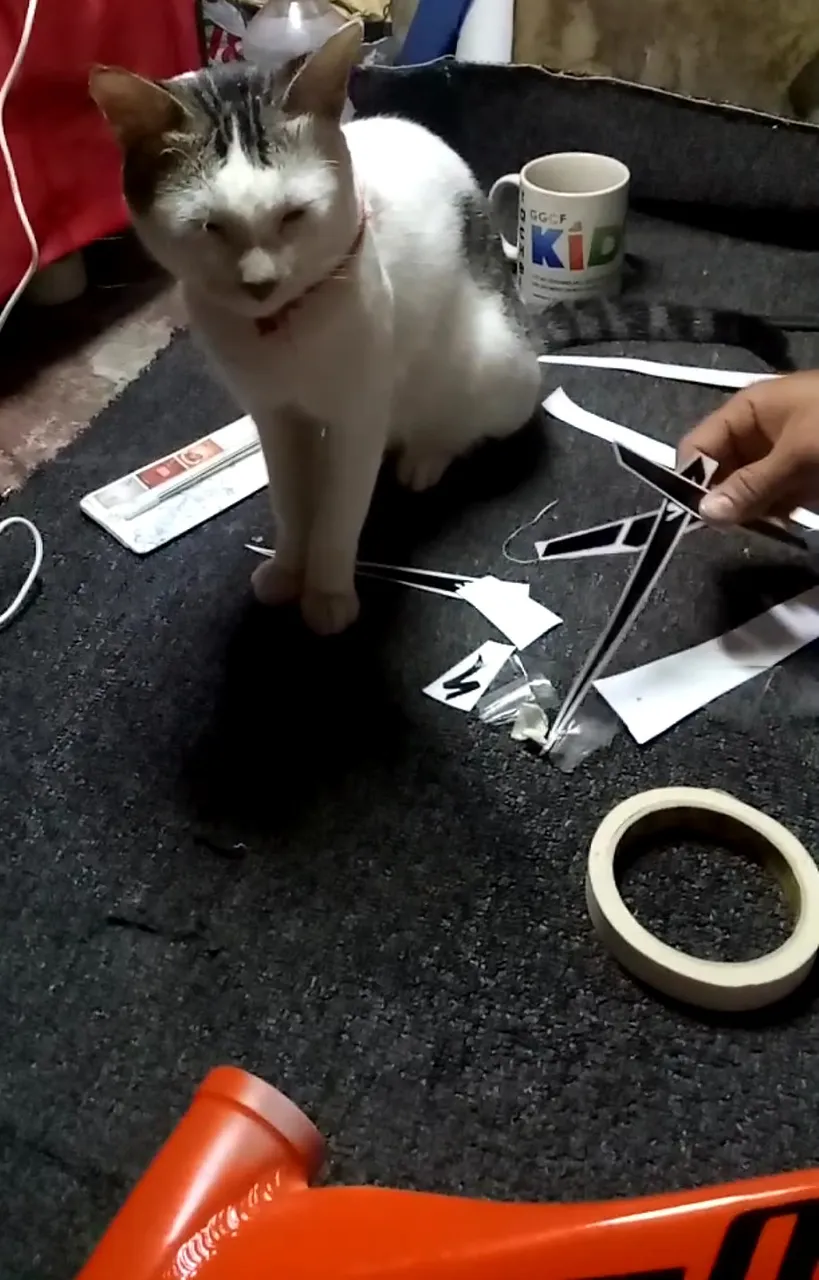
This scene was shot during the time that we cut the stickers out. He looks so curious and stares on everything here.
One of the important thing in repainting was the drying process. It is better to allowed the paint to mature from 2-3 days. We do the final set up in everything. There are some issues needed to fixed before I was able to use it on road.
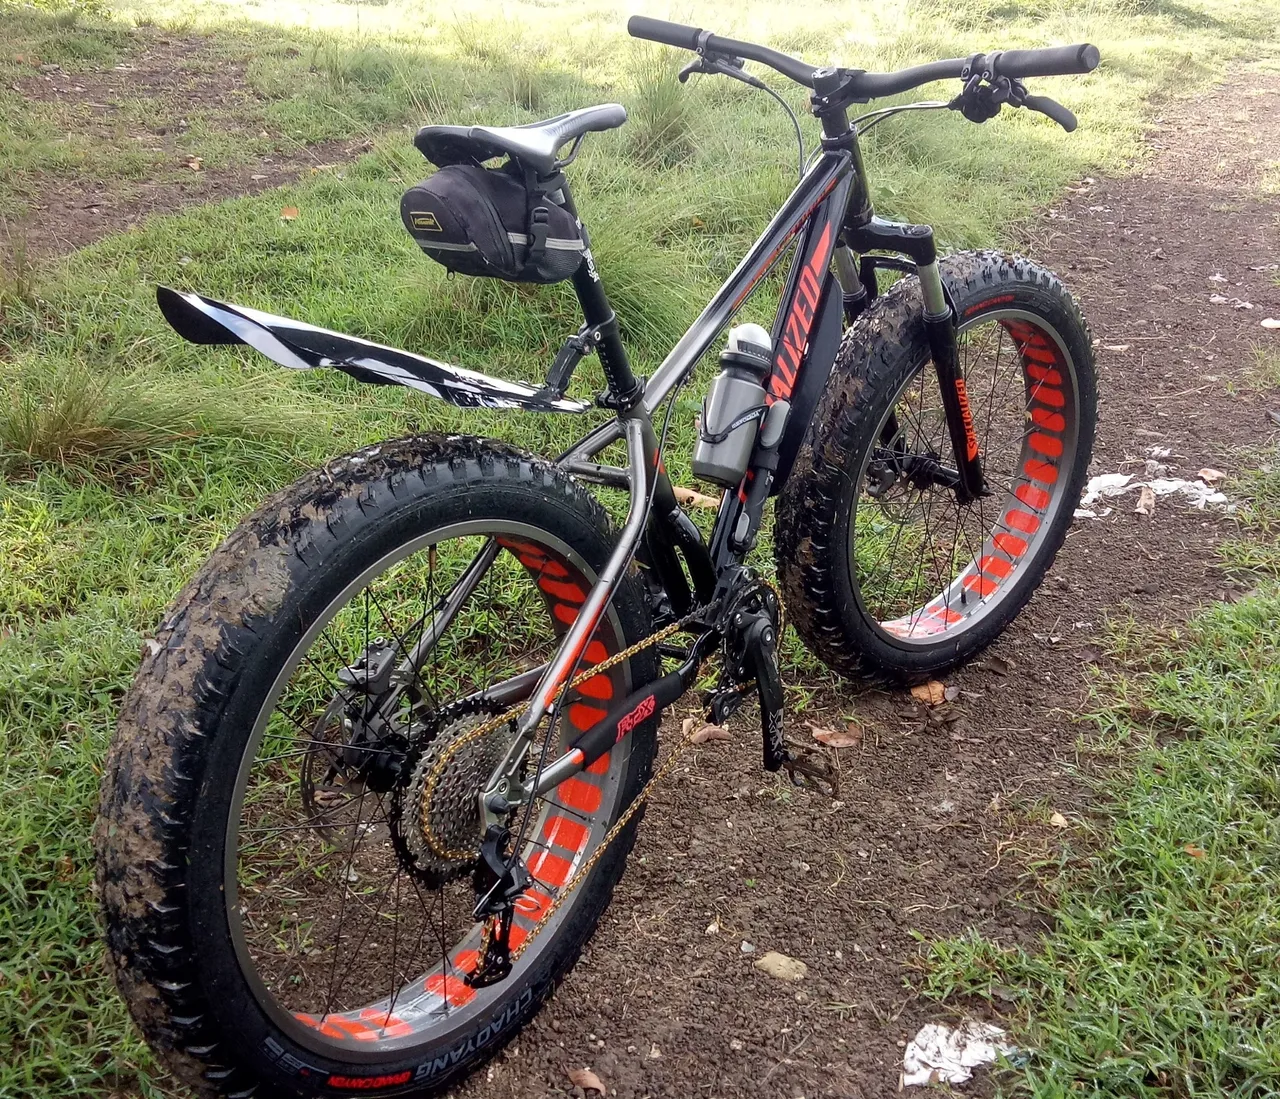
However, yesterday my fiance decided to try to ride this bike for the first time. As seen in the photo below, it's the first mud for it's tire!
The final looked was so gorgeous, and I love the decals and everything. Since it is my very first bike, surely this is a treasure for me that God helps us to built it. For my next blog I will share if I can finally use it on road. Till next time!

Could you suggest a name for my fat bike? Please leave me a comment, thanks in advance.
XOXO,
Rachelle