Yesterday I posted a wave on my Ecency account. In which I shared a picture of book that I am reading today, while reading this book, I got this interest in turtles because some of the books were having biological facts and I suddenly got this idea. So I started doing research on turtles.
Have you ever thought about the significance of a small animal in our life?
The turtle is a unique and interesting animal with many characteristics that distinguish it from others.
First of all, the speed of the turtle is very low. This slow pace teaches a person that life should not always be rushed. Sometimes it's important to slow down and take deliberate steps. This slowness of the turtle is a sign of its patience and endurance.
Another aspect of a turtle's life is its longevity. Turtles can live for decades, showing that it is possible to live a healthy and balanced life. It teaches us that health care and time should be valued.
Besides, the turtle's innocence and cute look is also heartwarming. When we see their simple movements, we are relieved. The presence of a turtle makes us feel the beauty of nature and the simplicity of life.
For all these reasons, I love turtle. His simplicity, patience, and life lessons help make us a better person. The turtle is an example that invites us to reflect on different aspects of life.
I thought why don't I create a beautiful paper turtle myself and present it to you, so let's get down to making it.
PROCEDURE
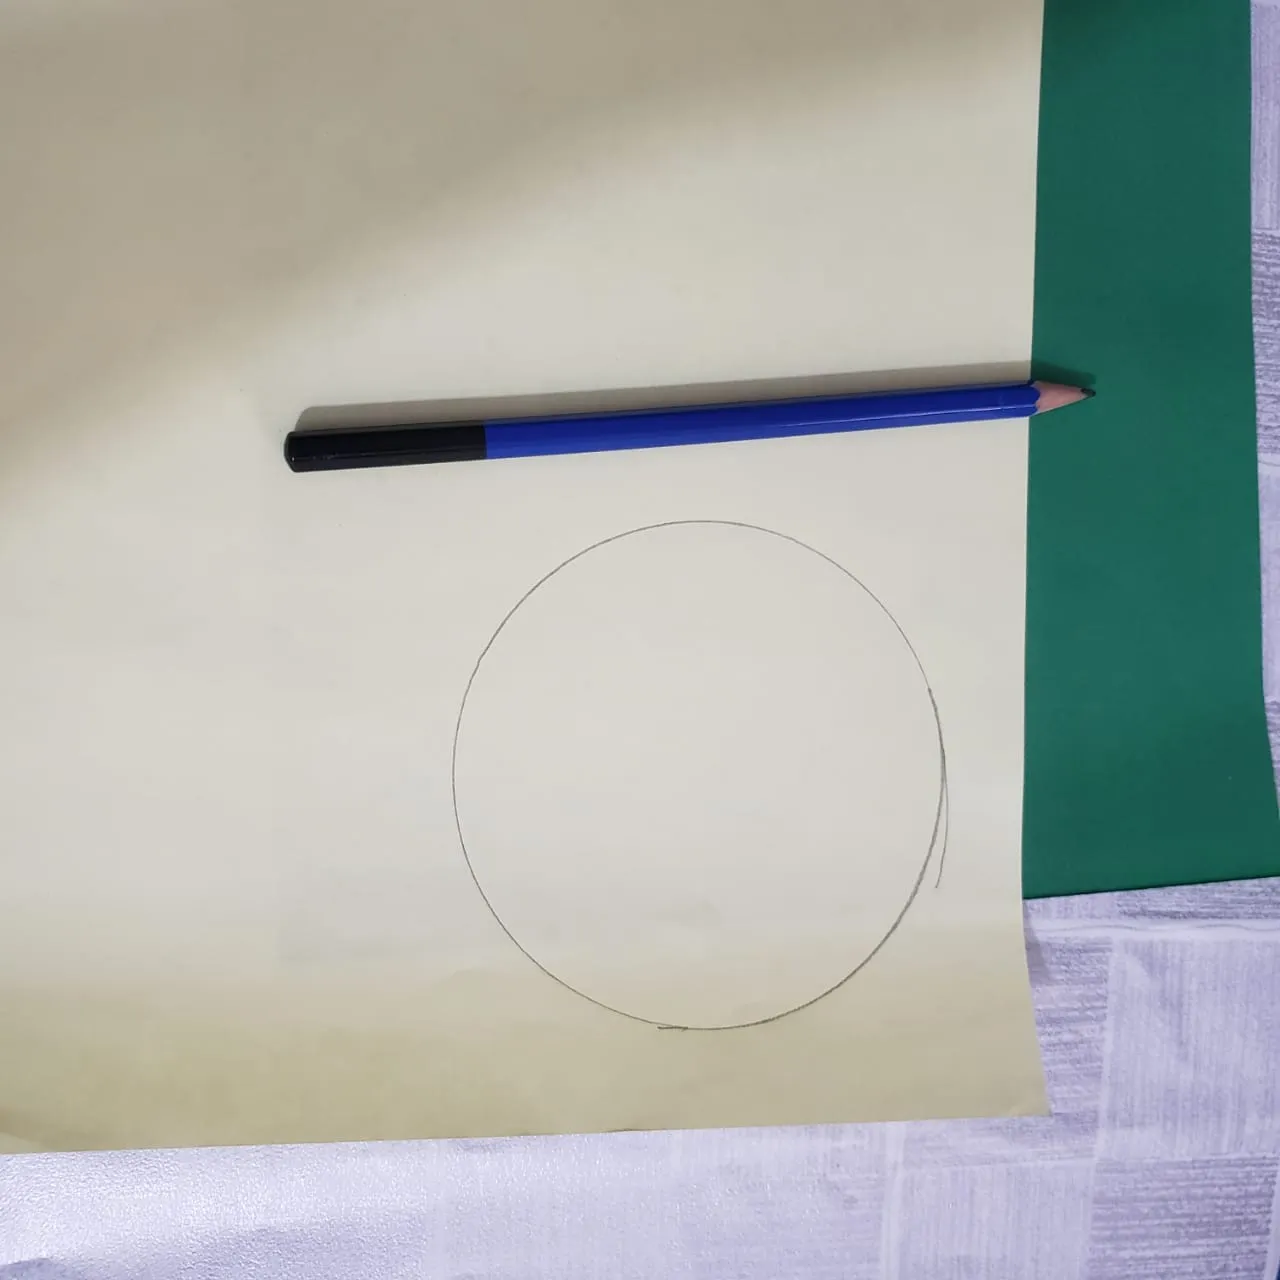
The materials I needed to make this were two colored colored papers, one skin color and one green color, plus scissors glue and a pencil.

First I drew a circle on top of the paper.
By the way, I could have made it from compasses, but due to my laziness, I made it into the cap of my water bottle and look, it is completely ruined.
Oh my laziness 🫤😒
But don't get tensed, when I cut it, I will cut it perfectly.
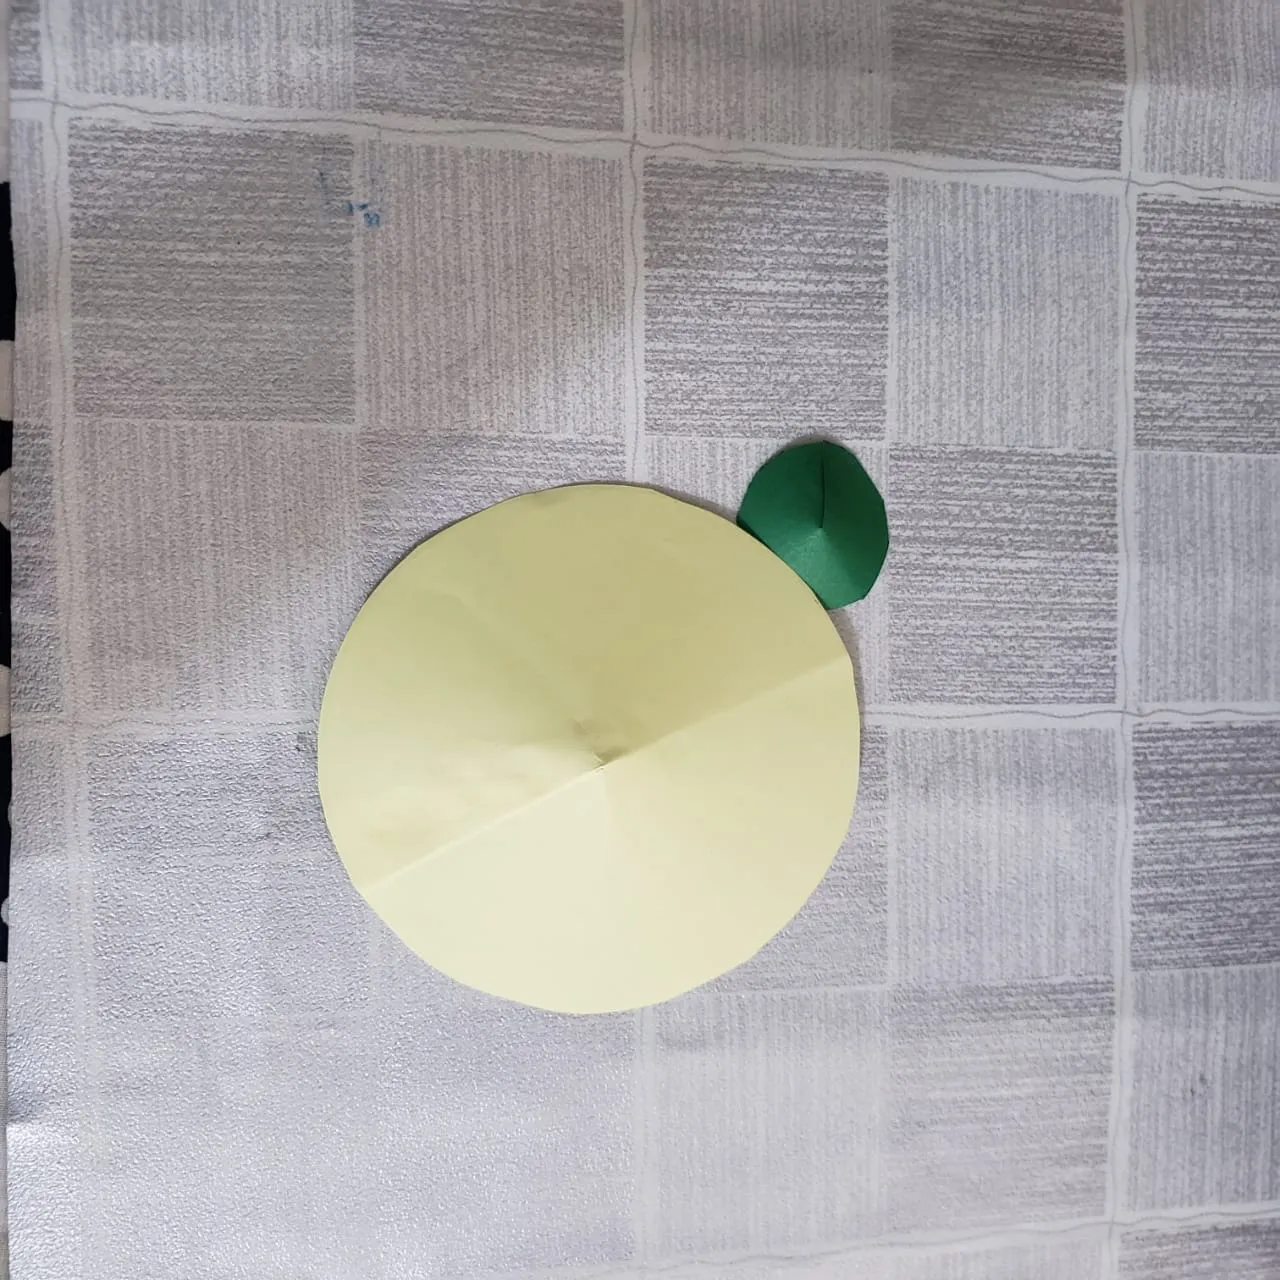
Then I cut out the circle with the help of a tool and then put a cut inside it so that it curves a bit.
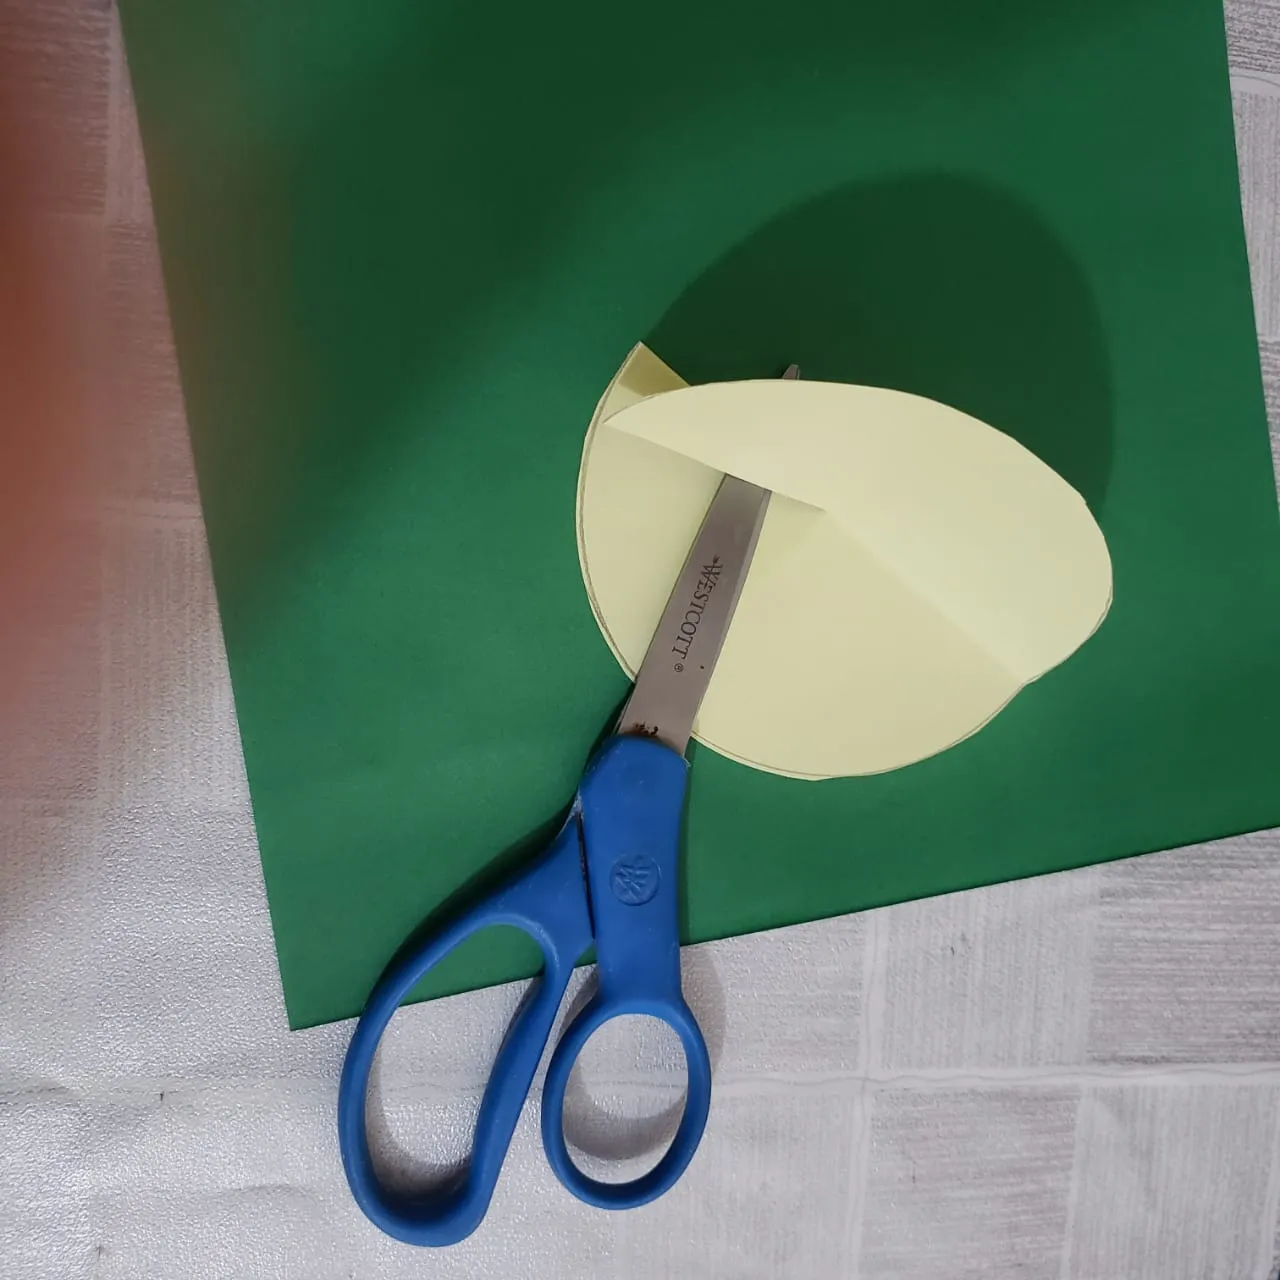
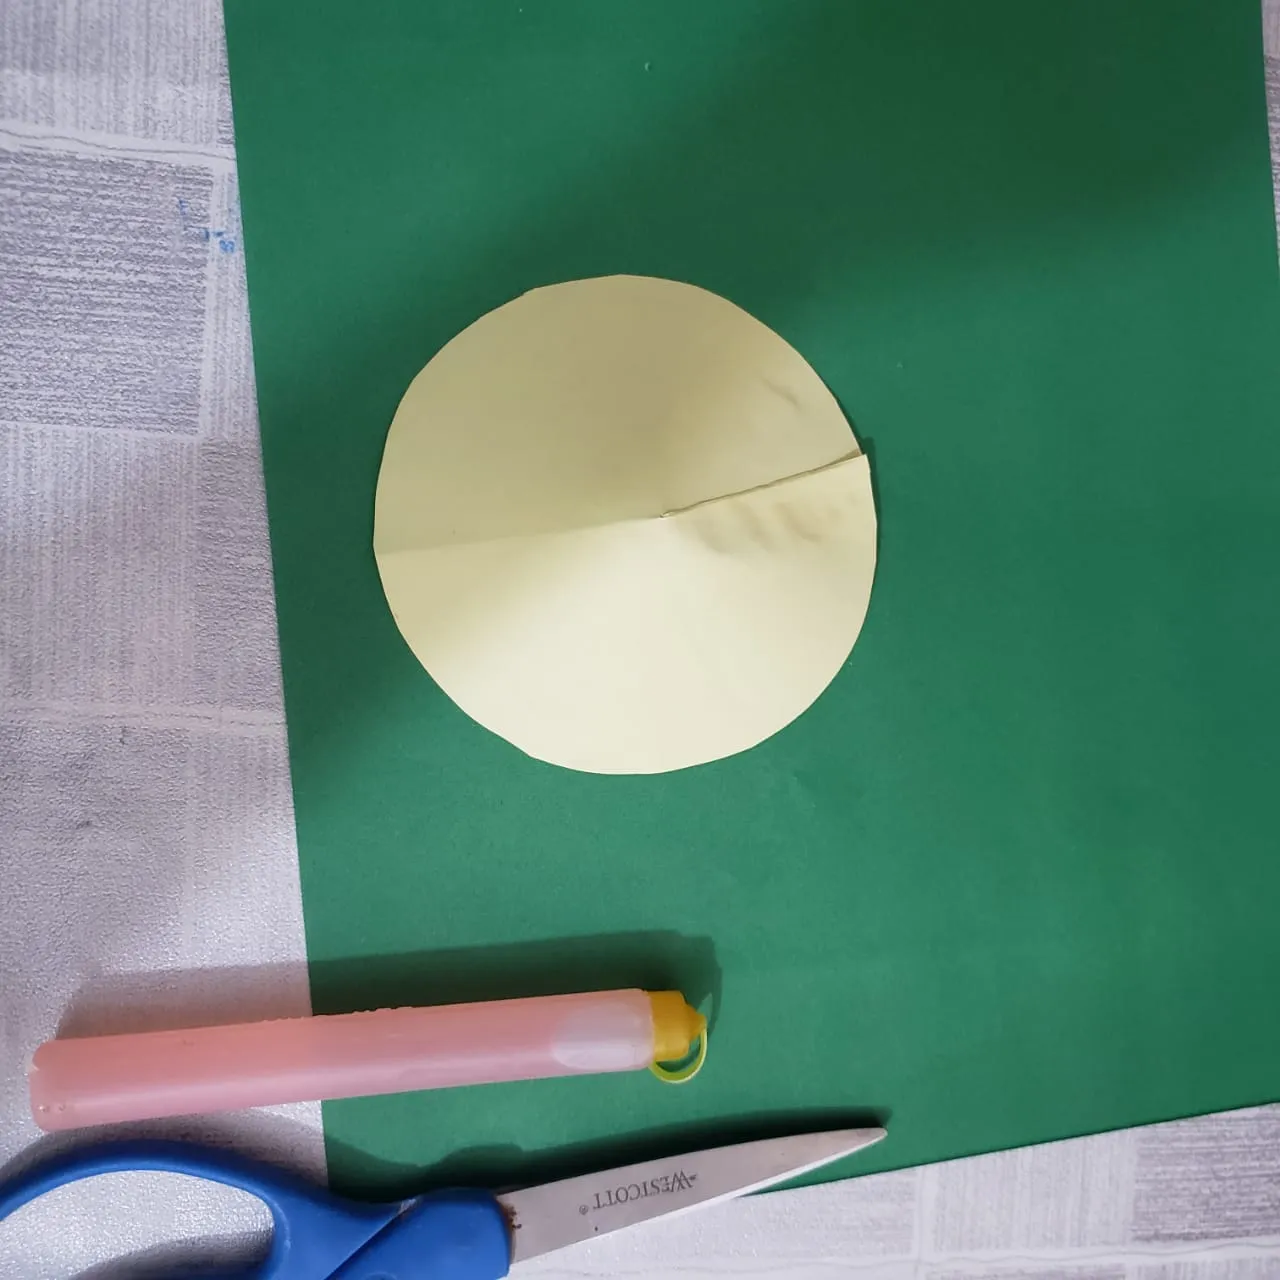
Then, where I made the cut, I attached it to the paper with a bit of glue and it looked like this.
Following the same procedure I cut a small circle of green paper and then I cut and glued it to the paper.
Then I made four turtle feet and a second one in which I cut the feet in a sequence, for this I first folded the paper into four folds and then cut it easily.

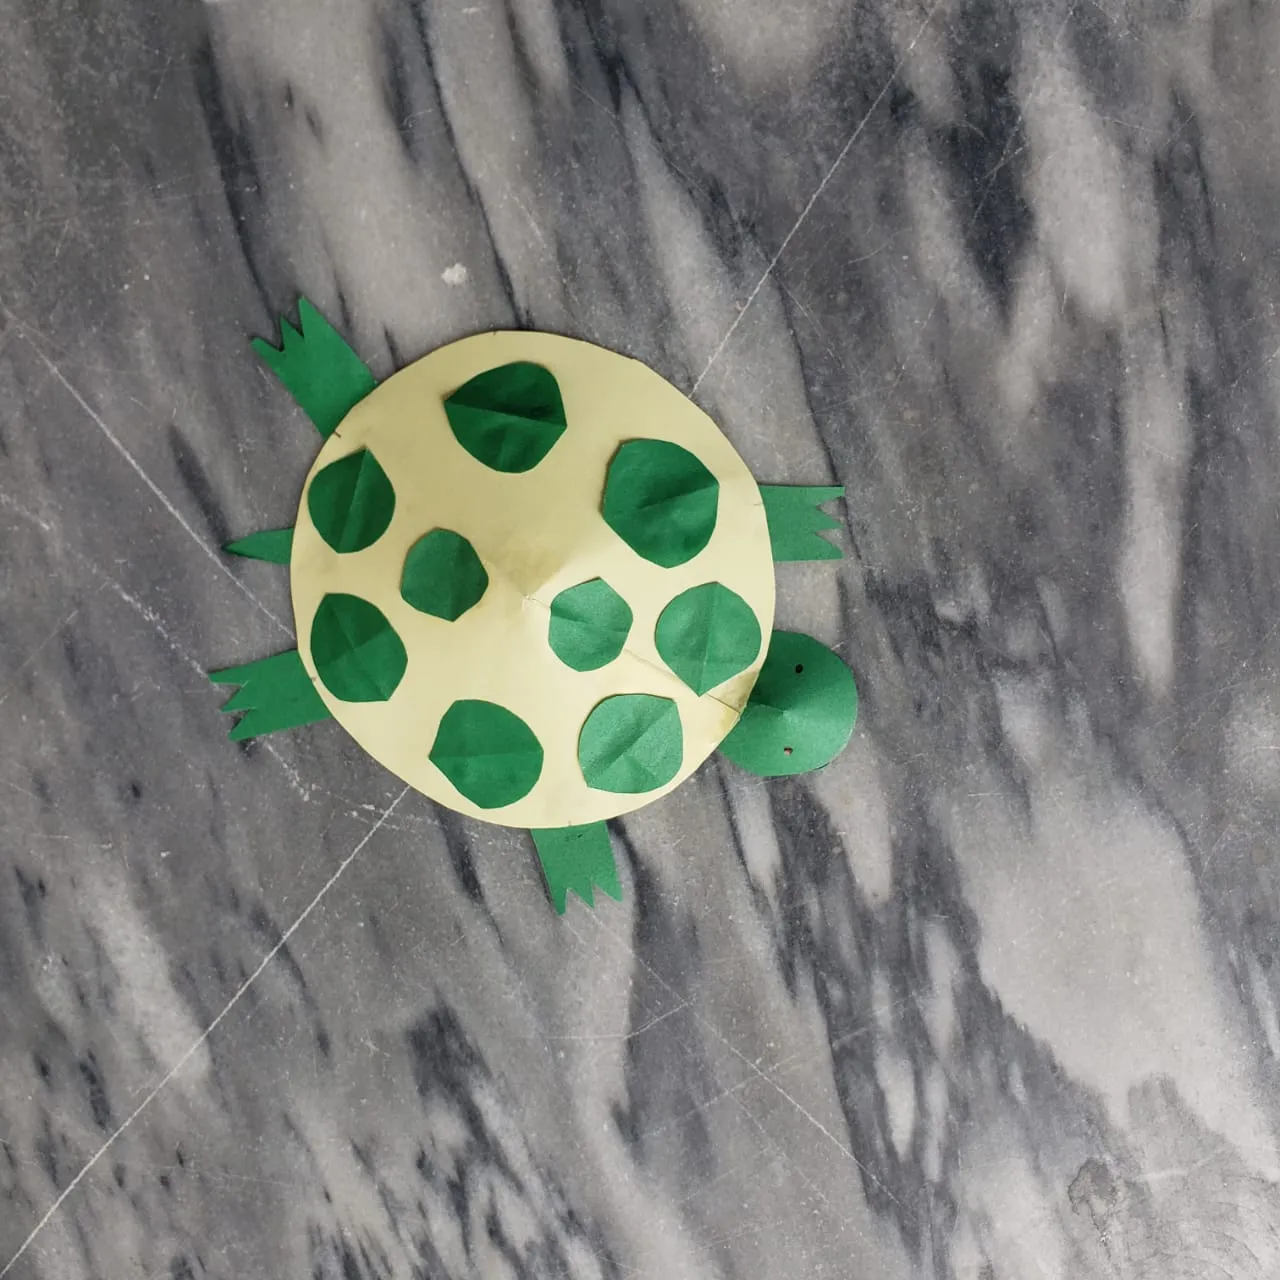
Then for the turtle's shell on top of his back I cut out some pieces of green paper that will represent the spots on his body.

Now with the help of glue I started attaching these pieces one by one to the turtle's back
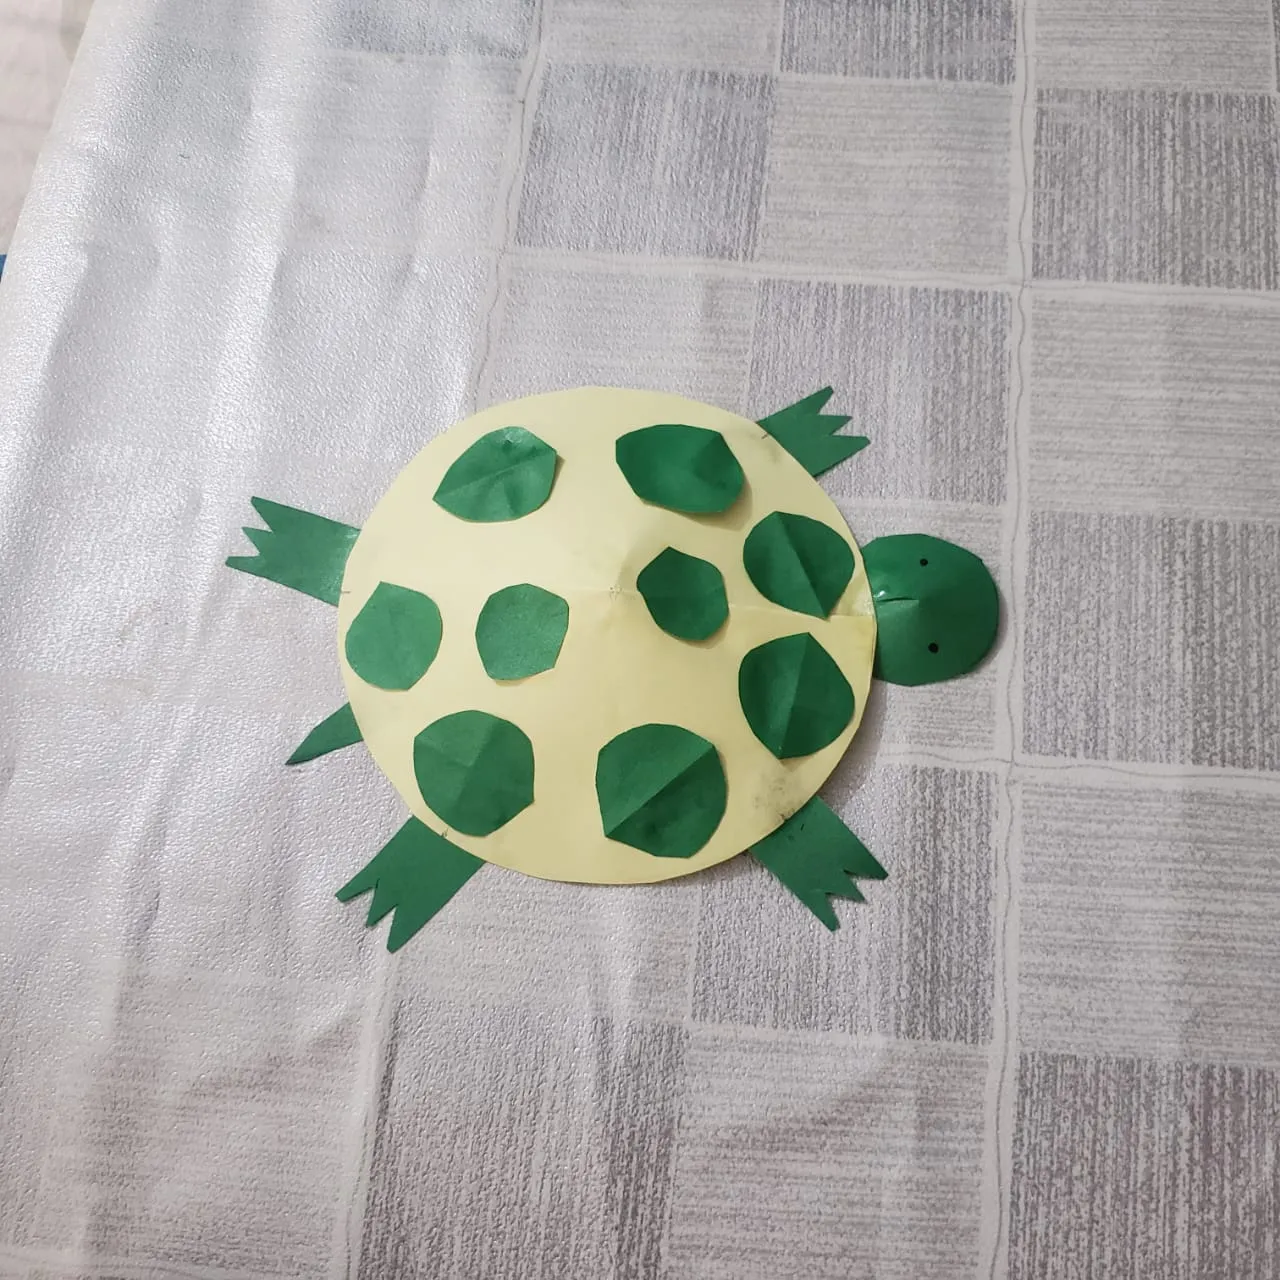
When it was done, I joined the rest of the parts one by one and now it is finished and it is in front of you.
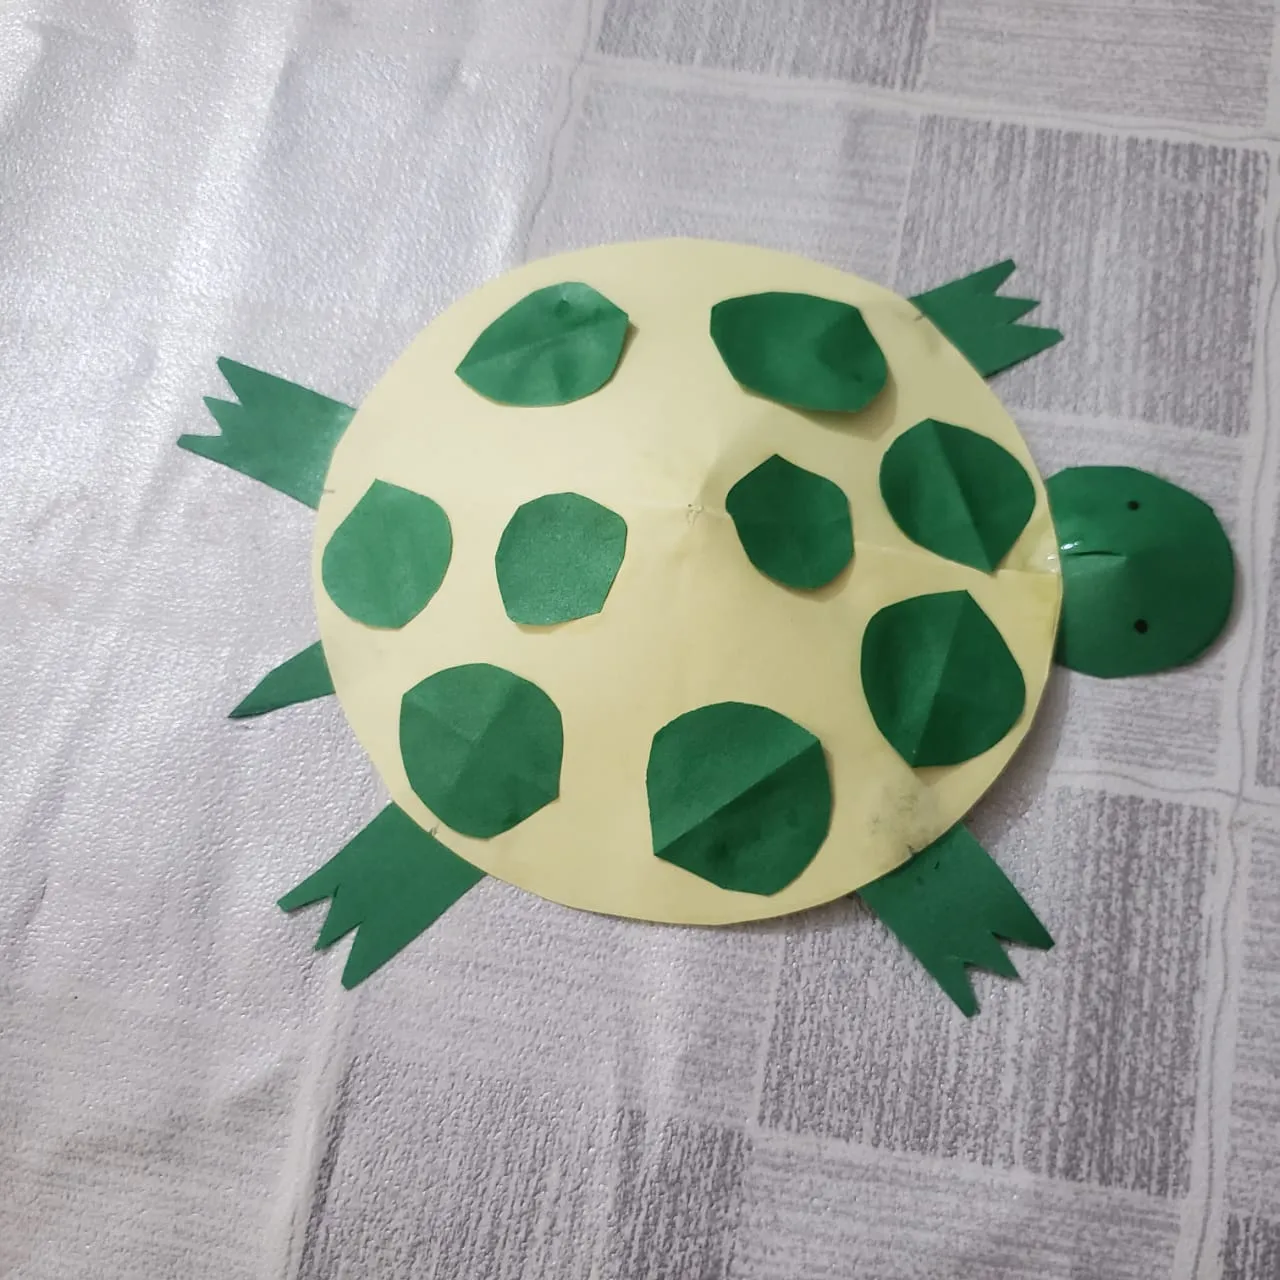
This turtle has become a new member of our household and is walking across our floor as her own this house 🤣
Tell me in comment section how is it looking do you love turtles.. isn't it beautiful??