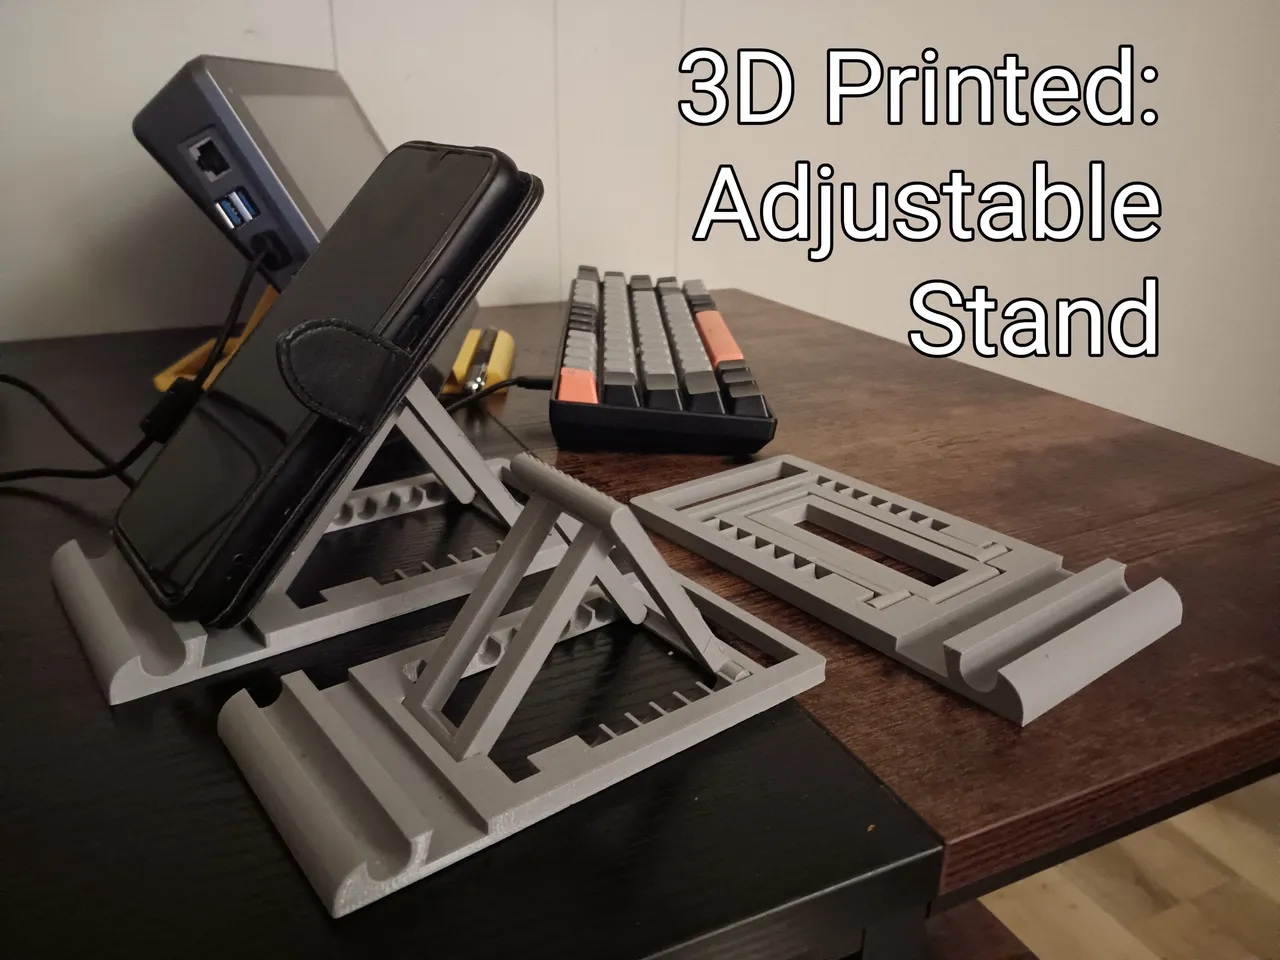
I was having trouble adjusting my wedge PC to a proper viewing angle, it needed an adjustable stand - 3D printer to the rescue.
The 3D Printer
I'm using the FlashForge CreatorPro 3D printer, and the FlashPrint software for preparing the printer file - check out this previous hive post for more details about the 3D printer and software.
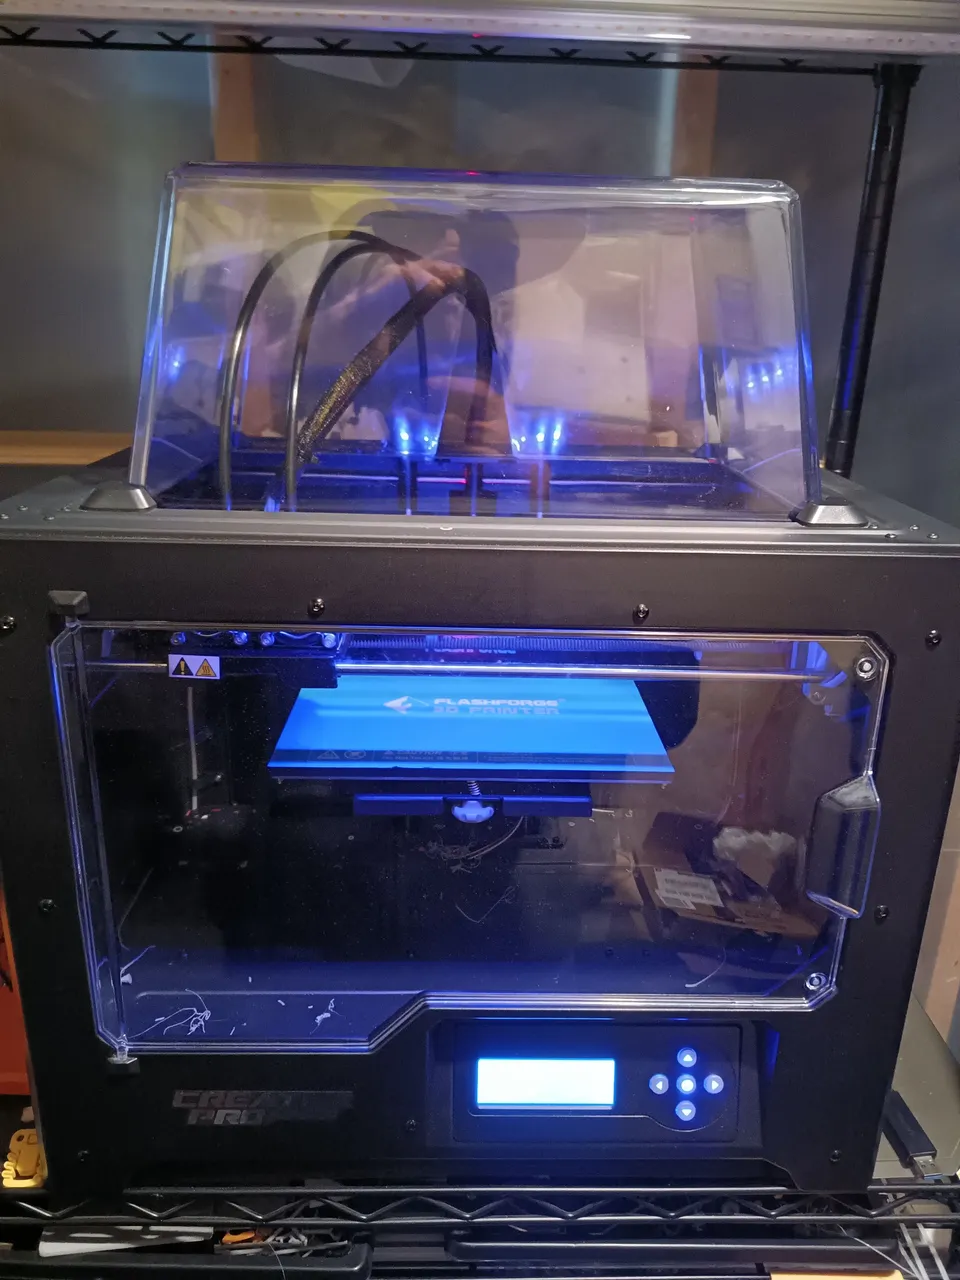
I've been using grey PLA filament, before this print job I'm switching to the yellow PLA. PLA is a little more durable than ABS filament - they actually have a filament with metal infused into, it for an even more durable product.
 |  |
|---|
Design Download
ThingiVerse.com is one of my favorite we sites for 3D printer designs - a free site with many contributing members. It didn't take much searching for good adjustable stand design - it has a slot for holding a pen or stylus, adjustable to many viewing angles. The size of this object can be adjusted, in the software, to for phones, tablets, or picture frames.
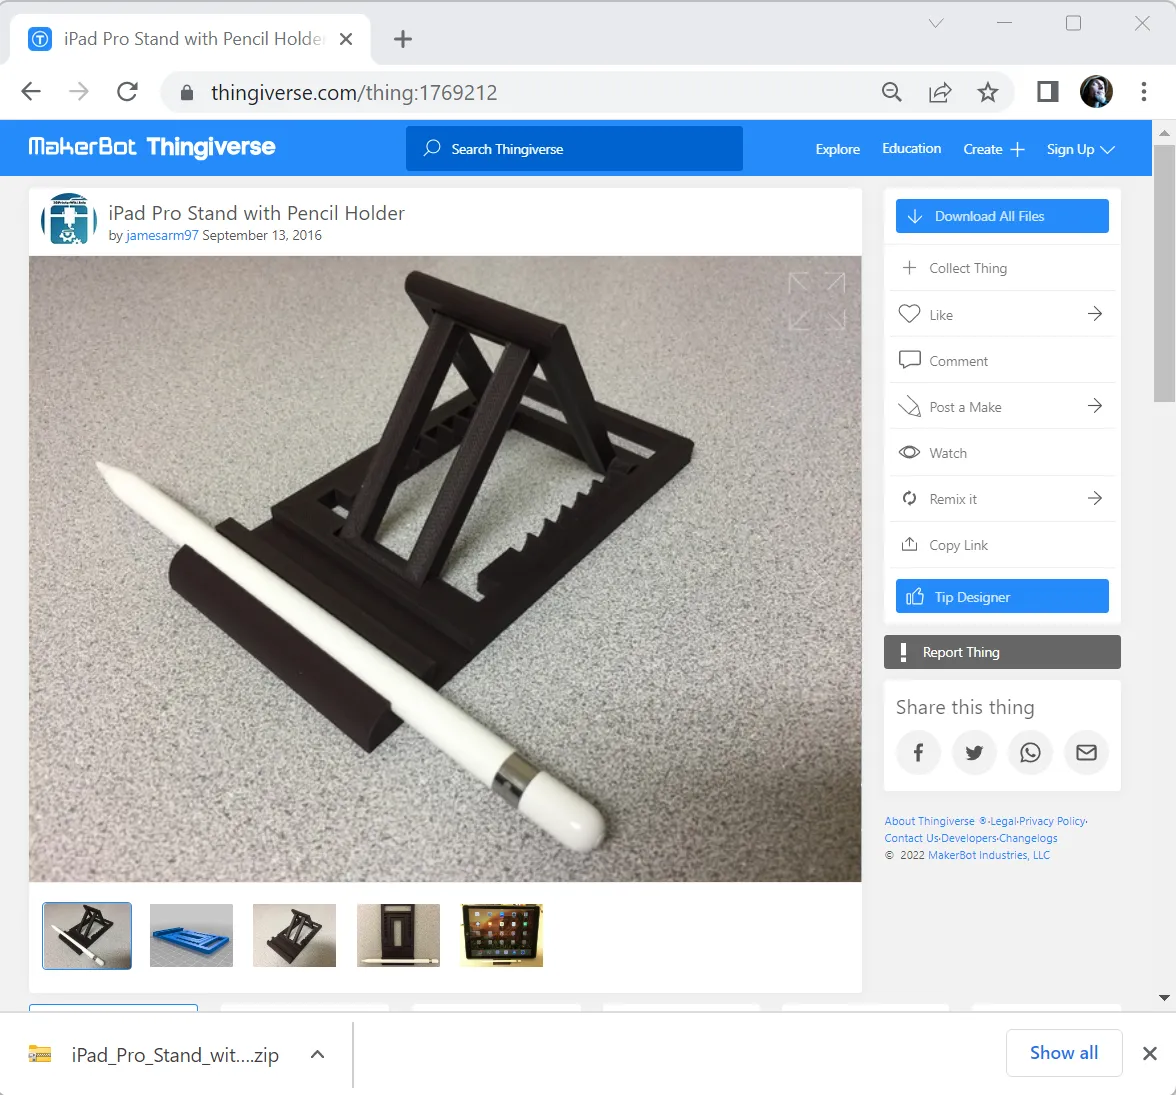
After clicking 'Download All Files', I uncompressed the downloaded .zip files, then opened the 'files' folder.
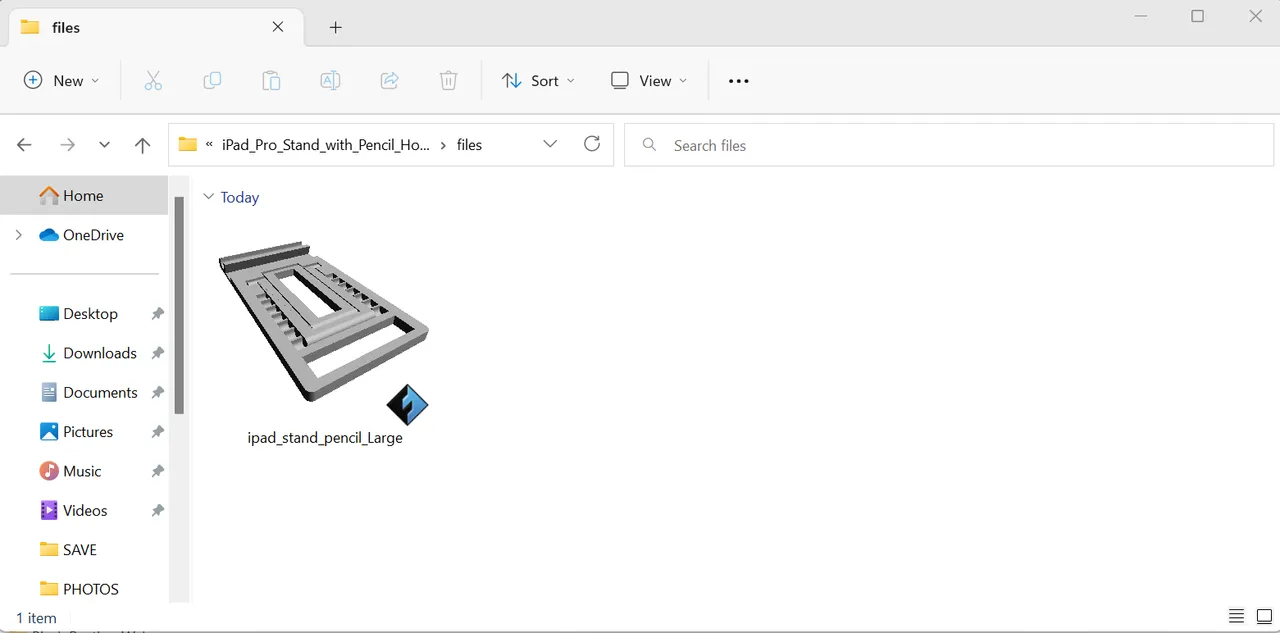
There is the one-piece design file called ipad_stand_pencil_Large.stl - this file is double-clicked to open it into the FlashPrint software.
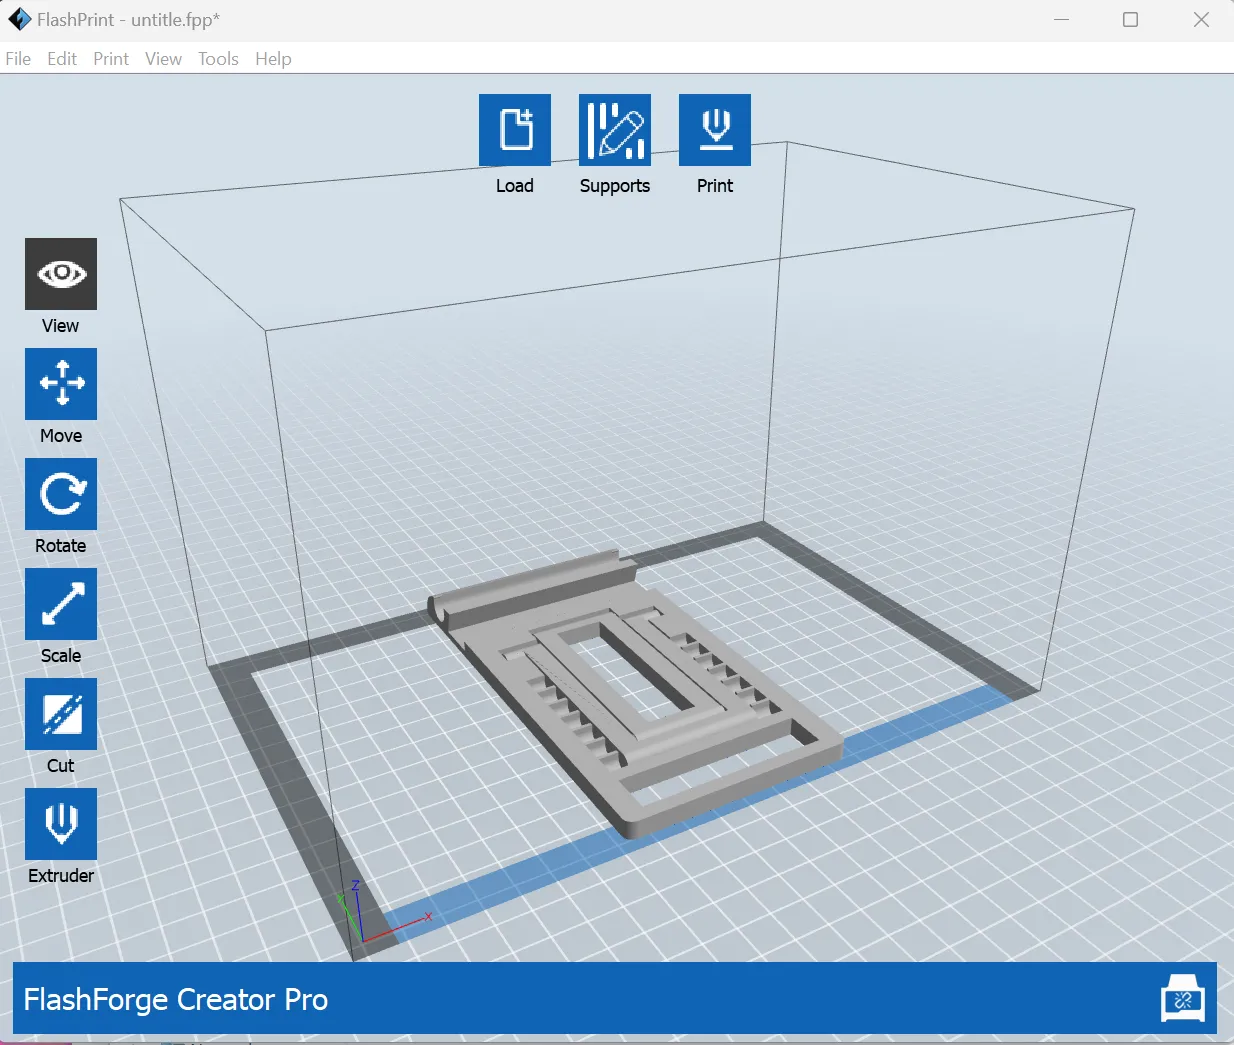
FlashPrint software
FlashPrint is used to prepare the print file for the 3D printer. That's a tight fit, I'll rotate this object to give it more room for enlarging.
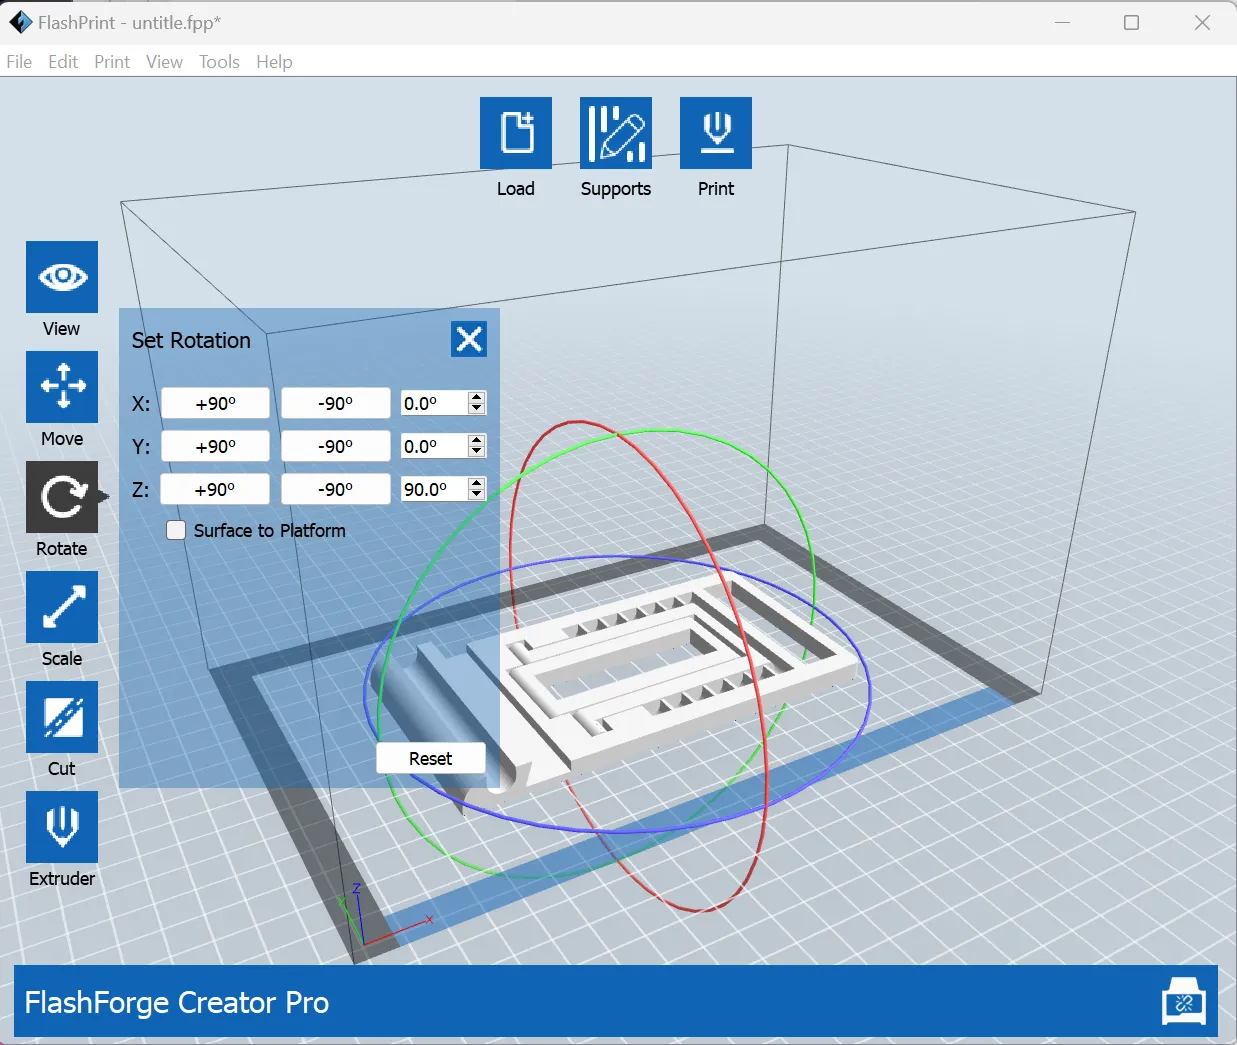
The object is clicked on, then the Rotate button is pressed - the rotate window opens. After entering 90 degrees for the Z plane rotation, I Tab out of the field for the changes to take effect.
 |  |
|---|
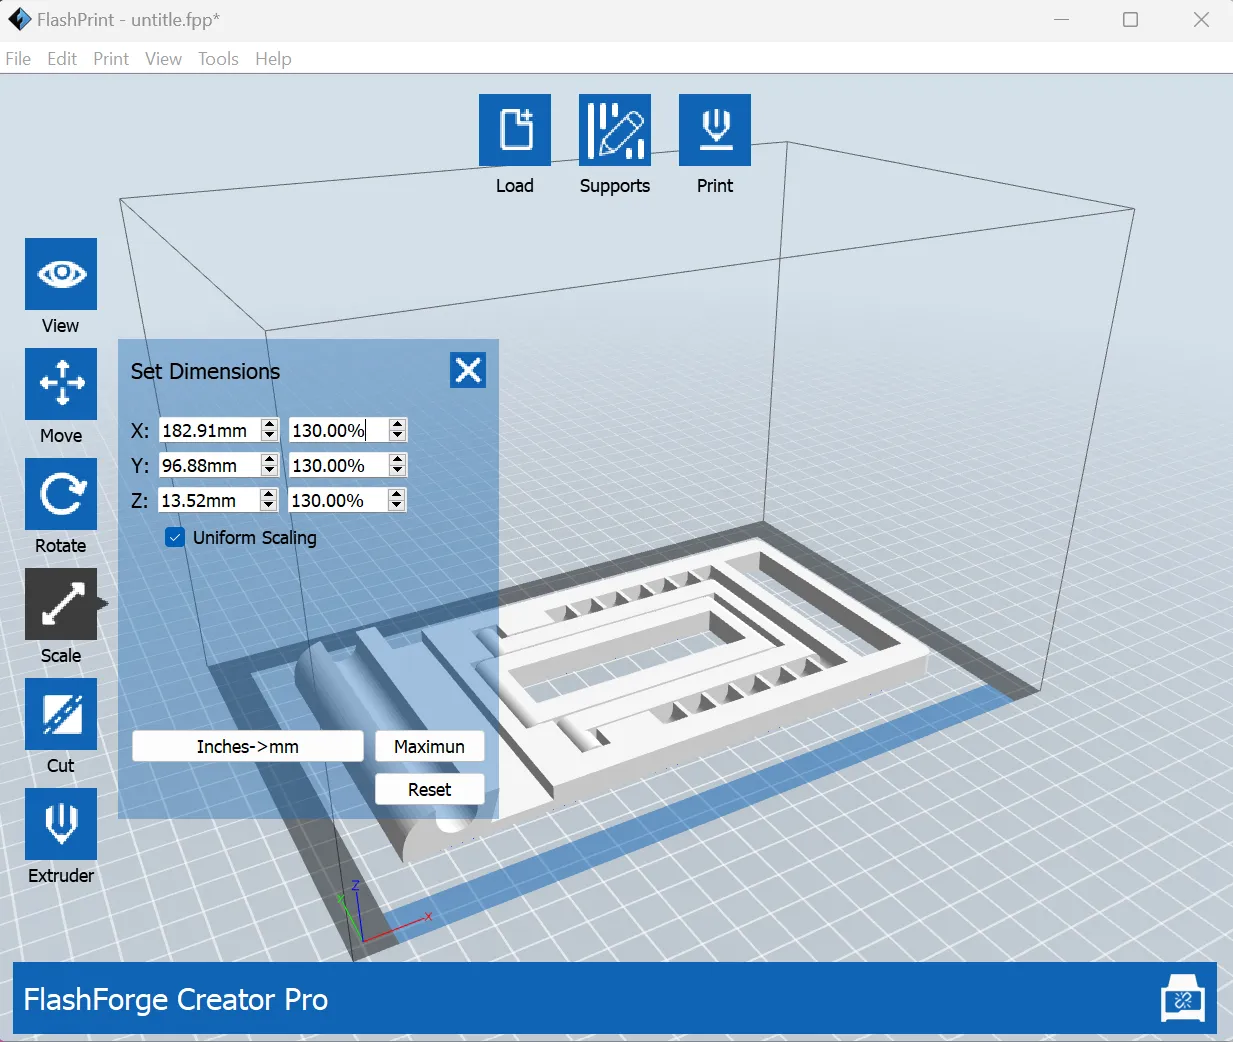
Next the 'Scaling' button is pressed, the 'Uniform Scaling' is checked so when I enter 130% into any of the fields, then Tab out, they all change to 130% - and the object enlarges.
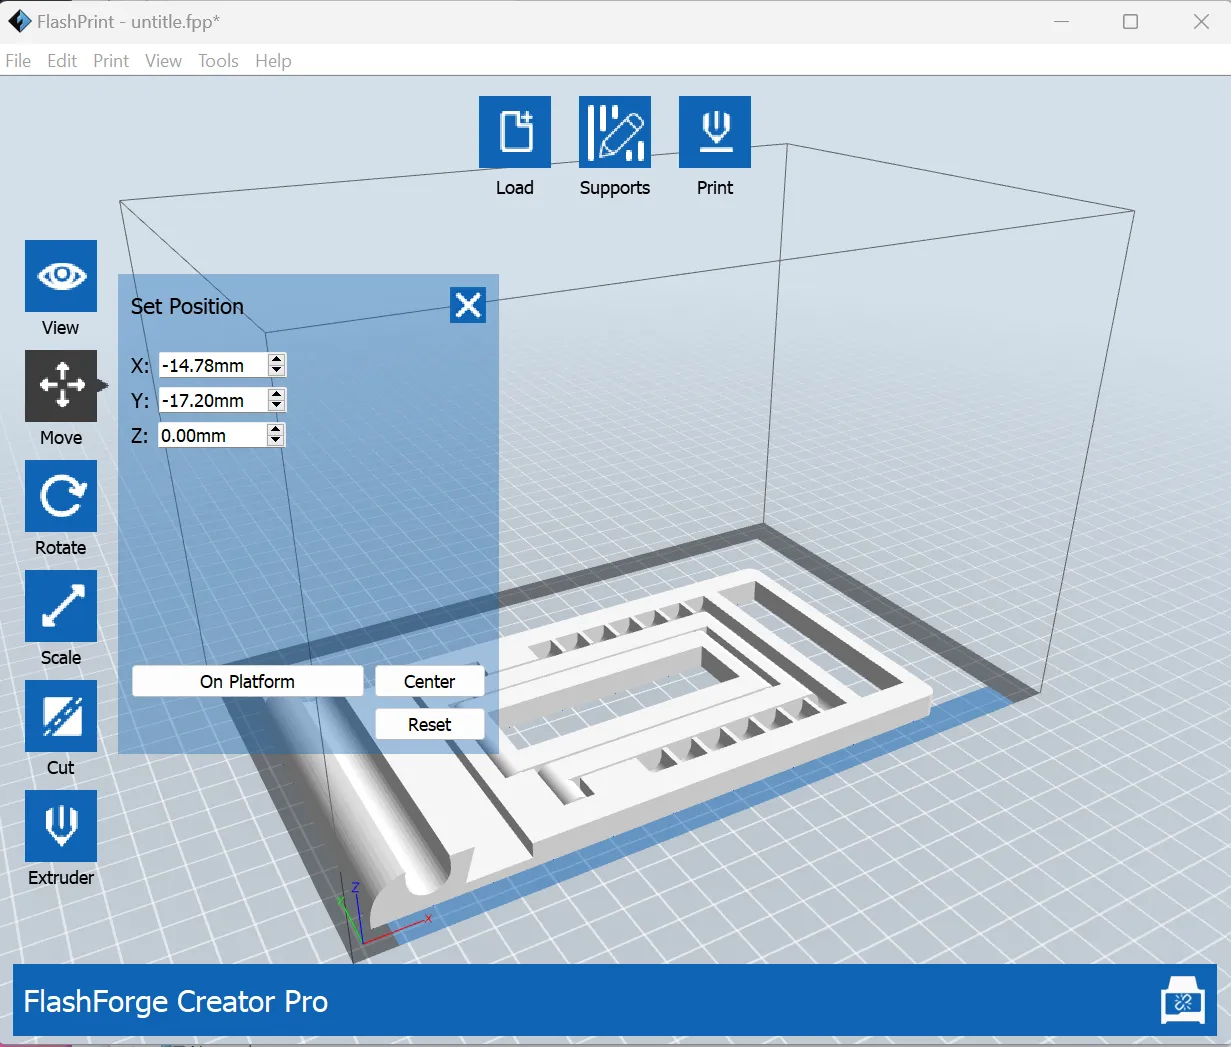
As seen above I click the 'Move' button then click and move.tge object to the front-left position of the print platform.
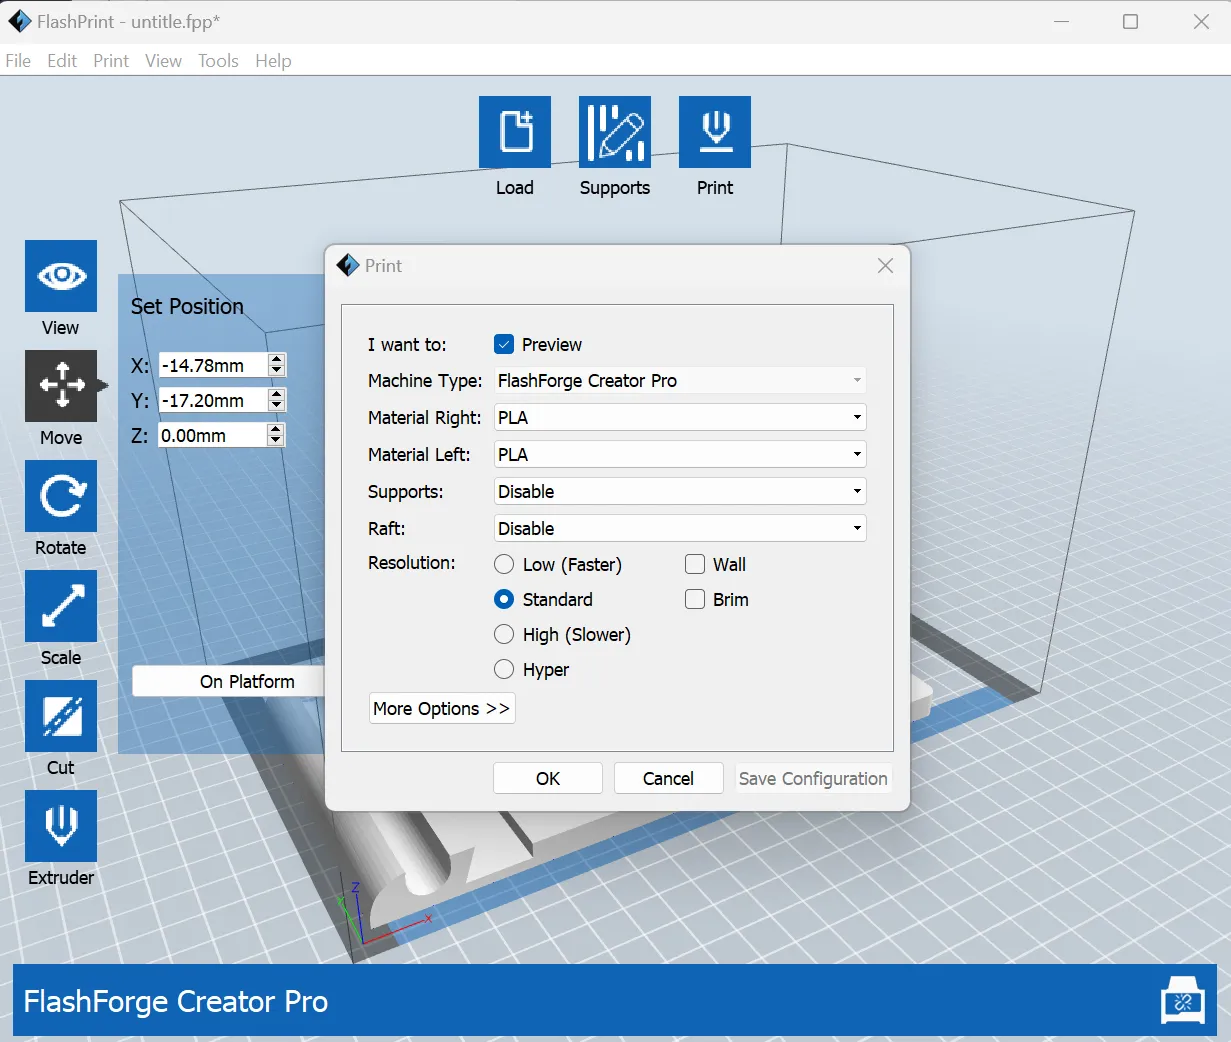
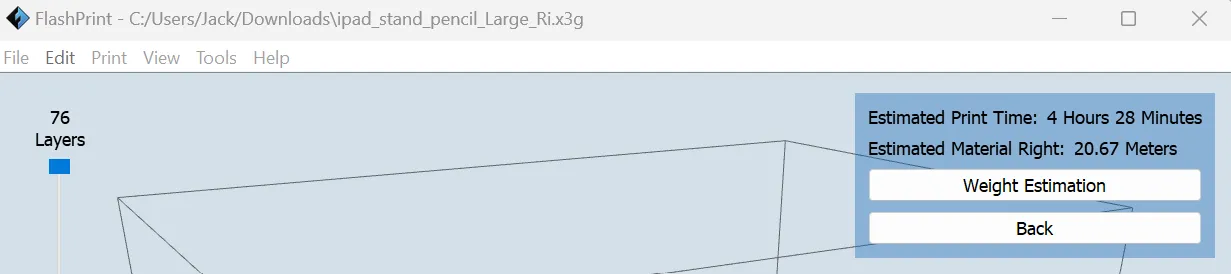
The 'Print' button at the top is clicked, 'PLA' type filament is selected, no supports, the 'OK' button is pressed to save the print file. The file has a .x3g extension, this file is ready to be loaded into the 3D printer.
Copy Printer file to SDCard
The file is copied to a SDCard, the SDCard is inserted into the 3D printer.
 |  |
|---|
3D Printer Preheat
To start the print job, 'Print from SDCard', then the file is selected, then the 'OK' button is pressed to start the job.
 |  |
|---|
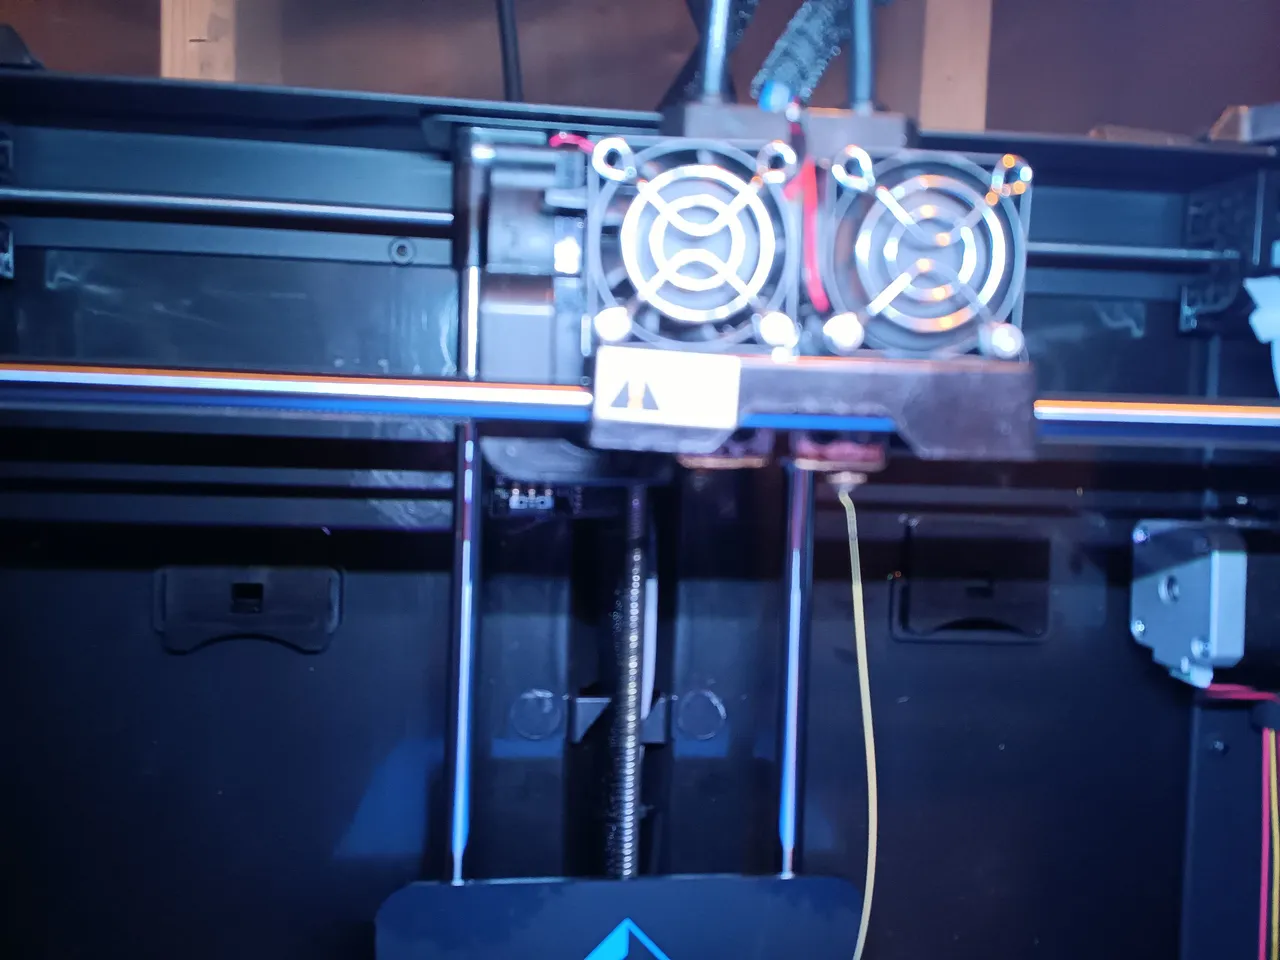
The printer head and printing platform preheat - 200 degrees Celsius for the print head for PLA extrusion, 50 degrees Celsius for the platform.
3D Printing
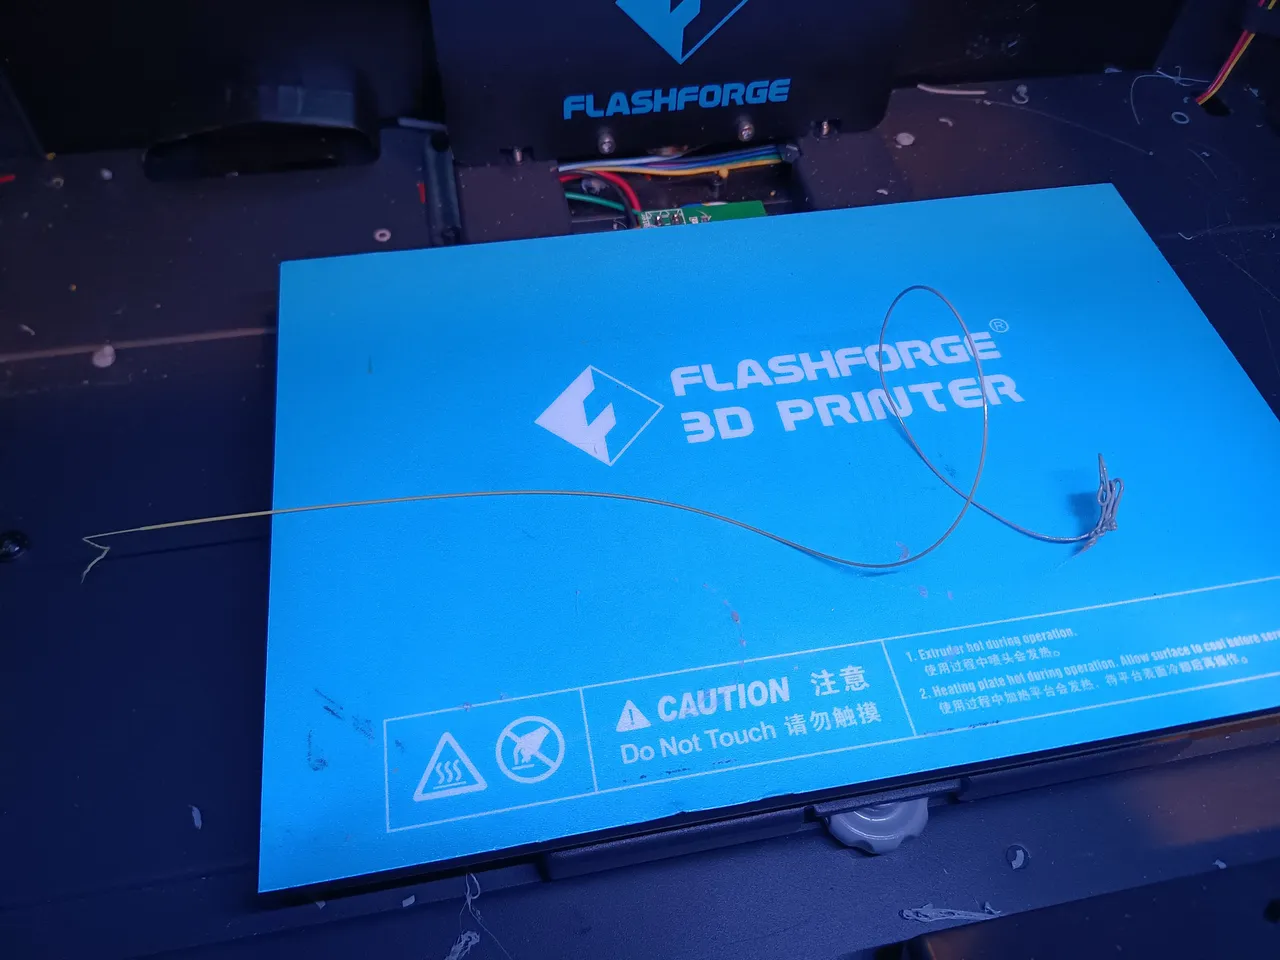
The print platform moves up to the print head, then the print head moves left and right, forward and back, while the print head extrudes the filament.
 |  |
|---|
The print platform moves down slightly after each layer until the object is complete.
 |  |
|---|
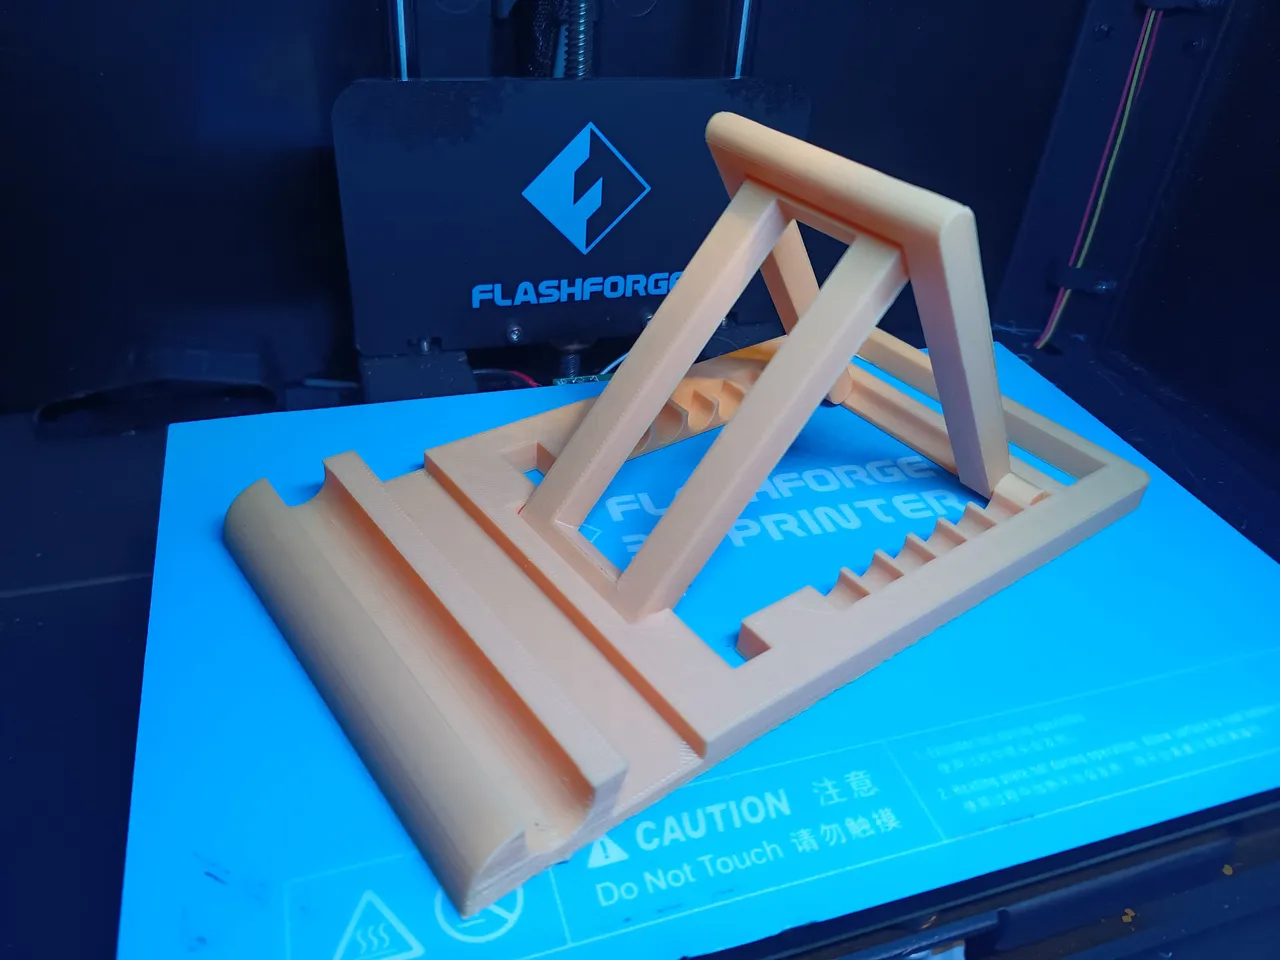
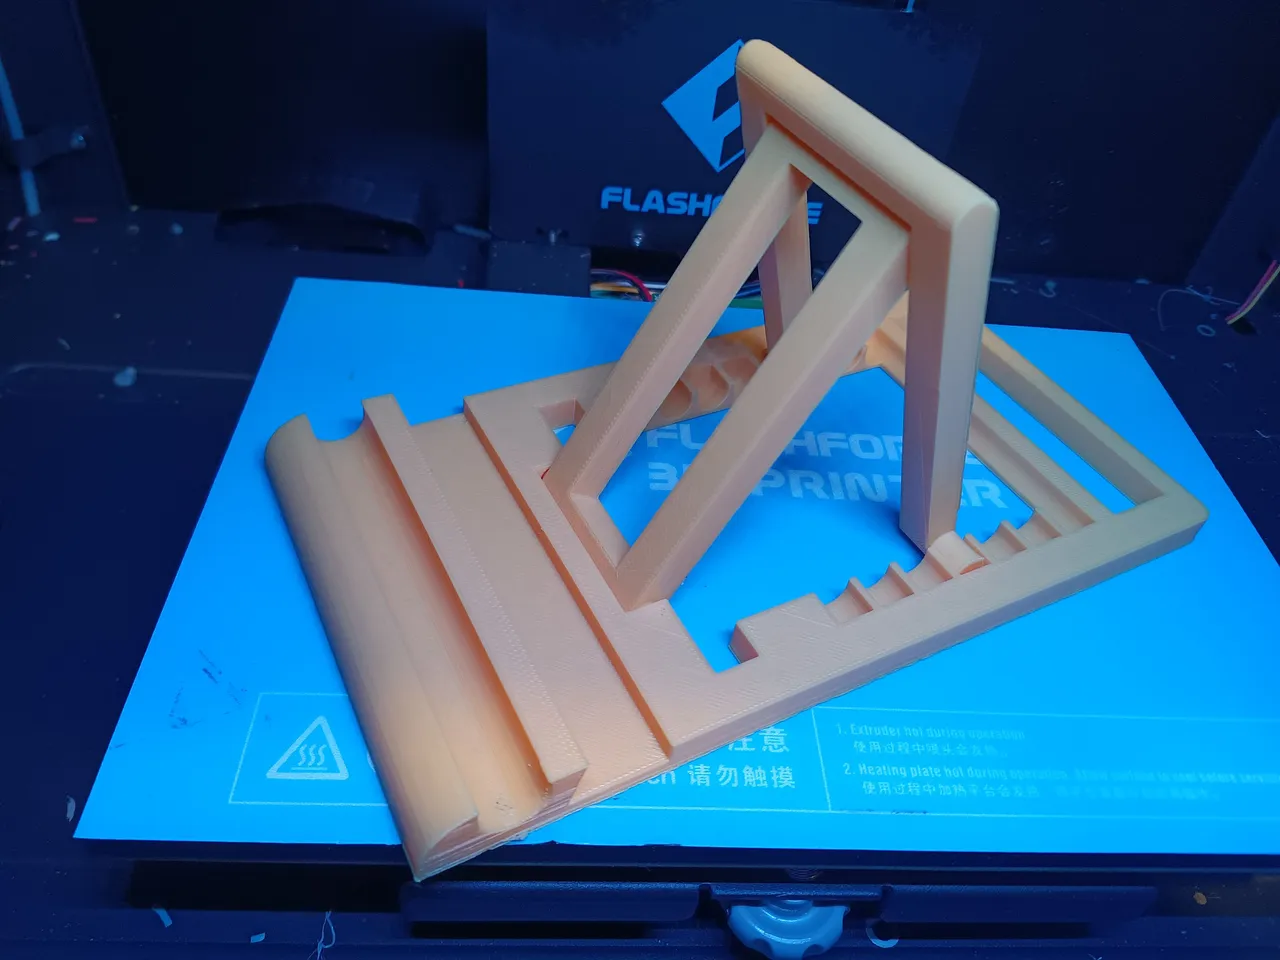
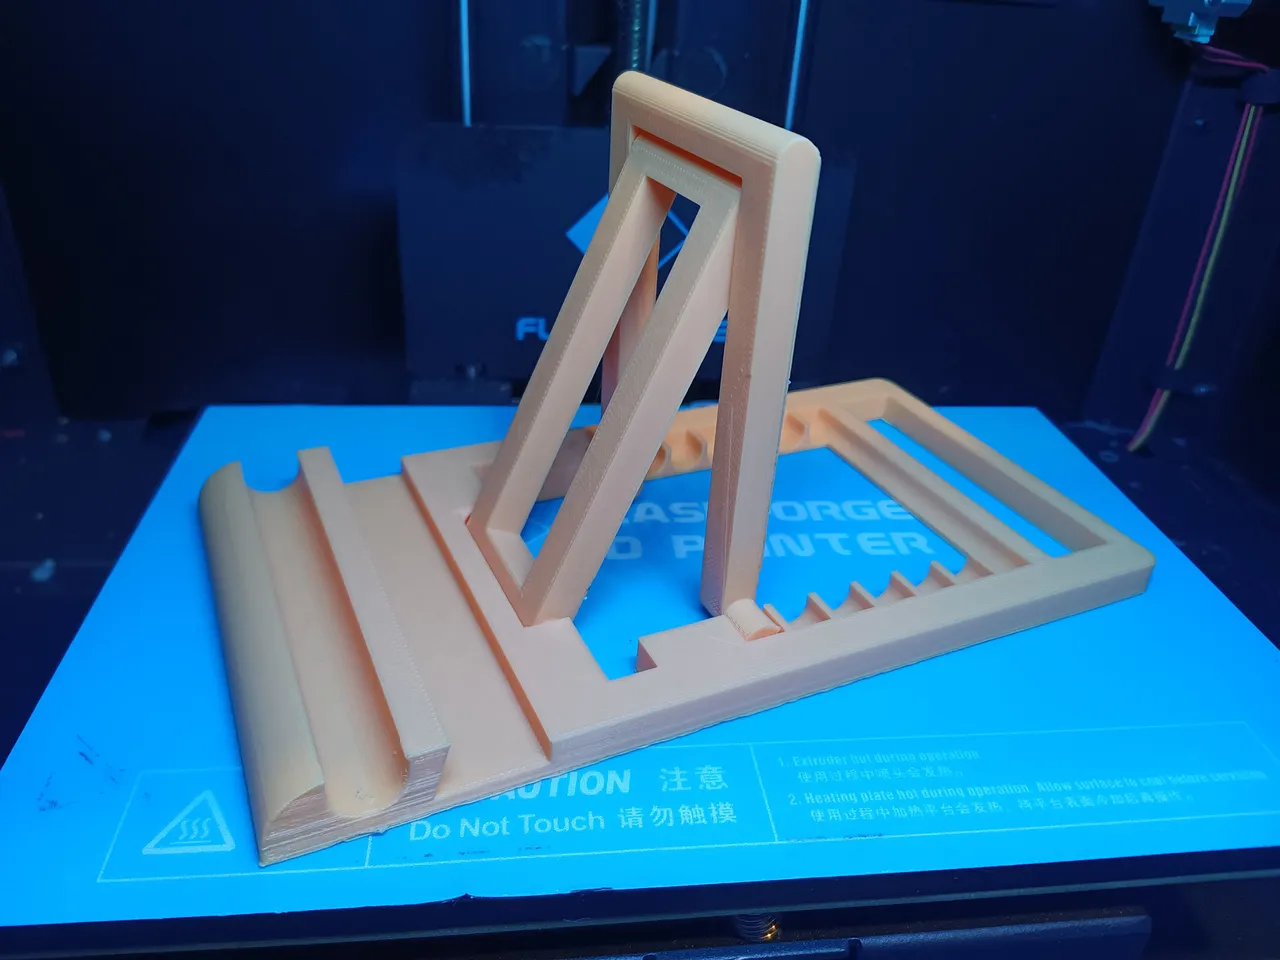
Printing Complete
 | 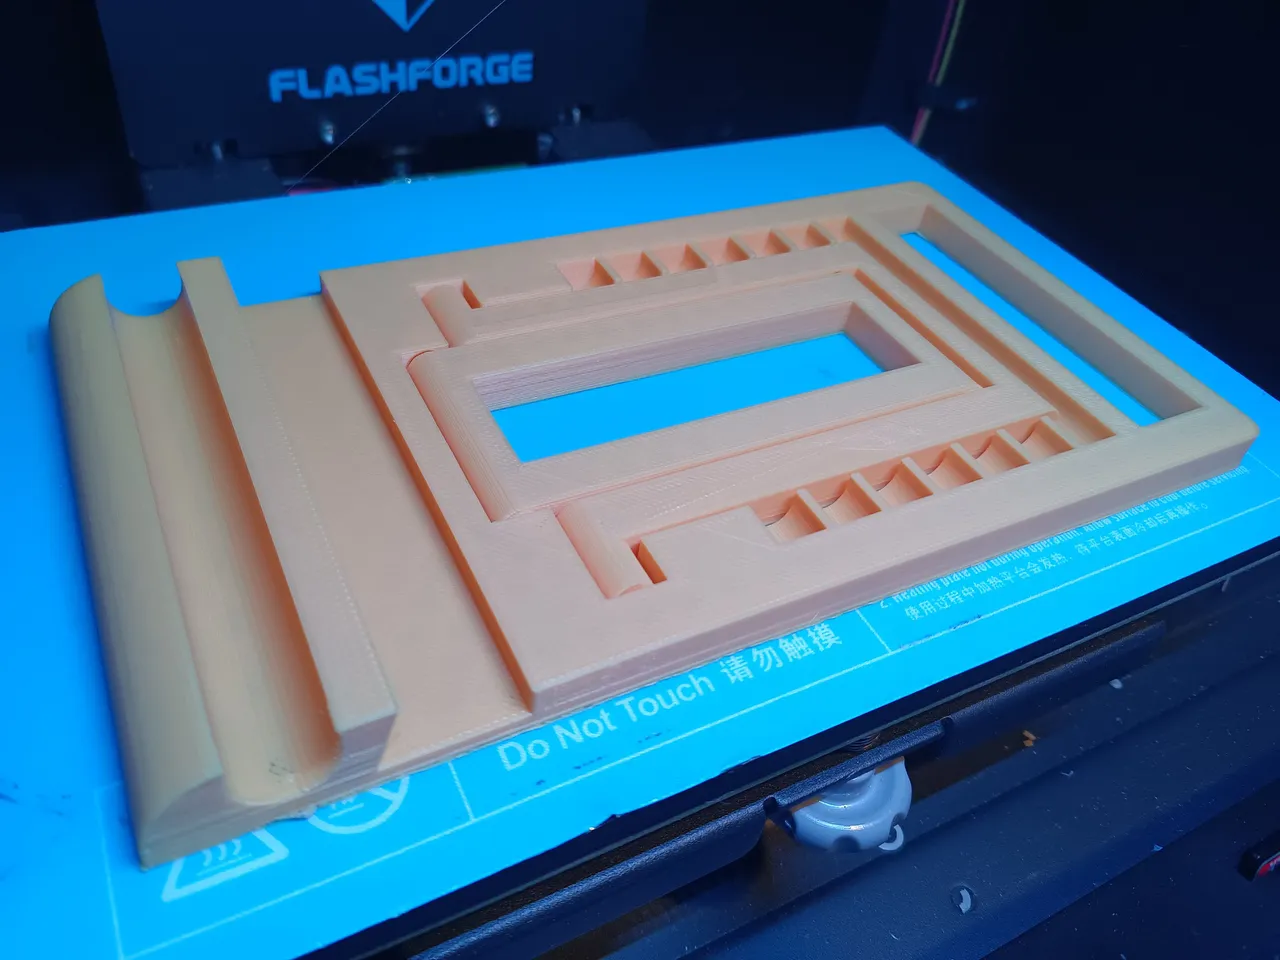 |
|---|
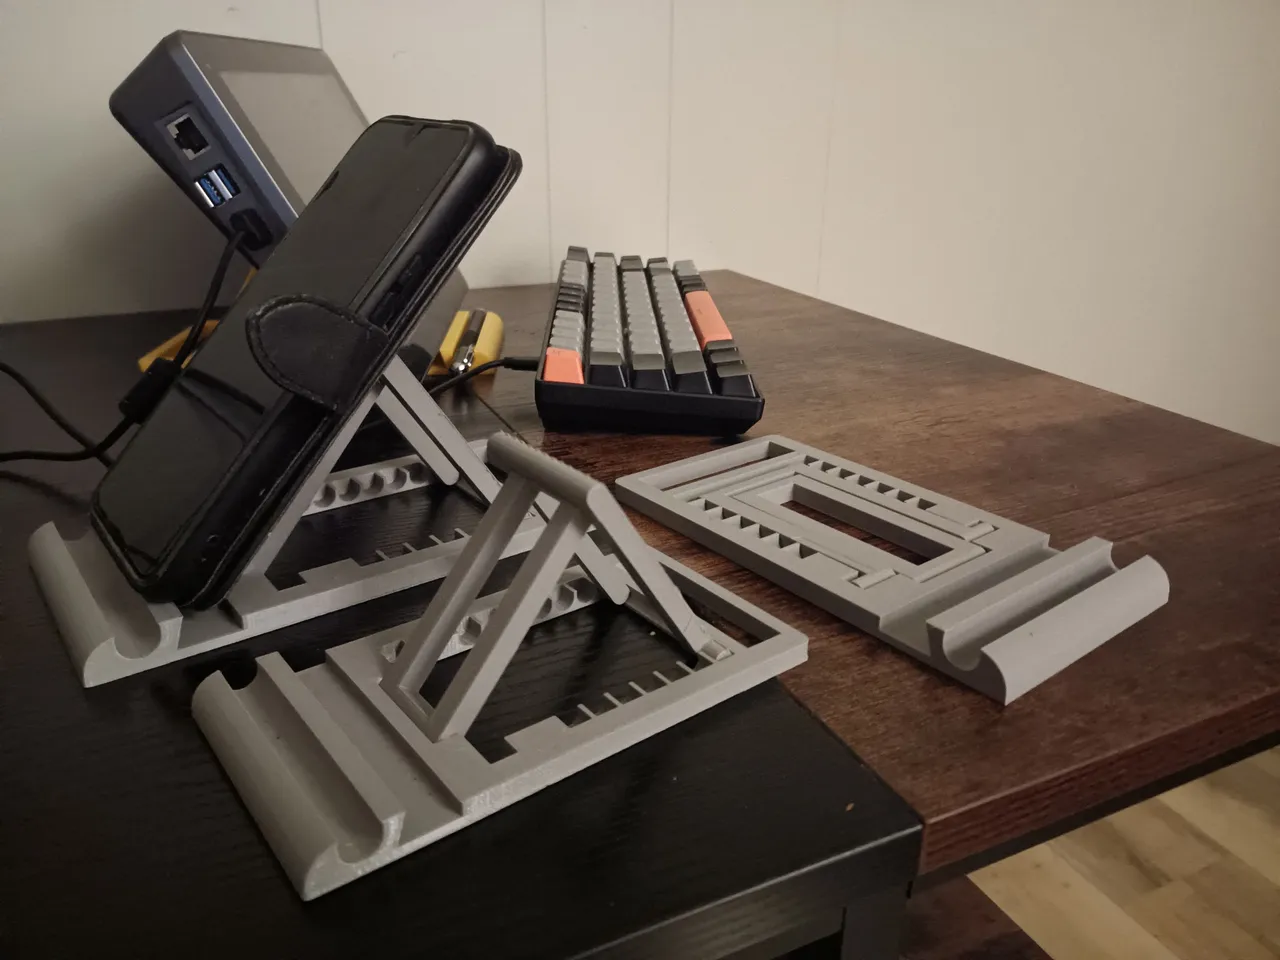
After carefully peeling the printed adjustable stand off the table, the printed-in-place hinges quickly loosen.
It's amazing how the hinges can be printed in one piece like that. You can see a few of the adjustable stand angles below.
 |  |  |
|---|
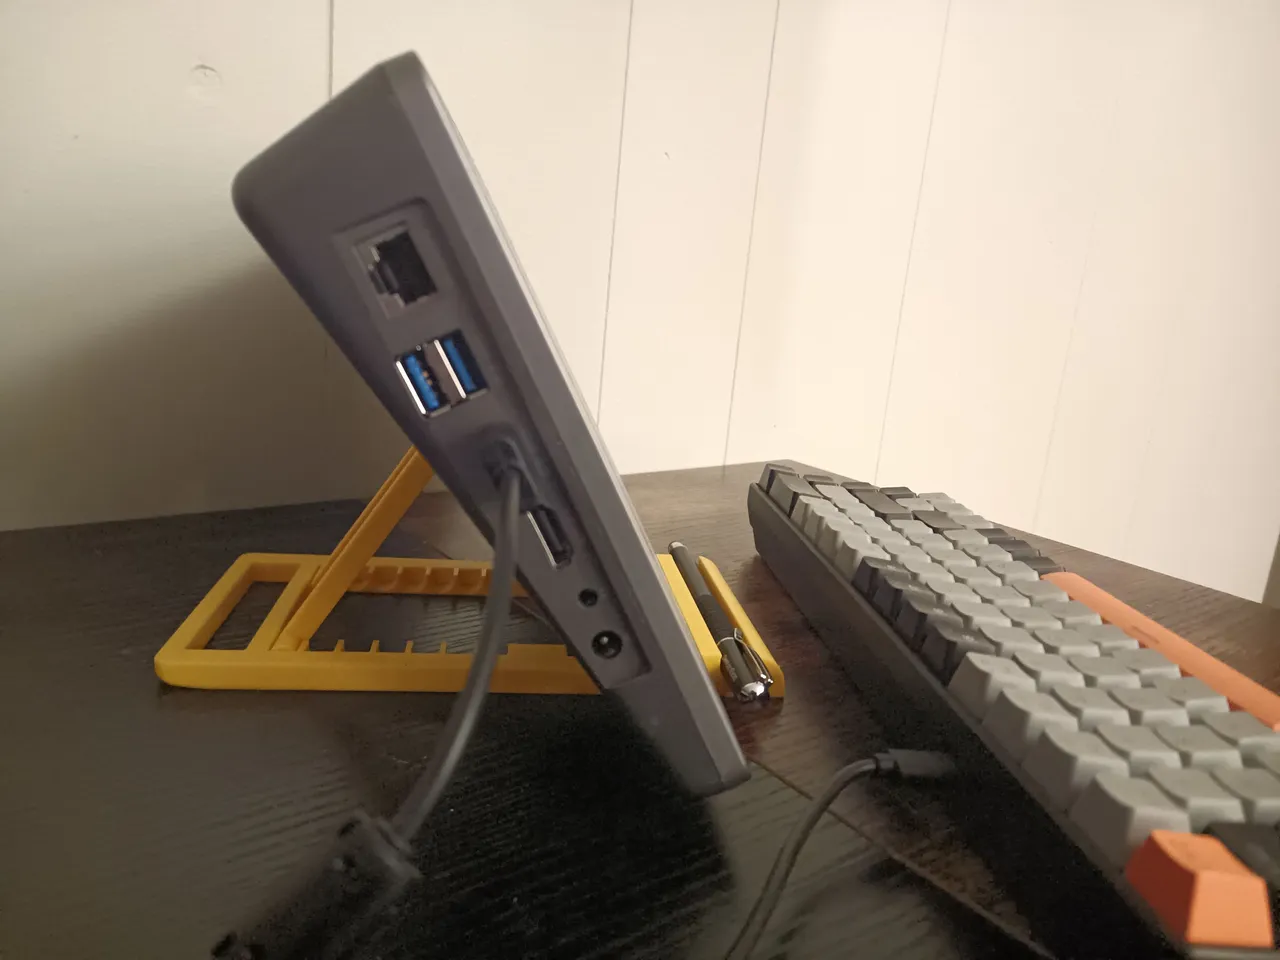
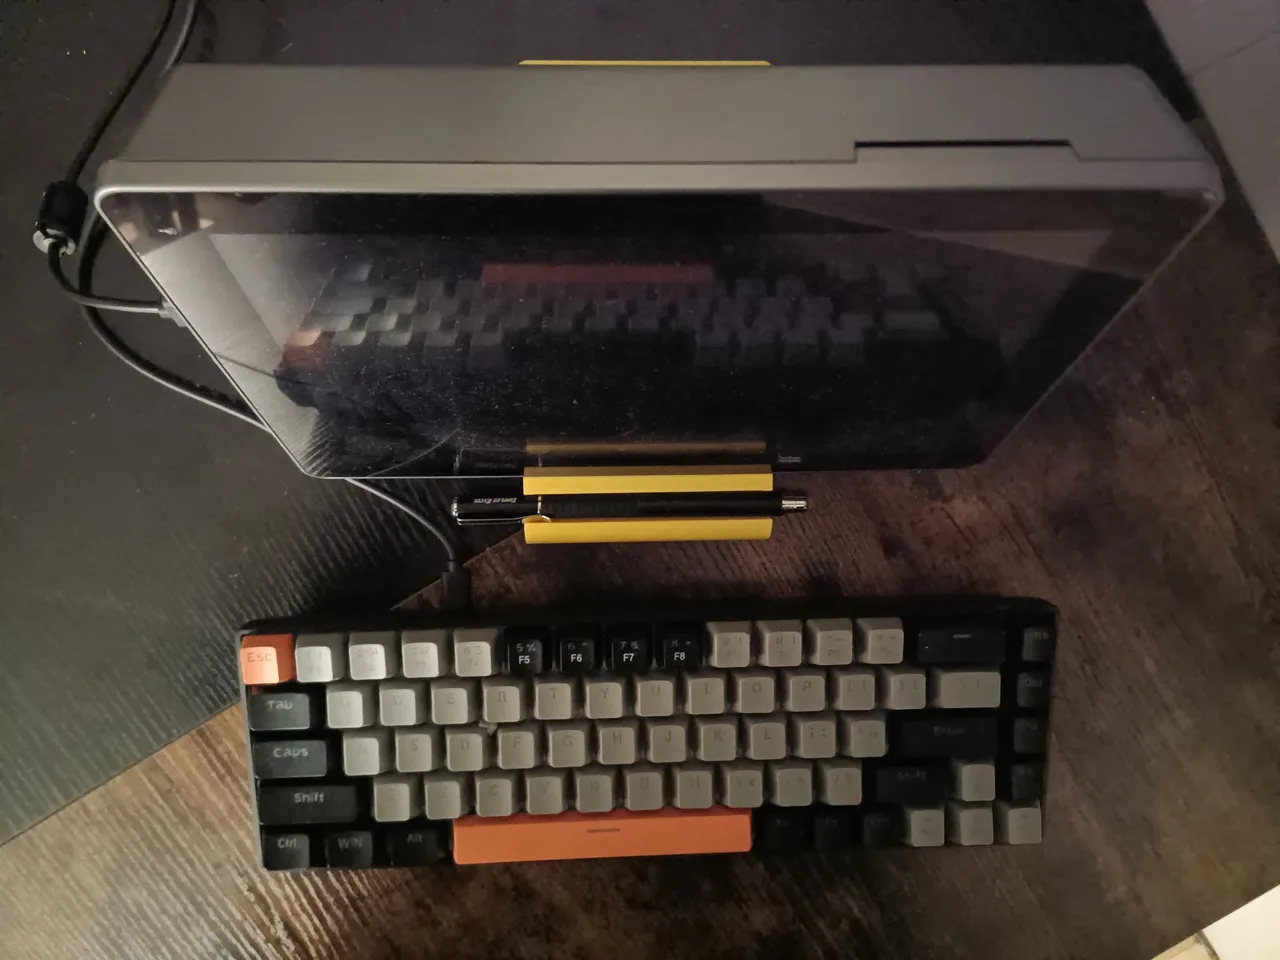
Tablet Stand Testing
The 130% upscaled stand is a perfect fit for the wedge tablet, and it fits the stylus well. I'll have to print another one in orange to match the keyboard.
 |  |
|---|
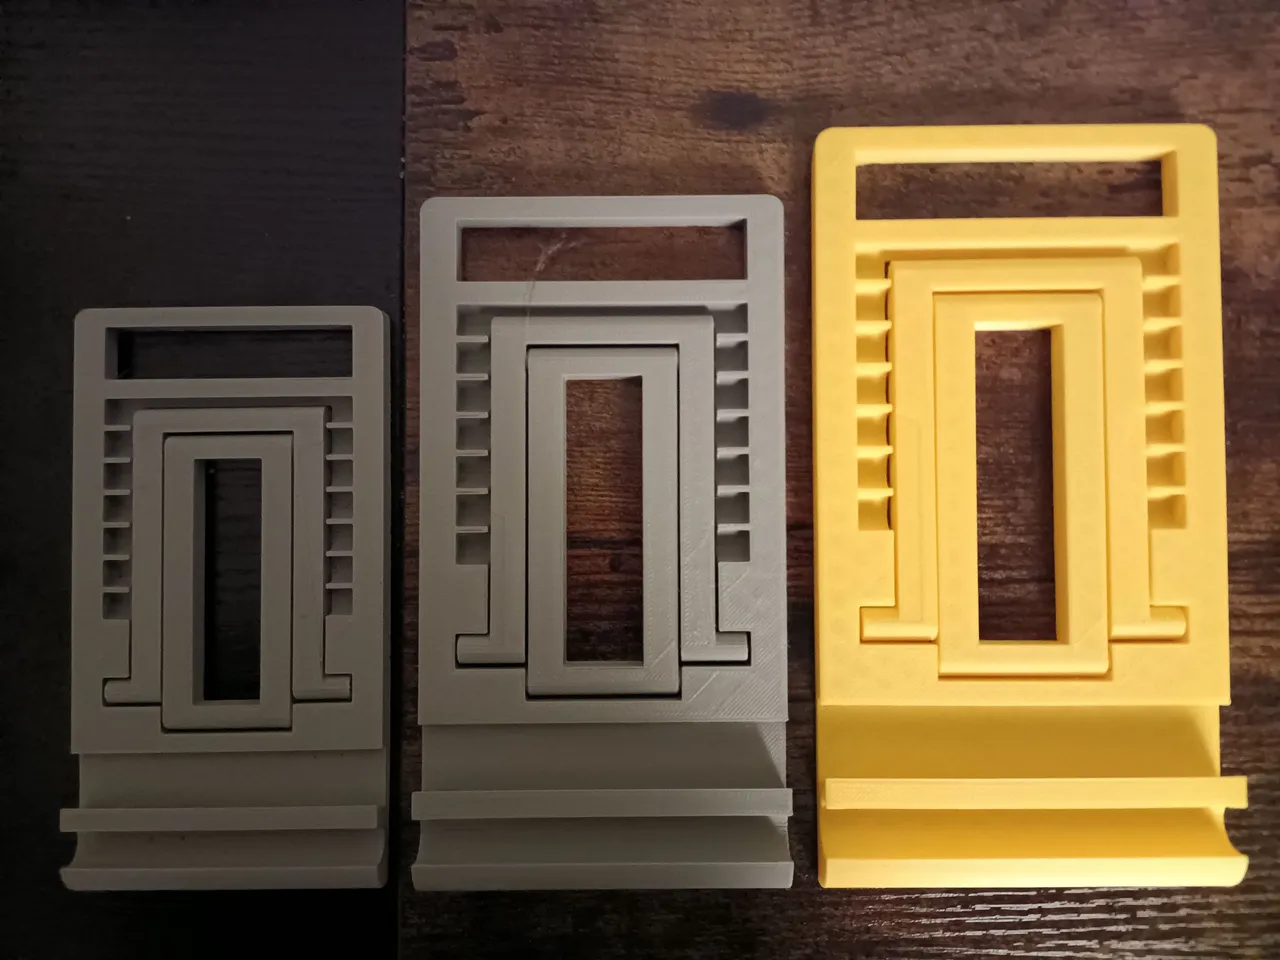
I've printed a variety of scaled sizes for various devices, locations, and uses.
 |  |
|---|