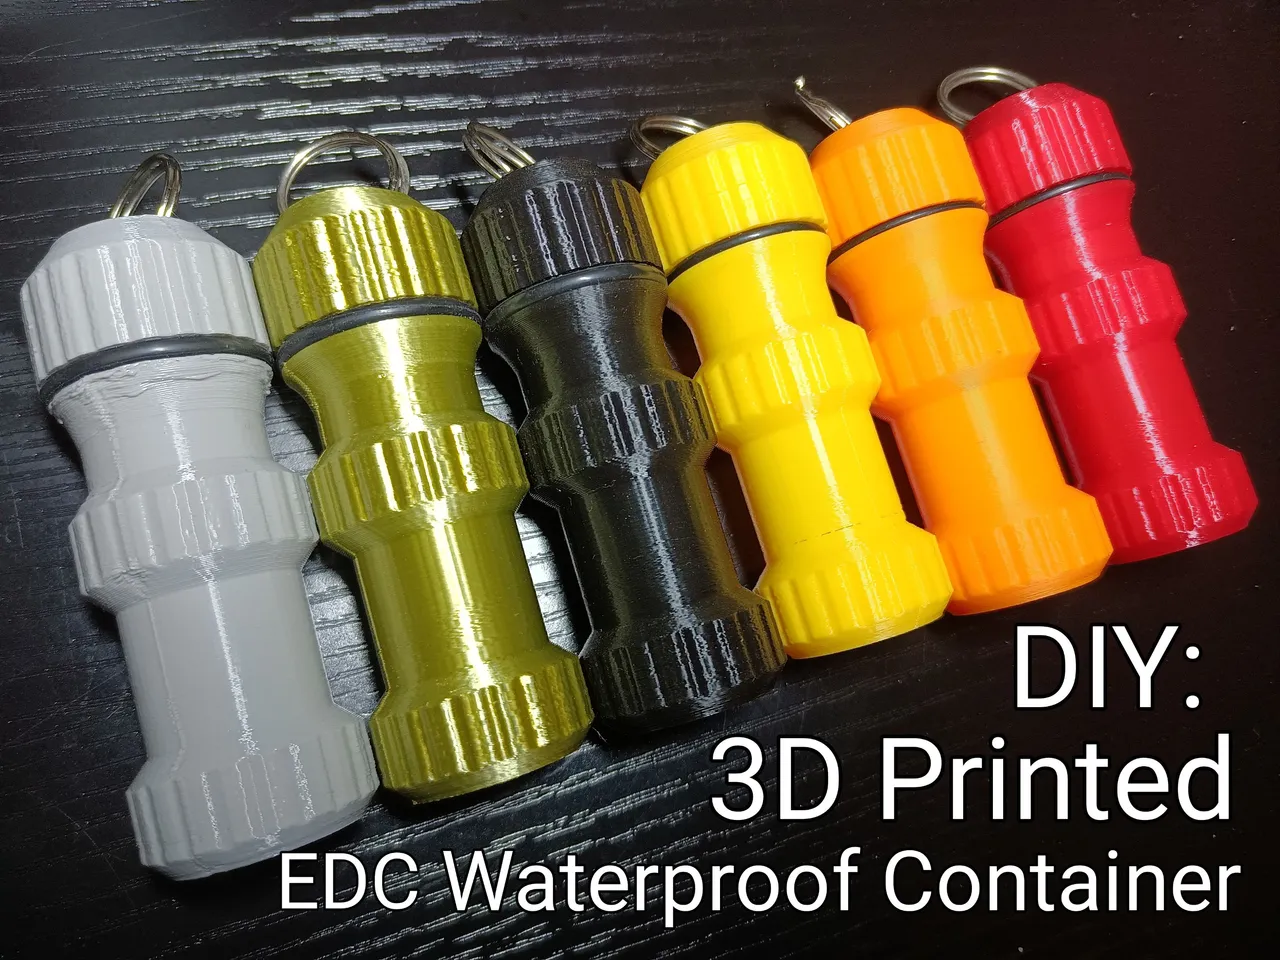
Every Day Carry waterproof containers for matches, pills, and other small items - A quick job for the 3D Printer.
The 3D Printer
For this 3D print job I'm using the Creator Pro by Flashforge. I purchased this 3D printer from Amazon 6 months ago for $550 Canadian dollars. More than a hundred hours of printing so far, it's holding up well.
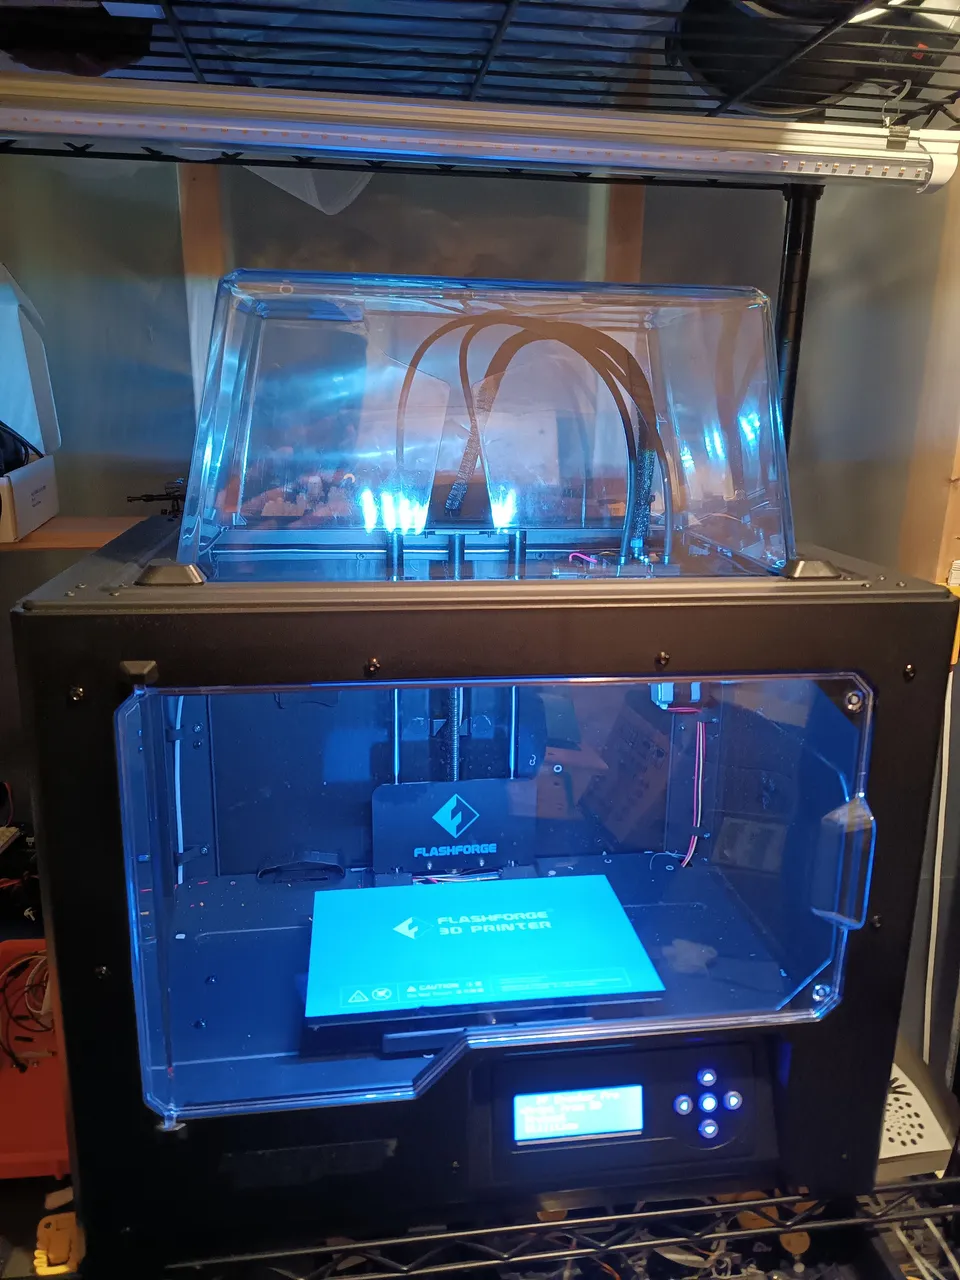
The Printer Platform
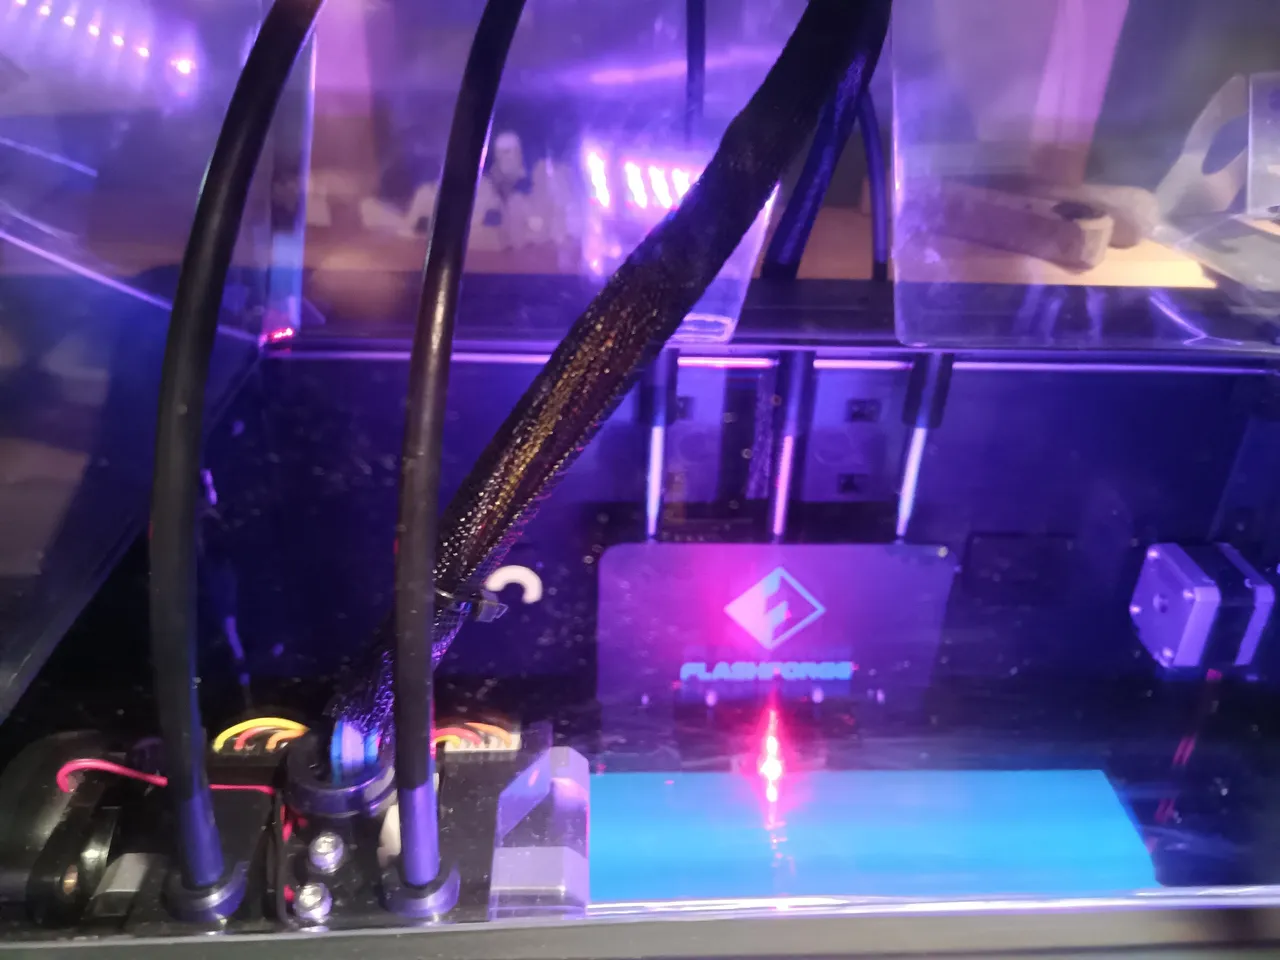
In the picture below you can see the light blue platform, that moves up and down. The object is 3D printed onto that platform, it is auto heated to a proper temperature for printing.
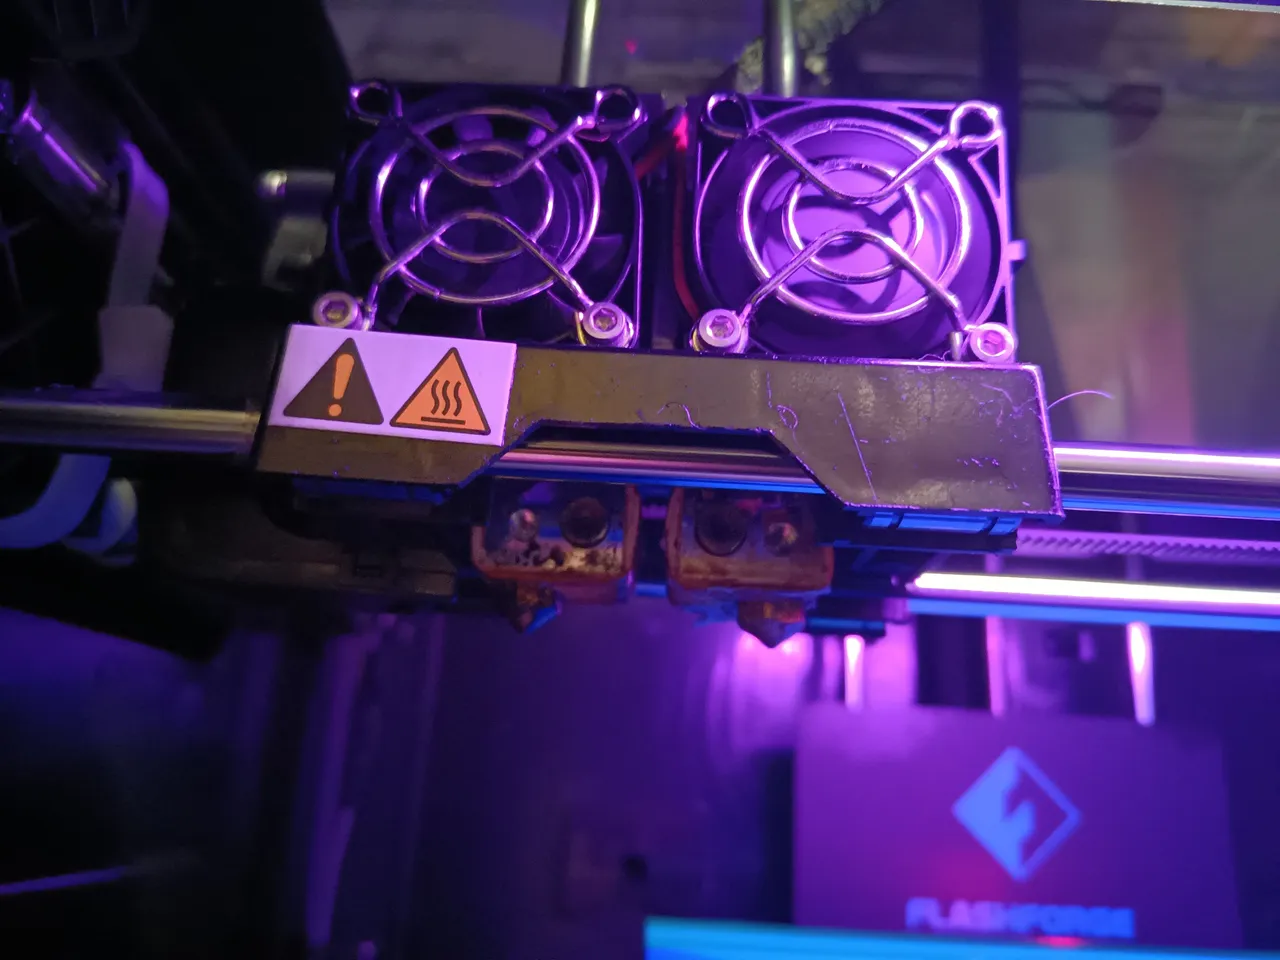
3D Print Heads
In the picture below you can see the print heads (most printers have one), they heat up the filament (the spooled plastic) so it flows out of the print head and onto the platform or object. The printer heads can move left and right on the bars they are mounted on, and forward and back with the side bars. The print head has fans to keep from overheating, and a mechanism to pull the filament from the spool.
Below you can see the top of the 3D printer heads with the filament tubes coming out of the top - they go back to the mounted spools.
Filament Spools
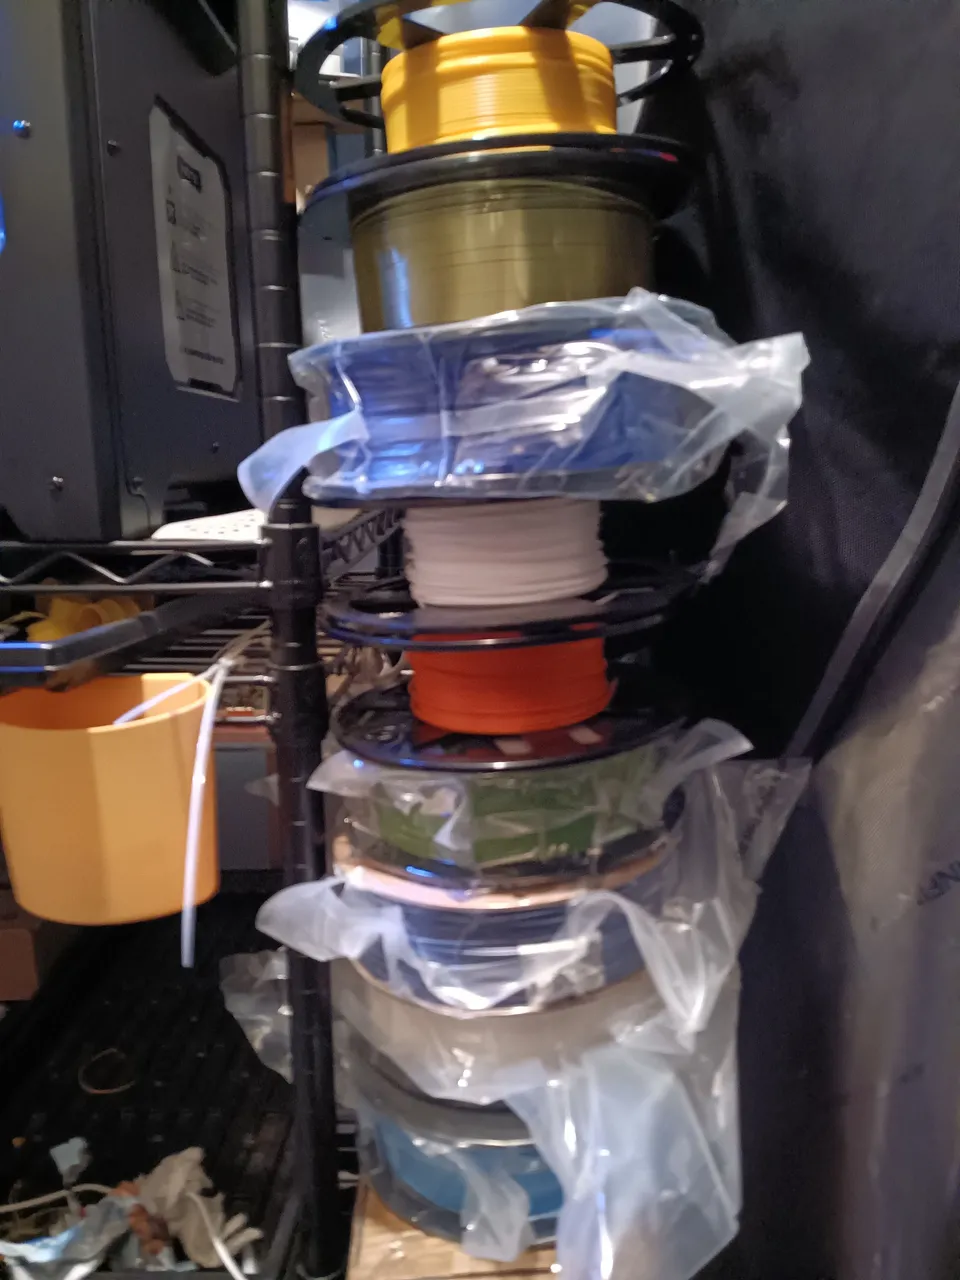
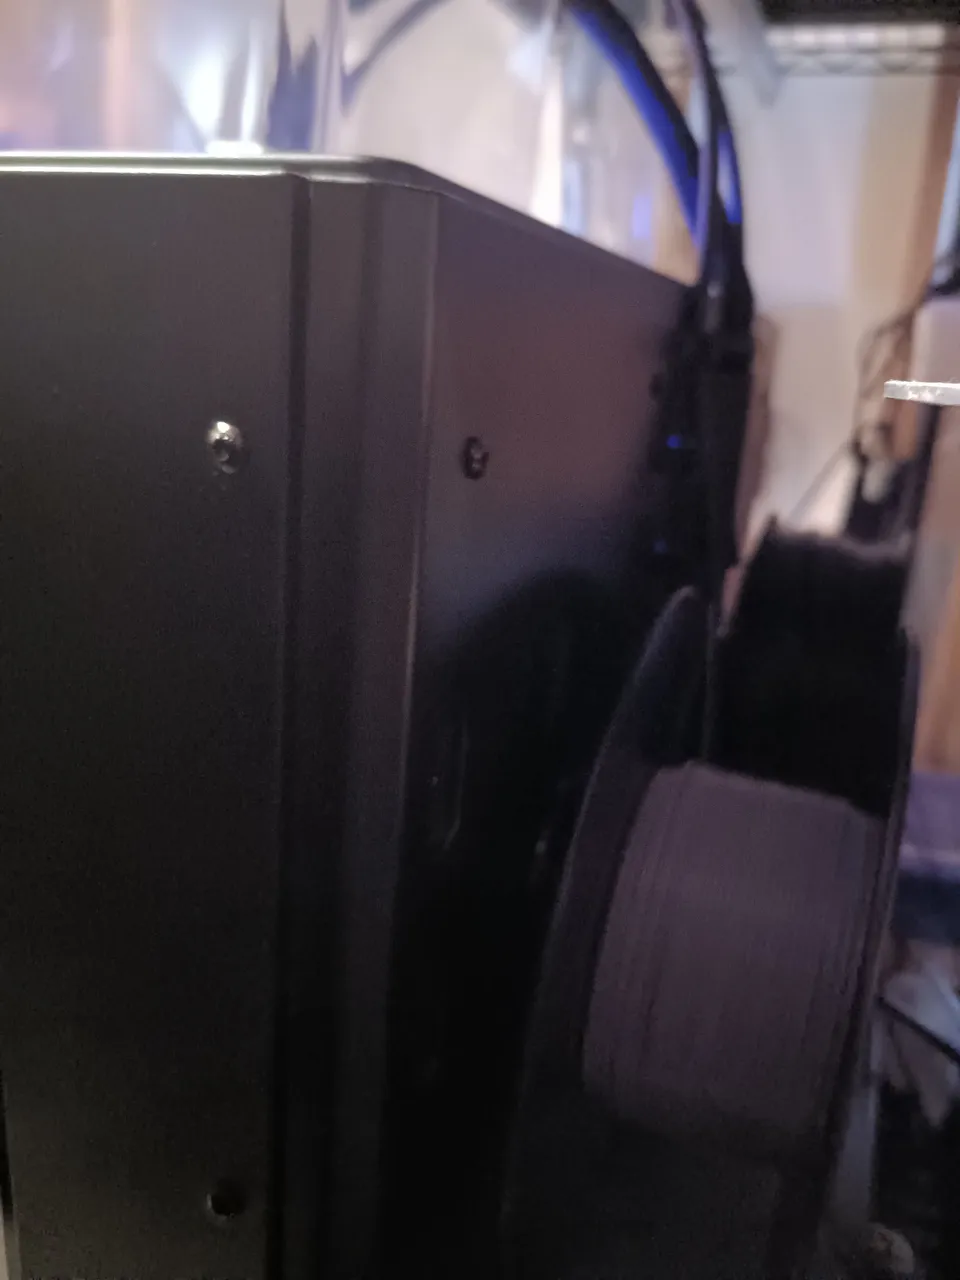
In the picture below on the right you can see the mounted spool of grey filament on the back of the 3D printer. There are many types and colors of filament to choose from, be sure it's the right type and size for your printer. I've been using PLA and ABS - and have found both to be decently durable. They have flexible filament for gaskets, and metal infused filament for extra durable uses.
 |  |
|---|
Downloaded Design
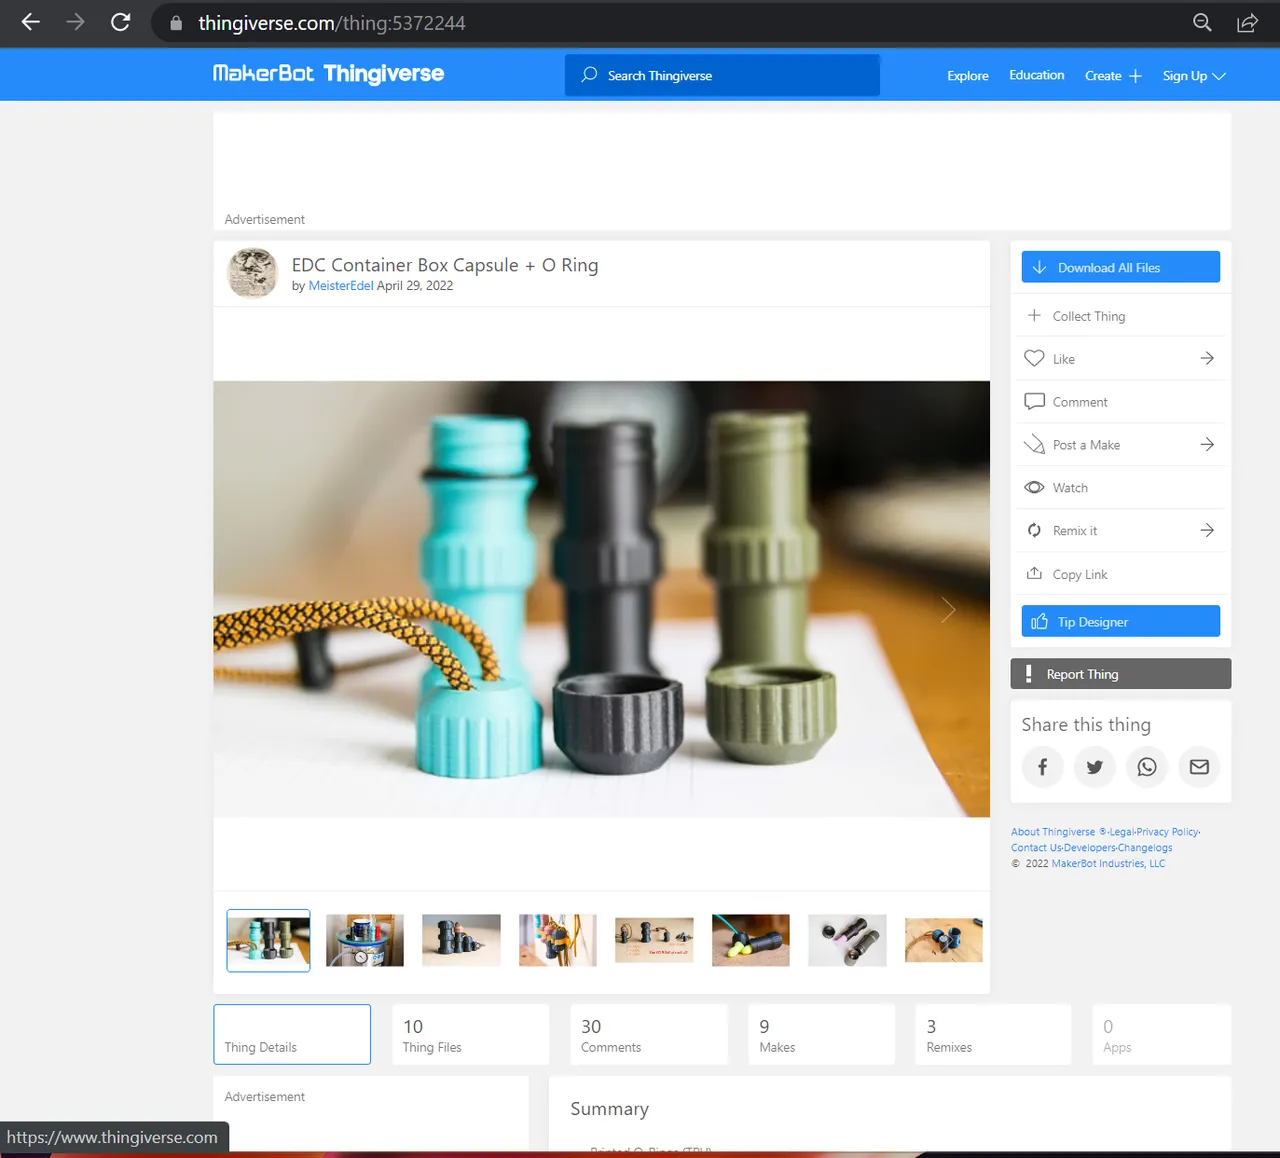
There is free software available to design your own 3D objects, but so far I've kept busy with the free designs online. ThingVerse.com is a good source for 3D printable designs - containers, widgets, whistles, phone stands, figurines, cosplay, electronic project cases, many useful gadgets.
3D Print File Setup
After downloading and expanding the design, inside the folder will be the .STL files - these files can be loaded into the 3D printer slicer software, this will prepare the design to be 3D printer ready. I'm using the FlashForge Creator Pro software - you can see the EDC design loaded in the software below.
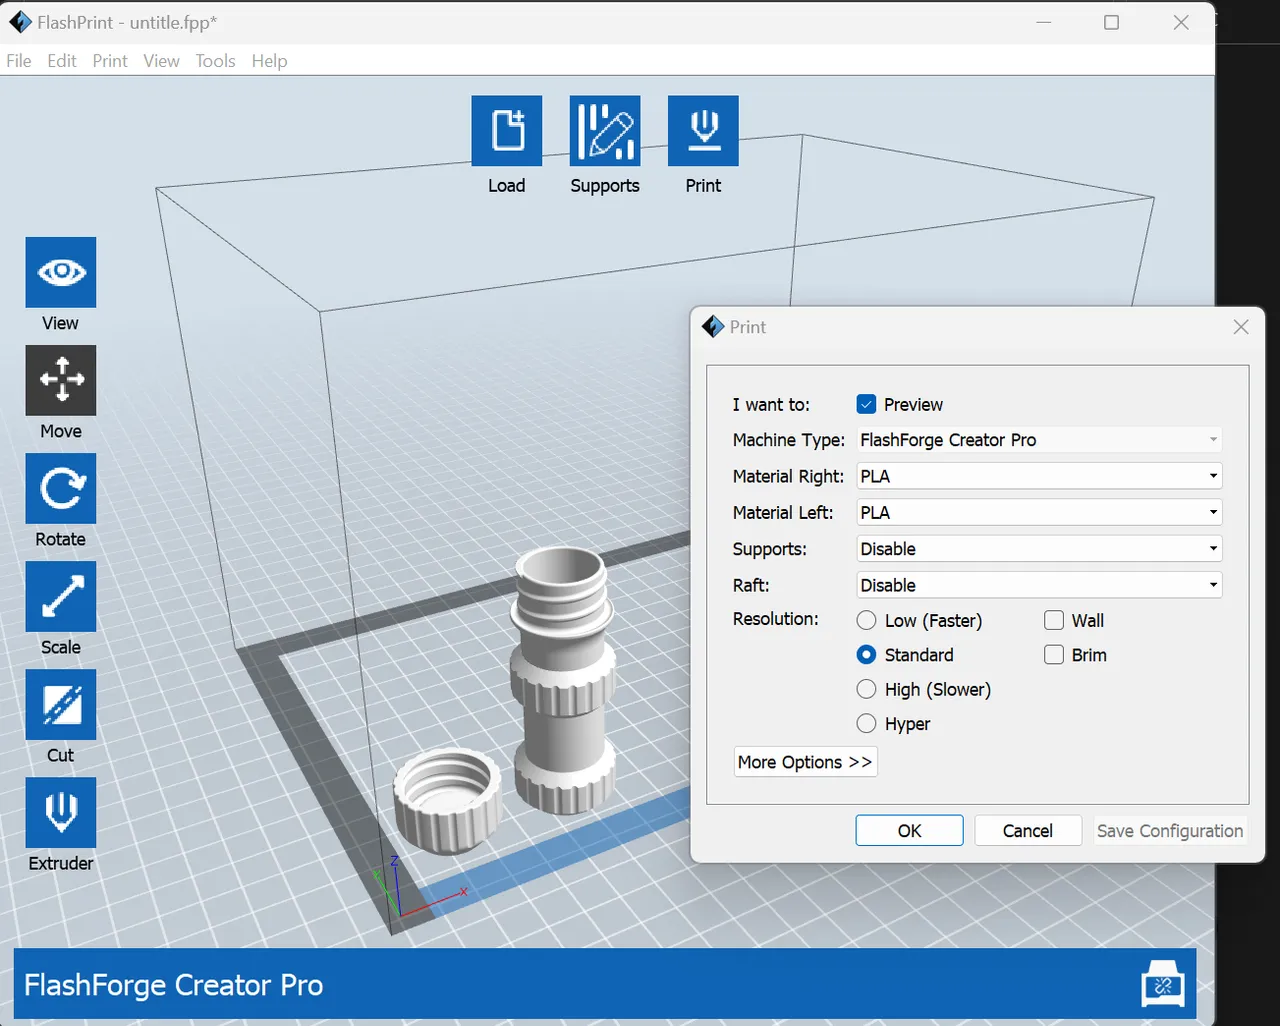
This free software is setup specifically for this 3D printer. The object design can be moved, resized, flipped, and rotated in 3 dimensions. The design can also be copied and duplicated for mass production. If there is a solid object like a cube or other thick part, the software will automatically honeycomb the inside to save on filament. Auto supports or scaffolding can be automatically added for gravity defying print jobs - like an upside down bowl. After clicking the print icon, the print window opens (see pic above). I have the PLA filament type selected - if supports were needed the I would select enable from that pulldown. The print file has a .x3g extension after naming and saving it - this is a 3D printer ready file, it gets copied to the SDCard below.
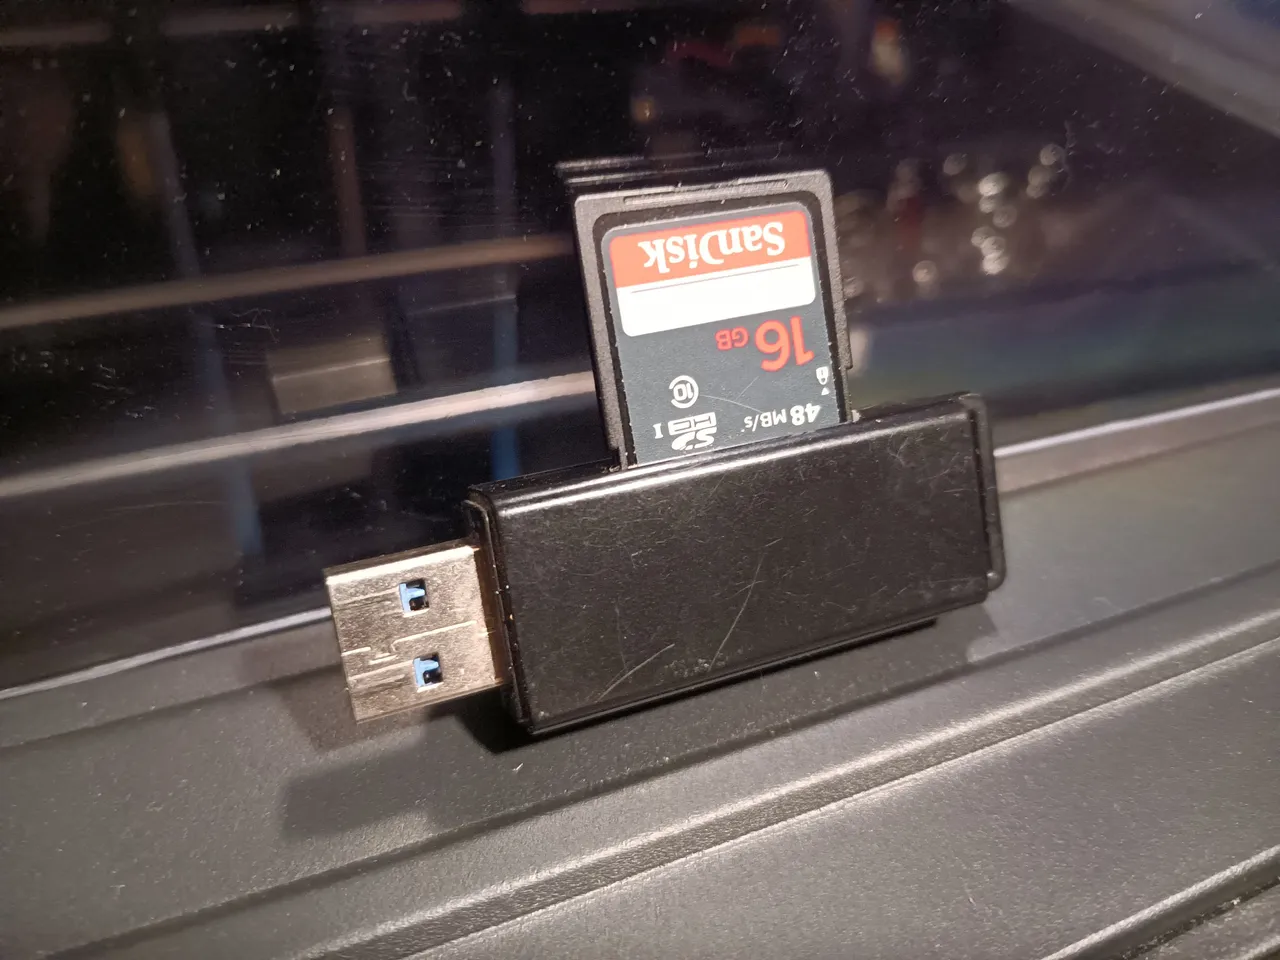
3D Printer Prepare
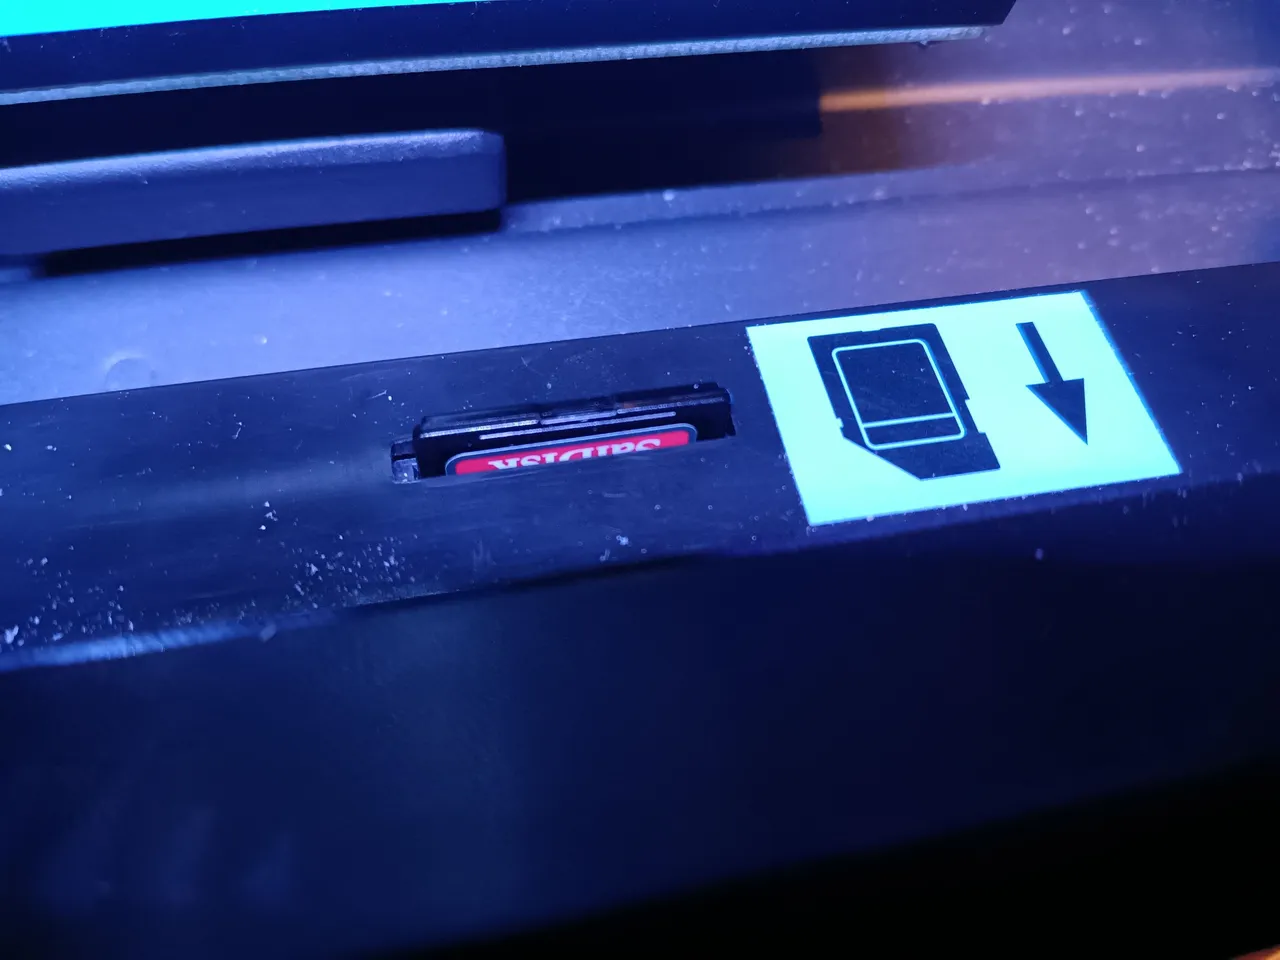
With the 3D printer turned on, you can see where the SDCard is inserted.
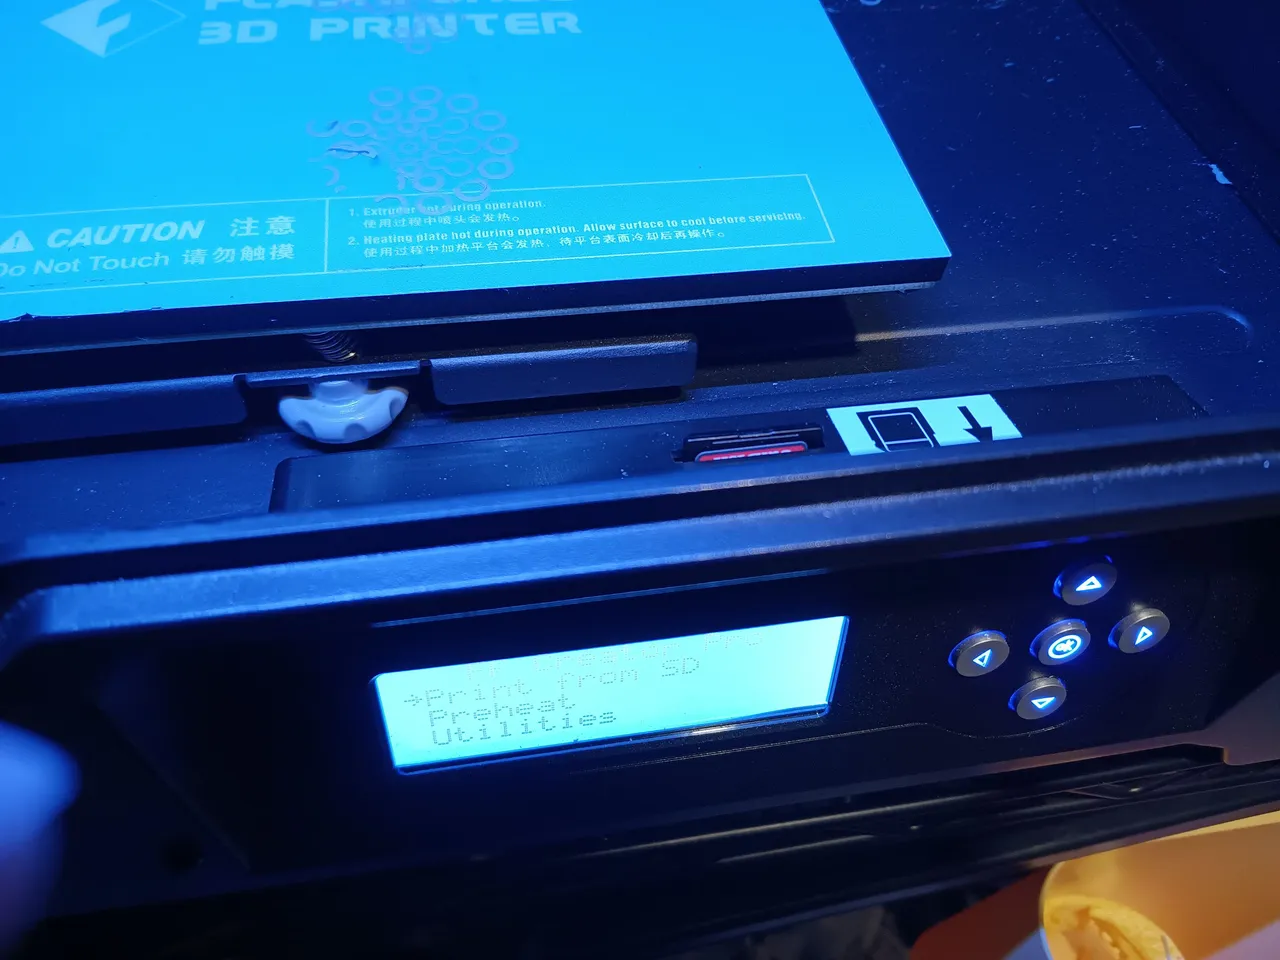
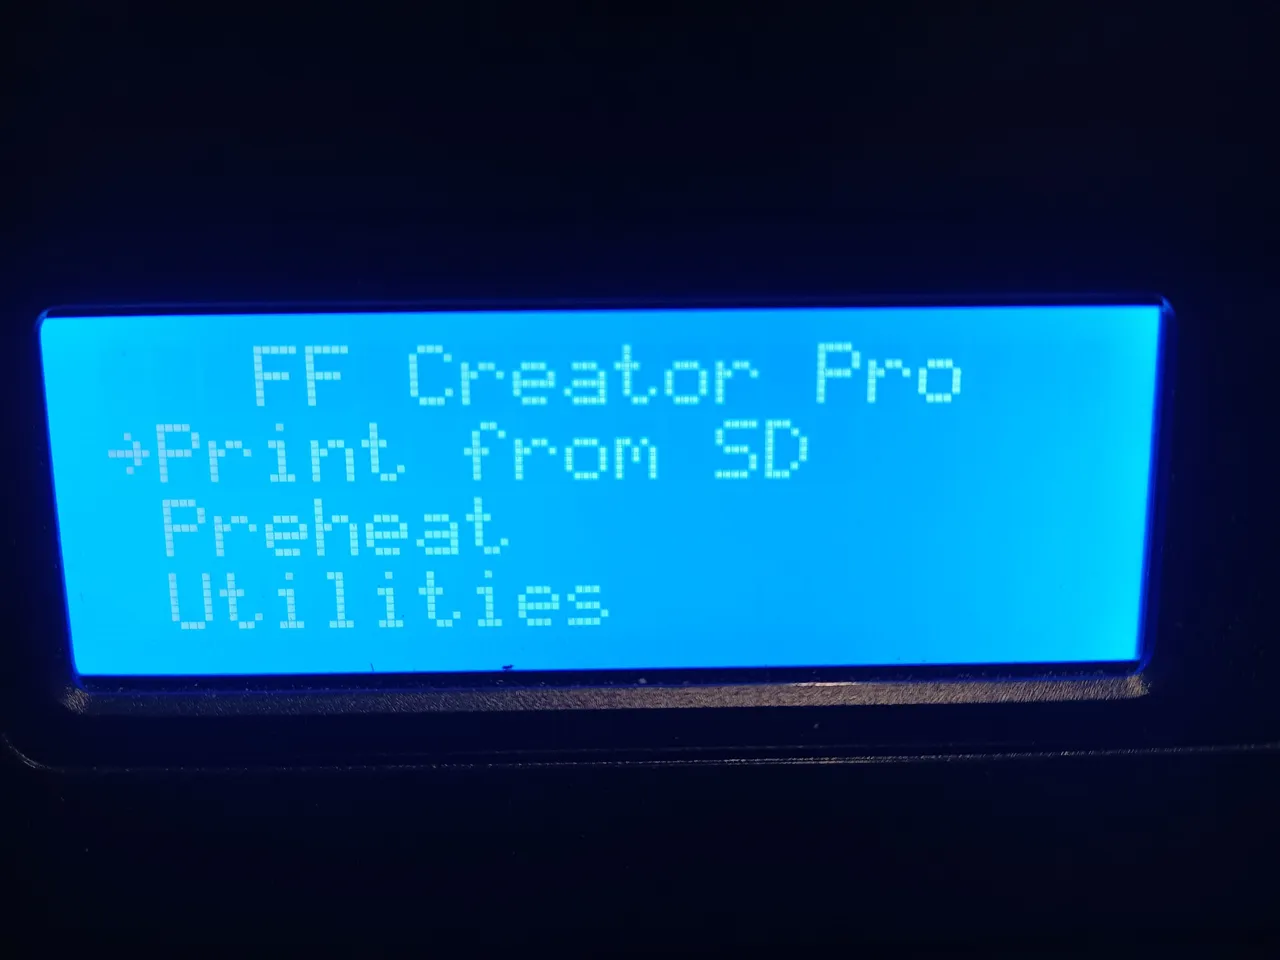
'Print from SD' is selected from the menu, the new print file is selected and started.
 |  |
|---|
3D Print Job Start
First the printer head and platform heat up to proper temperature (dependent on the filament type).
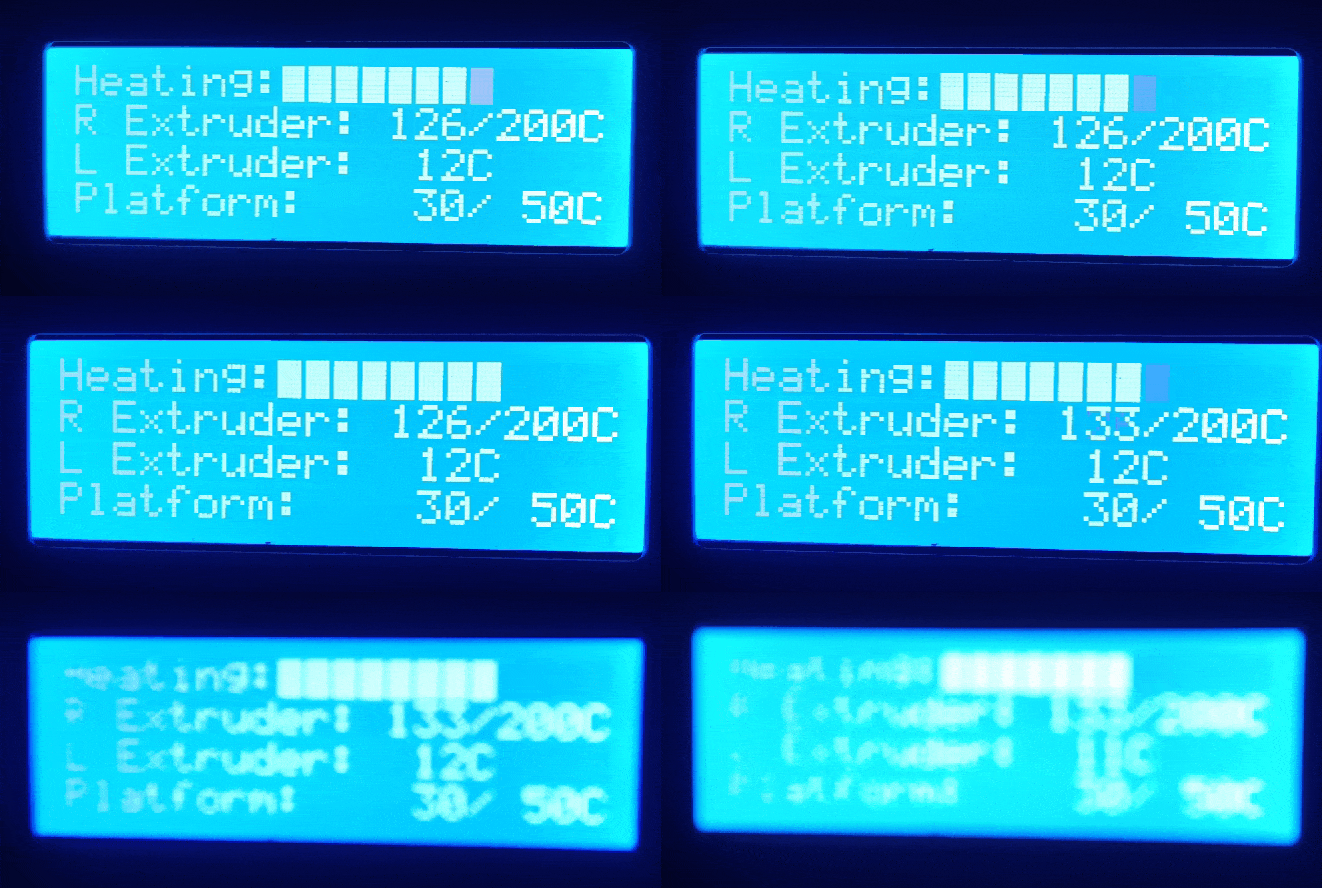
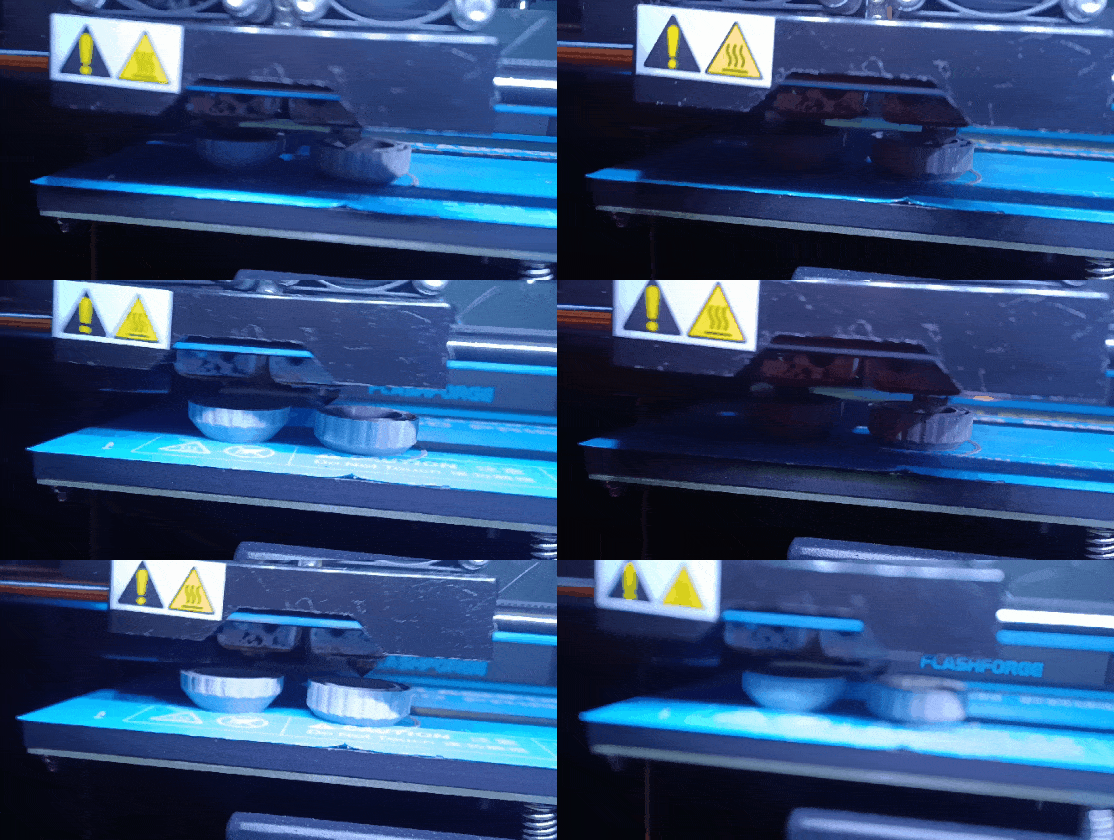
After it preheats the job starts printing. The platform moves up to the print heads. The print heads move side to side and forward and back to put down the first layer, then the platform moves down ever so slightly for the second layer and so on until completion.
When printing the circular cylinder walls, the print job advances quickly.
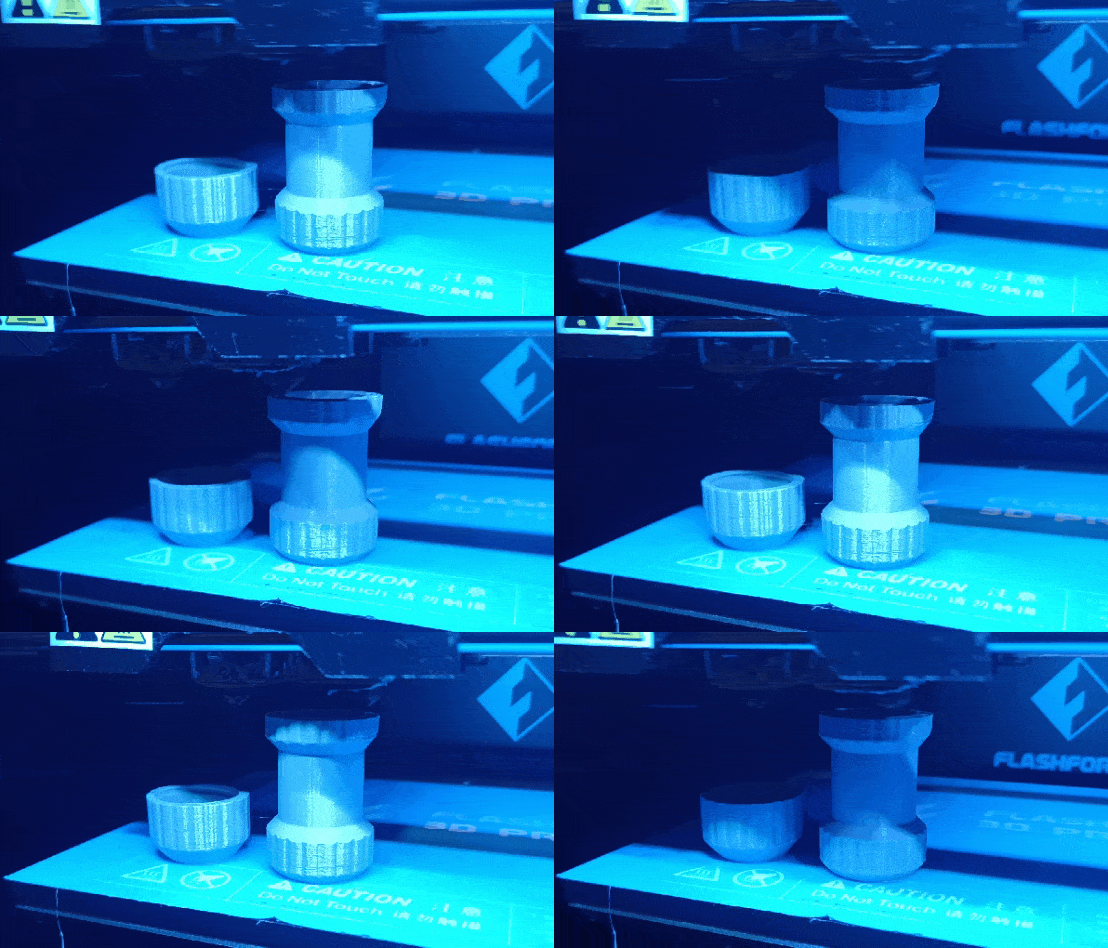
This full print job took about 20 minutes.
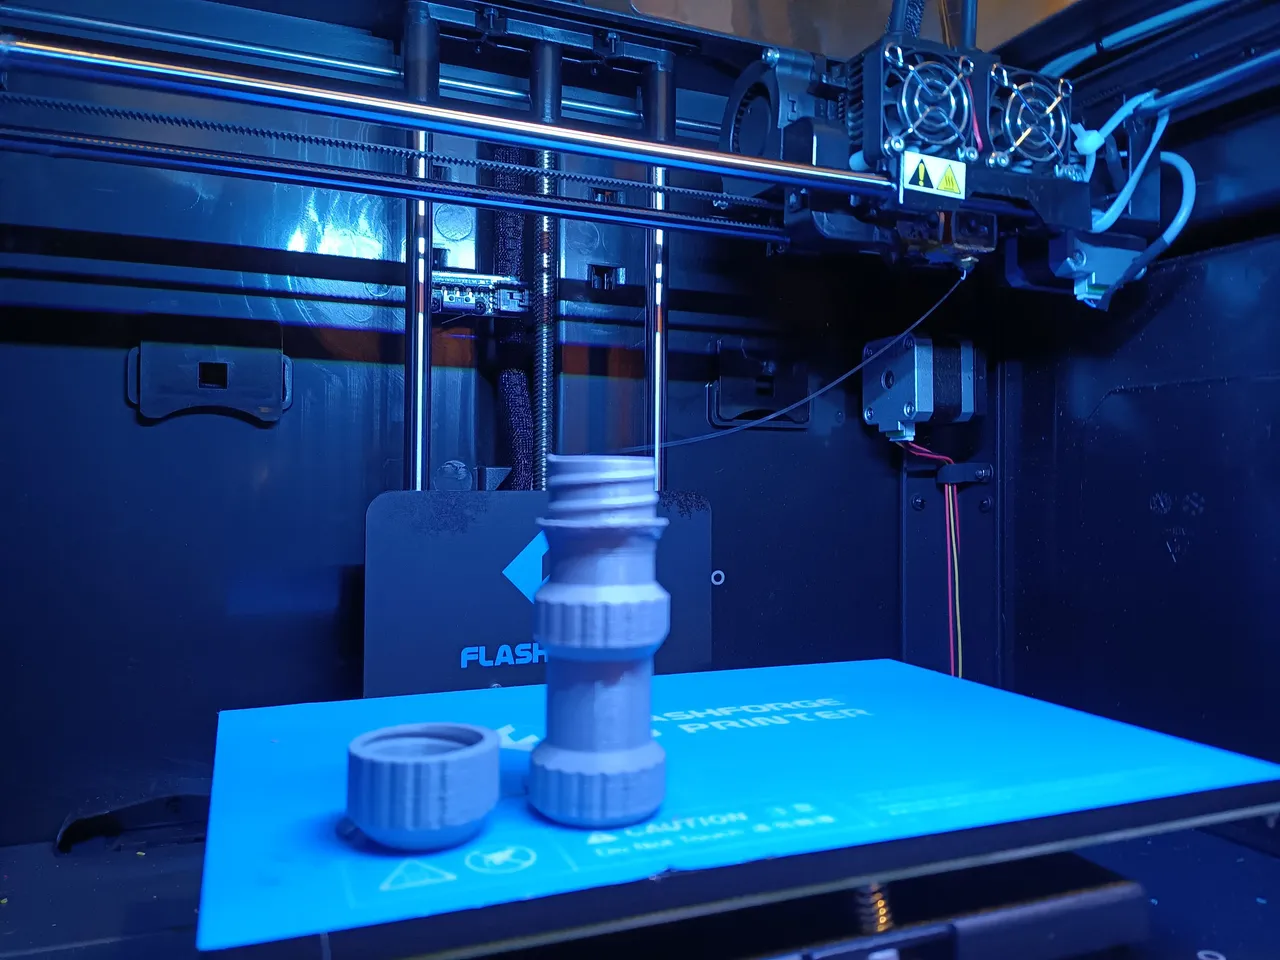
The EDC Waterproof container and lid gently peels off the platform.
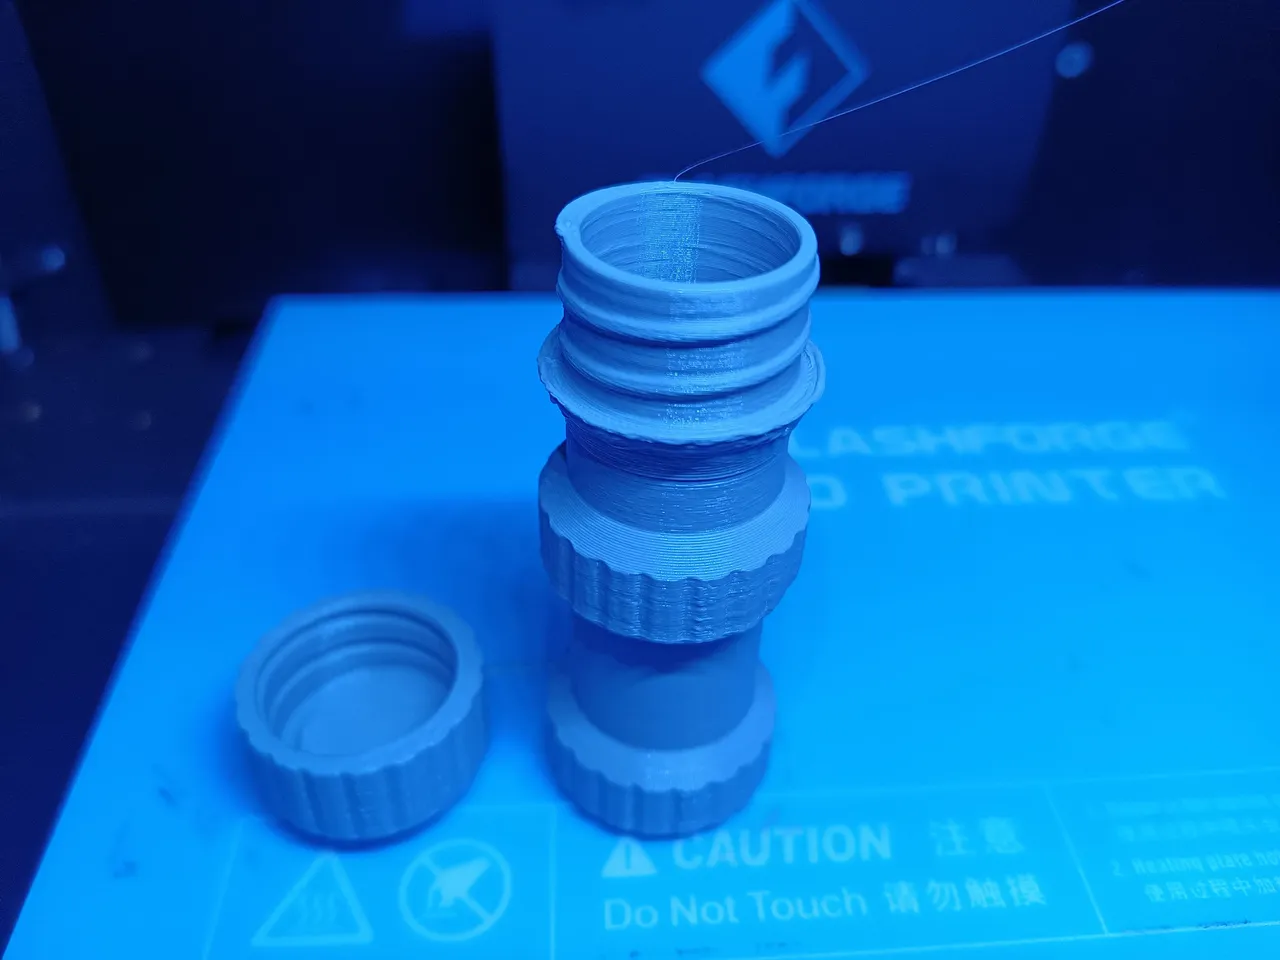
I have a box of key rings for this project, but a wire or string could easily be used.
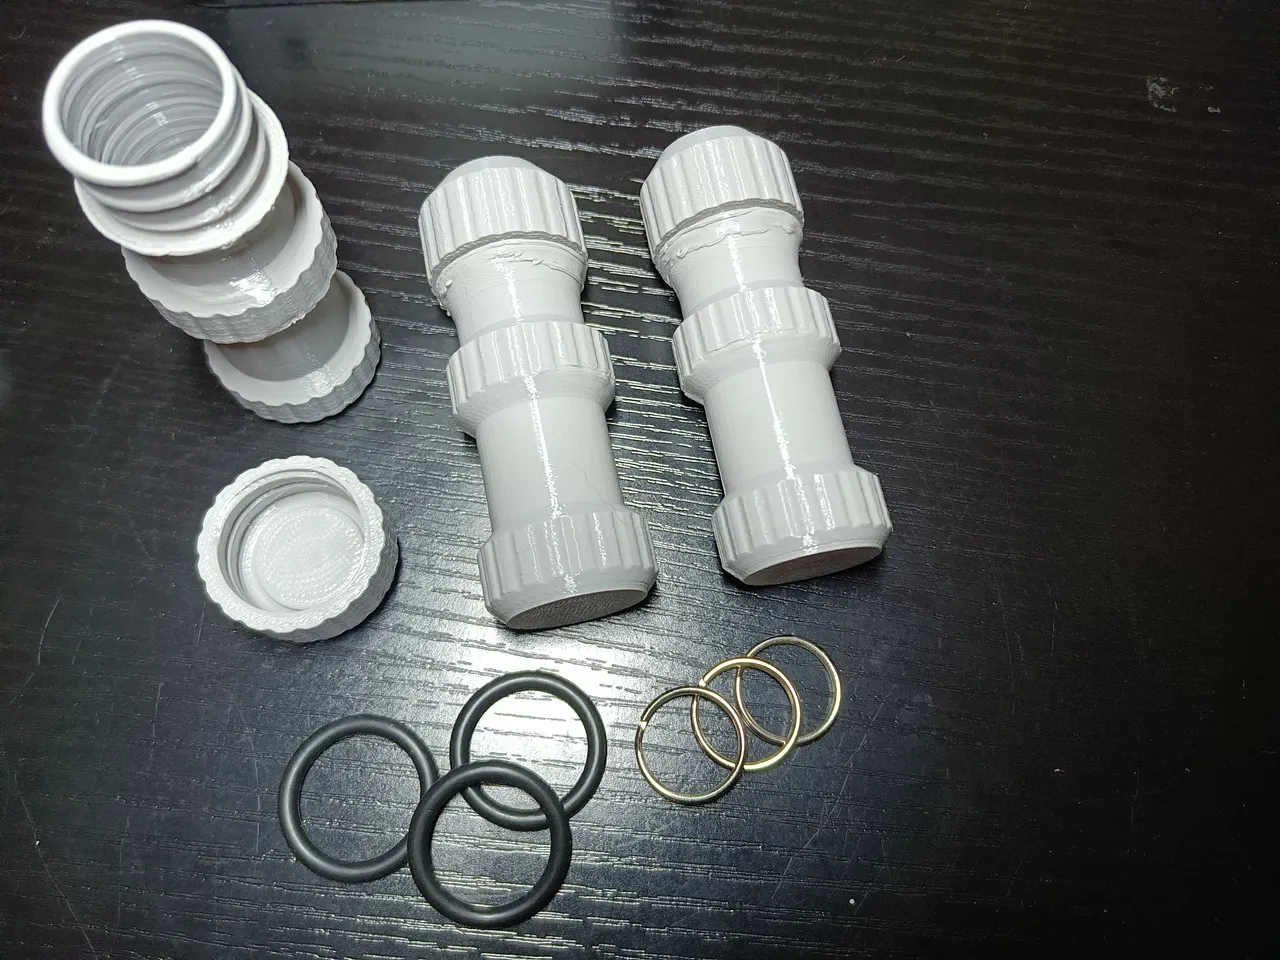
I have a few o-rings for that extra water tight seal, but twisting the lid extra tight would probably do.
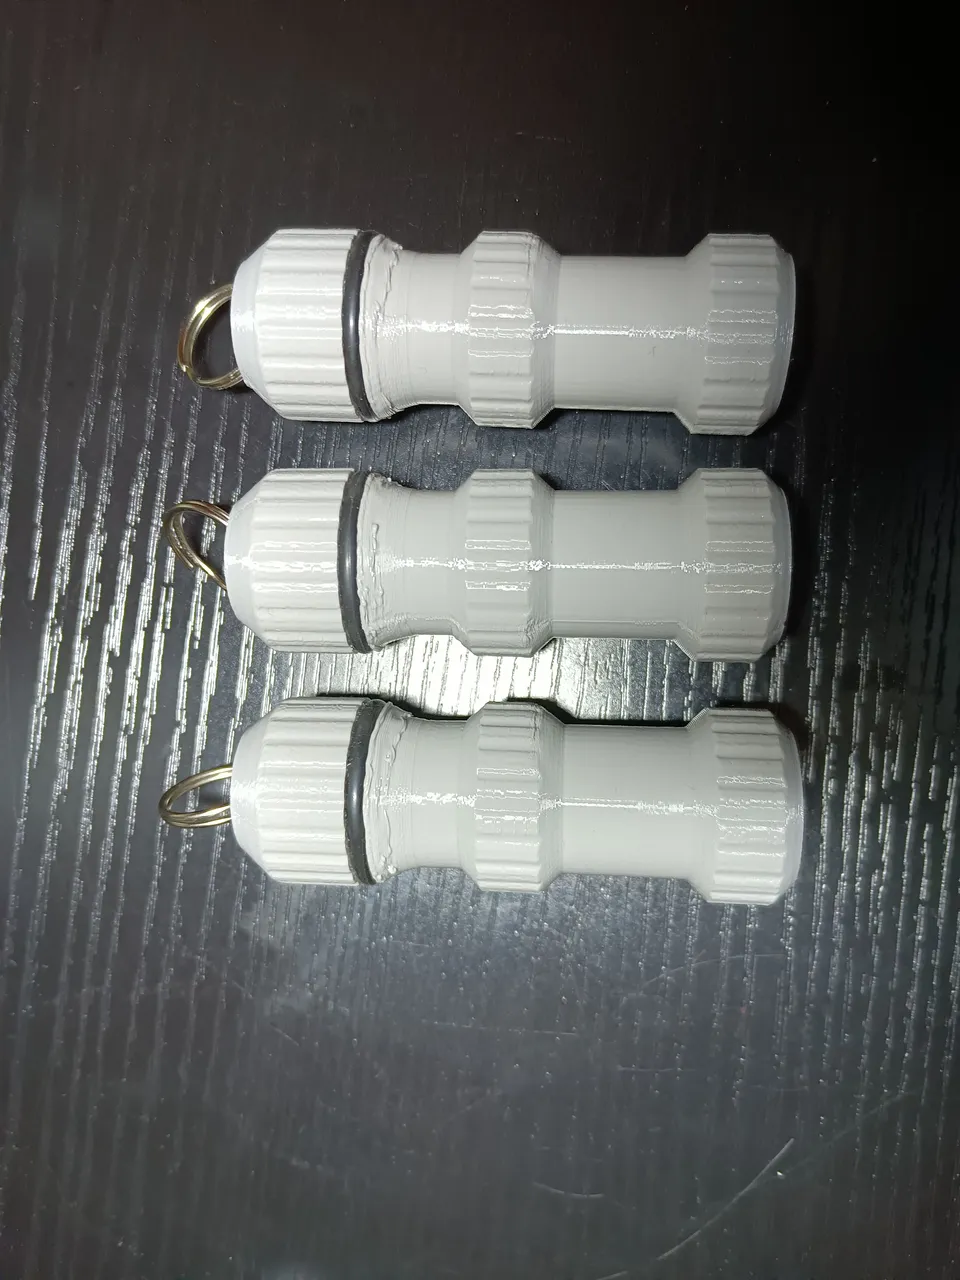
3D printers are great for that finishing touch on projects, for printing unique and useful items on demand. I've seen a few videos where bottles and other plastics are easily recycled into 3D printer filament - many possibilities.