As the librarian responsible for adult programs at my branch, and the only guy in that department of gals for this district most of the time, I find myself working to find ways to reach out to a wider audience often overlooked by other staff members. Craft programs tend to be biased toward the stereotypical women, so I like to find program ideas which can be spun to appeal to men or women, skills which can be more practical or more decorative, and projects which people can pursue at home with relative ease. I also want to find ideas which let people leave with useful objects or skills, not just a bit of clutter to be discarded eventually.
Candlemaking struck me as a potential project for all of these considerations. Candles are great for ambiance or emergency lighting. People could start a new hobby or side business after dabbling in a program on the subject. At the very least, they can take home an emergency candle in an Altoids tin which can be kept on hand for the next inevitable power outage.
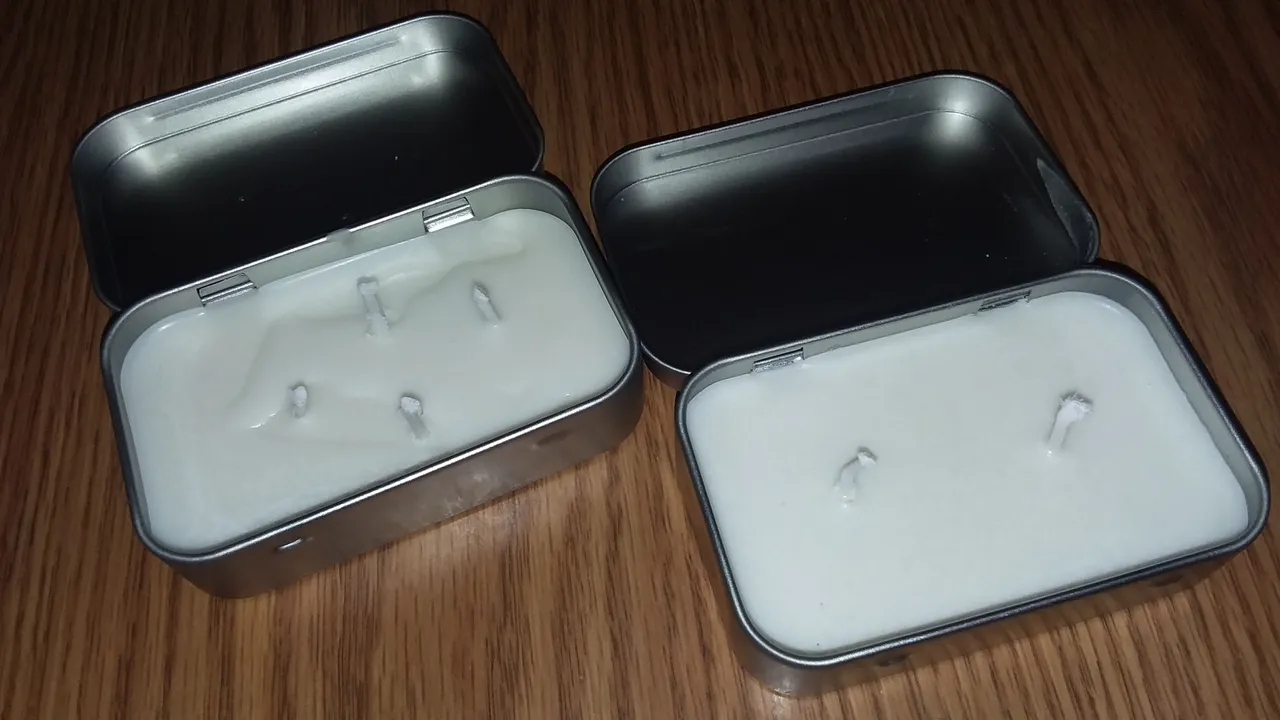
But before I can offer a program, I need to see whether I can do it myself. I made two candles using leftover generic tins from my emergency kit program and let them cure for two weeks as recommended by several sources. I finally started a test burn earlier.
I used a soy wax for this project. It's a common base for various candles, and since it readily melts into liquid, it is also popular for fragrances. I don't use those, but I'll gladly refer people to our catalog if they want to pursue that. I didn't need to allow a fragrance to age and properly disperse itself, but it seems the wax may need some time to settle anyway as it re-crystalizes. I don't know for sure. This is all new to me.
For my purposes, the real benefit to soy wax is the ease of melting it in a microwave instead of hassling with a double boiler. I was able to pour the wax almost up to the holes for the lid hinge without anything leaking out, and for the second candle, I had to melt a little extra wax to top it up, resulting in a less than aesthetically pleasing surface. Oh, well.
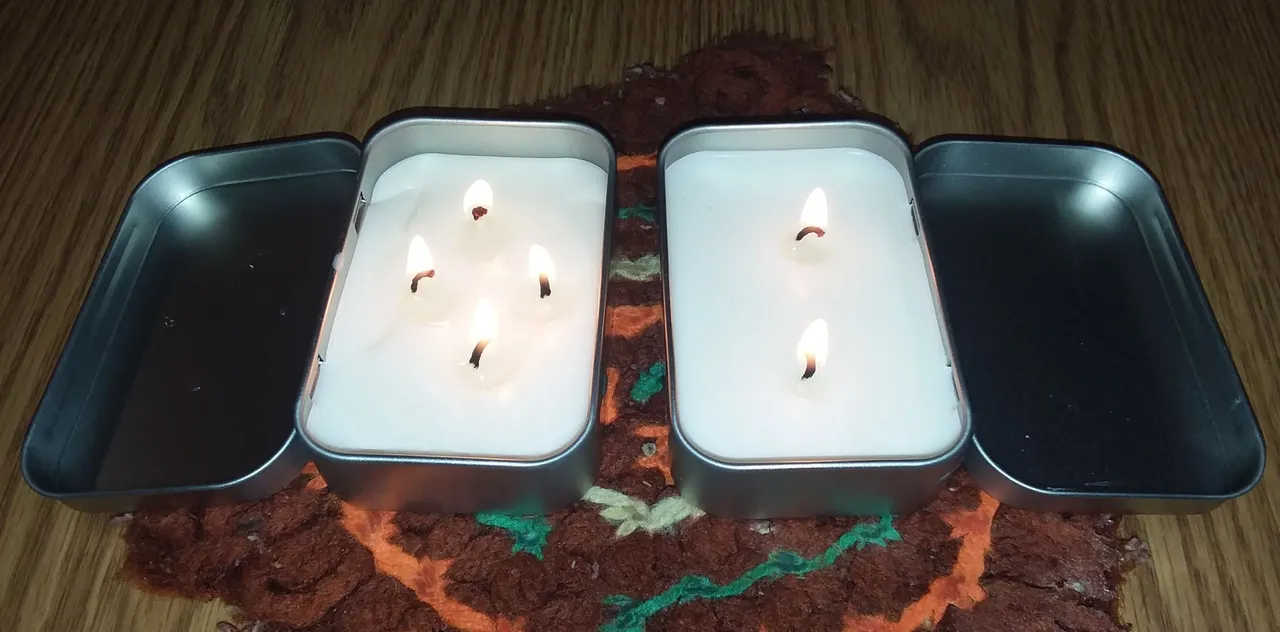
Time to light these and see how much light and heat they offer. I initially planned to just use two wicks per candle, and the tin on the right uses the wicks as supplied with integrated metal disks at the bases. After trimming the wicks to length, I used paper clips to repurpose the remnants in another candle. After trimming again, a co-worker suggested also experimenting with un-weighted wicks. Thus, the four wicks on the left.
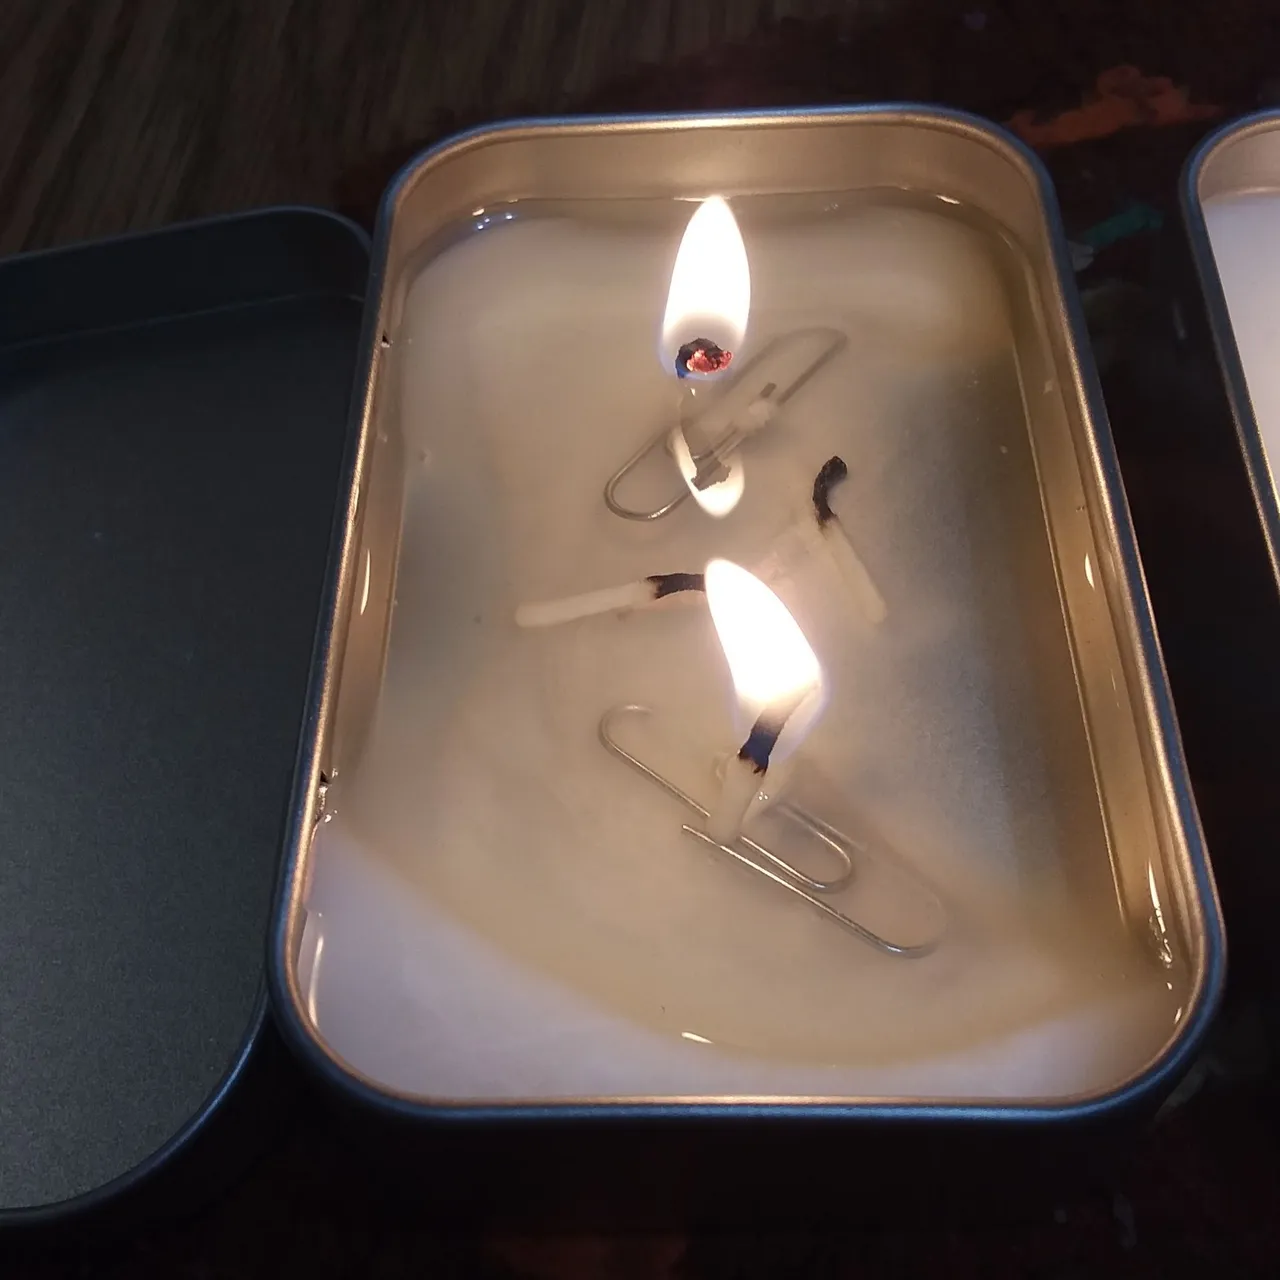
As I suspected might happen, the freestanding wicks tipped over and snuffed out as soon as the wax liquefied enough. This candle also threw out a lot of heat, and liquefied faster as a result. Four roper wicks might make this capable of heating water as an emergency stove, but Sterno cans and stoves are probably a better option for that purpose.
I also checked whether closing the lid would snuff the candles, since all the liquid wax could potentially make a mess if I tried to blow them out. As expected, it put out the candles without any issues beyond soot rings on the lid despite the hinge holes on one side. I re-lit the wicks and let it continue burning.
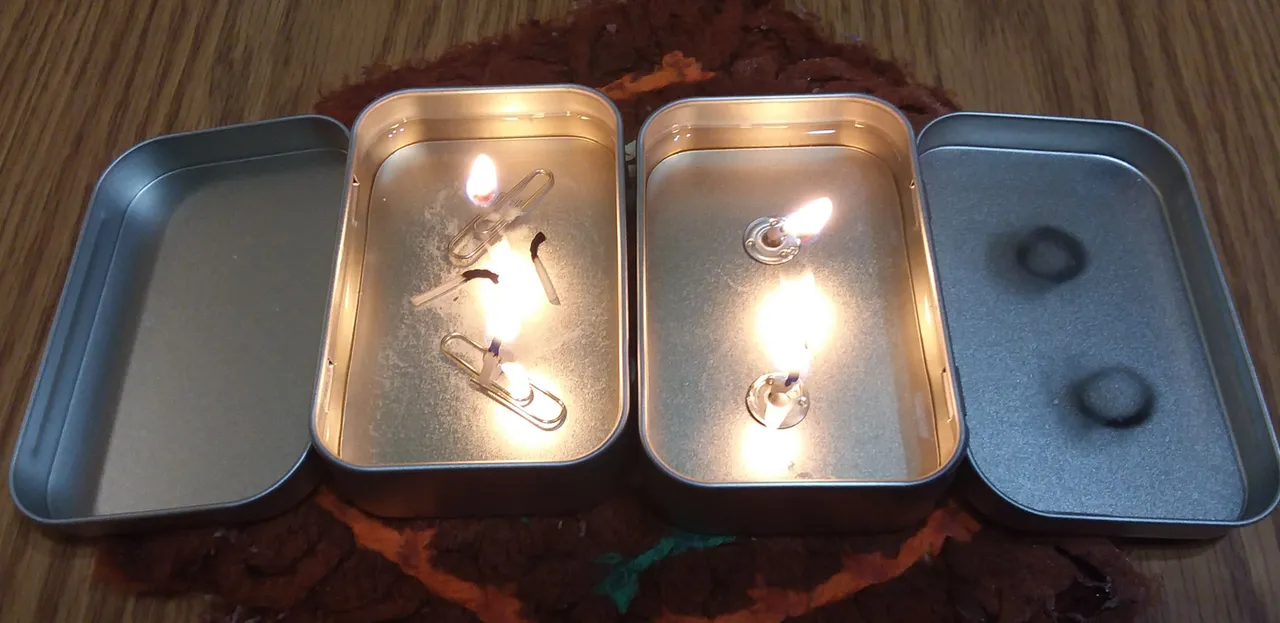
And at last, here are the candles with the wax fully melted. On one hand, this means I don't need to worry about weird surfaces after burning. On the other hand, this means these are susceptible to splashing very hot liquid wax. This may need more testing with other waxes.
After about an hour, I closed both tins, and there is at least another two hours of wax left in each one based on current burn rates. I will burn them again later and see what happens as the levels fall further.
Have you made any candles, whether like this or not? Advice is welcome!
