Before I walk you all through the process of making this mini hat of mine I want to give a shout out to every creative person out there who can create things with their hands because you all are geniuses, I kid you not, you are all real geniuses!!
How in God’s name do you just stare at an object and begin to draw inspiration from it, how exactly do you do it, please? How are you all able to give us mind-blowing DIY projects back to back without getting tired or running out of ideas? You all deserve some accolades because you all are the real MVPs😃
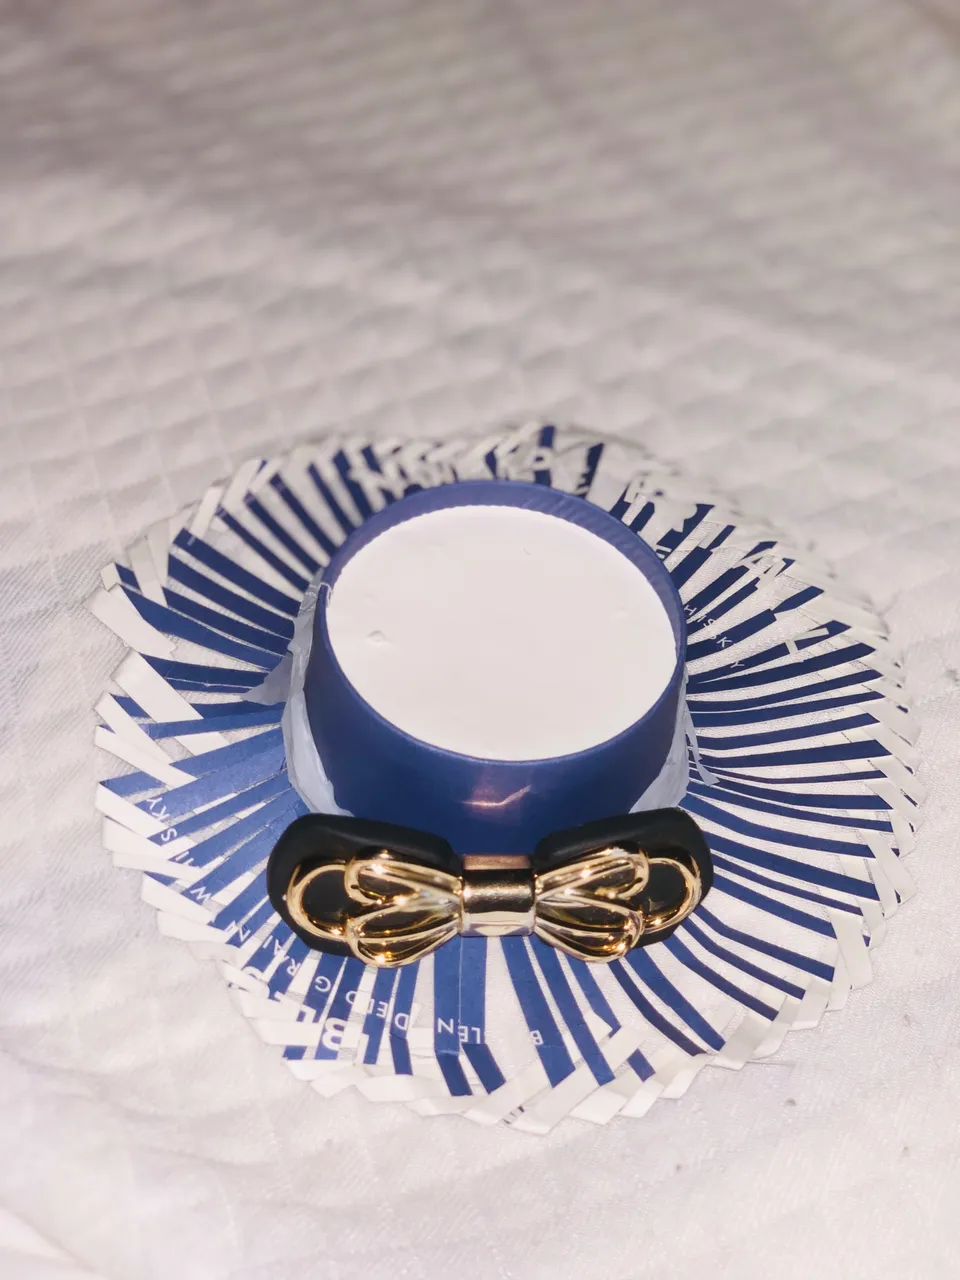
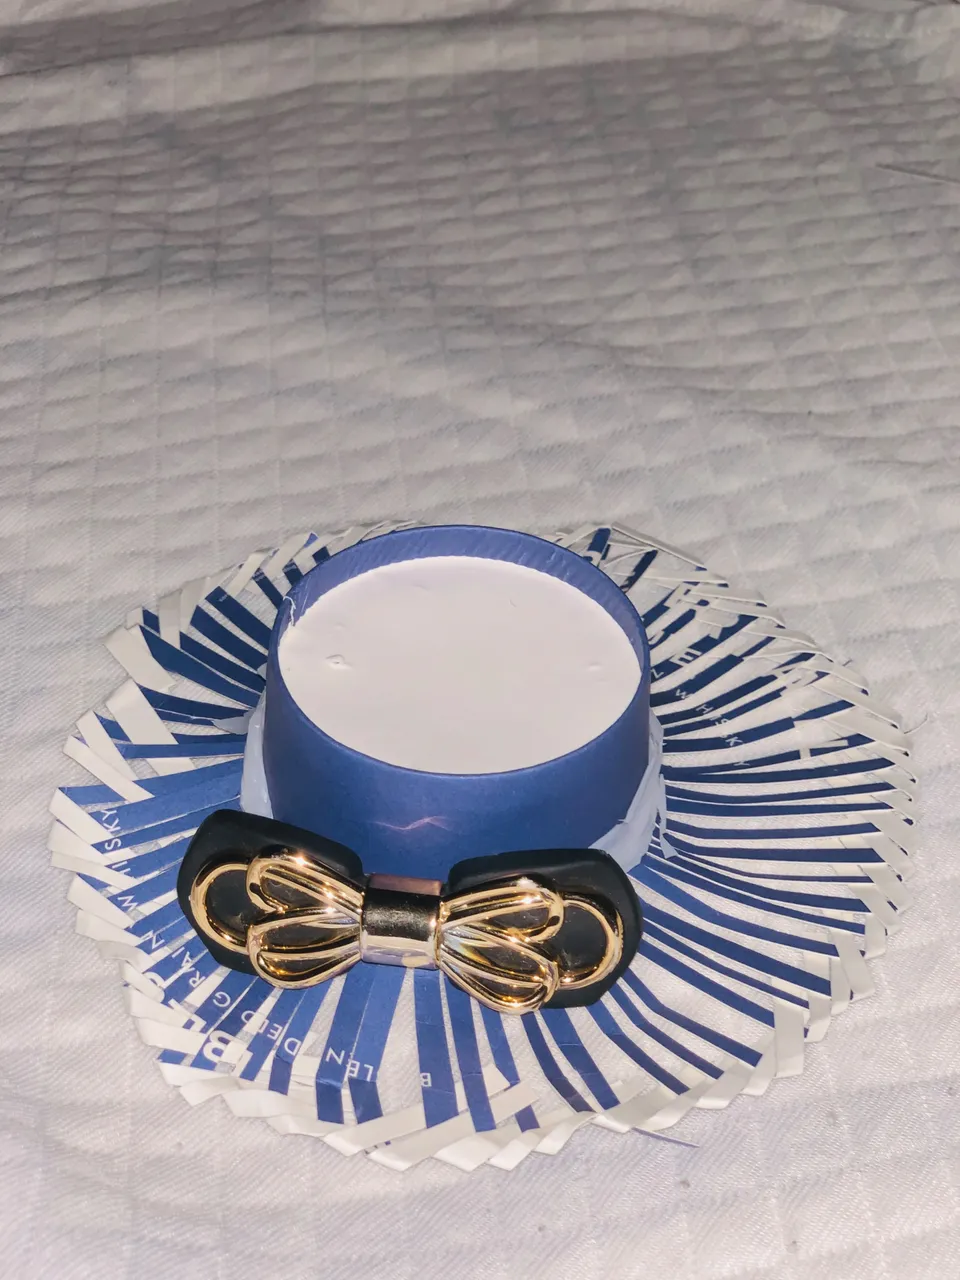
Without further ado ladies and gentlemen, boys and girls I present to you a mini hat created and designed by yours truly🥳🥳
The feeling that comes with creating something with your hands is next to none I tell you, you stare at what you created and you just can’t help but smile because you did it against all odds, ohh yeah that was me a few hours ago, I couldn't believe I made something this beautiful.
At some point I wanted to stop making this hat as I thought it wasn’t coming out the way u wanted, it took everything not to abandon this project.
Below are the steps I took in achieving this simple but beautiful mini hat of mine.
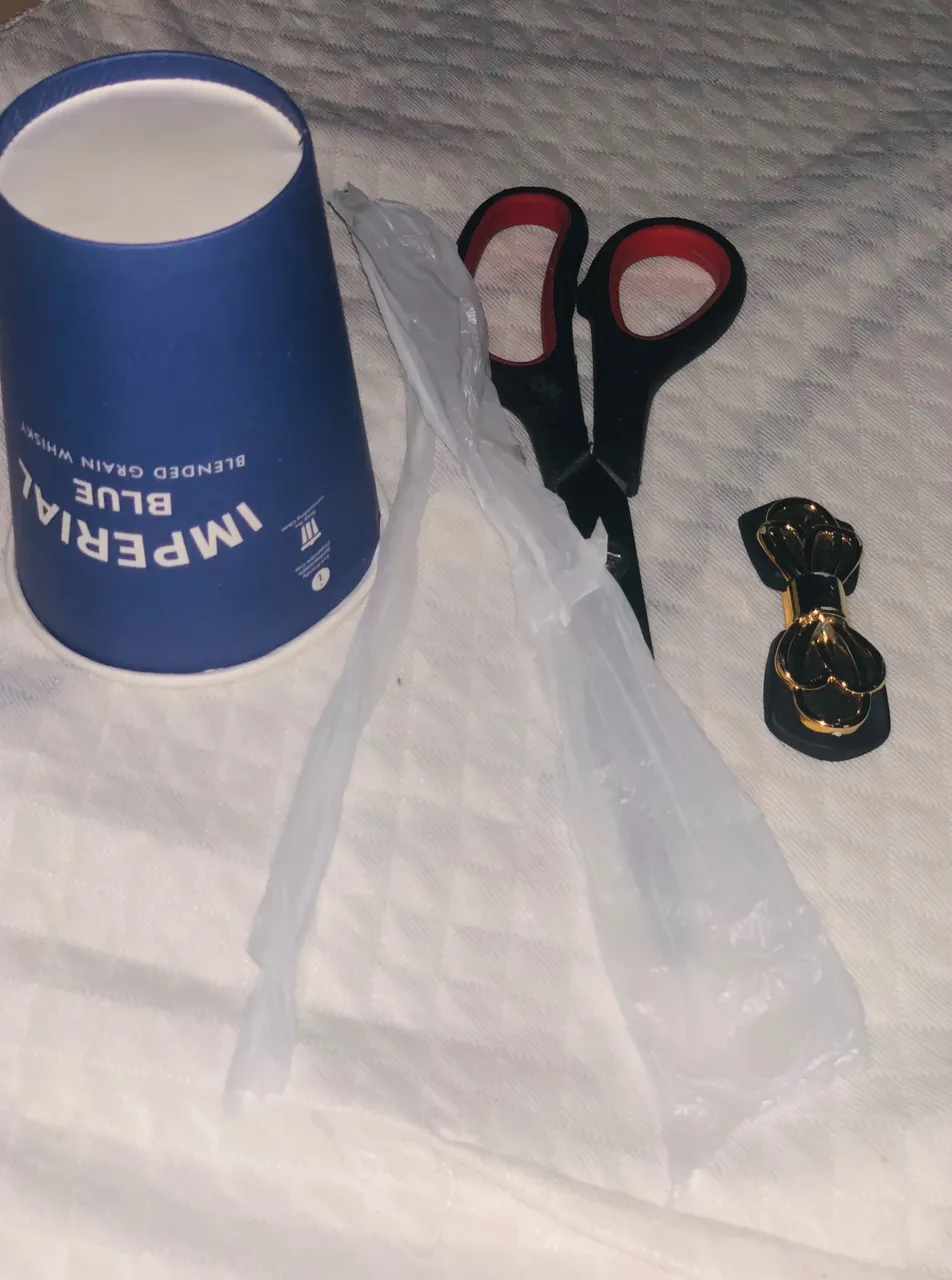
Materials
Disposable cup
Scissors
Nylon
Bow
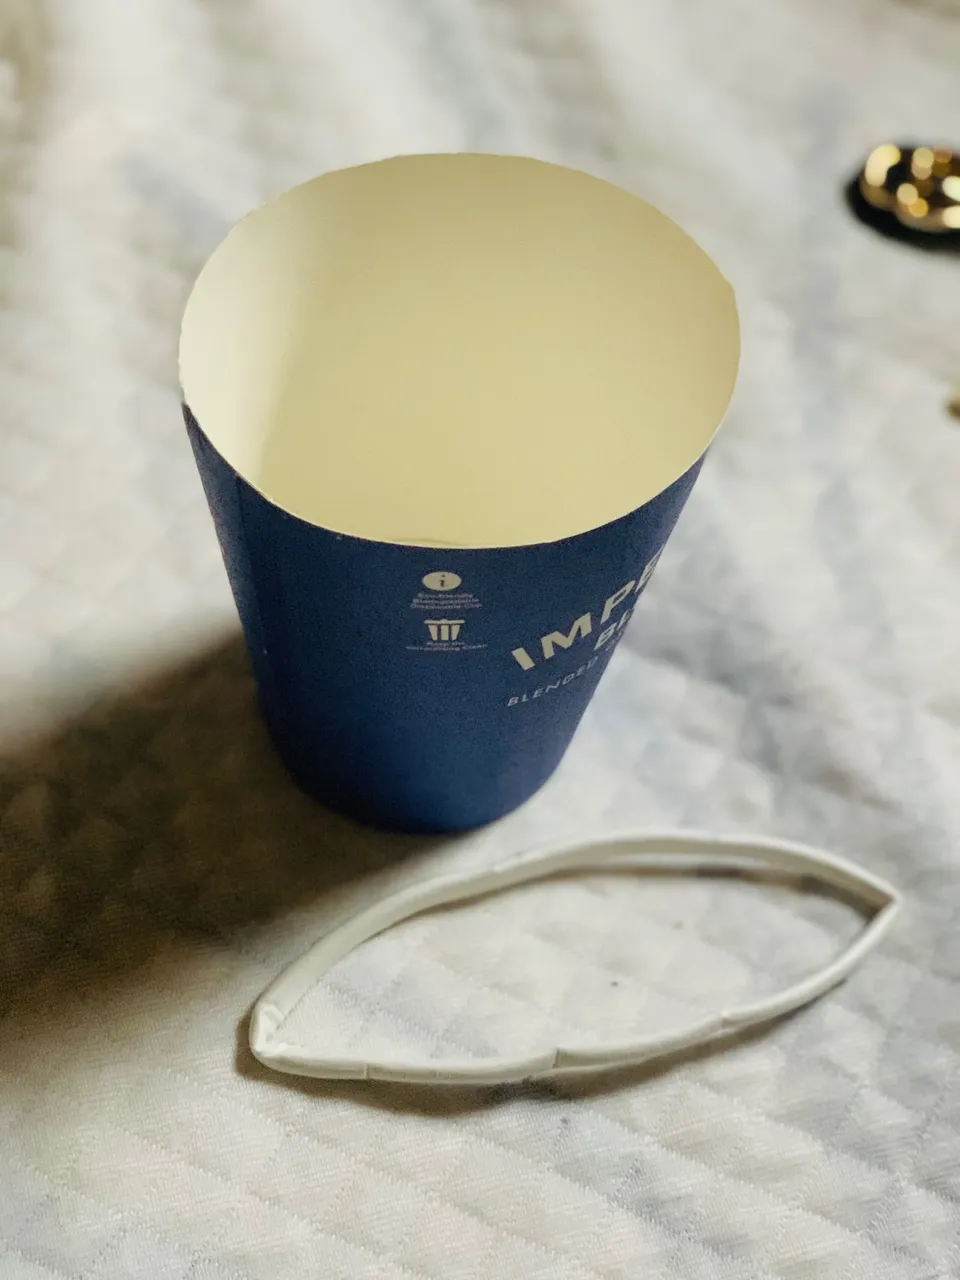
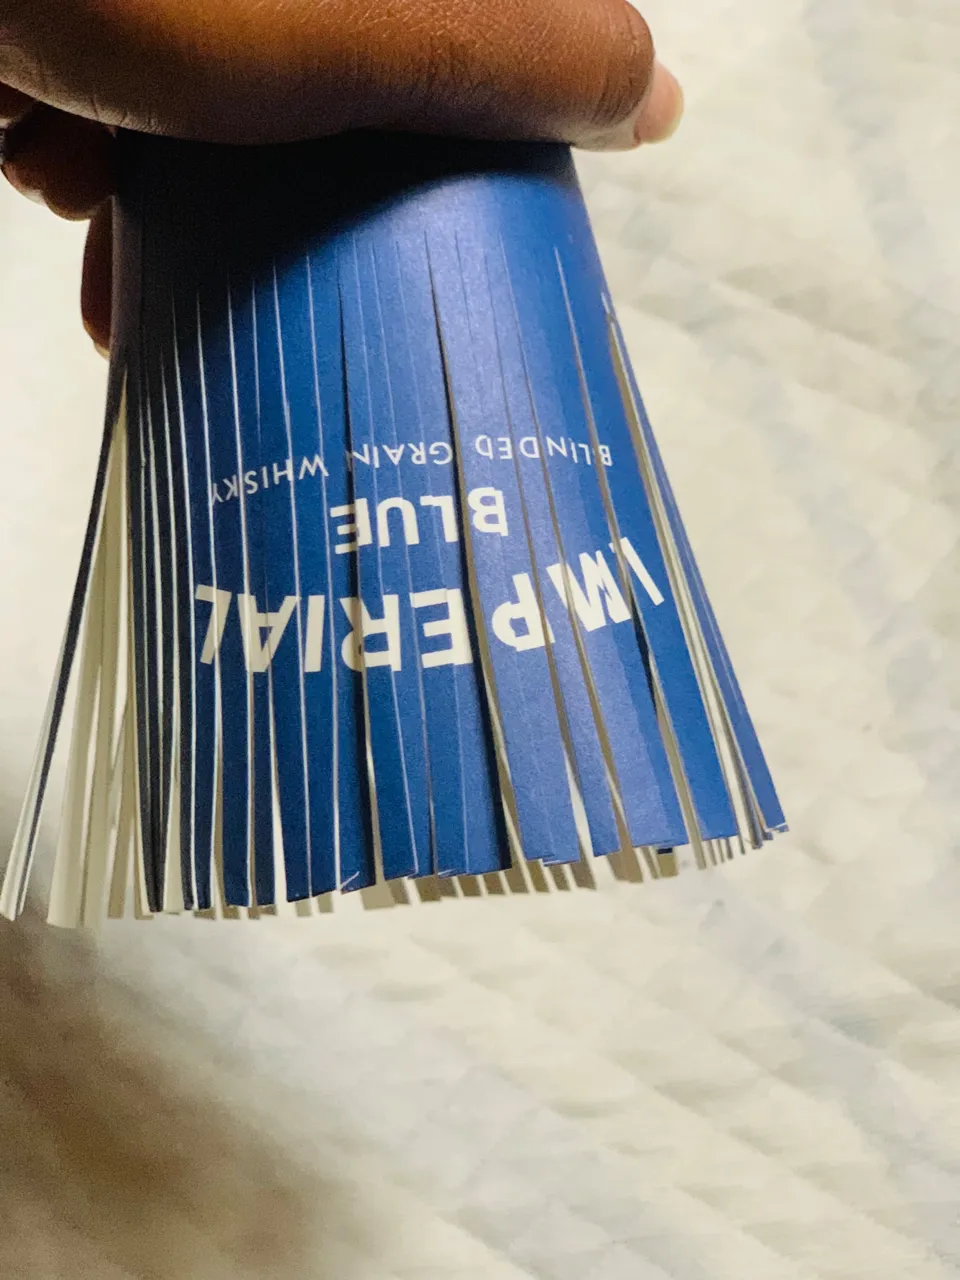
Step 1
Cut the top of the disposable cup, this is to enable you to cut the strips for the hat without any hassle.
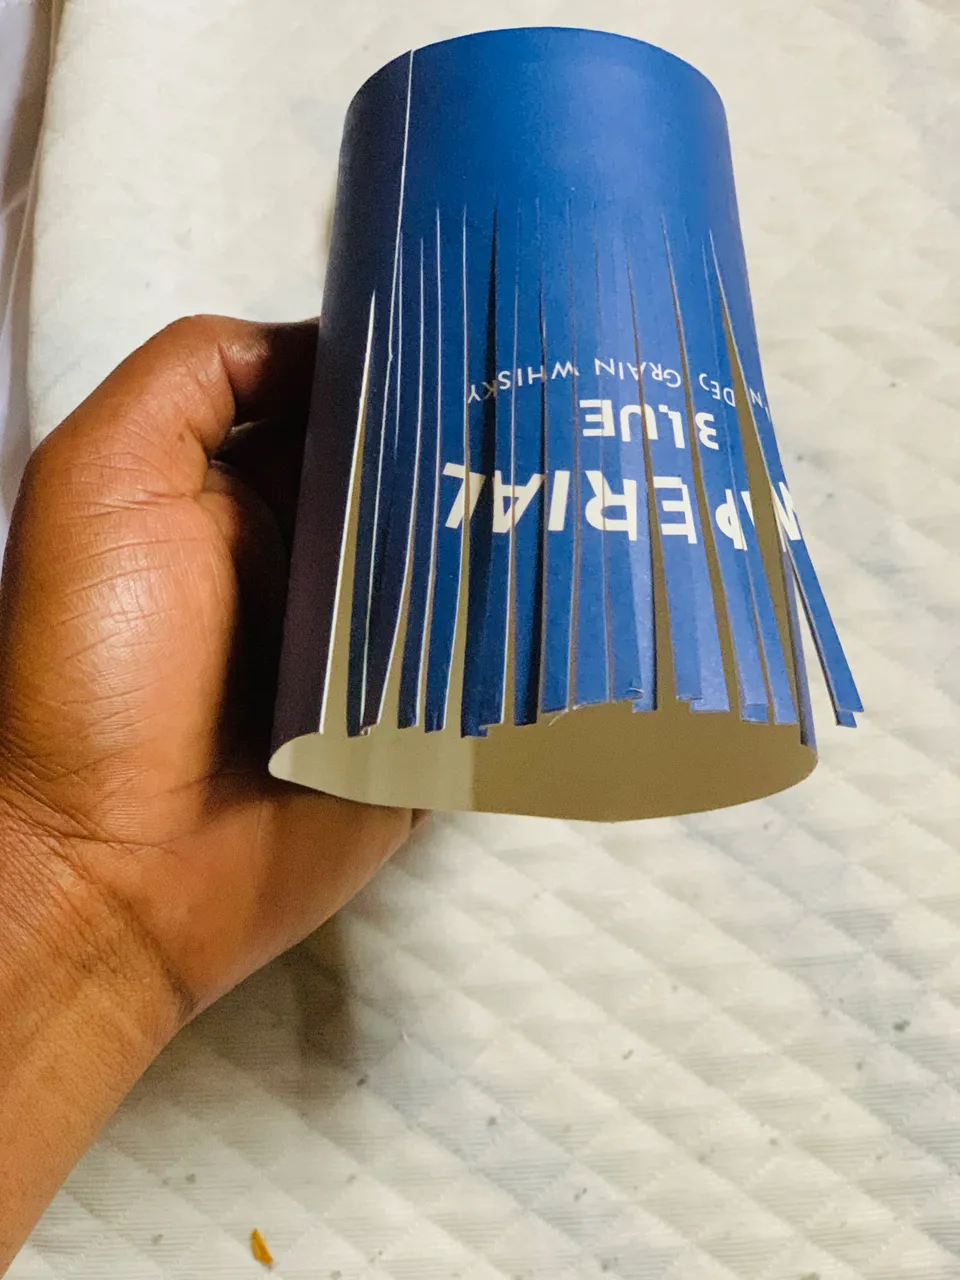
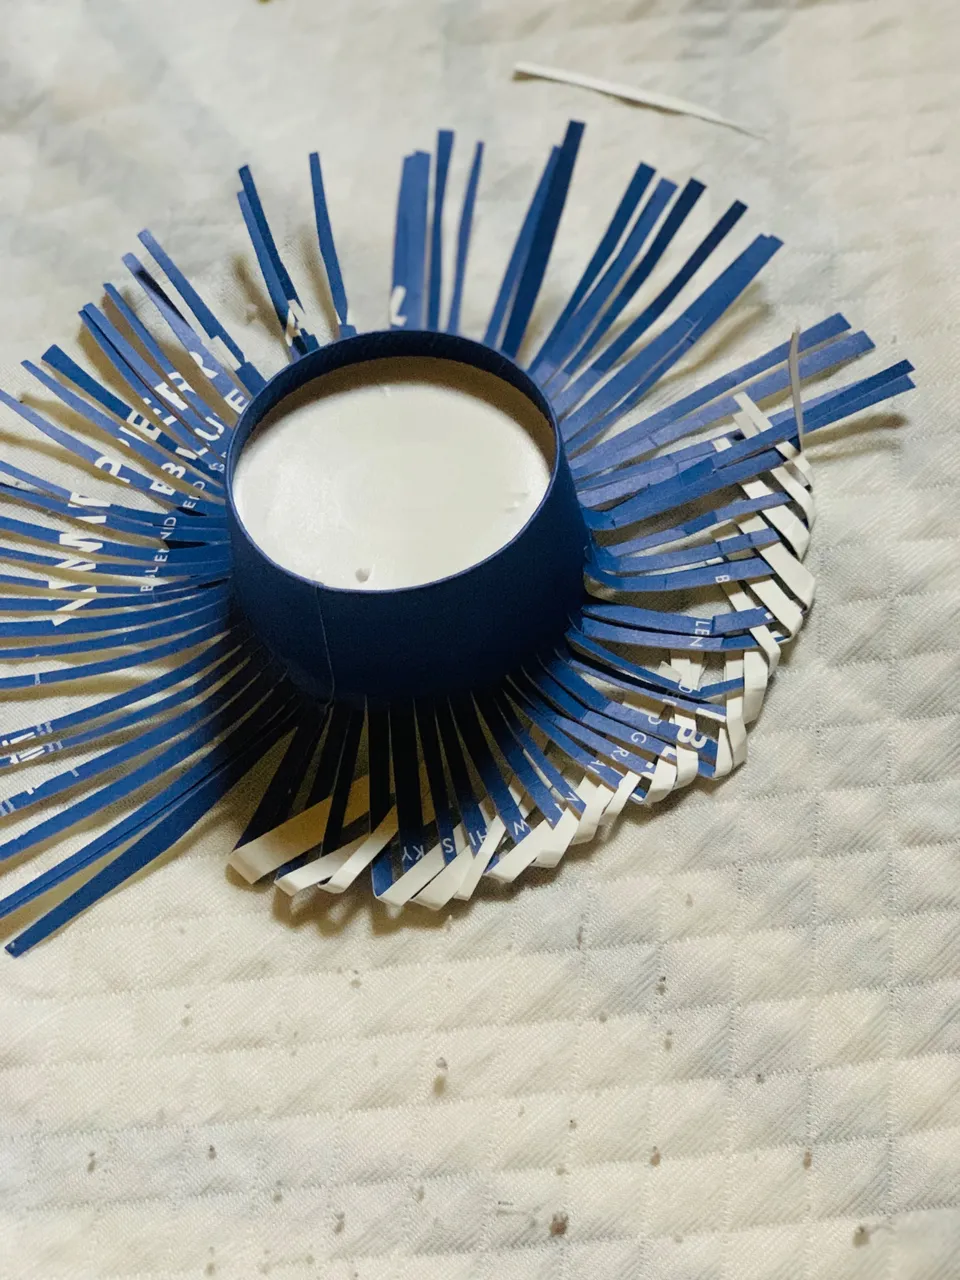
Step 2
Cut the strips to any size of your choice and repeat the process around the cup.
Note: The cutting process should be done neatly and carefully to avoid messing up the shape of the hat.
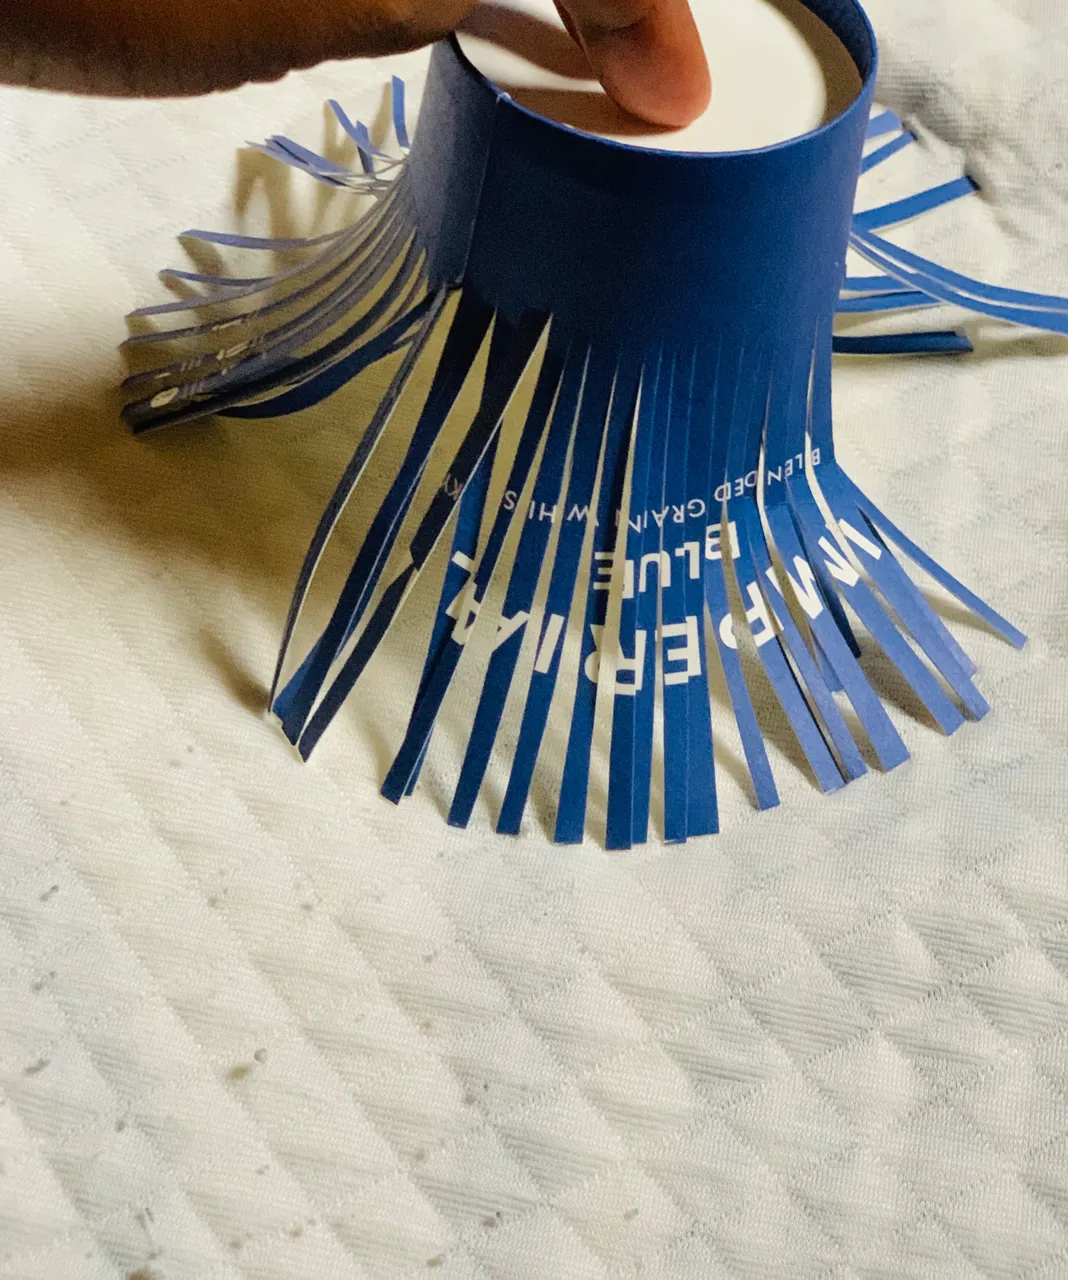
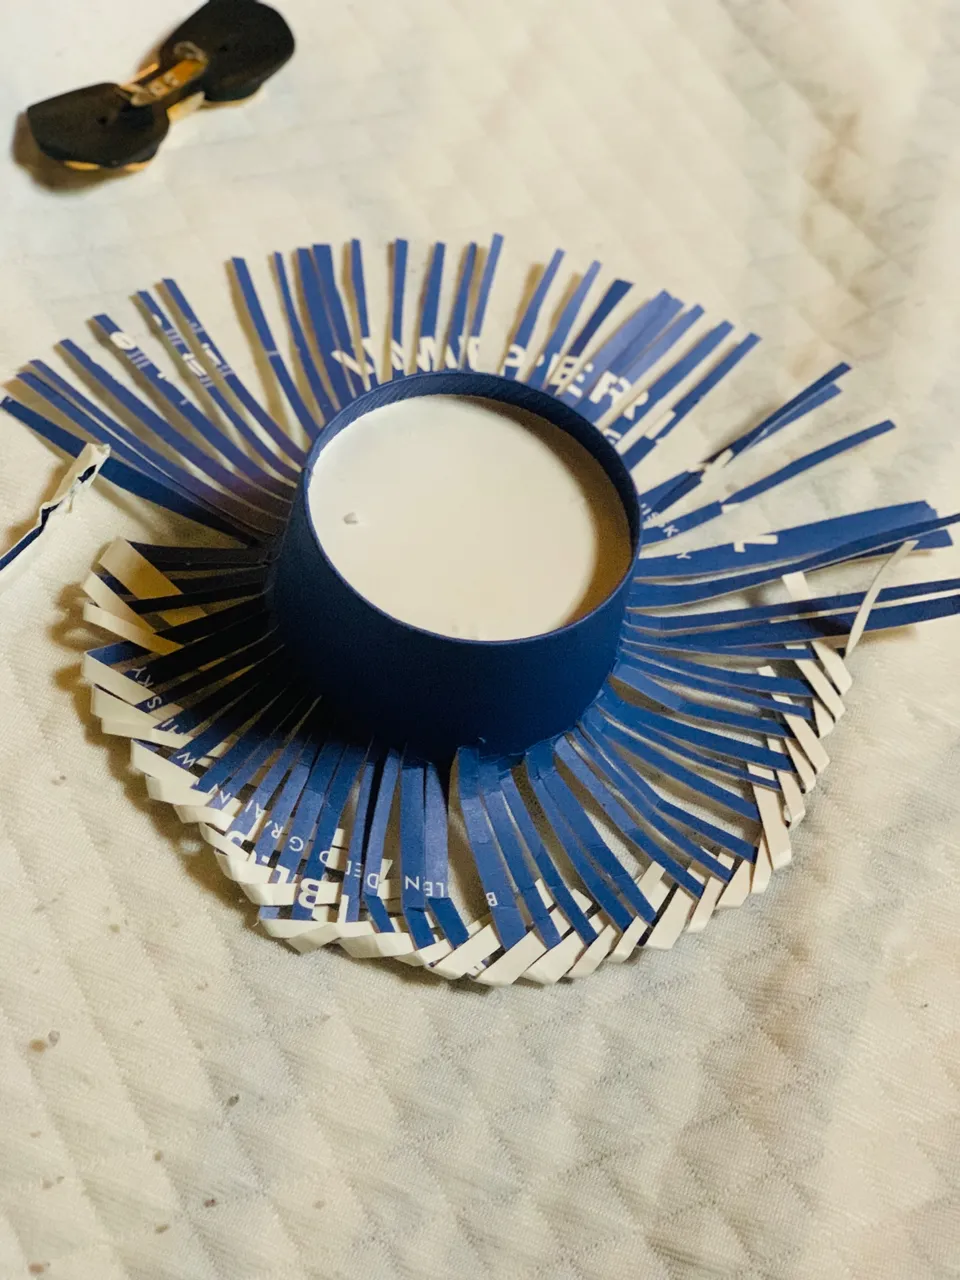
Step 3:
After cutting the strips around the cup gently press the cup down, be careful to not cut any of the strips while doing this.
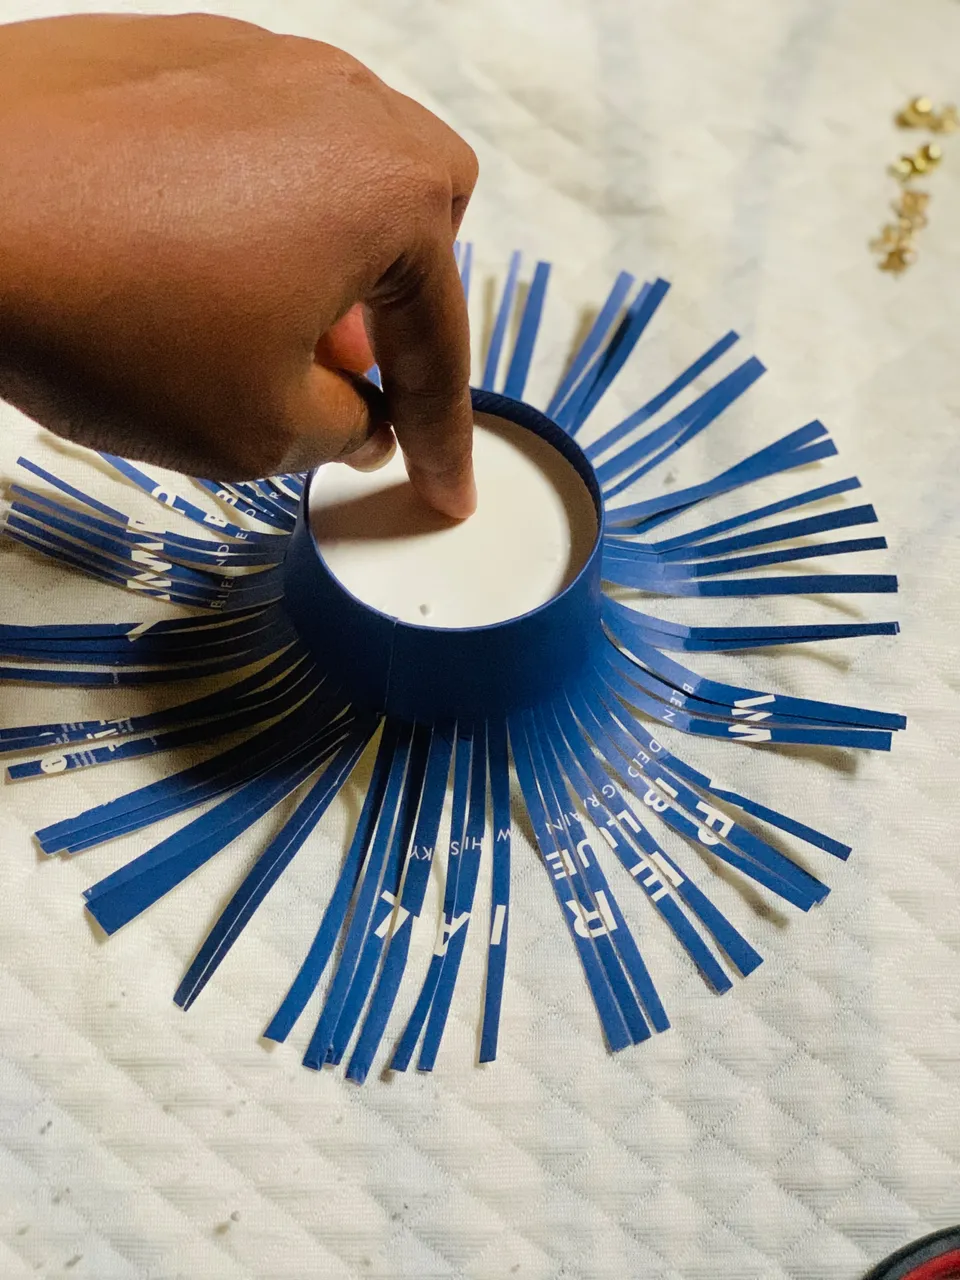
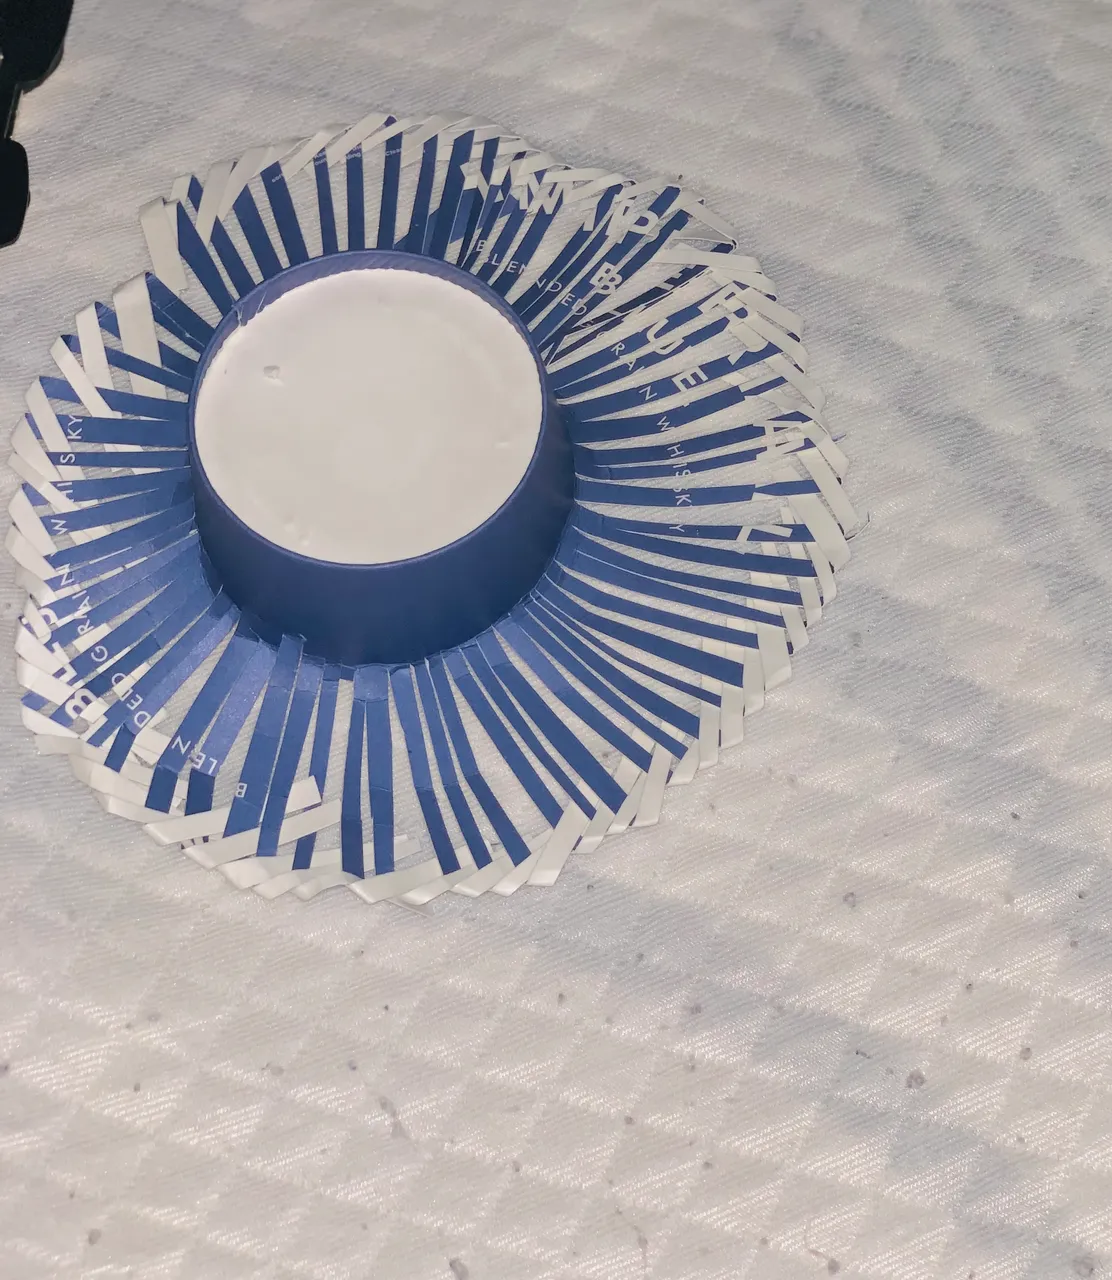
Step 4:
Start weaving, at first it might look like you aren’t doing anything meaningful but trust me you’re doing something amazing, just trust the process and you’ll get to see it when you’re done.
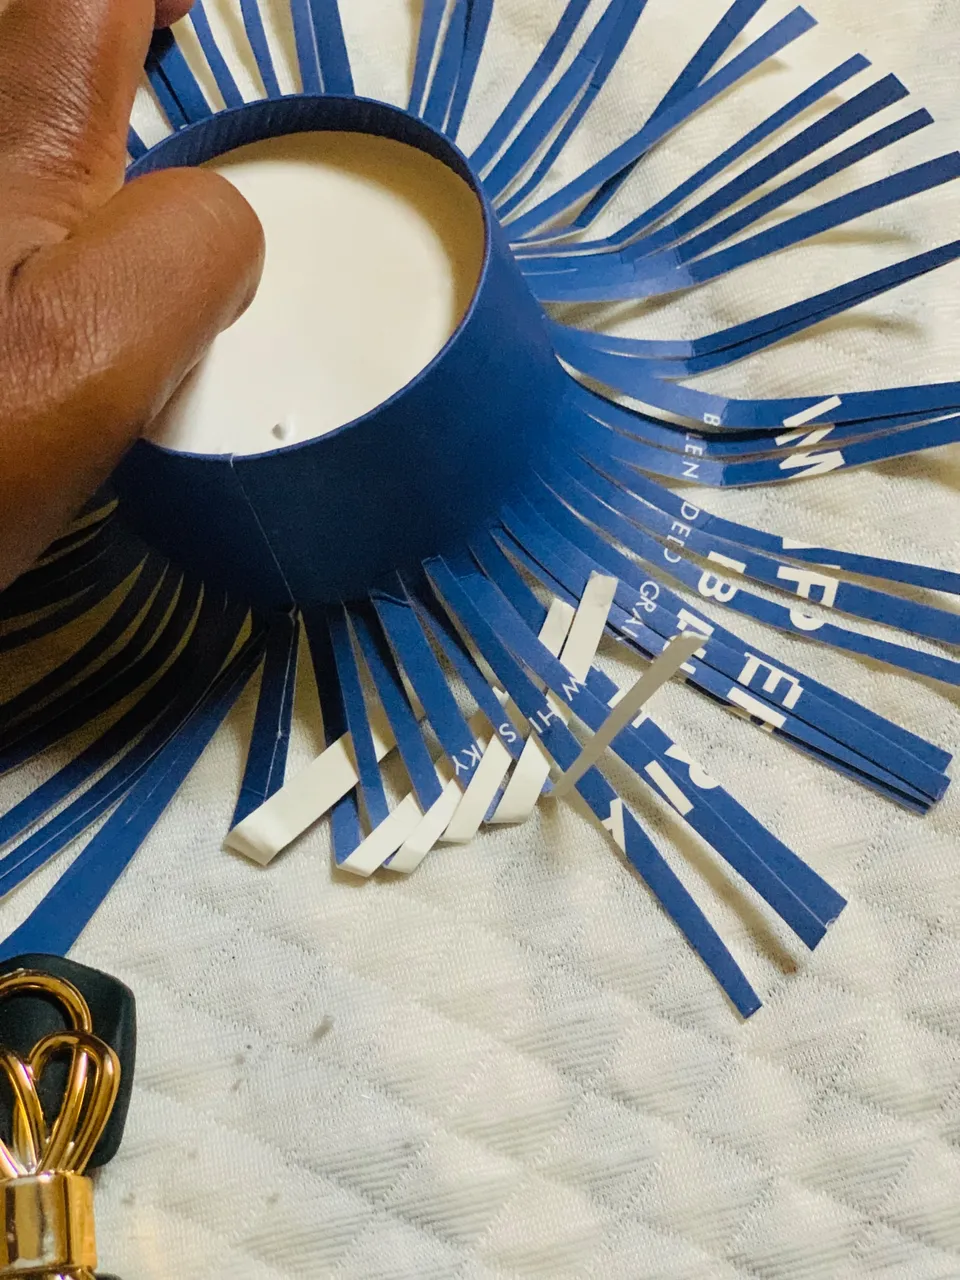
While you weave make sure you carefully arrange the already woven part of the hat, this is to prevent your hat from taking another shape.
Step 5: After weaving, get your nylon or any fabric of your choice. Pass the nylon through the bow.
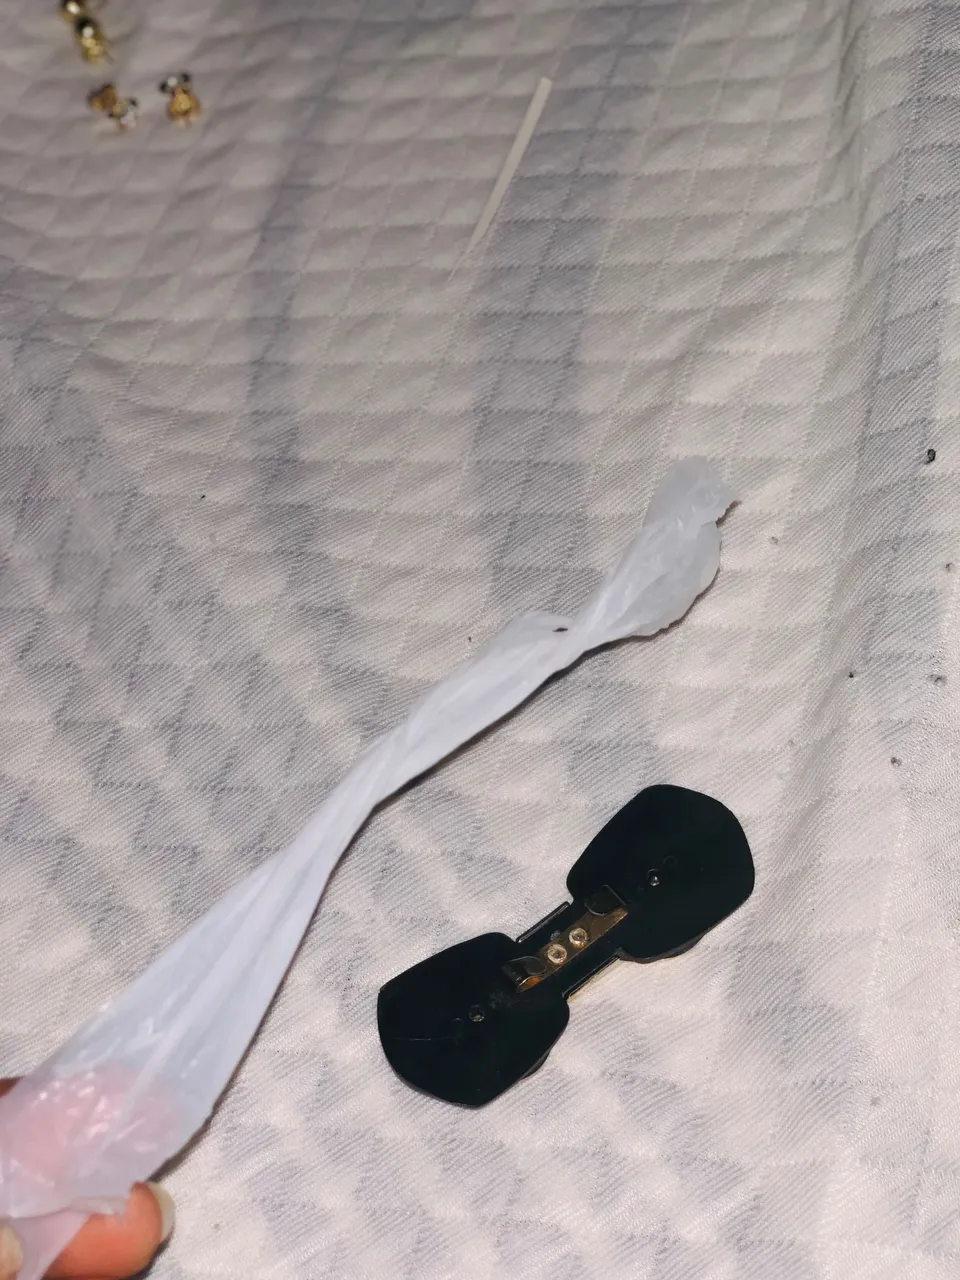
Step 6:
Gently place the bow and the nylon over your hat and Voila! Your mini hat is ready😃😃
If there’s one thing I learnt today it is the beauty in simplicity, you don’t need to break the bank to make something this beautiful.
All images are mine except otherwise stated.
Thanks for stopping by
Loads of Love🥰🥰
XOXO