Hello there!😊
Welcome back; you already know what it is; it is our little adventure, and today we are making a beaded letter "W" dedicated to one of the most amazing hivers I know. She is lovely and easygoing; if you ever cross-part with her on the chain, you will be glad, and if you haven't, I would like you to visit her page.
Should I spill her name just yet? No way, tag along and you shall find out this beautiful Hiver soon enough 😊
Before we begin, allow me to share with you a little proud mom moment I experienced yesterday. This experience is further proof that beading these letters for my son is a smart 🤓 move.
I was wearing this particular shirt that NEW YORK was written on the front; immediately my son sighted the word; he just pointed out the R and then called out the letter "R." I was so happy because it's a sign that my effort is yielding a positive result.
I told the father to start thinking of paying me. After all, I'm already doing his future school teacher's job. Just kidding 😂 lol.
Alright, back to our today's business.
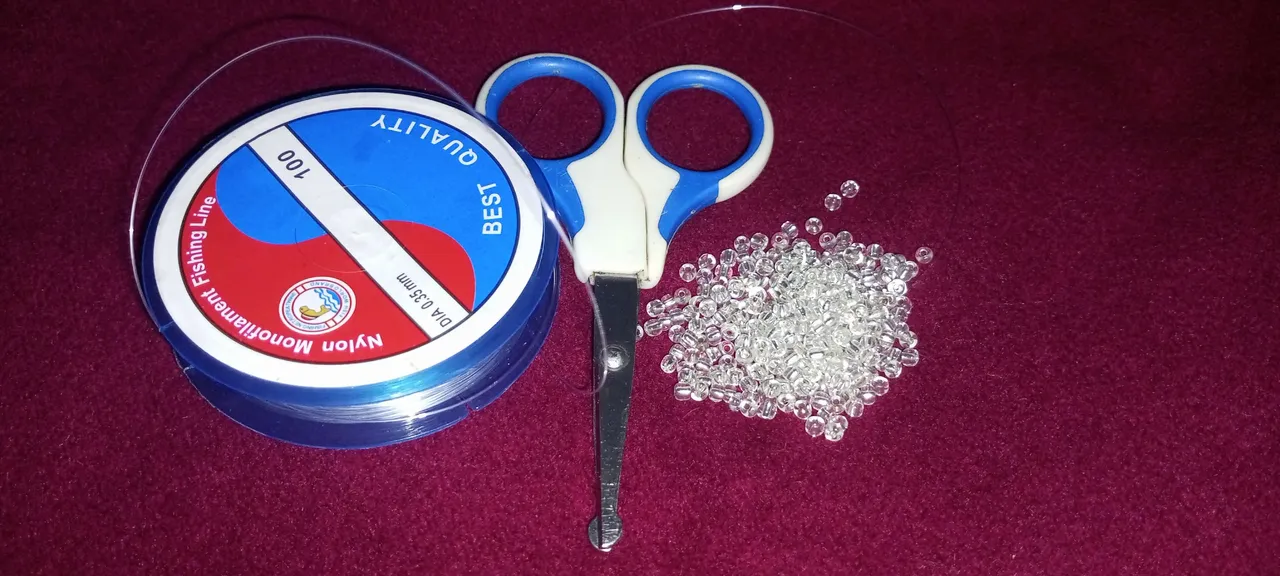
The material used:
✓silver seed beads
✓O.35 fishline
✓and scissors
Step-by-step process
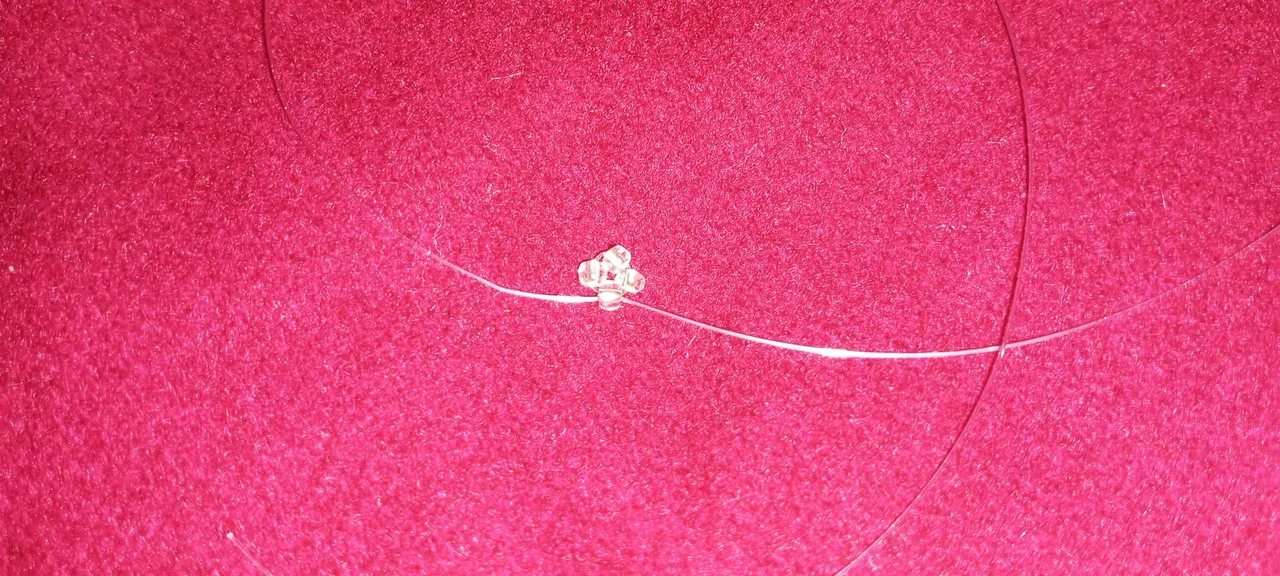
Step 1:
First thing, we want to make six rings of beads. We start by Cutting a 5 cm long fishline, putting four beads in it, and crossing both lines with the fourth bead.
Step 2:
We put one bead to the left fishline and one bead to the right fishline and crossed both lines with one bead.
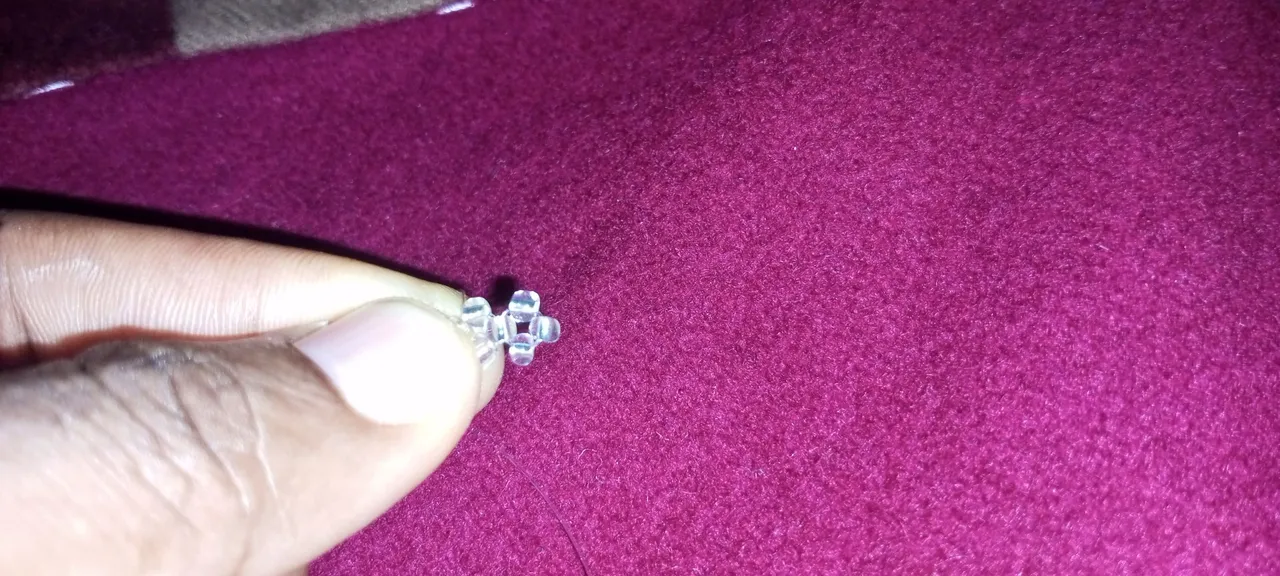
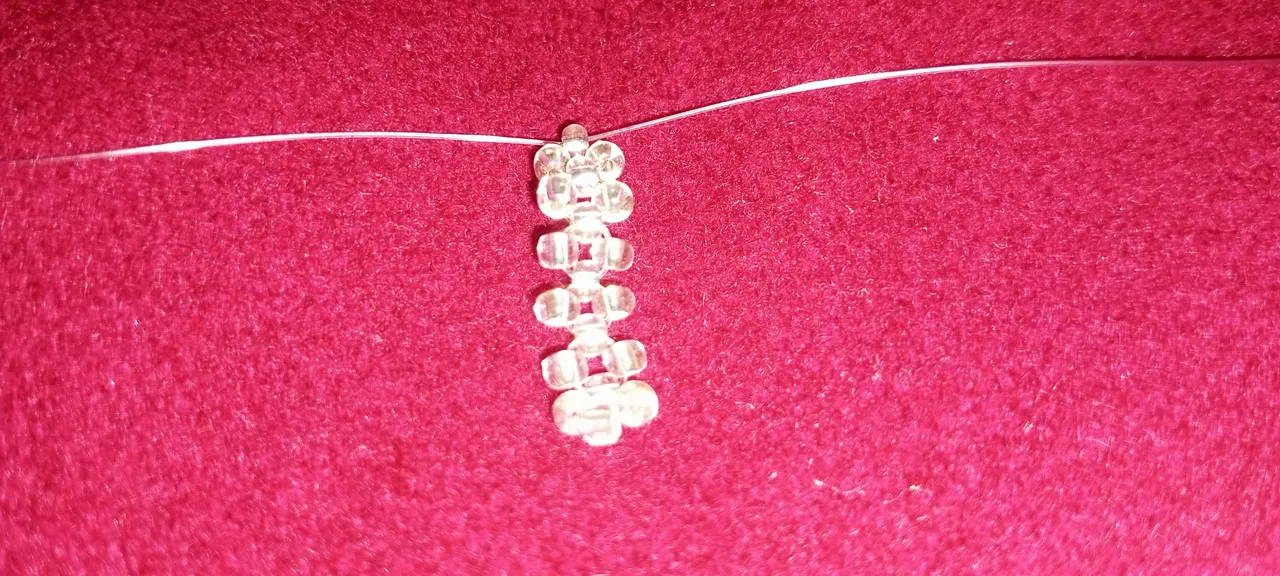
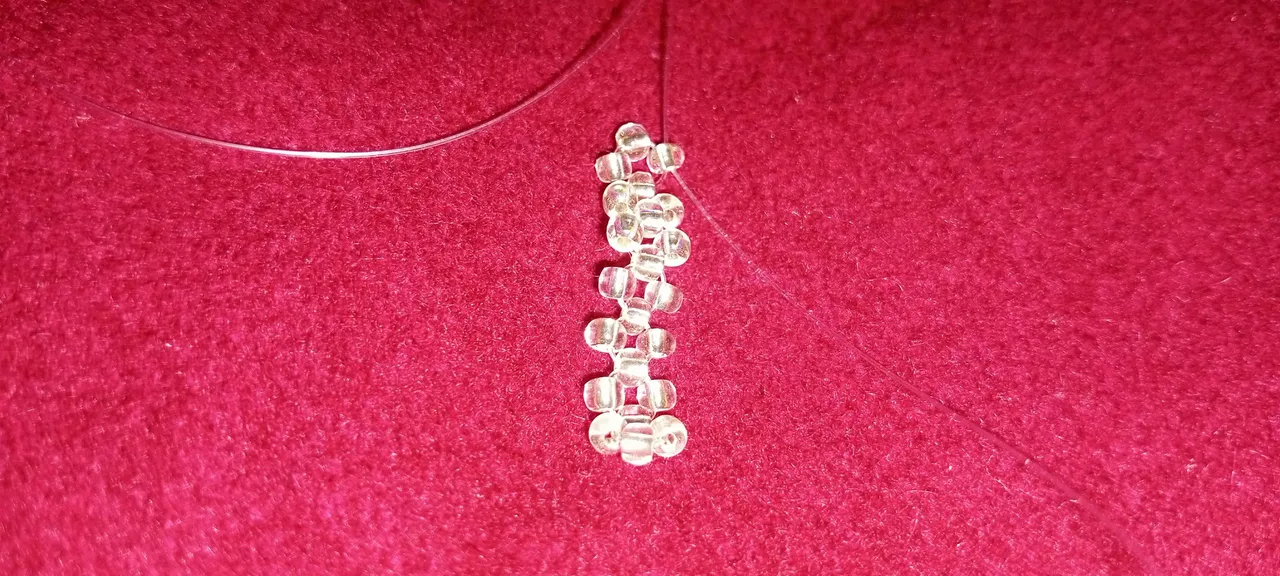
Step 3:
We continue to repeat step 2 above until we have our six rings of beads.
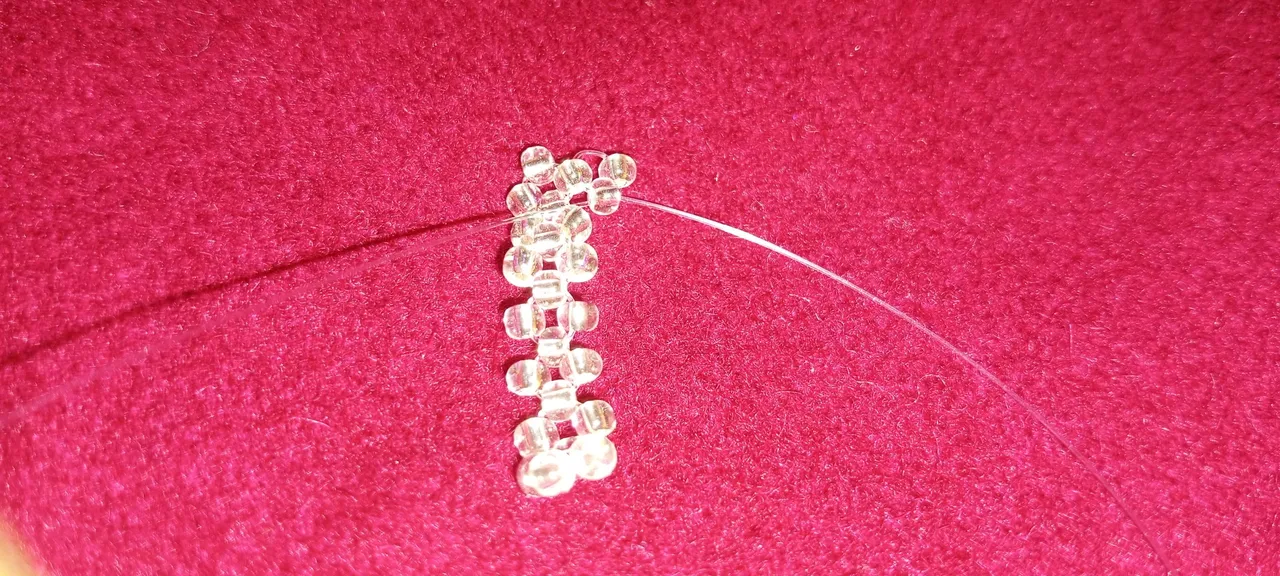
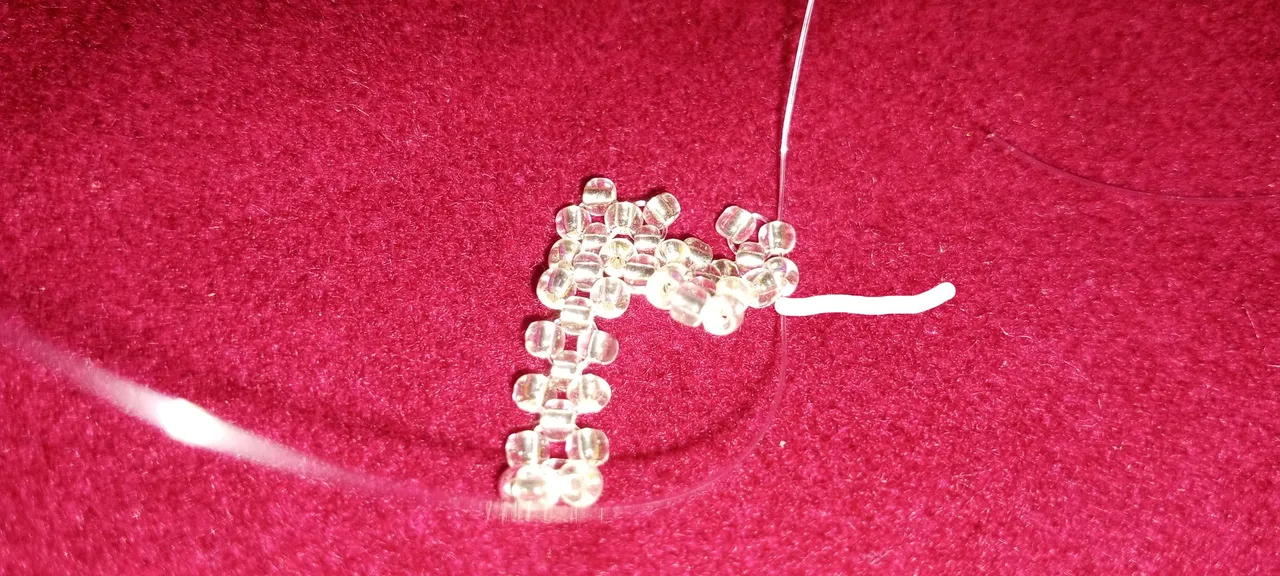
Step 4:
We put two beads on the left fishline and one bead to cross both lines. This will make the line turn as seen below 👇
Step 5:
We put one bead to the left fishline and crossed both lines with one bead.
Step 6:
Pass the fishline on the left to the next bead, as marked in the image below.

Step 7:
We put one bead on the right fishline and crossed both lines with one bead.
Step 8:
We put one bead to the left fishline and one bead to the right fishline and crossed both lines with one bead.
Step 9:
We put one bead to the left fishline and one bead to the right fishline. Then I crossed both lines with one bead.
Step 10:
We put one bead to the left fishline and one bead to the right fishline and crossed both lines with one bead.
Step 11:
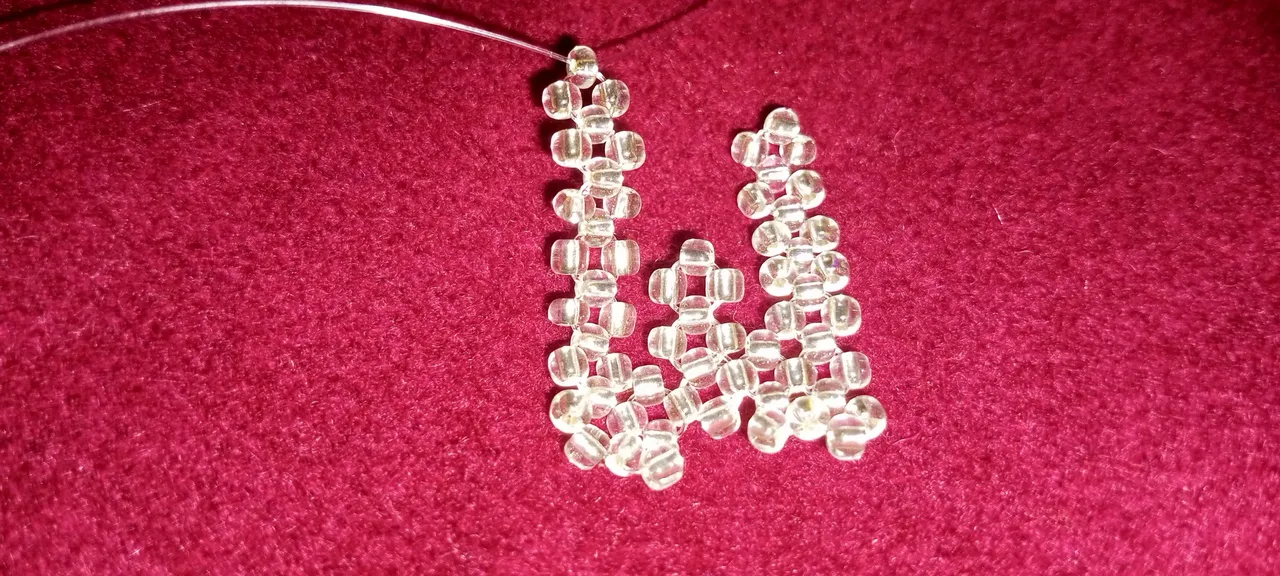
We pass the two fishlines to come out at the third bead as marked below.
Step 12:
We put one bead to the left fishline and crossed both lines with one bead.
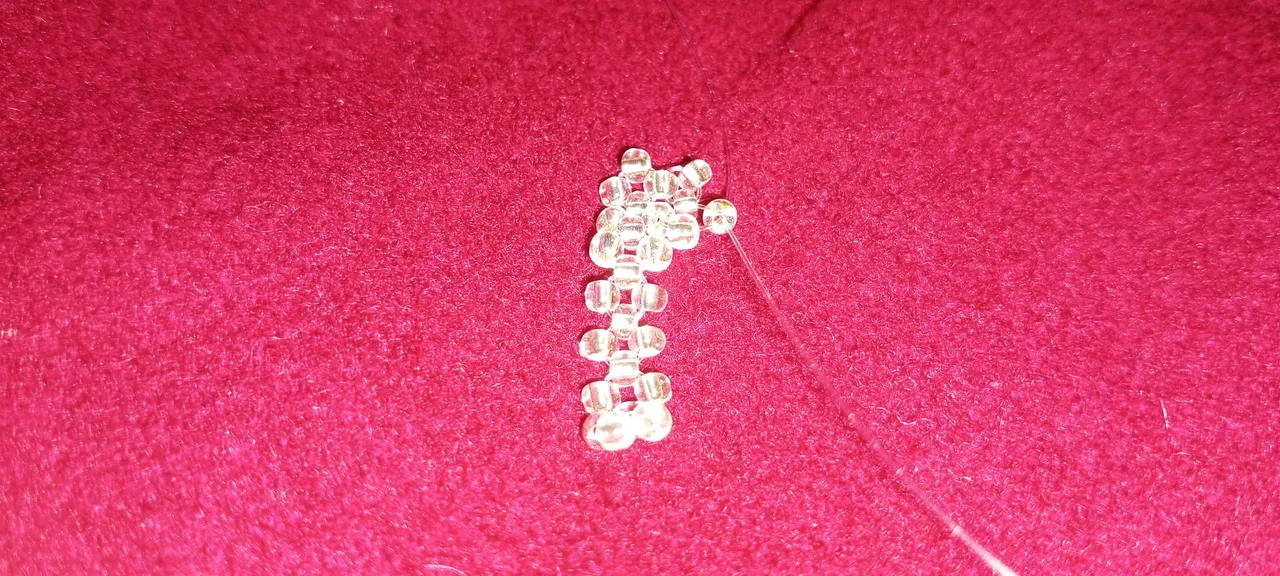
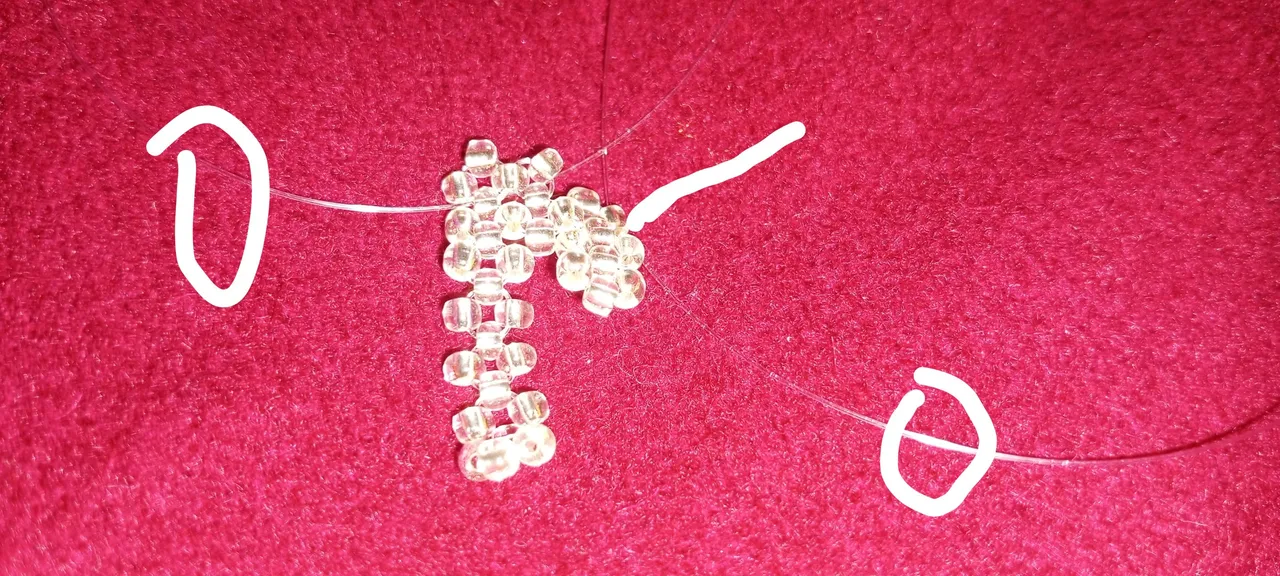
Step 13:
We pass the fishline on the right-hand side to the closet bead as marked below.
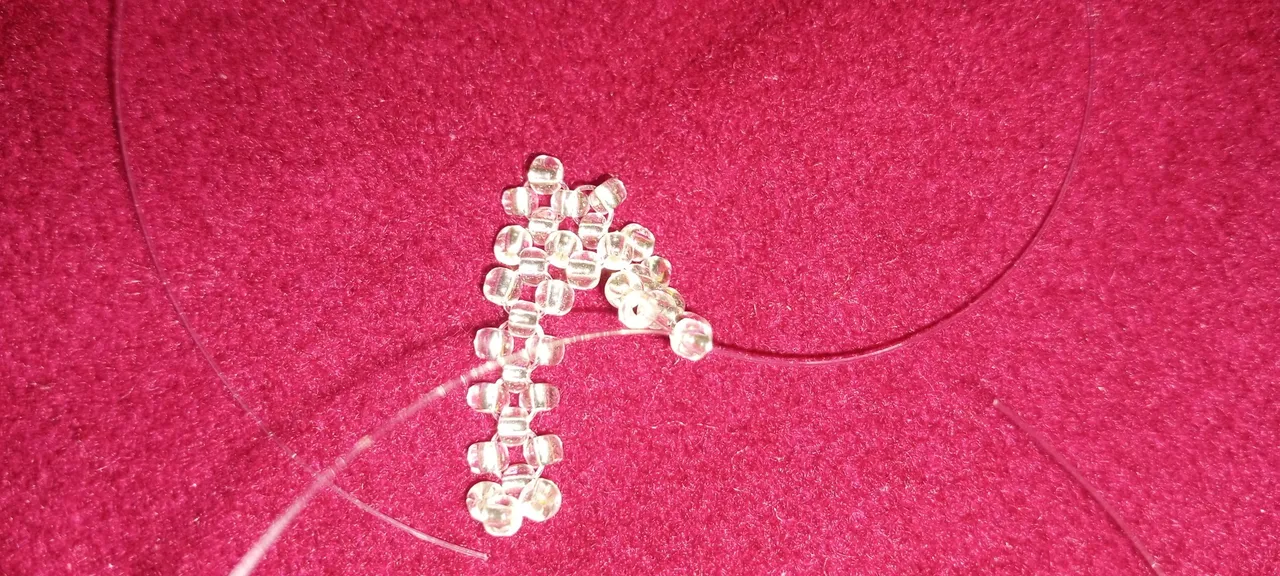
Step 14:
Here we start to make the second leg of the "W" by putting two beads on the left fishline and one bead to cross both lines.
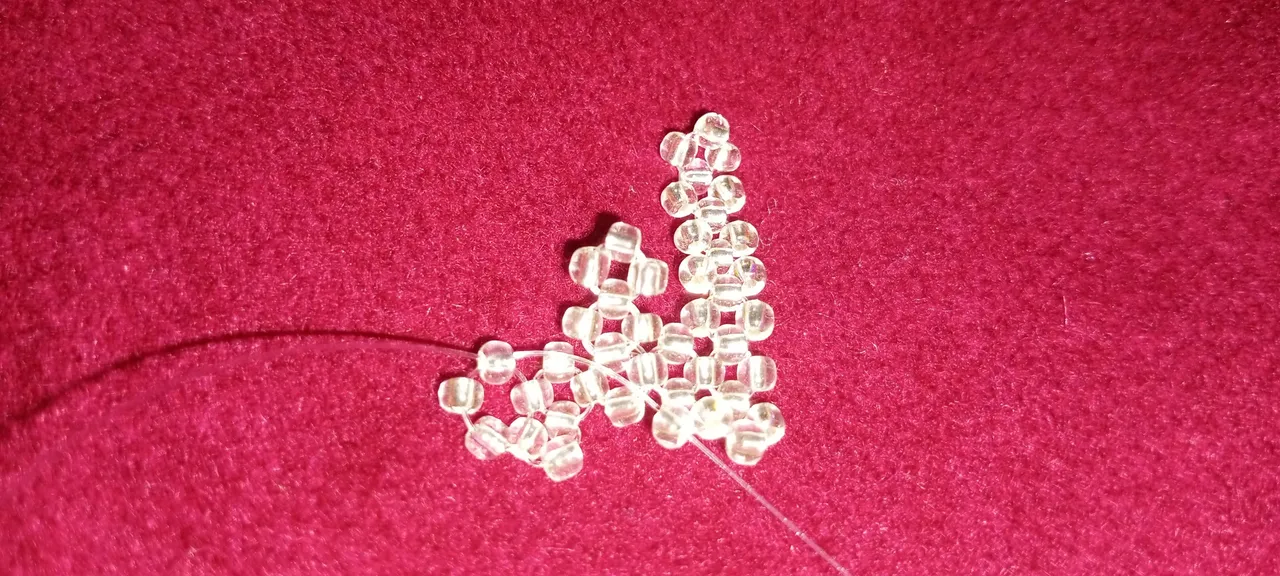
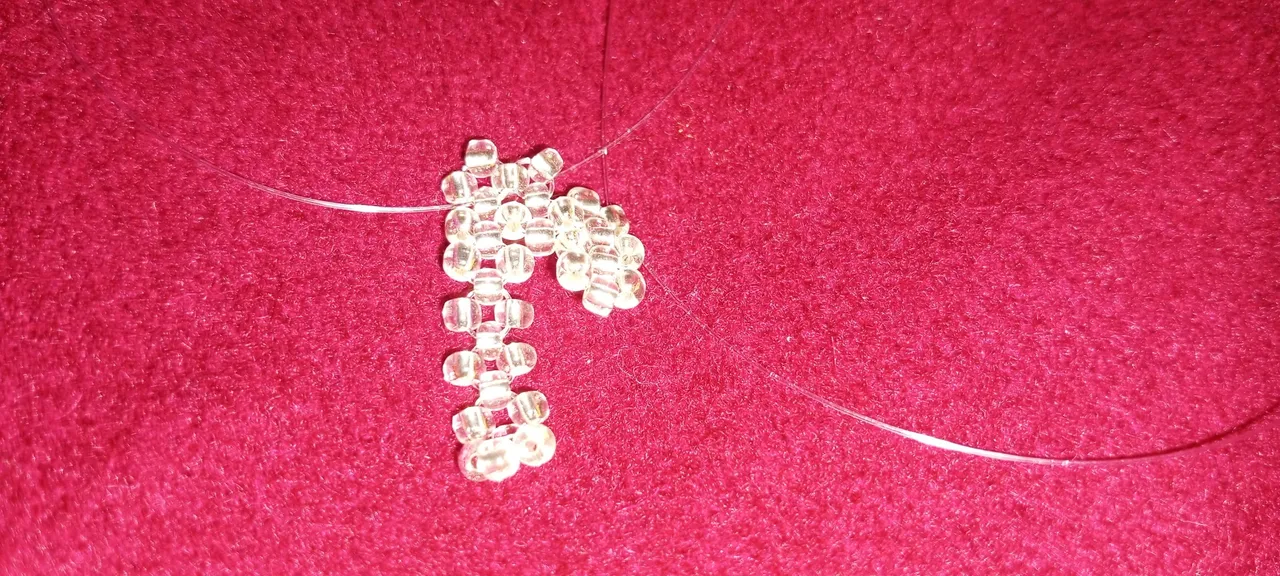
Step 15:
We put one bead to the Left fishline, one bead to the right fishline, and one bead to cross both lines.
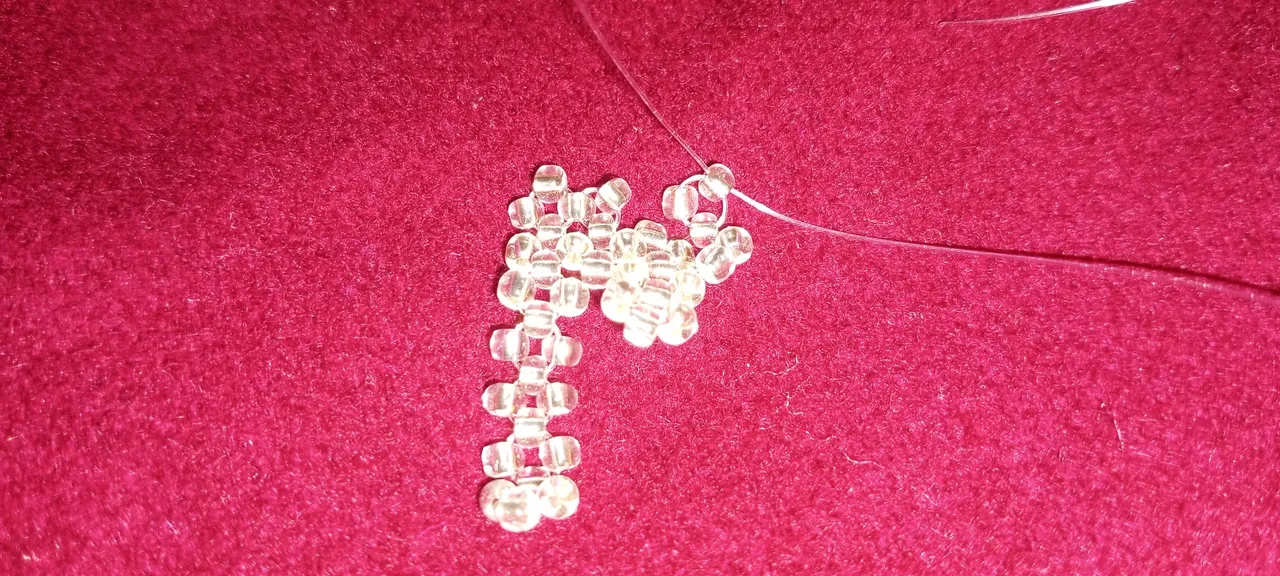
Step 16:
We put one bead to the left fishline, one bead to the right fishline, and one bead to cross both lines
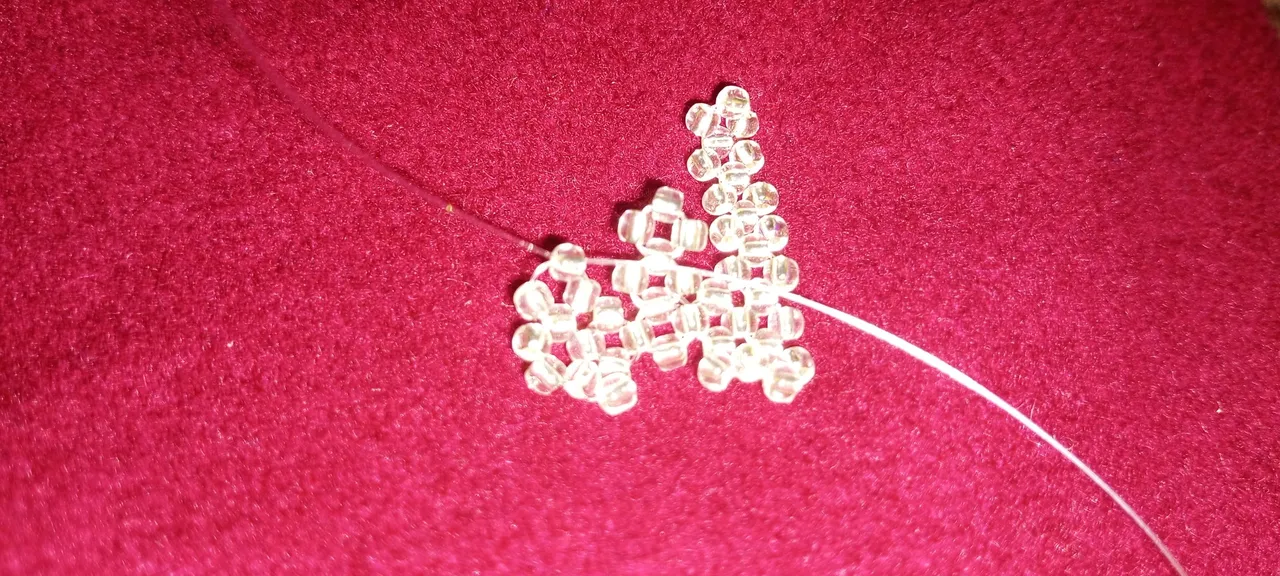
Step 17:
To complete the two legs of our "W," we put one bead to the left fishline, one bead to the right fishline, and one bead to cross both lines.
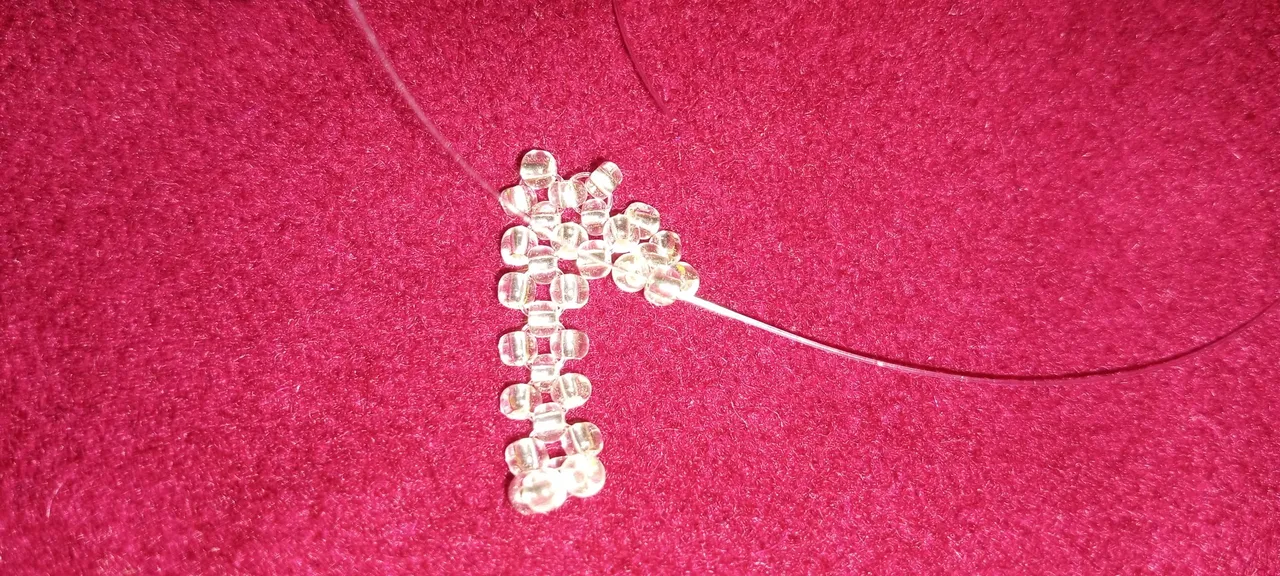
Step 18:
We tied the knots, trimmed off the excess fishlines, and we have half part of our "W."
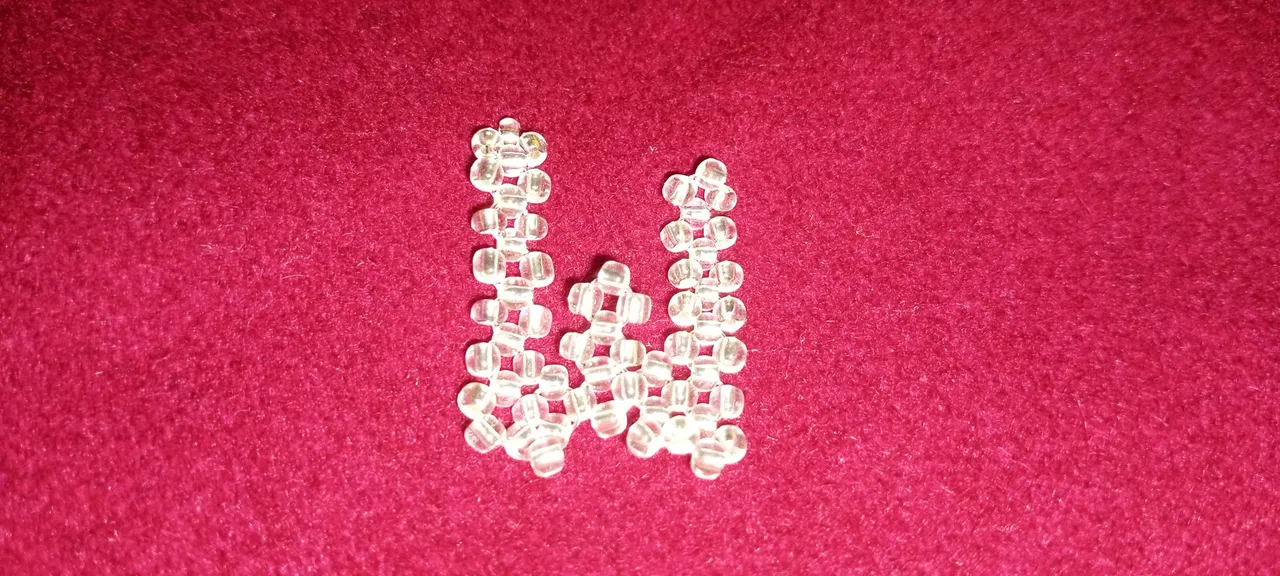
Step 19:
We simply repeat steps 1 to 18 above to make the other half part of the "W".

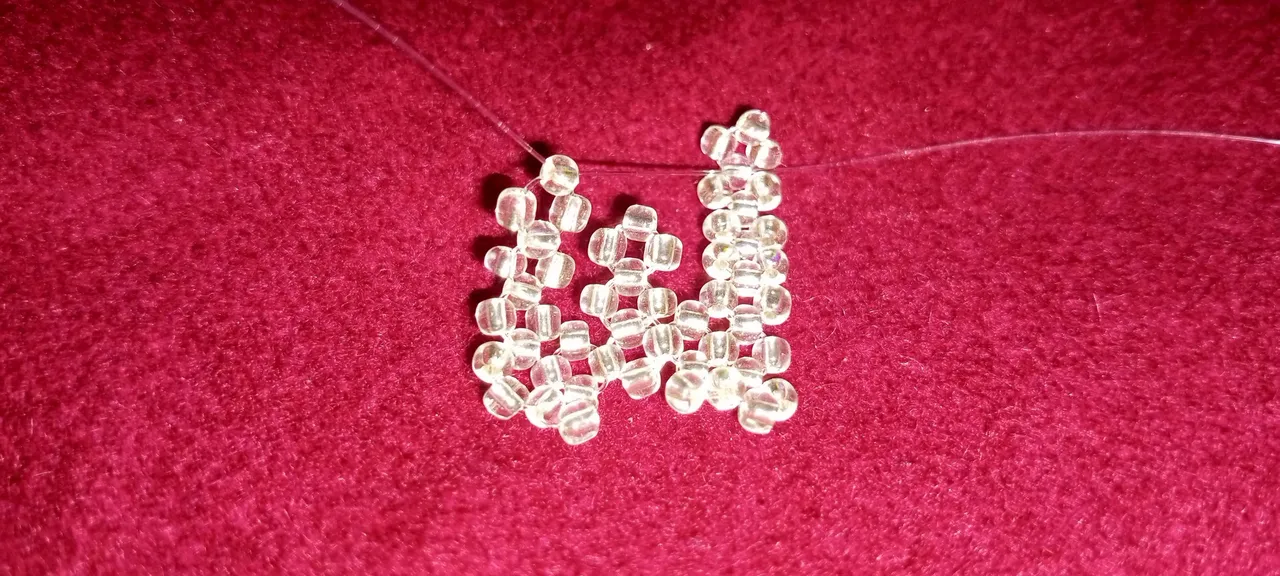
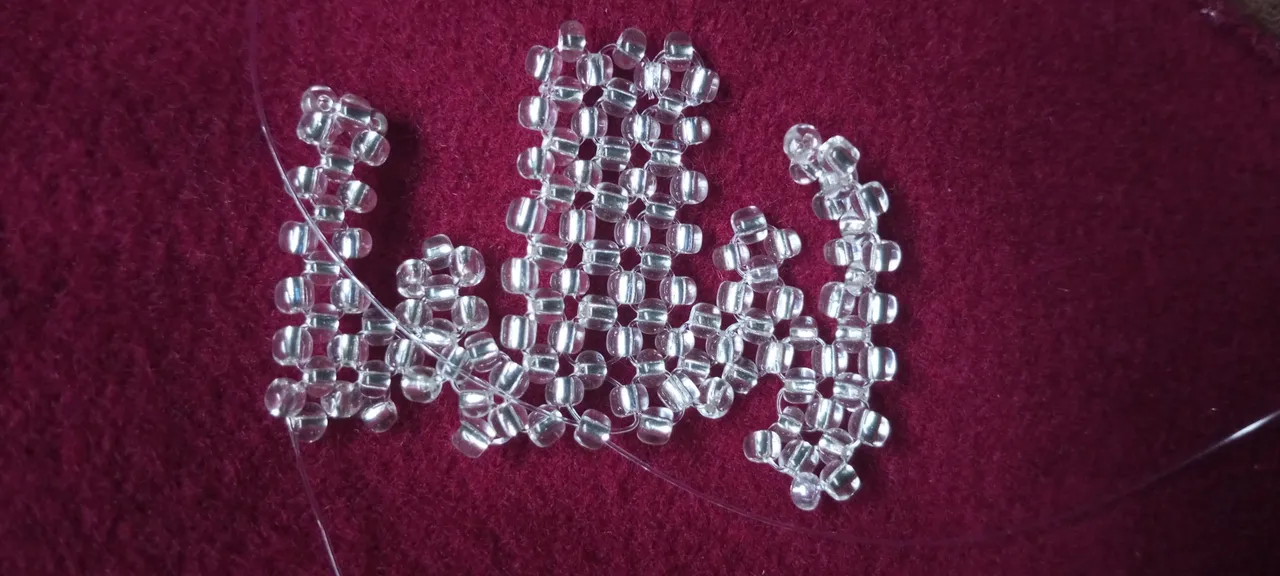
Step 20:
We proceed to join the two half parts of the "W" by continuously passing one bead around the two half parts to get our beaded Alphabet.
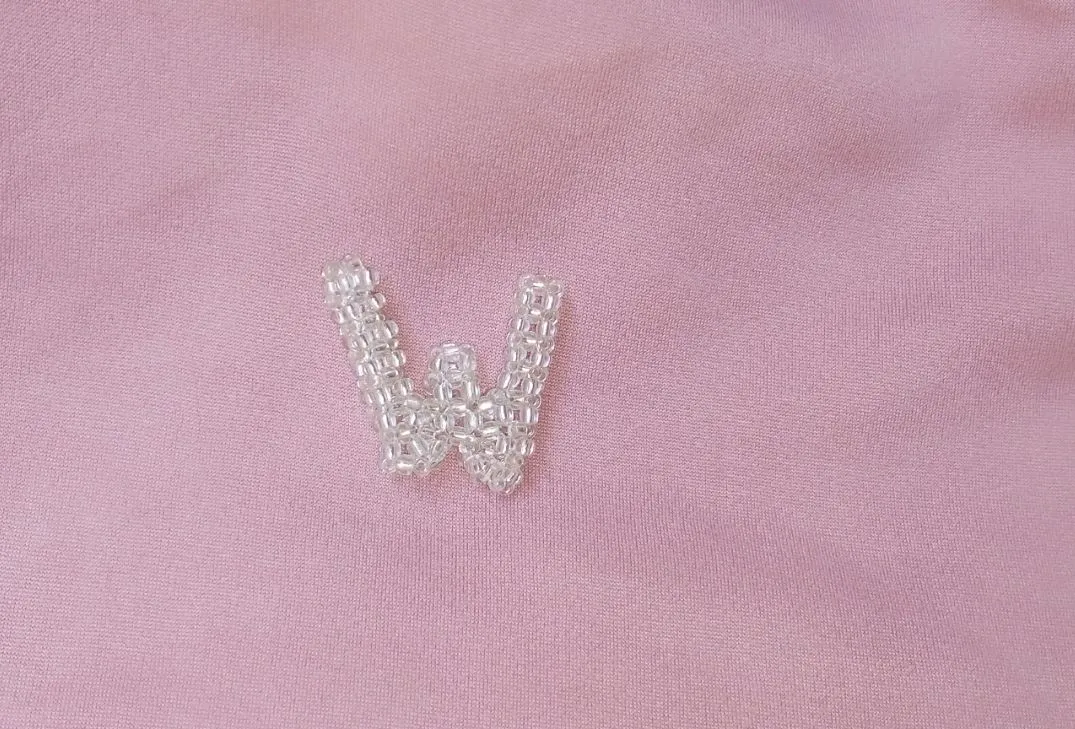
Made with love ❣️ dedicated to our dearest friend @wongi 😊 I hope she likes it.
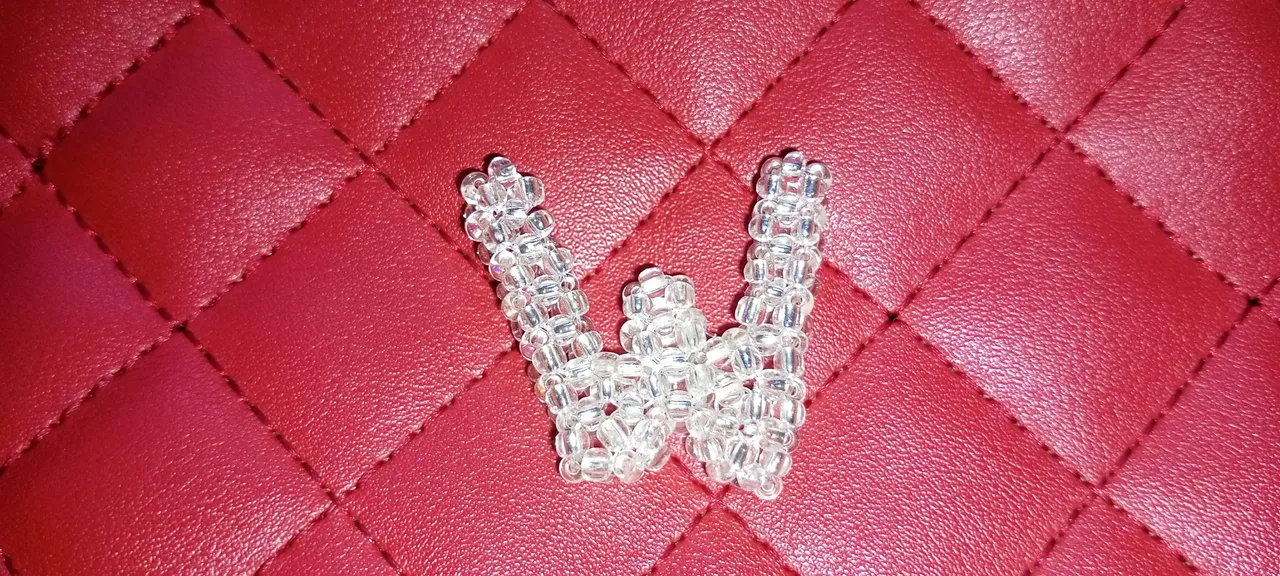
I love these silver seed beads so much, they feel so sleek on the hands, but photos do not do justice to it.

I started to bead alphabetic letters for my 2 years old son a while ago as part of his educational learning material, if you miss my previous beaded alphabets you can find them here and if you tell me your favorite letter, you will get a mention when I post about it.
Thank you so much for your attention and support. 🙏❣️ do have a great day.
All images are mine
@funshee ✍️😊❣️