Hello There!😊
Welcome again to our little adventure of the beading alphabet; this time, we are making the letter R for a special Hiver. A while ago, @reggiesart said he would love to see us bead the letter R, so here we are dedicating this letter to him.
If you tell me your favorite letter in the comment section, you will get a mention from me when I make the letter, provided I haven't beaded it yet. Also it's going to be on a first come first serve basis. 😊
So now let's get to beading.
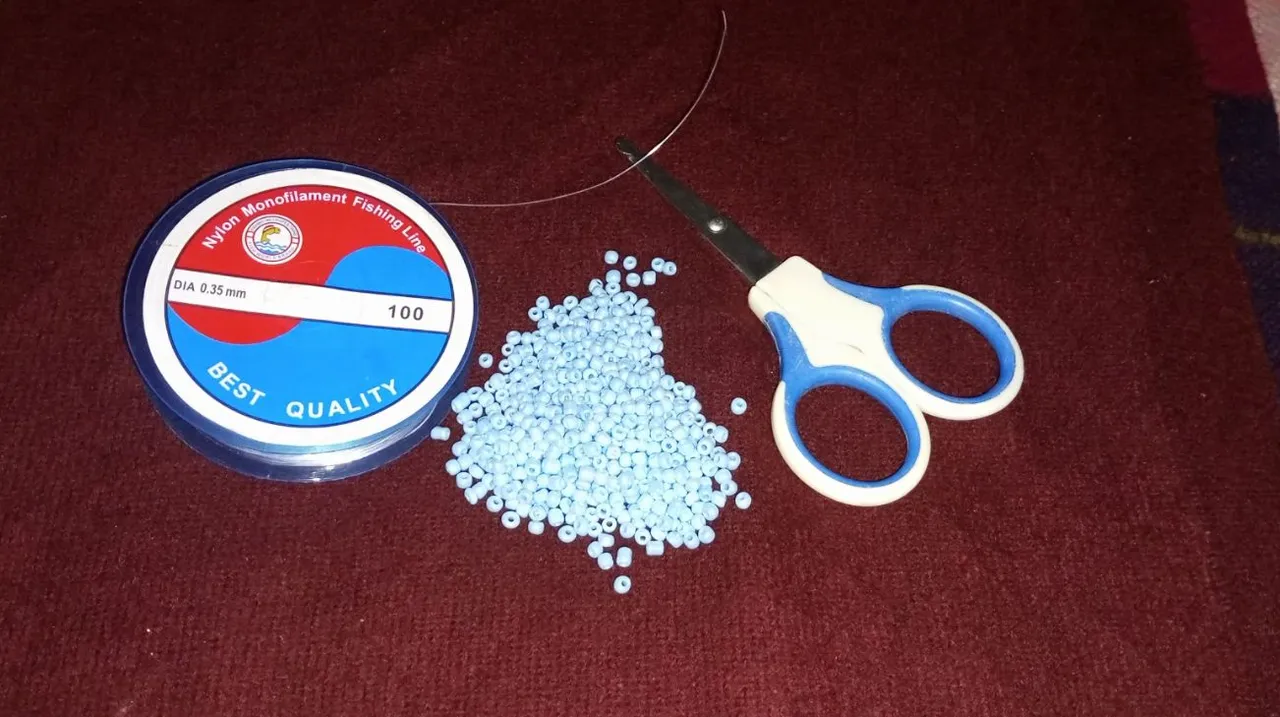
Material used:
✓Sky blue seed beads
✓Size 0.35 Fishline and
✓A scissor
Step-by-step process
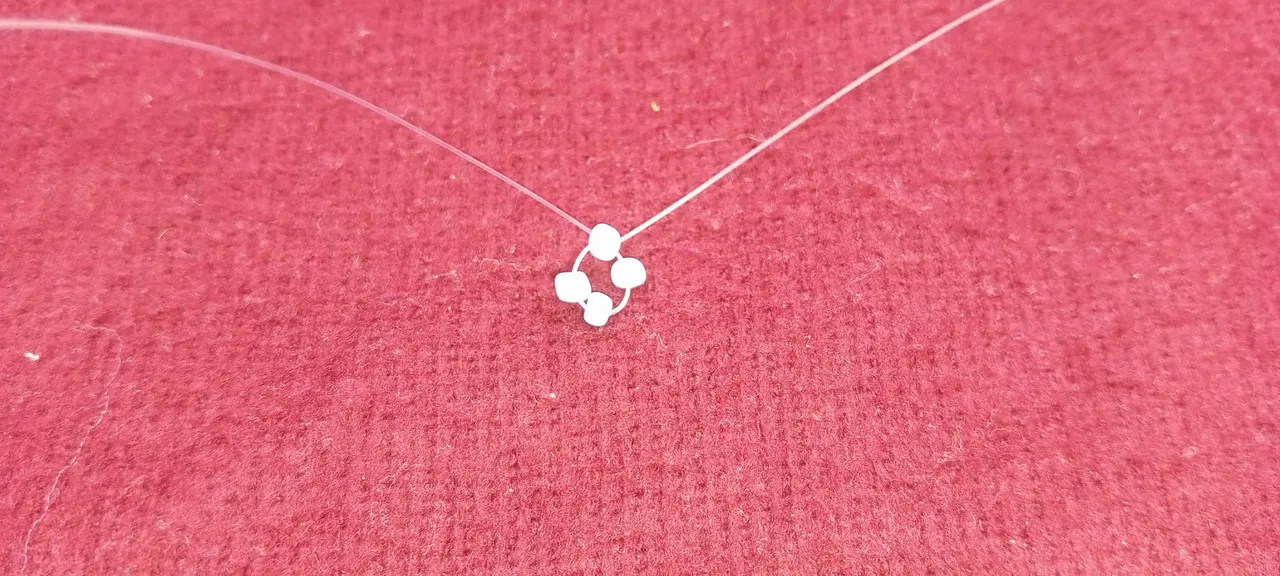
Step 1:
I cut a 5 cm long fishline, put 4 beads in the fishline, and then crossed both lines with the 4th bead.
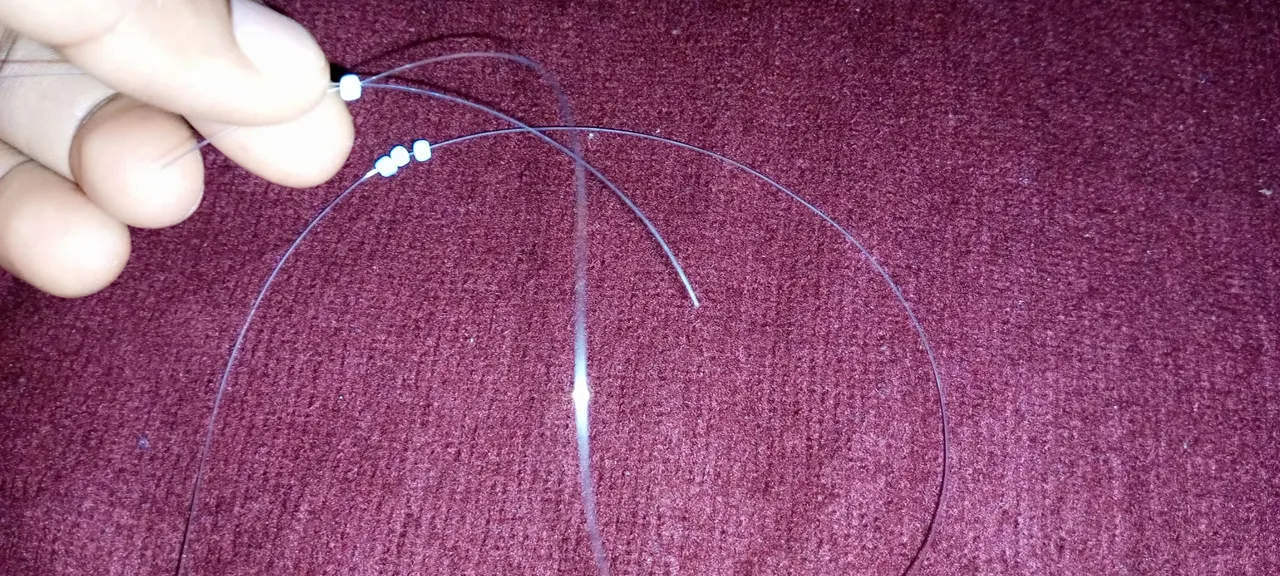
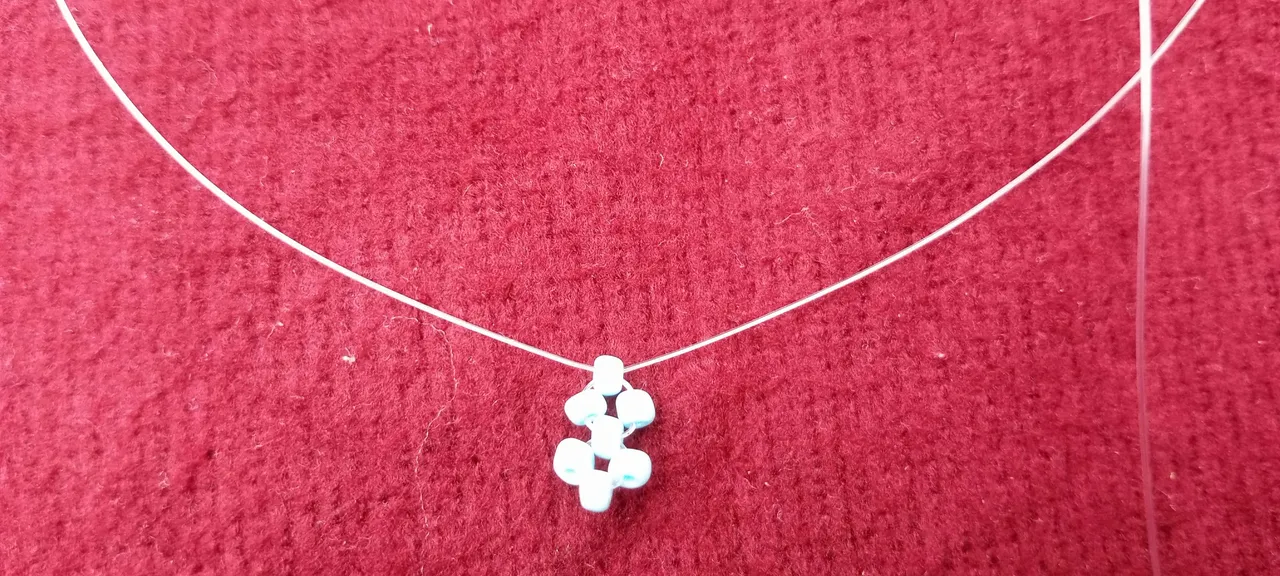
Step 2:
I put 1 bead to the left fishline,
1 bead to the right fishline and then cross both lines with 1 bead.
Step 3:
I put 1 bead to the left fishline, 1 bead to the right fishline, and then crossed both lines with 1 bead. Continue this process until we have 6 rings of beads.
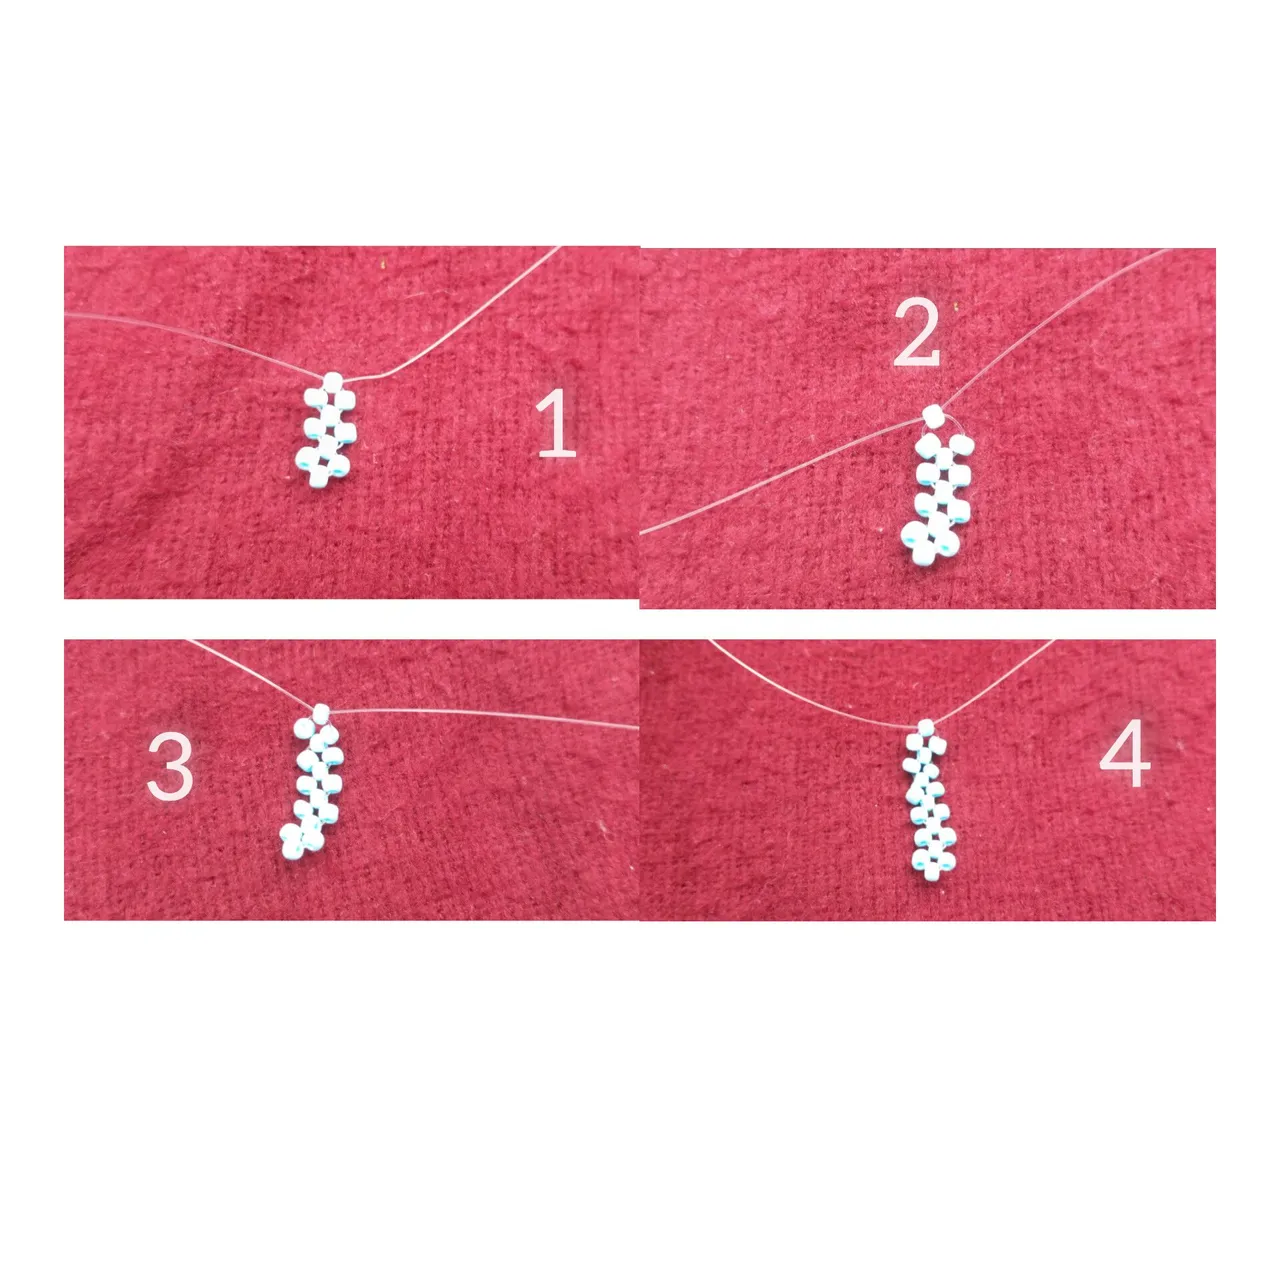
Step 4:
I put 2 beads to the left line and I bead to cross both lines.
Step 5:
I put 1 bead to the left fishline, 1 bead to the right fishline, and then crossed both lines with 1 bead.
Step 6:
I put 1 bead to the left fishline, 1 bead to the right fishline, and then crossed both lines with 1 bead.
Step 7:
I put 1 bead to the left fishline and then crossed both lines with 1 bead.
Step 8:
I put 1 bead to the left fishline, 1 bead to the right fishline, and then crossed both lines with 1 bead.
Step 9:
I put 1 bead to the left fishline, and then 1 bead to cross both lines.
Step 10:
I put 1 bead to the left fishline, 1 bead to the right fishline, and then crossed both lines with 1 bead.
Step 11:
I put 1 bead to the left fishline and then crossed both lines with 1 bead.
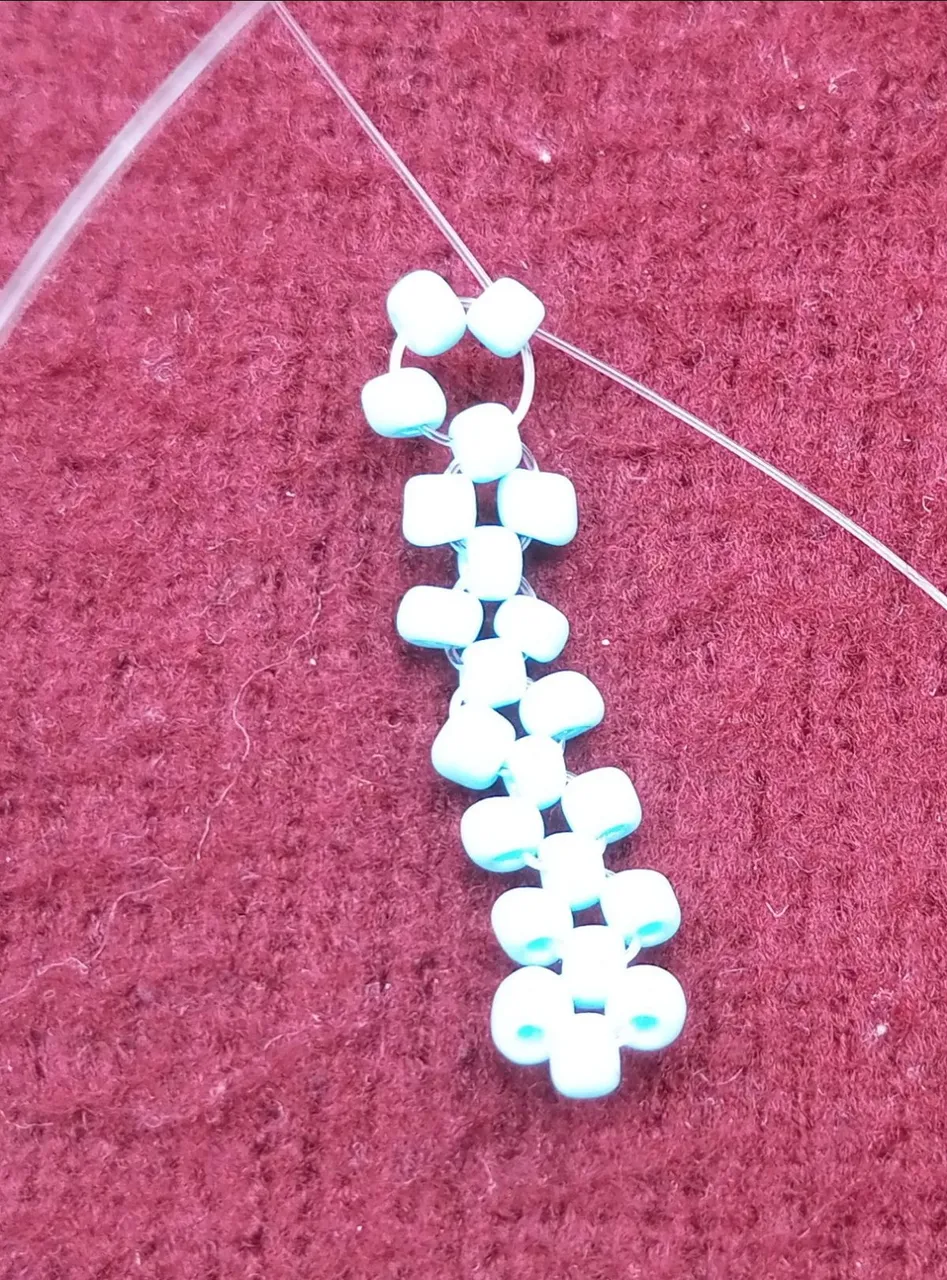
Step 12:
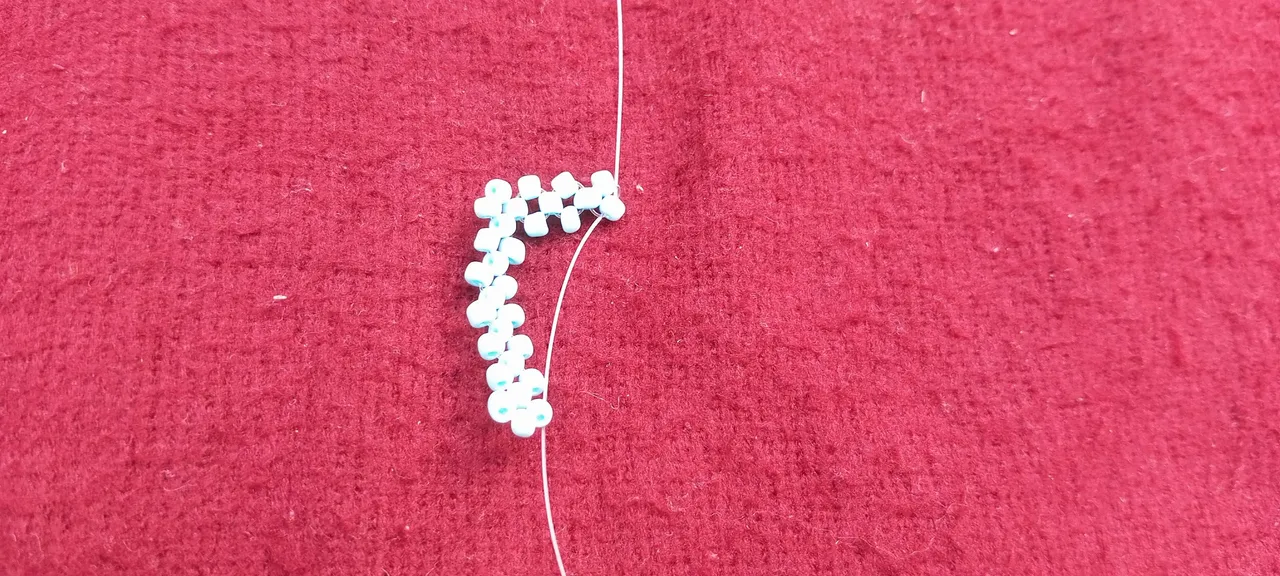
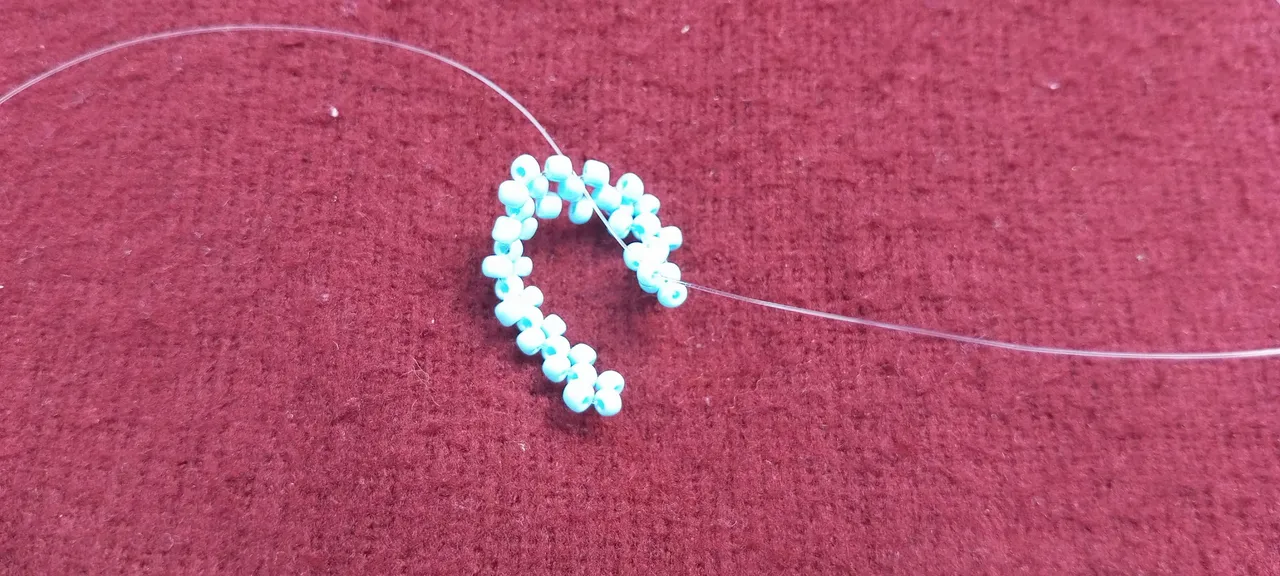
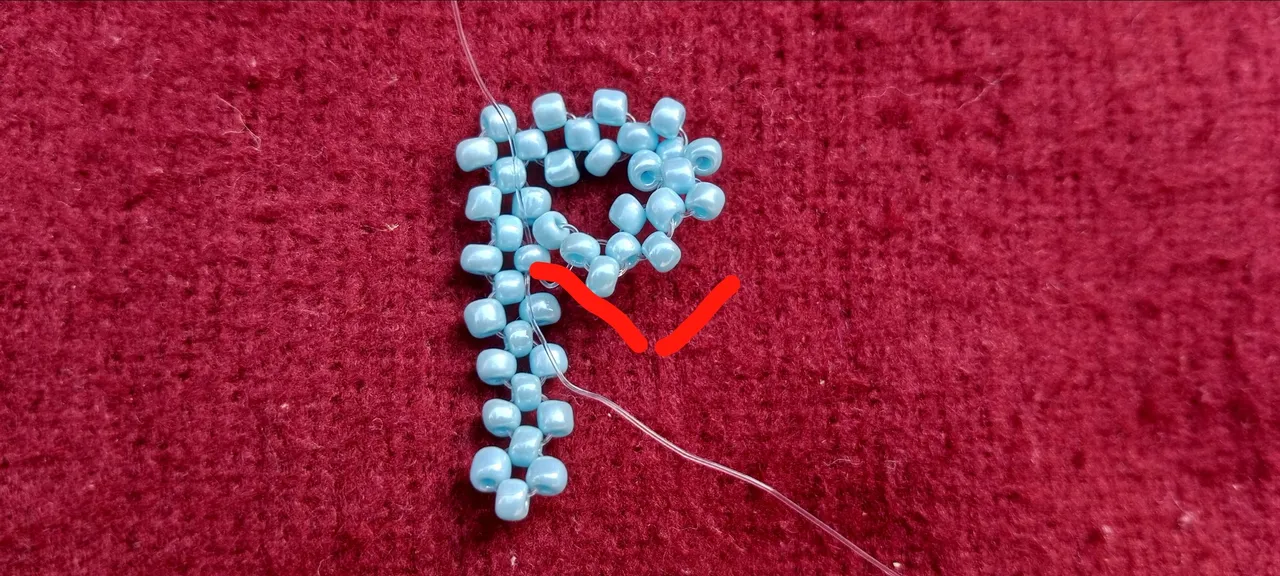
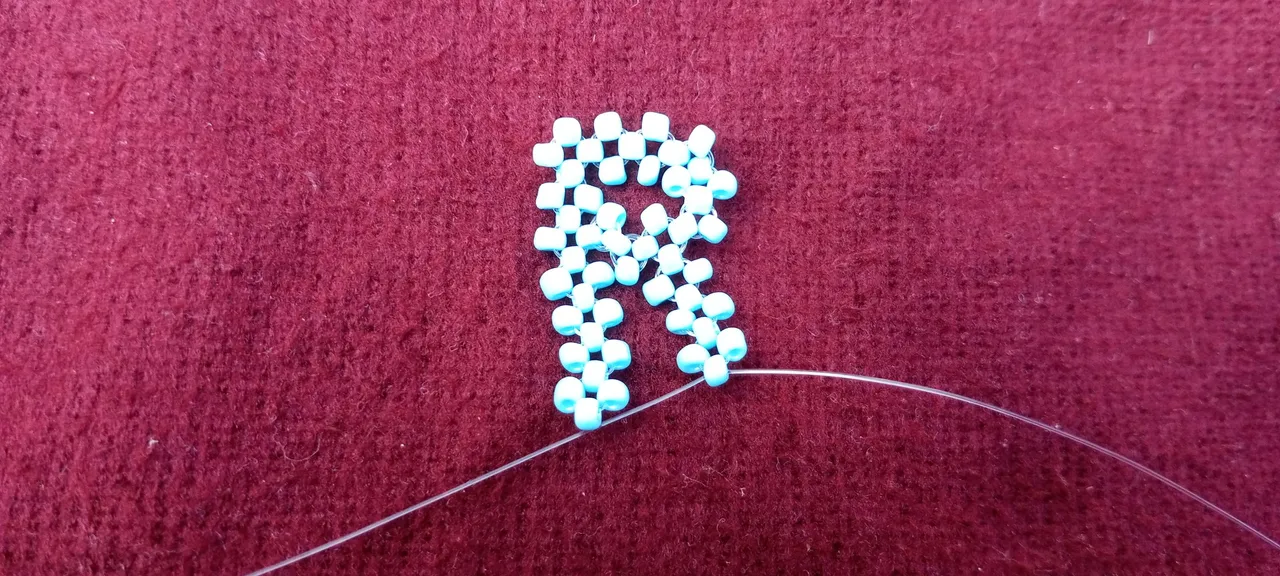
I put 1 bead to the left fishline, one bead to the right fishline, and then passed both lines through the 5th bead as marked below.
Step 13:
Then pass both, lines to come out through this bead as marked below.
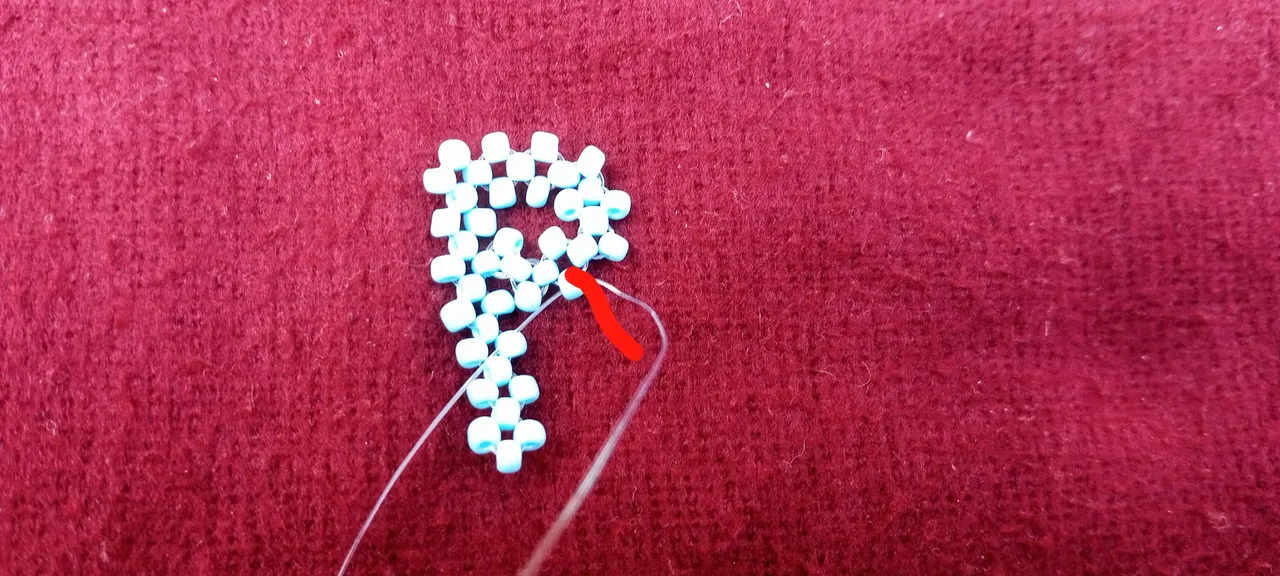
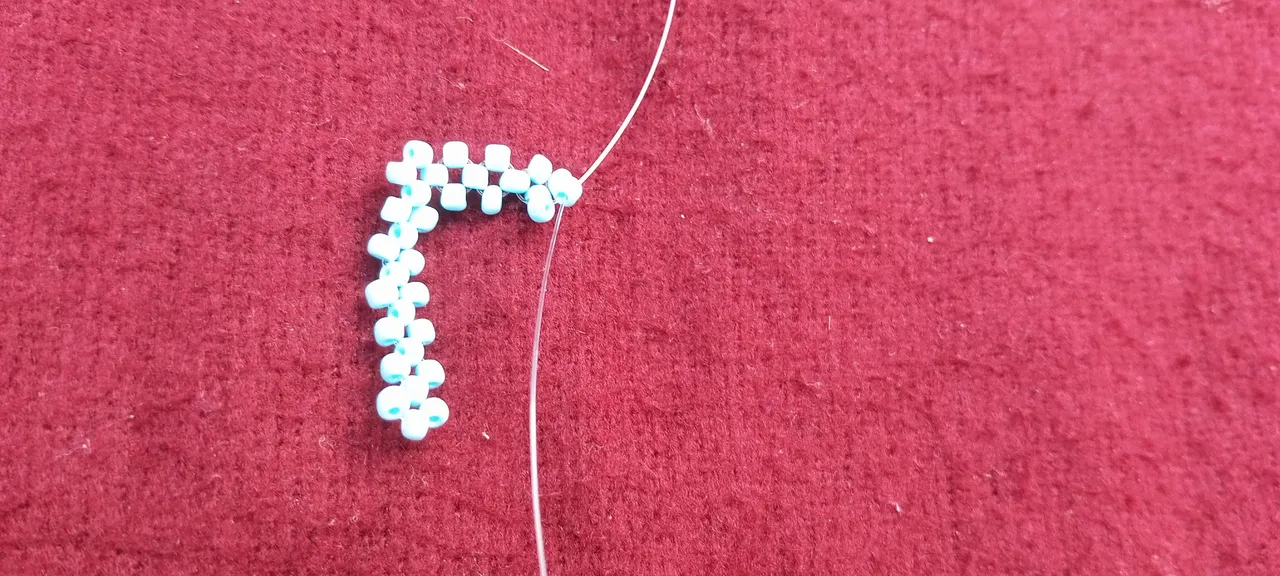
Step 14:
I put 1 bead to the left fishline, 1 bead to the right fishline, and then crossed both lines with 1 bead.
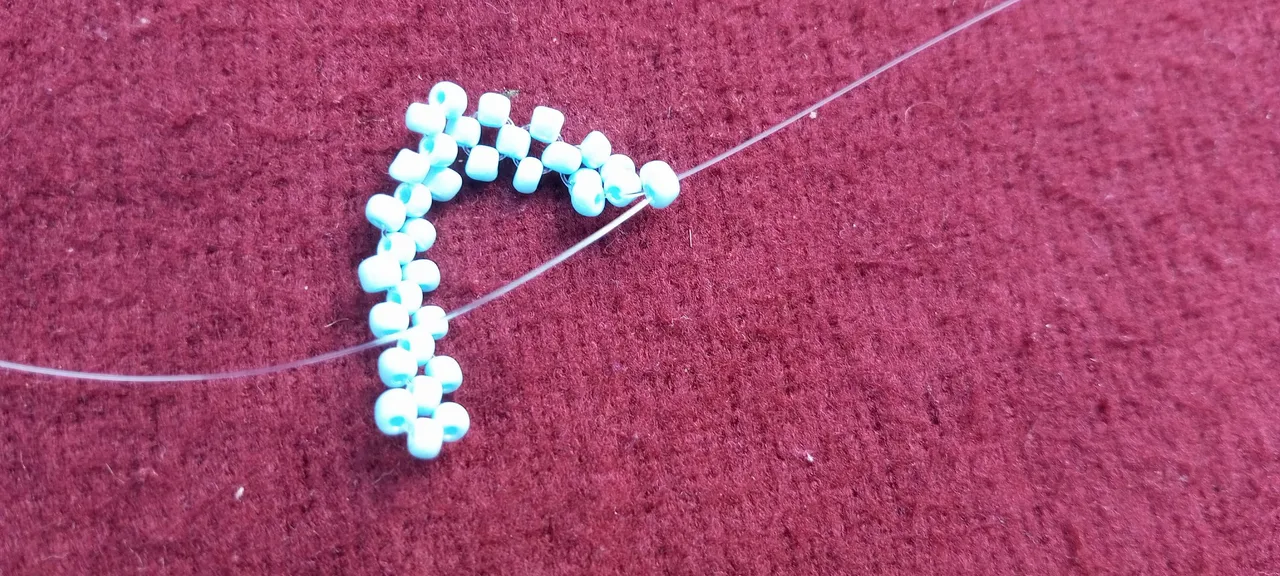
Step 15:
I put 1 bead to the left fishline, 1 bead to the right fishline, and then crossed both lines with 1 bead.

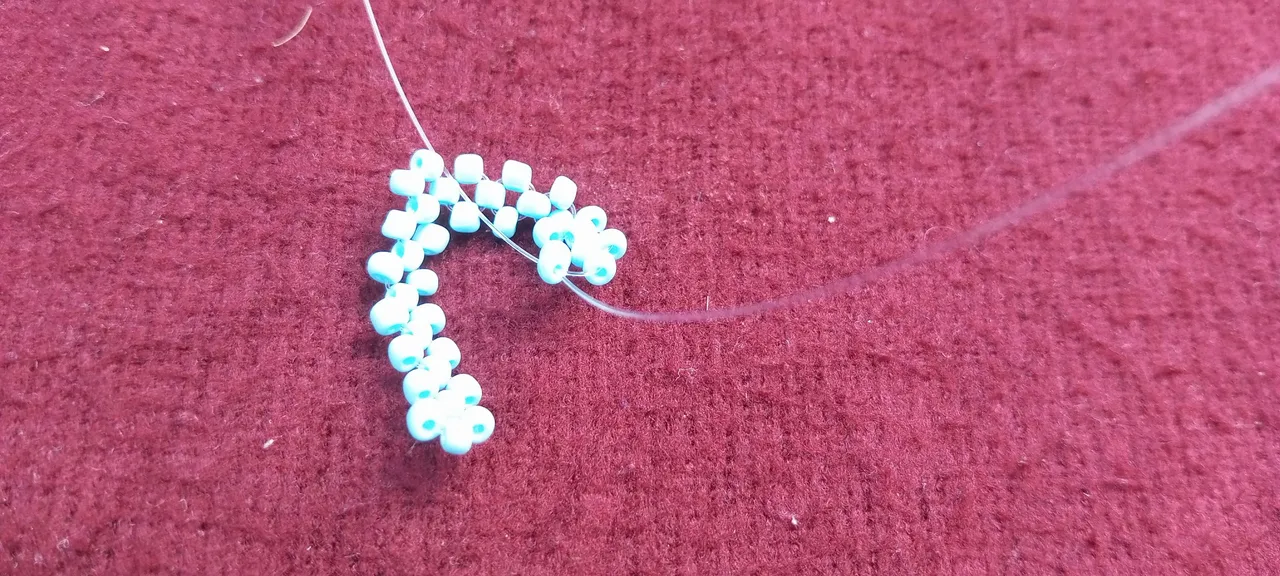
Step 16:
I put 1 bead to the left fishline, 1 bead to the right fishline, and then 1 bead to cross both lines.
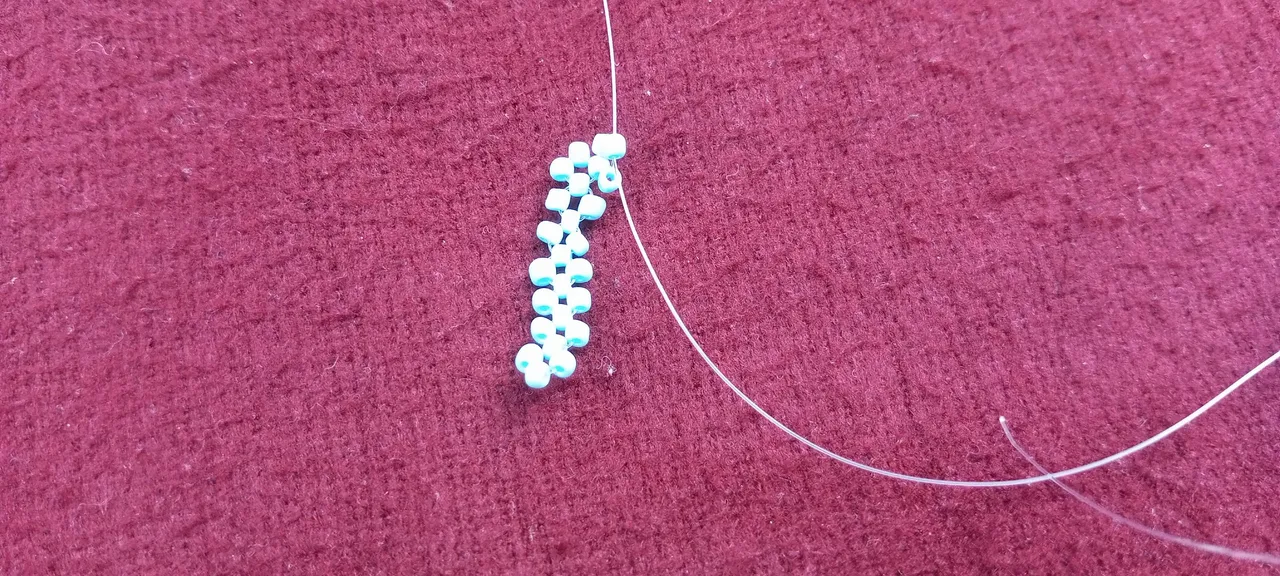
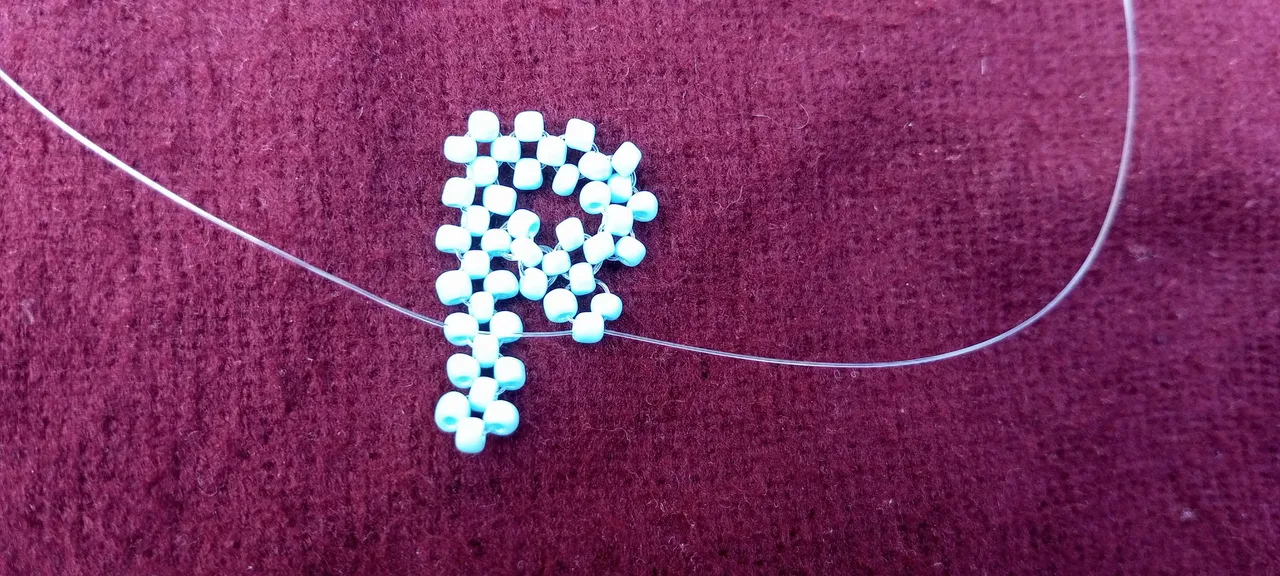
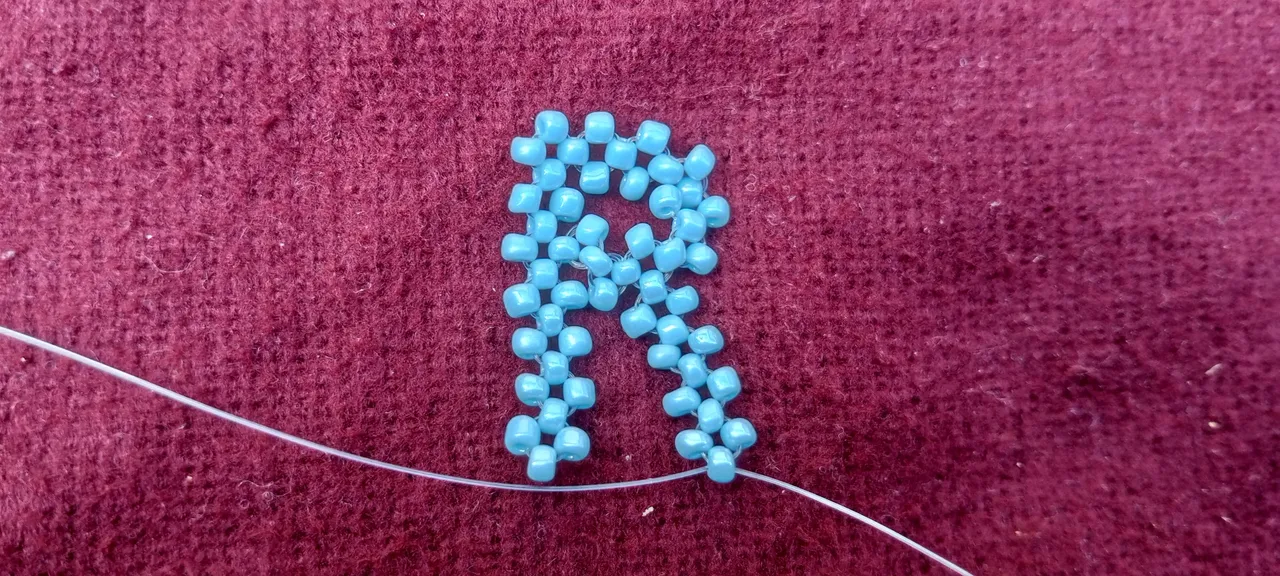
Step 17:
I put 1 bead to the left fishline, 1 bead to the right fishline, and then crossed both lines with 1 bead. This gives us the desired length of the design. Pass both lines to be close to each other, tie the knots, and trim off the excess wire. We now have our half part of the R.
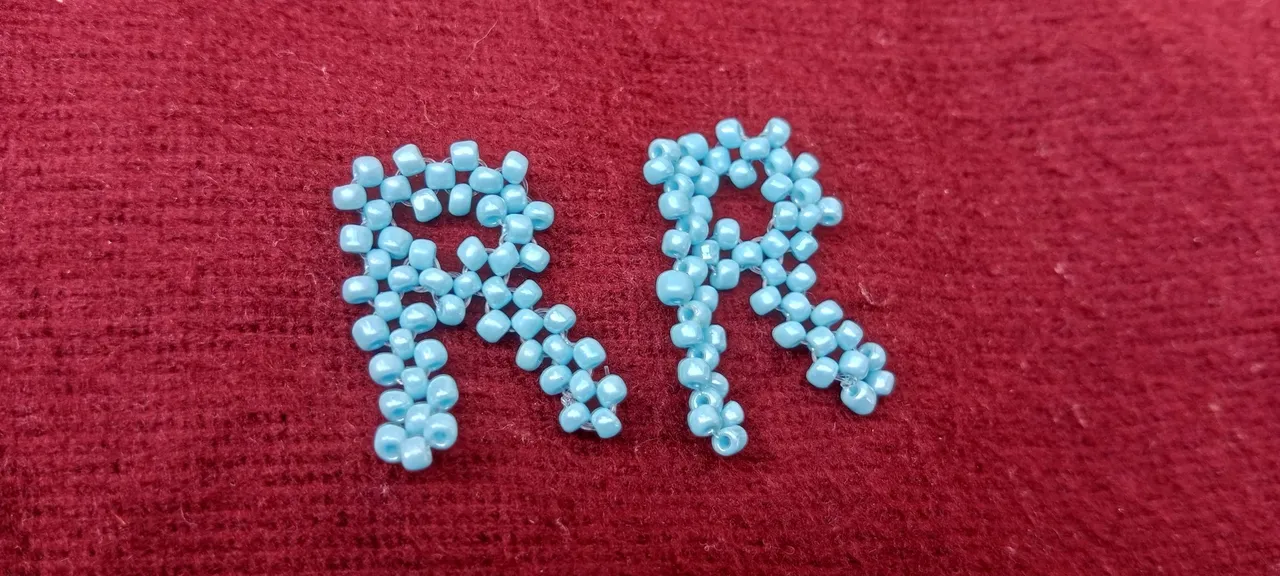
Step 18:
Repeat steps 1-17 above to make the other half of the R.
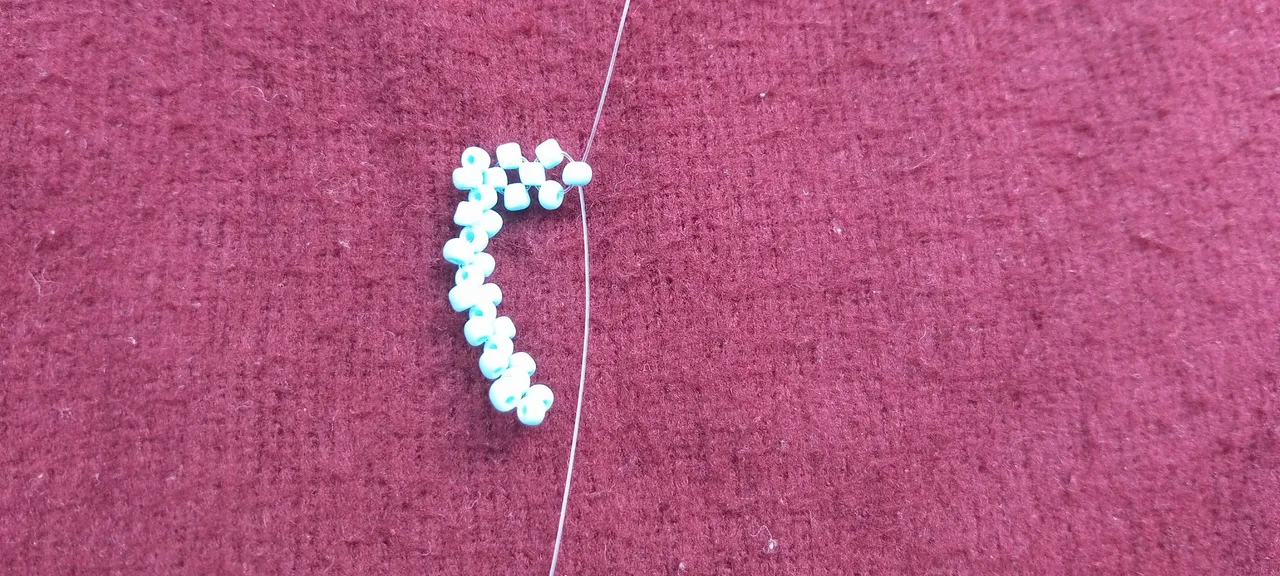
Step 19:
We simply go ahead and join the two half parts of the R. By cutting a new fishline of 5 cm, put one bead into it, and use it to join both sides of the R.
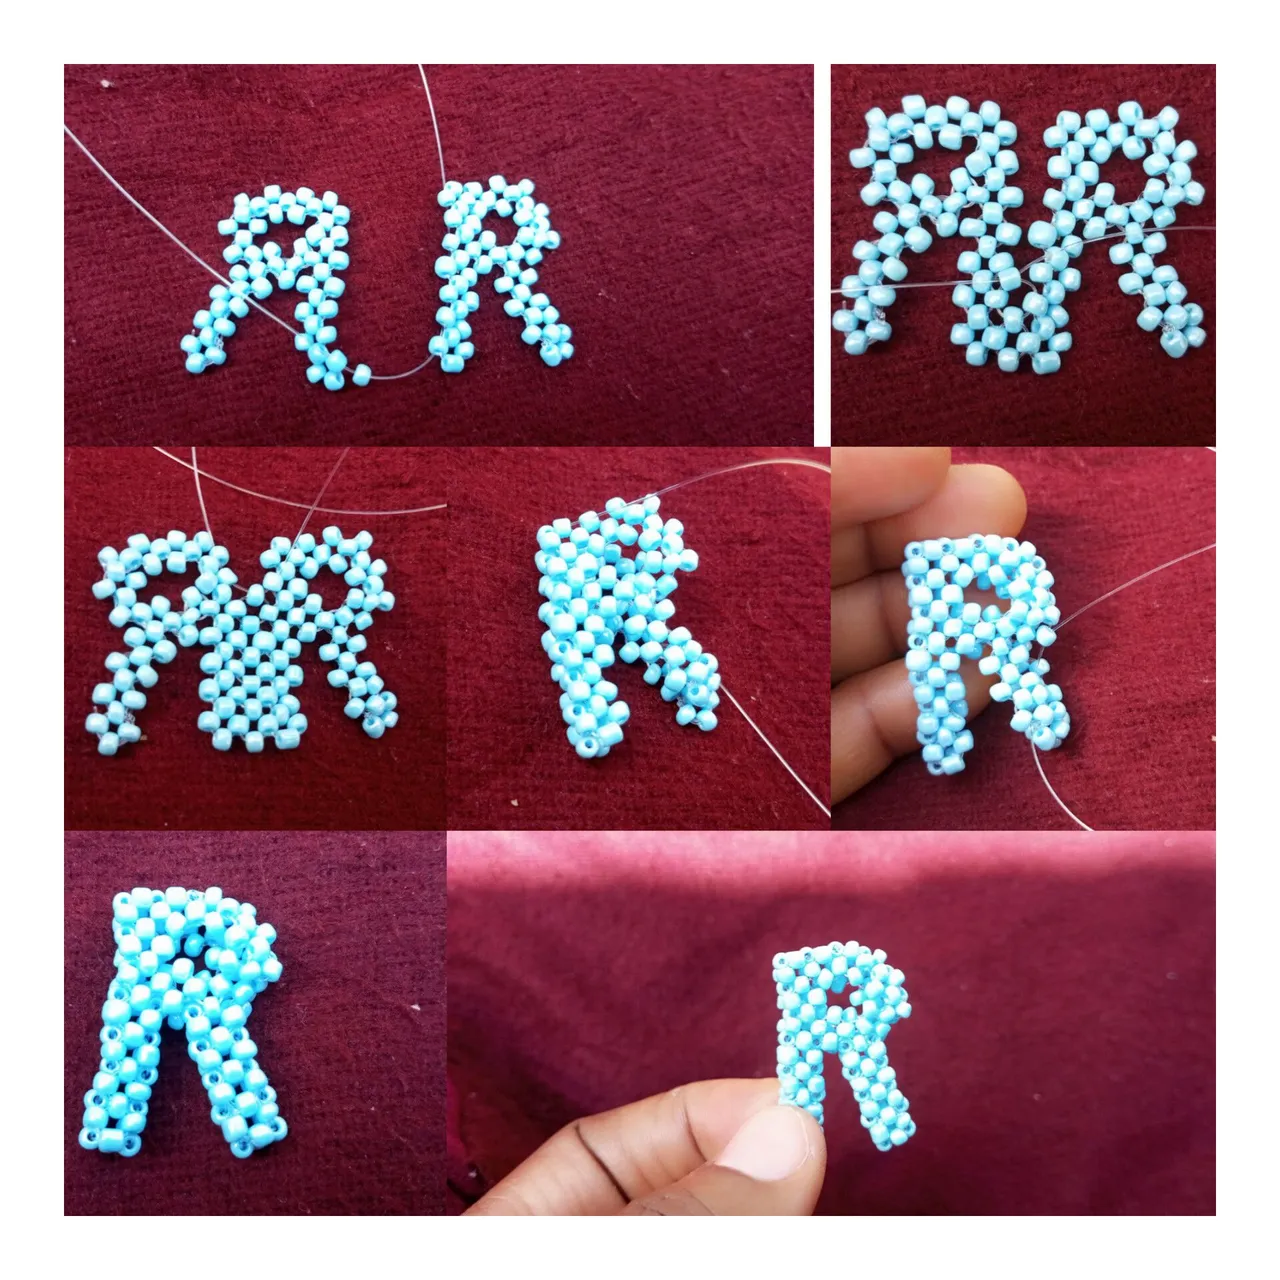
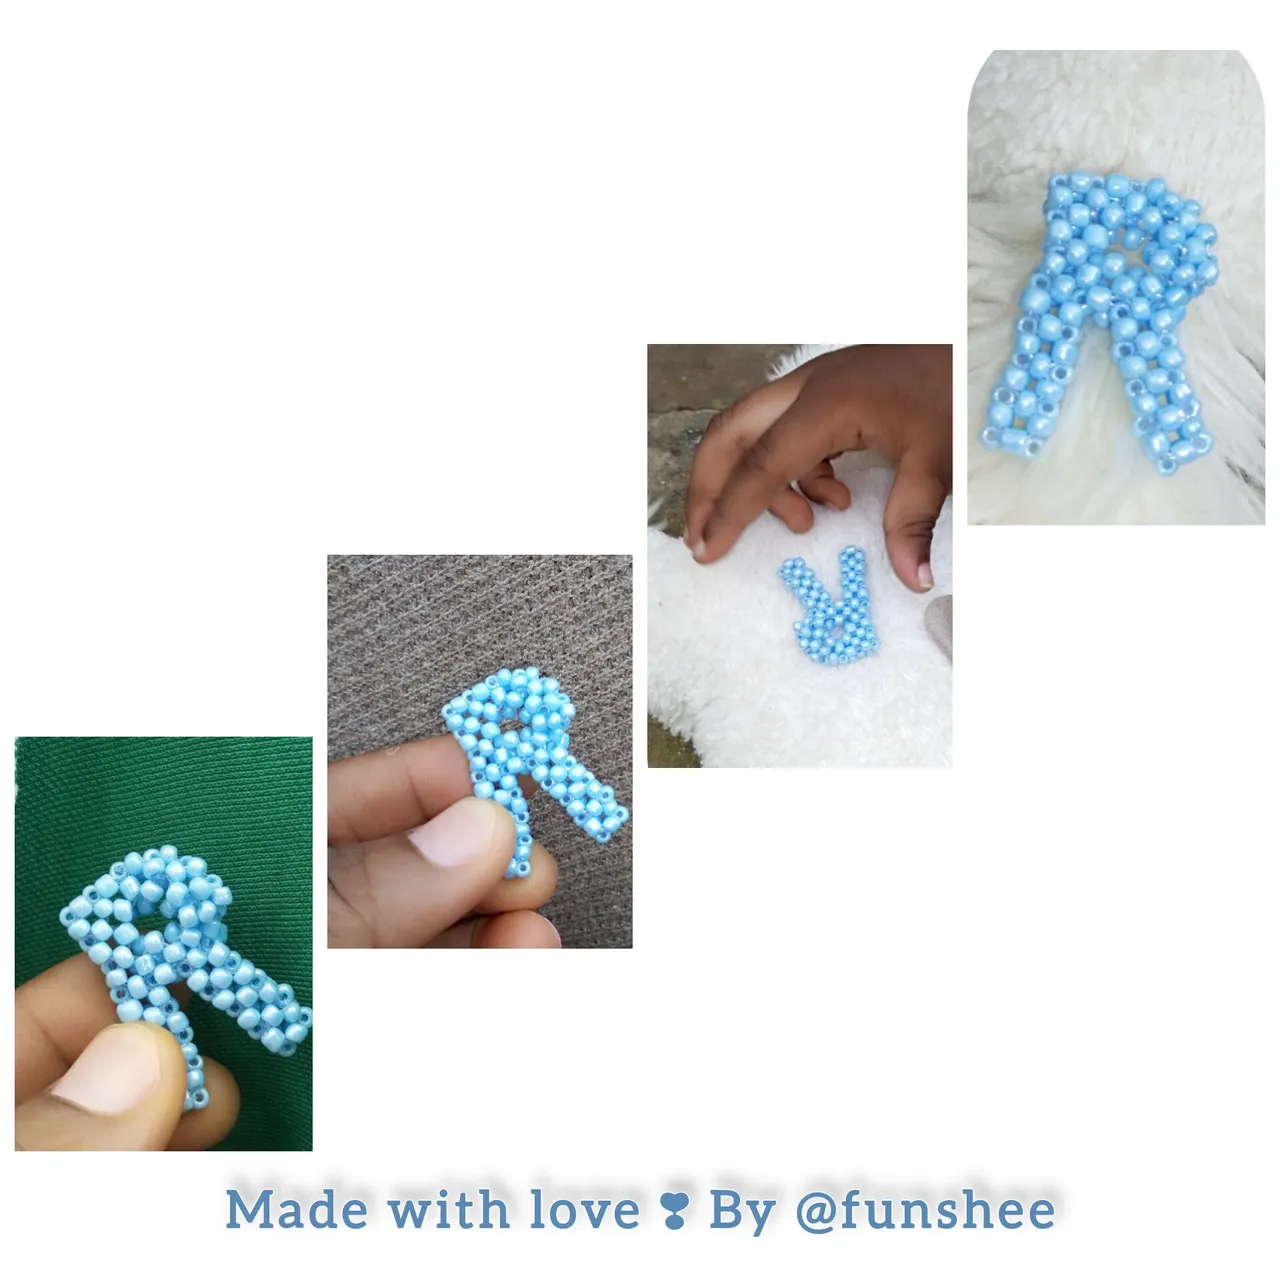
And we have our letter "R"
My son loved it so much he won't let go and allows me to take photos. But well, Mama always has her way, so here are some shots to your pleasure view 🥰
I started beading the 26 Alphabets for my son's education material a while ago, and if you missed those letters I have beaded so far, you can simply check them out here
All Images are Mine
Thank you so much for your time, have a blissful time at your end.🙏✍️❣️