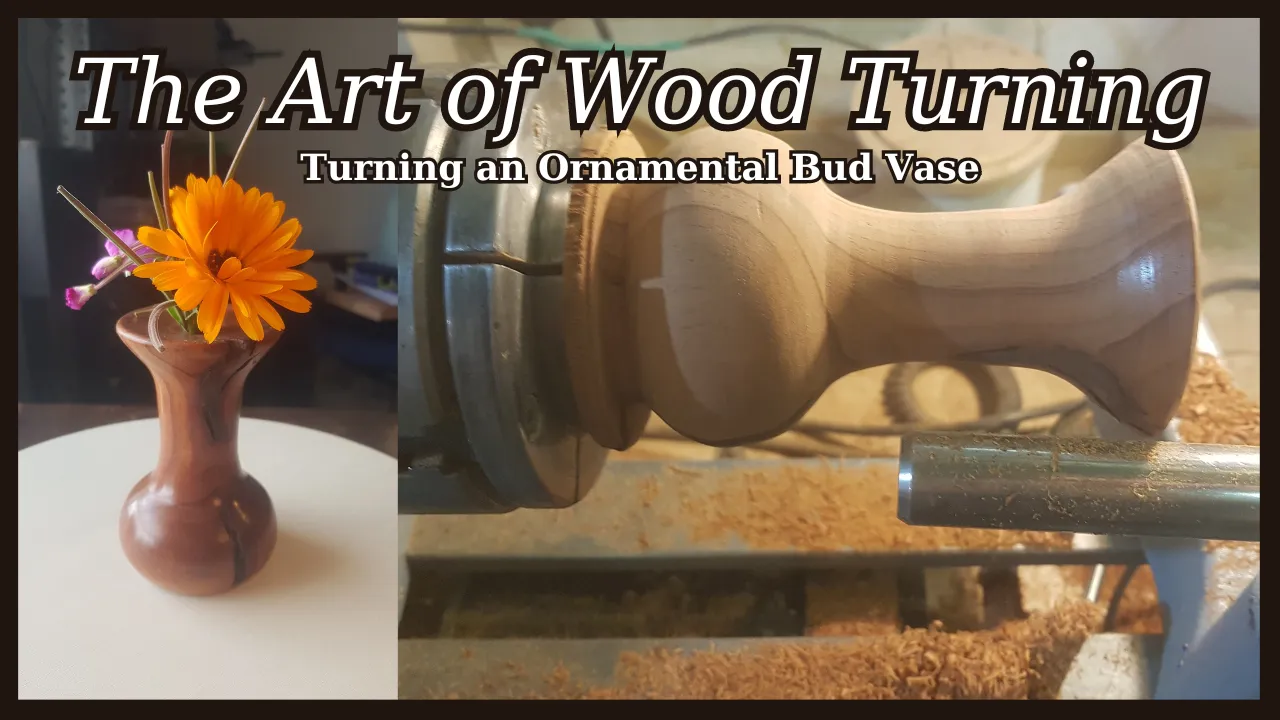
Introduction - The Art of Wood Turning
I have been very busy the last 18 months with various writing projects, a new relationship 😀 and getting on with the business of turning my passion for creative writing into, well... a business.
This means I've had little spare time, and what I have had, is very precious to me.
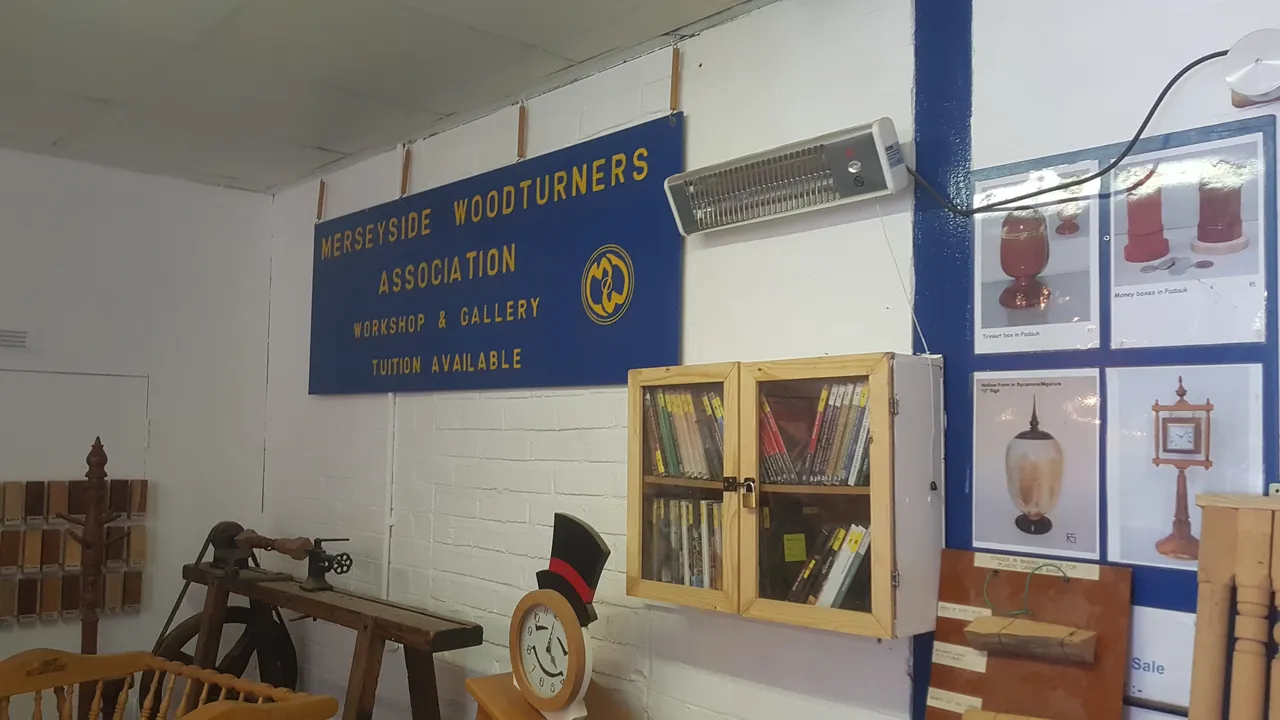
It is important to have passion in life, and creative outlets are my essential go-to for wellbeing and relaxation. It was with this in mind, that nearly 6 months ago I joined a wood turning club in my home city of Liverpool.
I am still in the early stages of my wood turning journey, and am experimenting with combining pyrography (check out my latest pyrography art post below)...
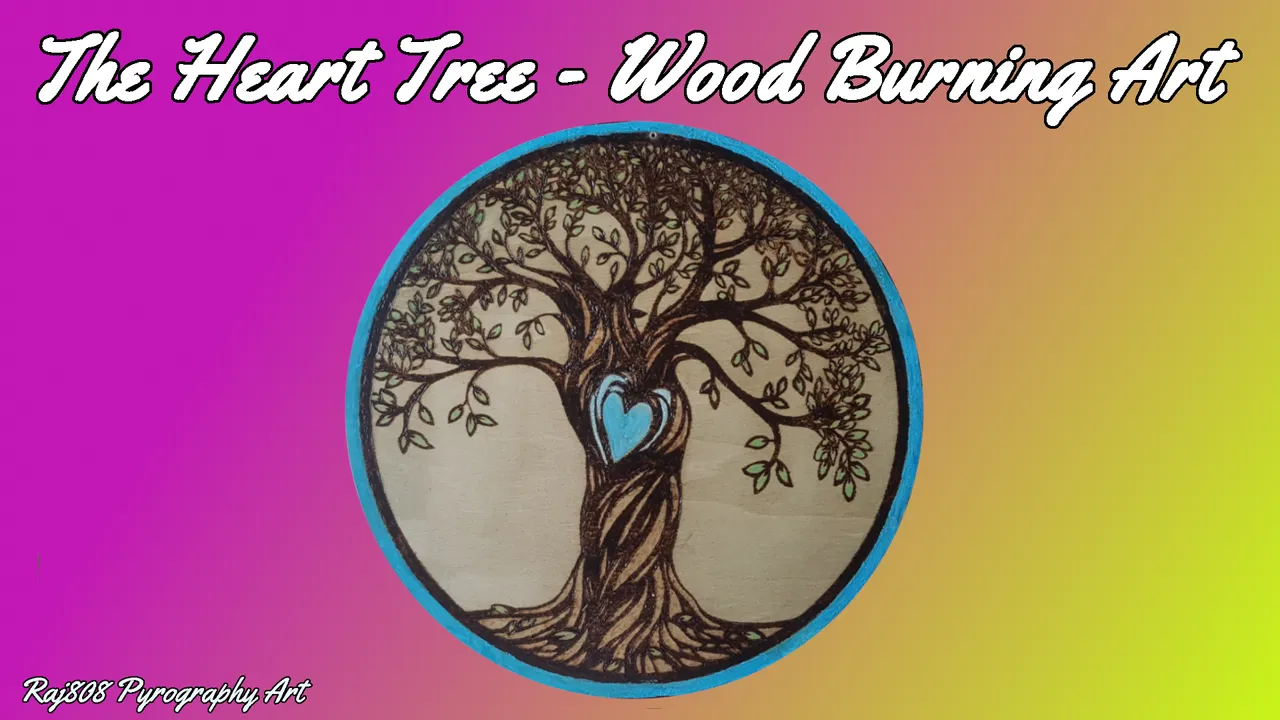 Click image to visit post
with wood turning art to eventually create something truly special and possibly unique enough to sell commercially.
Having said all that, I feel that I am now starting to produce pieces of wood art of which I am proud, pieces that I display in my apartment ornamentally and which bring me joy to look upon when I wake in the morning.
The first of these I would like to share with the hive community is the Split Grain Bud Vase.
The Process - from Wood Block to Art
The process of wood turning is a very interesting and complicated one.
In the first instance you have to make the basic shape and how you do this is dependent on the aspect of the grain in the wood you're using. The direction that it flows dictates the tools you use and the style of cut.
In this instance I was using a piece of wood that had a one-directional grain running from the base to the top of the piece.
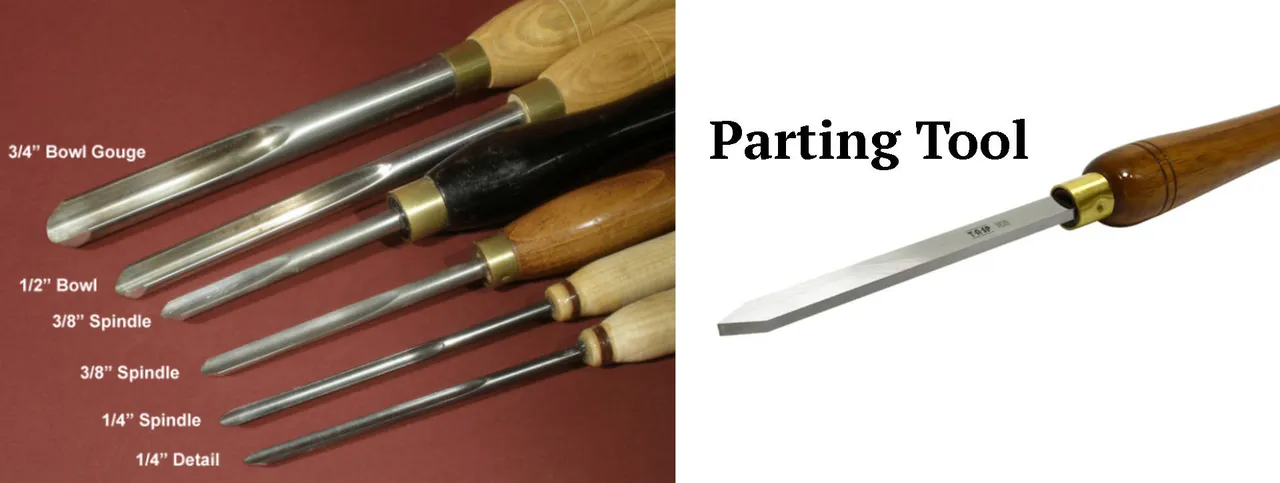
Which calls for a spindle gouges and a parting tool.
For the most part I was using a 1/4" spindle gouge as the piece of wood was small and this allowed for me to take lighter cuts (as a beginner this is useful). Although it took longer to shape the vase's basic shape with this smaller gouge, the finer cuts allowed for more control and less chance of a 'catch' which can leave heavy (ugly) marks in the wood.
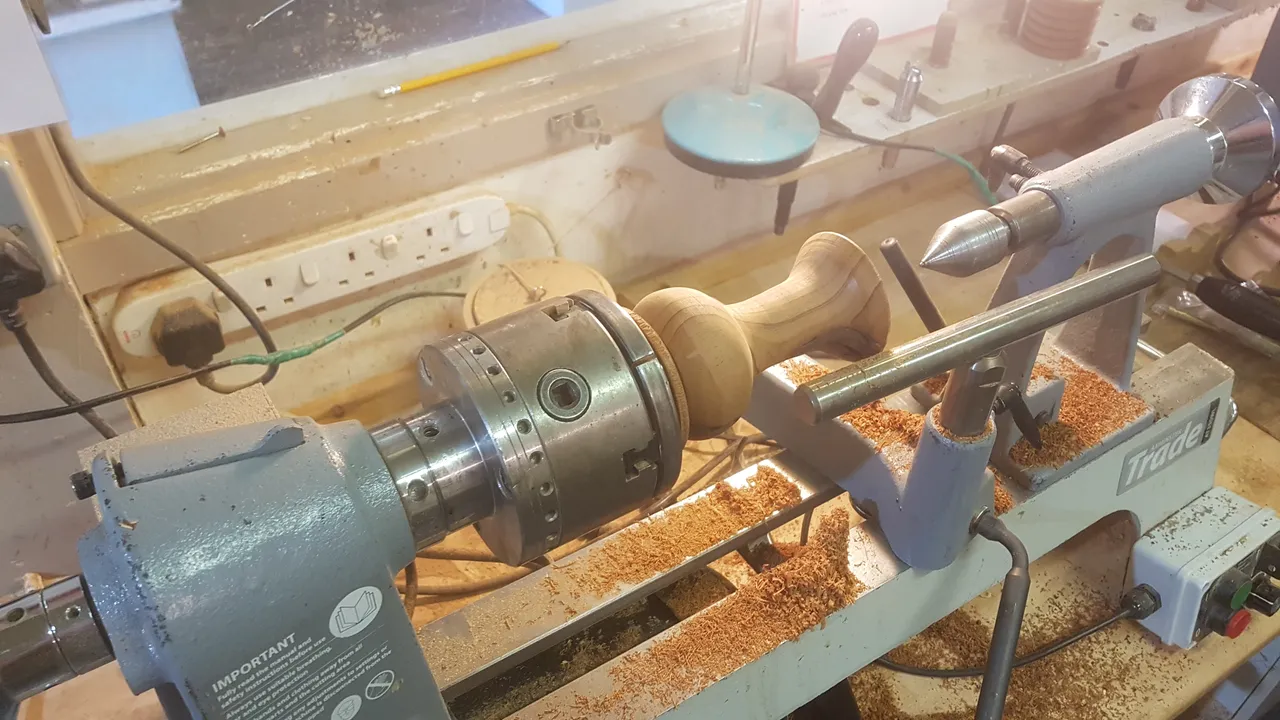
To attach the piece of wood to the lathe's chuck you first create a tenon (round protrusion) at the base end of the wood that will be your vase. This is done when the wood is still attached to the lathe on the spindle set up (I forgot to take pictures of this early stage of the process).
The shaping is achieved by angling the blade of the spindle gouge carefully across the face of the wood, turning the tool as you pass across the metal rest. There is a lot more to it than that (techniques such as riding the bevel and grain assisted cuts) but to keep it simple I shall not delve into them right now.
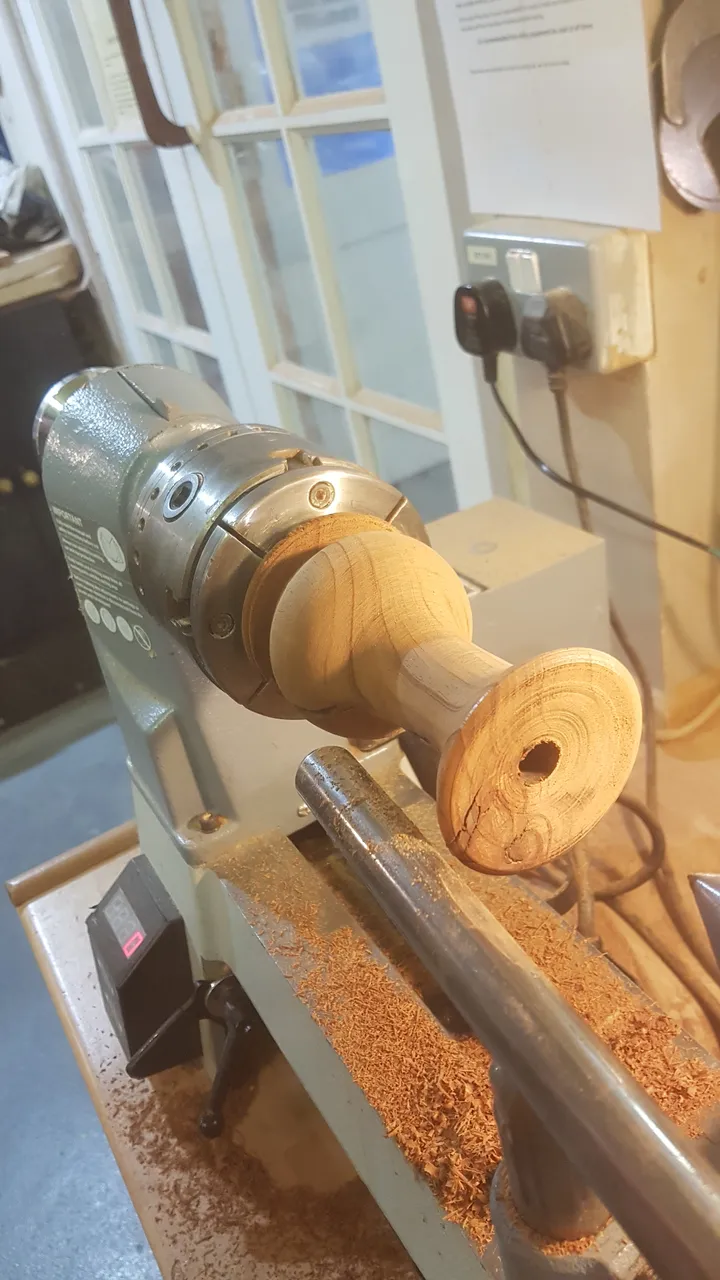
After the final shape has been cut you drill a hole in the centre of the top of the vase with a drill bit a fraction of a millimetre larger than the test tube that you will insert, and half a centimetre deeper than the test tube's length.
This is done to allow you to create a concave on the top of the piece.
After carefully cutting a concave on the top of the bud vase with the parting tool (using it like a scraper) the piece is sanded from 80 grit through to 400 grit sandpaper, then a coat of sanding sealer is applied to clean the surface (as seen in the image on the right, above).
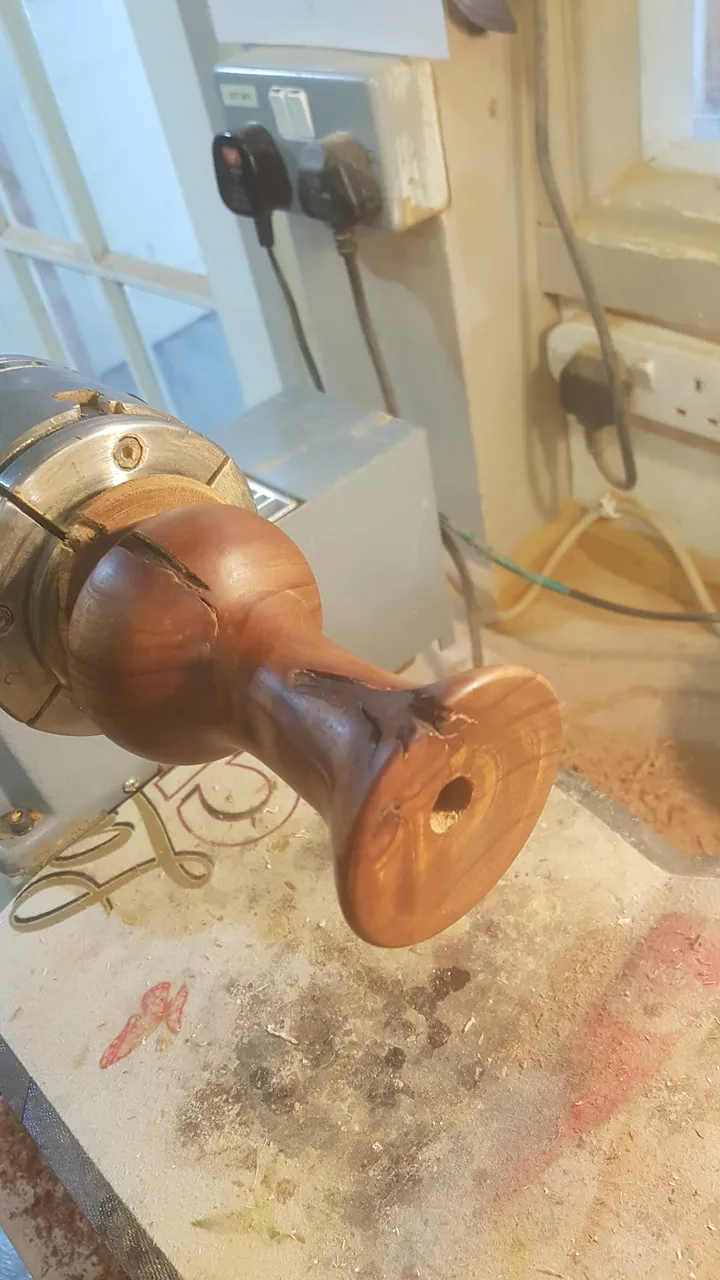
Finally you apply a few layers of wax polish, in this case I used a high gloss polish to get that sheen, and then you buff the wax by running a piece of dry paper towel over the piece as it rotates slowly on the lathe.
The Finished Vase - A Piece of Art for the Mantelpiece
After using the parting tool to carefully cut the tenon off the base of the vase you are left with a shiny bud vase to display small collections of wildflowers.
I like to pick a different flower (or two) from my allotment each week and keep it on my windowsill as an ornamental centrepiece. With the test tube inserted into the hole and half filled with water, the flowers remain healthy for 5-6 days 🌼
I personally love the way the cracks in this vase look with the grain of the wood, and the play of light that highlights the grain around those splits. After all... who wants perfection 😂
What do you think?
If you are interested in what I do creating wood art, please don't hesitate to ask any questions you may have in the comments section.
Thanks for reading 🙂
All art, Gifs and photos displayed in this post are my own, © @raj808 all rights reserved. The design for title image was created using canva.
I would like to give a big shout-out to @stickupcurator (and @stickupboys) for their amazing contribution to supporting music, art, imaginative writing, and all things creative on hive. If you haven't already, you should go check out their account for music, crypto podcasts and much much more 🙂👍
If you have enjoyed this creative content please do upvote and rehive my post + check out my other work on my homepage @raj808.


