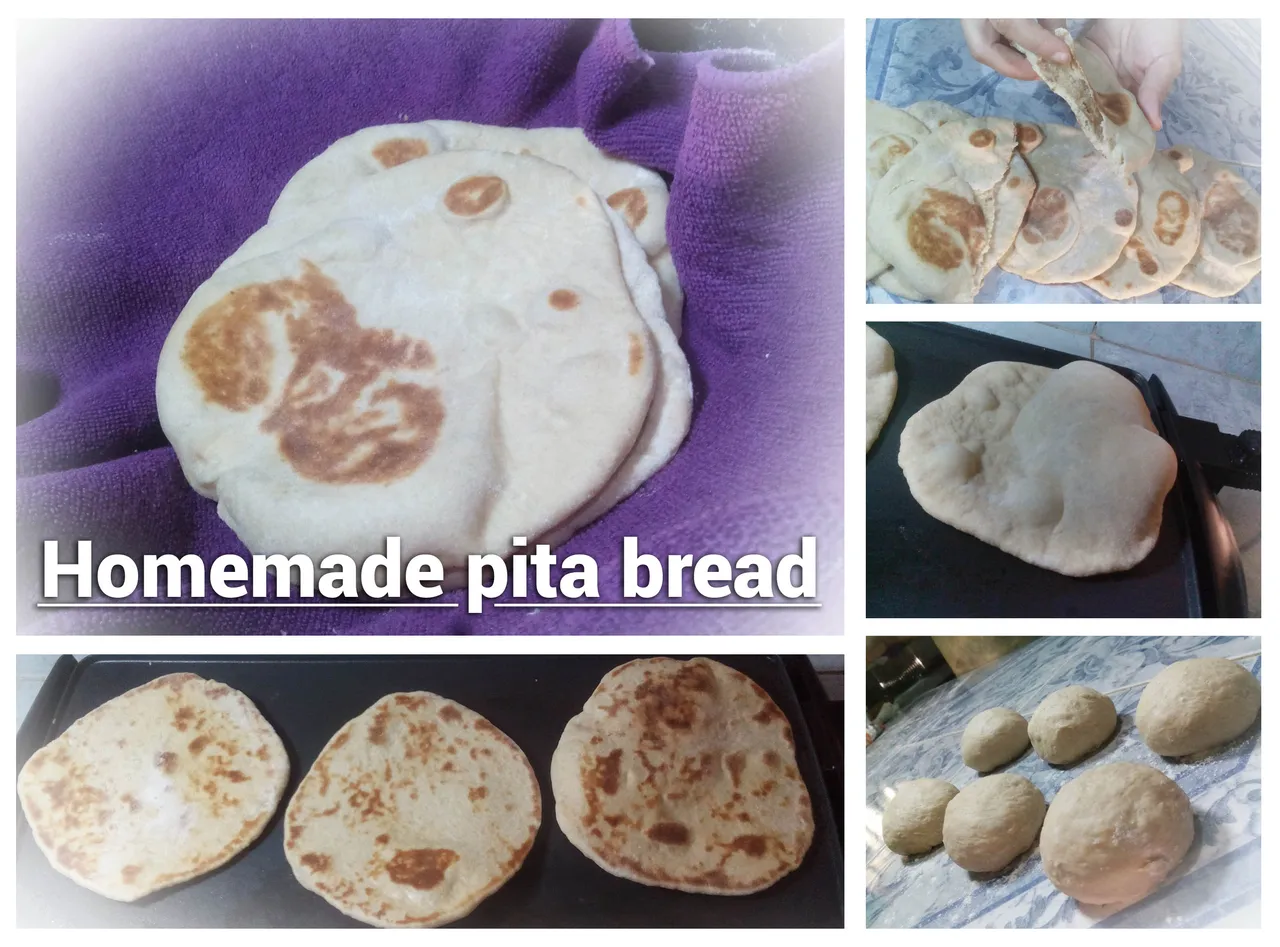
Loving greetings to all my Hive friends, I love to be once again in this wonderful Plant Power (Vegan) community where I learn so much about delicious and cruelty-free food. This time I am going to share with you a very delicious and special recipe for me. This is a homemade Pita Bread, I love this dough because with it I have made skillet breads, baked, pizza, calzone, shawarma, baked and fried Andean cakes; and in all these presentations it is spectacular in flavor and texture, so you can imagine how versatile it can be. It requires few ingredients and is cruelty free.
Because it is very economical it is also ideal when we have many guests, it has worked very well for me and I have found that the youngest members of the household like it as well as the older ones. This time I will show you the presentation of Pita Bread, then I will share with you the ingredients needed to make 6 medium loaves.
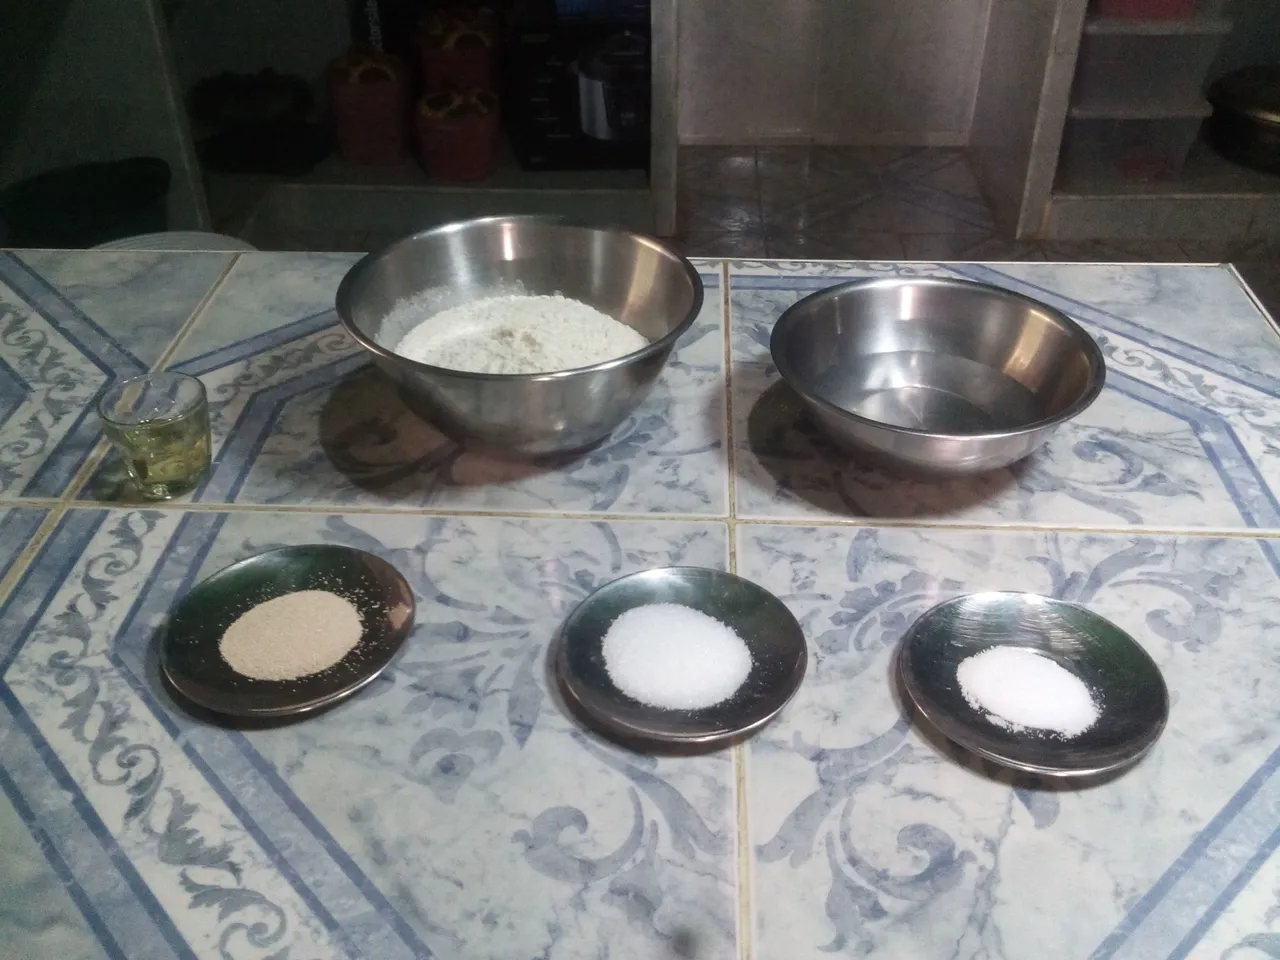
Ingredients
- 250 gr of wheat flour
- 150 ml of water
- 6 gr instant yeast
- 10 grams of sugar
- 15 ml oil
- 5 gr salt
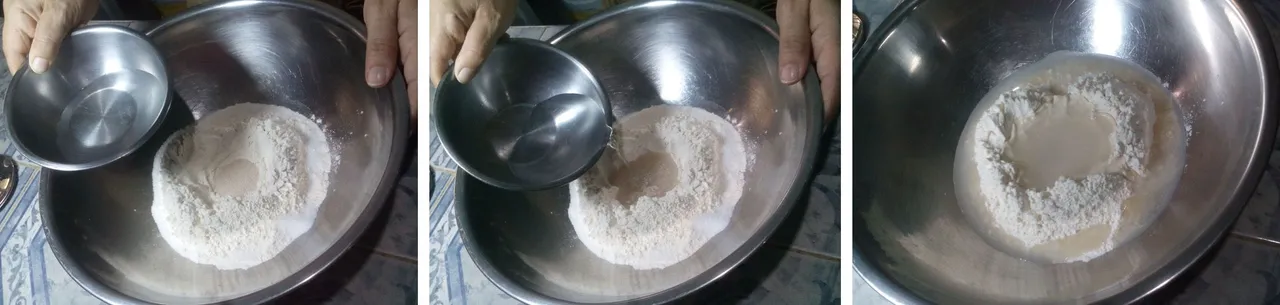
The first thing we will do is pour the flour in a bowl and with the hand we will open a hole in the middle, like a volcano.
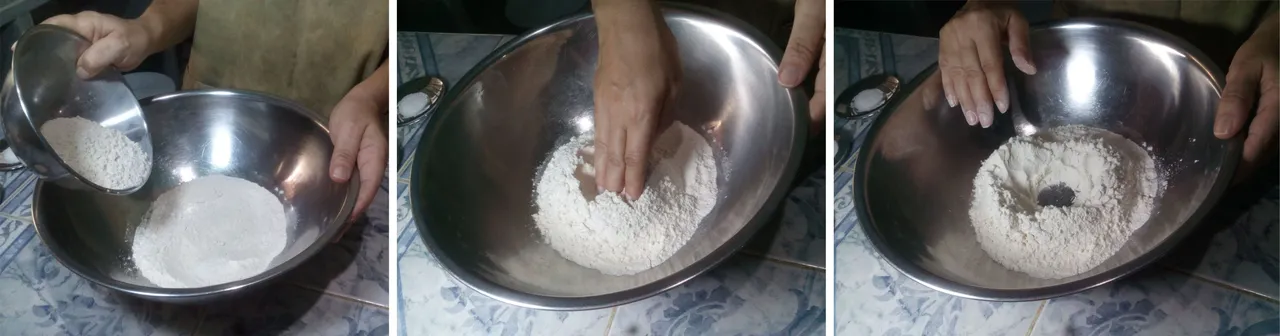
Then we will throw the yeast in the hole in the center and then sprinkle the sugar around the volcano, over the flour.

We are going to heat the water a little, but it should not be too hot. The important thing is that it is lukewarm to activate the yeast, so make sure it is teapot temperature or bearable in contact with the skin for at least 10 seconds. This is very important, if the water is too cold the yeast will not activate, but if it is too hot it will not activate. Over the yeast we are going to pour the warm water, until the volcano is flooded and we will wait about 2 minutes so that this one is activated.
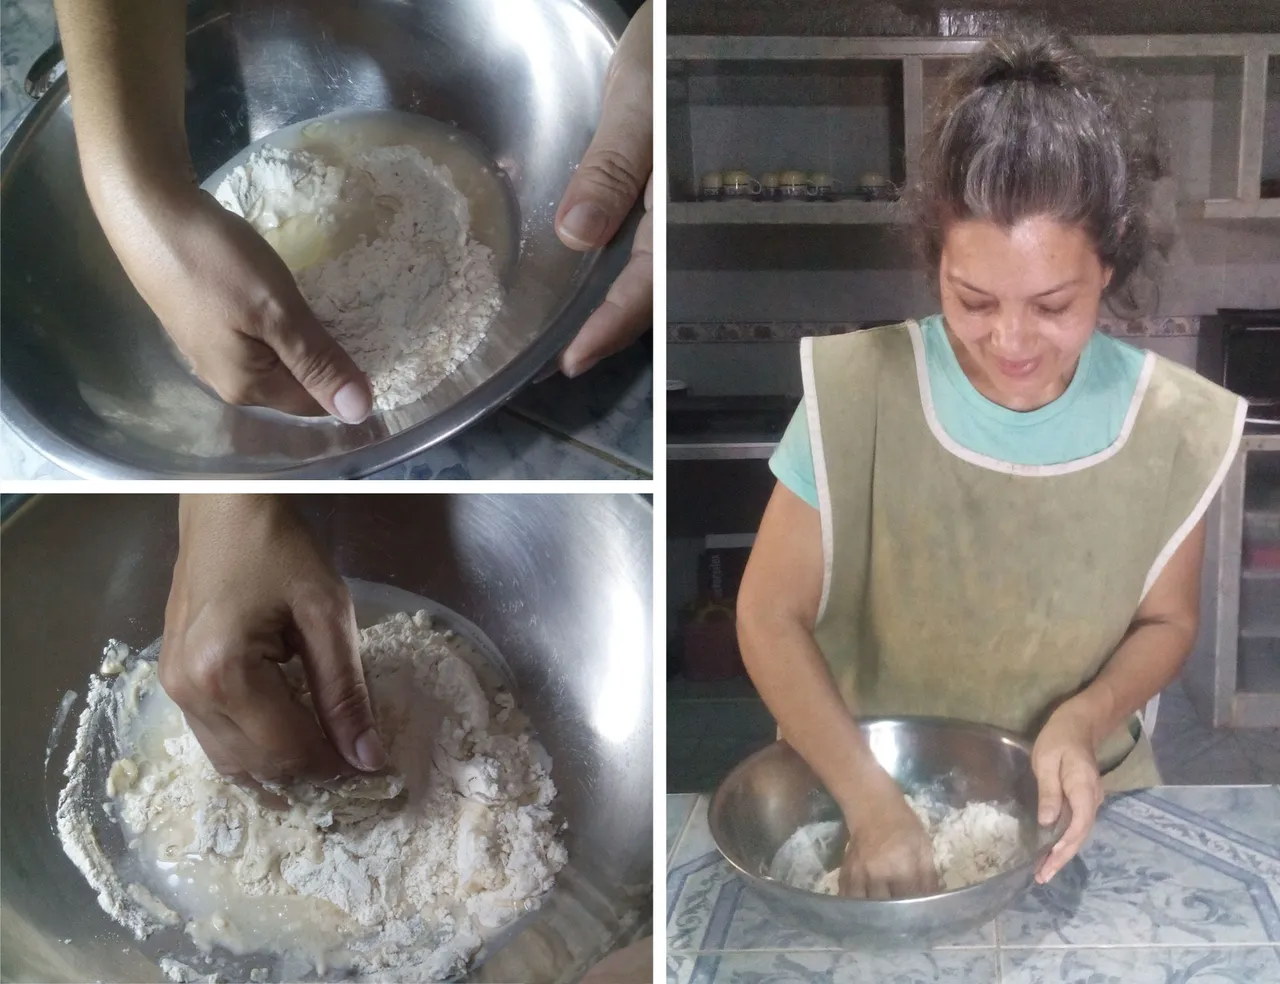
When the two minutes have elapsed we incorporate the oil on the water and we have to knead. We are going to do it in an enveloping way, until we integrate all the ingredients, it is not necessary to knead for a long time, when everything is already integrated we will be ready. Finally we will add the salt and we will knead again to integrate it. It is done in this order because the salt does not allow the yeast to activate, so it is important to incorporate it when the yeast is already active.

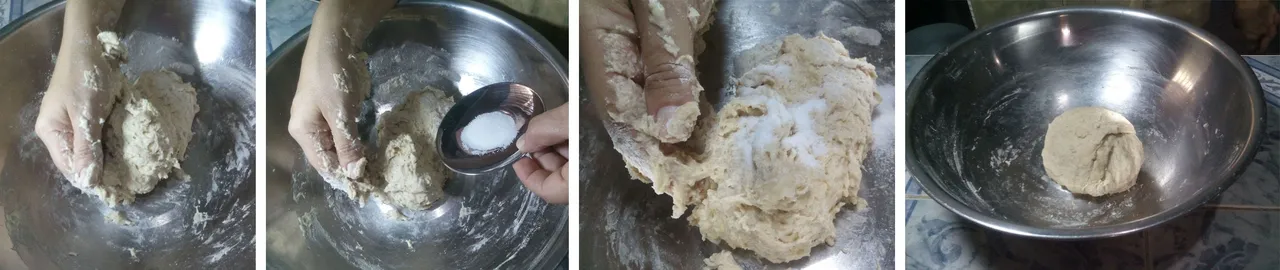
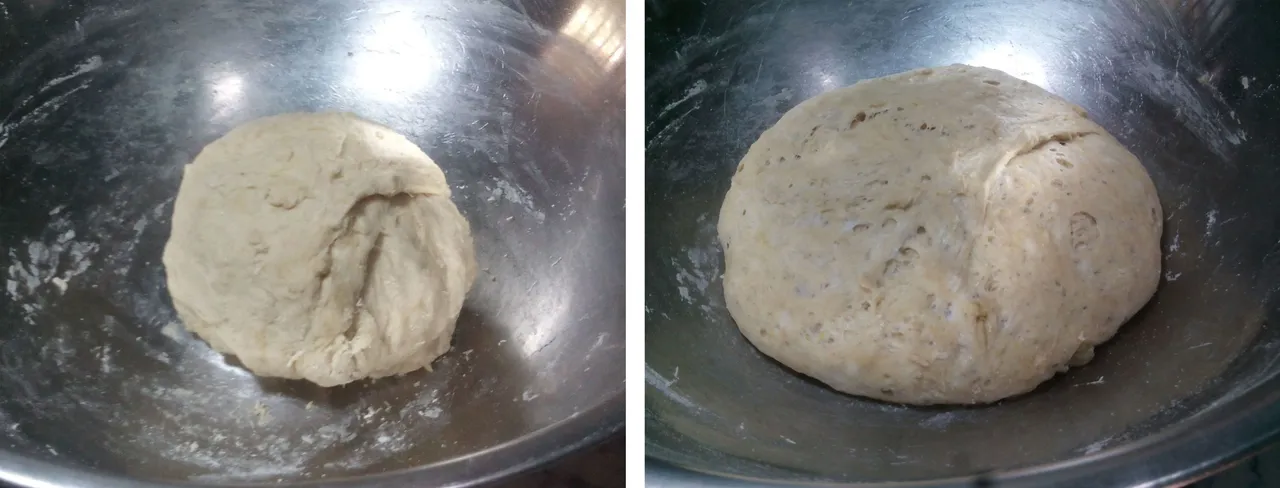
When we have the dough ready we cover it with a cloth and let it rest for an hour in a dark and cool place; the oven off is a good option. After an hour we will see the difference.
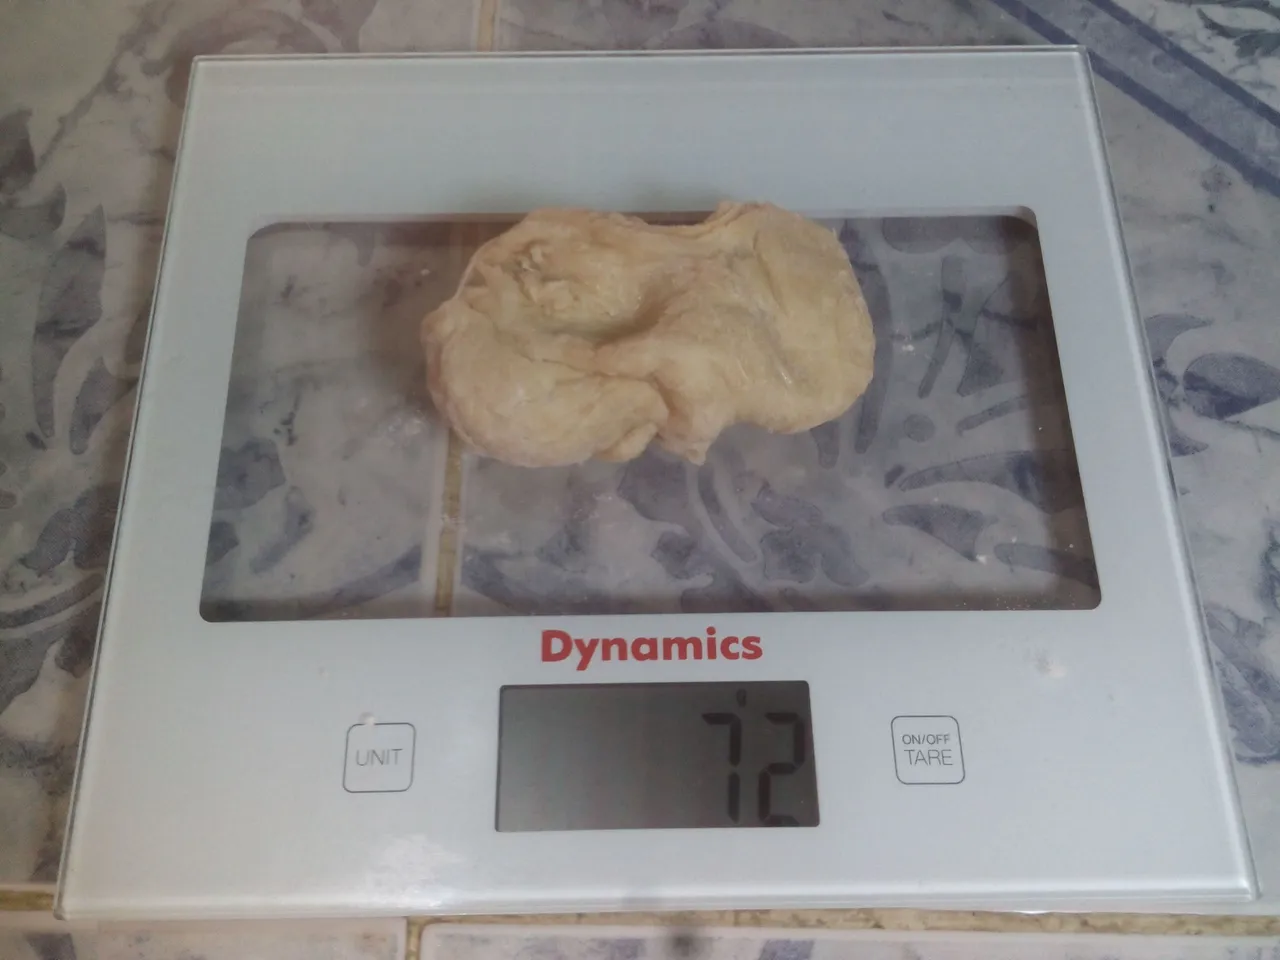
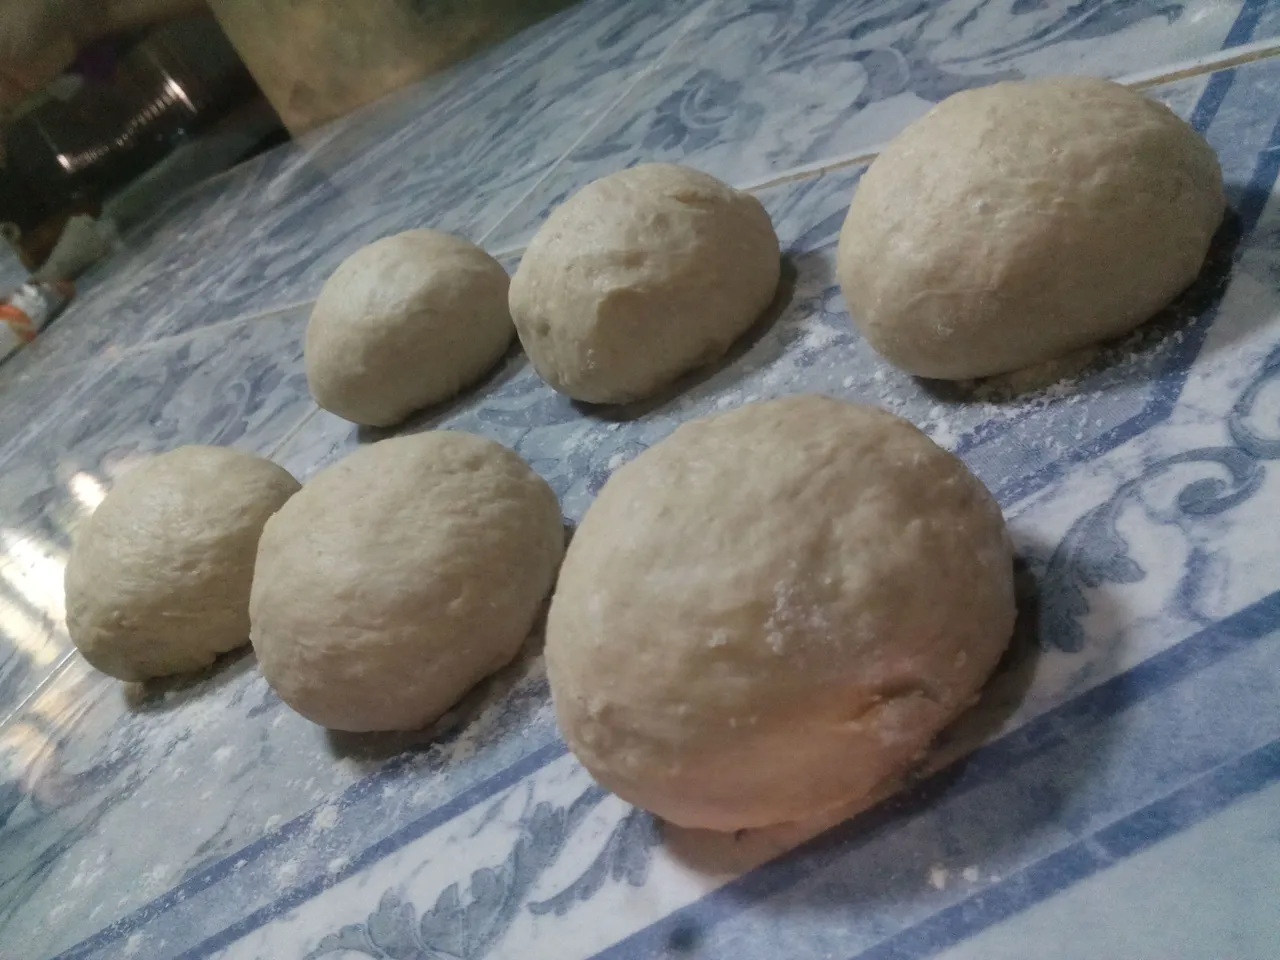
At this point the dough will be ready, so we will divide it into six equal portions. I like to weigh it, on this occasion the dough in total but 436 gr after fermenting for an hour; so each portion should weigh approximately 72 gr.

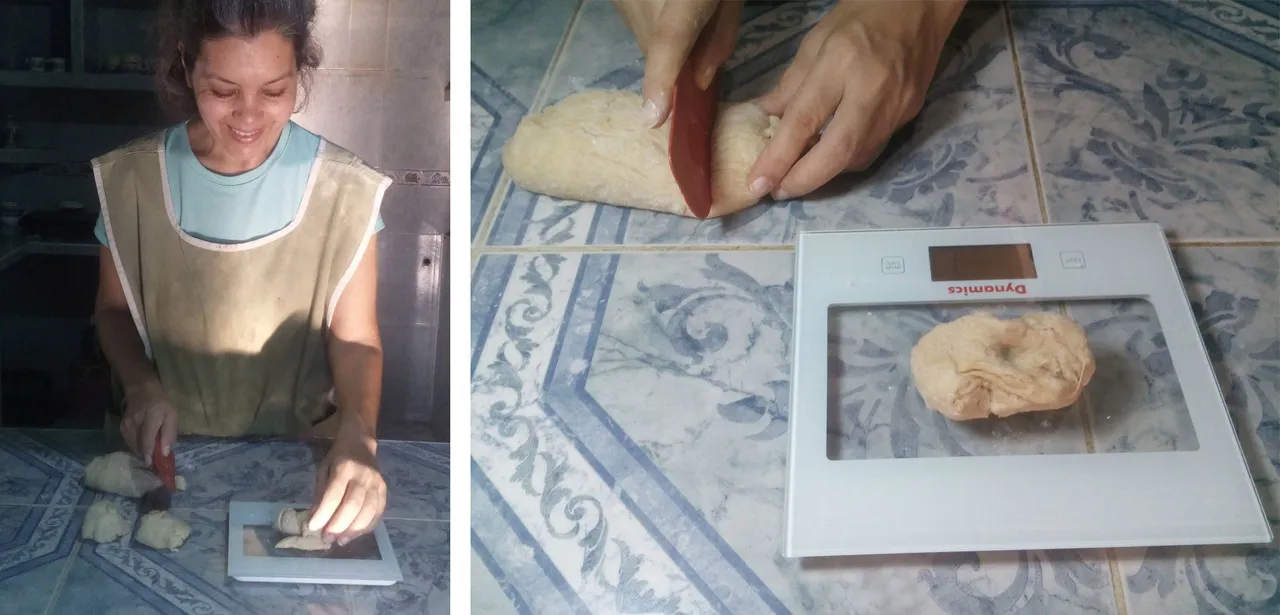
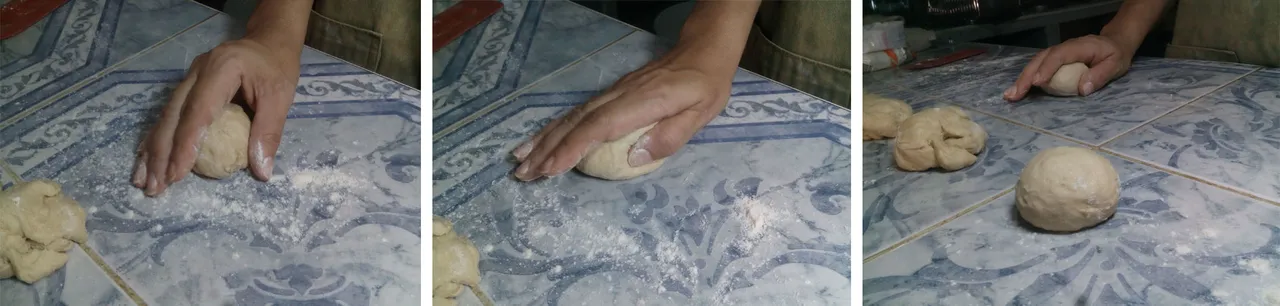
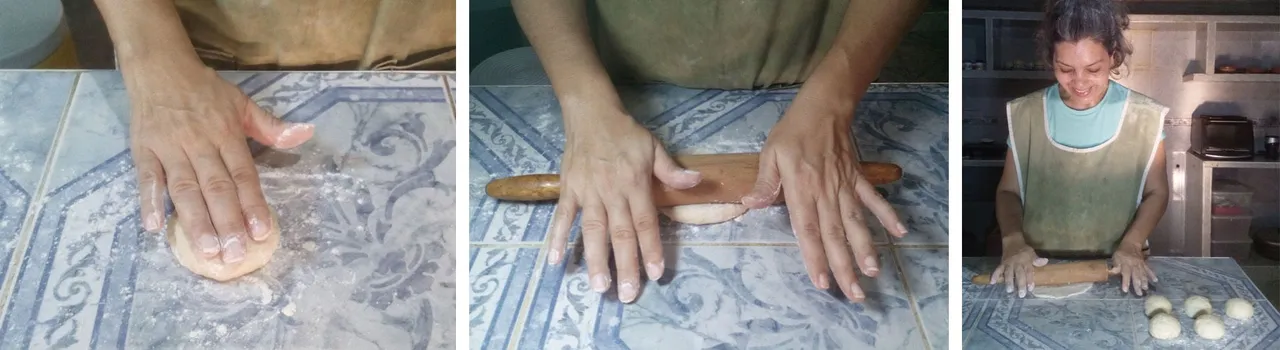
We will cut the six portions of 72 gr and we will begin to make with each one the boleo, which consists of taking the portion of dough and move it in circular form against the surface of the table with the hand in form of bowl; until the portion takes form of ball.
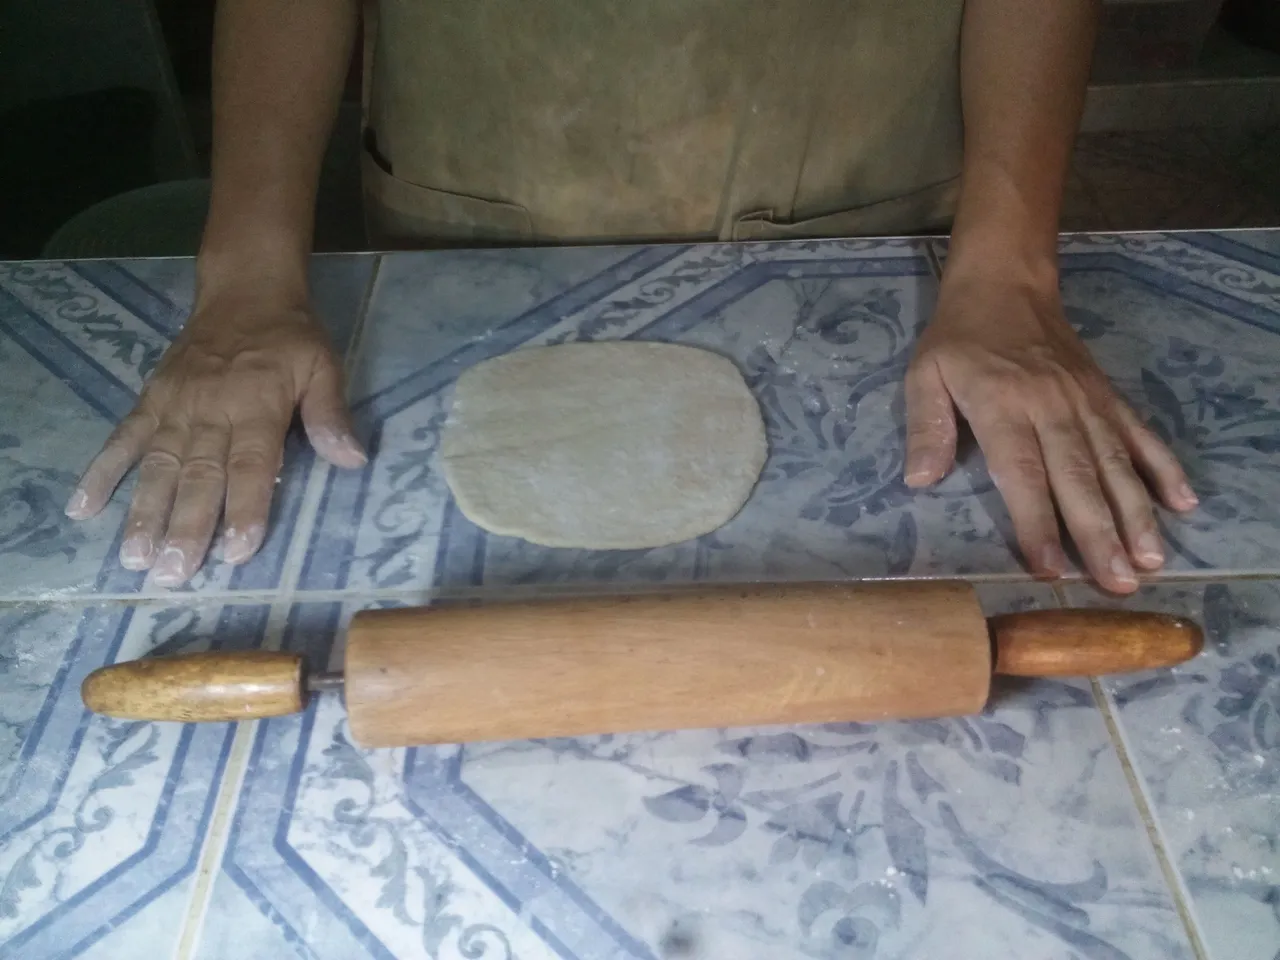
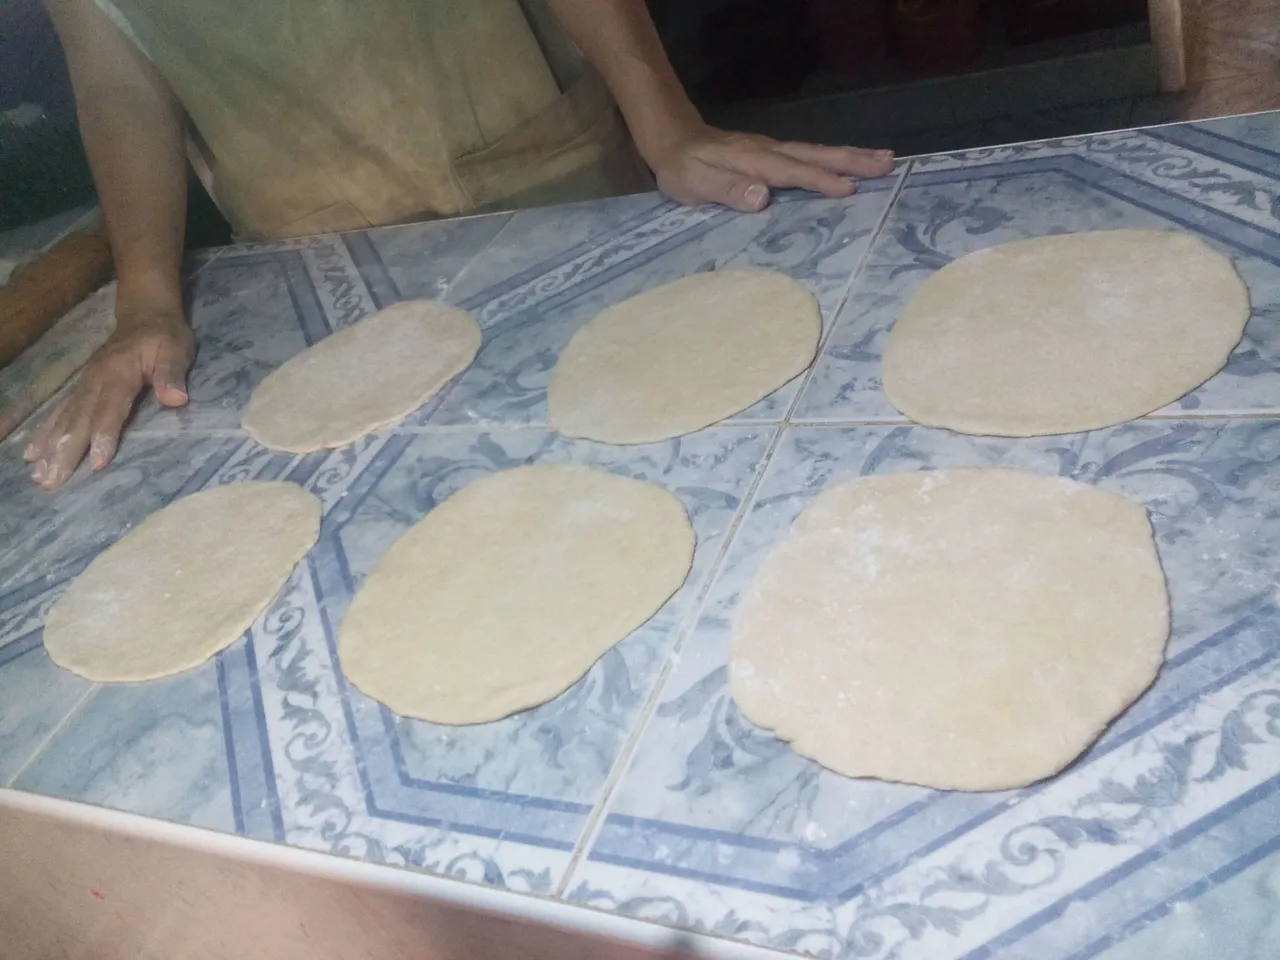
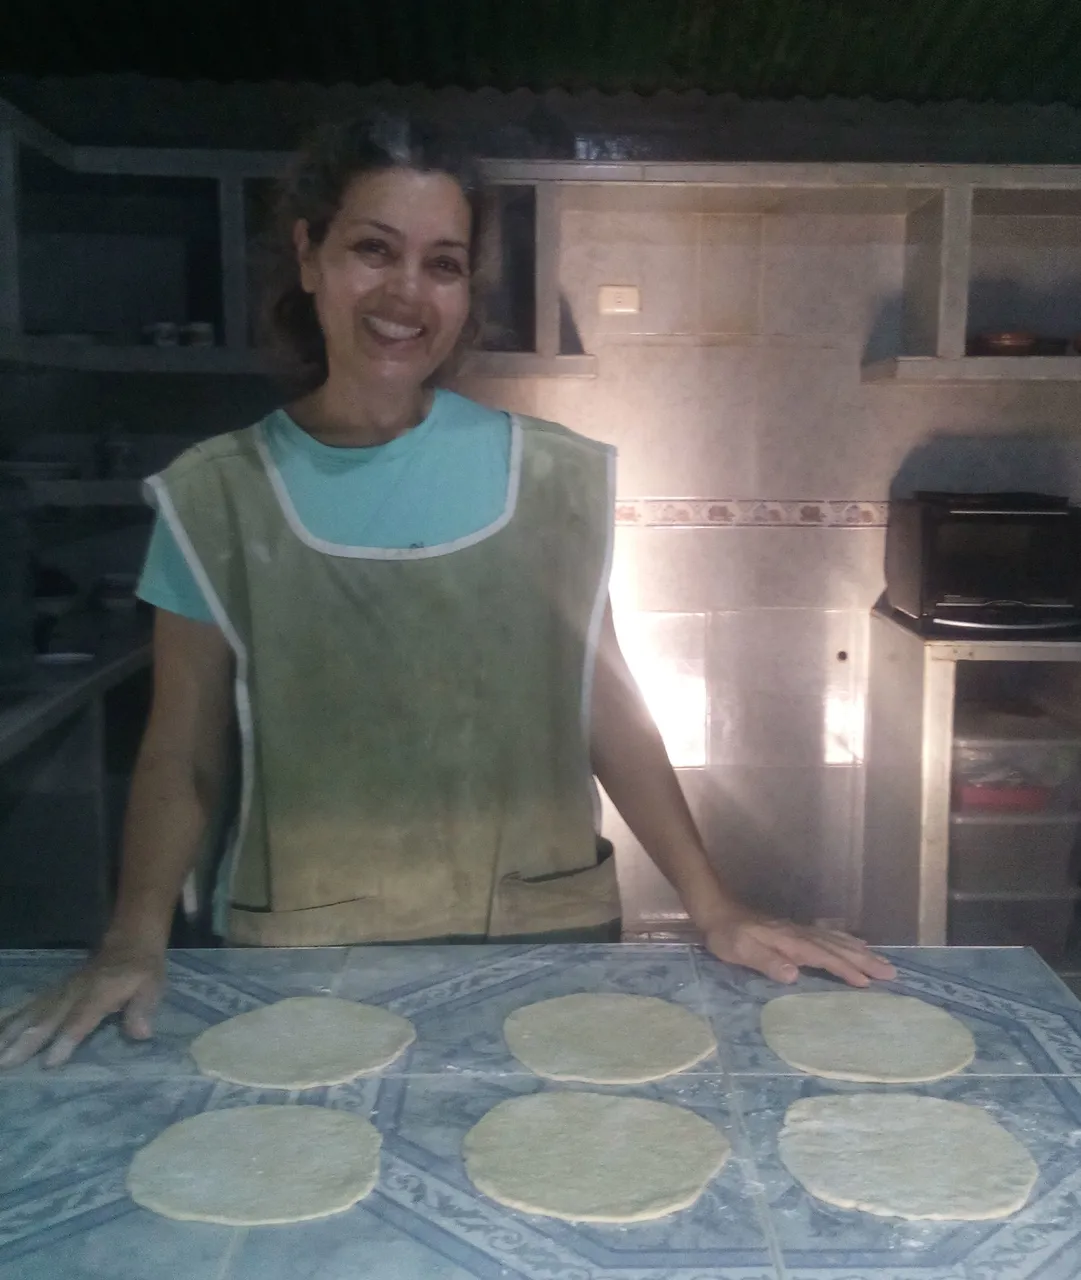
When we have the six little balls ready we have to flatten them with the rolling pin. We stretch until the dough has a height of 2 millimeters, approximately.
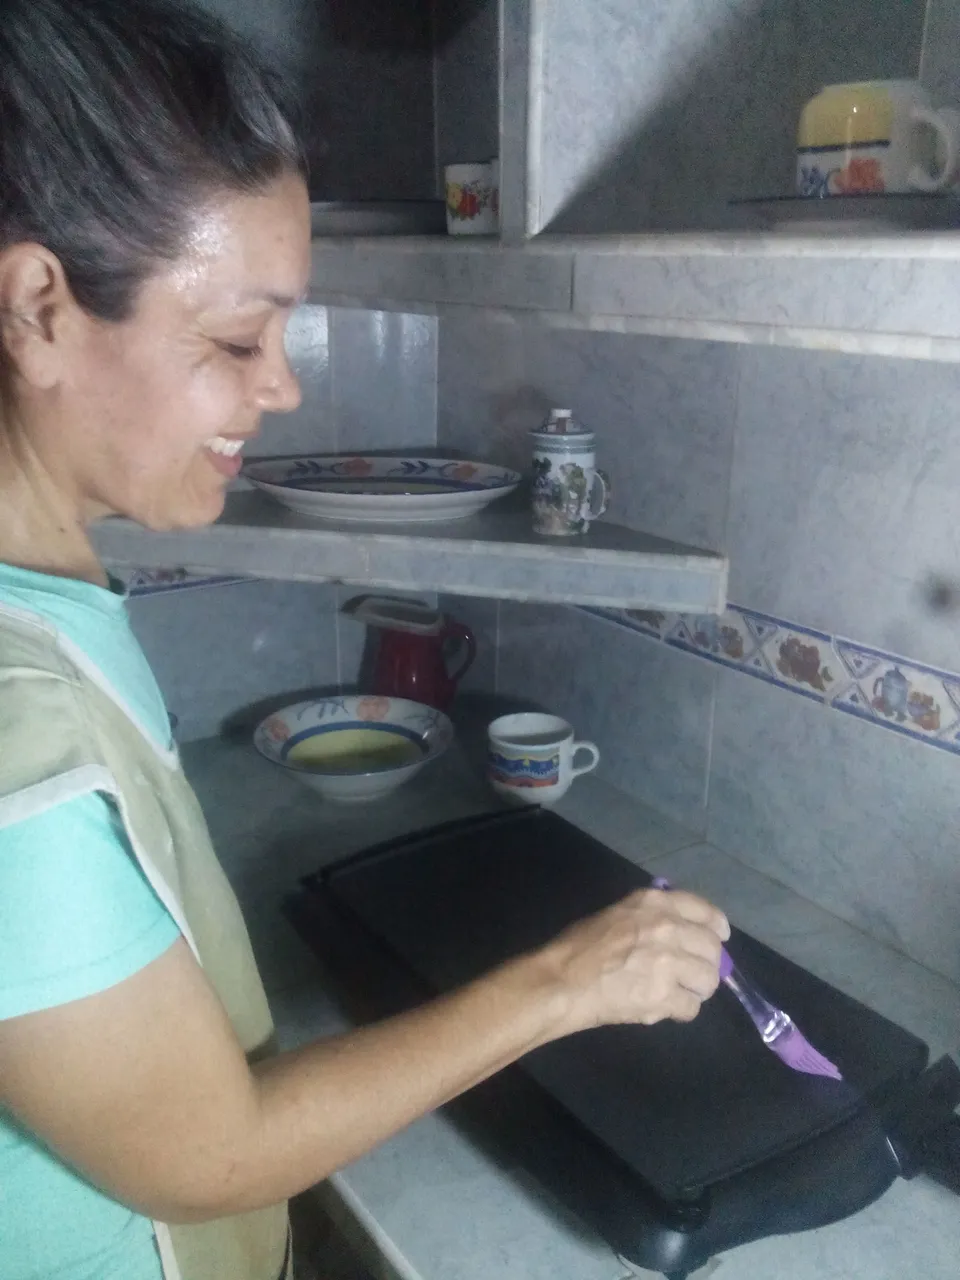
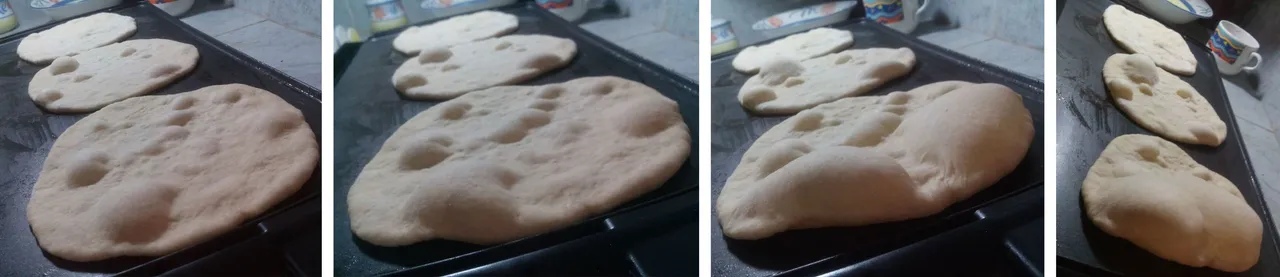
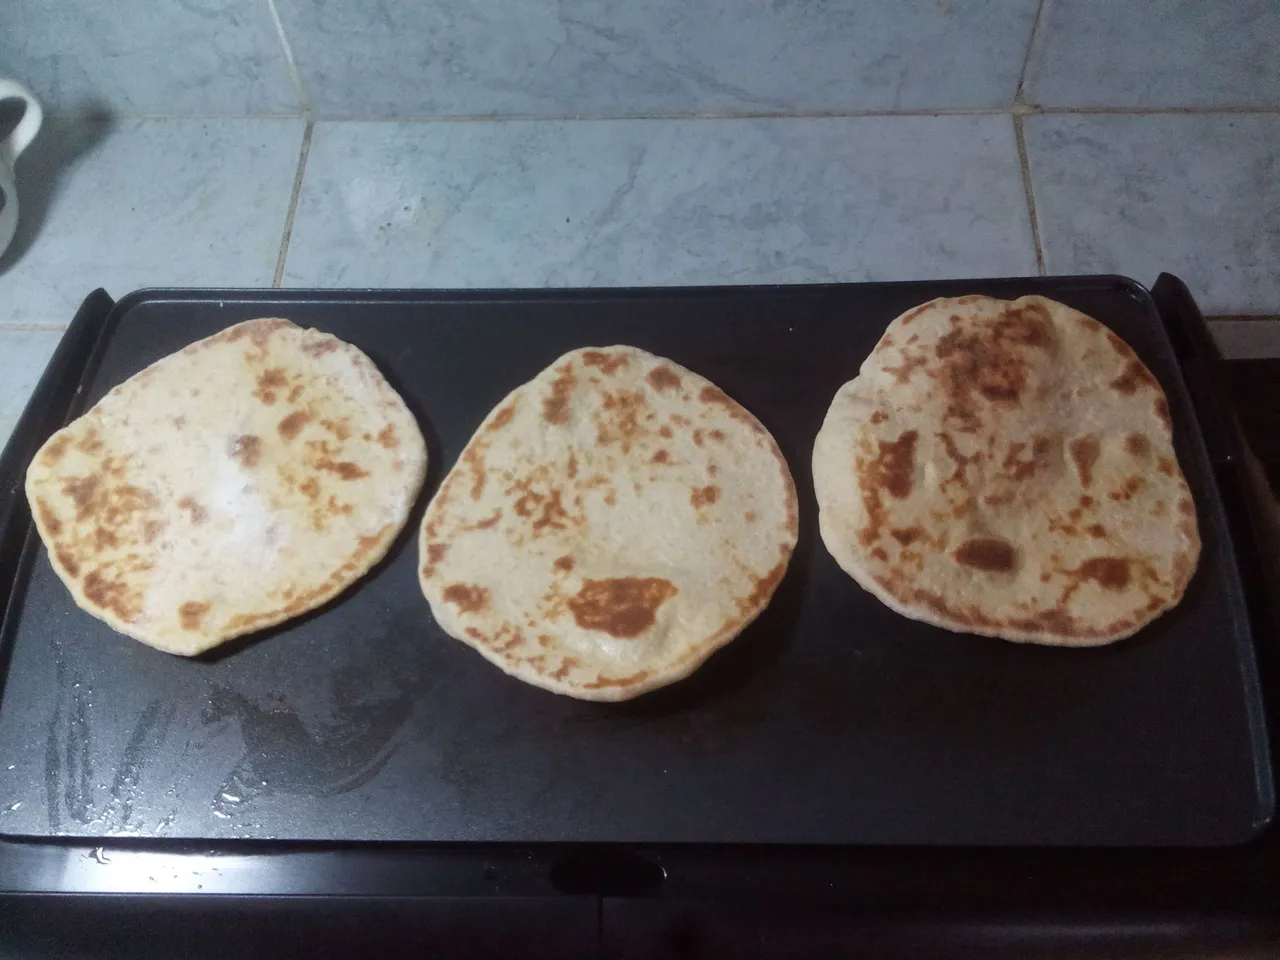
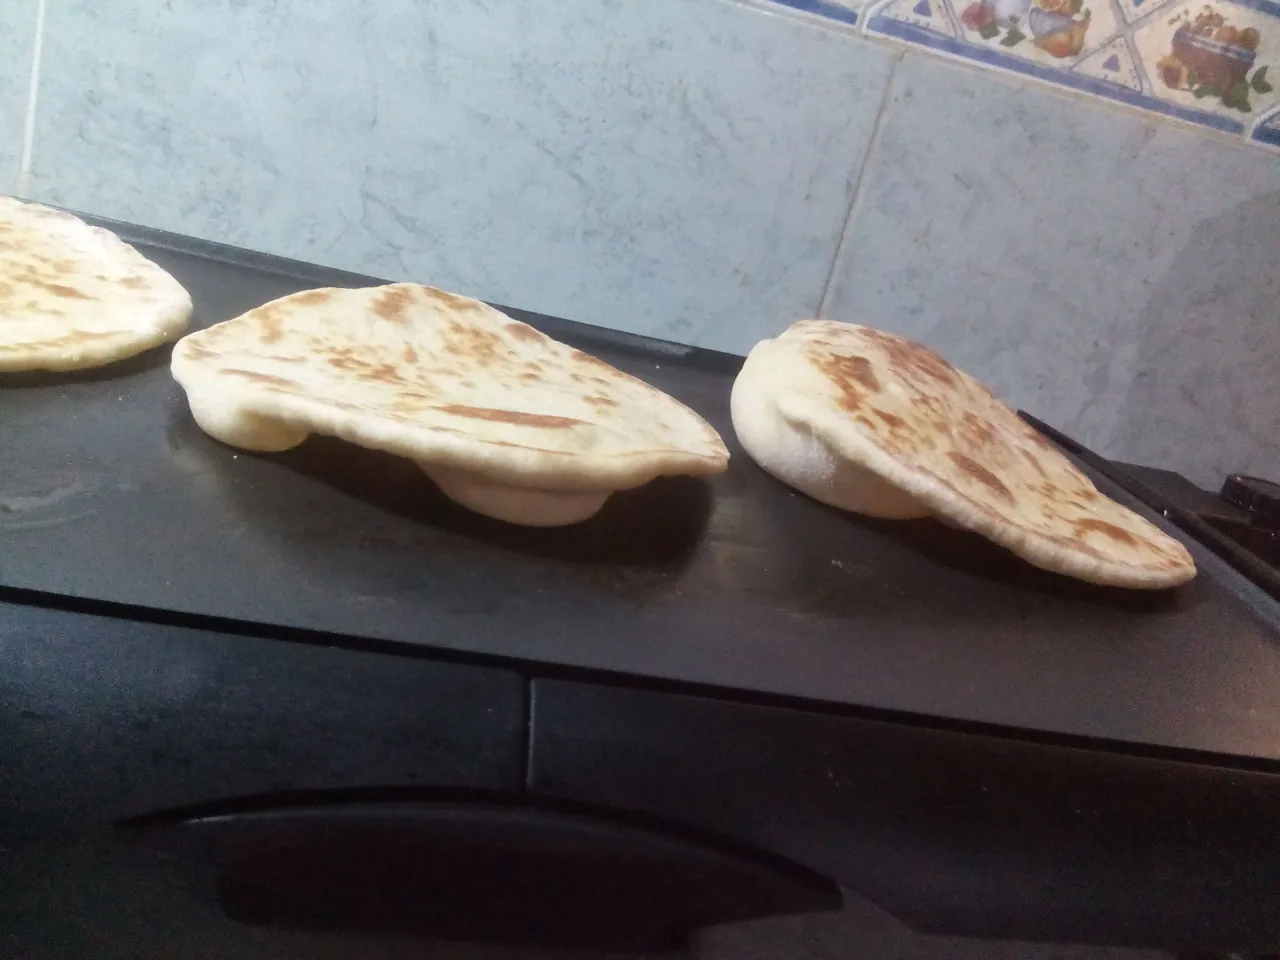
Now we are close to have our breads ready, so let's lubricate with little oil a budare, frying pan or griddle; in my case I will do it with the electric griddle. No matter what we use, what we have to take into account is that it is at a high temperature. We will place the bread extended on the hot griddle and we will see how it begins to fill with air, more or less in 90 seconds we will turn it over so that it cooks on the other side, with one minute it will be fine. We can go checking, the important thing is that we do not let it toast, because this is not a toasted bread, it should be soft.
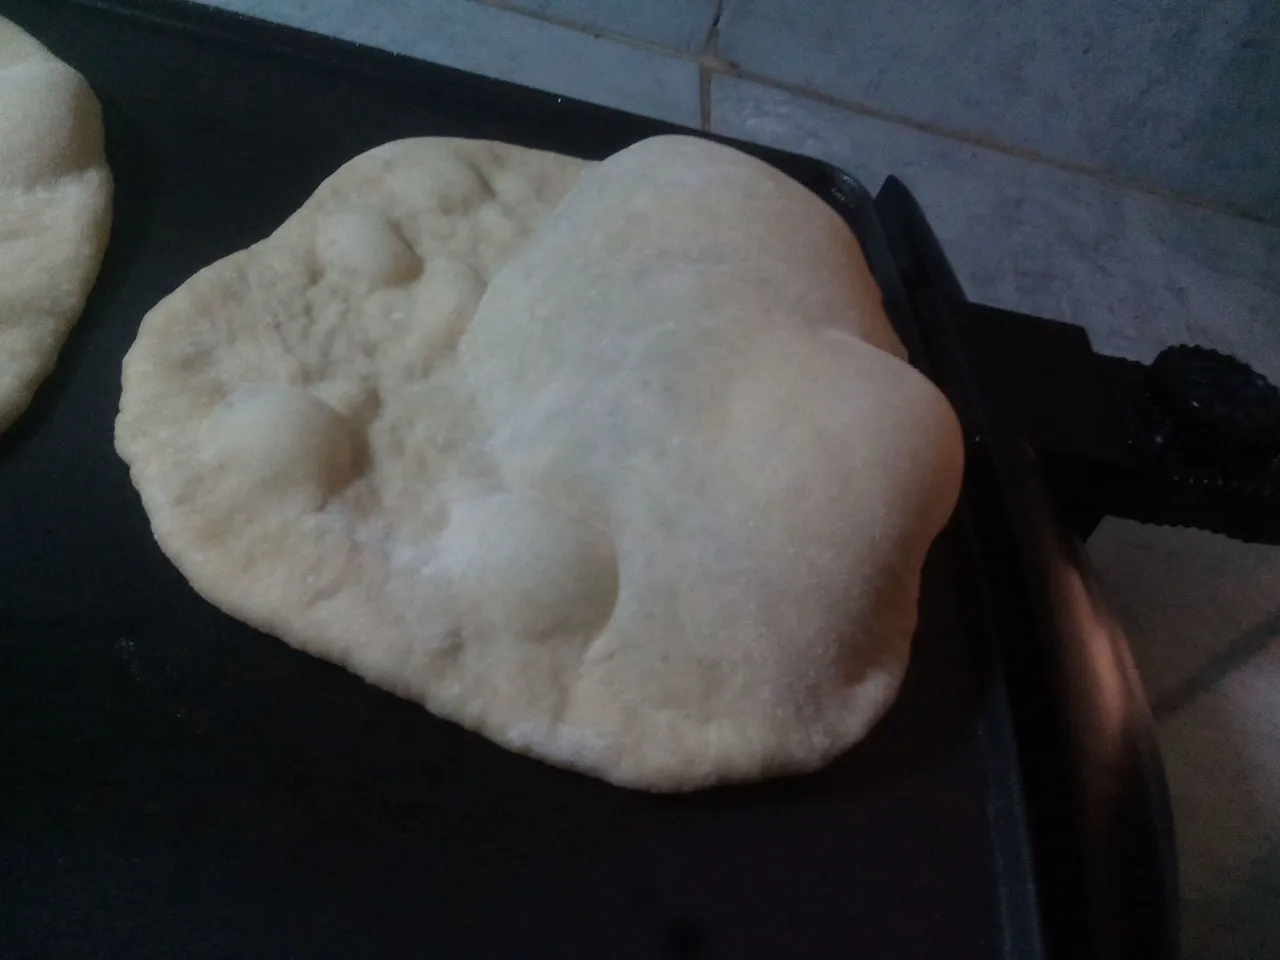
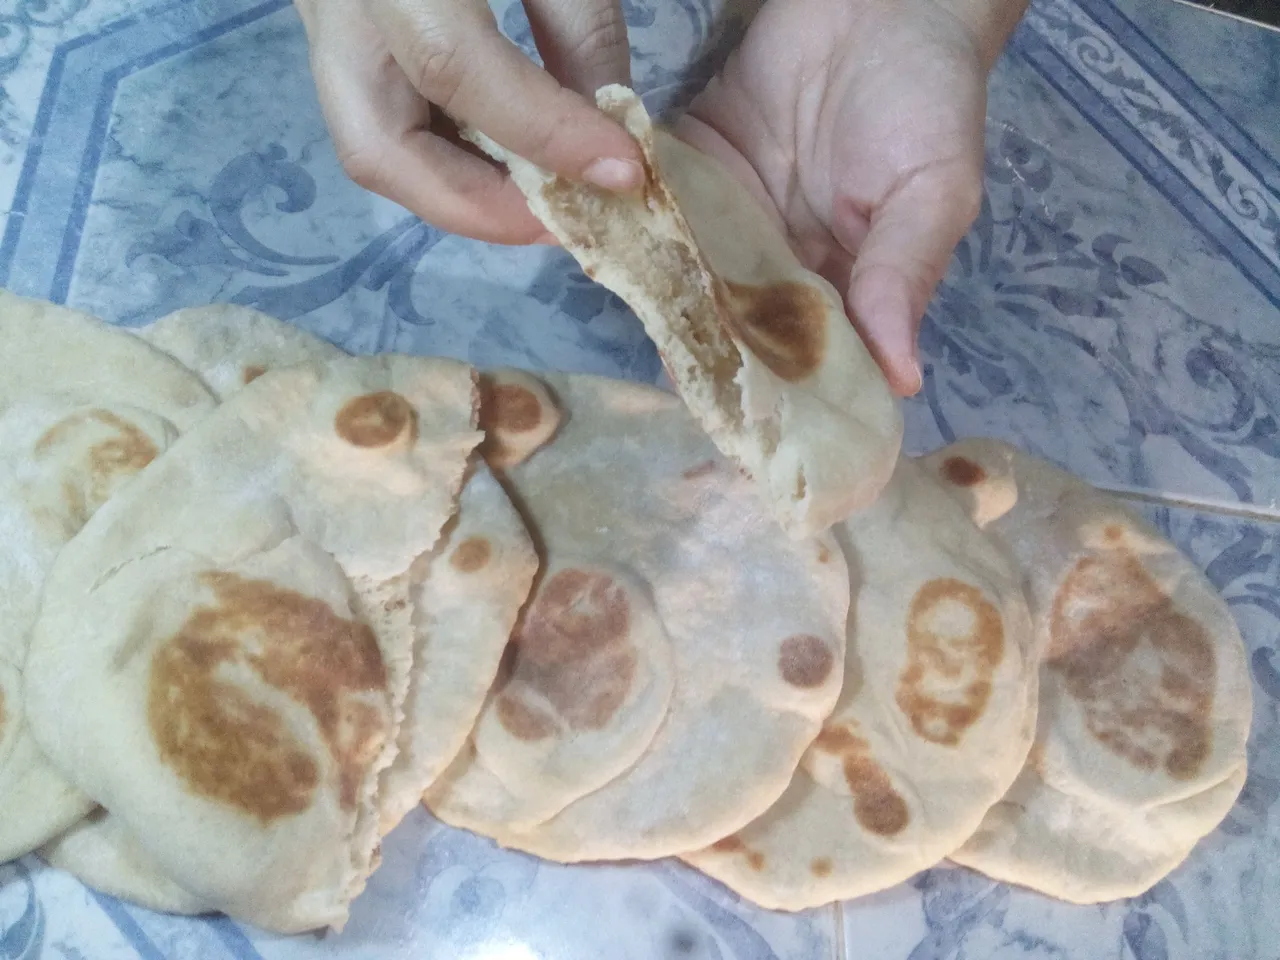
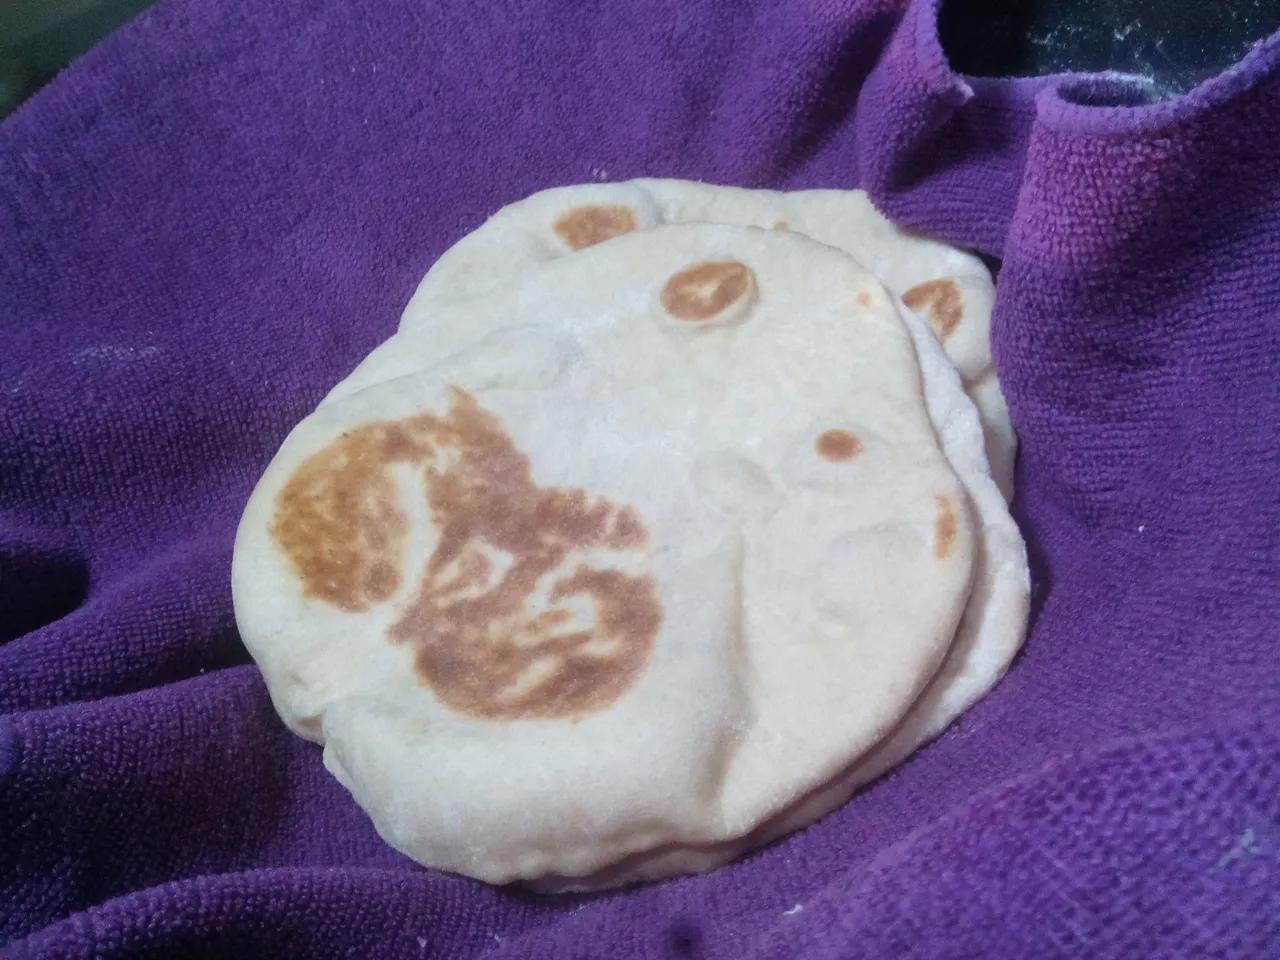
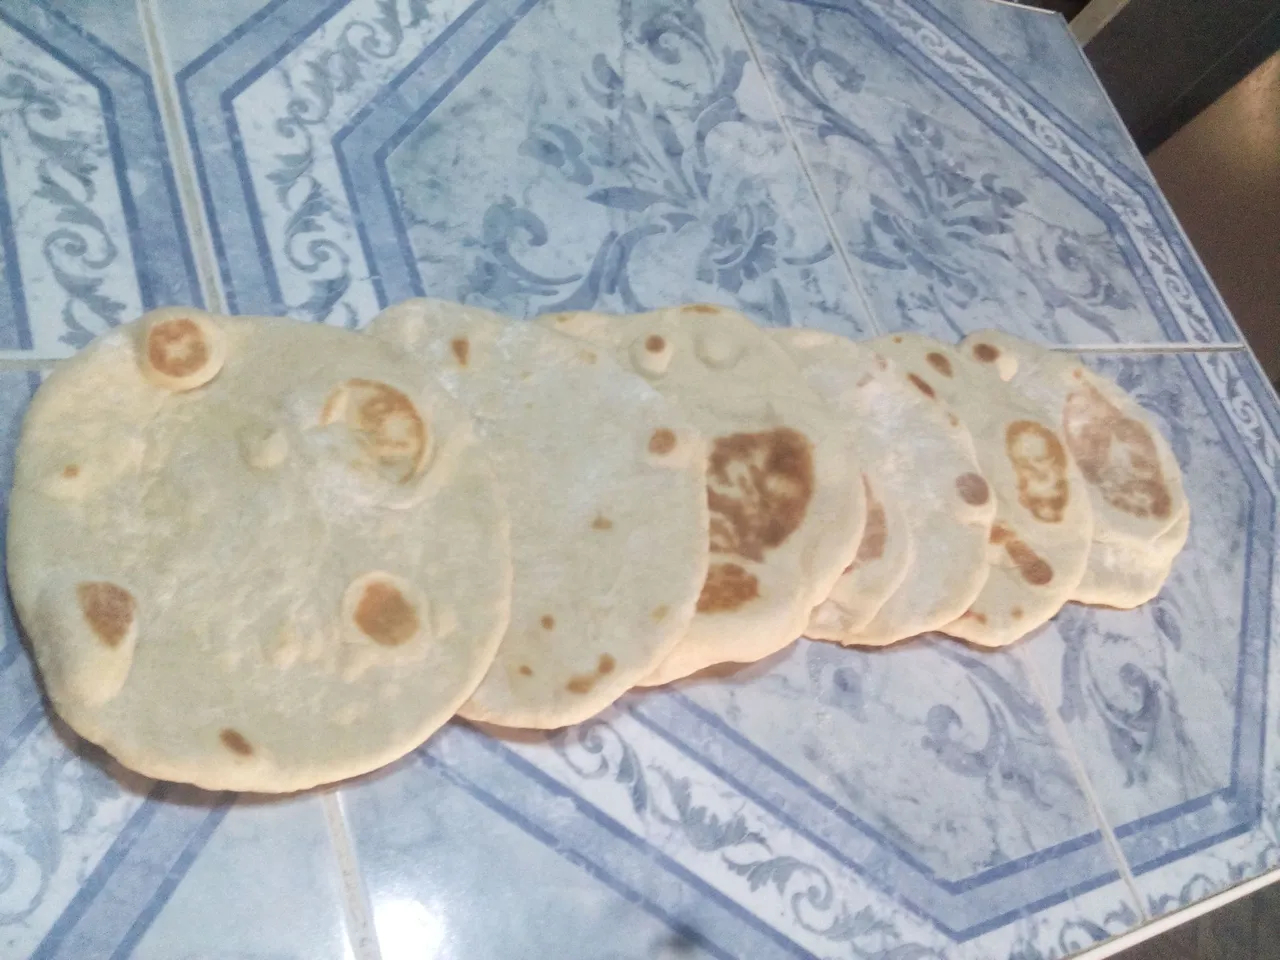
Our bread is ready to serve, you can leave it this golden brown or even a little less, because of its thinness it cooks very fast so don't worry. I like to keep it wrapped in a cloth or a cloth napkin to retain heat and moisture, the latter if you are going to eat it at once. If not, you can keep it in the fridge and when you are going to eat it, just heat it again in the budare or griddle and it will be as freshly made.
Original content by the author.
Resources: Tablet ZTE E10Q
Own photos
Translated with Deepl.com
All Rights Reserved || @jetta.amaya// 2023
Pan de pita casero (Ingles/Español)
Un saludo amoroso para todos mis amigos de Hive, me encanta estar una vez más en esta maravillosa comunidad Plant Power (Vegan) donde aprendo tanto acerca de comida deliciosa y libre de crueldad. Esta vez les voy a compartir una receta muy deliciosa y especial para mí. Se trata de un Pan Pita casero, esta masa me encanta porque con ella he hecho panes al sartén, al horno, pizza, calzone, shawarma, pasteles andinos horneados y fritos; y en todas estas presentaciones queda espectacular de sabor y textura, así que ya se imaginaran lo versátil que puede ser. Requiere de pocos ingredientes y es libre de toda crueldad.
Por ser muy económica también es ideal cuando tenemos muchos comensales, a mí me ha funcionado muy bien y he comprobado que le gusta a los más pequeños de la casa así como a los más grandes. En esta ocasión les mostrare la presentación de Pan Pita, a continuación les compartiré los ingredientes necesarios para realizar 6 panes medianos.
Ingredientes
- 250 gr de harina de trigo
- 150 ml de agua
- 6 gr de levadura instantánea
- 10 gr de azúcar
- 15 ml de aceite
- 5 gr de sal
Lo primero que haremos será verter la harina en un bol y con la mano abriremos un agujero en la mitad, tipo volcán.
Después arrojaremos la levadura en el agujero del centro y enseguida esparciremos el azúcar alrededor del volcán, sobre la harina.
Vamos a poner a calentar un poco el agua, pero no debe estar muy caliente. Lo importante es que este tibia para activar la levadura, así que procura que sea temperatura de tetero o soportable al contacto con la piel por al menos 10 segundos. Esto es muy importante, si el agua está muy fría la levadura no se activara, pero si está muy caliente no se activará. Sobre la levadura vamos a verter el agua tibia, hasta que el volcán se inunde y esperaremos unos 2 minutos para que esta se active.
Al transcurrir los dos minutos incorporamos el aceite sobre el agua y nos disponemos a amasar. Vamos hacerlo de forma envolvente, hasta que integremos todos los ingredientes, no es necesario amasar por mucho tiempo, cuando ya esté todo integrado estaremos listo. Por ultimo añadiremos la sal y amasaremos nuevamente para integrarla. Se hace en este orden porque la sal no le permite a la levadura activarse, así que es importante que la incorpore cuando ya la levadura esta activa.
Cuando ya tengamos la masa lista la cubriremos con un paño y la dejaremos reposar por una hora en un lugar oscuro y fresco; el horno apagado es una buena opción. Cuando transcurra una hora veremos la diferencia.
En este punto la masa ya estará lista, así que nos propondremos a dividirla en seis porciones iguales. A mí me gusta pesarla, en esta ocasión la masa en total pero 436 gr después de fermentar durante una hora; así que cada porción debe pesar aproximadamente 72 gr.
Cortaremos las seis porciones de 72 gr y empezaremos hacer con cada una el boleo, que consiste en tomar la porción de masa y moverla en forma circular contra la superficie de la mesa con la mano en forma de cuenco; hasta que la porción tome forma de bola.
Cuando ya tengamos las seis bolitas listas nos disponemos a aplanarlas con el rodillo. Estiramos hasta que la masa tenga una altura de 2 milímetros, aproximadamente.
Ya estamos cerca d tener nuestros panes listo, así que vamos a lubricar con poco aceite un budare, sartén o plancha; en mi caso lo hare con la plancha eléctrica. Sin importar lo que usemos lo que hay que tener en cuenta es que este a alta temperatura. Colocaremos el pan extendido sobre la plancha caliente y veremos como empieza a llenarse de aire, más o menos en 90 segundos la voltearemos para que se cocine por el otro lado, con un minuto estará bien. Podemos ir revisando, lo importante es que no lo dejemos tostar, porque este no es un pan tostado, debe quedar suave.
Nuestro pan está listo para servir, lo puedes dejar así de doradito o incluso un poco menos, por su poco grosor se cocina muy rápido así que no te preocupes. Me gusta guardarlo envuelto en un paño o una servilleta de tela para que se conserve el calor y la humedad, esto último si lo vas a comer de una vez. Si no es así, puedes perfectamente guardarlo en la nevera y cuando vayas a consumirlo solo caliéntalo nuevamente en el budare o plancha y quedará como recién hecho.
Contenido original del autor.
Recursos: Tableta ZTE E10Q
Fotos propias
Traducido con Deepl.com
Todos los derechos reservados || @jetta.amaya// 2023