It's been a few weeks since I gave an update on our home renovation, but the last couple of weeks have felt pretty slow on the project. Things were still happening everyday, but the changes were subtle in terms of the overall look of the place so there wasn't much to talk about. In my last post I left off at the demolition work and some of the framing that was completed. Since then all of the electrical and plumbing rough-ins were done, mostly, and some other stuff.
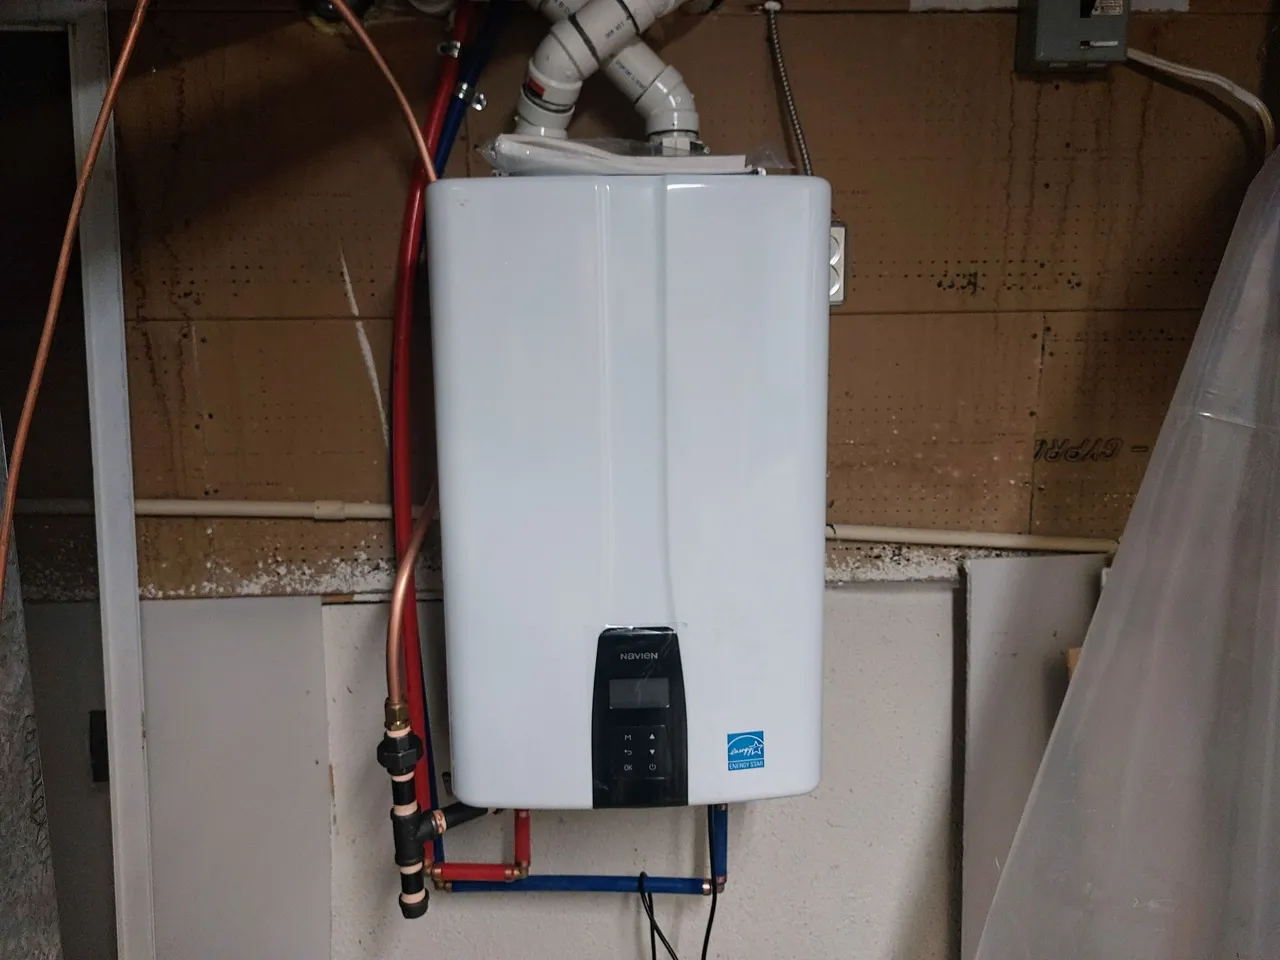
Our existing water heater was quite old and needed to be replaced, so we took the opportunity to get that done now as well. We installed a thankless heater this time, for efficiency.
I'll show you a few of the other finishes that we chose that I didn't post previously.
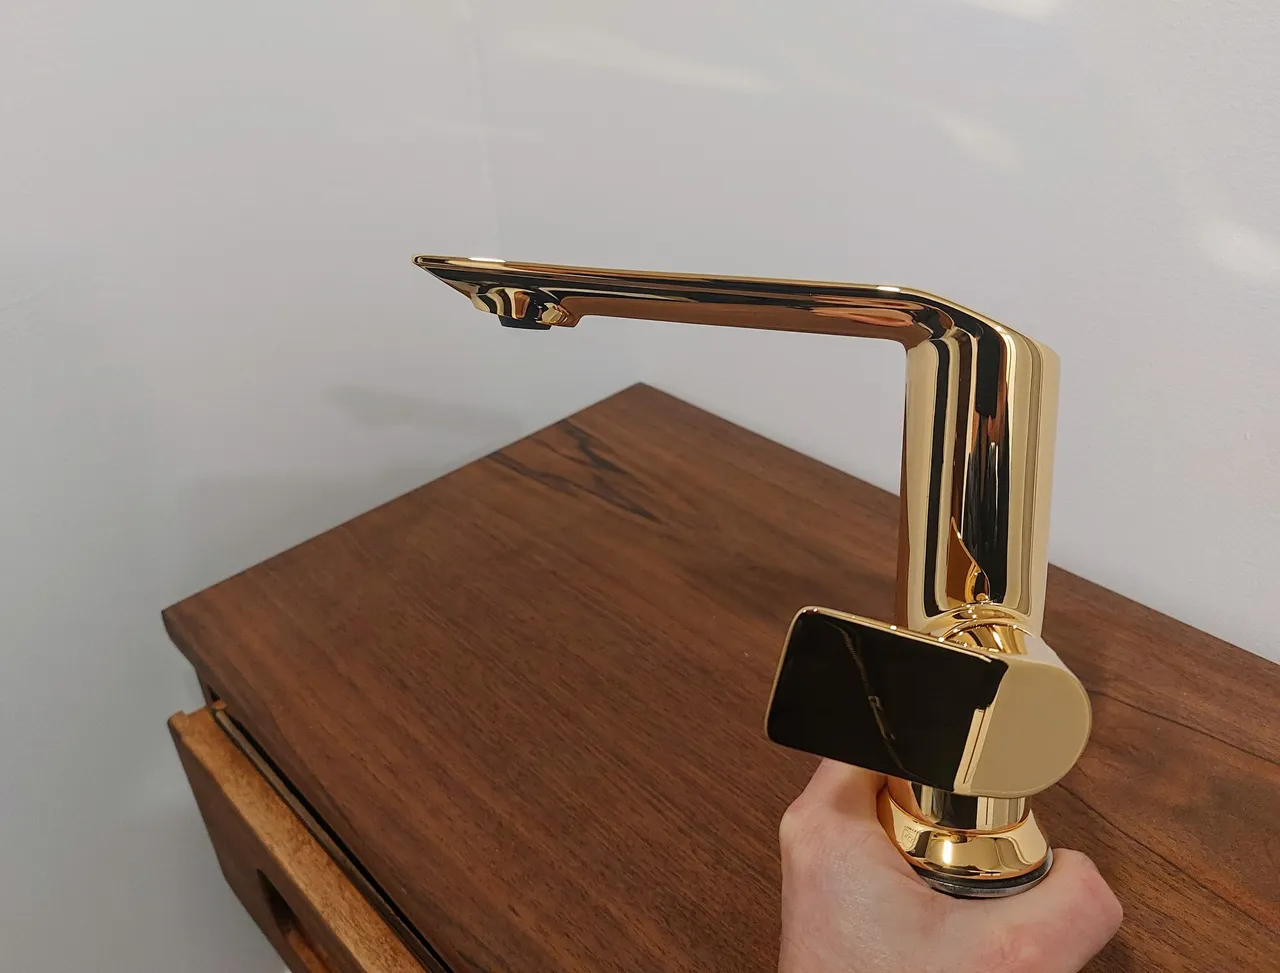
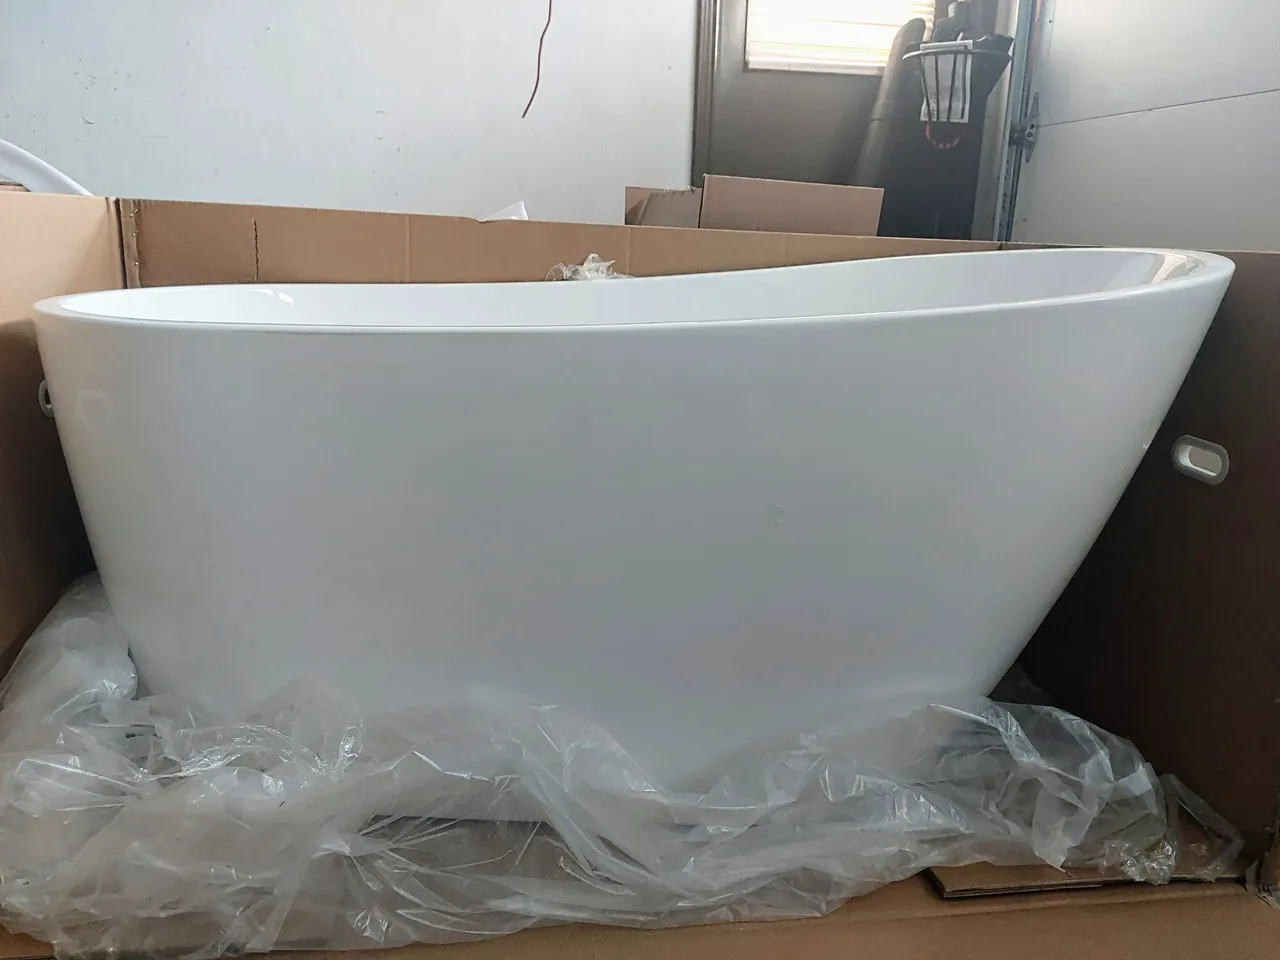
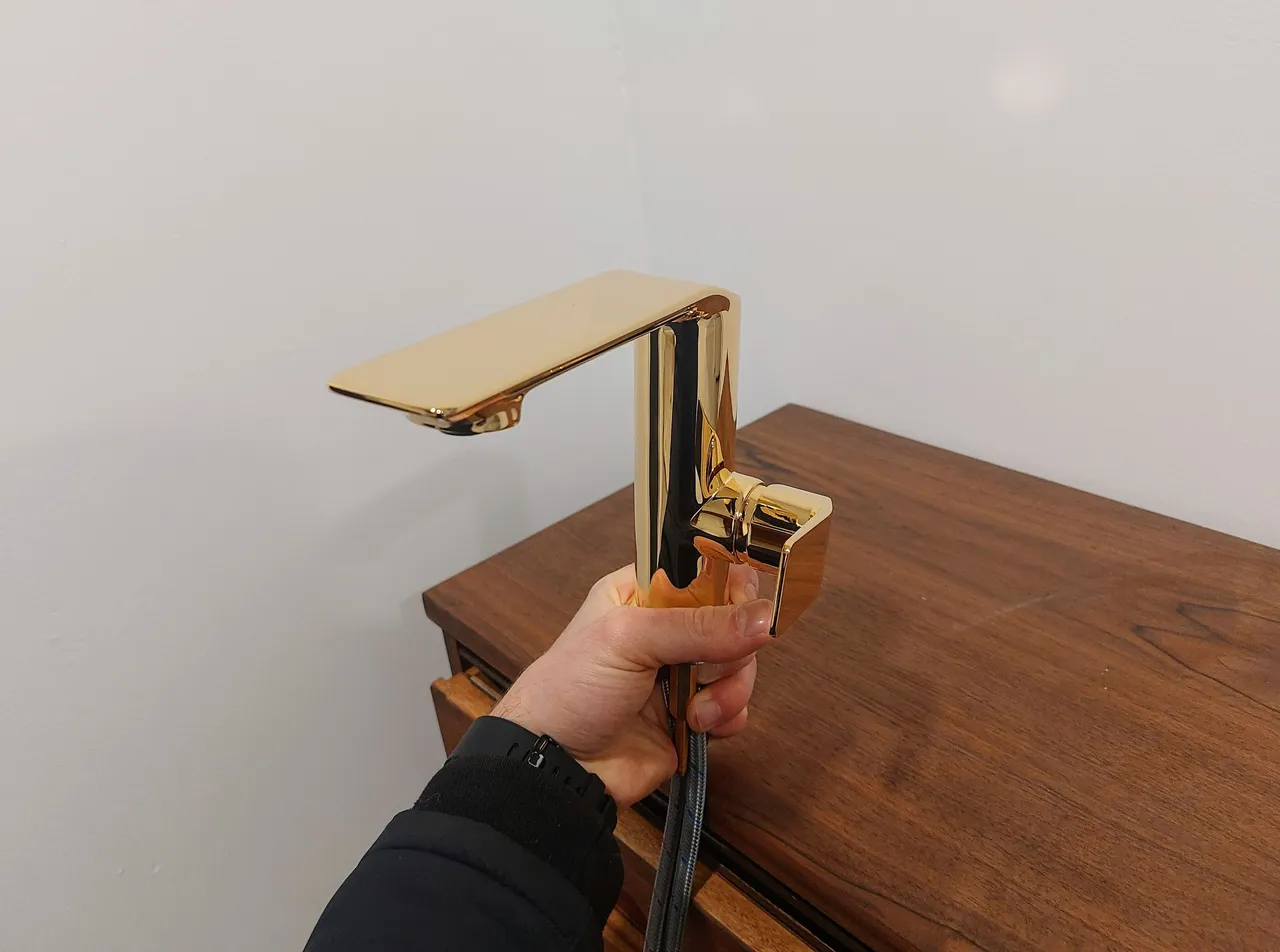
In our white tile bathroom we will have a freestanding tub and gold colored faucet and tub filler.
In the ensuite bathroom the tiles that we chose are dark, so we went with a matt black finish on all of the hardware. I'm unsure if it would have been better to go with black to compliment the tiles or with gold again to contrast with them? Hopefully we made the right choice.
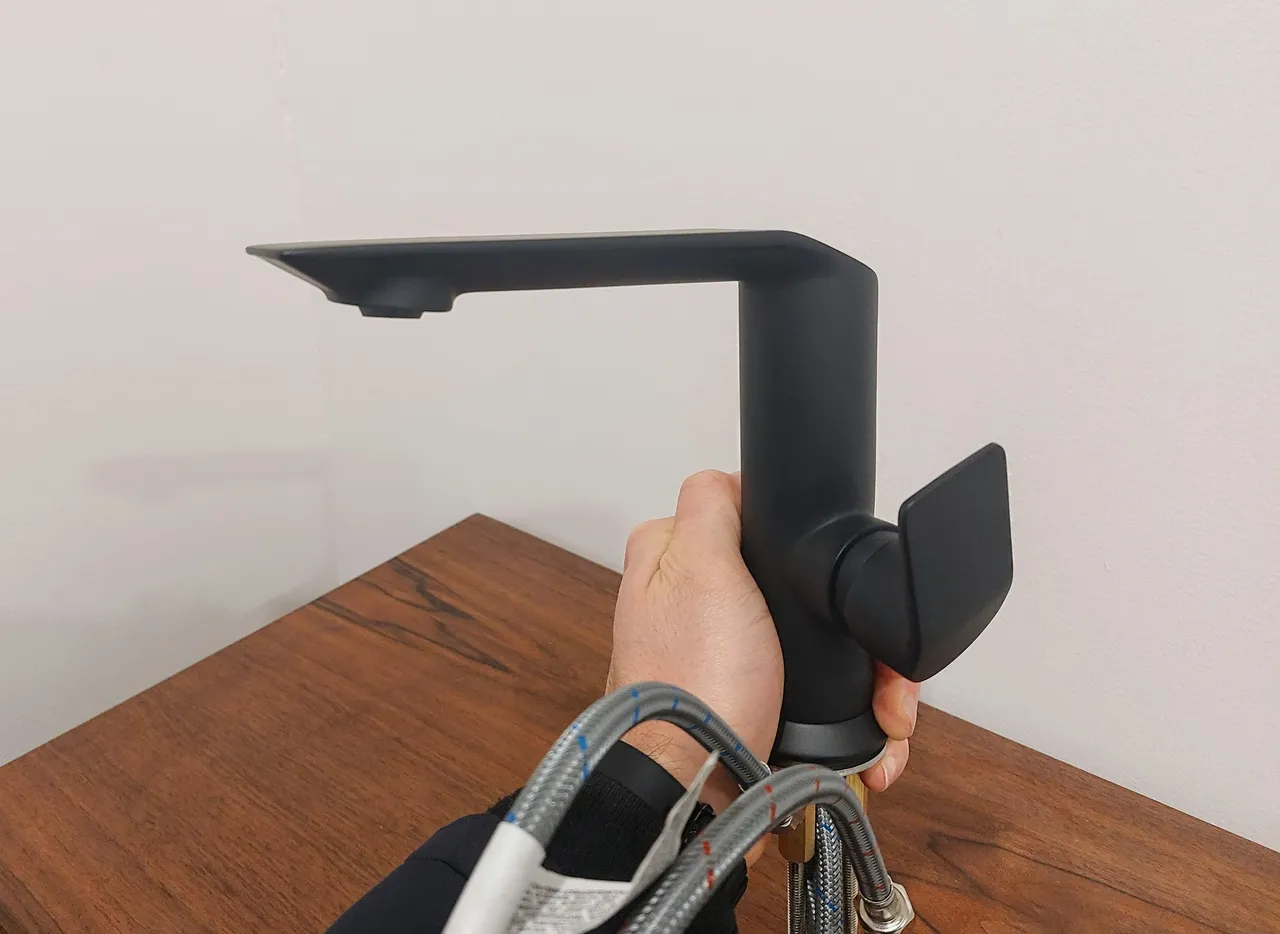
The pictures of the faucets aren't great but I don't know how to take good products photos, plus the flex hoses attached to them made it impossible to stand them upright.
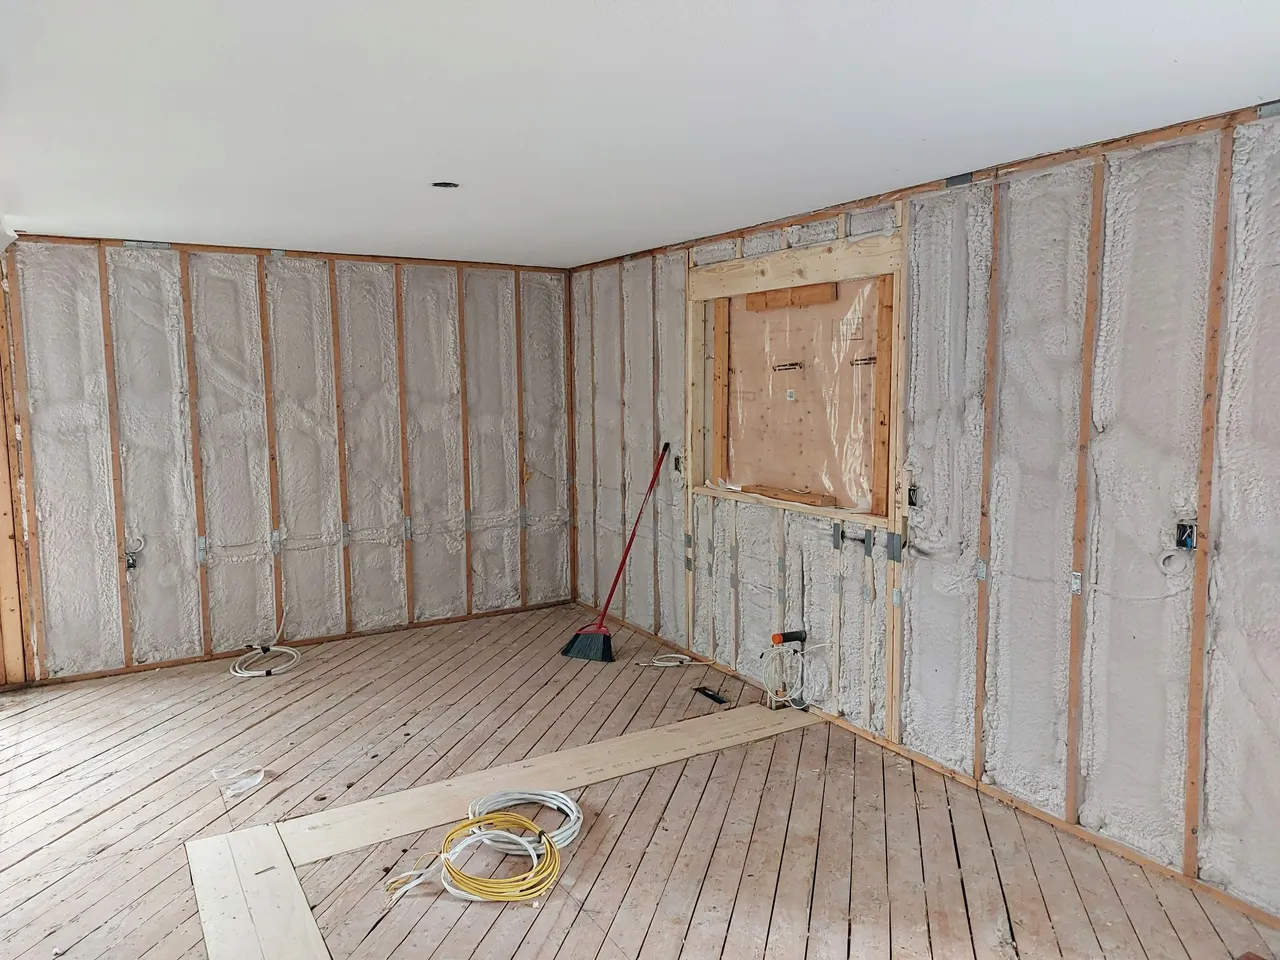
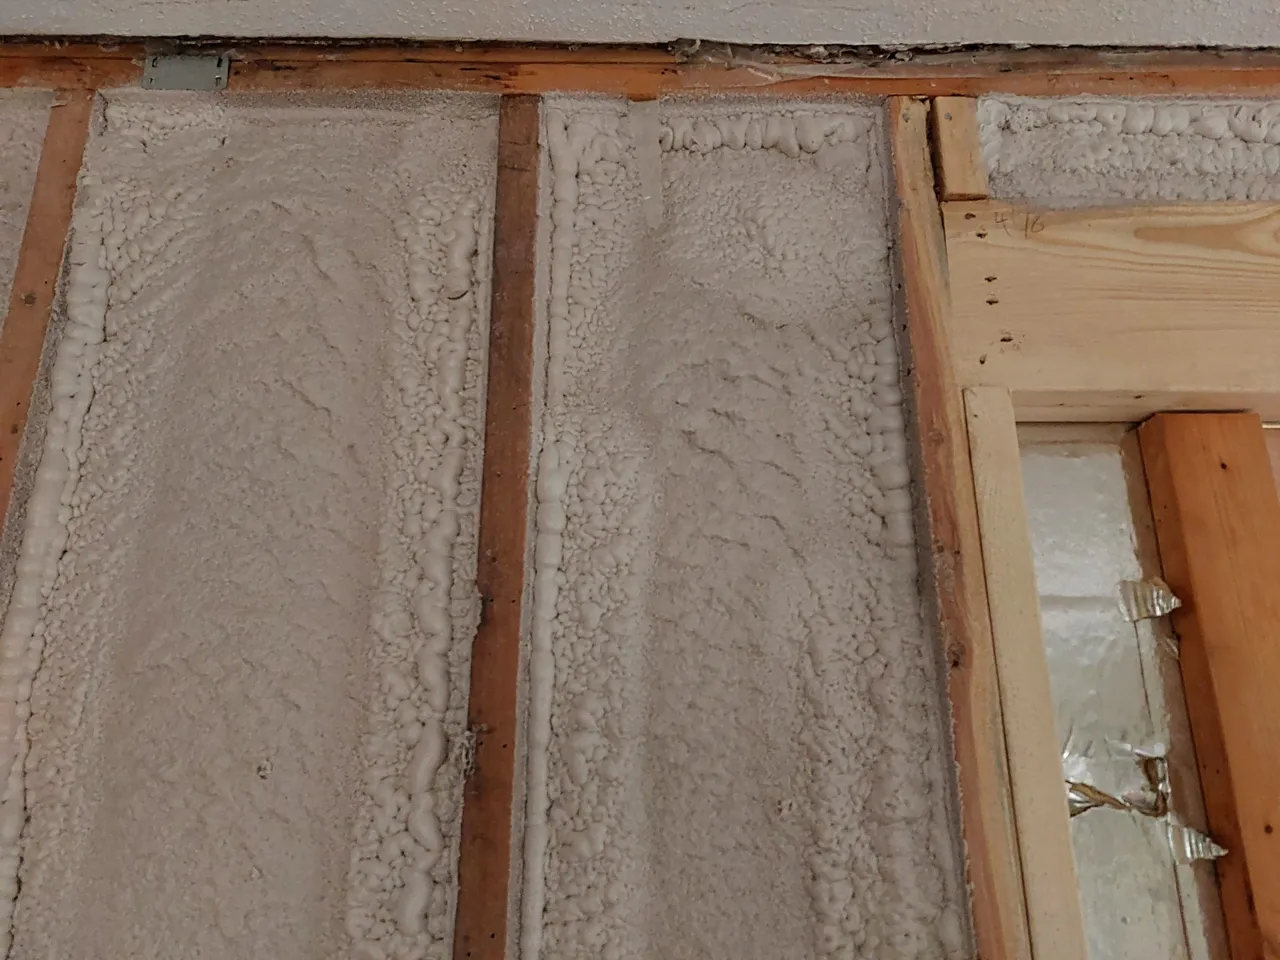
Last week the builders completed the framing and the spray foam insulation on all of the exterior walls.

That was a boring week because not a lot else was done and we couldn't go look at it for a day or two after they sprayed because the foam needed time to cure. It wasn't safe to enter the house right after it was sprayed.
This week they started the drywall and it went up really quickly - in only a day really.
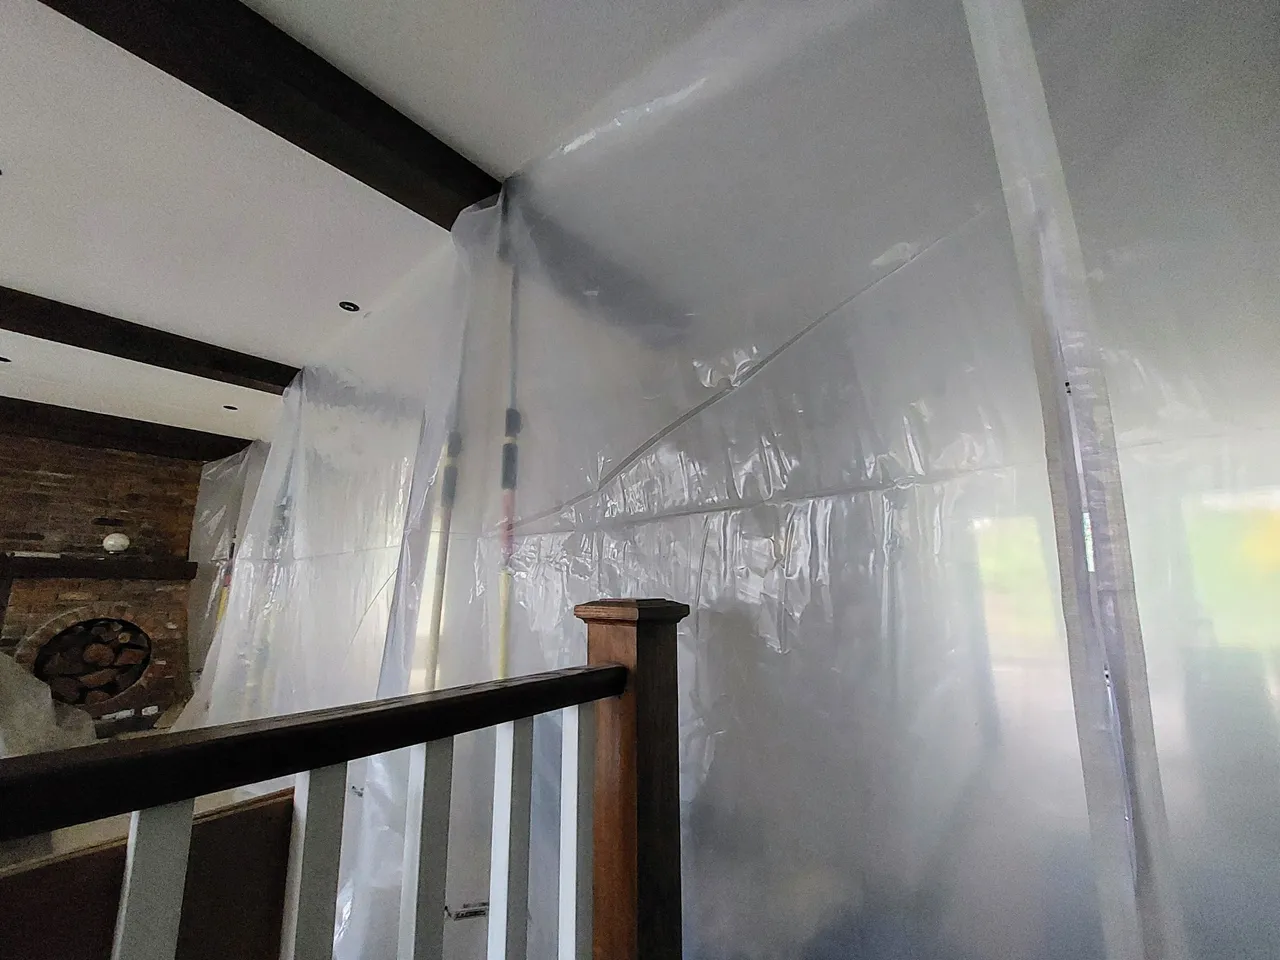
We came home to a bunch of plastic coverings hanging from the ceiling separating the rooms. They help keep some of the dust from spreading throughout the house.
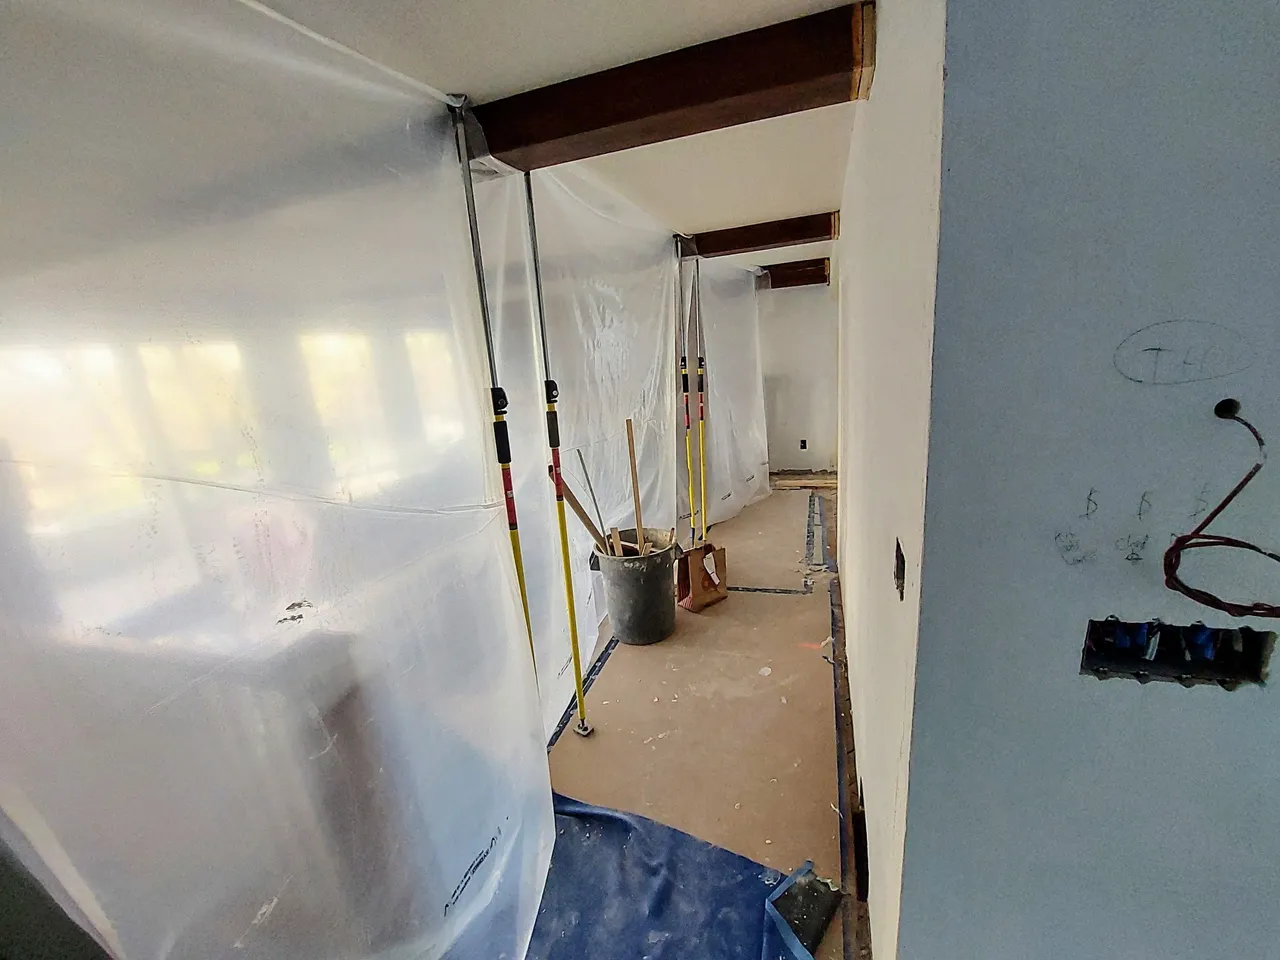
It reminded me of the movie E.T. a little bit.

They also cut the holes in the ceiling for all of the recessed lighting and scraped and skimmed the ceiling to remove the stucco.
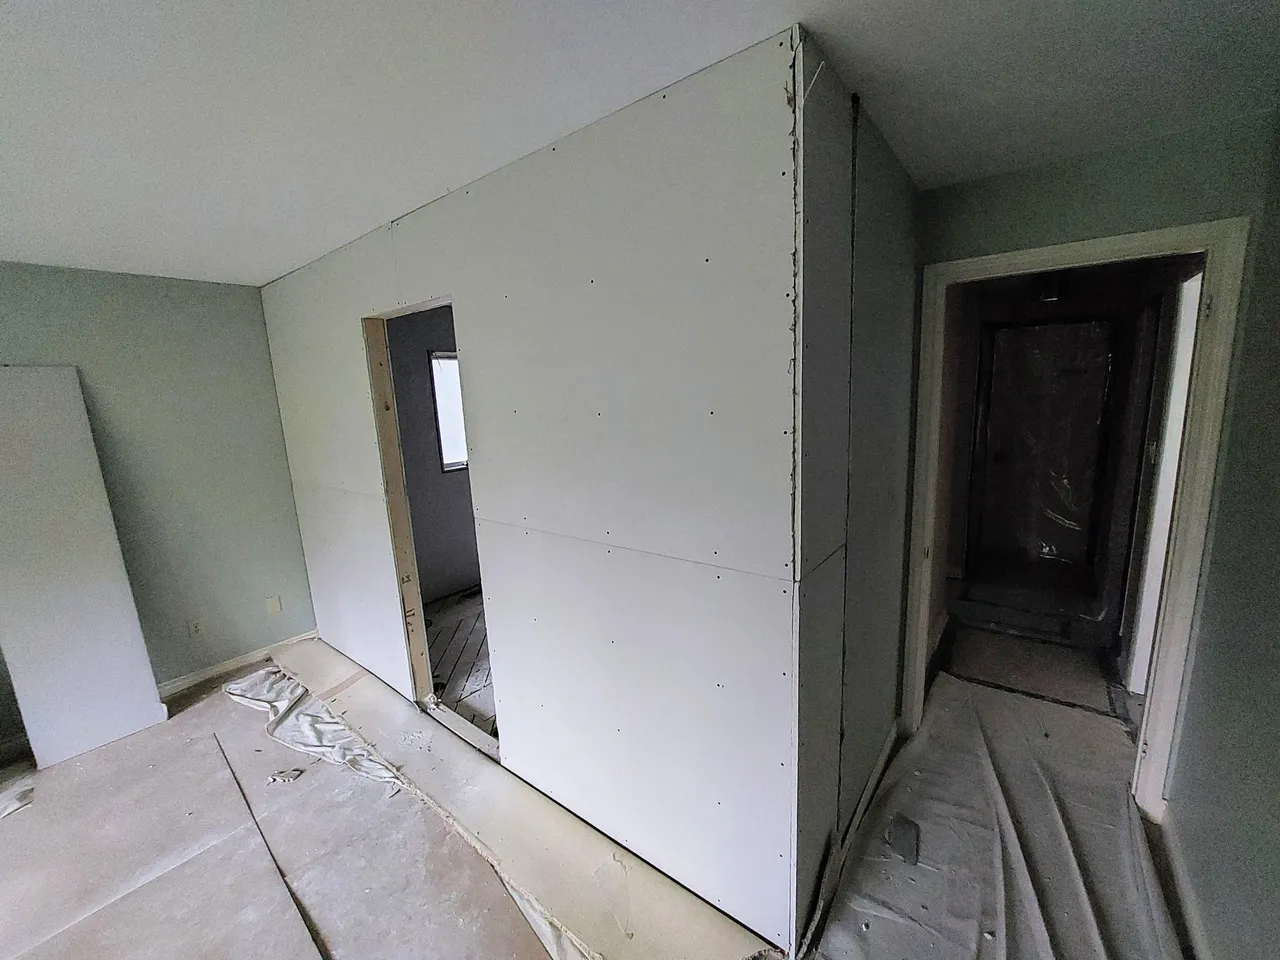
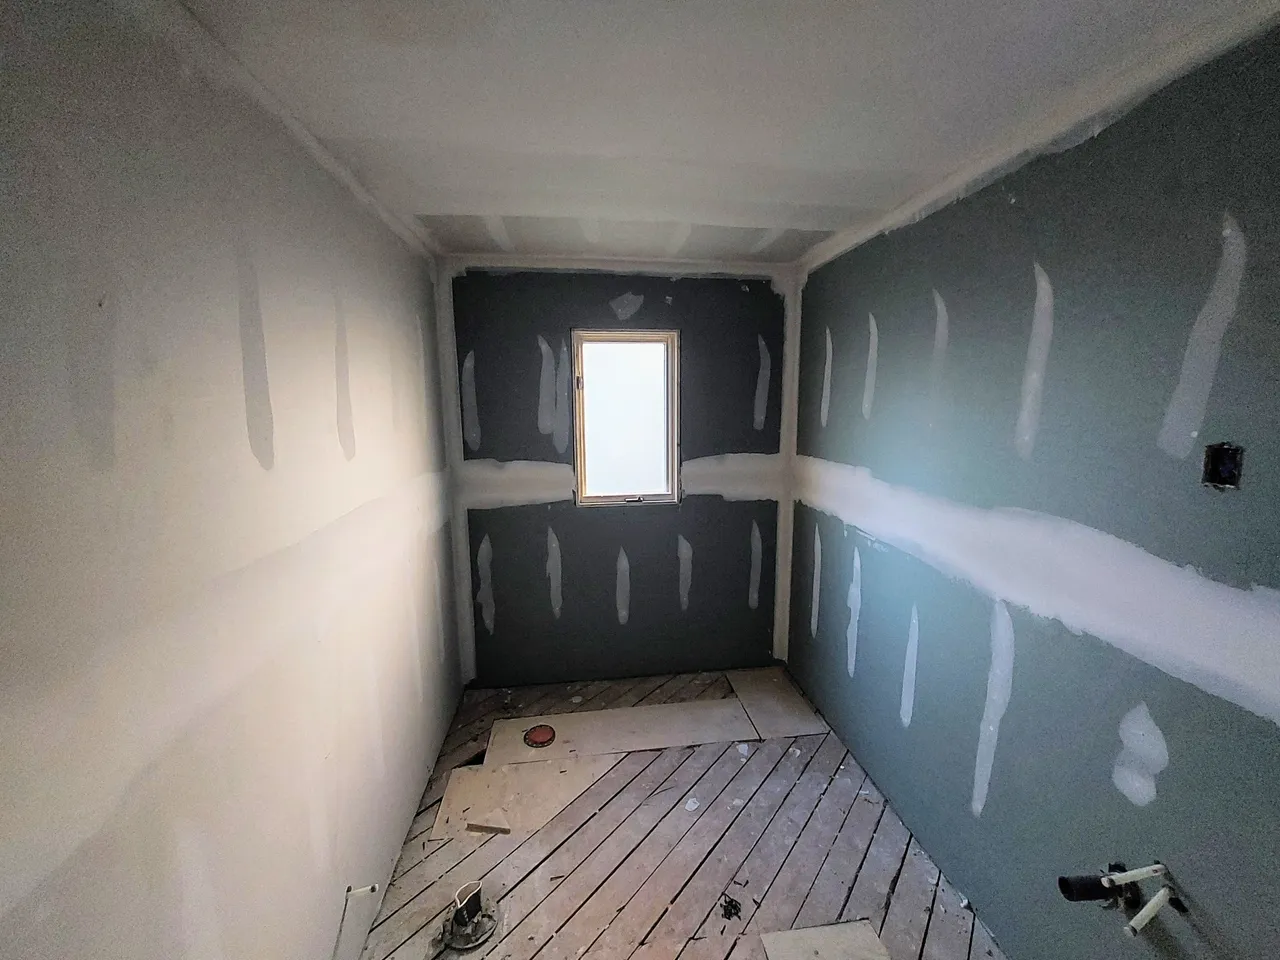
In the next picture you can see the additional wall space that was added to the ensuite bathroom to expand the room a little.
The next photo is the interior of that bathroom.
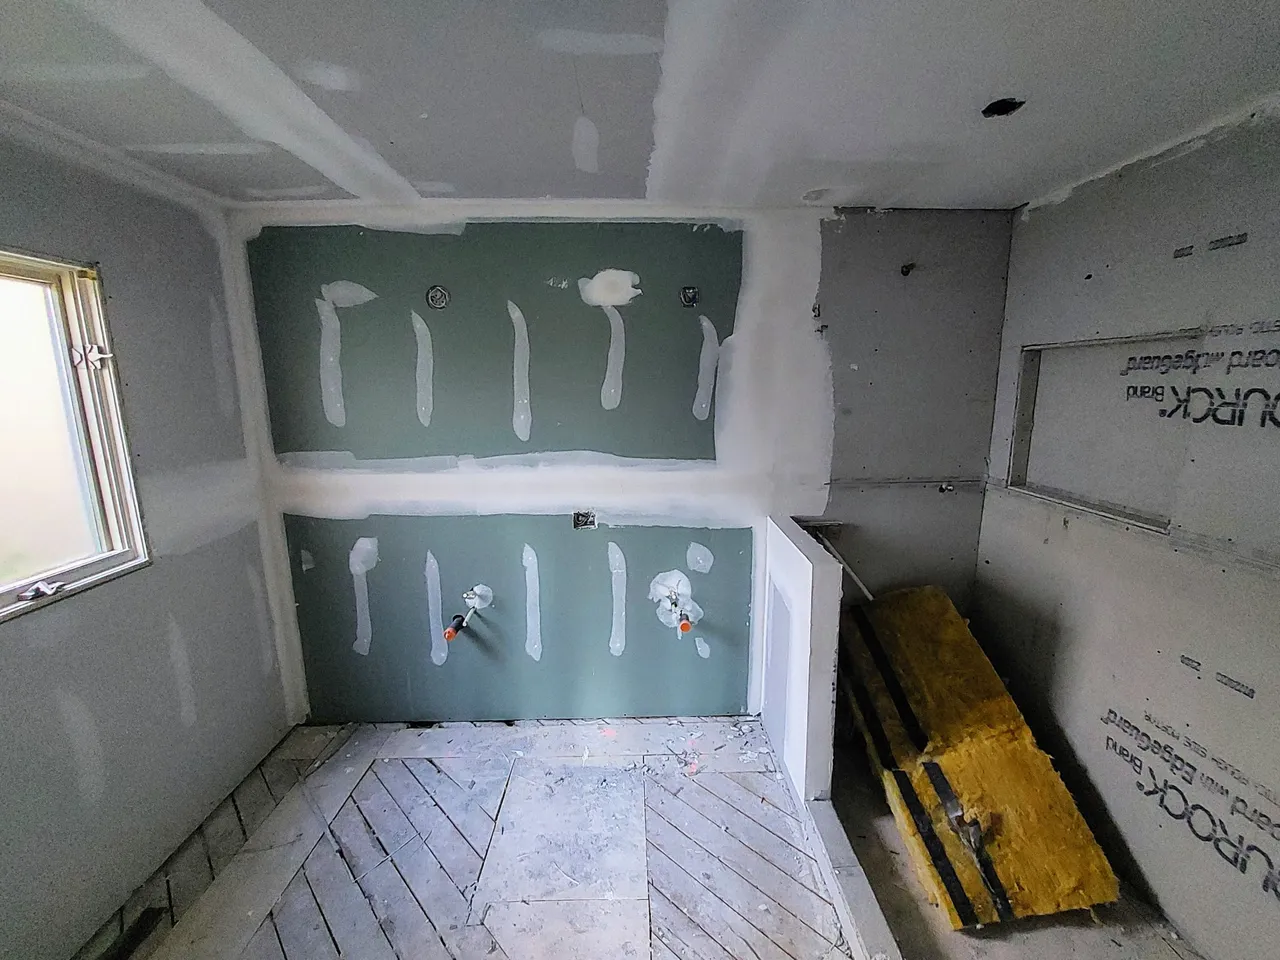
All of the empty spaces still seem really small to me compared to how they looked before when they were complete.
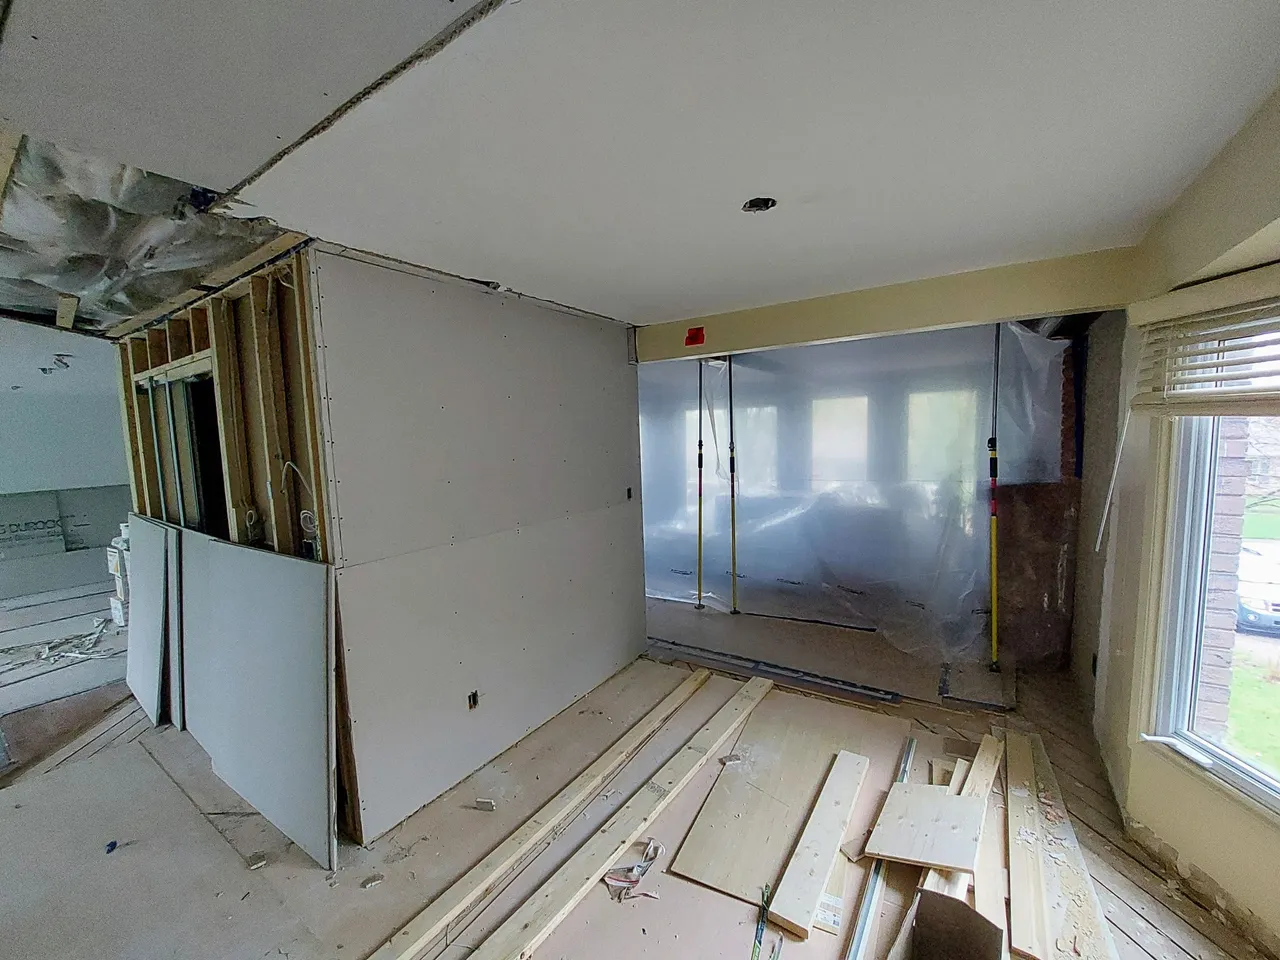
This stage of the reno was more interesting for us because the rooms are starting to take shape and its a lot easier to visualize the space.
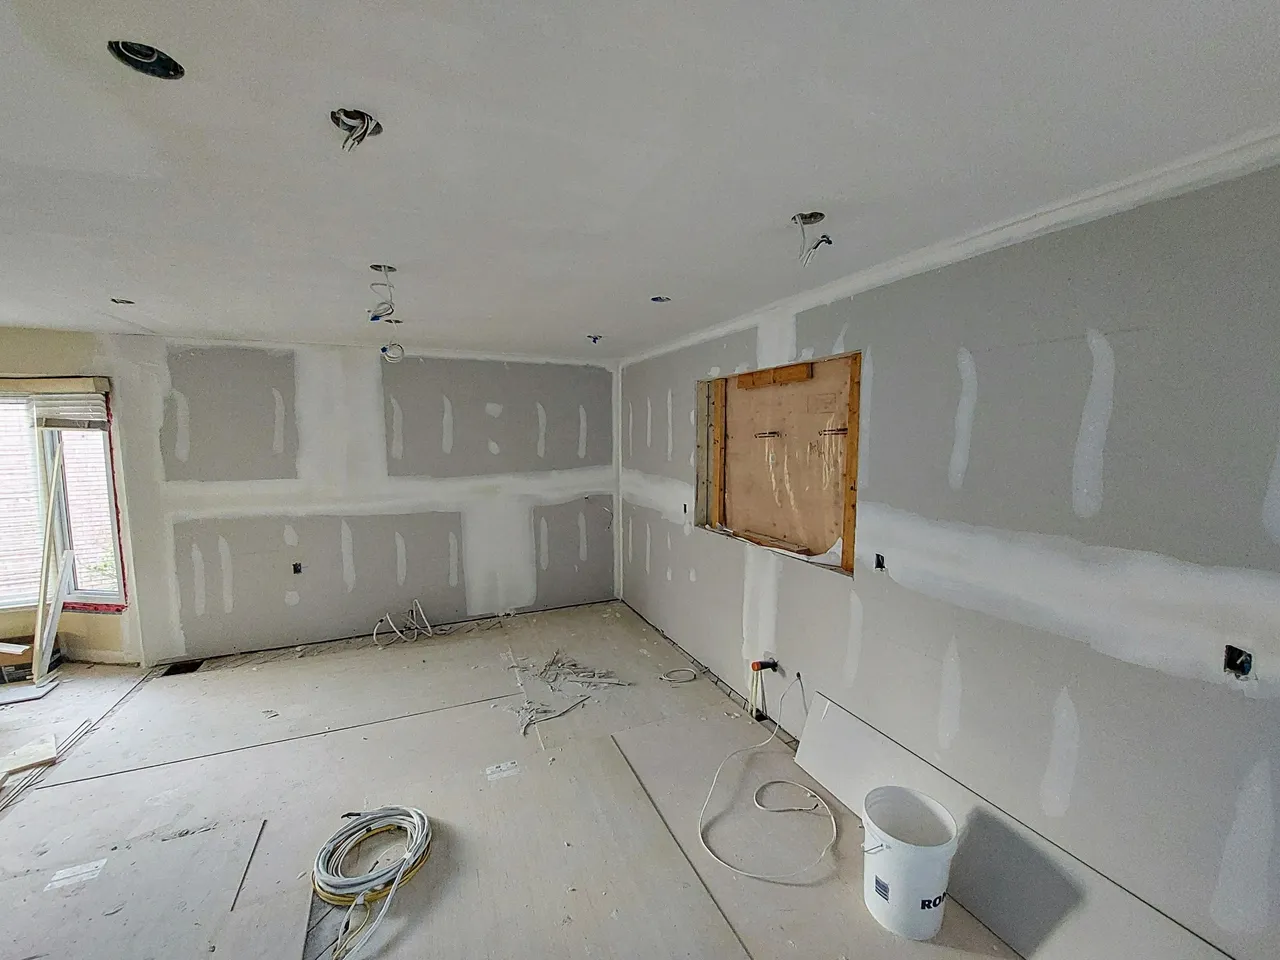
Especially in the kitchen area, the rooms and spaces are starting to be become more defined.
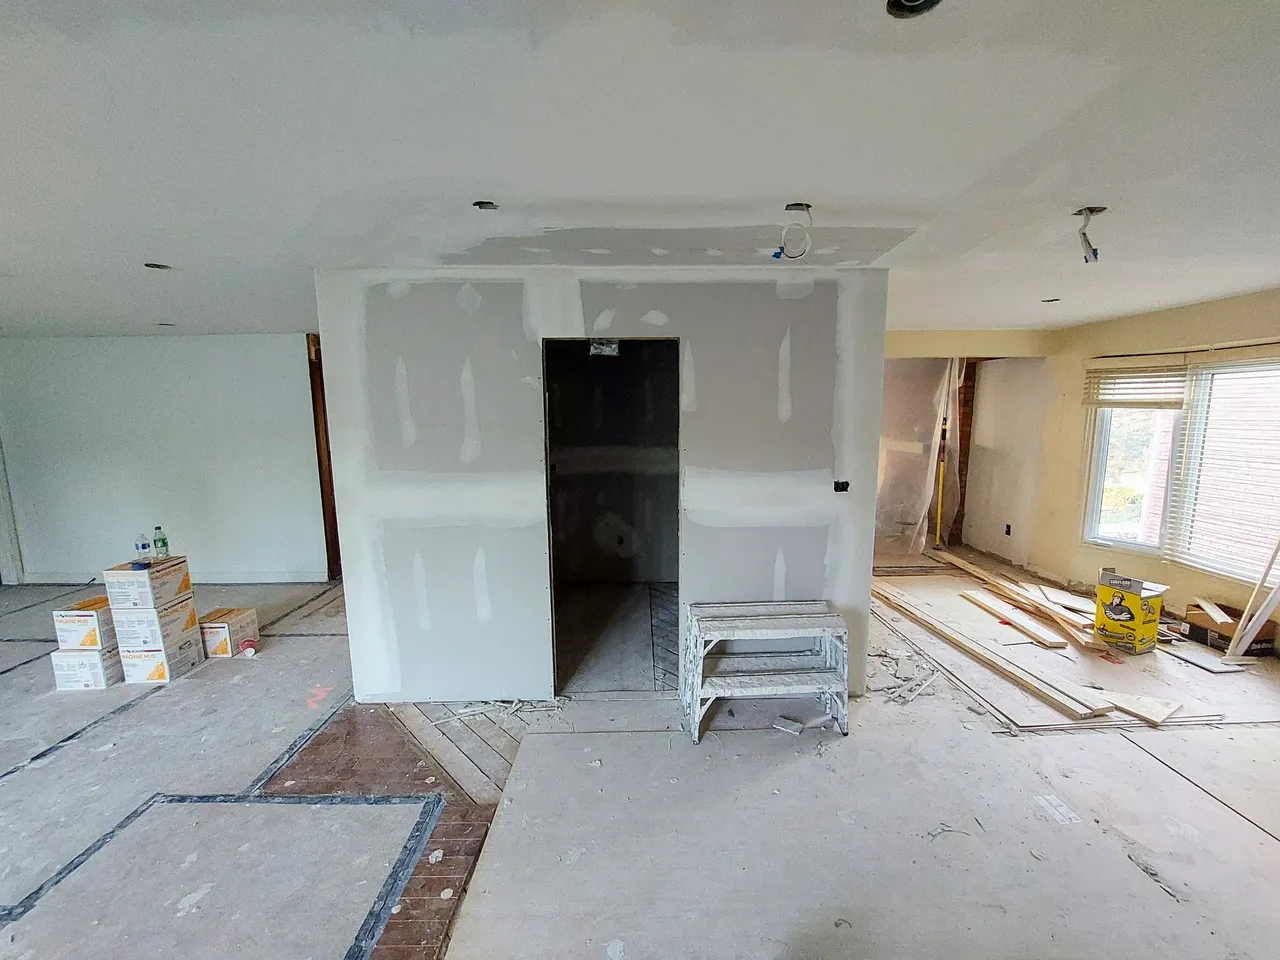
So that is the renovation thus far. You're all up to date. The builders are supposed to be continuing on with the sanding, taping and mudding of the drywall so it may be slow again for the next week or so until they begin the tiling work on the floors and bathrooms.