I am usually not one for cosplaying, but I have absolutely fallen in love with the cast of Hazbin Hotel, and now that the first season is complete, I have decided to try my hand at cosplaying one of the main antagonists, Lute.
Not to spoil the show for whoever may still be watching, but basically, Lute is the right-hand angel to Adam in their crusade to exterminate the souls of the damned in hell, as it has become overpopulated. The series is amazing and filled with so many catching tunes that I can't help singing along most of the time.
COMICON 2024 is coming up in April and I decided out of all the cool characters, despite Angel-Dust and Alastor being my favourites, I decided I would cosplay Lute. Why? Because all I want to do is make the amazing helm/mask that she wears.
I am by no means an expert when it comes to cosplay and I am doing everything myself with no assistance. Please enjoy my journey with me.
Day 1:
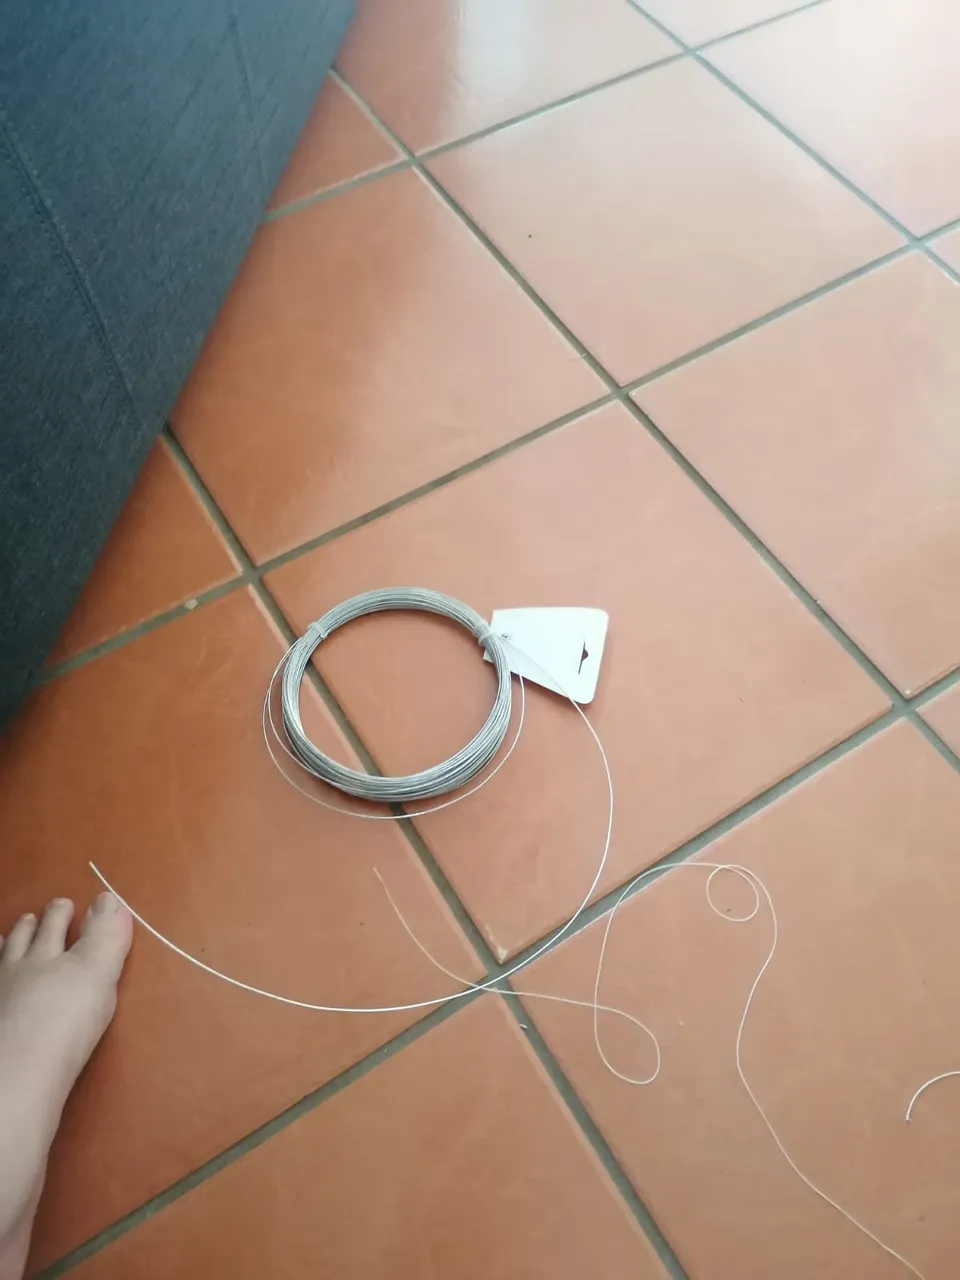
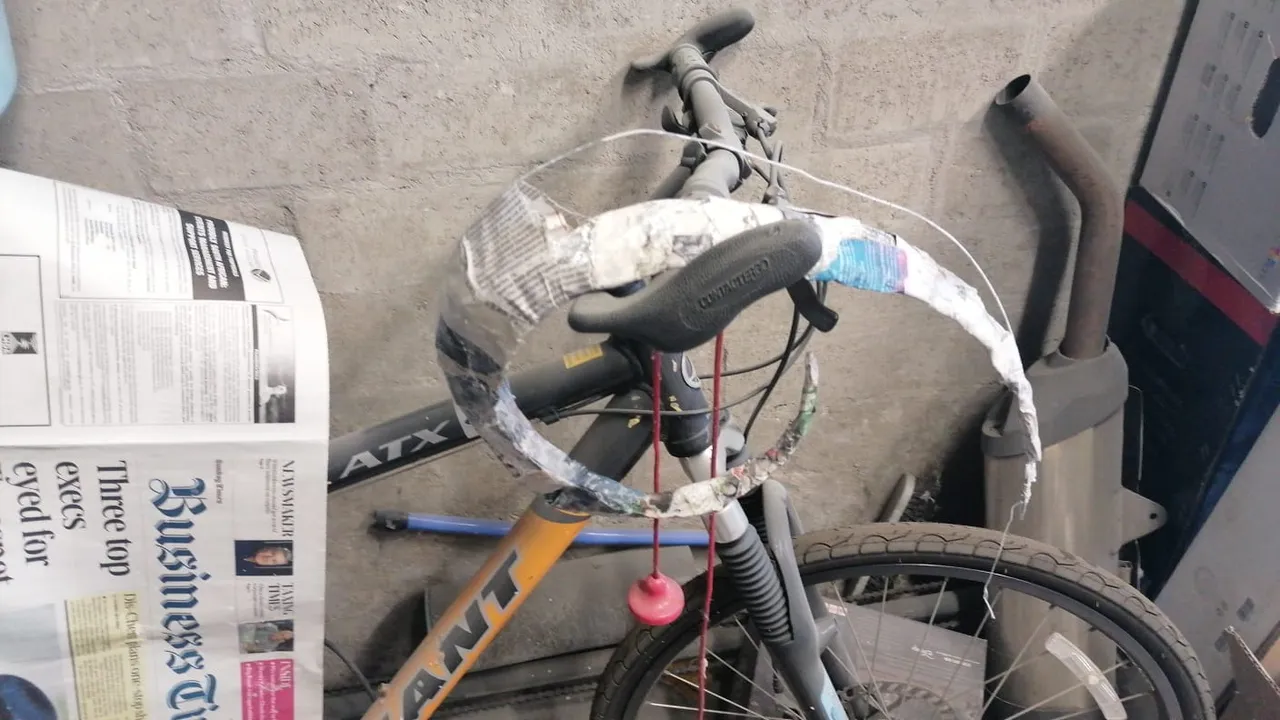
I started with some molding wire, about 1.25 mm thick, to make the rough shape of the horns.
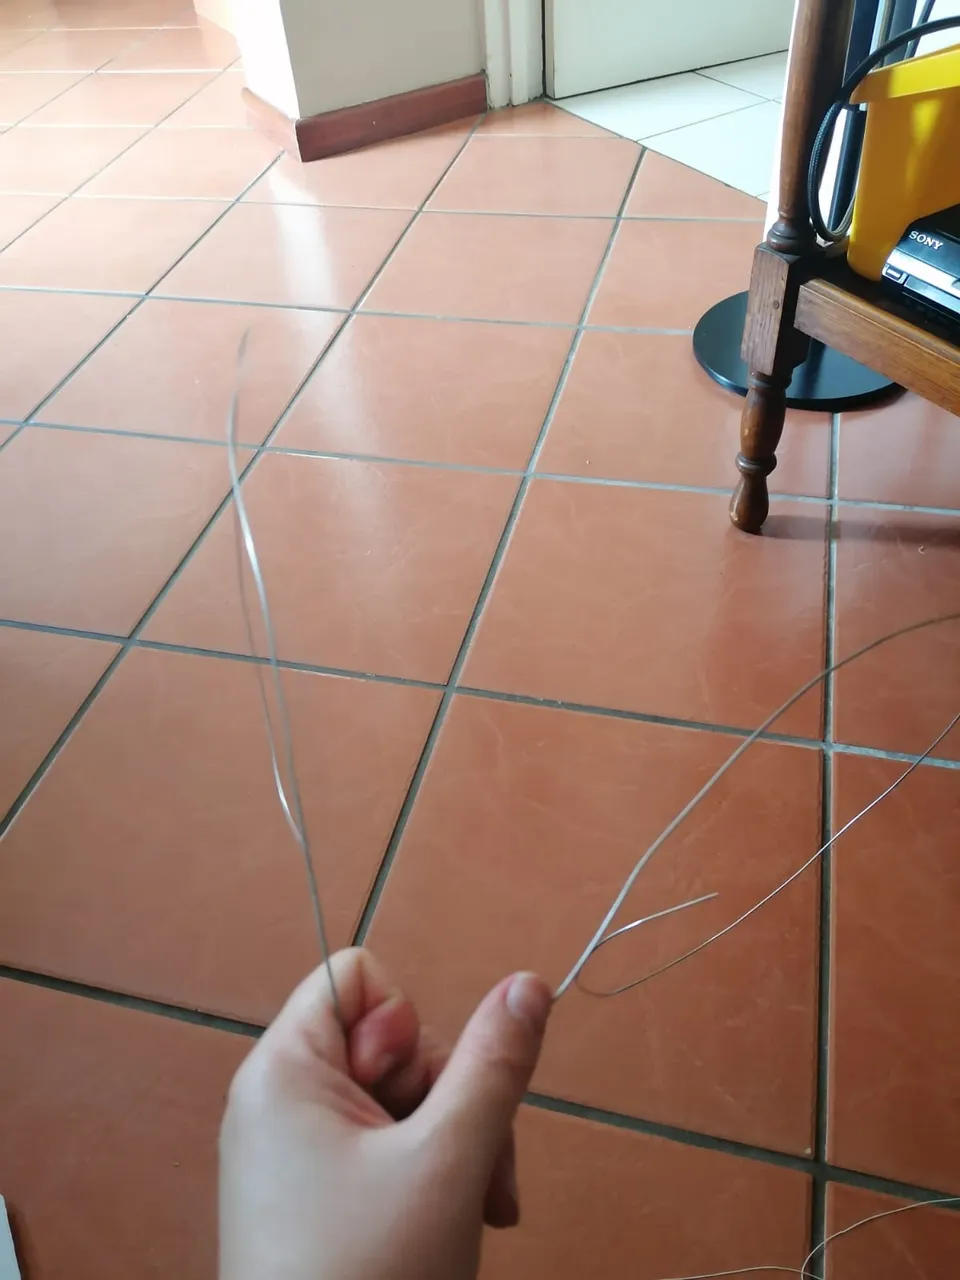
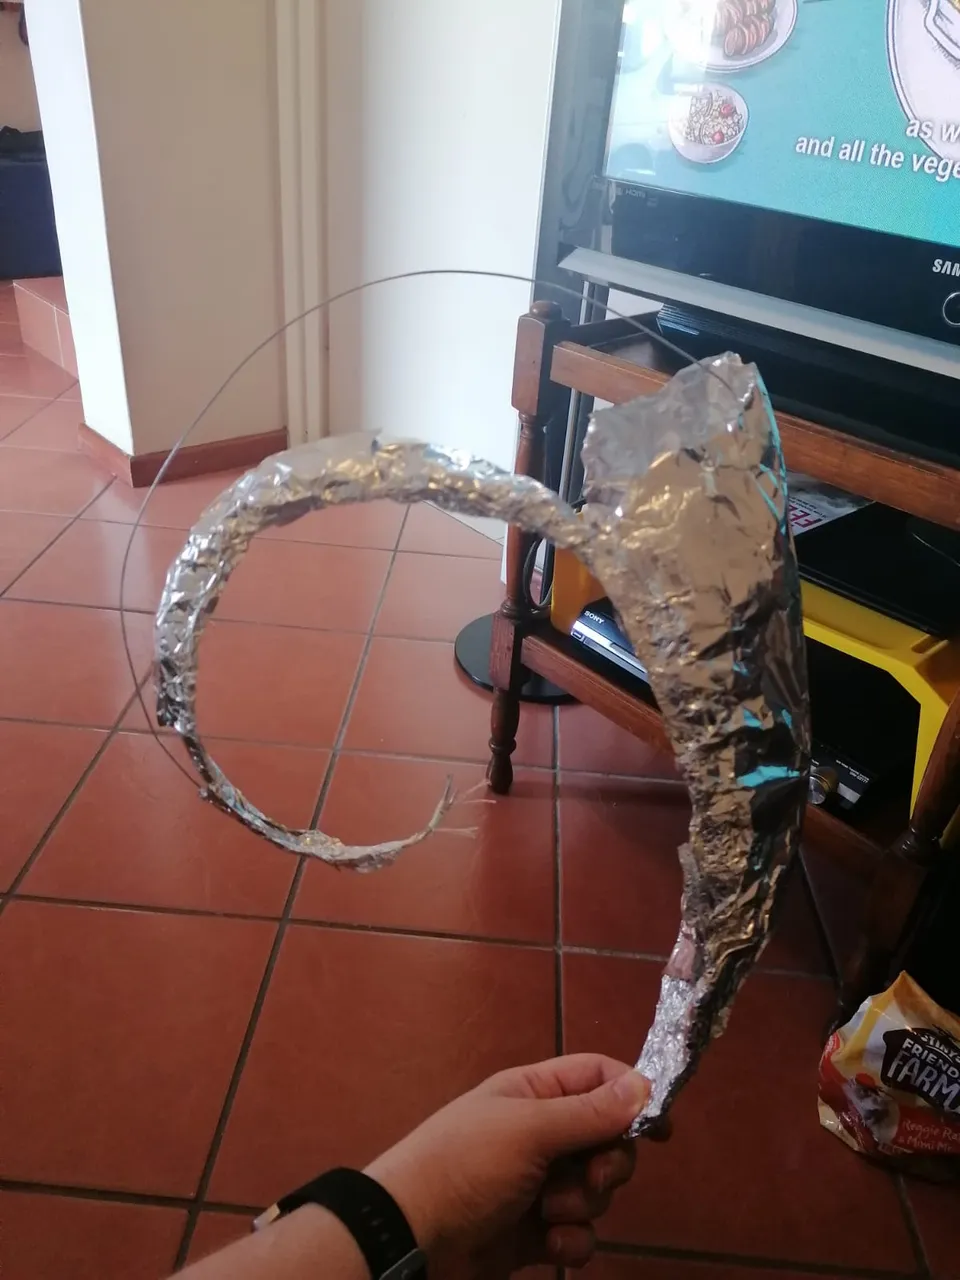
Once I had the middle arch of the horns shaped, I then moved on to making the two outer pieces that would go with each central piece. This resulted in the following three images.
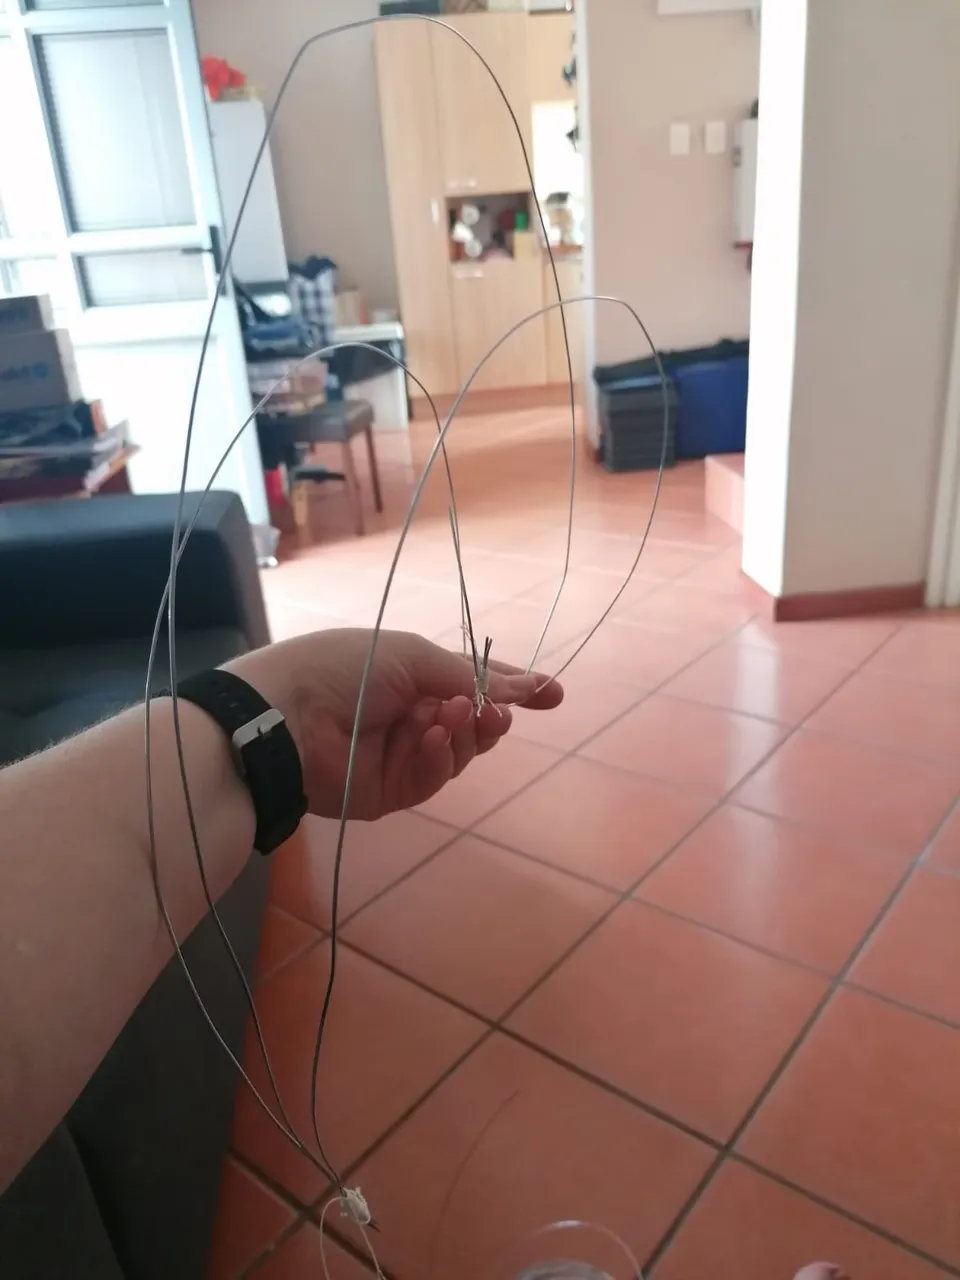
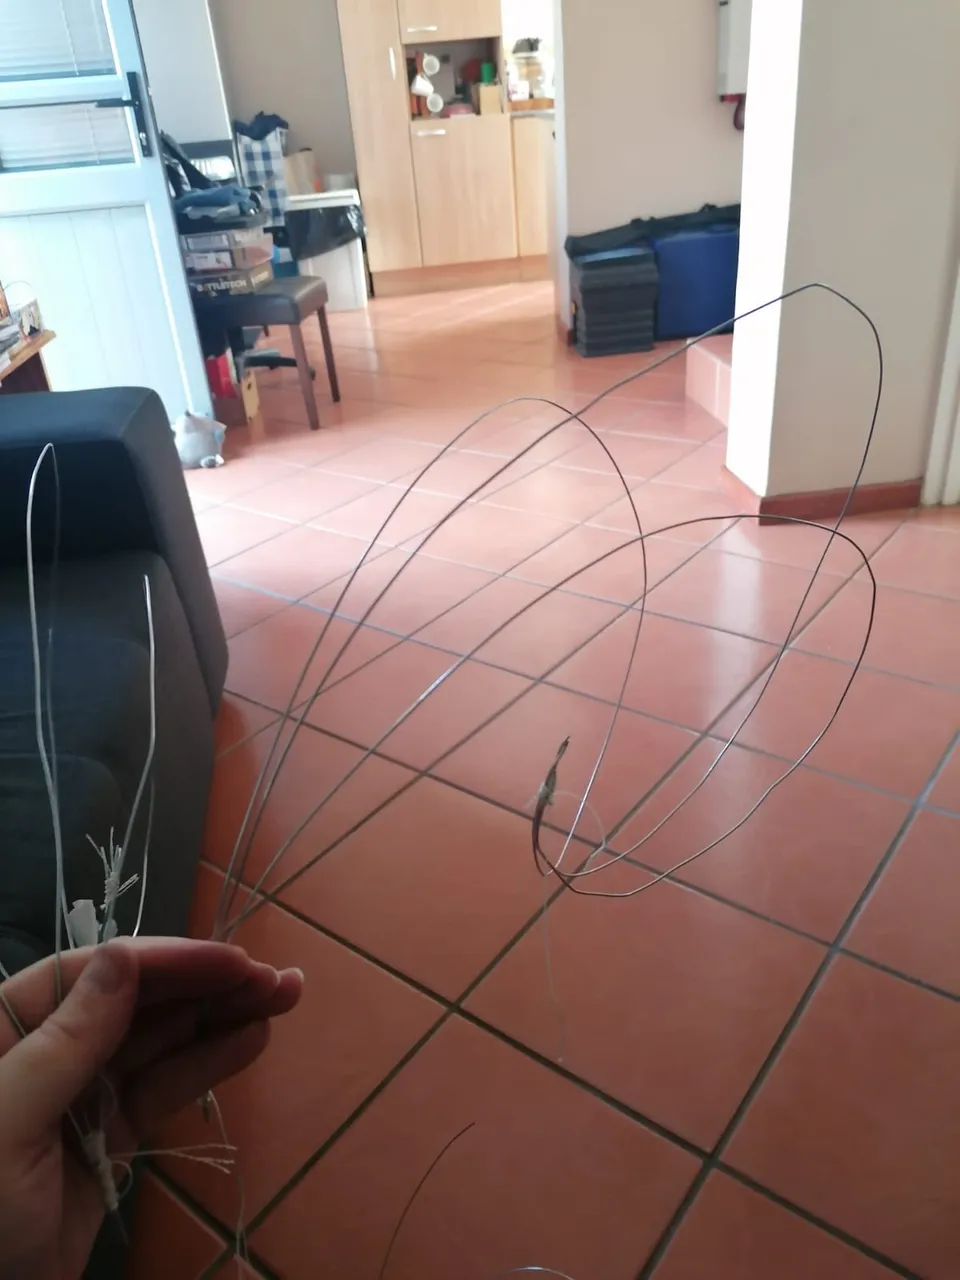
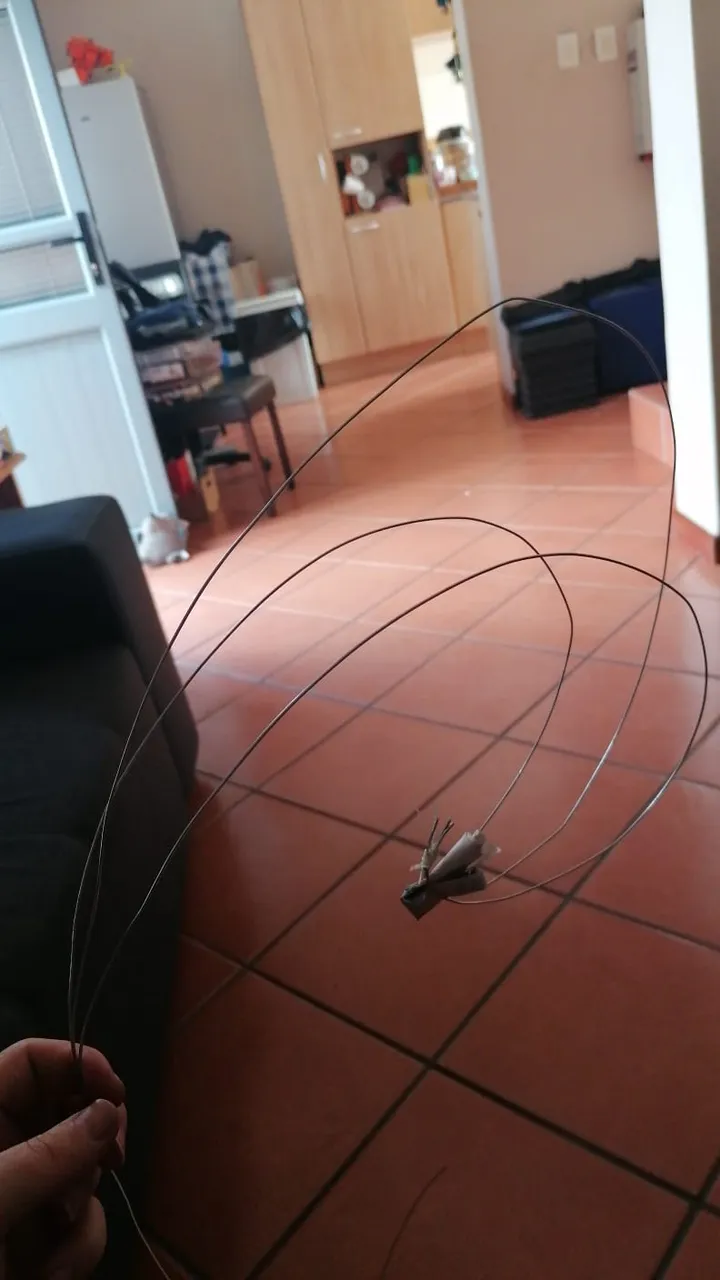
The use of string was to tie the wire together, while the newspaper wedge was just that, a wedge to help maintain the shape of the horns.
While not identical, I was quite happy with the rough outline that I had achieved. This was a frustrating endeavor as I had no idea what I was doing and was simply going by the image I had downloaded of Lute.
Day 2
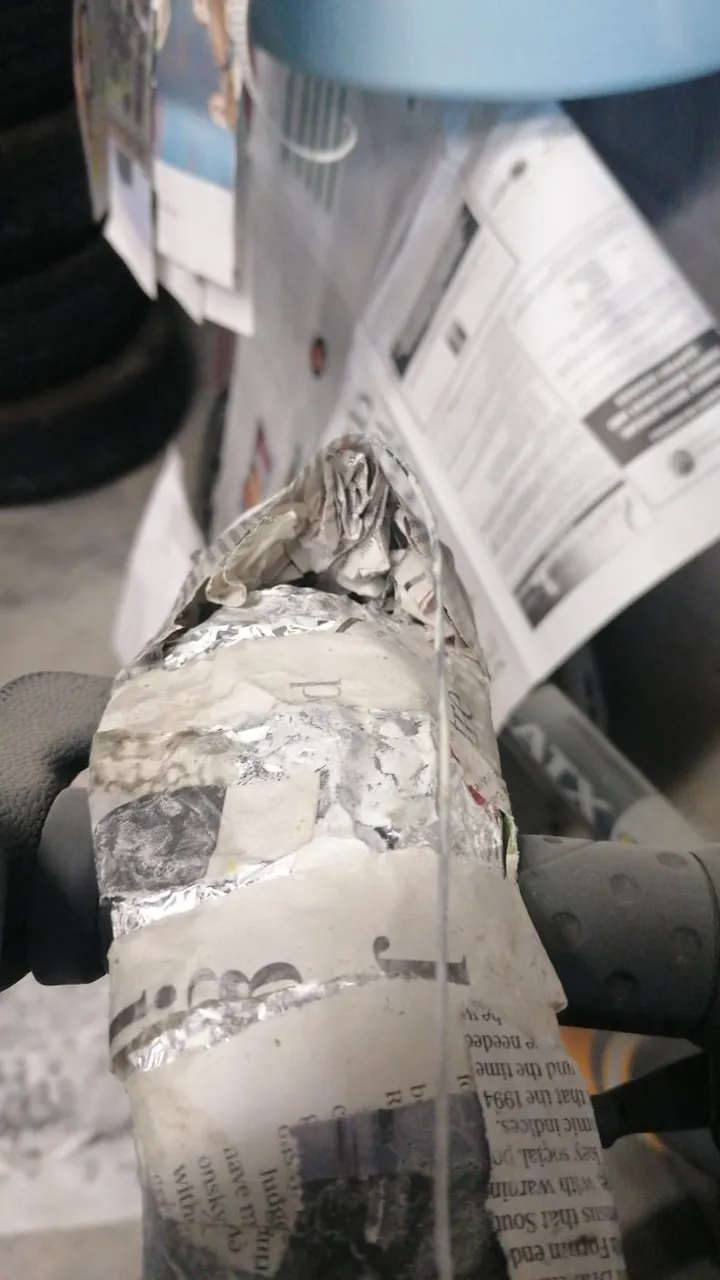
If I thought Day 1 was frustrating, that had nothing on Day 2 when I tried to add shape to the horns using tinfoil, as was suggested by a cosplaying friend.
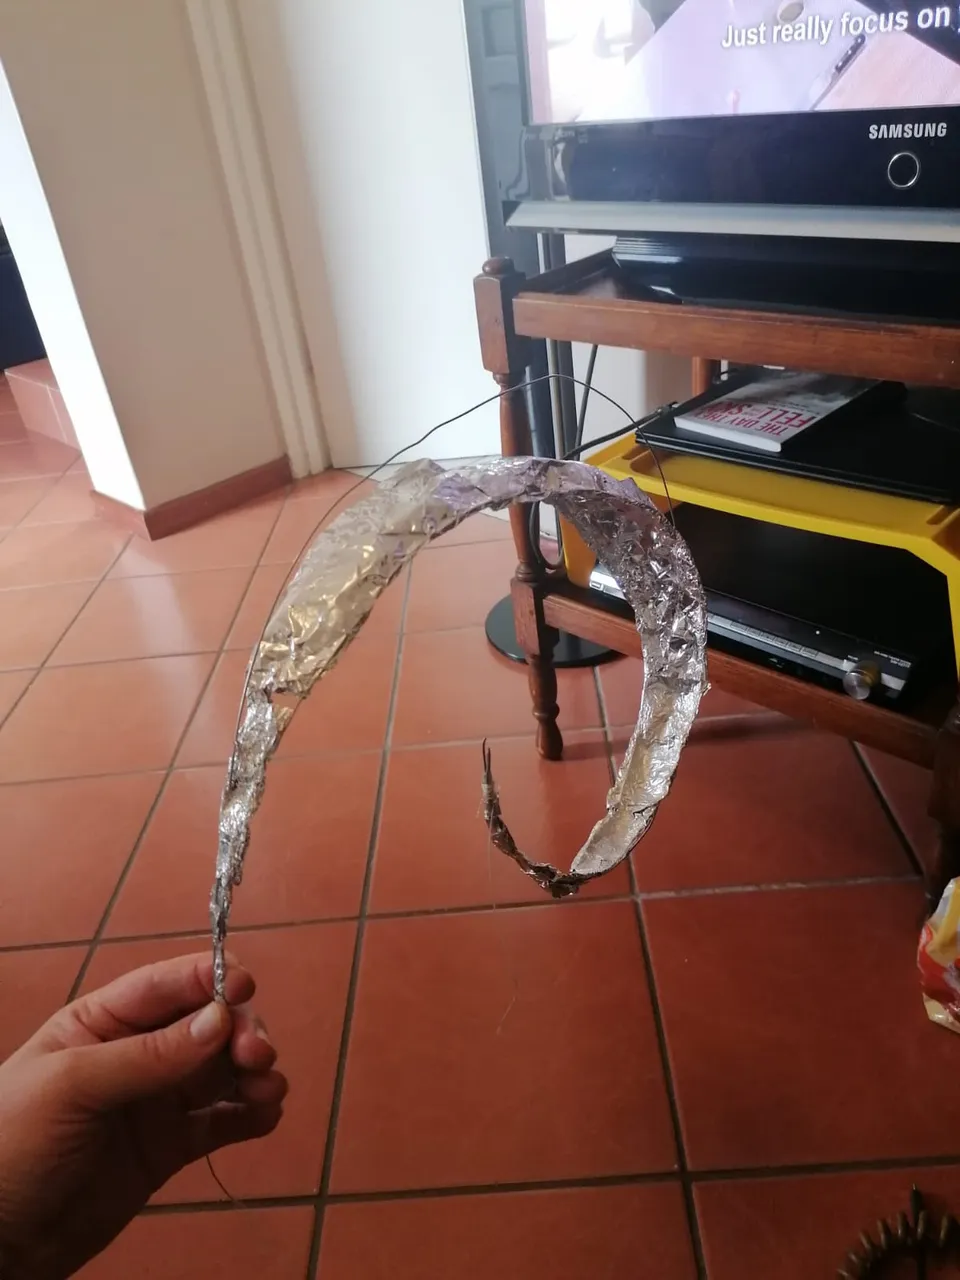
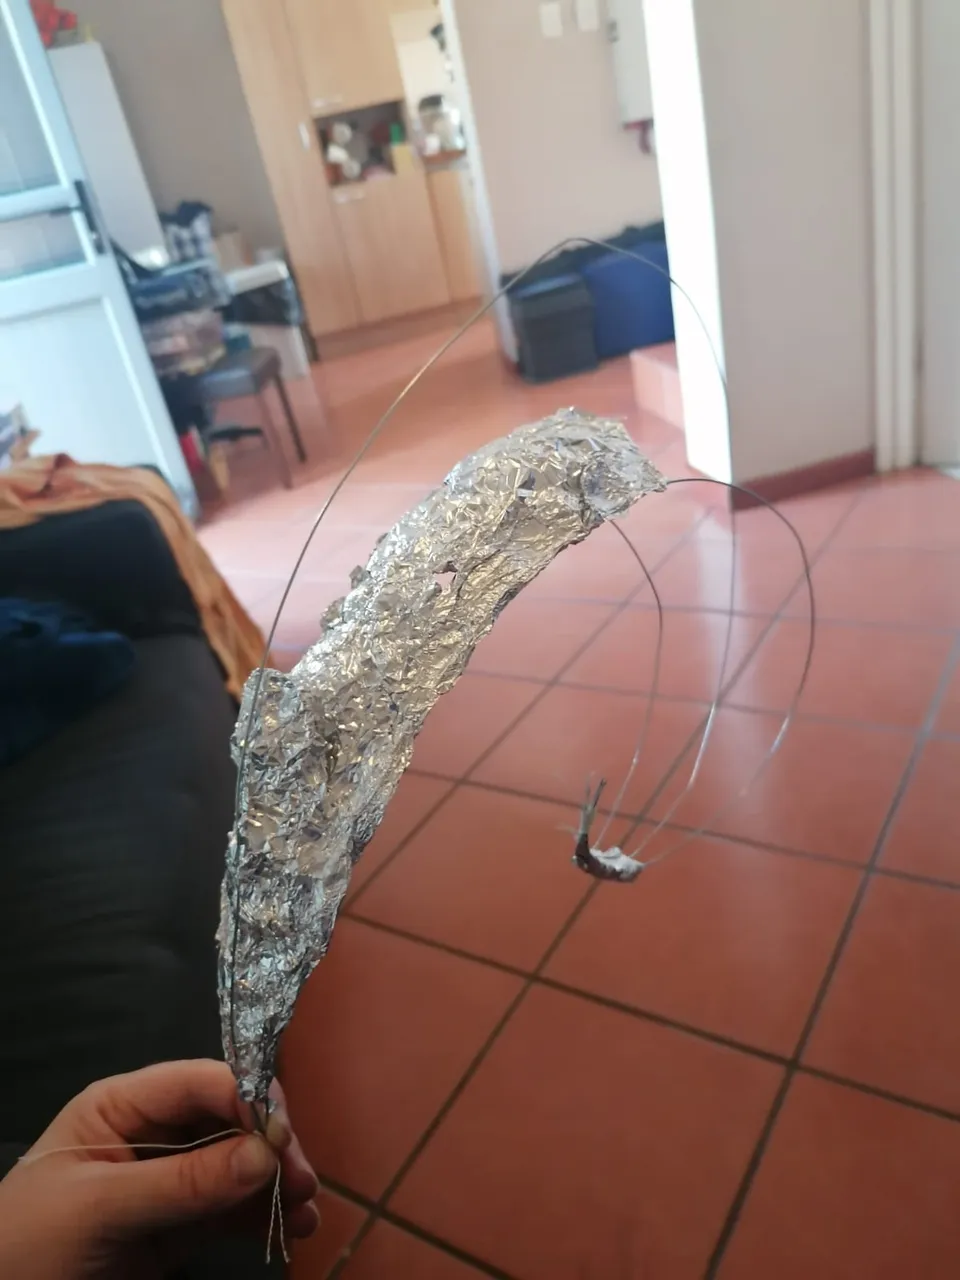
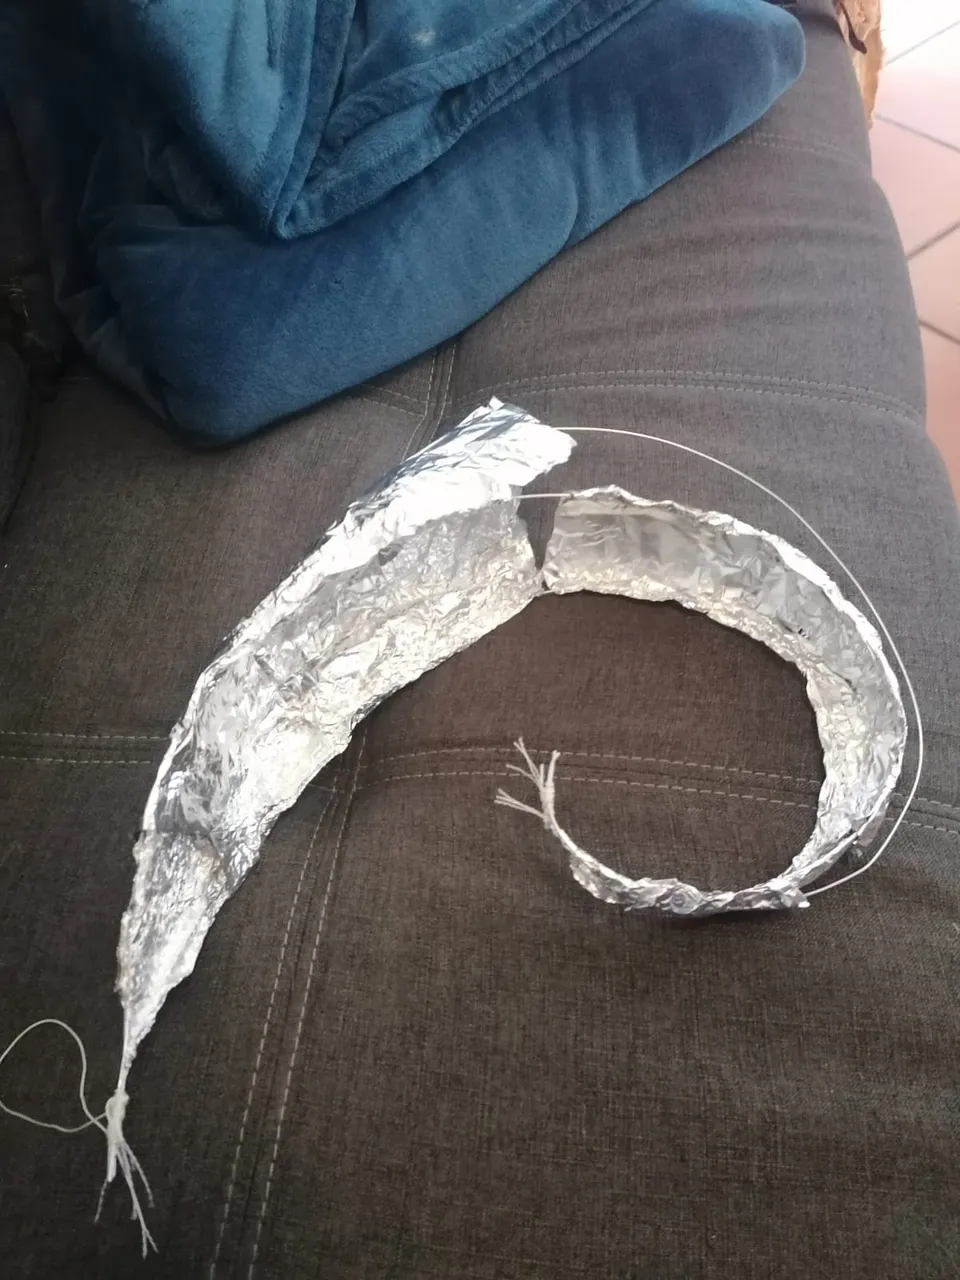
The underside of the horn is concave, while the top is convex. To help with these two different shapes, I broke the horns into two sections. The lower two wires were used to create the concave underside and a convex top side, while all three were used to create the convex shape to create the top section of the horns.
I was watching a cooking show in the background, as that was quite soothing to my frustration. Once I was happy with the rough shape of the horns I moved on to the next part of the project, the headpiece.
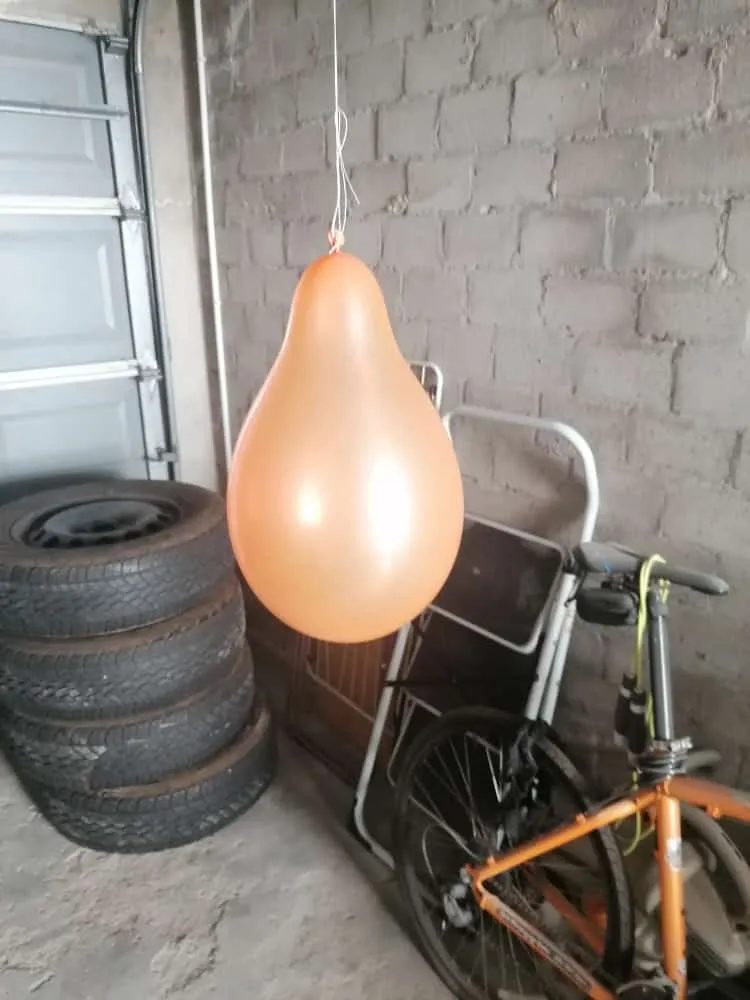
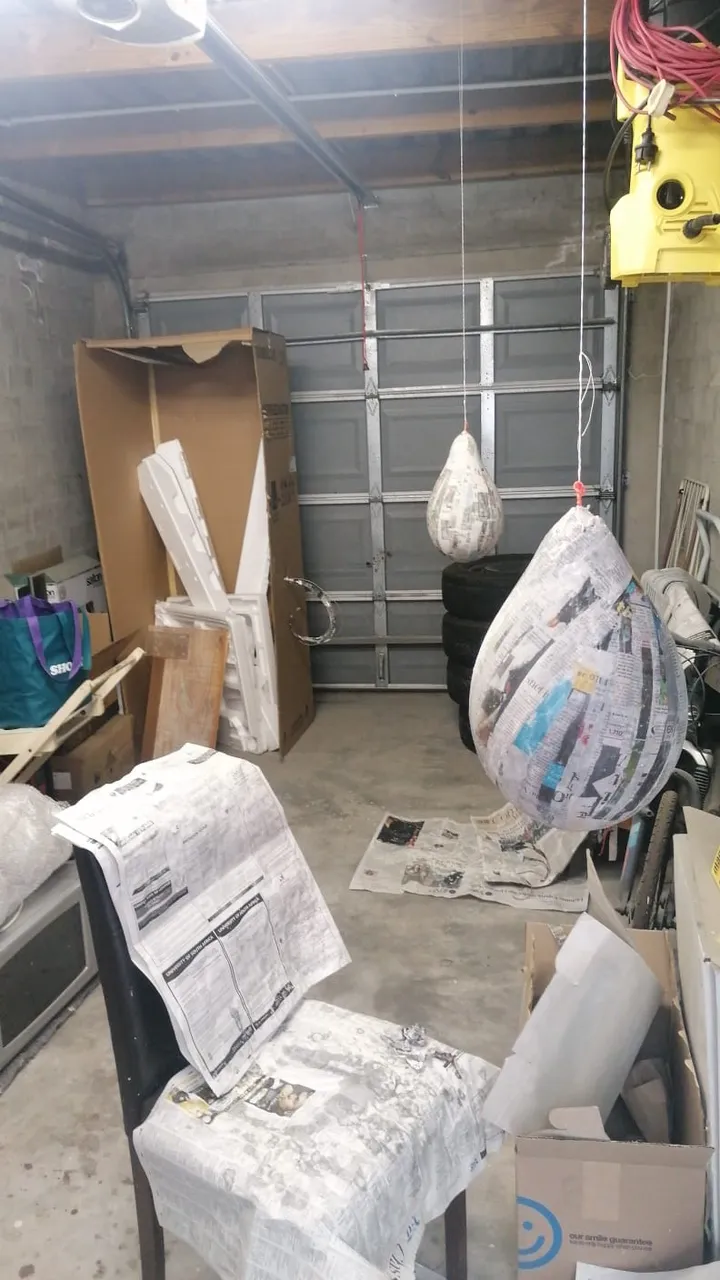
Now, when using paper mache, to get a rough, hollow, head-like shape, you use a balloon. I went to get the largest balloon I could get, 10 by 12 inches. I'd rather have the helmet too big than too small.
I set up the garage to host my balloons, as I needed a backup just in case. This was the result.
I used a starter formula for paper mache, 1 cup water, 1 cup flour, and a pinch of salt to prevent mold from getting into the final product.
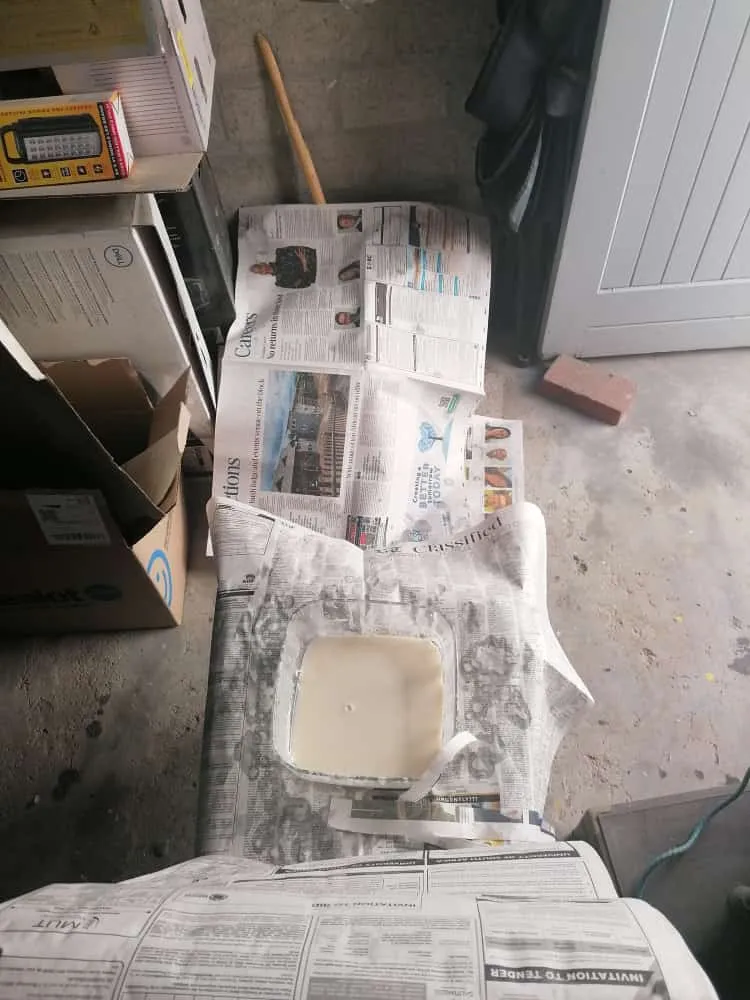
Working with paper mache is a messy business, so I covered everything that needed covering, yet I still made a mess.
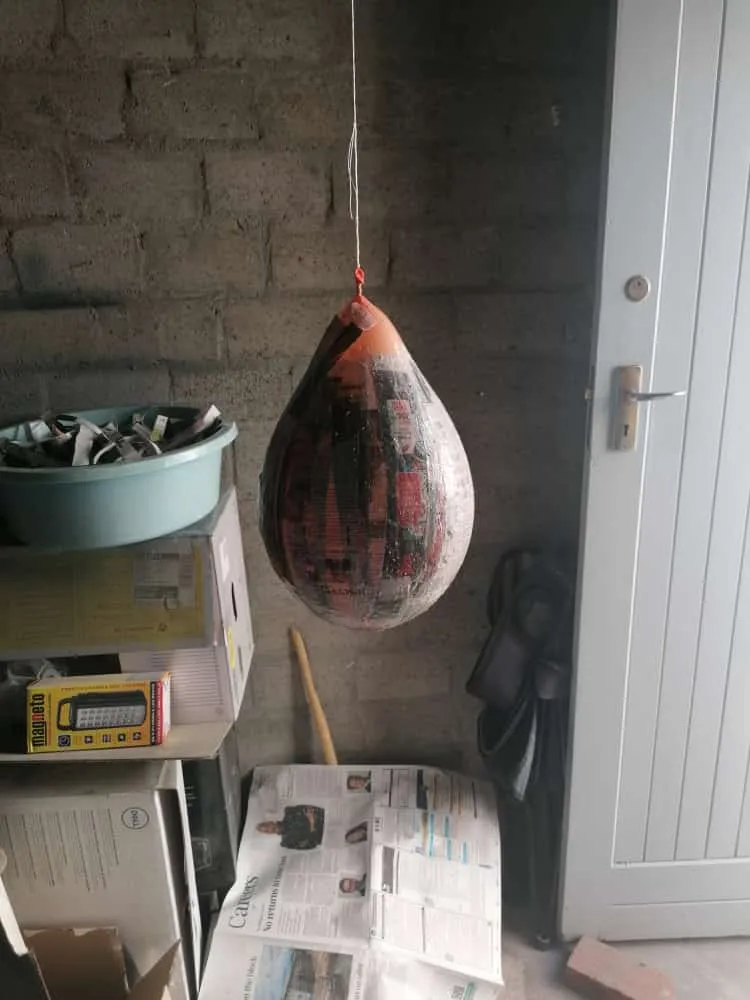
At the end of the day, with a layer each on the balloons and the start of one horn, I was starting to see progress and was quite happy.
Day 3
I was aiming to do a layer on the balloons per day and was managing that. However, the horn proved to be frustrating, as the paper didn't stick well to the tin foil, and retaining the convex shape was difficult without stuffing the inner layer as I worked.
Eventually, I realised it would just be easier to do small sections of the horn and then wait for it to dry. This helped the shape more and allowed the paper to dry on previous paper sections already done.
All in all, I still have a lot to do, but I have plenty of time to do it. I hope you all look forward to seeing how my costume develops in the coming days! Also, I'll be tagging my readers from my stories, as I'm sure they'd love to see what I do when I should be writing.
Until the next update, wish me luck that I don't rip my hair out!
Reader's List
@weone, @merenludick, @clairemobey, @therneau, @blitzzzz, @pravesho, @joetunex, @captainquack22, @irisworld, @braaiboy, @sketchygamerguy, @fuego-oscuro, @felt.buzz, @dibblers.dabs, @beeber, @brittandjosie, @tamacvet, @alonicus, @joetunex, @zakludick , @pixelhuntersam, @zakludick