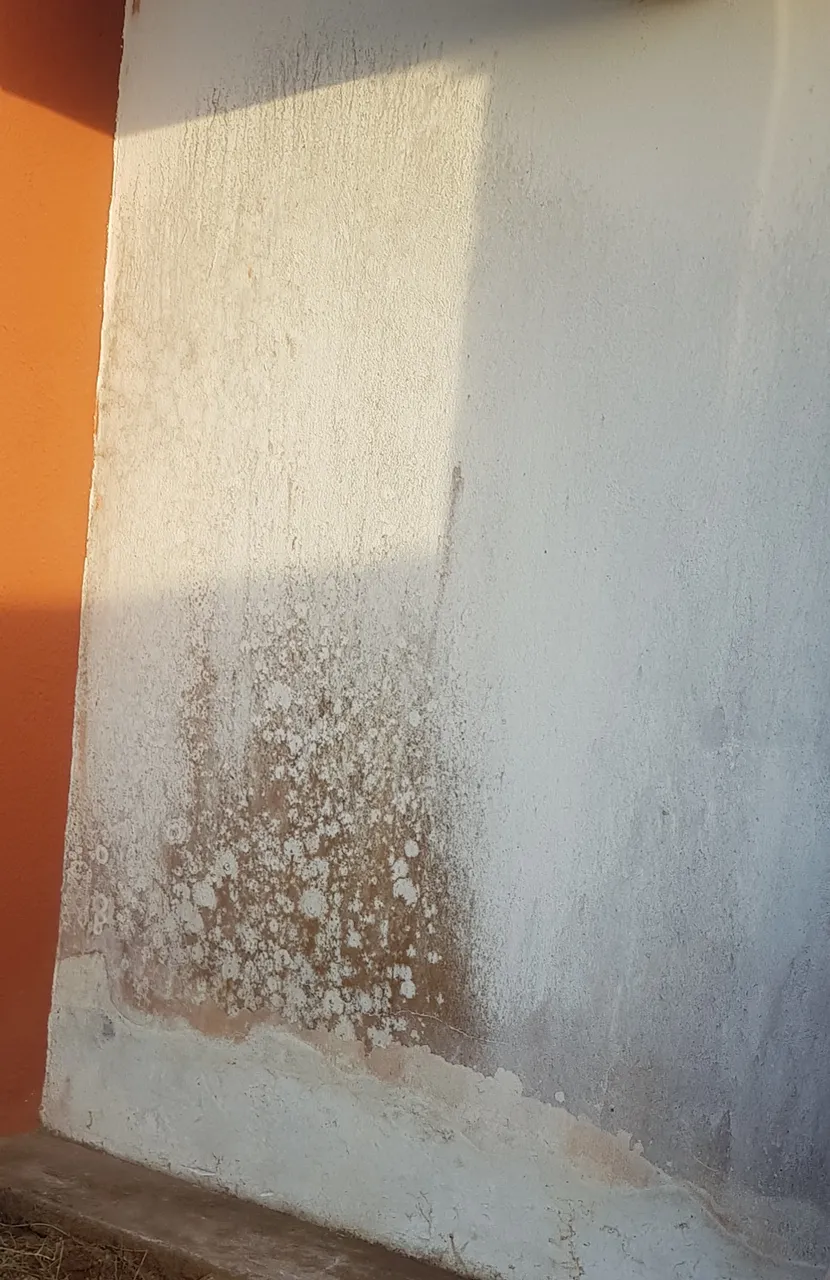
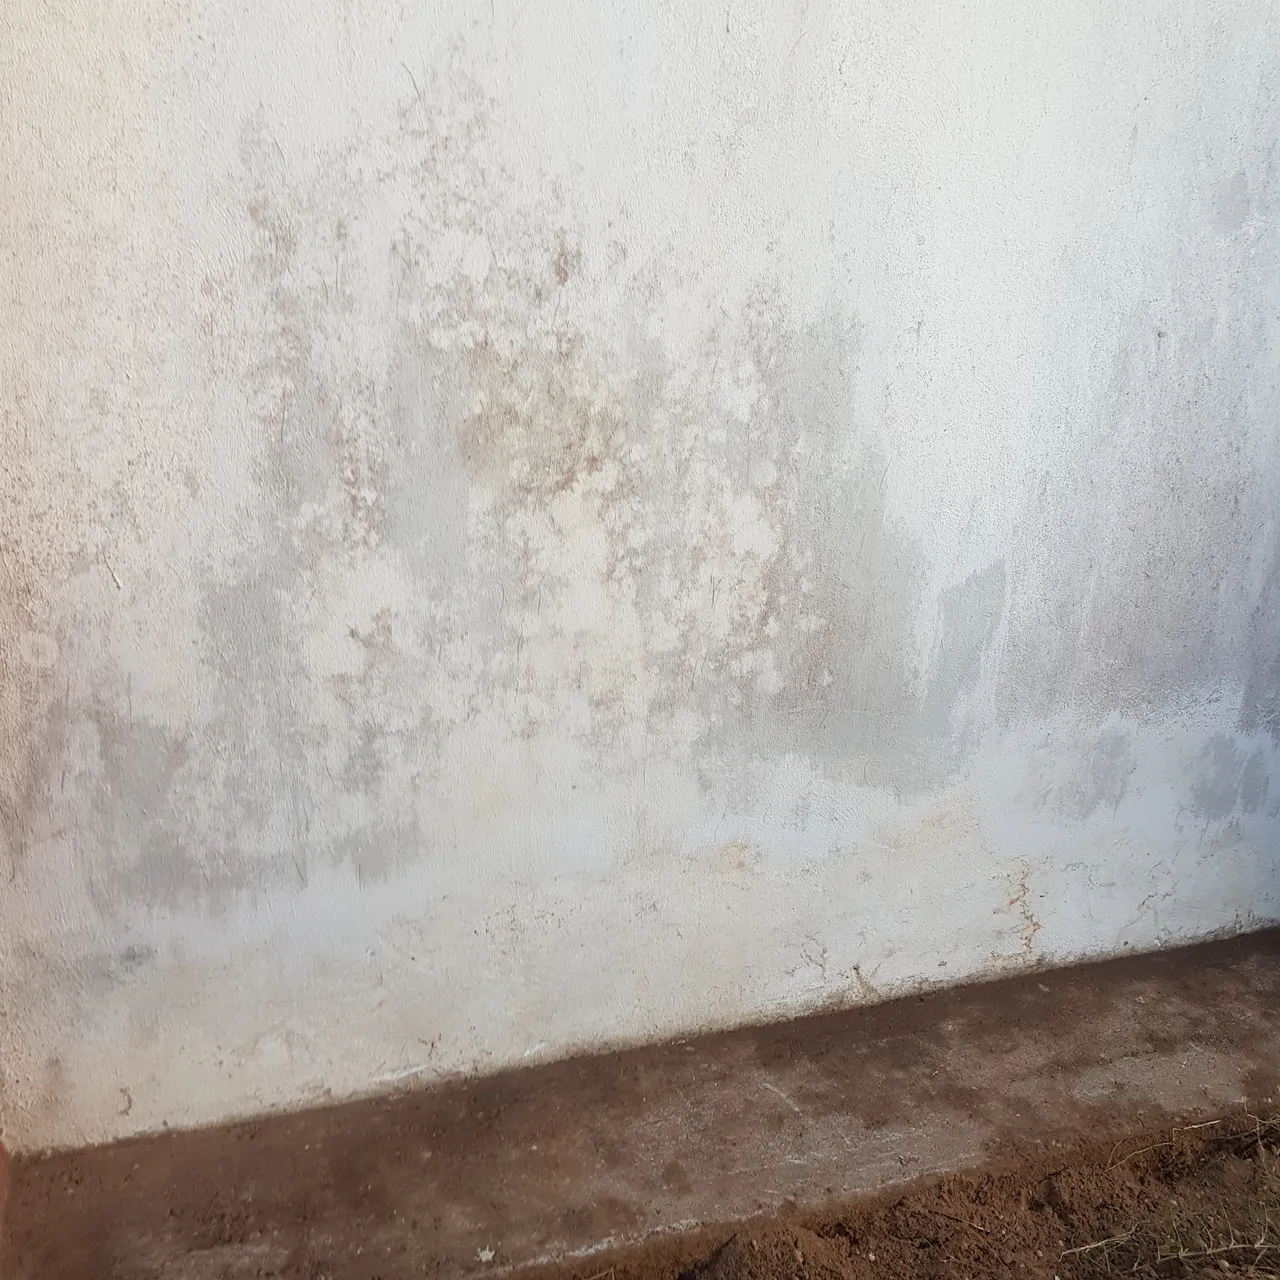
Hola amigos de hive y aficionados del bricolaje. En esta oportunidad vamos a pintar una pared de exterior marcada con los elementos como la tierra ya que en la base tenía una poca pero considerable cantidad que yo mismo había acumulado por no tener otro lugar donde tenerla y el agua de las lluvias que hacen que nuestras paredes exteriores se manchen por estar expuestas a ellas, comencemos.
Hello friends of hive and do-it-yourselfers. In this opportunity we are going to paint an exterior wall marked with the elements such as soil as the base had a small but considerable amount that I had accumulated by myself for not having another place to have it and water from the rains that make our exterior walls are stained by being exposed to them, let's start.
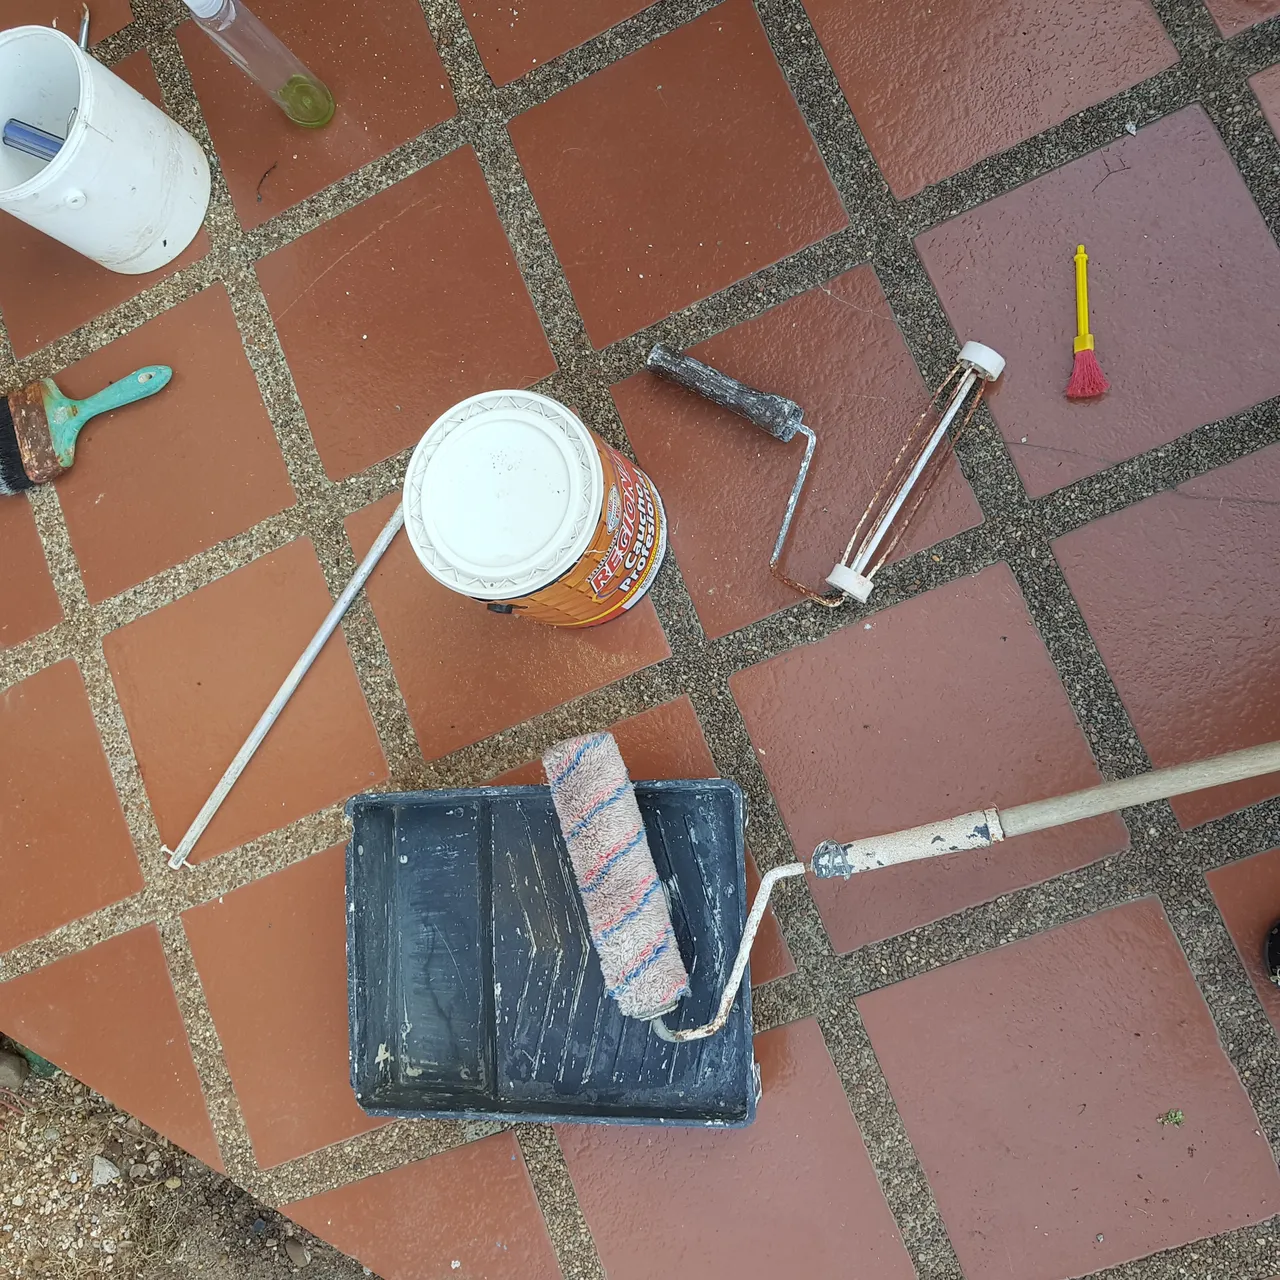
Materiales.
1 galón de pintura blanco u otro color claro para usarla como base.
1 galon de pintura marfil o de su preferencia para el acabado final.
Mezclador de pintura manual o electrico.
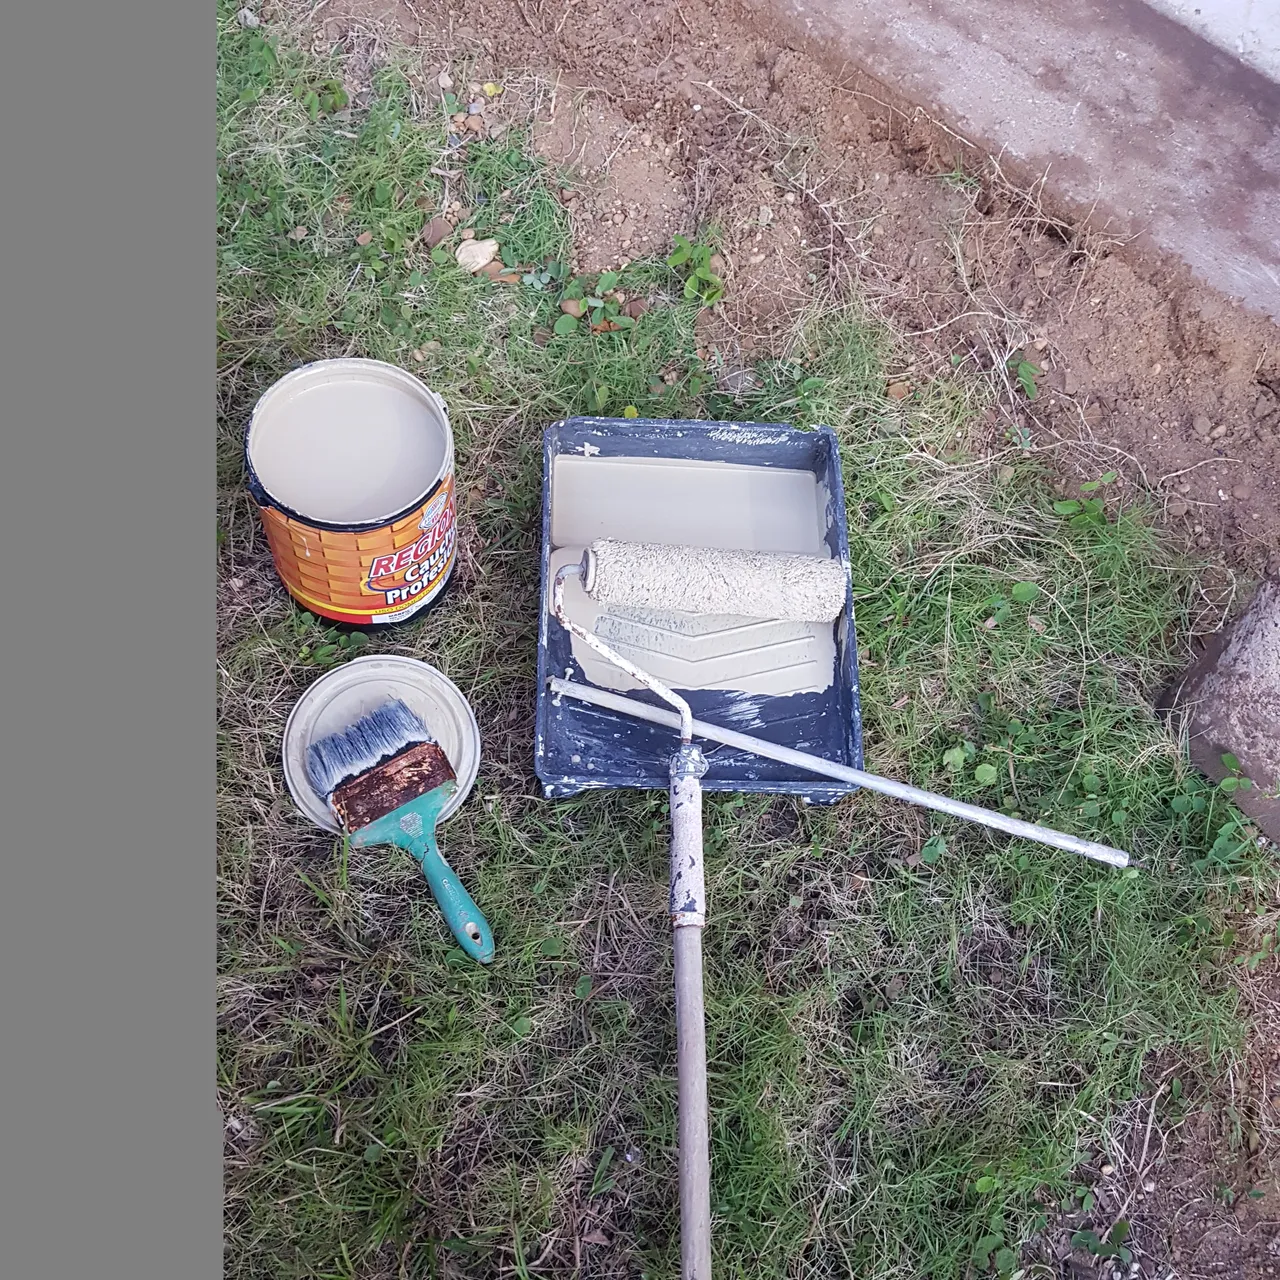
Brocha
Rodillo
pincel (opcional)
Bandeja para rodillos.
Materials.
1 gallon of white or other light colored paint to use as a base.
1 gallon of ivory paint or your preference for the final finish.
Hand or electric paint mixer.
Brush
Roller
Brush (optional)
Roller tray.
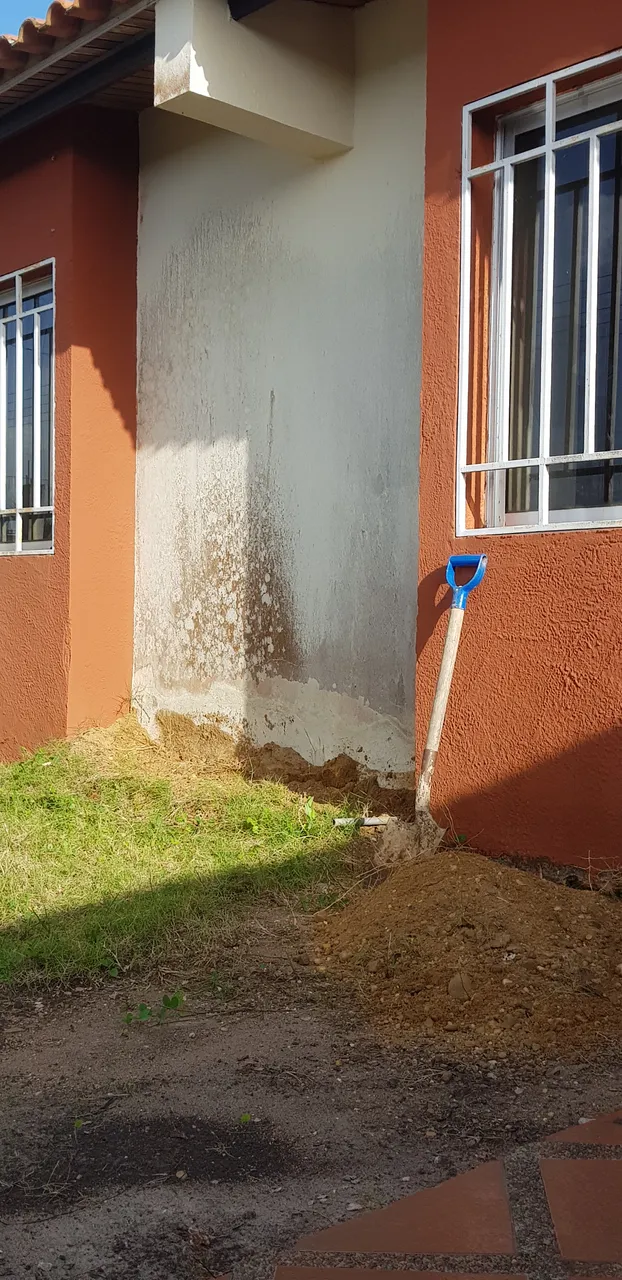
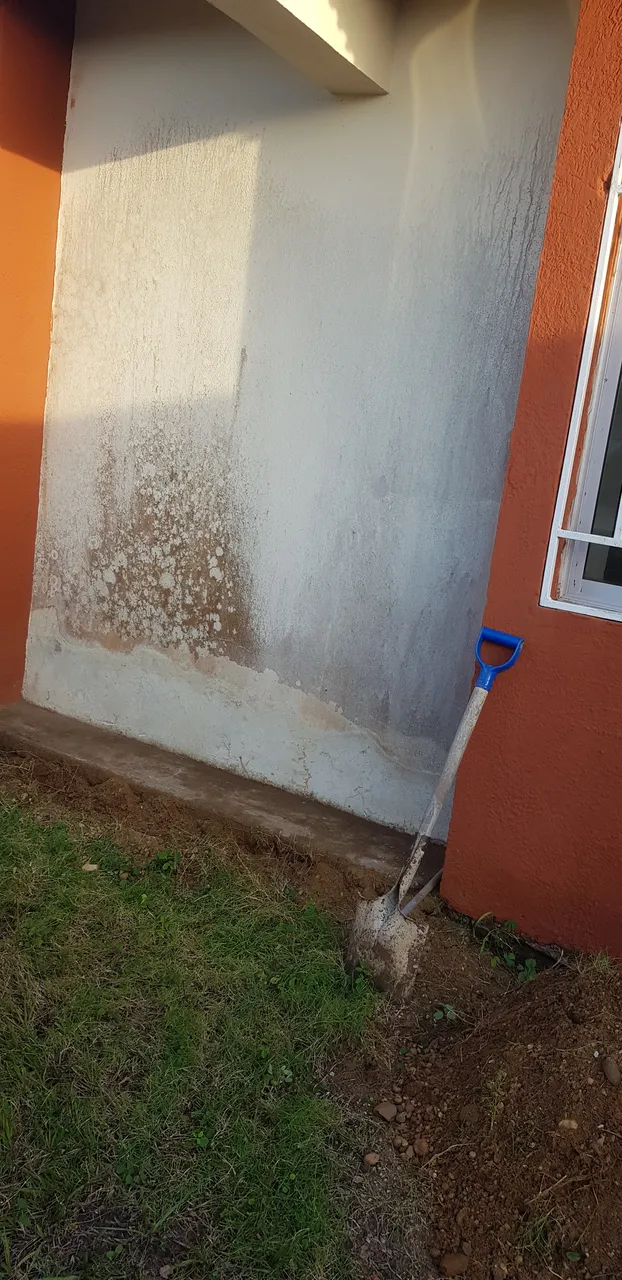
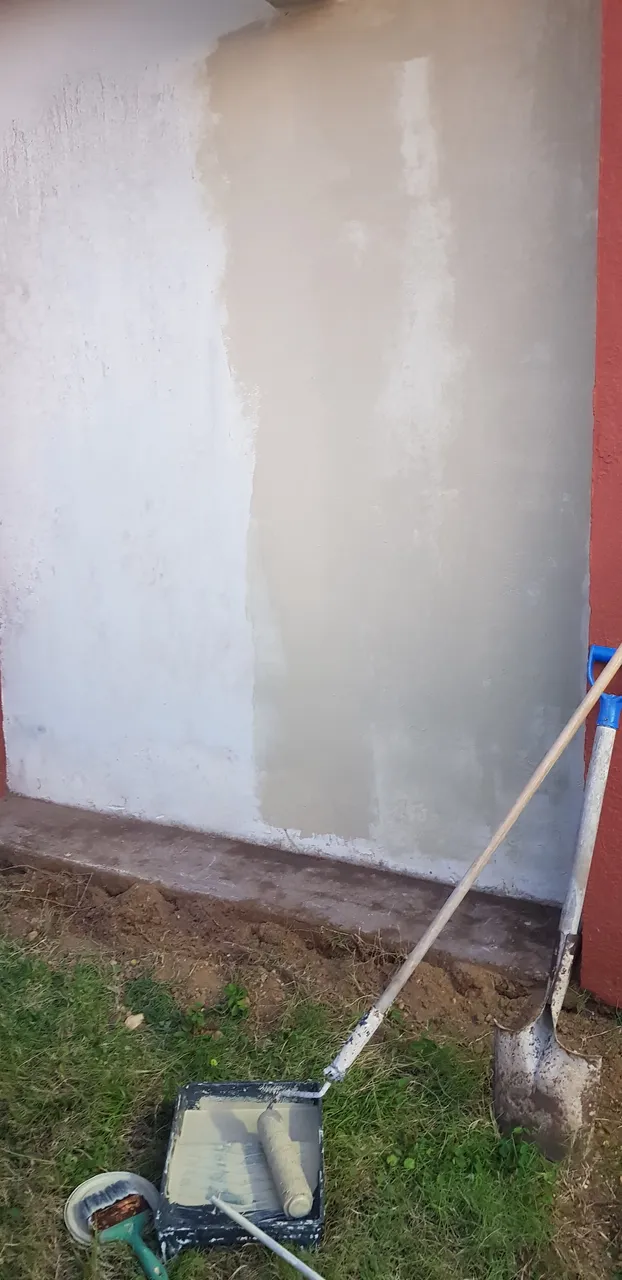
Lo primero que debemos hacer es preparar las paredes que vamos a pintar, yo tuve que retirar una arena que tenia en la base de la pared con la ayuda de una pala y luego con un cepillo de barrer limpié bien toda la pared y la base de la misma para así retirar cualquier tipo de impurezas antes de pintar.
The first thing we must do is to prepare the walls that we are going to paint, I had to remove a sand that I had at the base of the wall with the help of a shovel and then with a sweeping brush I cleaned well the entire wall and the base of the same to remove any impurities before painting.
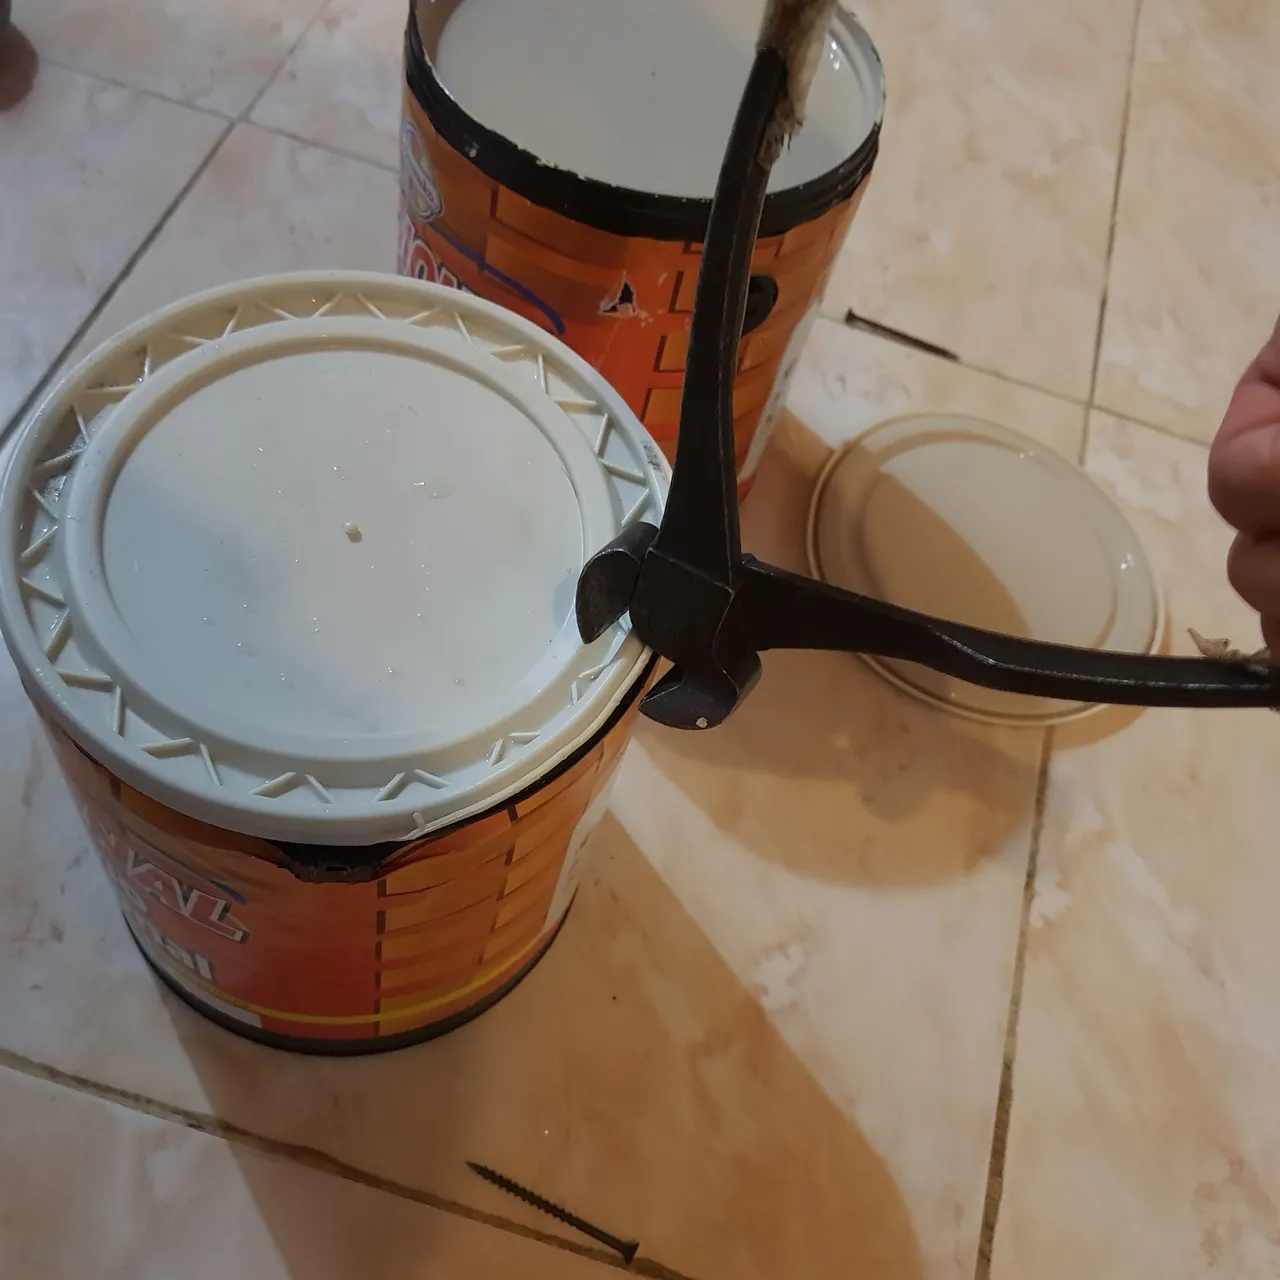
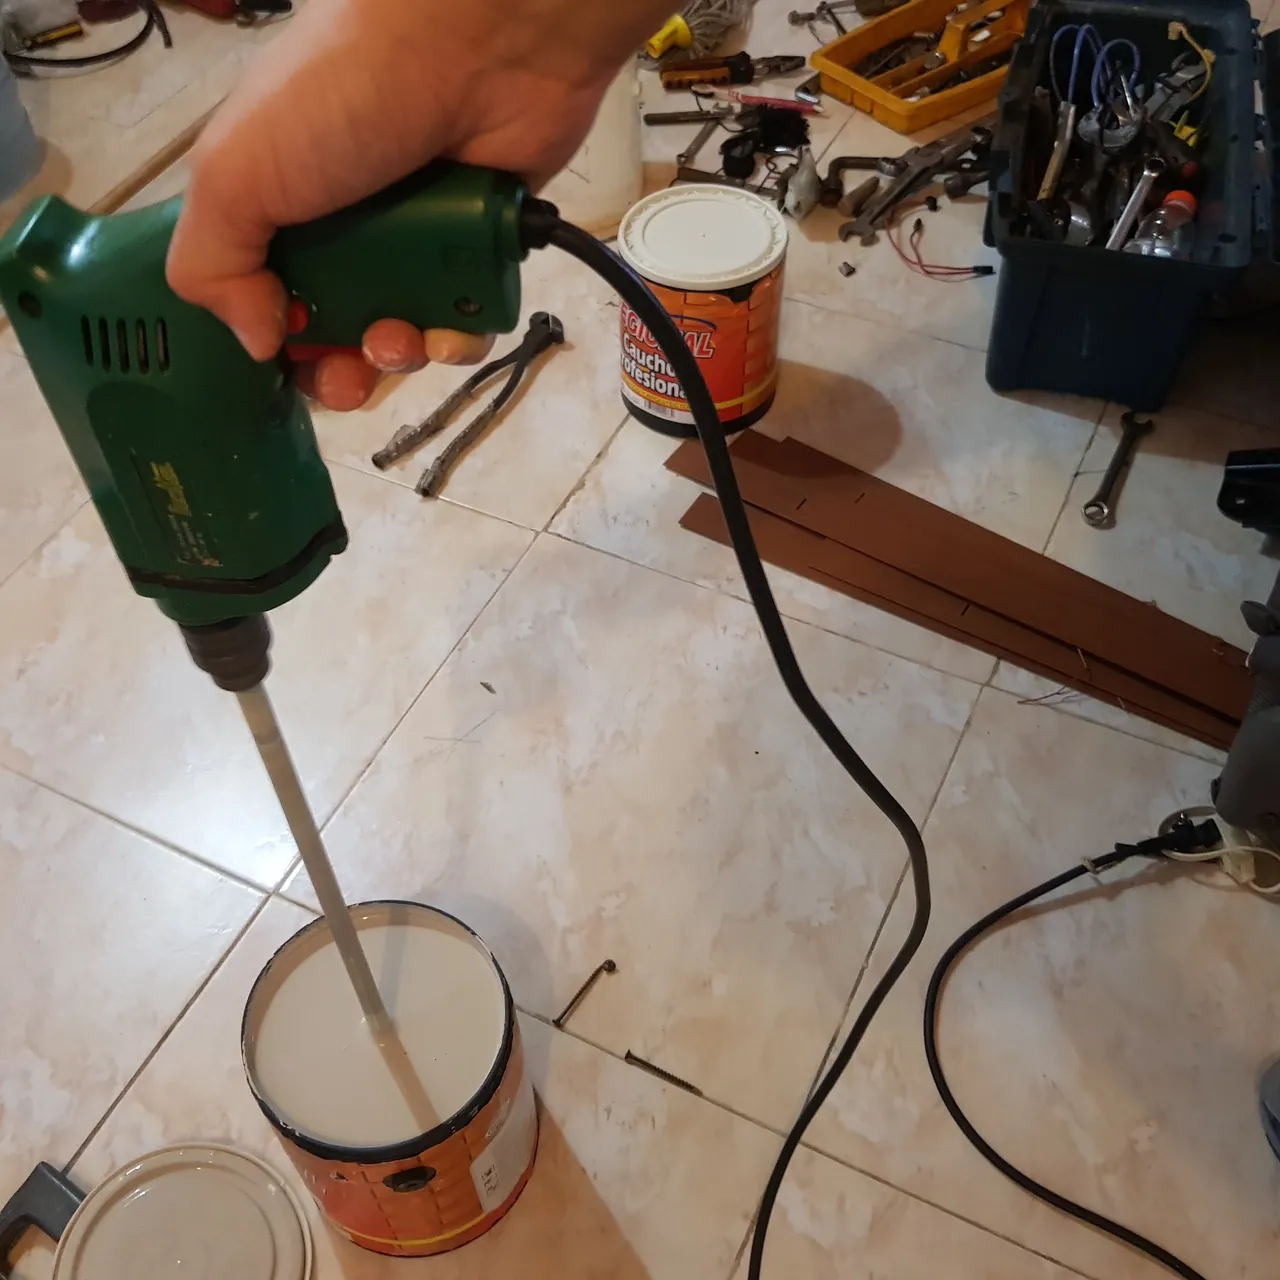
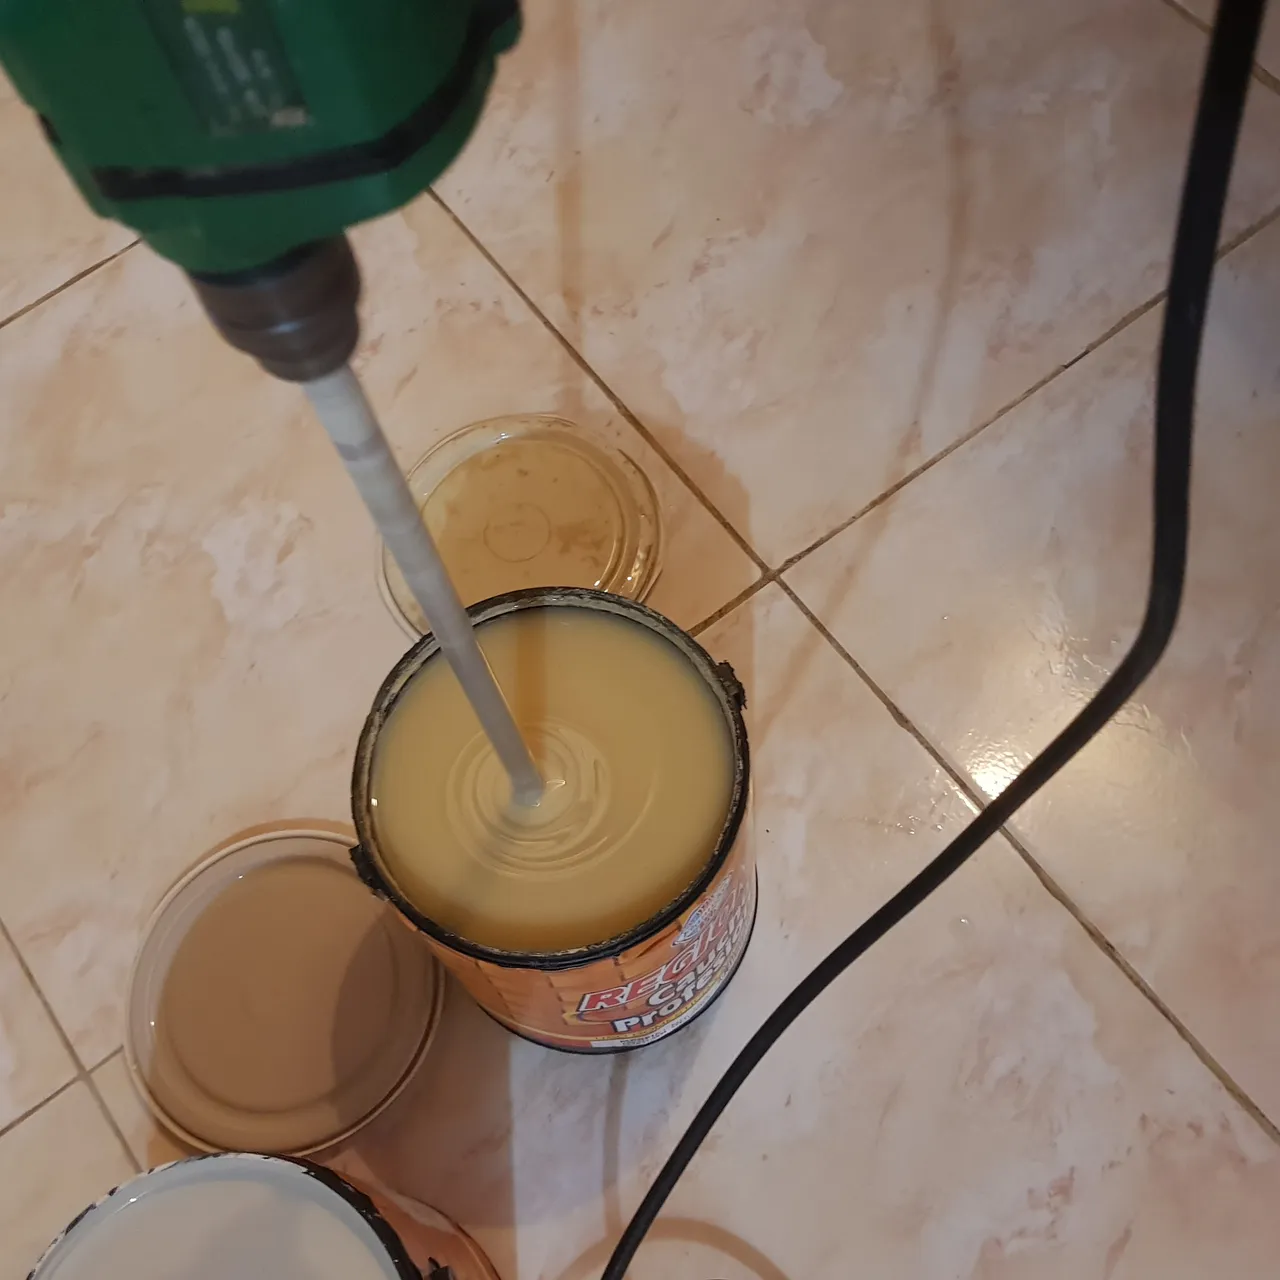
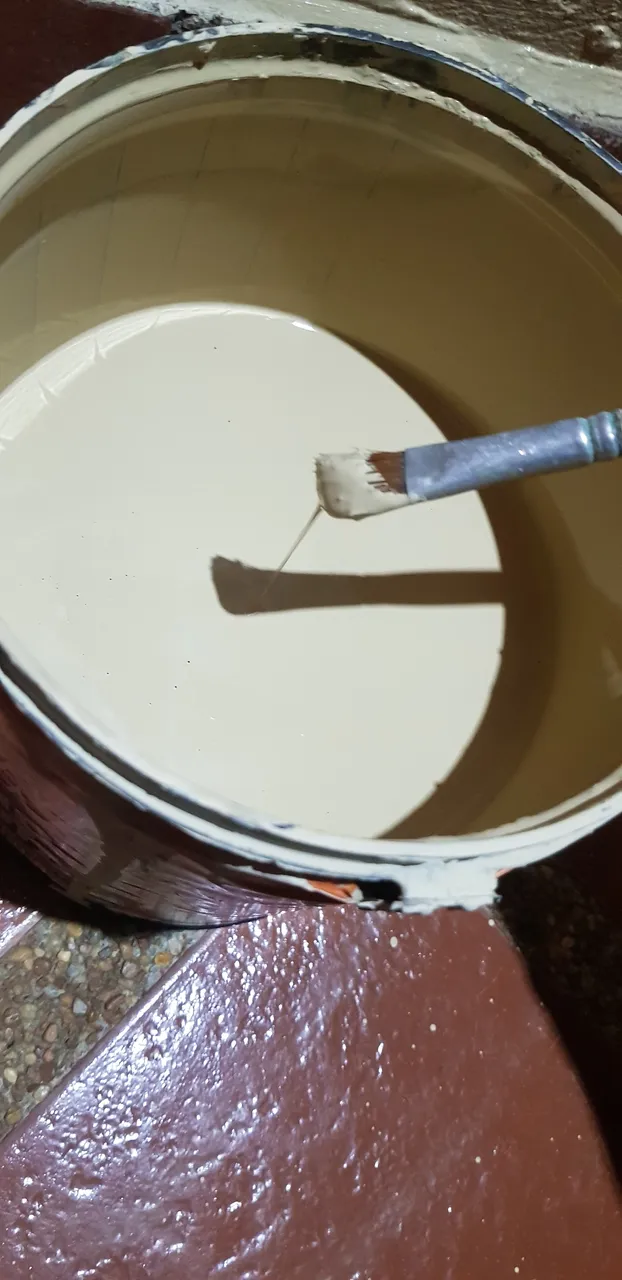
Ahora debemos mezcar bien las pinturas que vamos a usar por unos minutos hasta homogeneizar bien las mismas. Yo utilicé un mezclador para taladro que construí en el post anterior. Pueden verlo aquí
Now we must mix well the paints we are going to use for a few minutes until they are well homogenized. I used a drill mixer that I built in the previous post. You can see it here
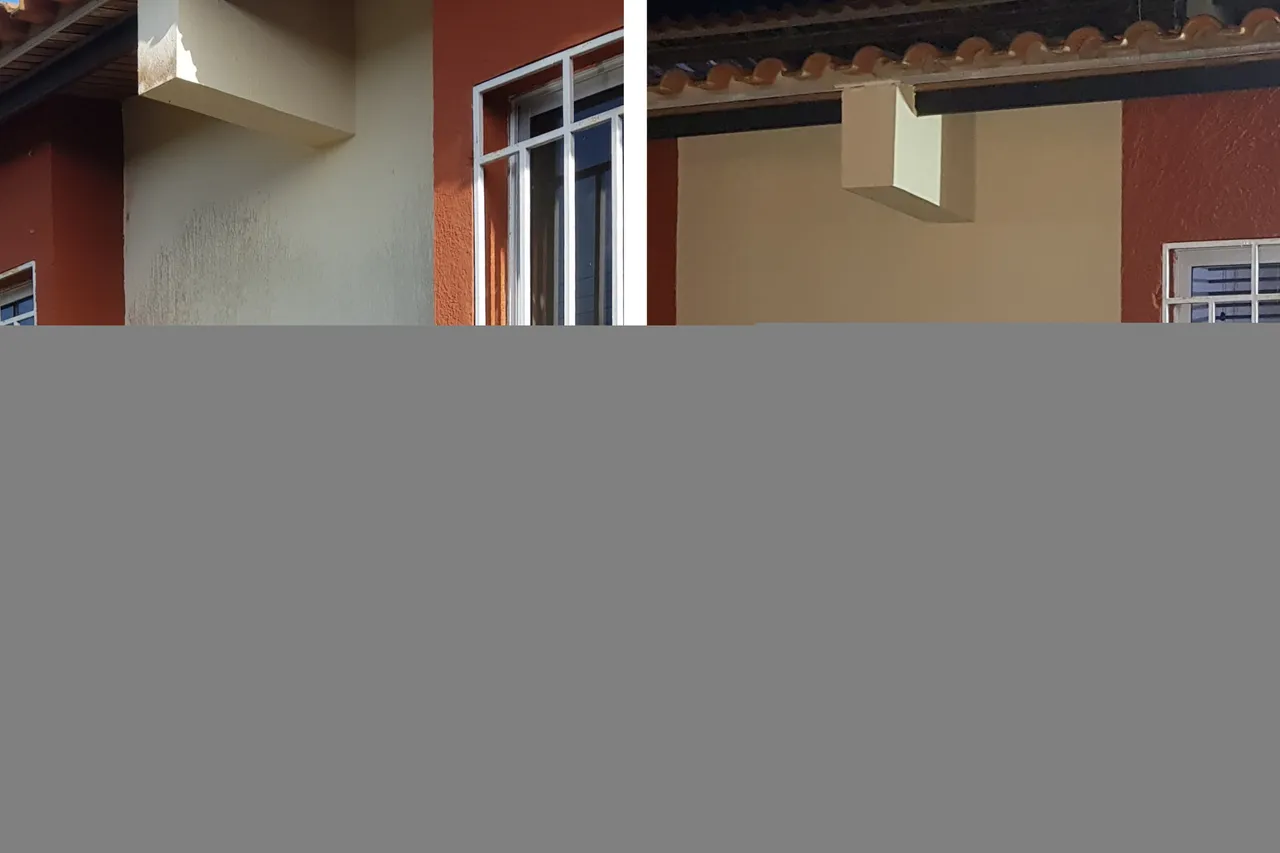
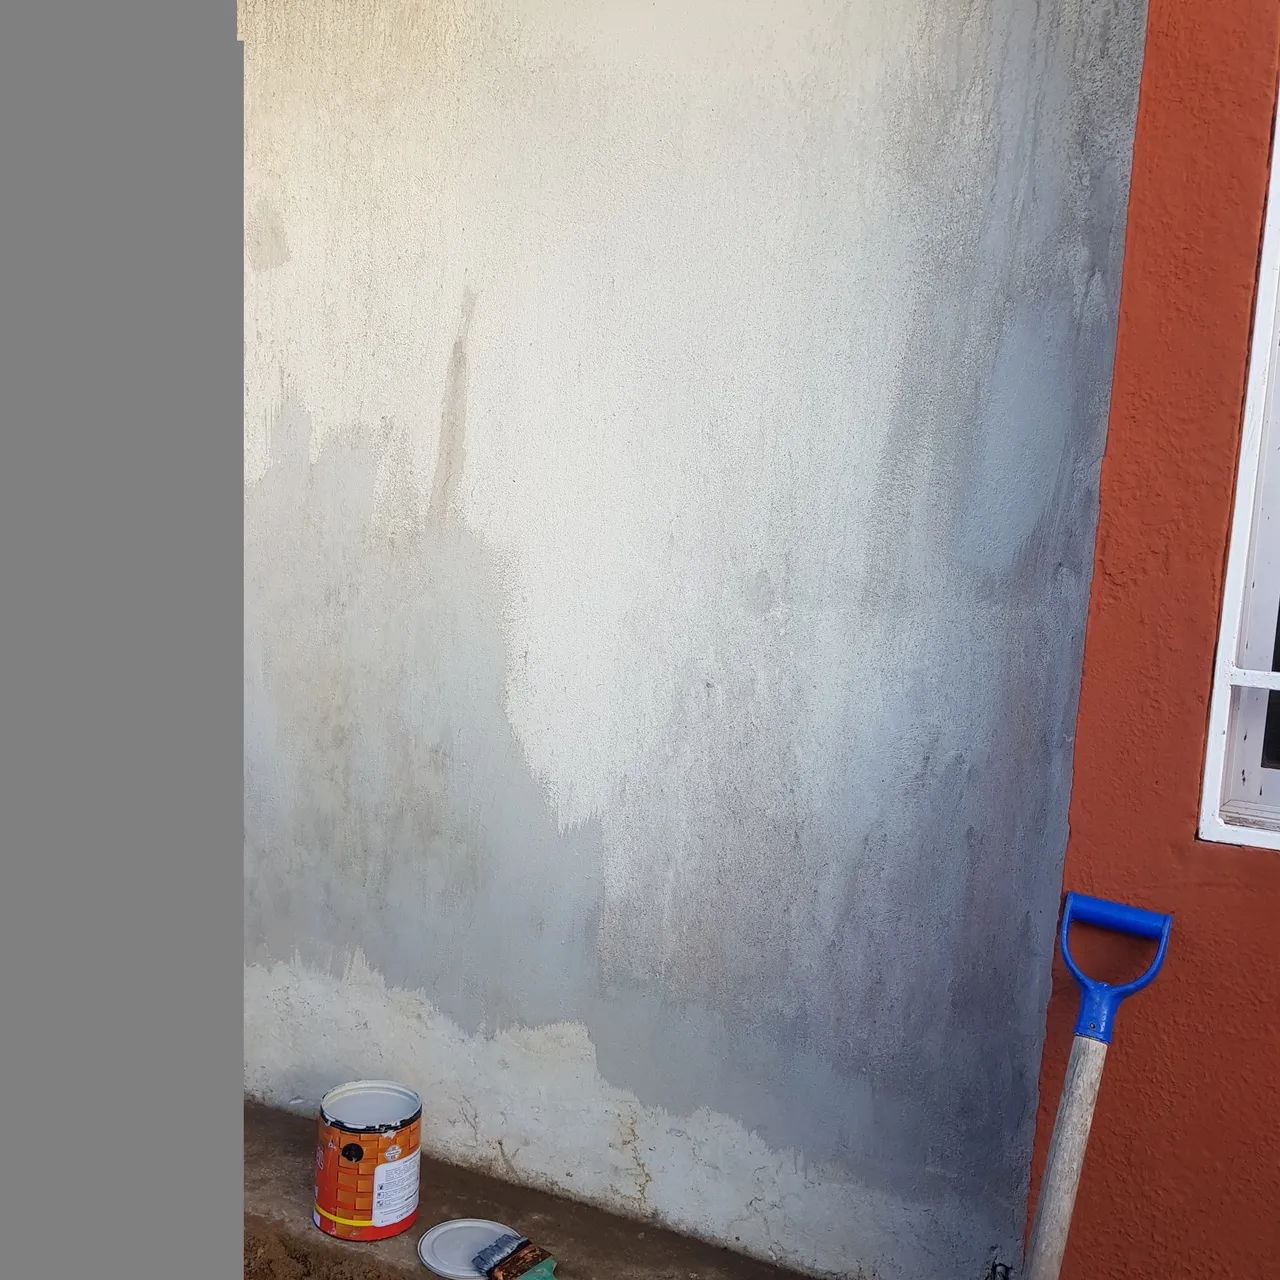
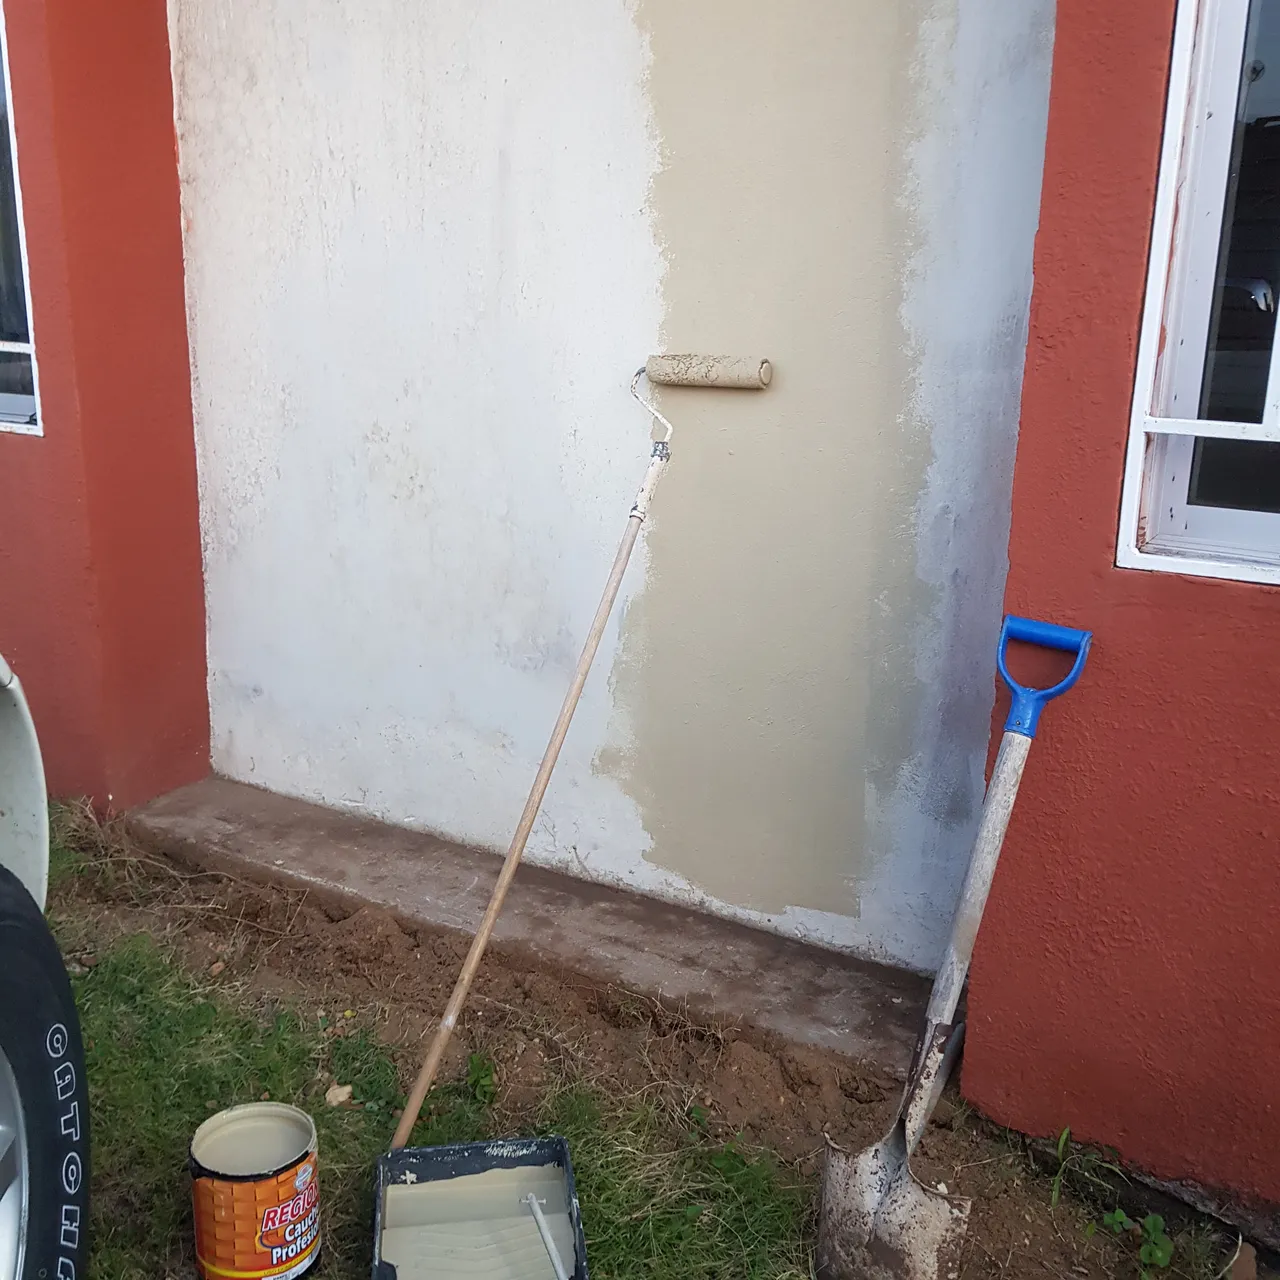
Como podemos ver la pared esta manchada y para eso necesitamos primero cubrir esas manchas con una pintura que usemos como base y que siempre debe ser mas clara que la pintura final para que esta última pueda cubrirla.
As we can see the wall is stained and for that we first need to cover those stains with a paint that we use as a base and that should always be lighter than the final paint so that the latter can cover it.
Usamos una brocha para aplicar la pintura base en este caso blanco hueso. Yo decidí solo pintar la parte machada ya que el resto de la pared estaba bien y no ameritaba mas pintura base.
We used a brush to apply the base paint in this case off-white. I decided to only paint the stained part since the rest of the wall was fine and didn't need more primer.
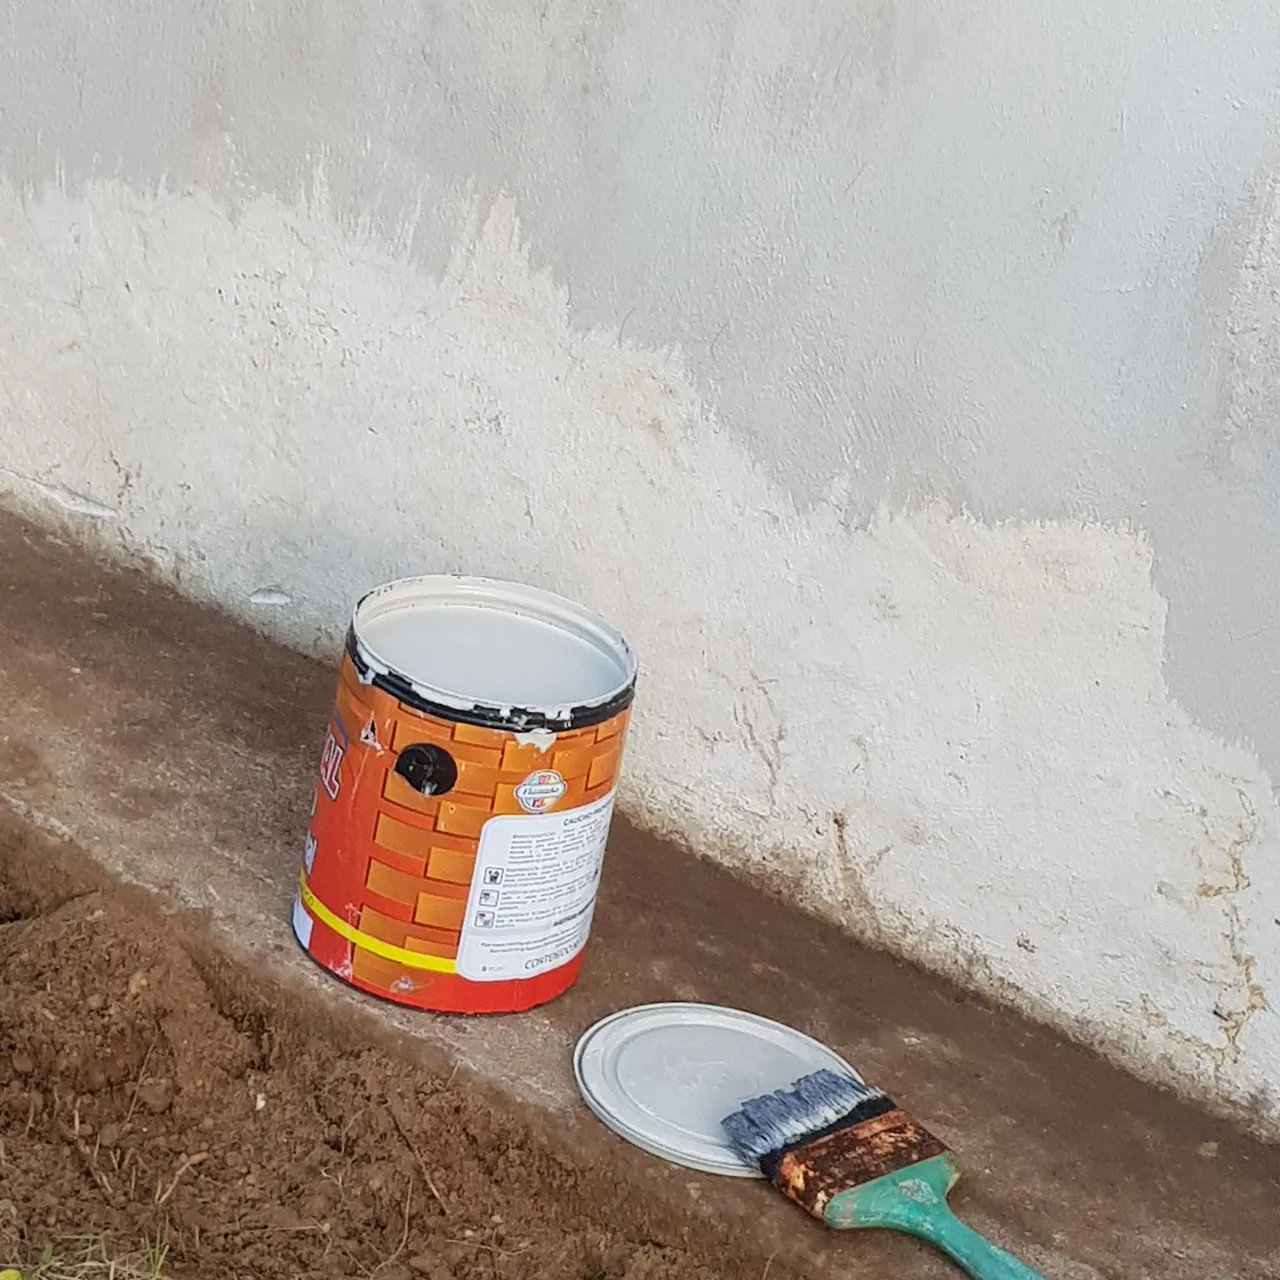
Dejamos secar y luego aplicamos una segunda pasada de pintura base en las manchas en el caso que lo amerite si no es necesario solo aplicamos una.
Let it dry and then apply a second coat of primer on the stains if necessary, if it is not necessary, just apply one coat.
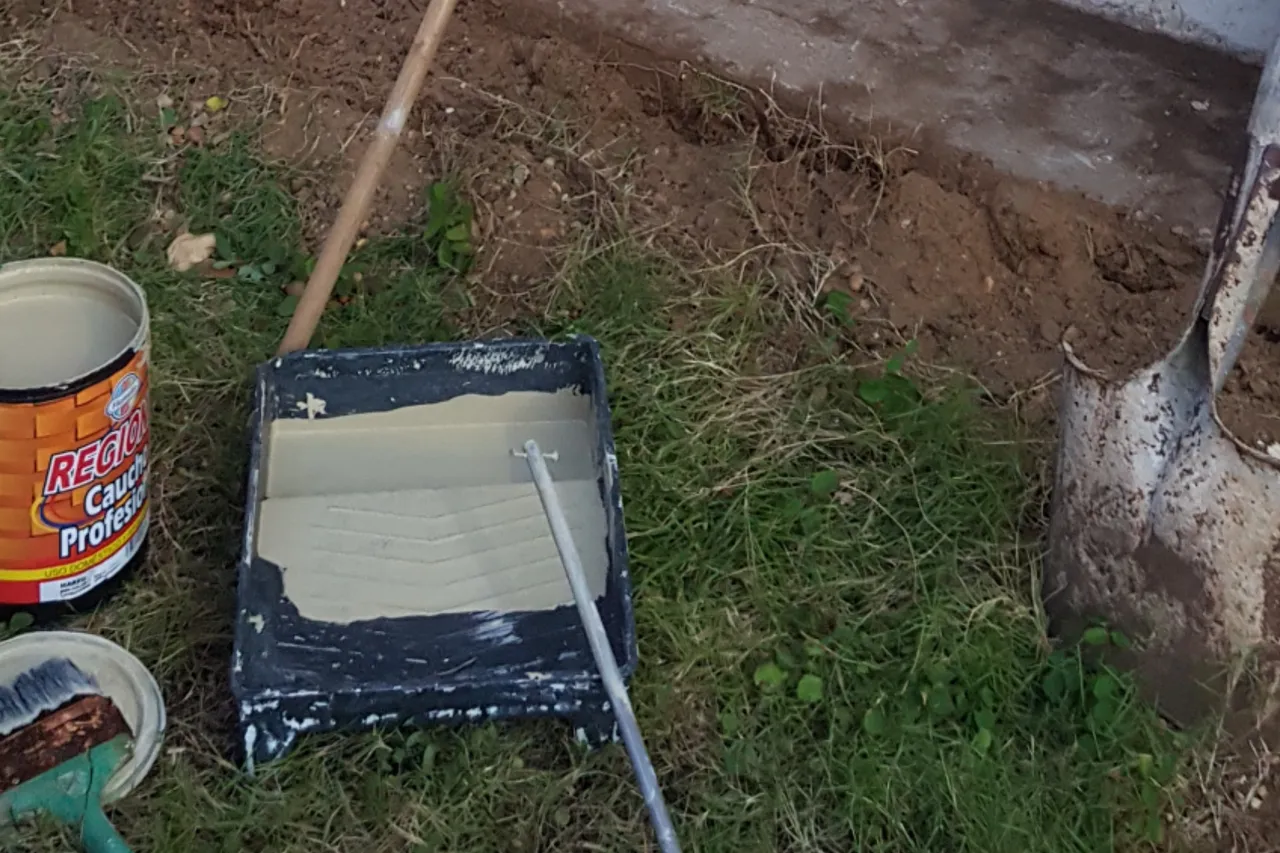
Ubicamos la bandeja para el rodillo en una zona cerca de la pared a pintar y preparamos todo para servir.
We place the roller tray in an area close to the wall to be painted and prepare everything to serve.
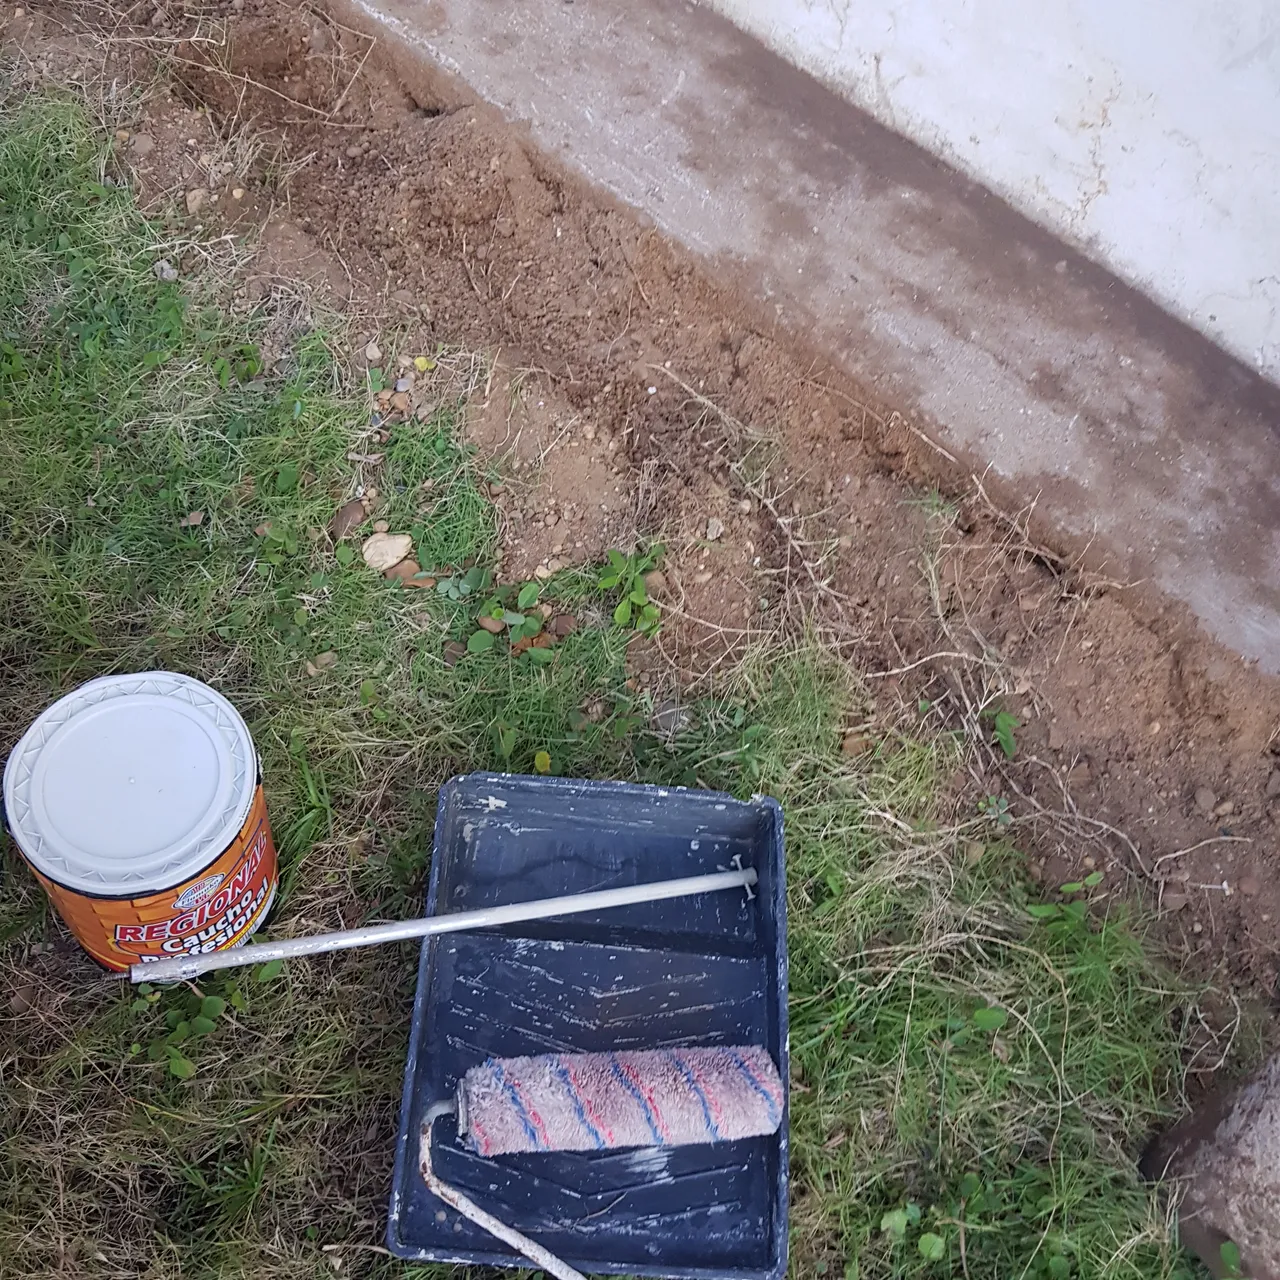
con mucho cuidado de no derramar servimos la pintura final en la bandeja, solo la vamos a llenar a 1 centimetro de profunidad ya que si llenamos mas que eso el rodillo quedara sumergido y le empezará a filtrar pintura a la parte de adentro y al levantarlo se va a derramar pintura por todos lados.
with great care not to spill the final paint in the tray, we will only fill it to 1 centimeter deep because if we fill more than that the roller will be submerged and it will start to leak paint to the inside and when we lift it will spill paint everywhere.
humedecemos la funda del rodillo uniformemente y luego se tiene que escurrir el exceso en la misma bandeja.
We moisten the roller cover evenly and then drain the excess in the same tray.
Con movimientos verticales de arriba hacia abajo vamos cubriendo poco a poco hasta que ya no quede pintura en el rodillo volvemos a humedecerlo y repetir siempre manteniendo el mismo movimiento vertical hasta cubrir toda la zona.
With vertical movements from top to bottom we cover little by little until there is no more paint left on the roller, we moisten it again and repeat always keeping the same vertical movement until we cover the whole area.
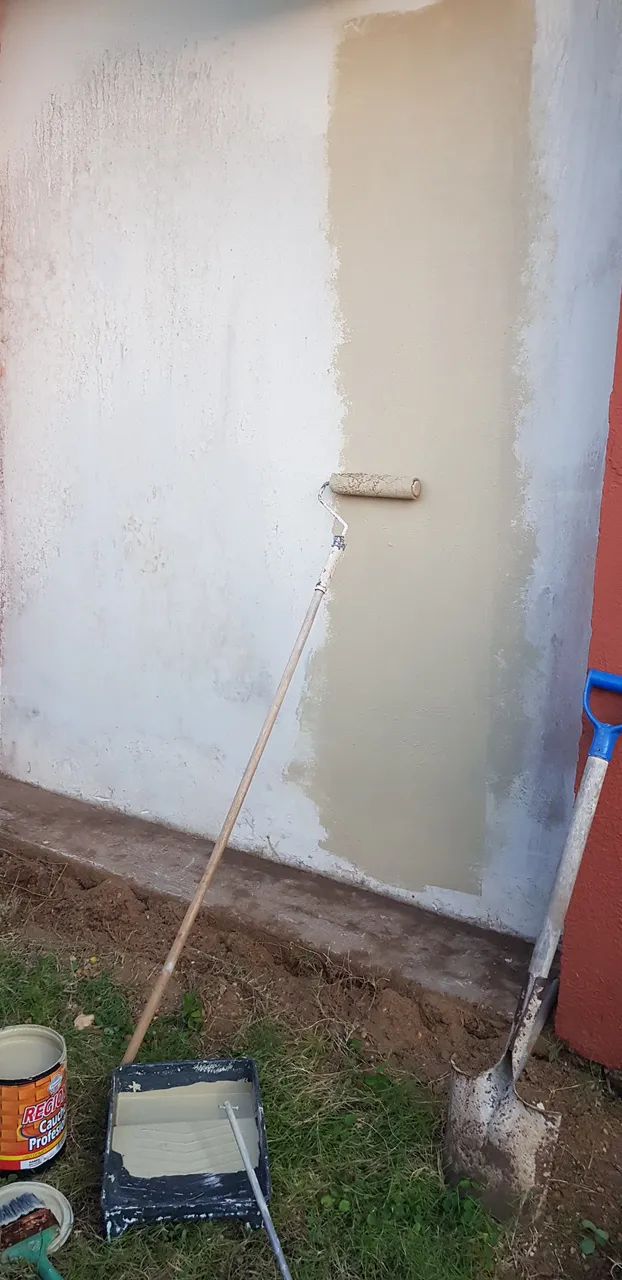
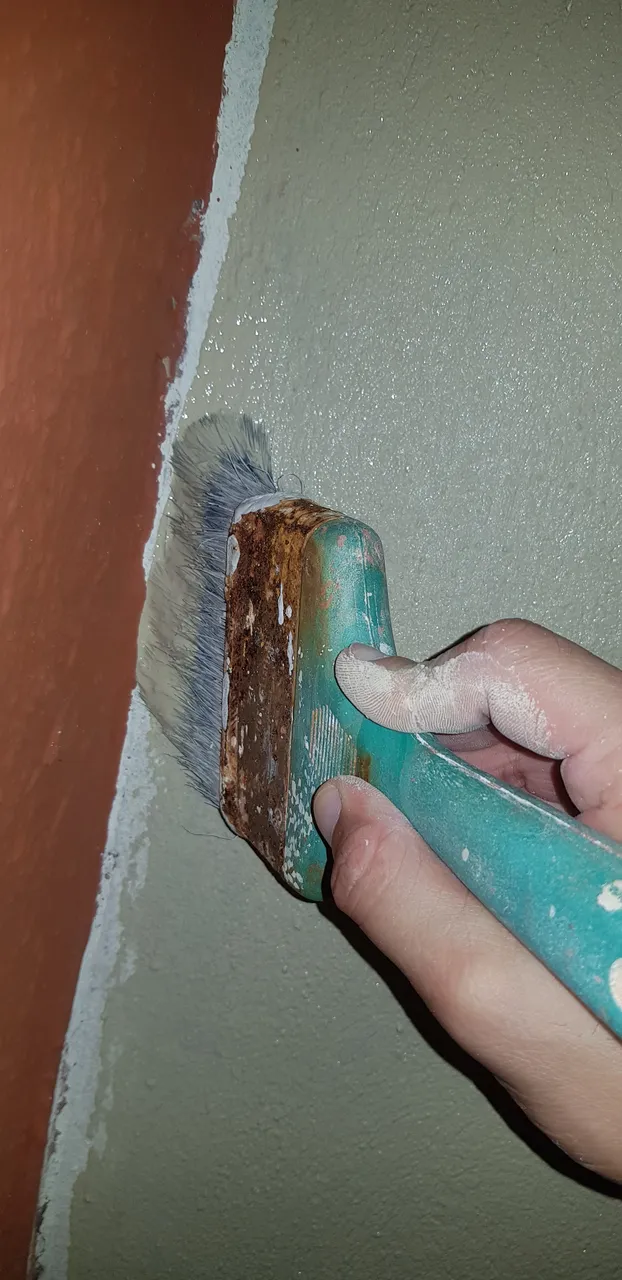
Para terminar con la ayuda de la brocha y el pincel cubrimos todas las orillas que con el rodillo no pudimos pintar.
To finish with the help of the brush and the brush we cover all the edges that we could not paint with the roller.

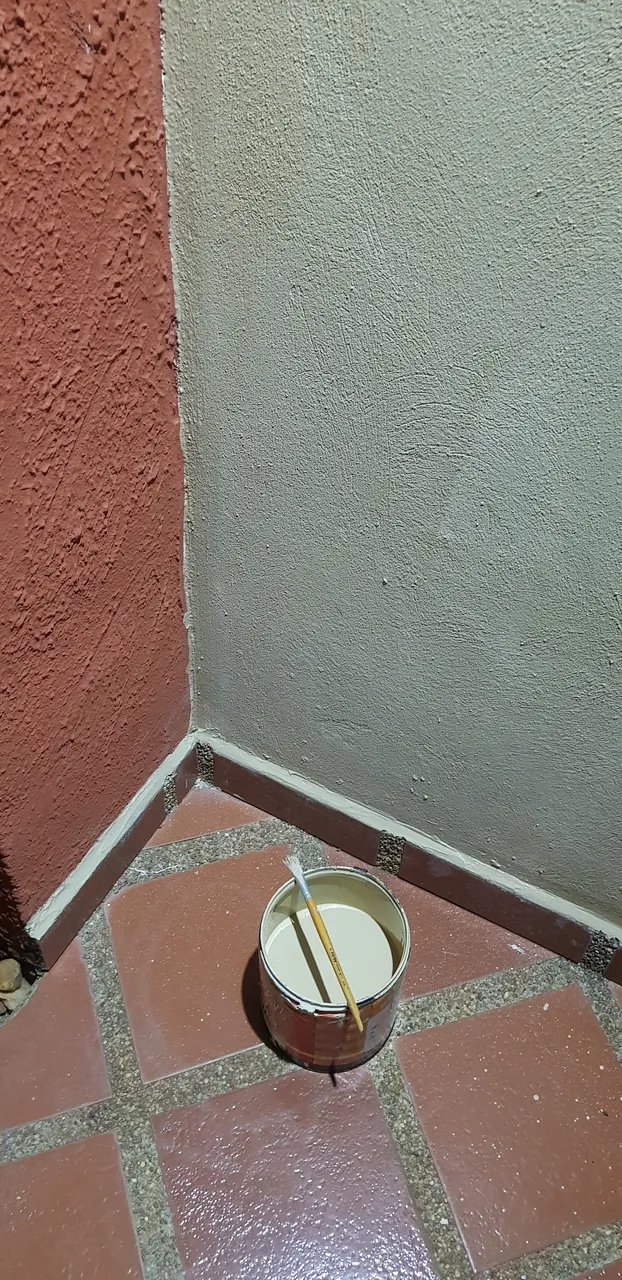
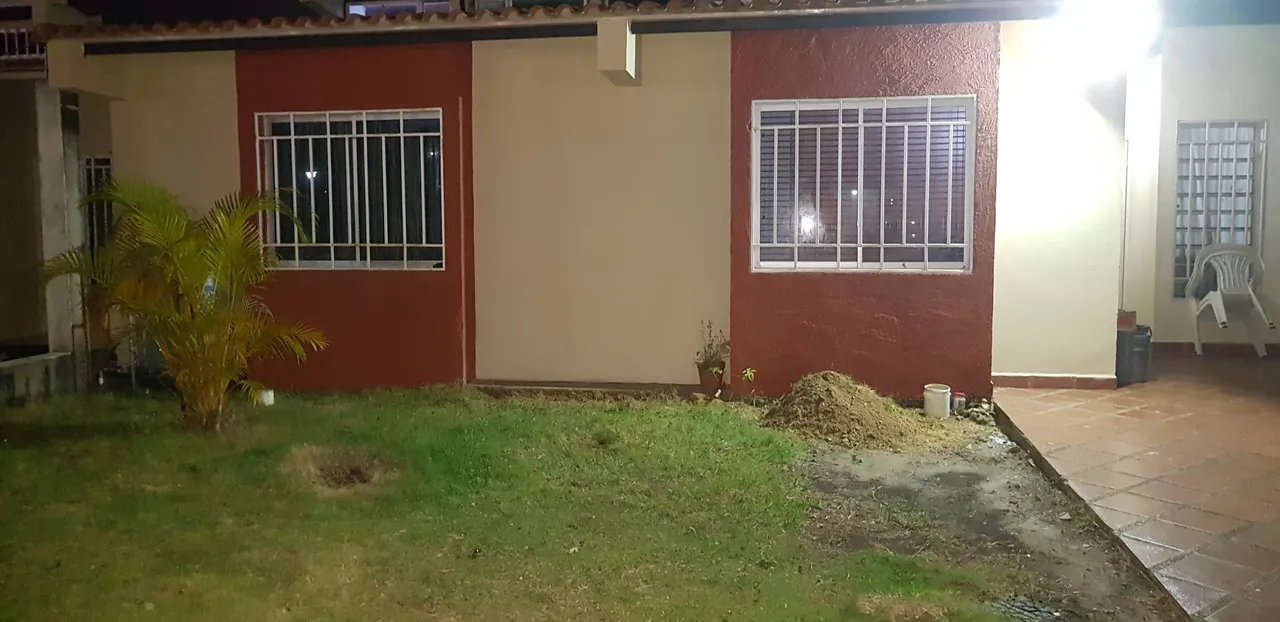
Y asi el acabado final de nuestra pared. Espero les haya gustado.
And thus the final finish of our wall. I hope you liked it.
Te espero en mi próximo post//I wait for you in my next post
¡Hasta pronto!//See you soon!