Hola amigos de hive y aficionados del bricolaje, en esta oportunidad les traigo una idea sencilla y muy práctica de como hacer un mezclador de pintura con materiales que podemos conseguir en casa.
Hello friends of hive and DIY enthusiasts, in this oporrunity I bring you a simple and very practical idea of how to make a paint mixer with materials that we can get at home.
Los mezcladores de pinturas electricos son aparatos que se utilizan para homogeneizar las pinturas con movimientos giratorios ya que en estado de reposo éstas suelen separar sus componentes y al momento de destaparlas podemos ver un líquido transparente en la parte superior y el color esta debajo y para poder obtener el color de esta pintura nuevamente, se pueden pasar un buen rato girandolas manualmente, es por esto que quise hacer un mezclador para usarlo con mi taladro y volver el proceso mas rápido, comenzamos.
The electric paint mixers are devices that are used to homogenize the paints with rotating movements because when they are at rest they usually separate their components and when we uncover them we can see a transparent liquid at the top and the color is below and to get the color of this paint again, you can spend a long time turning them manually, this is why I wanted to make a mixer to use it with my drill and make the process faster, let's start
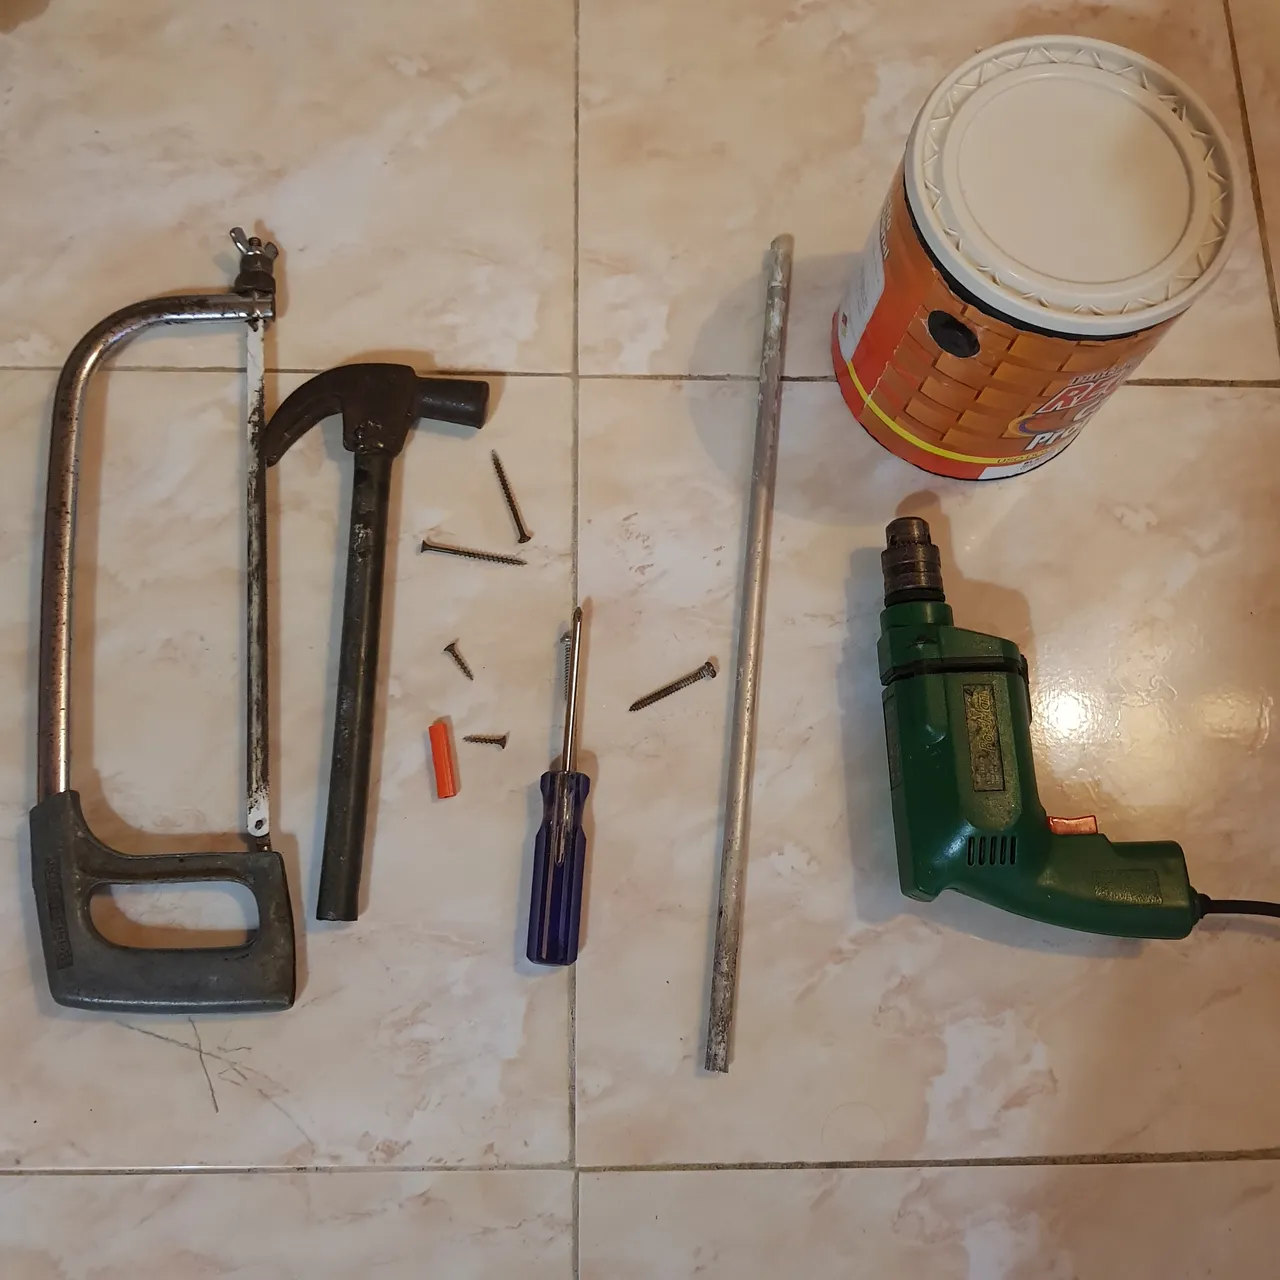
Materiales:
1 tubo de cortina 1/2 de 50 cm largo.
1 ramplug rojo o de espesor 3/16
2 tornillos de una pulgada. Tipo madera
2 tornillos de 2 pulgadas. Tipo madera
1 tornillo de 2 pulgadas.
Sierra manual.
Taldro electrico.
Destornillador de estrella.
Materials
1 curtain pipe 1/2 50 cm long.
1 red or 3/16" thick ramplug.
2 one inch screws. Wood type
2 2 inch screws. Wood type
1 screw 2 in.
Manual saw.
Electric drill.
Phillips screwdriver.
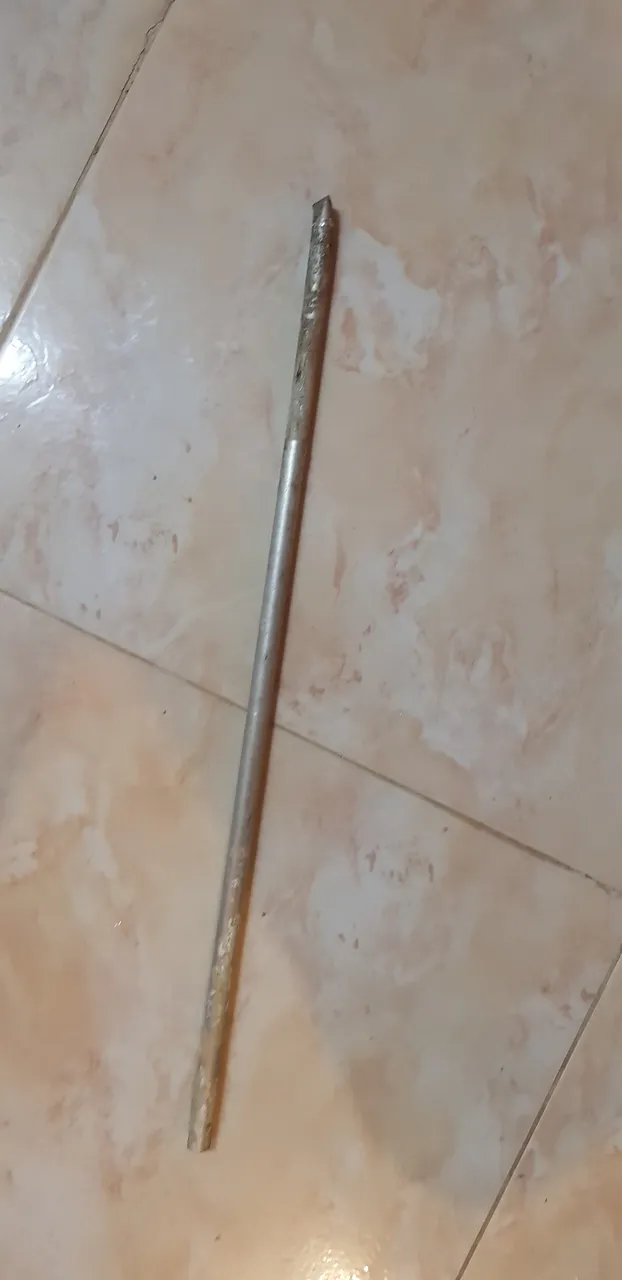
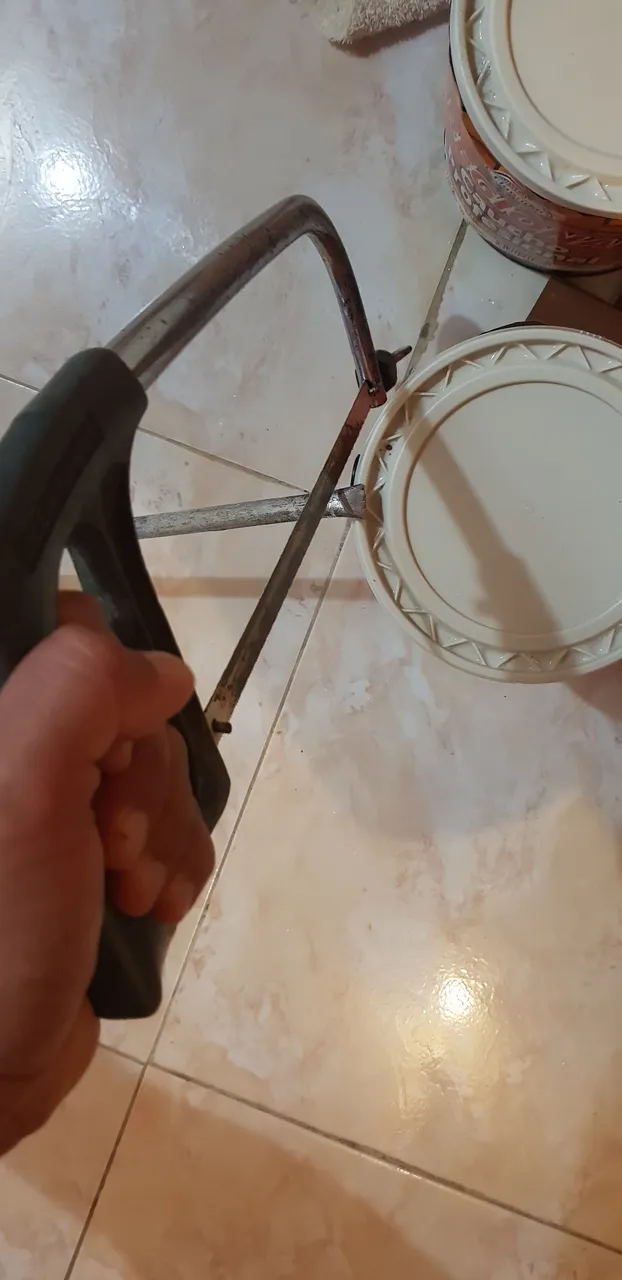
Lo primero que debemos hacer es asegurarnos que nuestro tubo de cortina esté totalmente derecho. Yo utilice la sierra de mano para cortar las puntas ya que tenia una leve torcedura y al momento de girar cualquier imperfección hará que vibre todo.
The first thing to do is to make sure our curtain tube is completely straight. I used the handsaw to cut the ends since it had a slight kink in it and when turning any imperfection will cause the whole thing to vibrate.
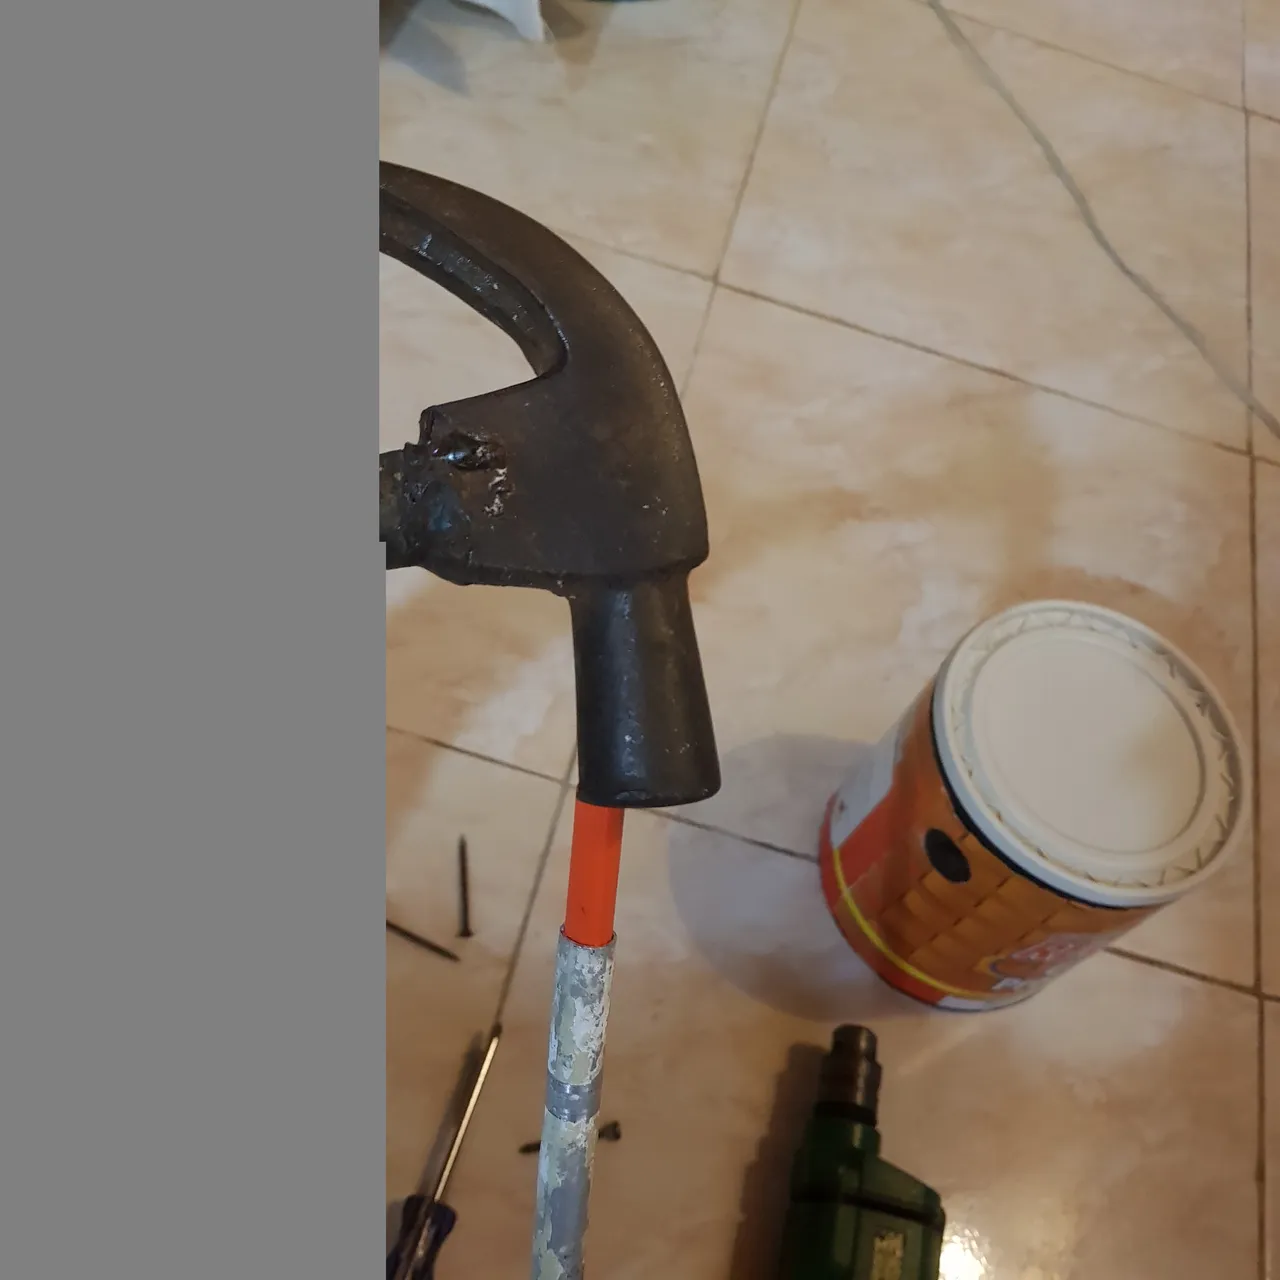
Ahora con el tubo cortado procedemos a introducir el ramplug por dentro del mismo y con la ayuda de un martillo golpeamos suavemente hasta que llegue al fondo.
Now with the tube cut we proceed to introduce the ramplug inside the tube and with the help of a hammer we hit it gently until it reaches the bottom.
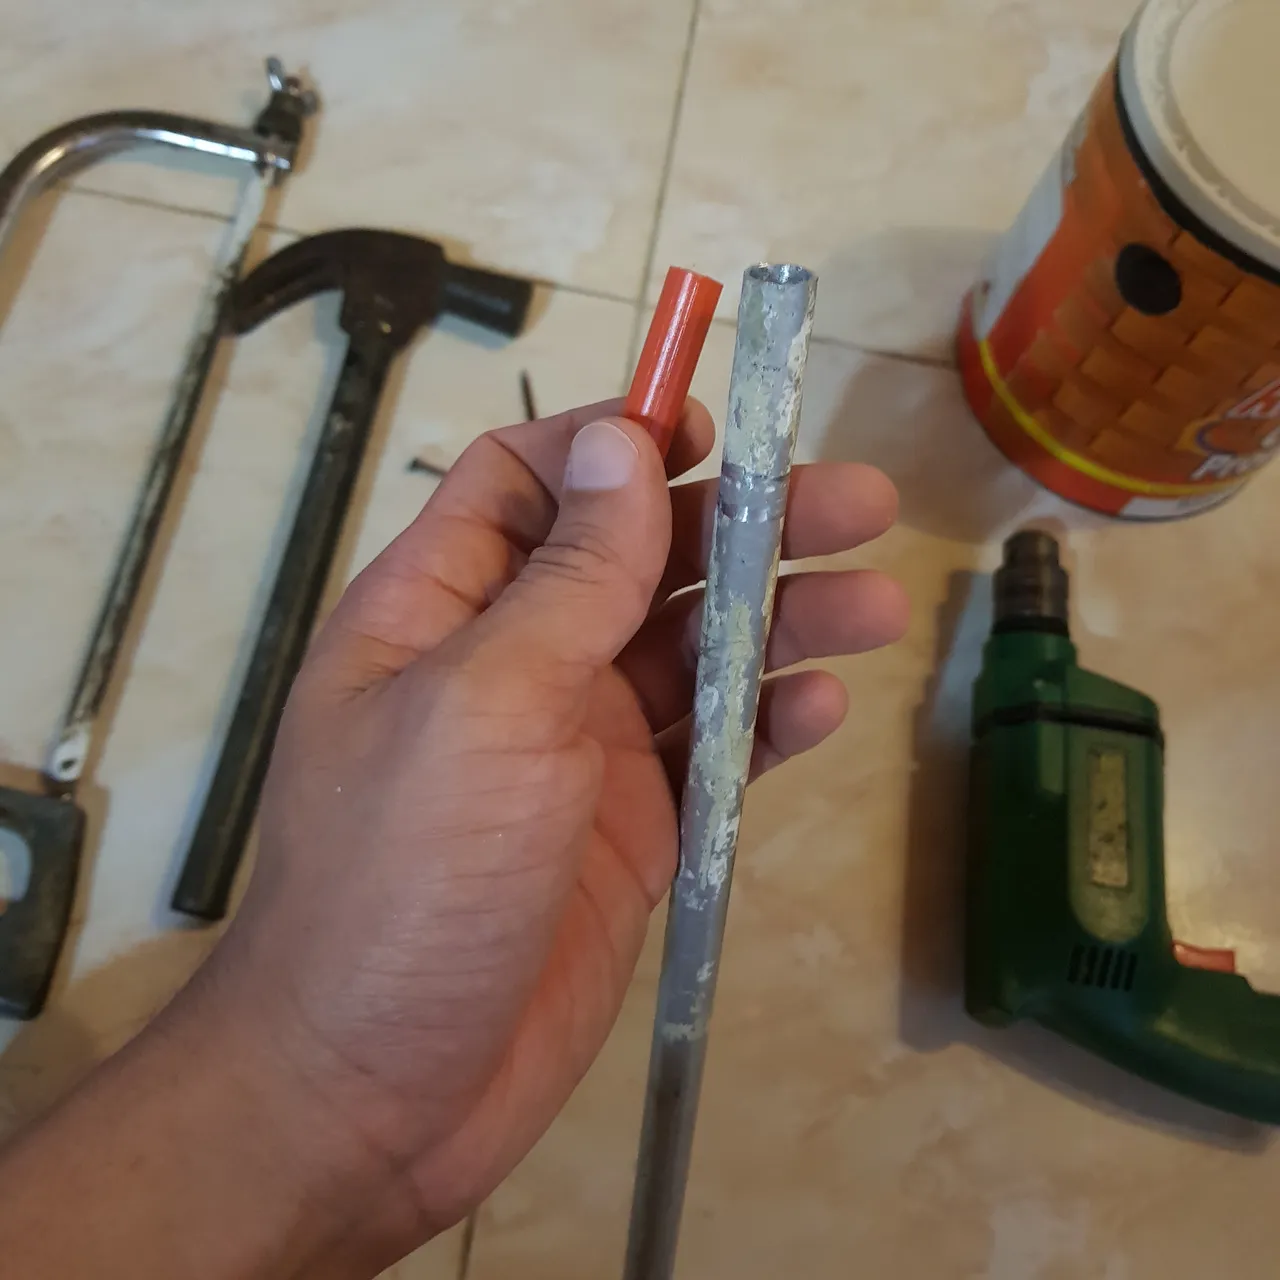
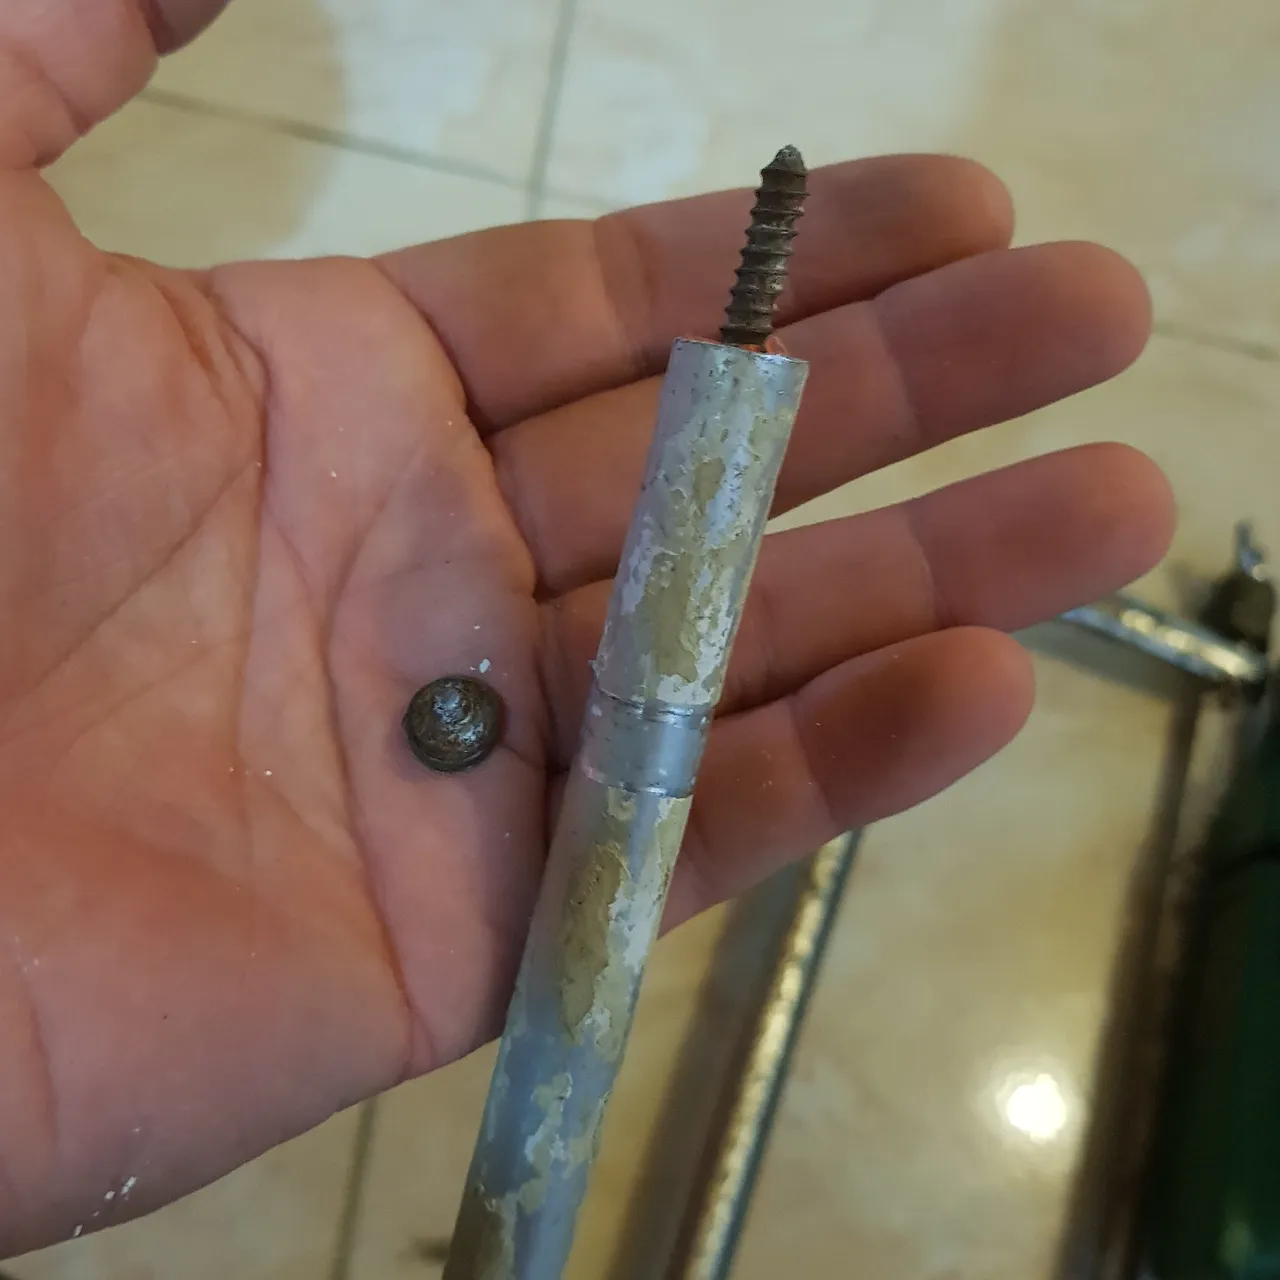
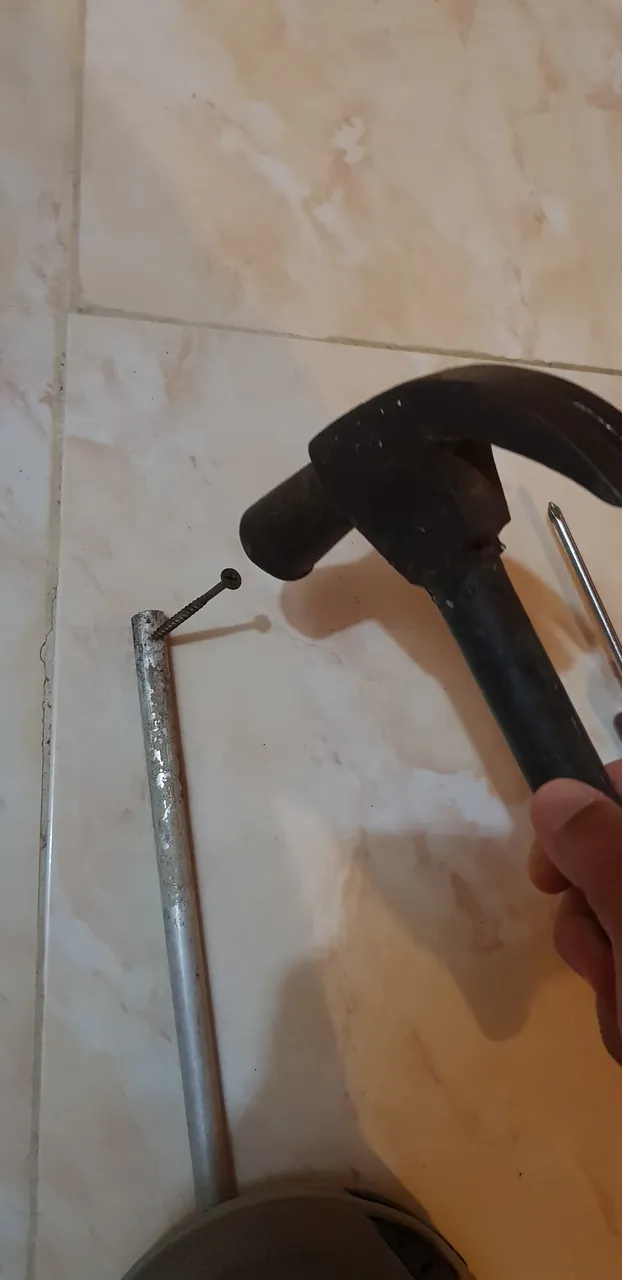
Usamos el tormillo de pared. Lo vamos a atornillar dentro del ramplug hasta la mitad.
We use the wall screw. We are going to screw it into the ramplug up to the middle.
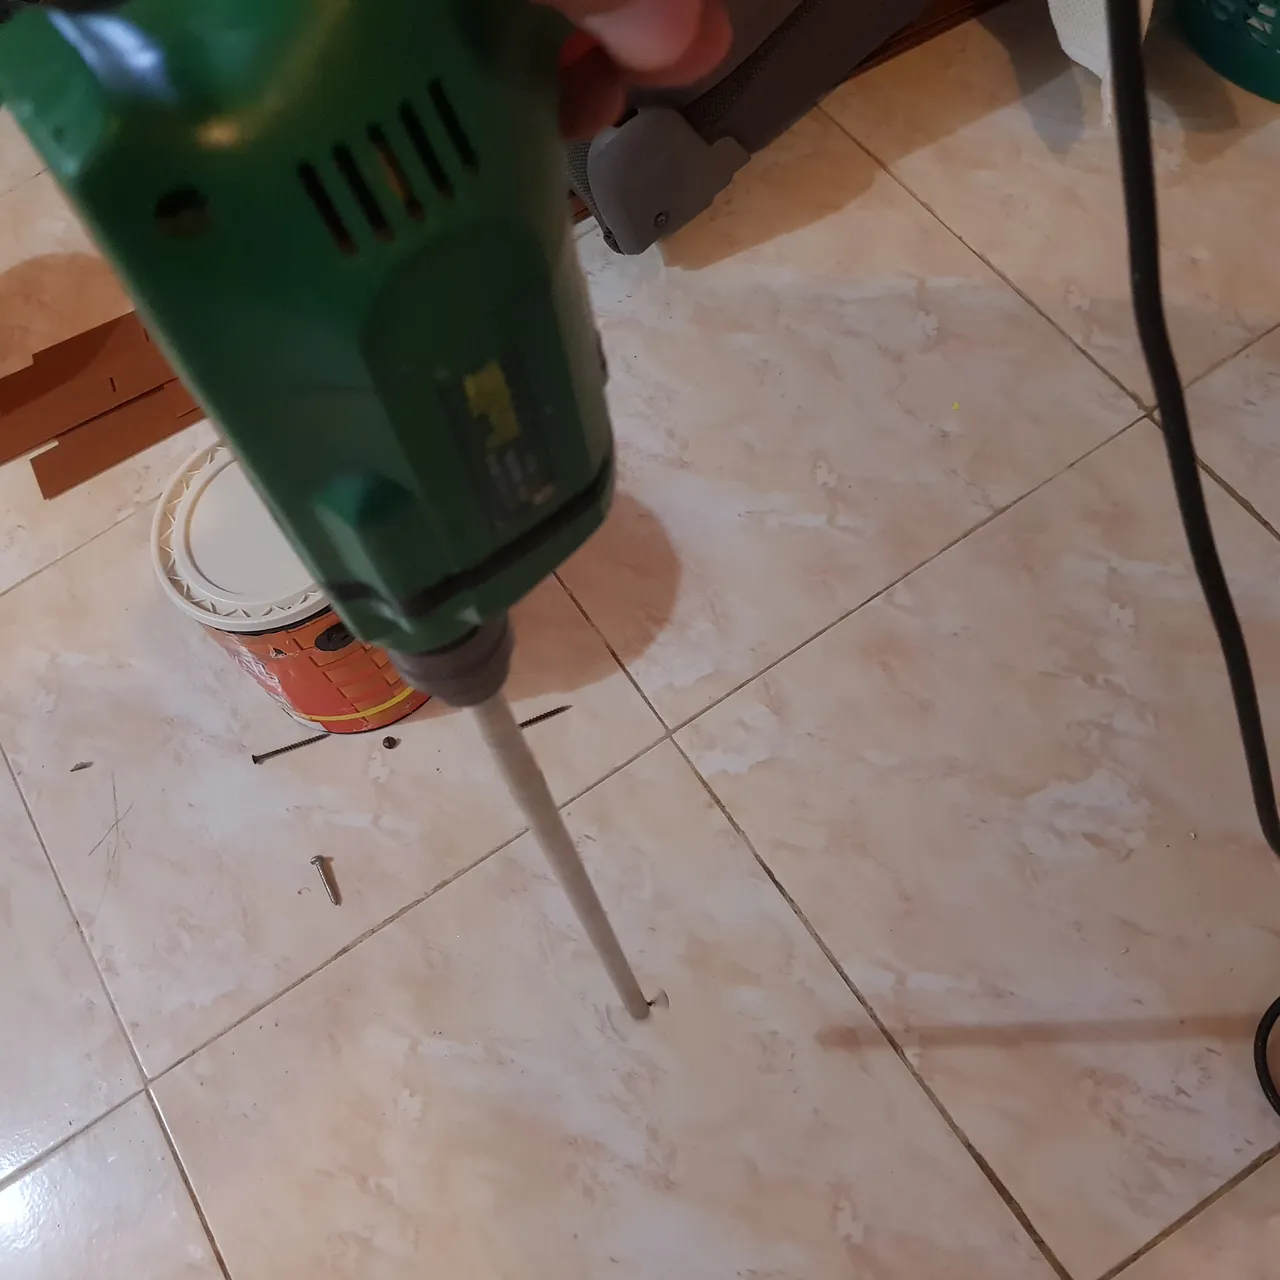
picamos la cabeza del tornillo con la sierra de mano o con una pinza de corte, esto es para que podamos colocarlo en la punta o mandril del taladro.
We cut the head of the screw with the hand saw or with a cutting pliers, this is so that we can place it in the tip or chuck of the drill.
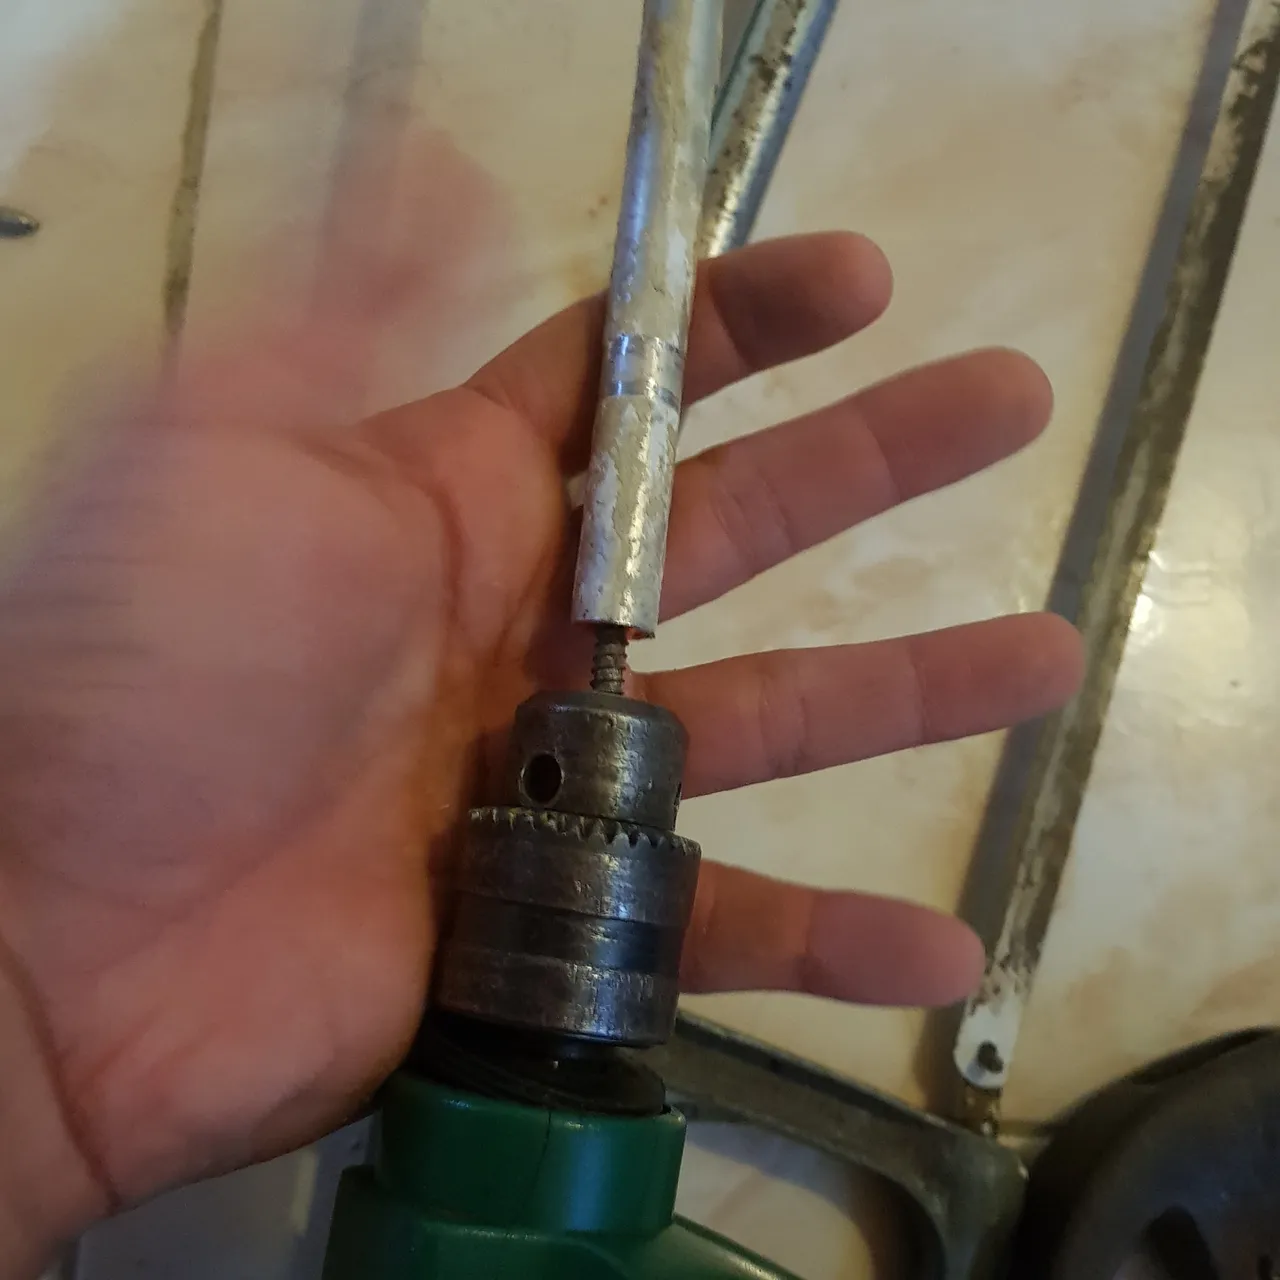
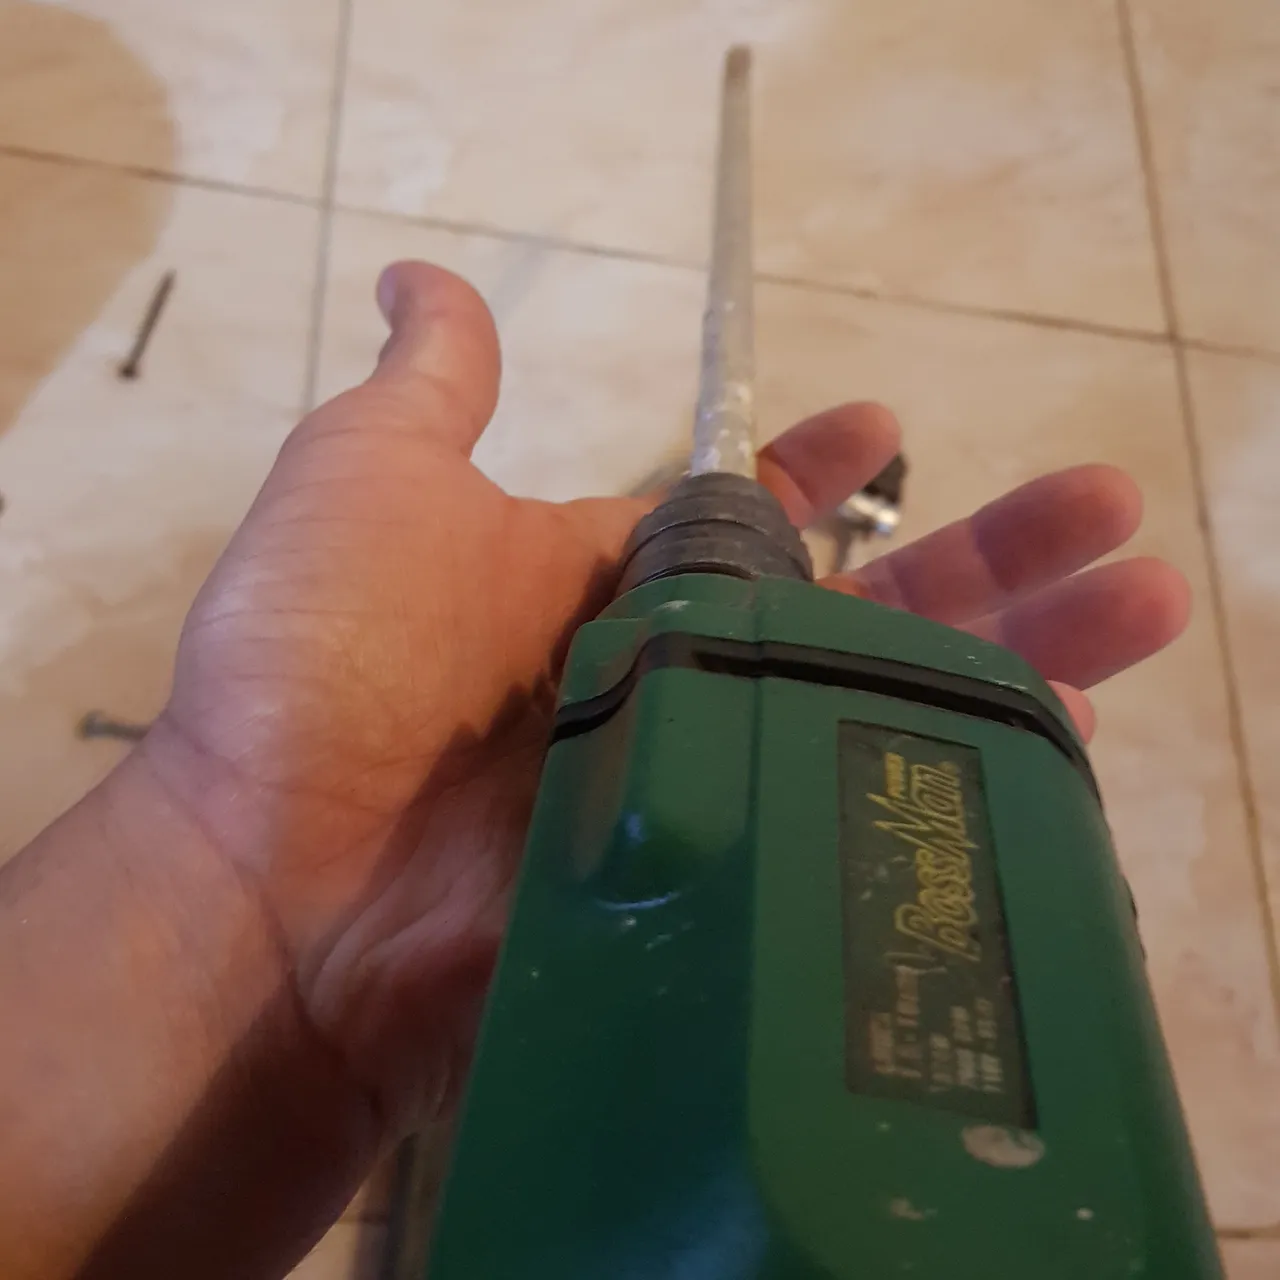
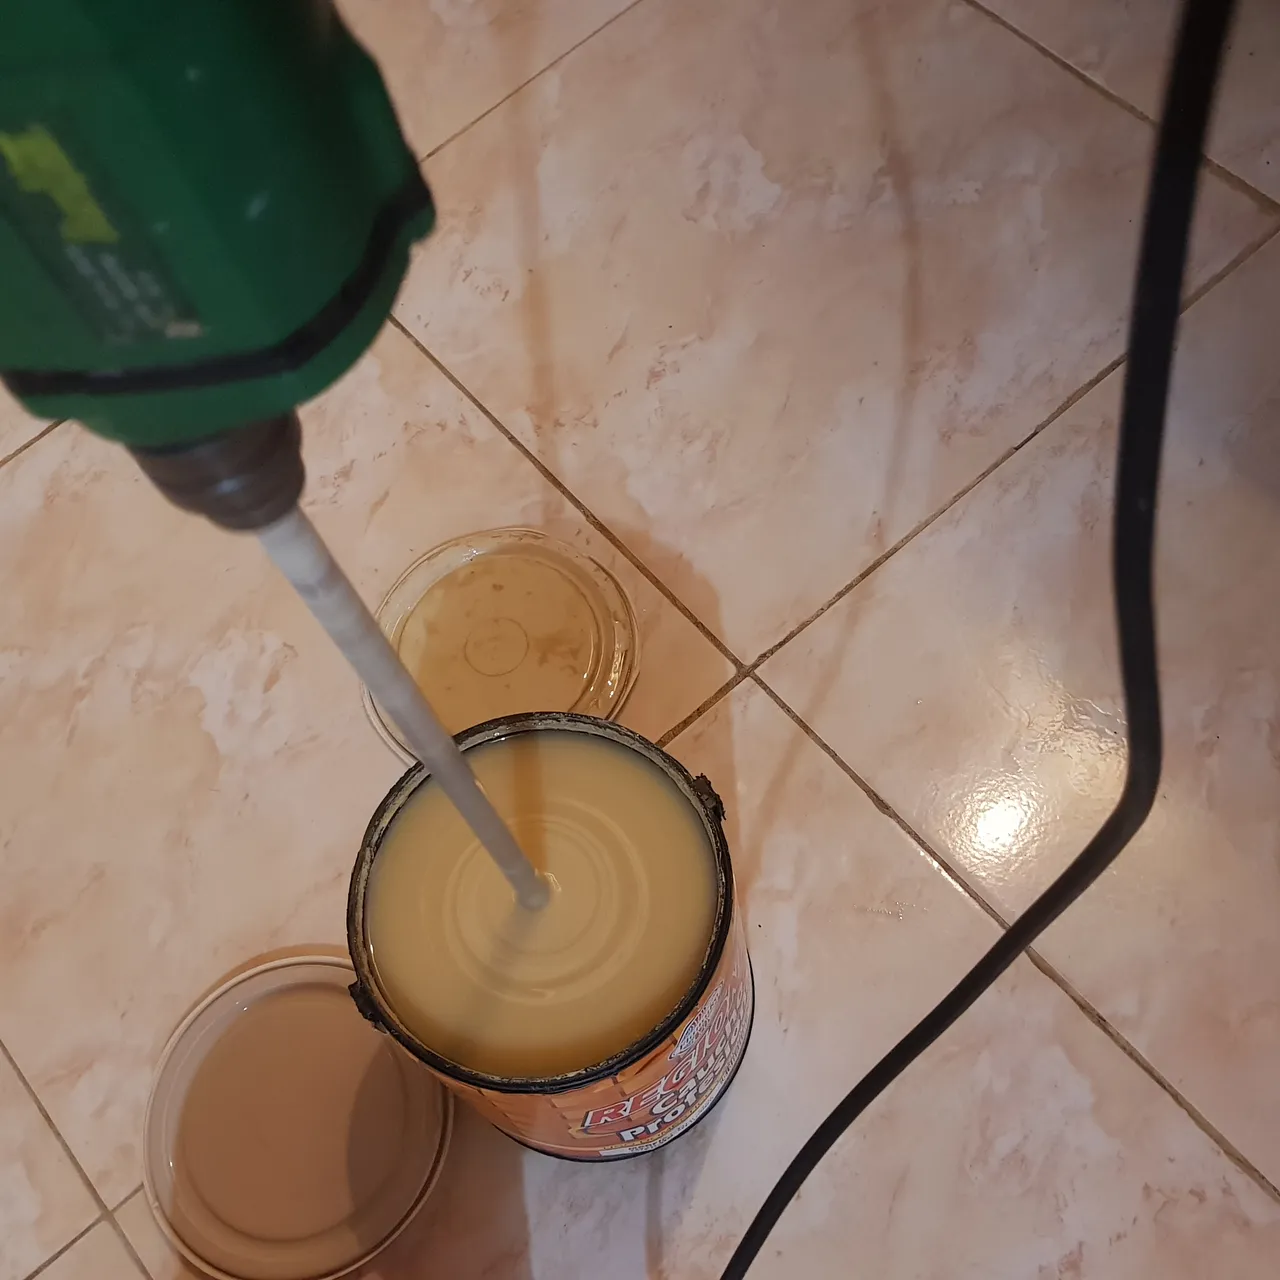
Introducimos el tornillo del tubo en el taladro o mandril y apretamos con la llave. Procedemos a girar el taladro en la velocidad mas lenta y gradualmente la vamos aumentando para ver si esta todo bien y sin vibracion.
Insert the tube screw into the drill or chuck and tighten it with the wrench. Proceed to rotate the drill at the slowest speed and gradually increase it to see if everything is ok and without vibration.
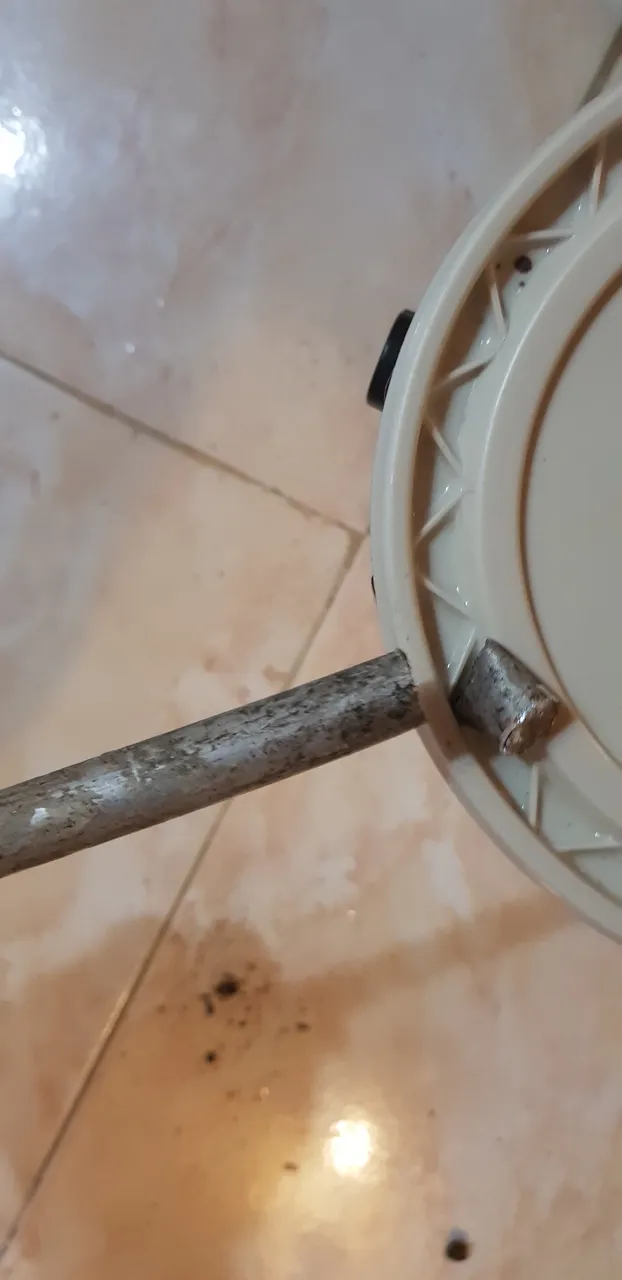
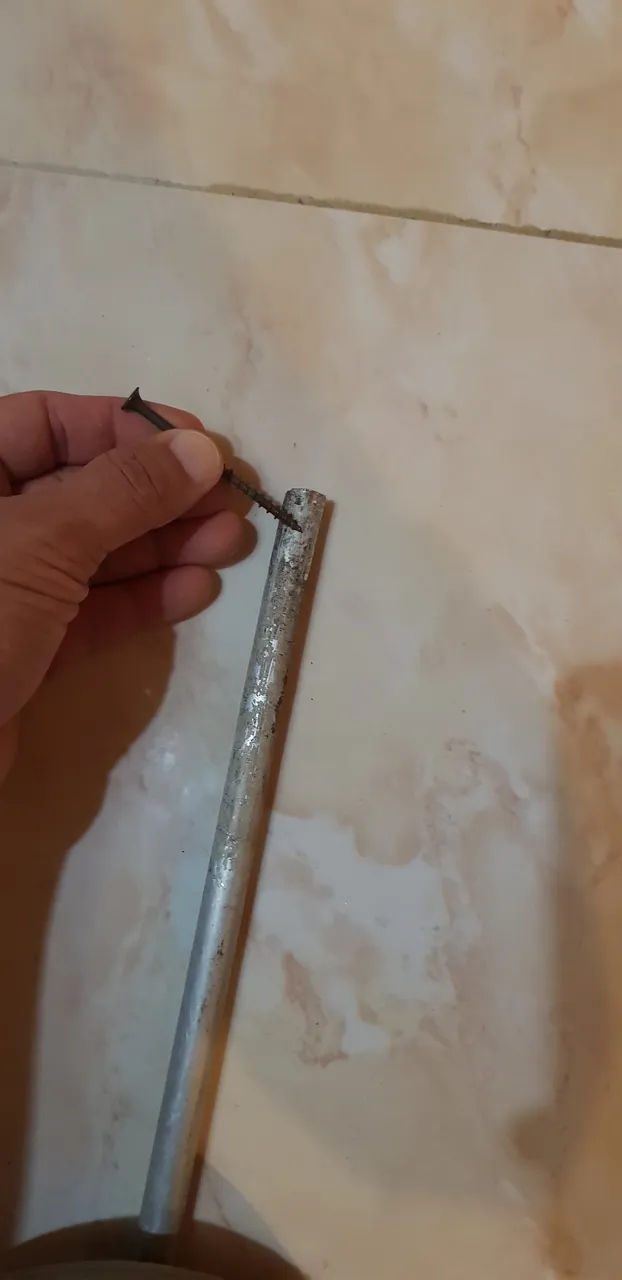
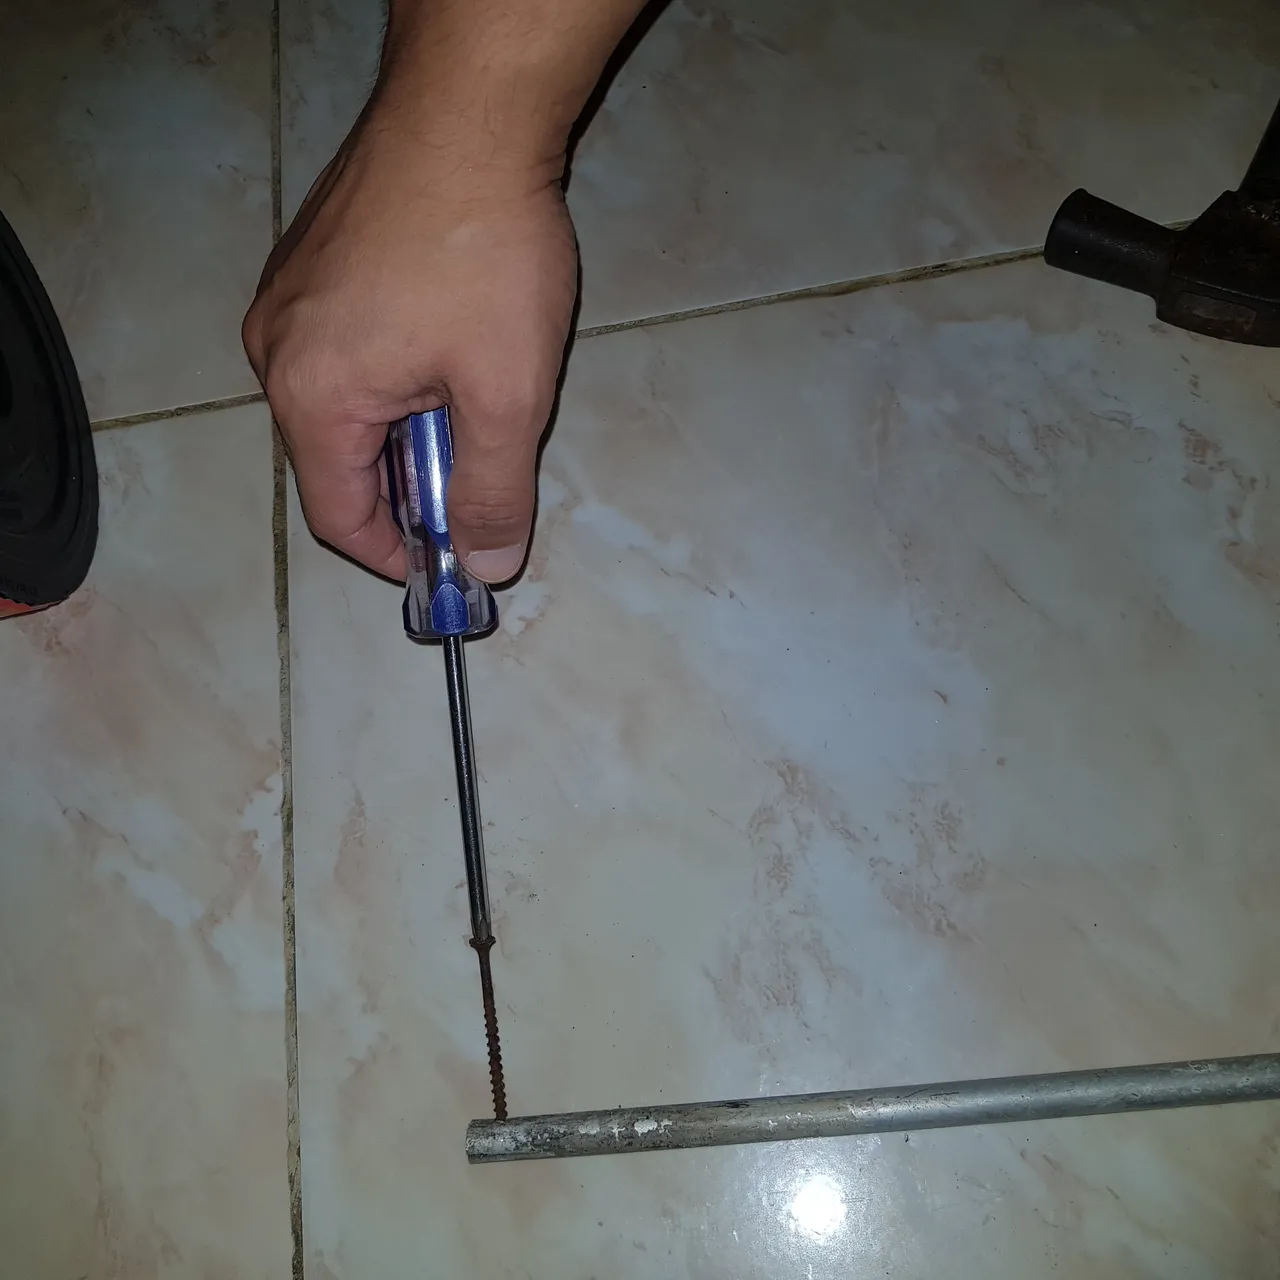
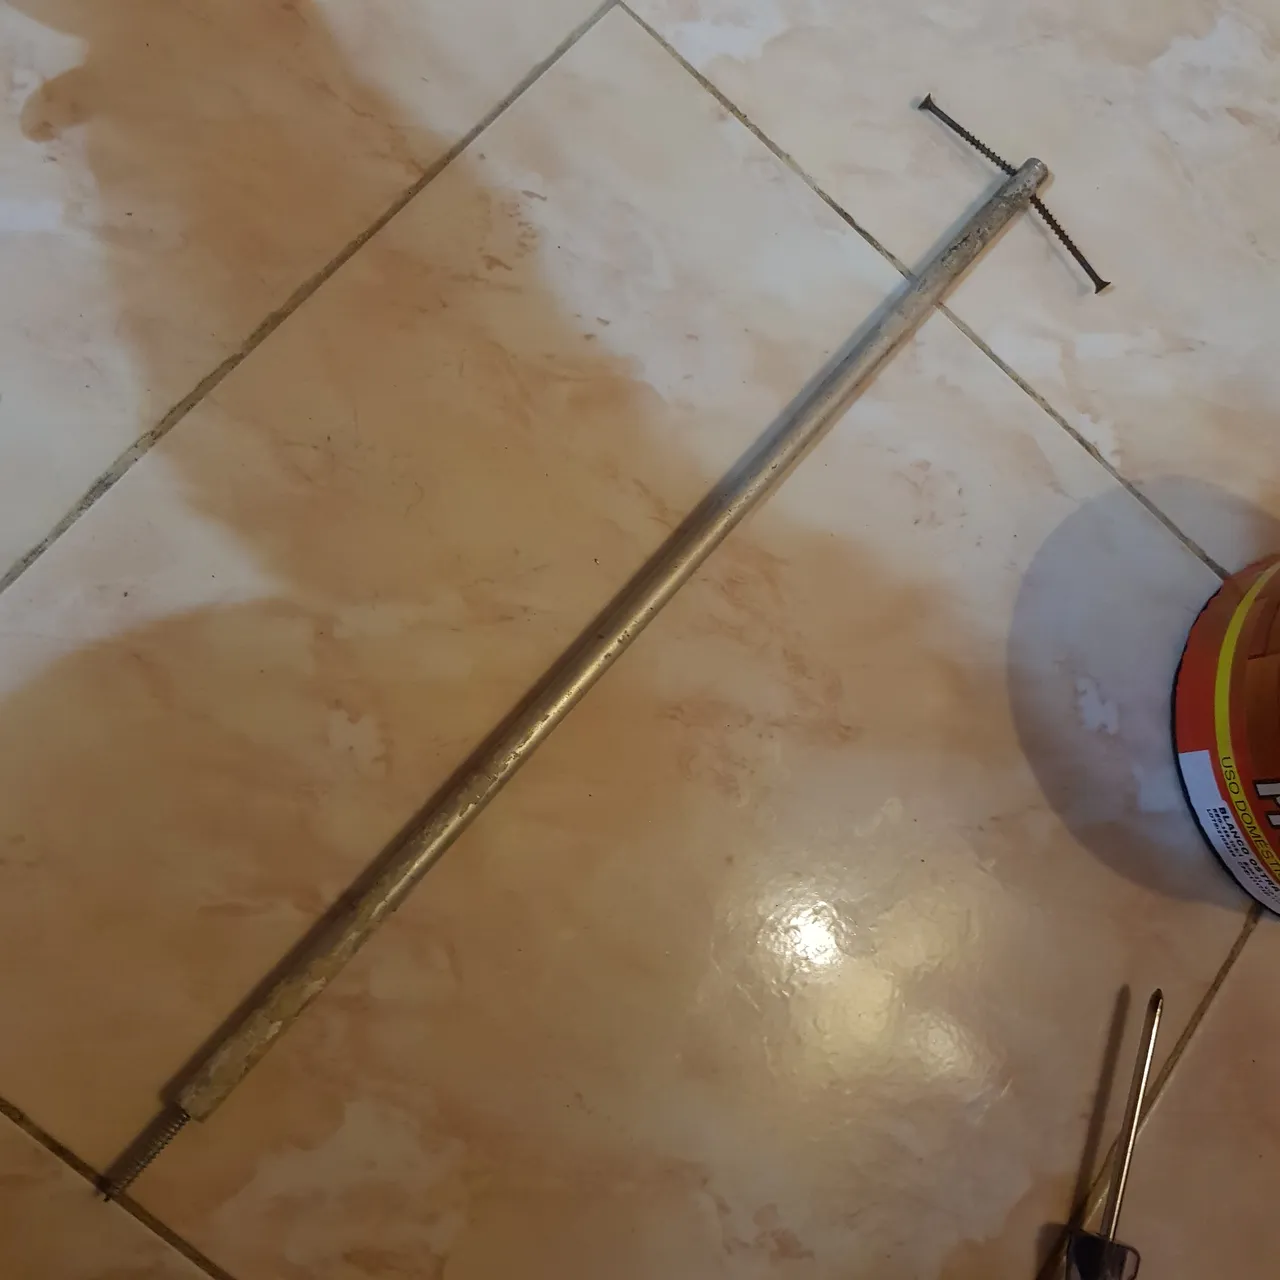
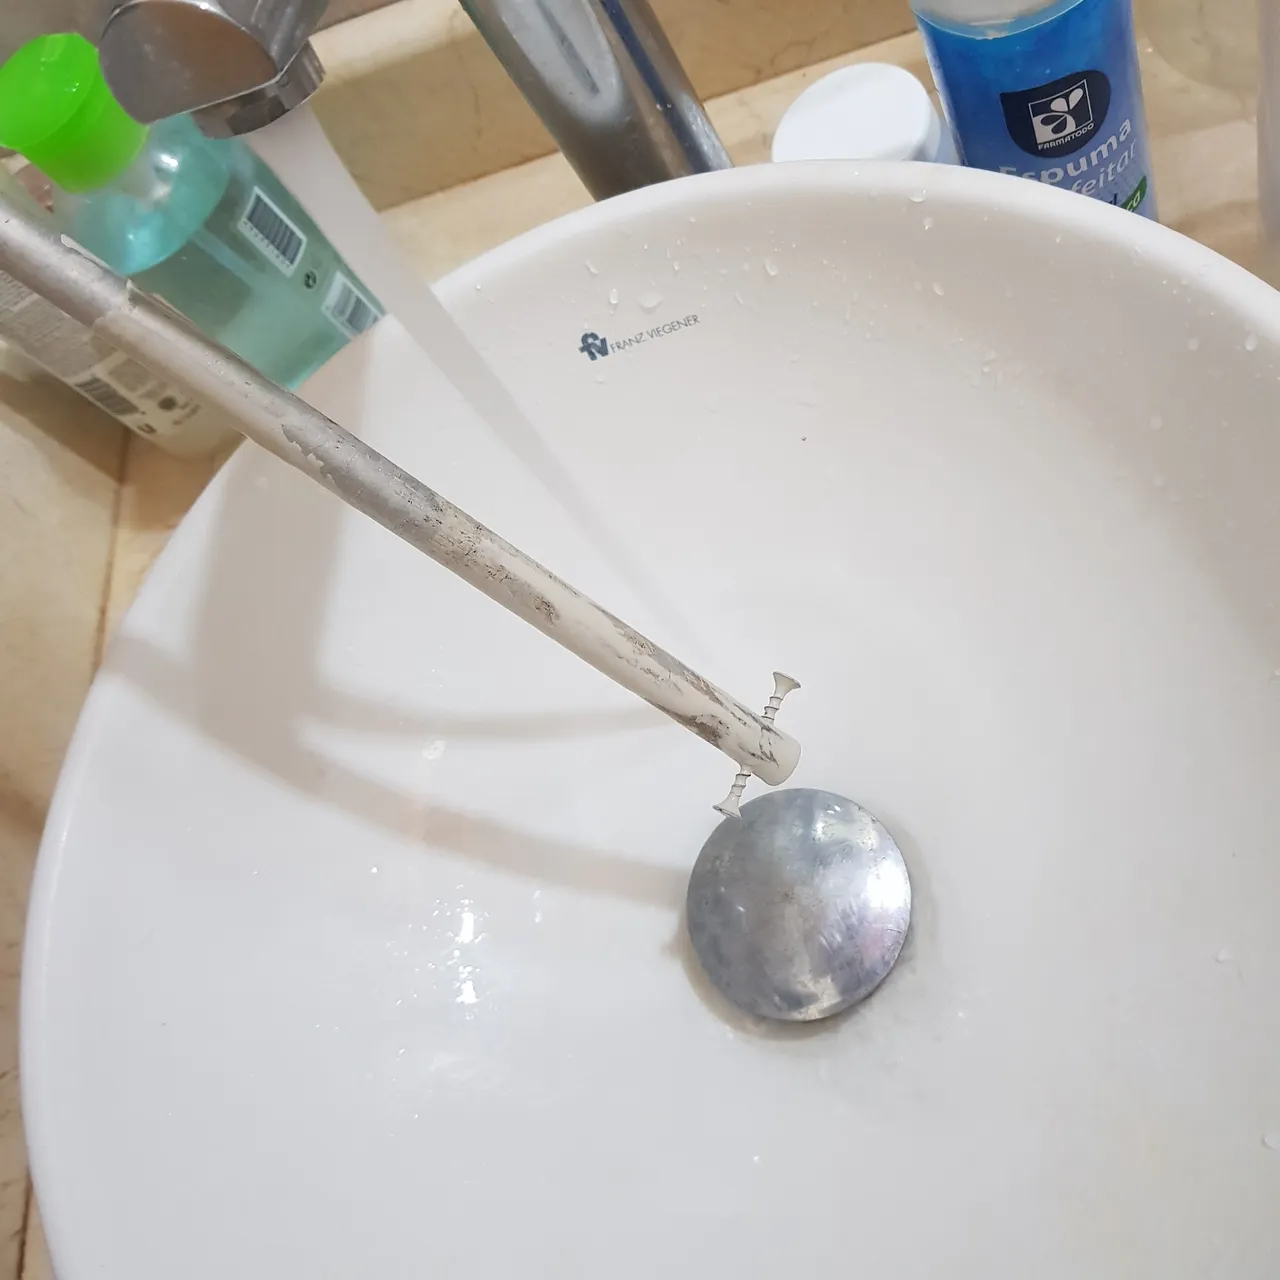
Observando que todo esta bien desmontamos nuevamente el tubo y procedemos a colocar los tornillos en las puntas con la ayuda de un martillo, primero golpeamos solo un poco y luego atornillamos. Estos tornillos son los que nos van a servir de palas al momento de girar dentro de la pintura por eso debemos colocarlos en forma de T y totalmente alineado uno del otro. Hay que recordar que esto girará a una revolución considerable y no queremos que hayan vibraciones.
Observing that everything is well we disassemble the tube again and proceed to place the screws in the tips with the help of a hammer, first we hit just a little and then we screw. These screws are the ones that are going to serve us as blades at the moment of turning inside the painting for that reason we must place them in form of T and totally aligned one of the other one. It is necessary to remember that this will turn to a considerable revolution and we do not want that there are vibrations.
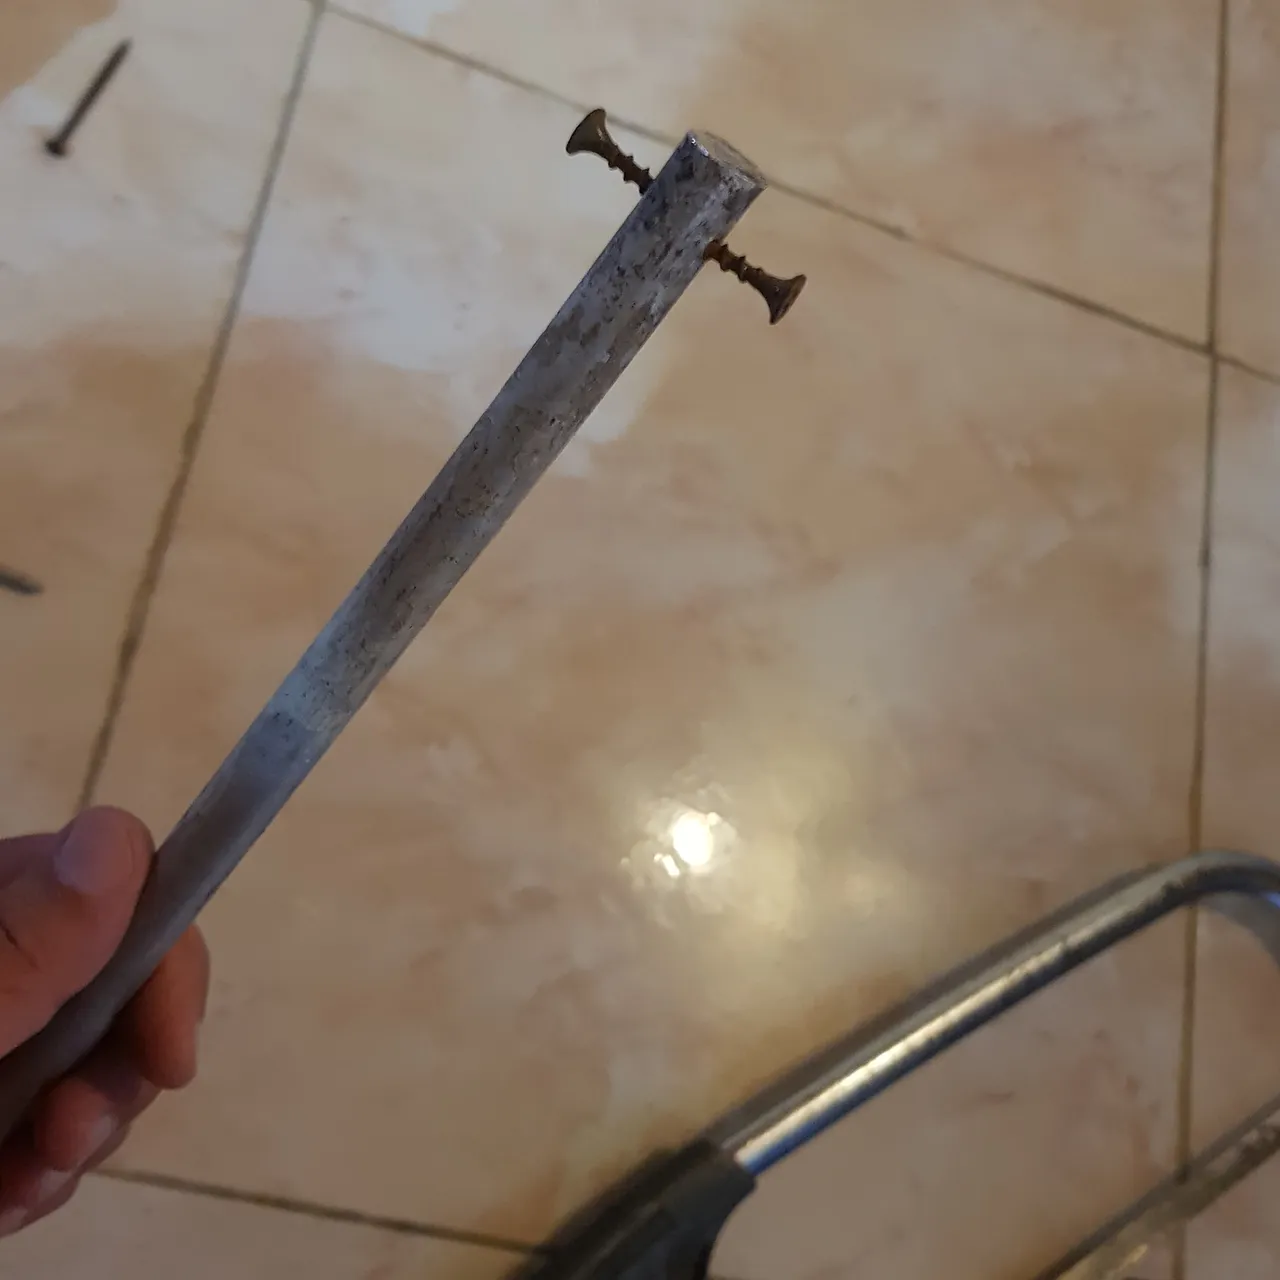
Pueden usar tornillos largos o mas cortos si asi lo prefieren. Yo use cortos para girar a mas alta revolución en la pintura que lo ameritaba ya que los largos se usan a menos velocidad.
You can use longer or shorter screws if you prefer. I used short screws to turn at higher rpm on the painting that warranted it since the long ones are used at lower speeds.
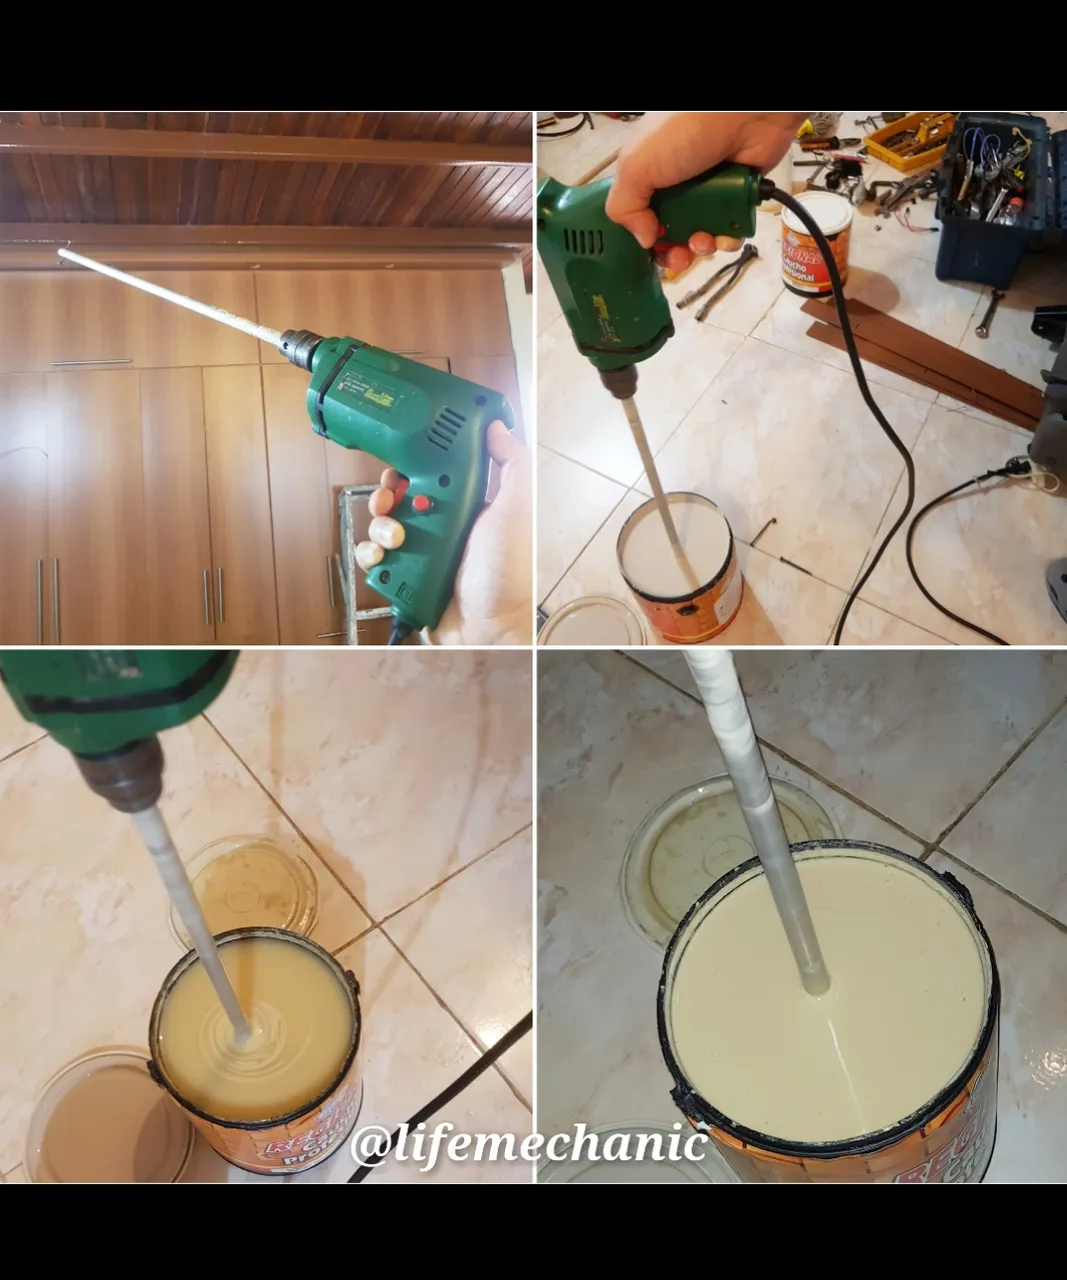
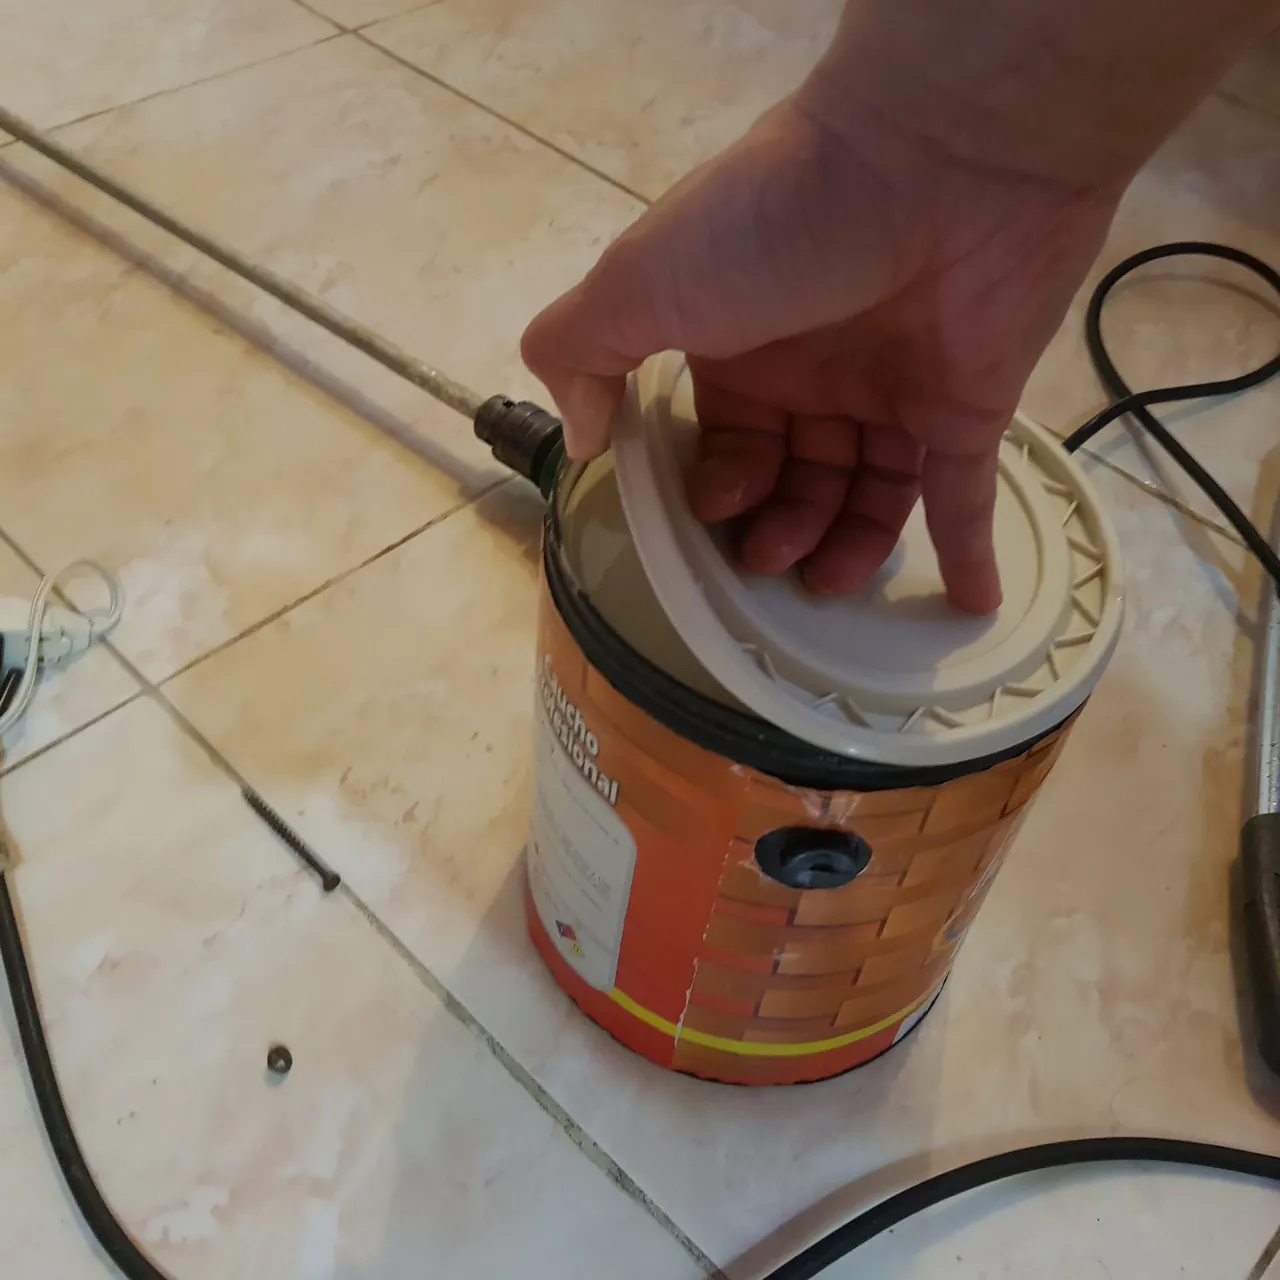
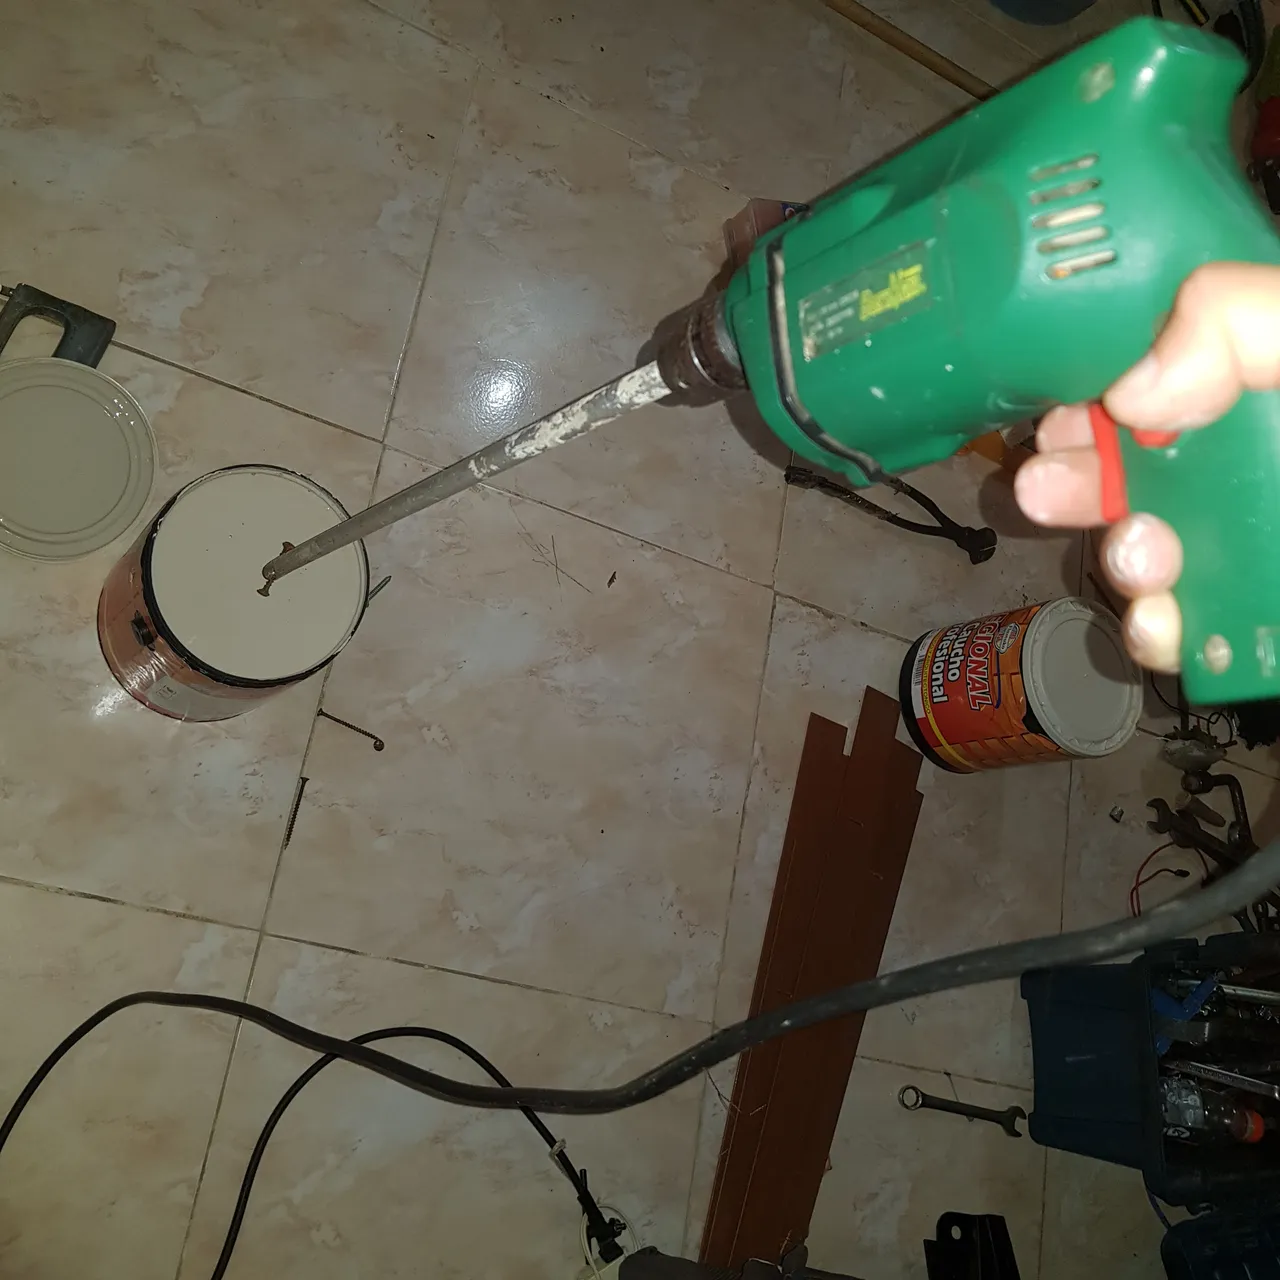
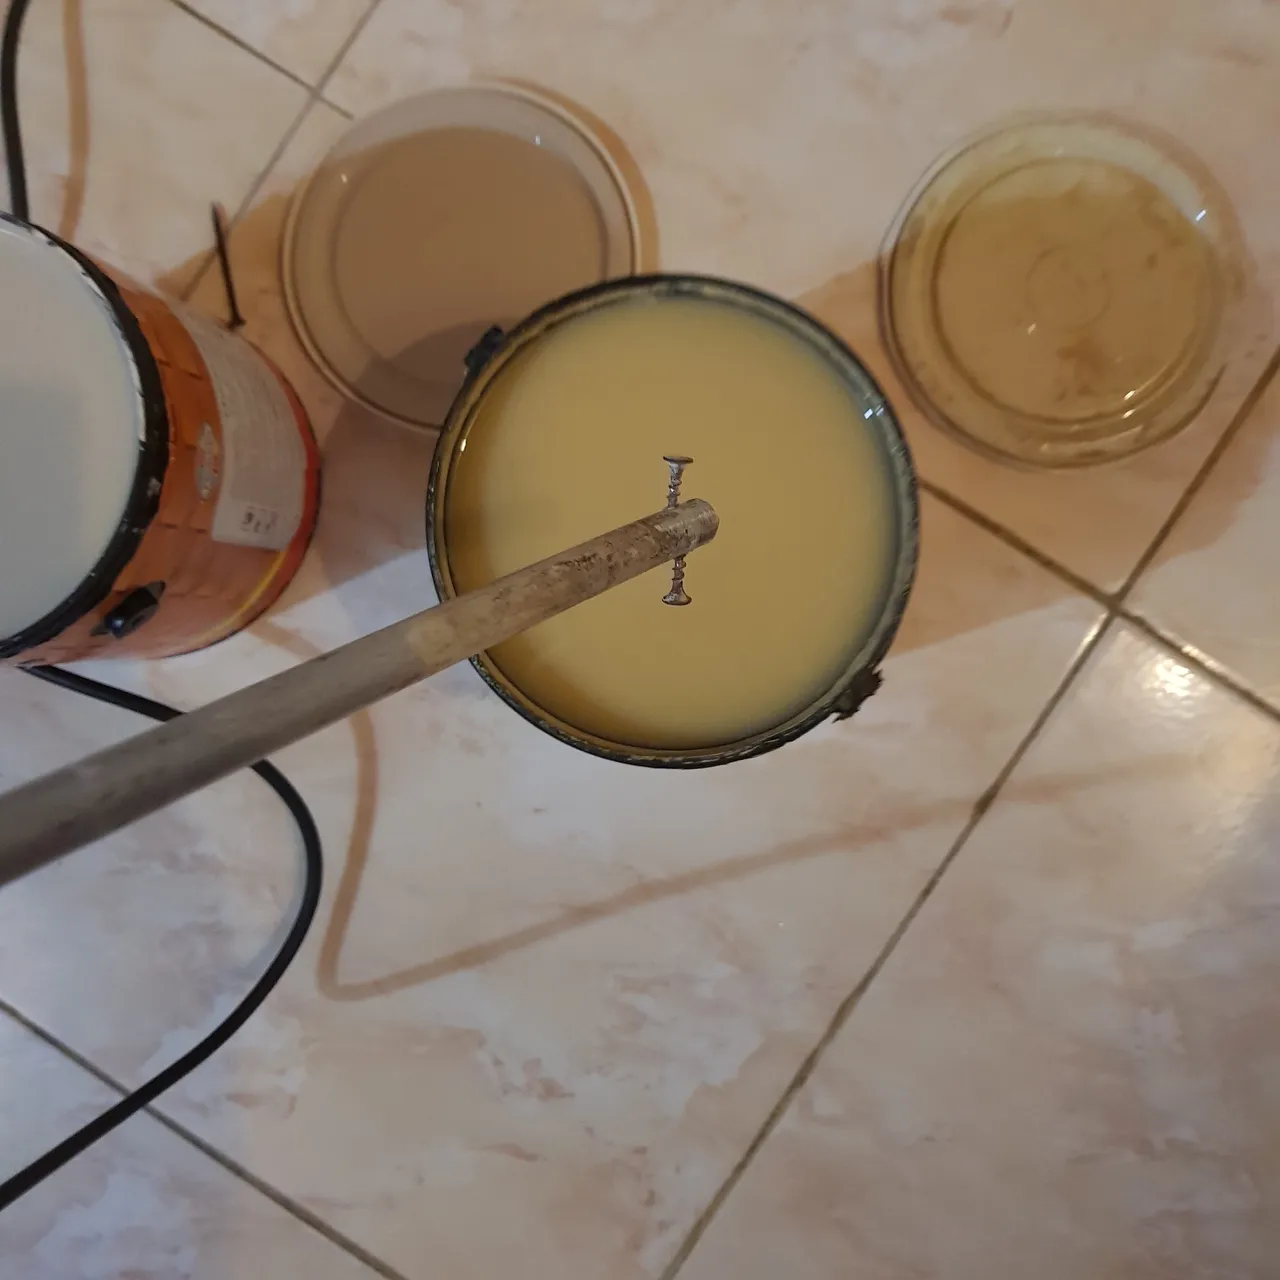
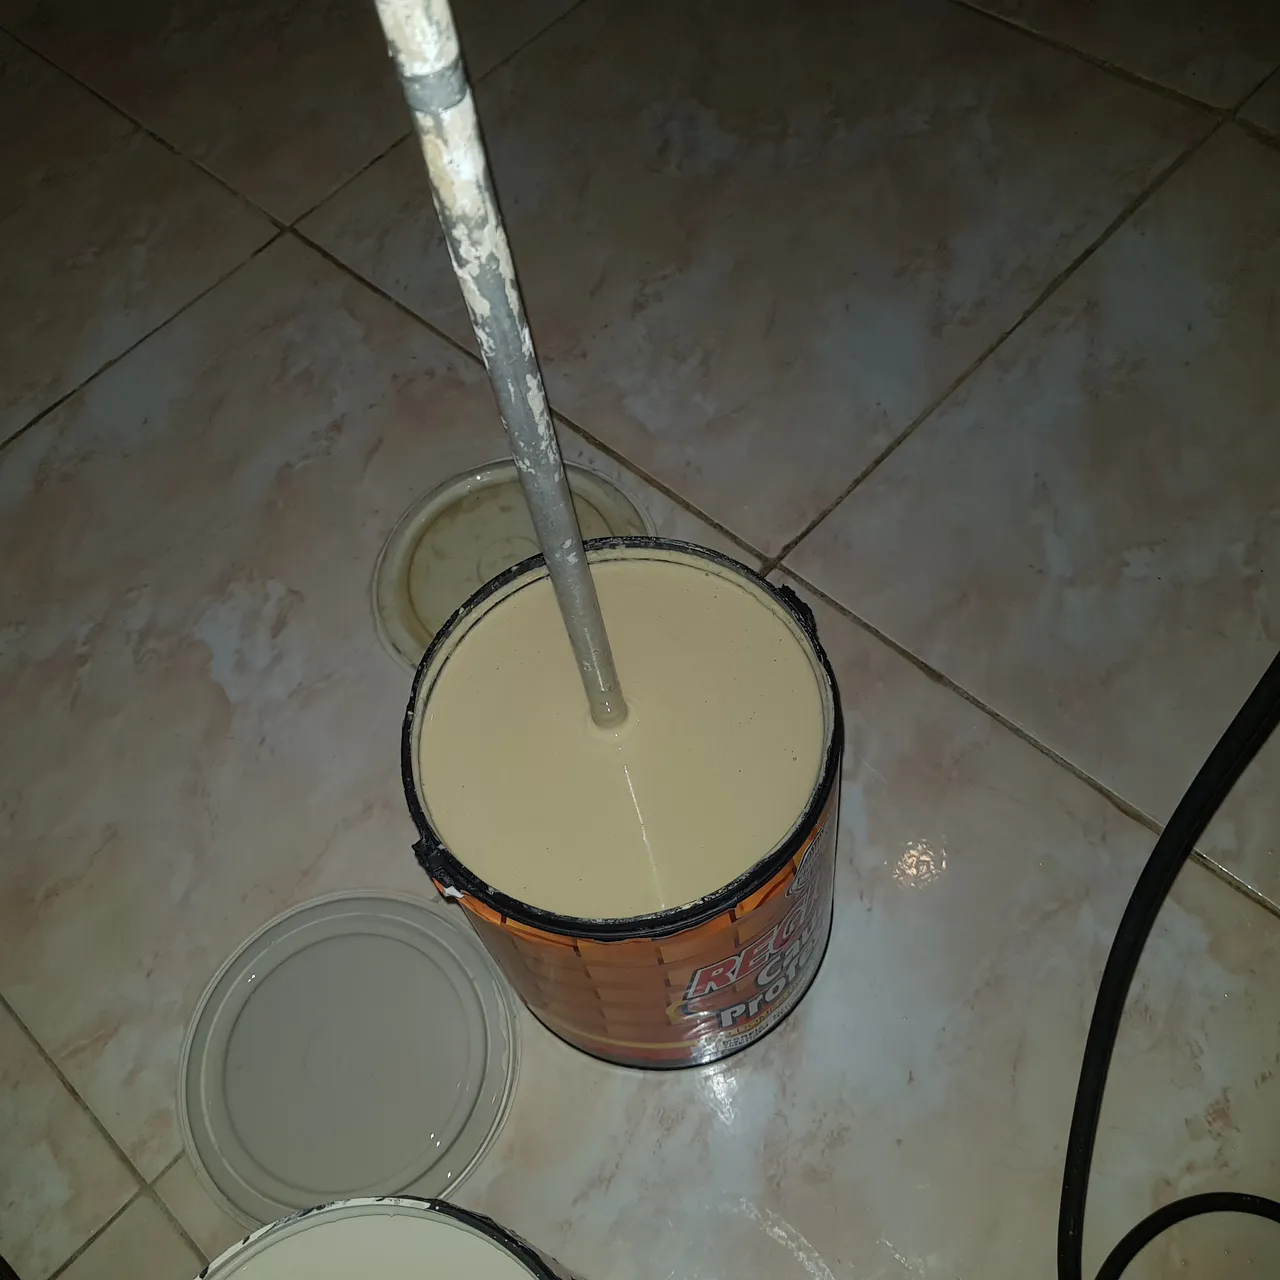
Una vez armado nuestro mezclador de pintura lo instalamos en nuestro taladro y lo usamos en las pinturas que necesitemos homogeneizar .
Aqui unos ejemplos.
Once our paint mixer is assembled, we install it in our drill and use it on the paints we need to homogenize.
Here are some examples.

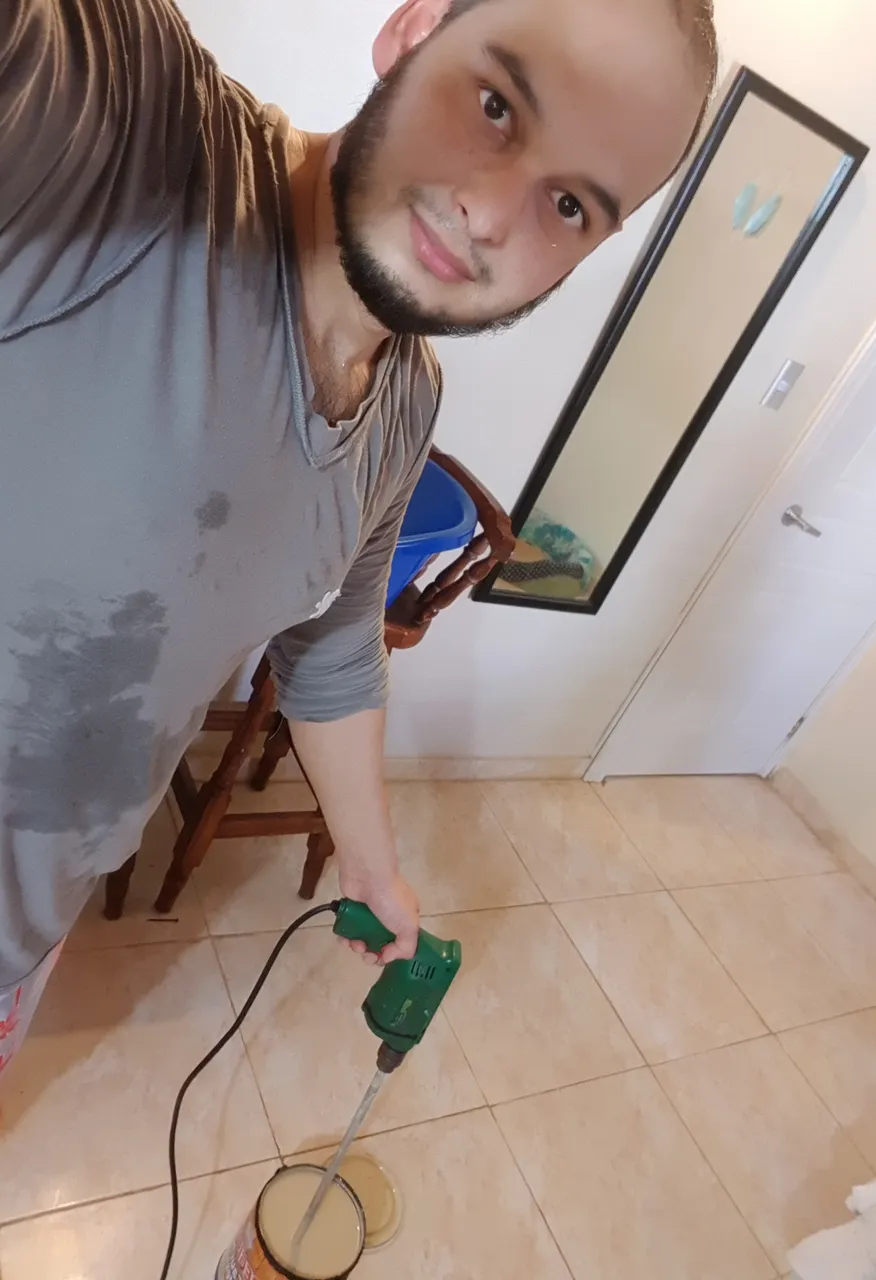
¡No olvidar usar los elementos de seguridad y tener mucha precaución cuando se usen herramientas eléctricas!
Do not forget to use safety equipment and exercise extreme caution when using power tools!
Bueno amigos espero que esta pequeña idea les pueda ser de utilidad.
Well, friends, I hope this little idea can be useful to you.
Agradezco mucho por leer hasta aquí, espero les haya gustado. Saludos
Thank you very much for reading this far, I hope you liked it. Greetings
Te espero en mi próximo post//I wait for you in my next post
¡Hasta pronto!//See you soon!