¡Saludos Comunidad Creativa! | ¡Greetings Creative Community!
¡Muy buenos días y feliz viernes para todos! ¡Hoy es mi cumpleaños! Y para este día especial he preparado un hermoso arreglo de dulces el cual quiero compartir con ustedes el día de hoy, cada año me gusta hacerme un “autoregalo” siempre me compro algo lindo, algo que necesite o que siempre había querido y ese día me doy ese gusto, para este año en lugar de comprarme algo decidí hacerlo yo misma y pensé en un arreglo de dulces, algo que siempre he querido, a pesar de que llevo tiempo dedicándome a las manualidades nunca había hecho uno de estos y quise probar haciendo mi primer arreglo de dulces para celebrar mi día, en el cual llevo toda la semana trabajando, así que en este post les mostraré todo el procedimiento para elaborarlo y ya verán lo fácil que es y lo hermoso que queda, espero que les guste y lo disfruten.
¡Good morning and happy Friday everyone! Today is my birthday! And for this special day I have prepared a beautiful arrangement of sweets which I want to share with you today, every year I like to give myself a "self-gift" I always buy something nice, something that I need or that I had always wanted and that day I I give that pleasure, for this year instead of buying something I decided to do it myself and I thought of an arrangement of sweets, something I have always wanted, despite the fact that I have been dedicating myself to crafts for a long time, I had never done one of these and I wanted to try making my first arrangement of sweets to celebrate my day, in which I have been working all week, so in this post I will show you the whole procedure to make it and you will see how easy it is and how beautiful it is, I hope you like it and enjoy.

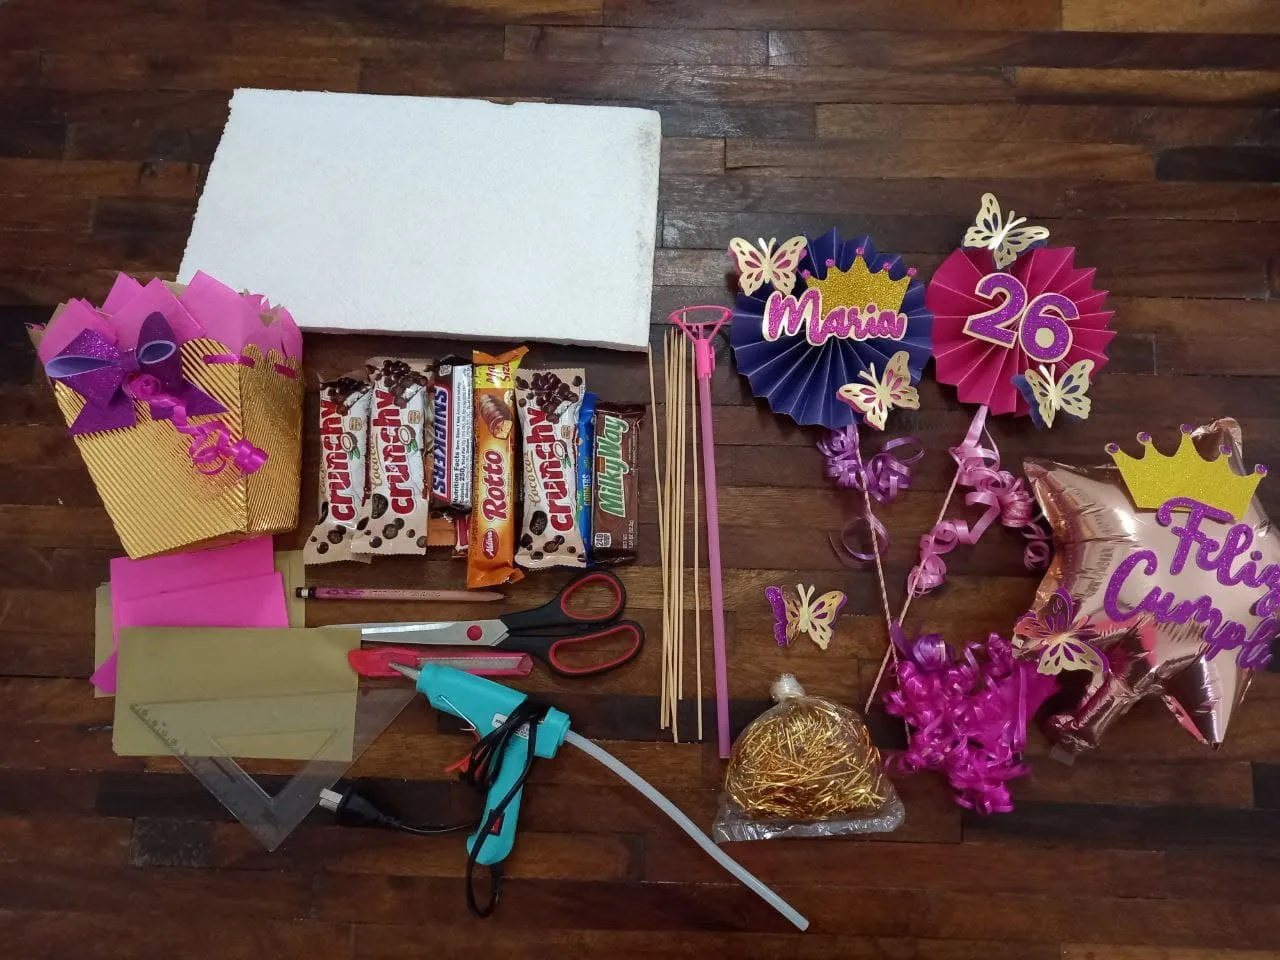
Materiales | Materials
🍫 Cajita base para arreglos o cotillones.
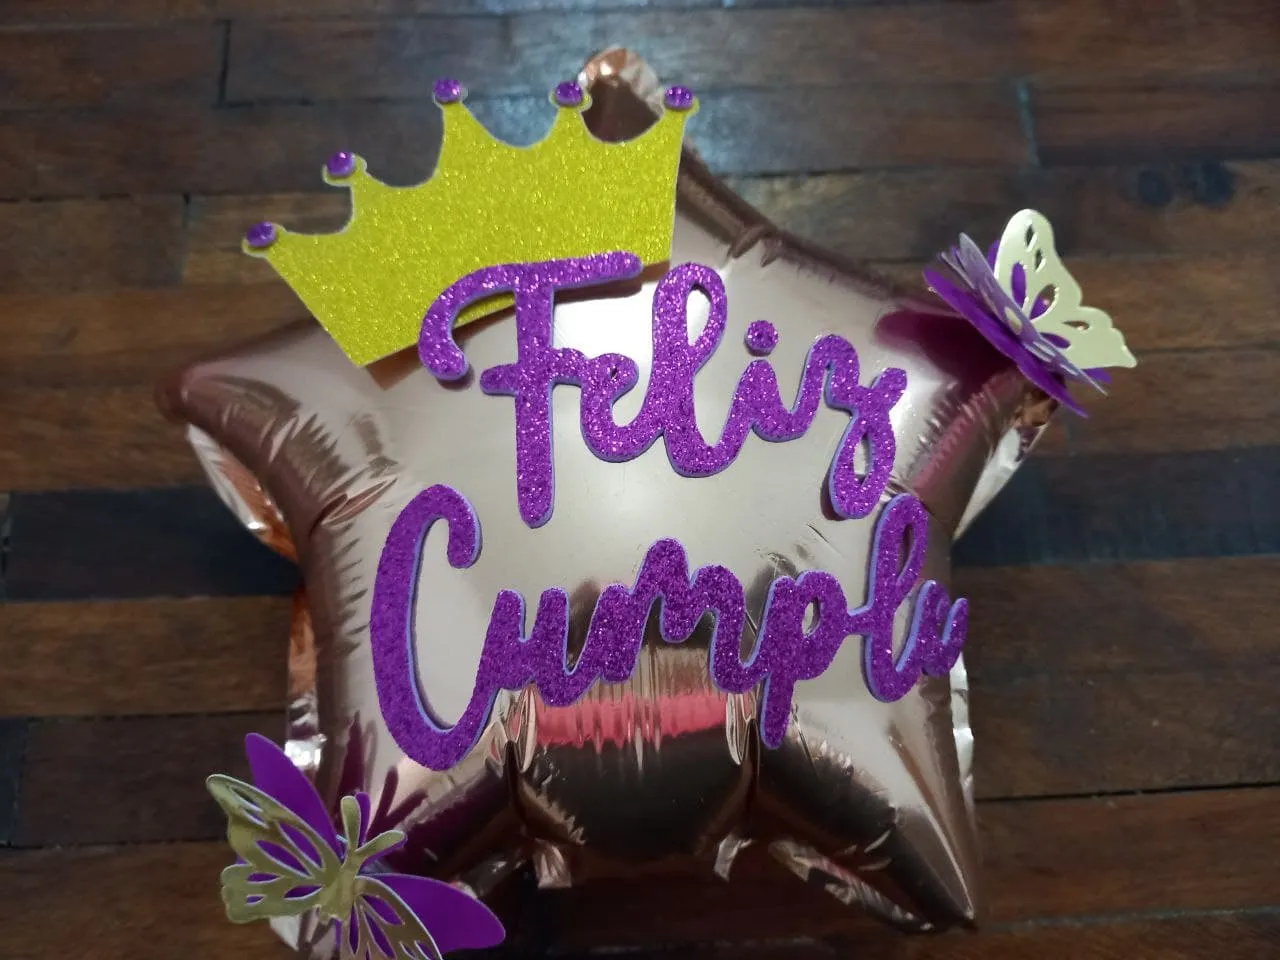
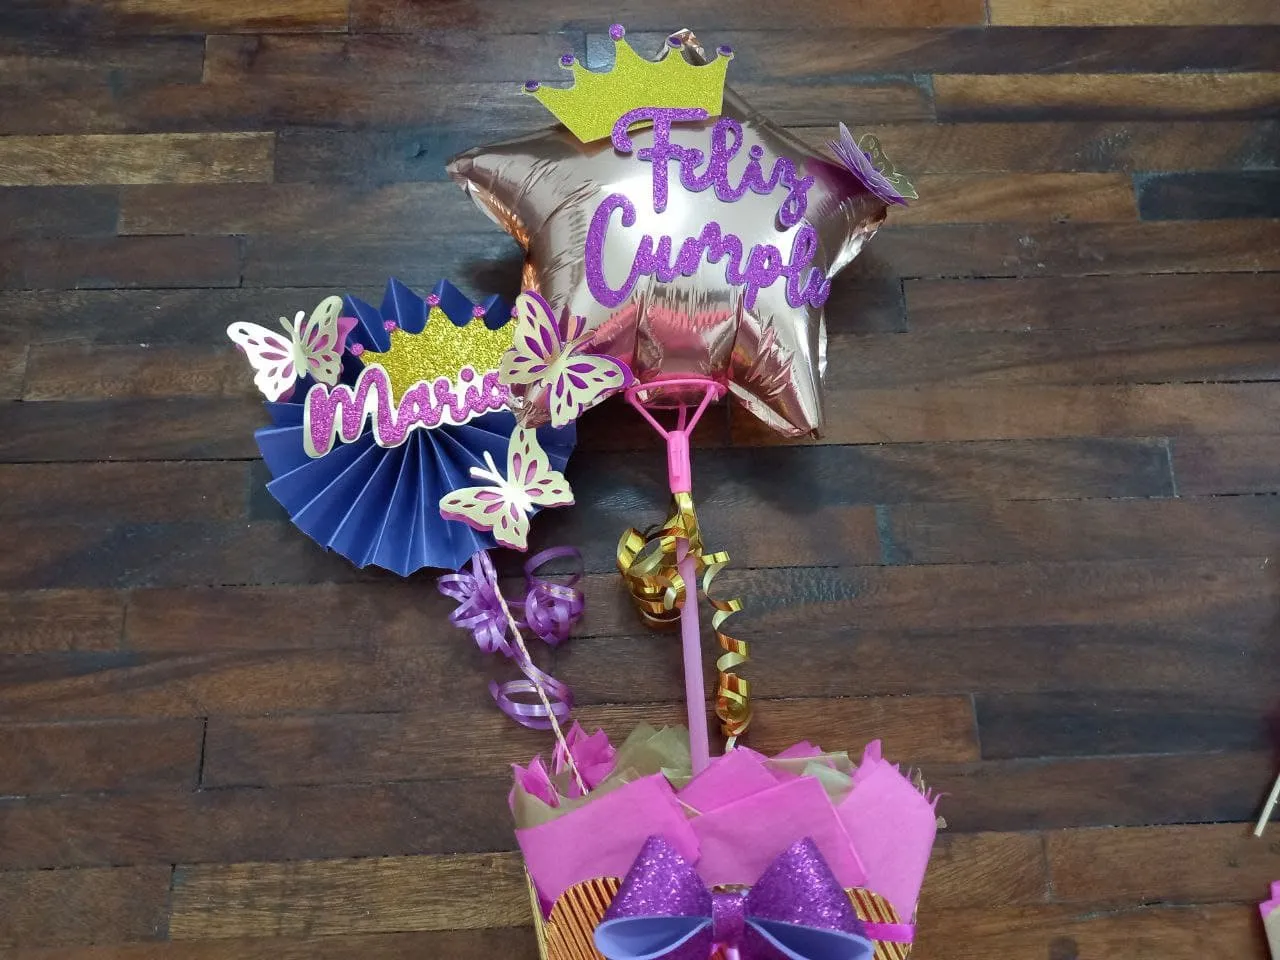
🍫 Globo metalizado decorado.
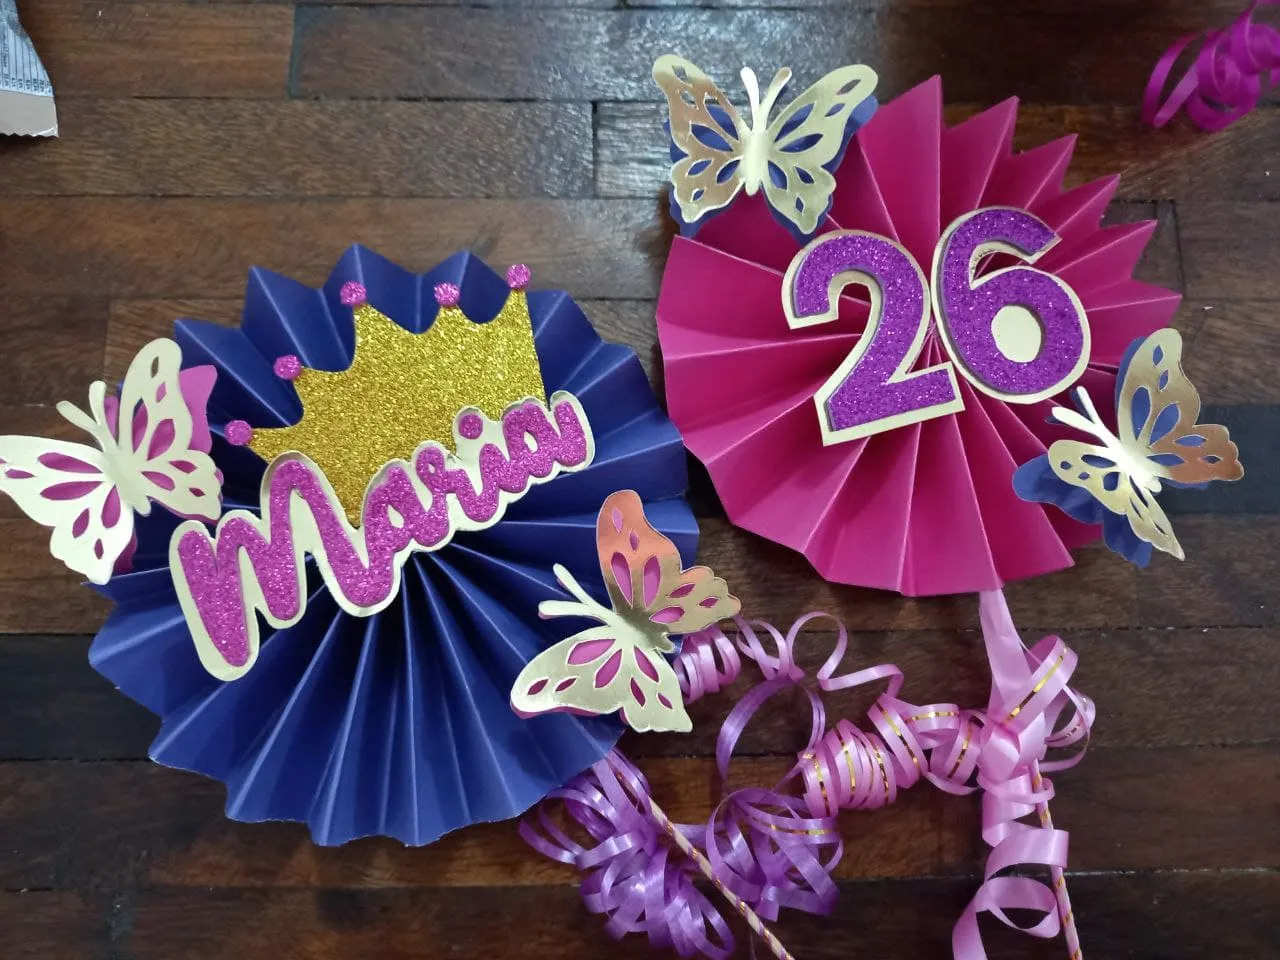
🍫 Dúo de toppers de cumpleaños (edad y nombre)
🍫 Mariposa troquelada.
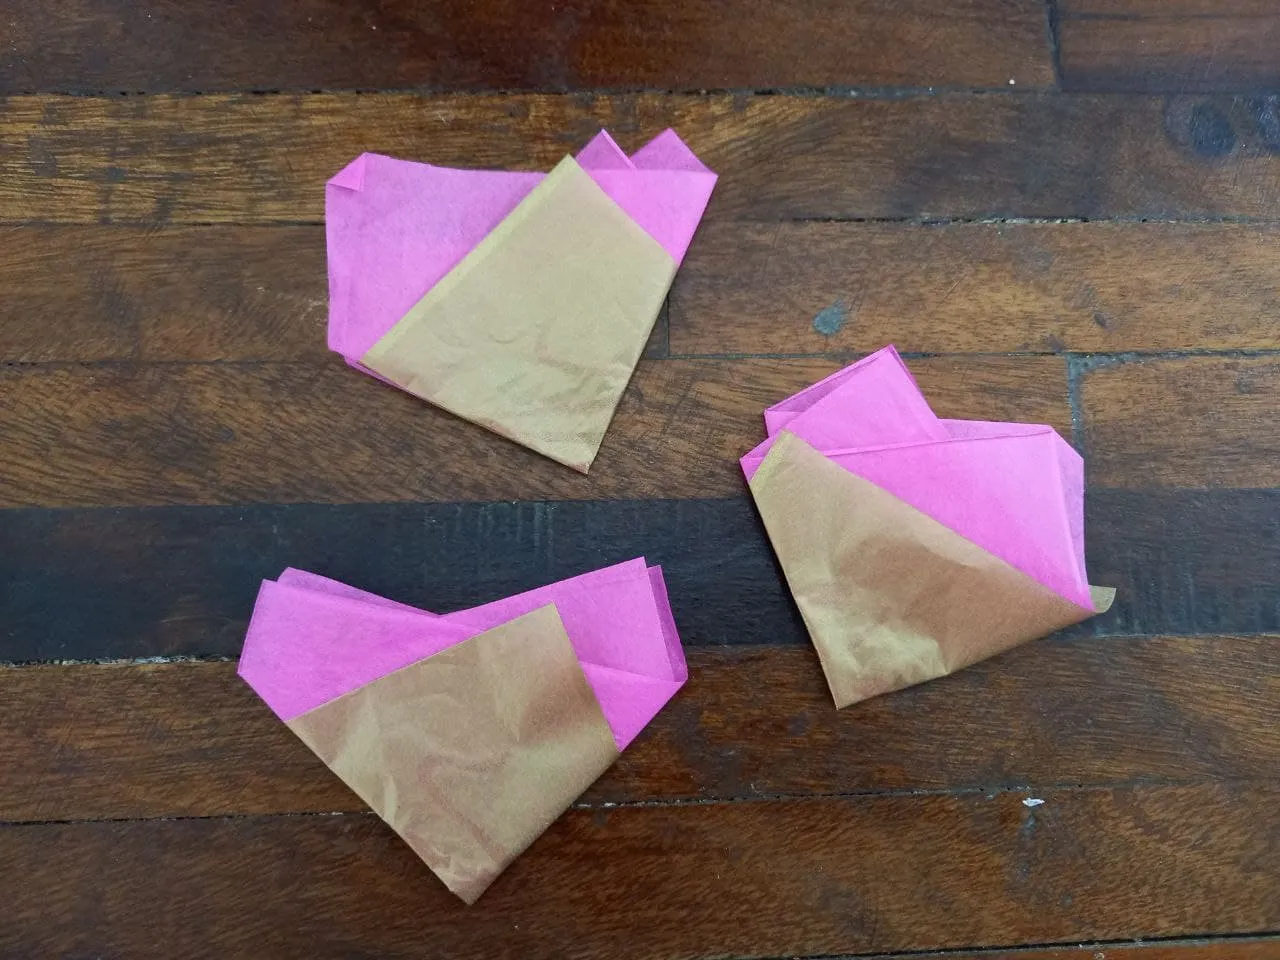
🍫 Conitos de papel de seda.
🍫 Chocolates.
🍫 Cinta de papel rosada, morada y dorada.
🍫 Anime.
🍫 Palitos de altura.
🍫 Silicón caliente.
🍫 Palito para globo.
🍫 Regla.
🍫 Lápiz.
🍫 Cinta adhesiva transparente.
🍫 Cutter.
🍫 Base box for arrangements or party favors.
🍫 Decorated metallic balloon.
🍫 Duo of birthday toppers (age and name)
🍫 Die-cut butterfly.
🍫 Tissue paper cones.
🍫 Chocolate.
🍫 Pink, purple and gold paper ribbon.
🍫 Anime.
🍫 Height sticks.
🍫 Hot silicone.
🍫 Balloon stick.
🍫 Rule.
🍫 Pencil.
🍫 Transparent adhesive tape.
🍫 Cutter.
Procedimiento ✂ | Process ✂
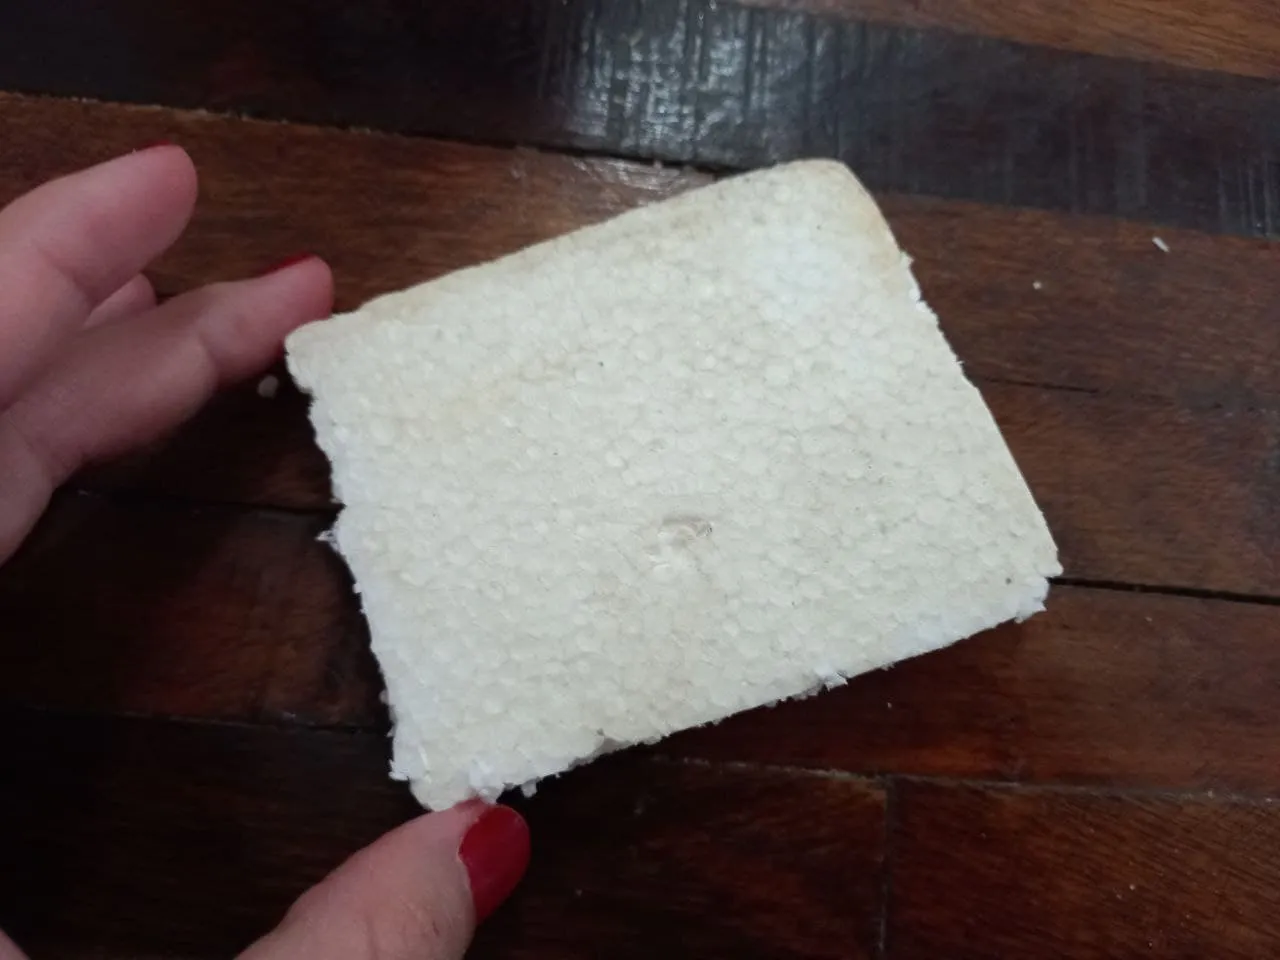
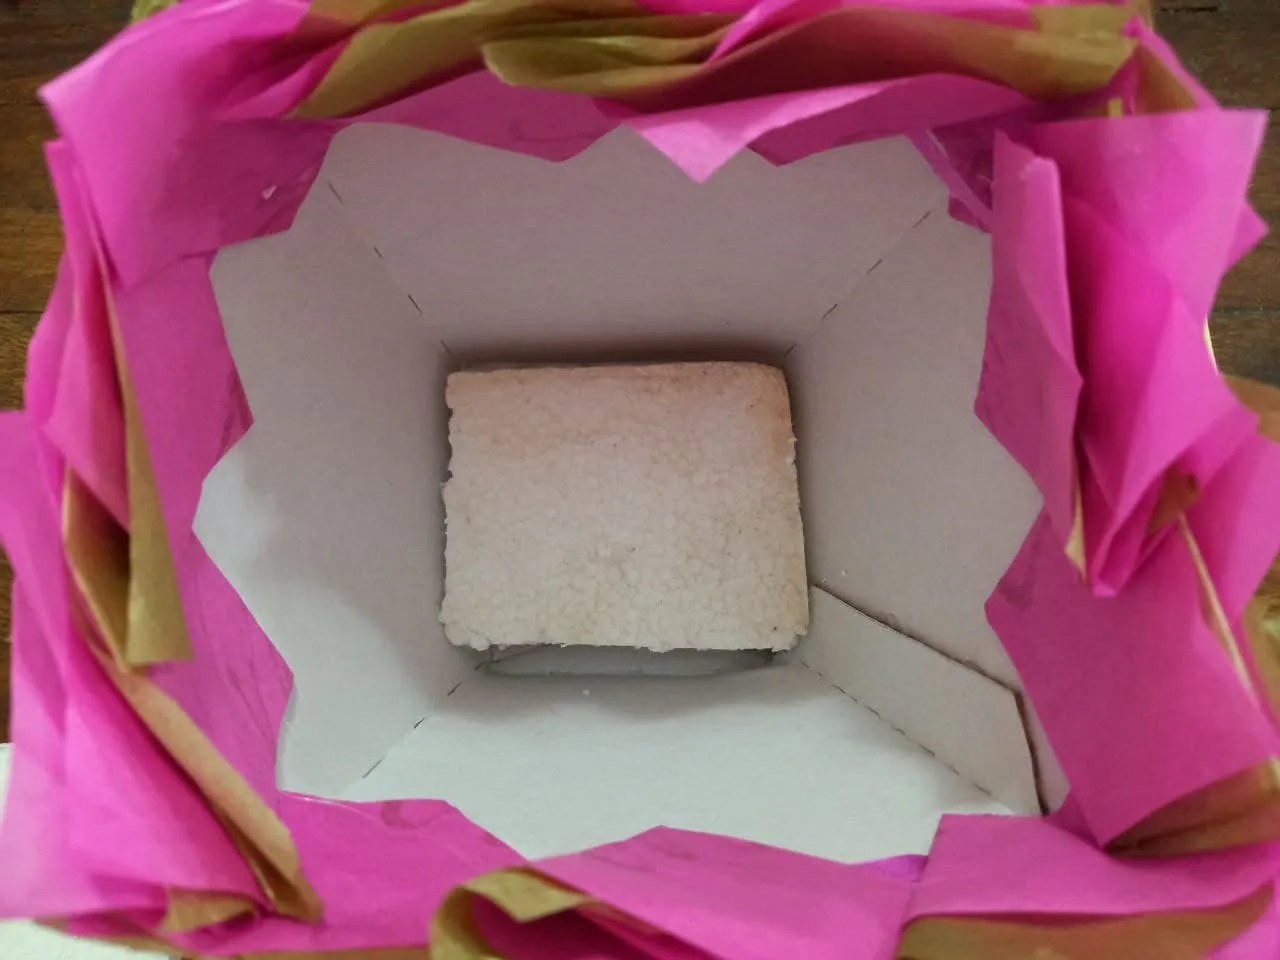
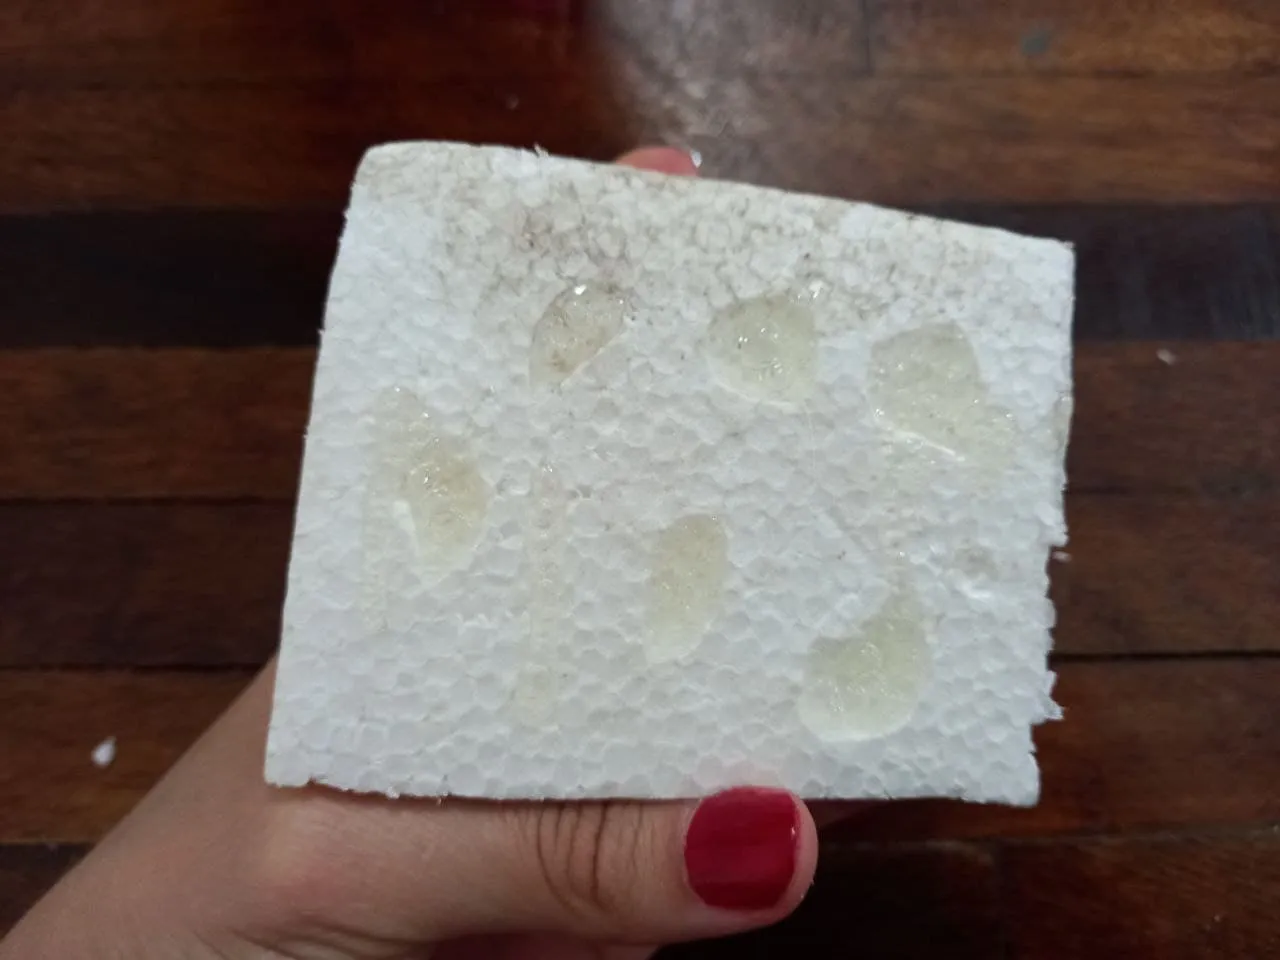
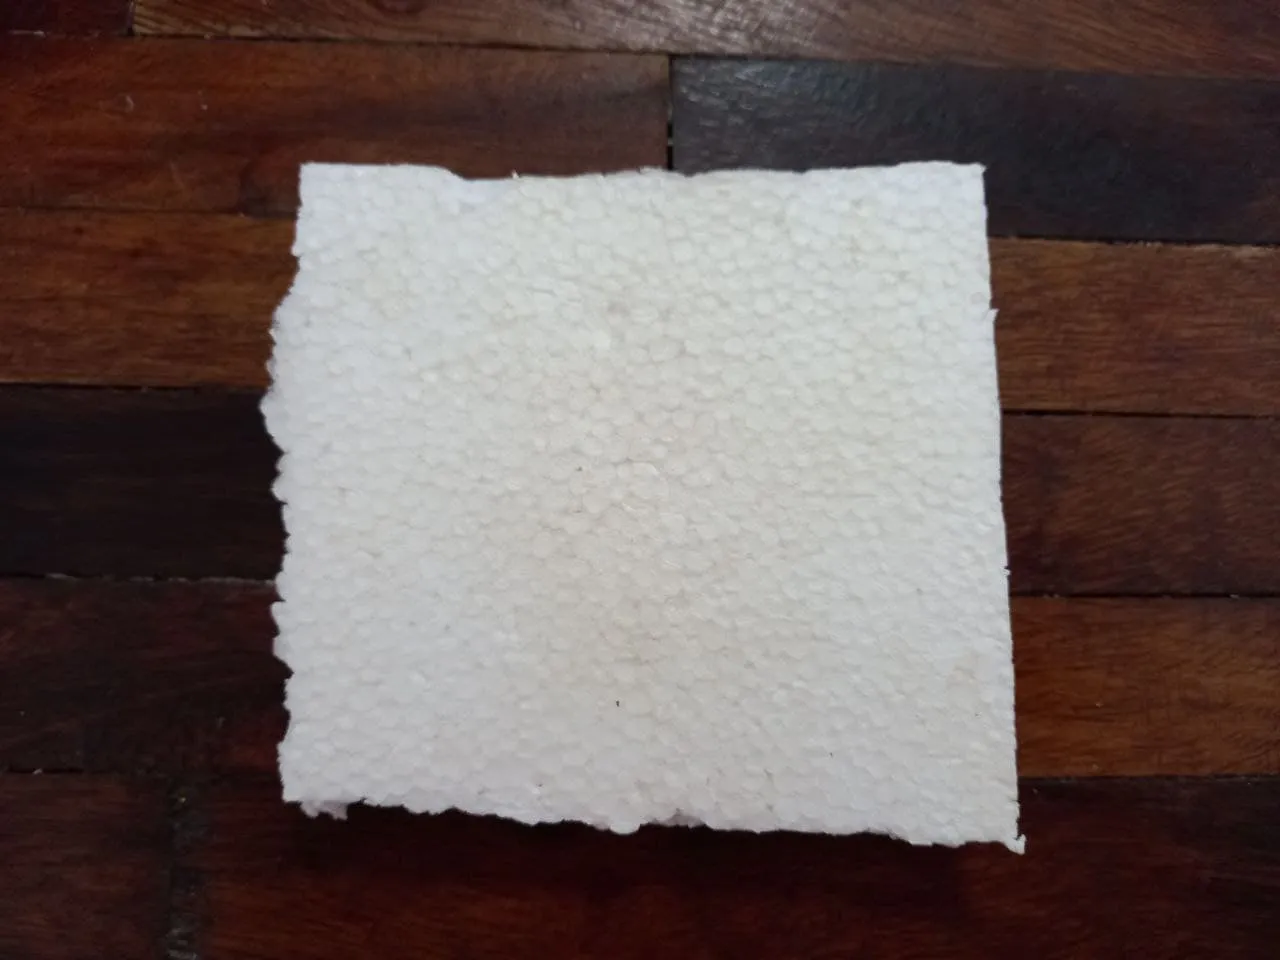
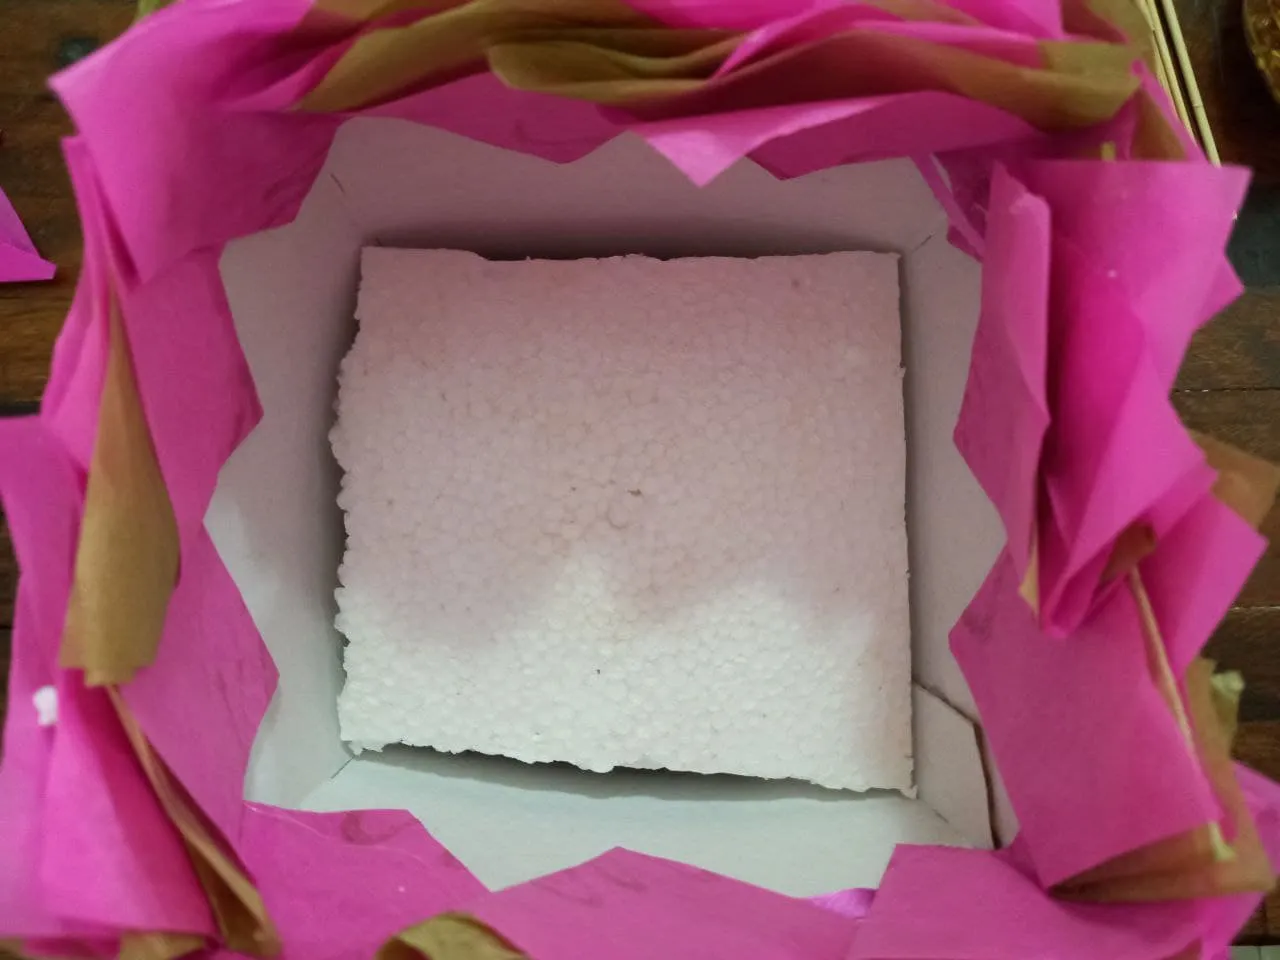
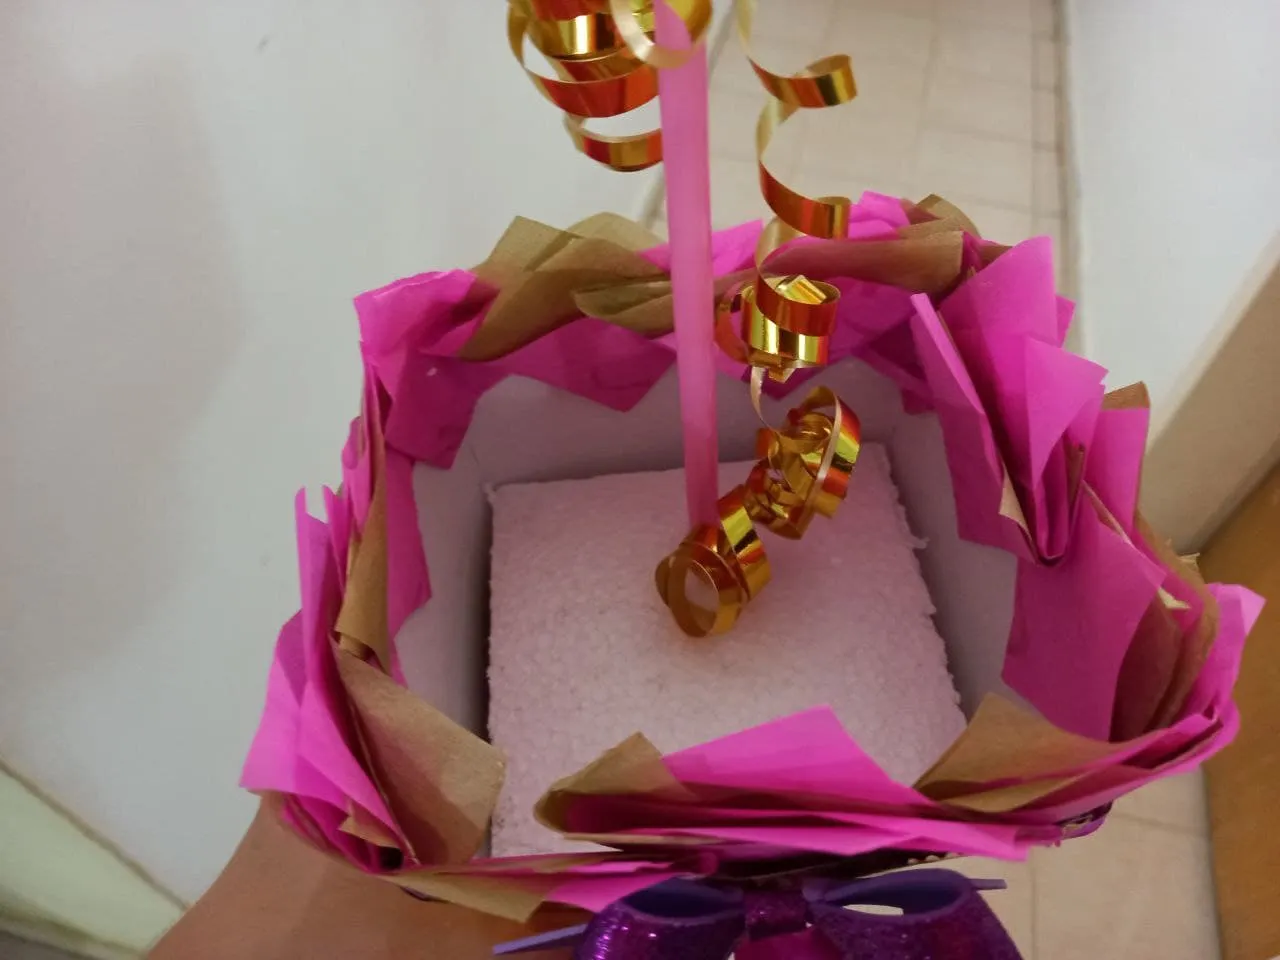
🍫 PASO 1. Con el cutter cortamos 2 cuadros de anime, uno del tamaño de la parte inferior de la cajita y otro un poco más ancho, pegamos el más pequeño en el fondo dentro de la caja y el otro lo colocamos encima quedando aproximadamente en el medio de esta o por encima.
🍫 STEP 1. With the cutter we cut 2 anime squares, one the size of the bottom of the little box and another one a little wider, we glue the smallest one at the bottom inside the box and the other we place it on top, being approximately in the middle of it or above it.
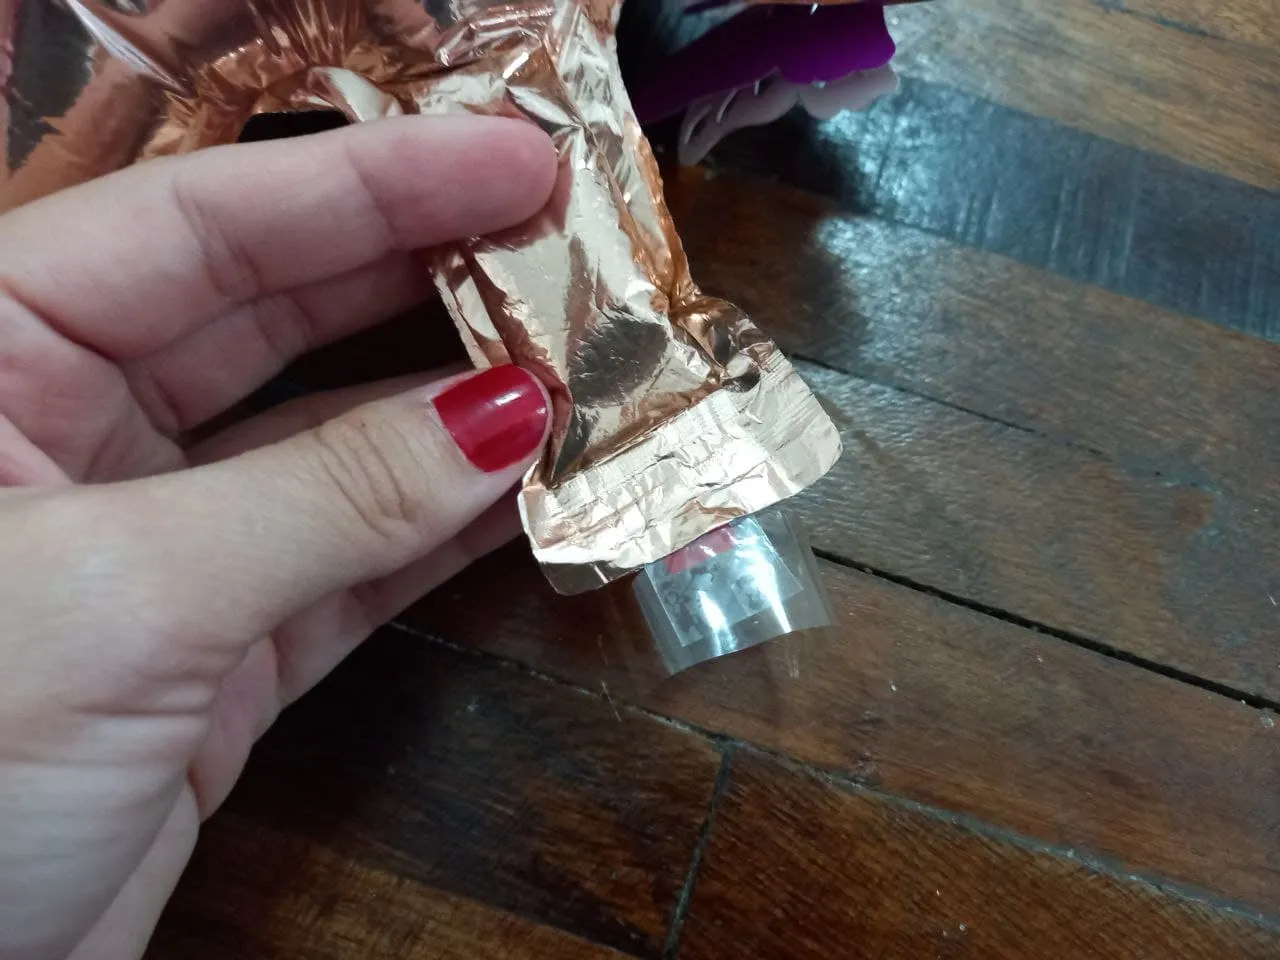
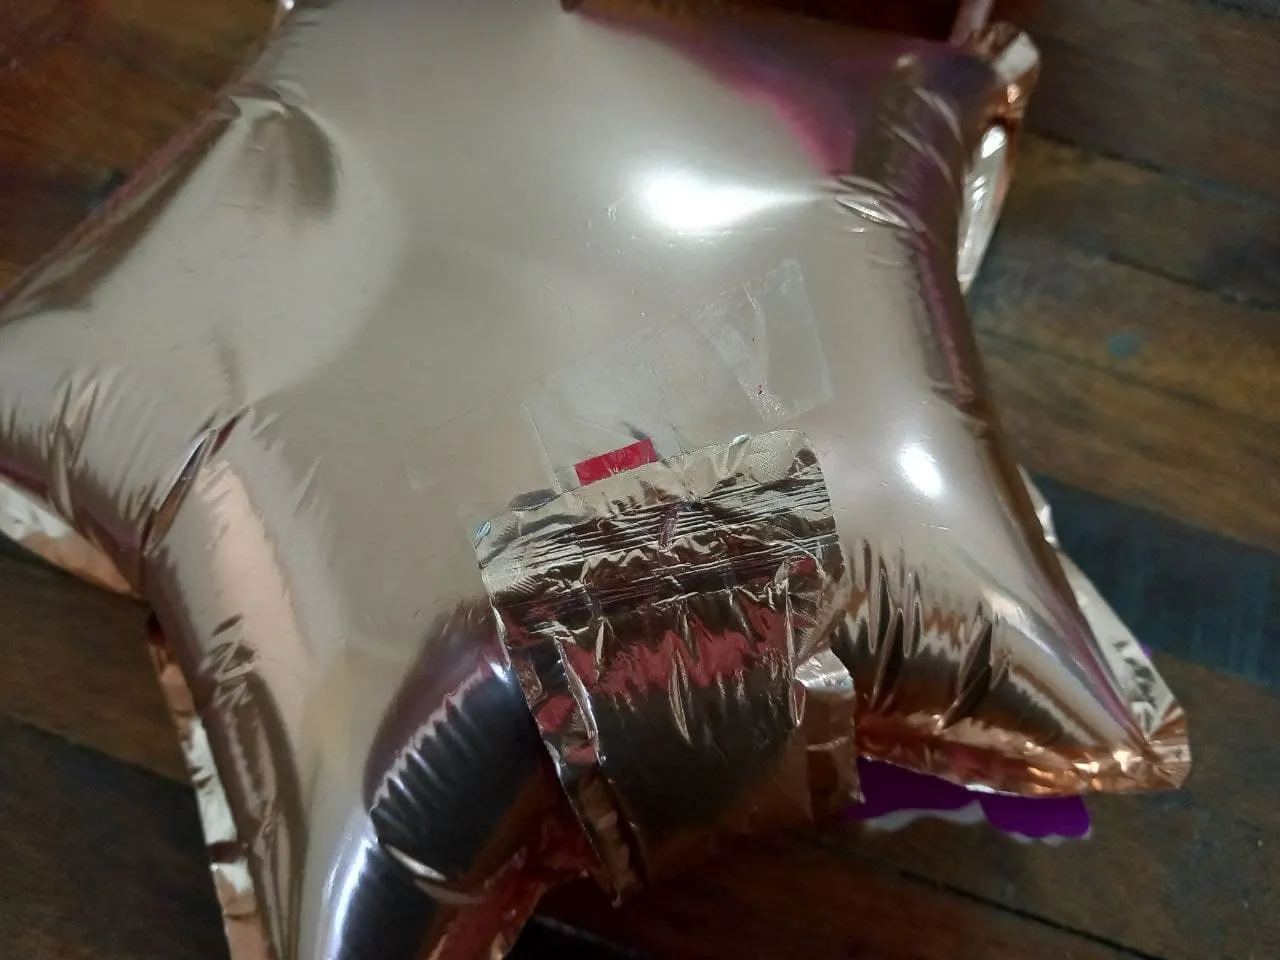
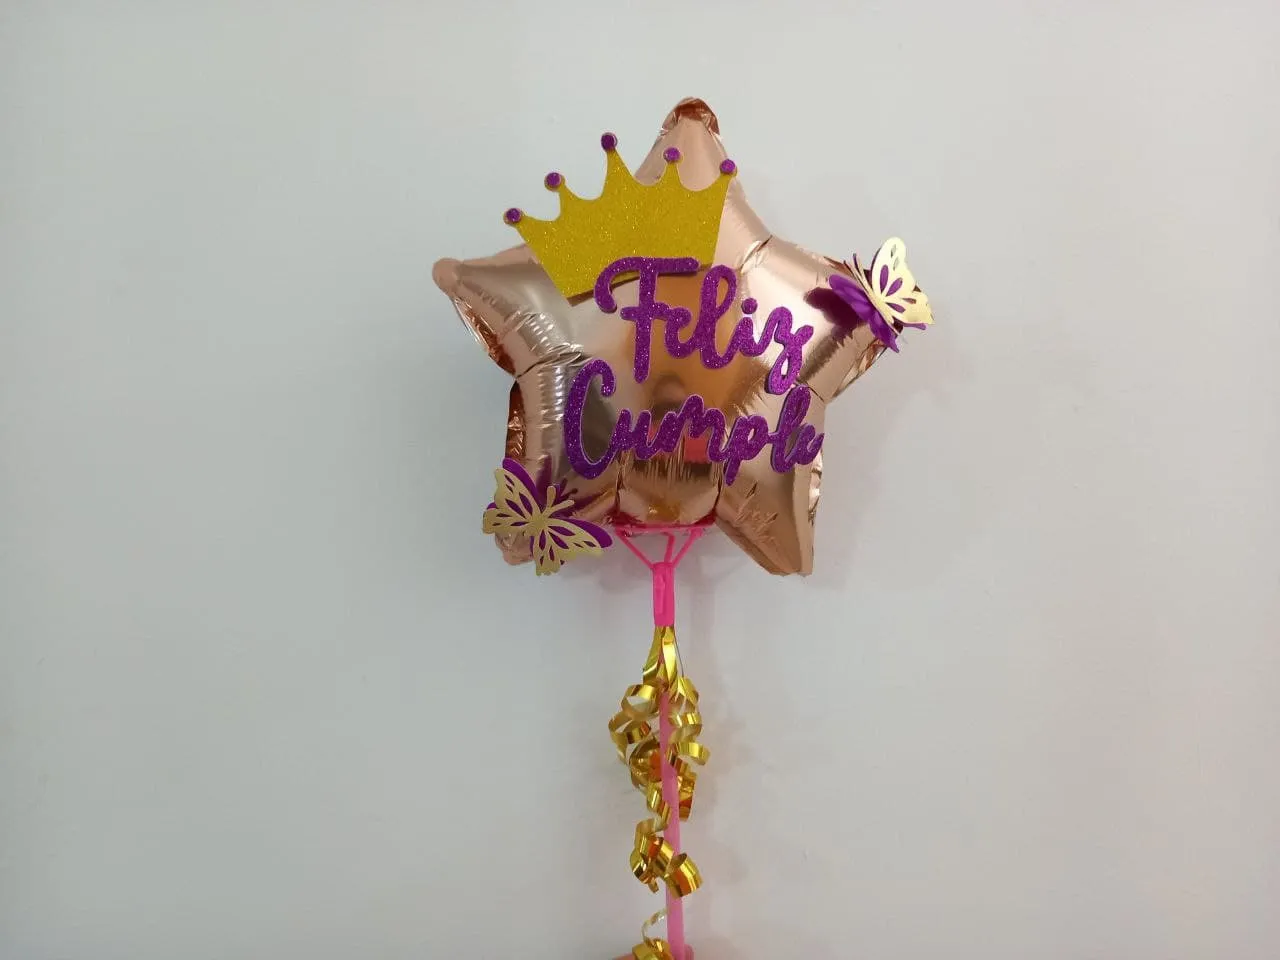
🍫 PASO 2. Tomamos la punta del globo metalizado decorado (donde se infla) y la doblamos hacia atrás para que no se note y le pegamos con cinta adhesiva transparente, luego fijamos el globo al palito de globos con tinta adhesiva transparente.
🍫 STEP 2. We take the tip of the decorated metallic balloon (where it is inflated) and we fold it back so that it is not noticeable and we stick it with transparent adhesive tape, then we fix the balloon to the balloon stick with transparent adhesive ink.
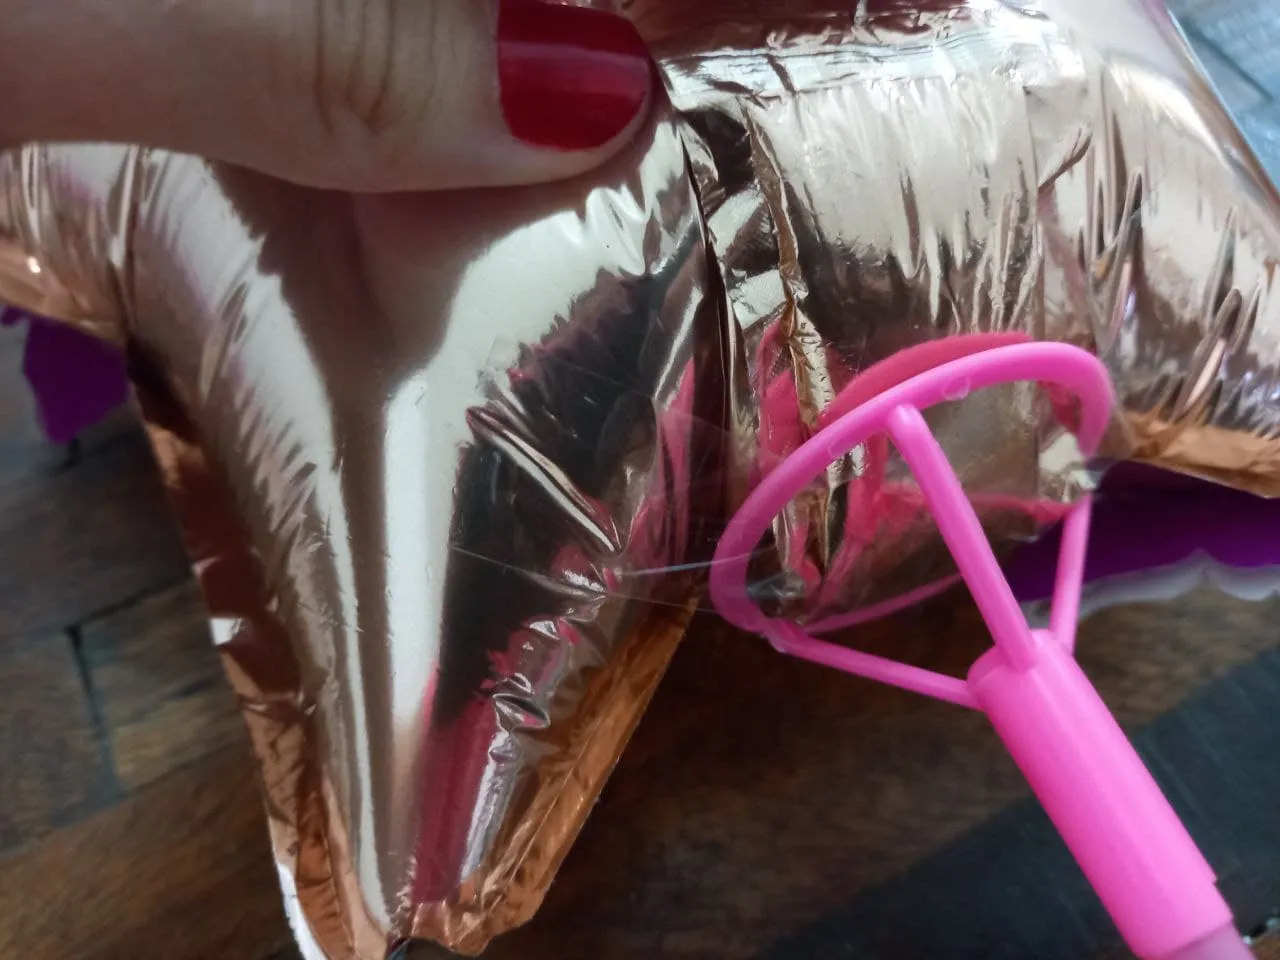
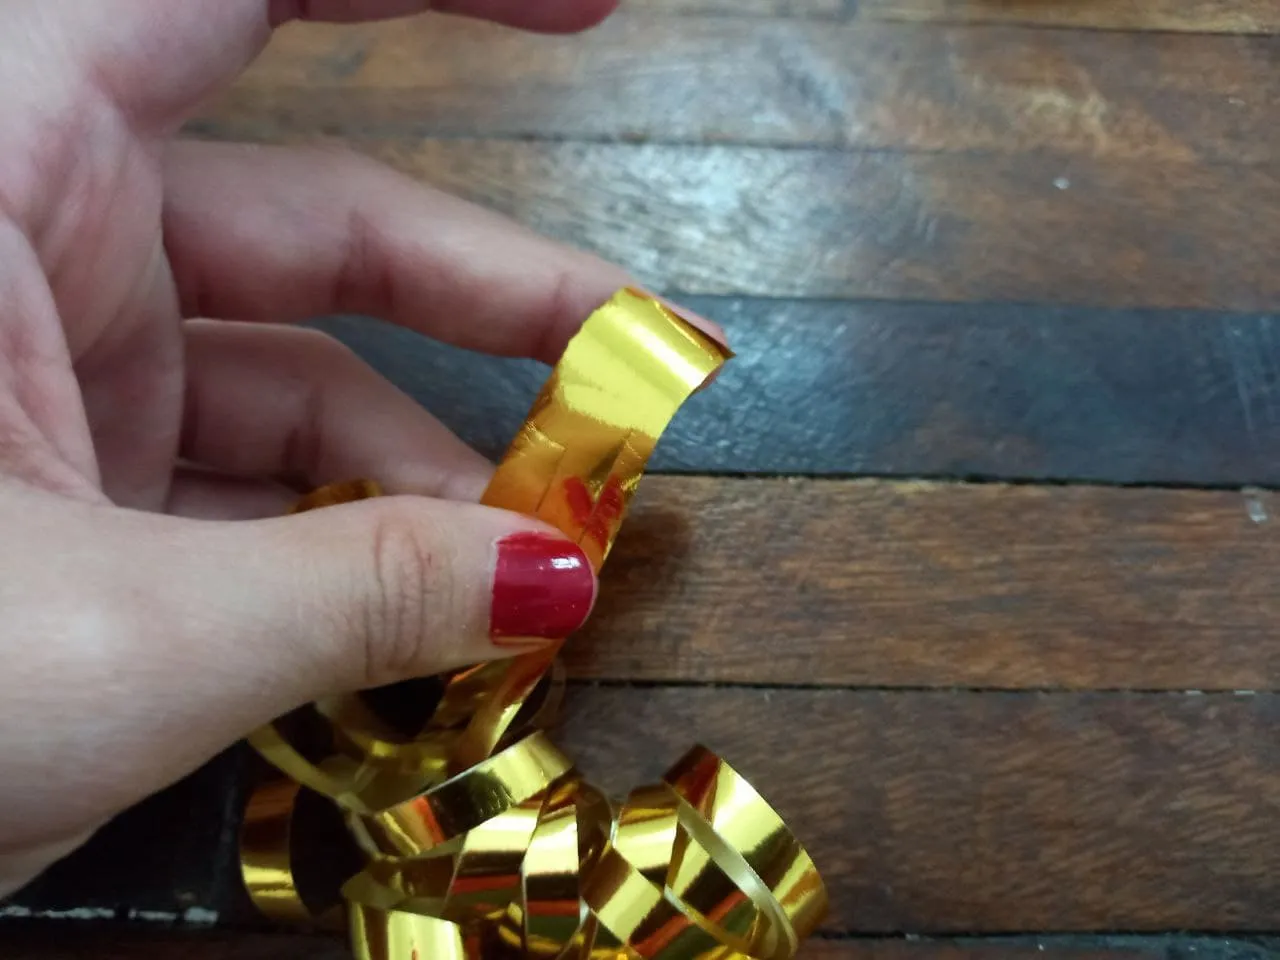
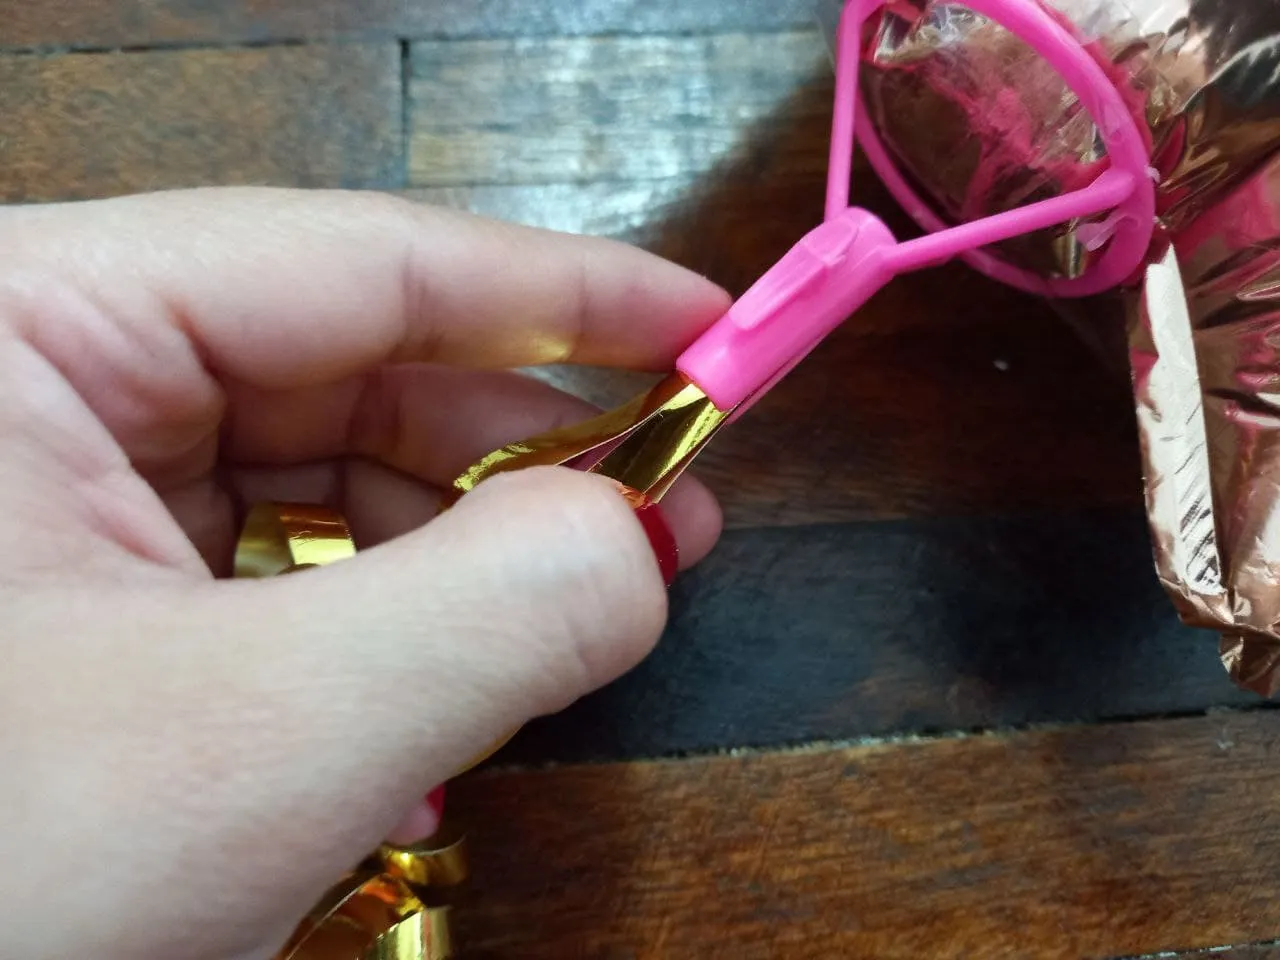
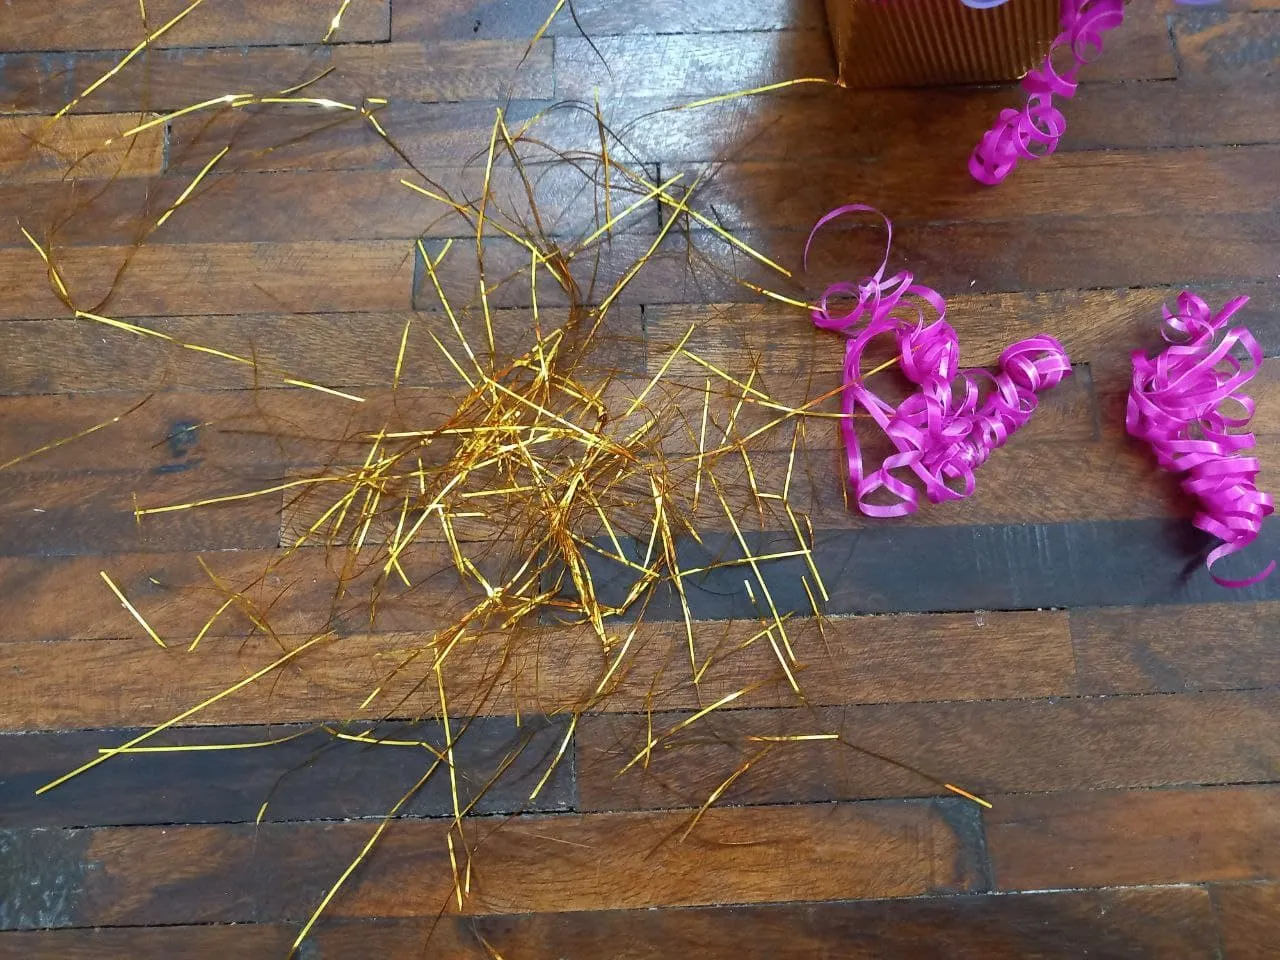
🍫 PASO 3. Tomamos una tira de cinta de papel dorada y con la tijera la ondulamos, sacamos el palito del globo de su base y en la punta colocamos la cinta de papel y luego lo volvemos a colocar en su base quedando la cinta entre el palito y su base.
🍫 STEP 3. We take a strip of gold paper tape and undulate it with scissors, remove the balloon stick from its base and place the paper tape on the tip and then place it back on its base. the tape between the stick and its base.

🍫 PASO 4. Ahora vamos a colocar globo metalizado decorado en la cajita introduciendo el palito del globo en el anime, pueden situarlo donde más les guste, en mi caso lo colocaré en el centro de la parte trasera, debemos asegurarnos que atraviese ambas piezas de anime para que se fije bien y no se mueva, luego haremos lo mismo con el dúo de toppers de cumpleaños, los colocamos a los lados del globo, de un lado el del nombre y del otro lado el de la edad, estos debemos colocarlos un poco inclinados hacia afuera para que no choquen con el globo del centro.
🍫 STEP 4. Now we are going to place a decorated metallic balloon in the box by inserting the balloon stick into the anime, you can place it wherever you like, in my case I will place it in the center of the back, we must make sure that cross both pieces of anime so that it is fixed well and does not move, then we will do the same with the duo of toppers birthday, we place them on the sides of the balloon, on one side the name and on the other side the age, we must place them slightly tilted outwards so that they do not collide with the balloon in the center.

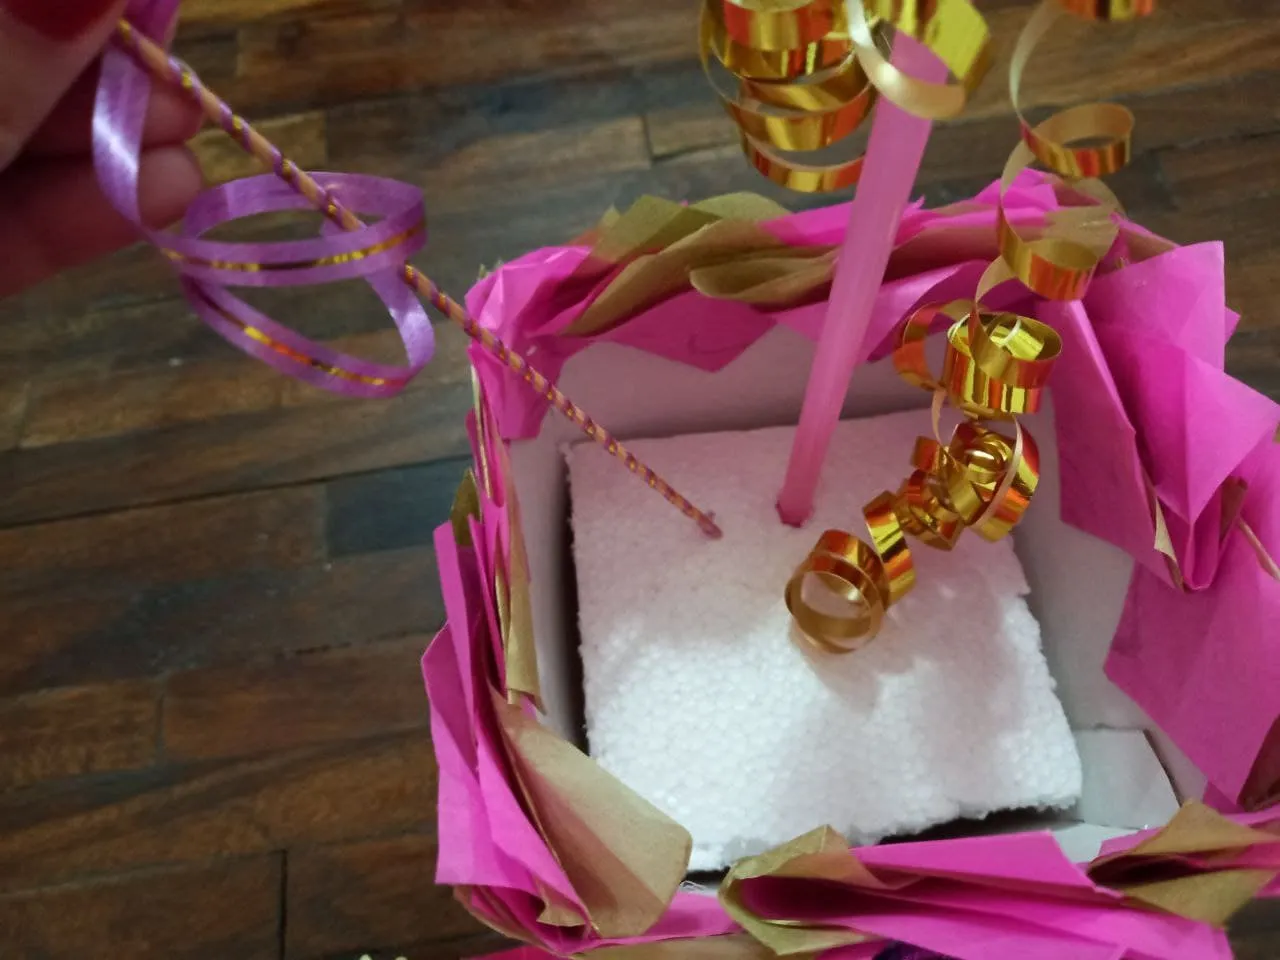
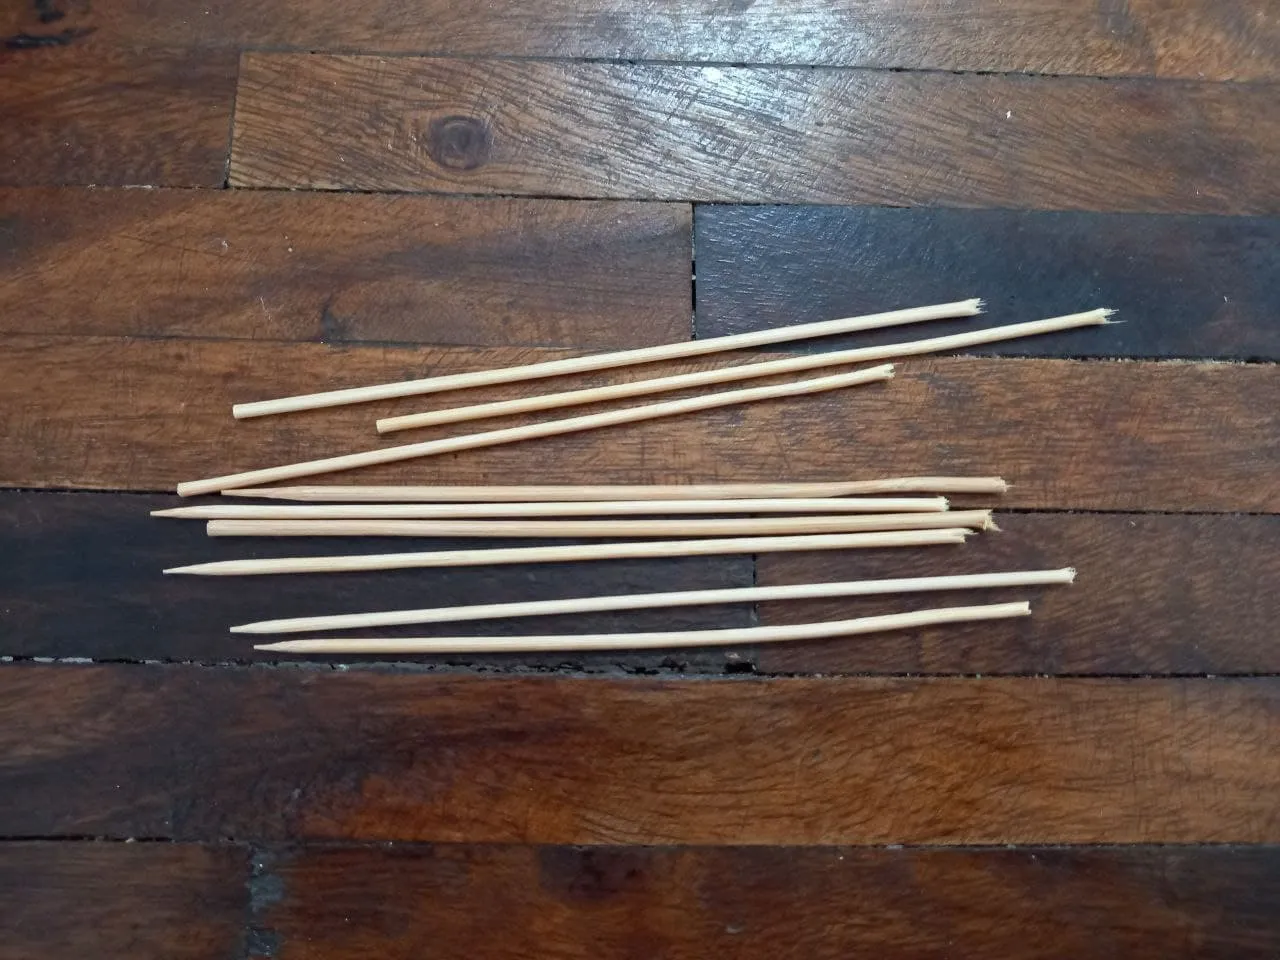
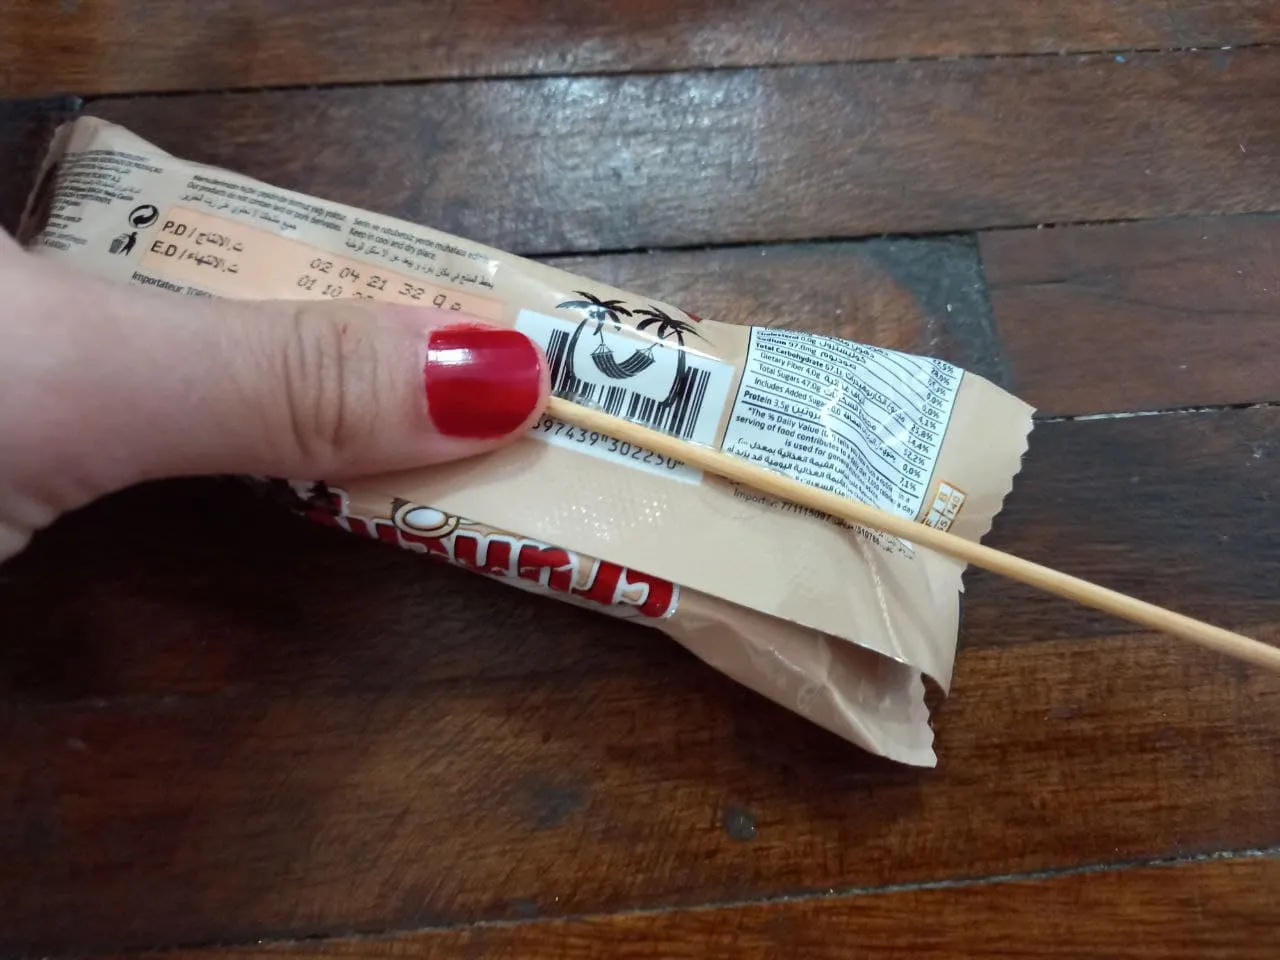
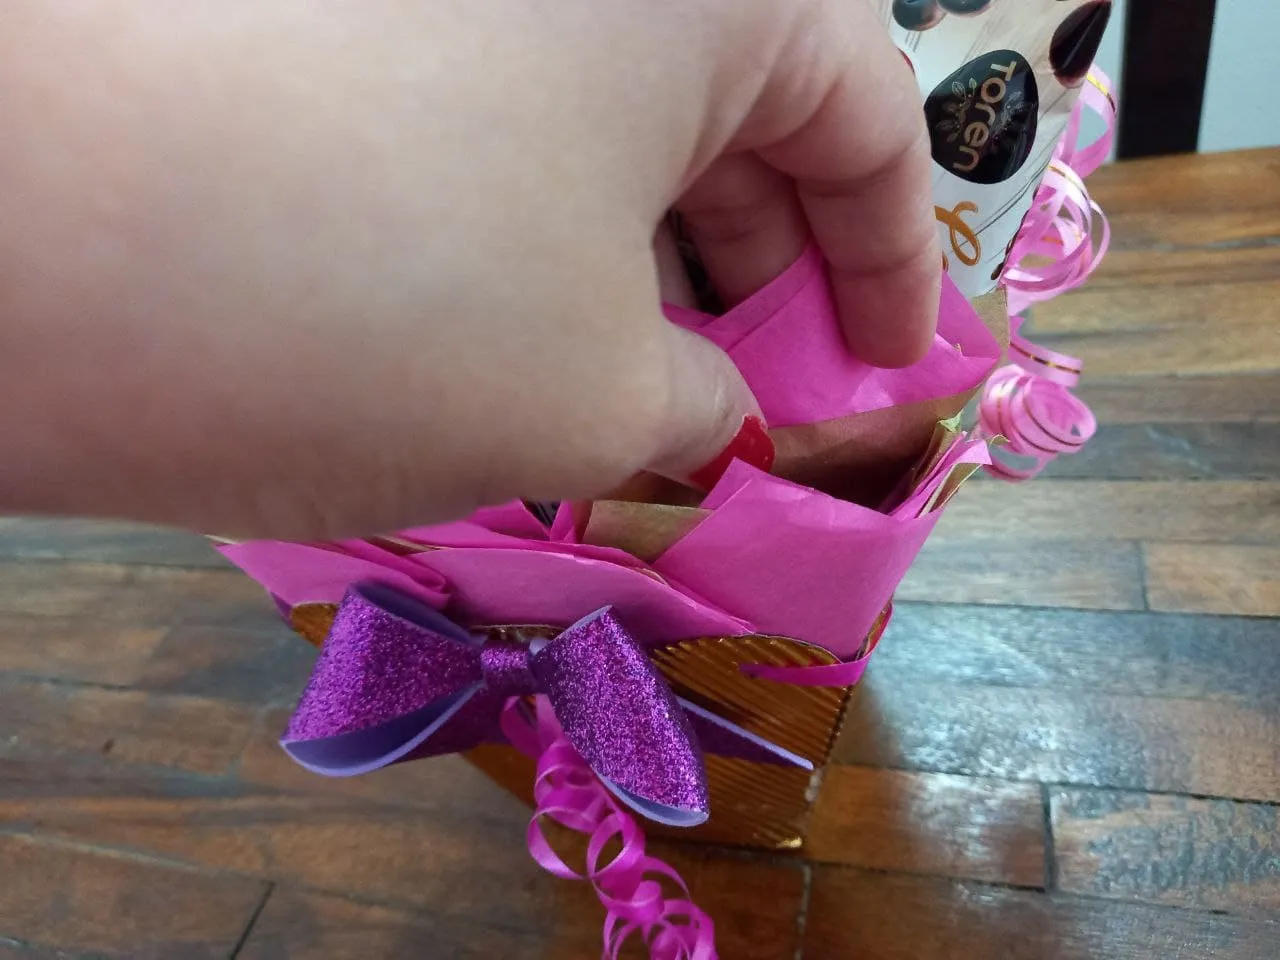
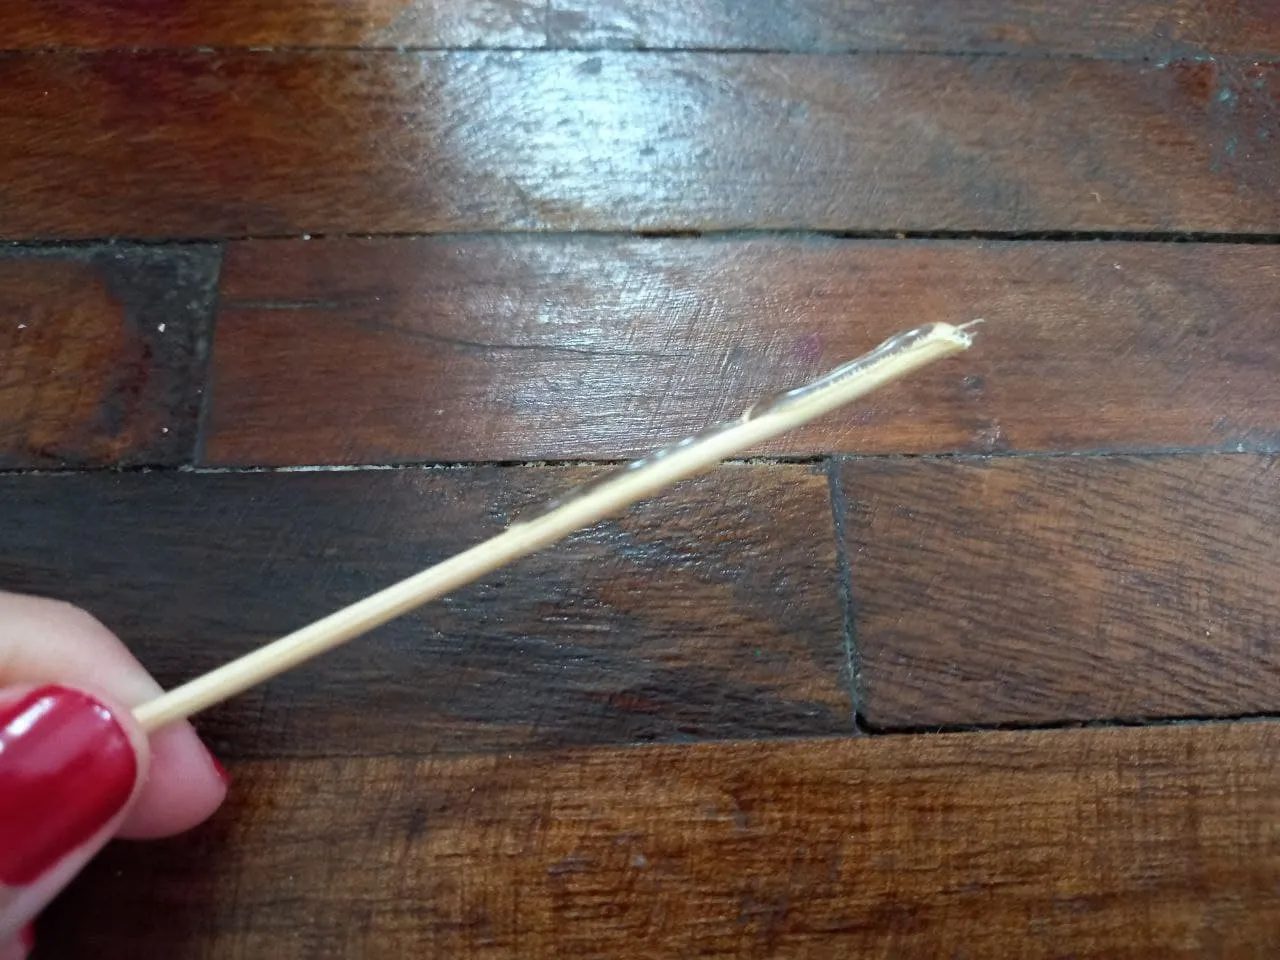
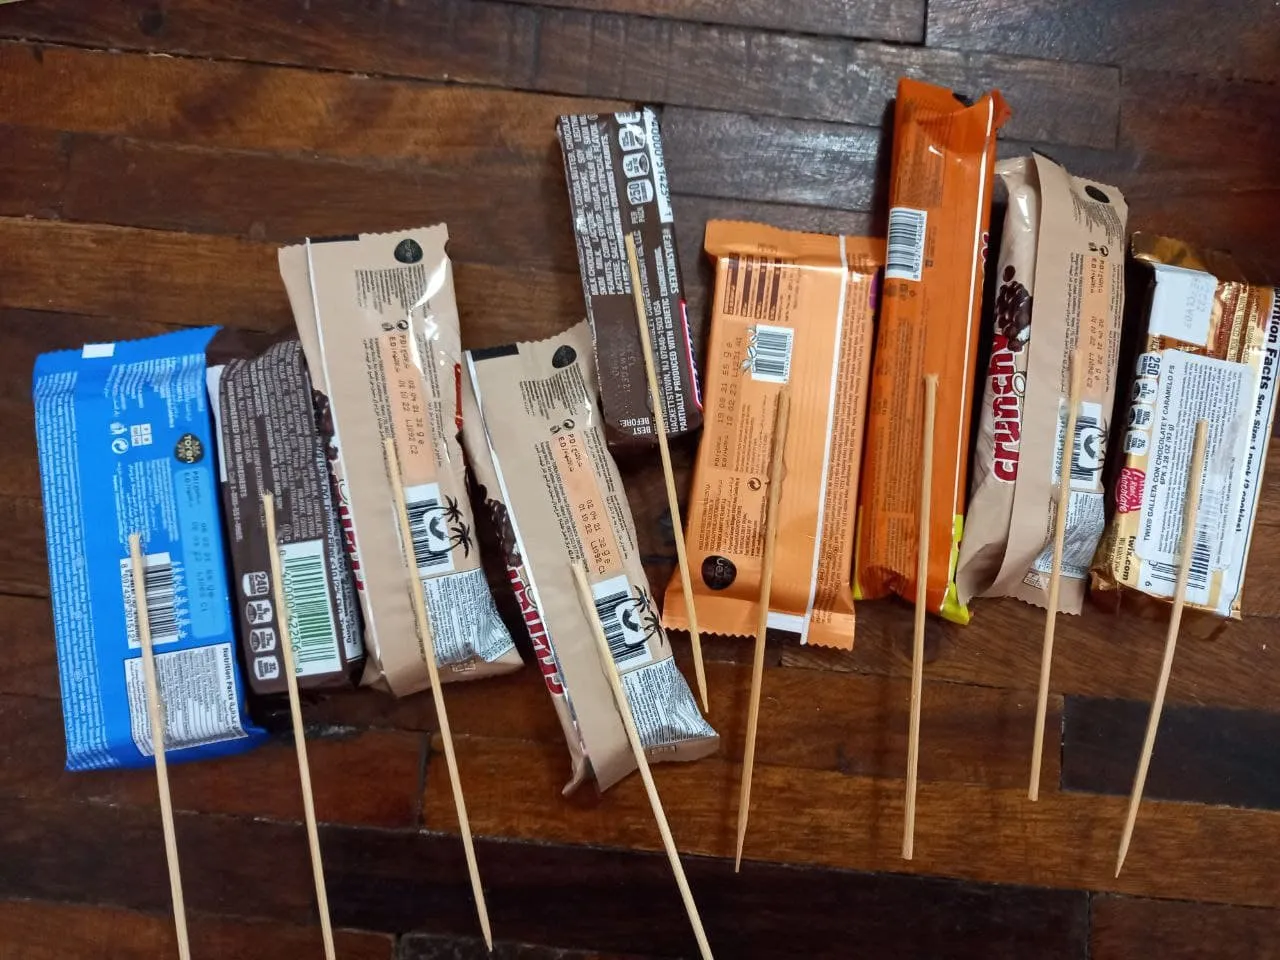
🍫 PASO 5. Ahora es momento de colocar los chocolates, vamos a cortar los palitos de altura a la mitad y vamos a pegar uno en cada chocolate en la parte trasera dejando el largo suficiente para que pueda quedar en el anime, luego vamos a colocar todos los chocolates en el anime, uno a uno, colocando los más grandes en la parte trasera, luego rellenamos los espacios que queden con conitos de papel de seda.
🍫 STEP 5. Now it's time to place the chocolates, we are going to cut the height sticks in half and we are going to stick one in each chocolate in the back leaving enough length so that it can be in the anime, then we are going to place all the chocolates in the anime, one by one, placing the largest ones in the back, then fill in the remaining spaces with tissue paper cones.

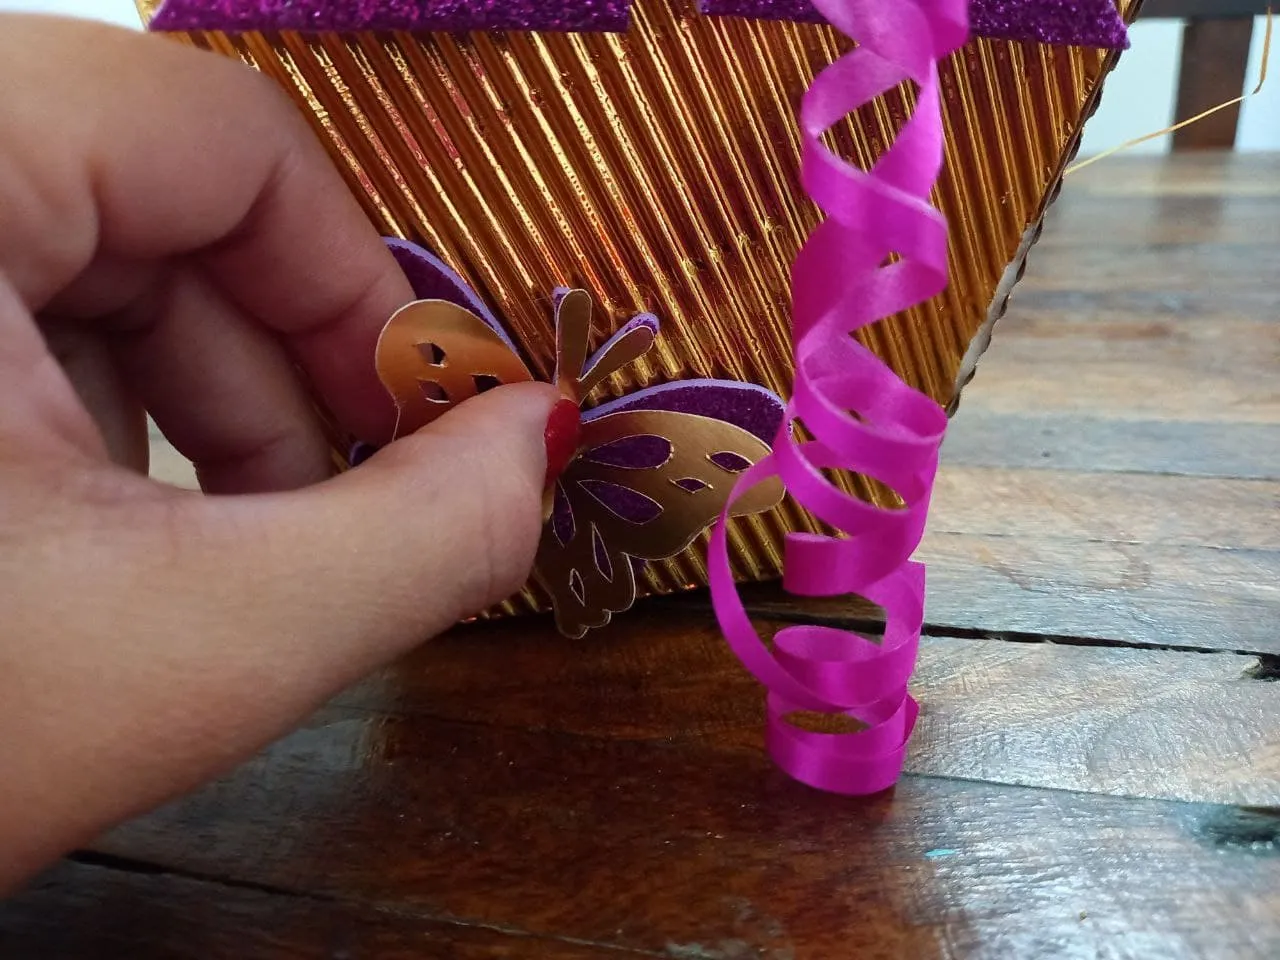
🍫 PASO 6. Para finalizar colocamos entre los chocolates algunas tiras de cinta de papel y como toque final pegamos una mariposa troquelada en la parte frontal de la cajita.
🍫 STEP 6. To finish we place some strips of paper tape between the chocolates and as a final touch we glue a die-cut butterfly on the front of the box.

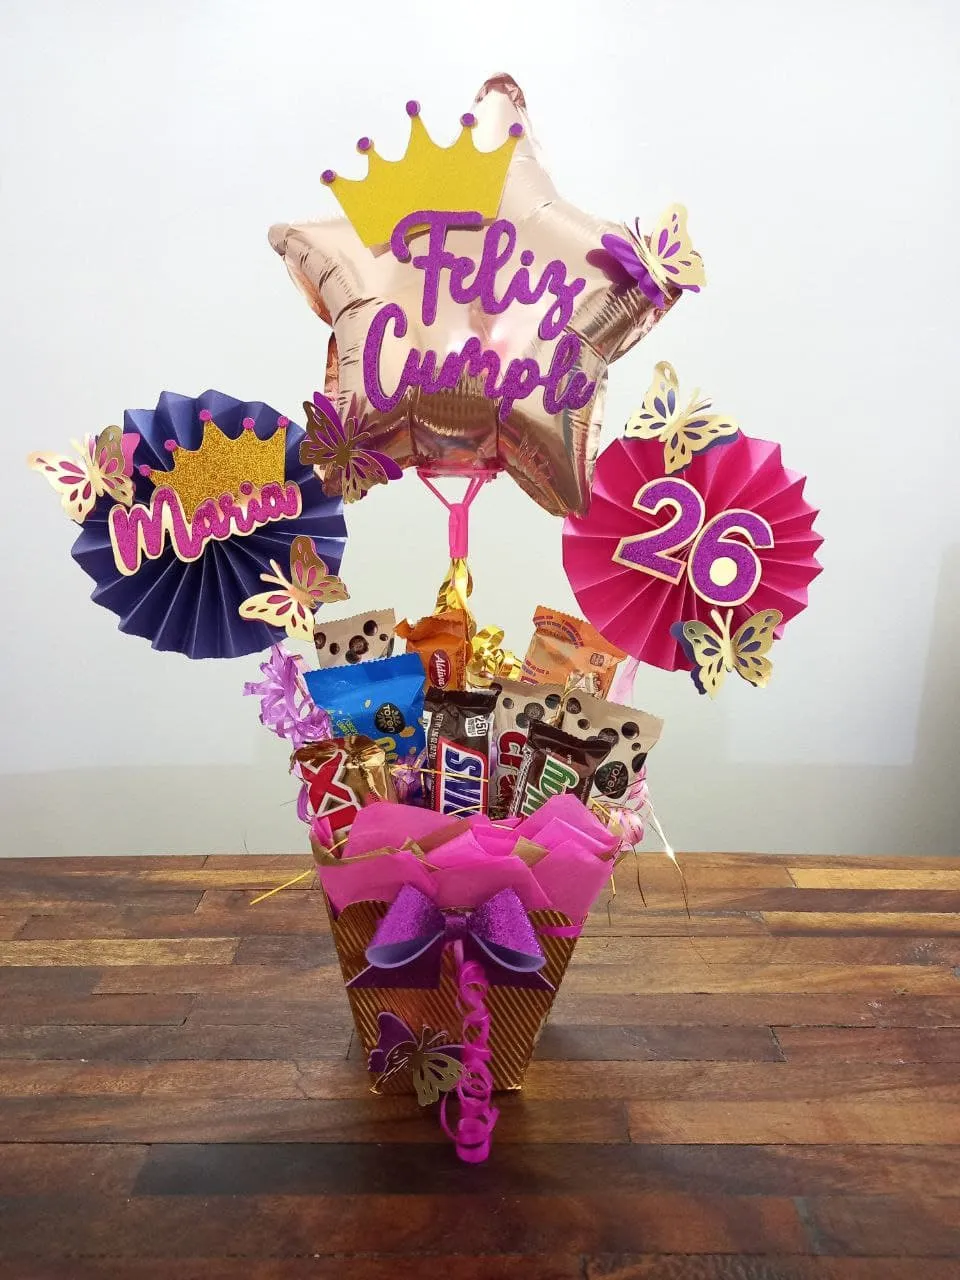
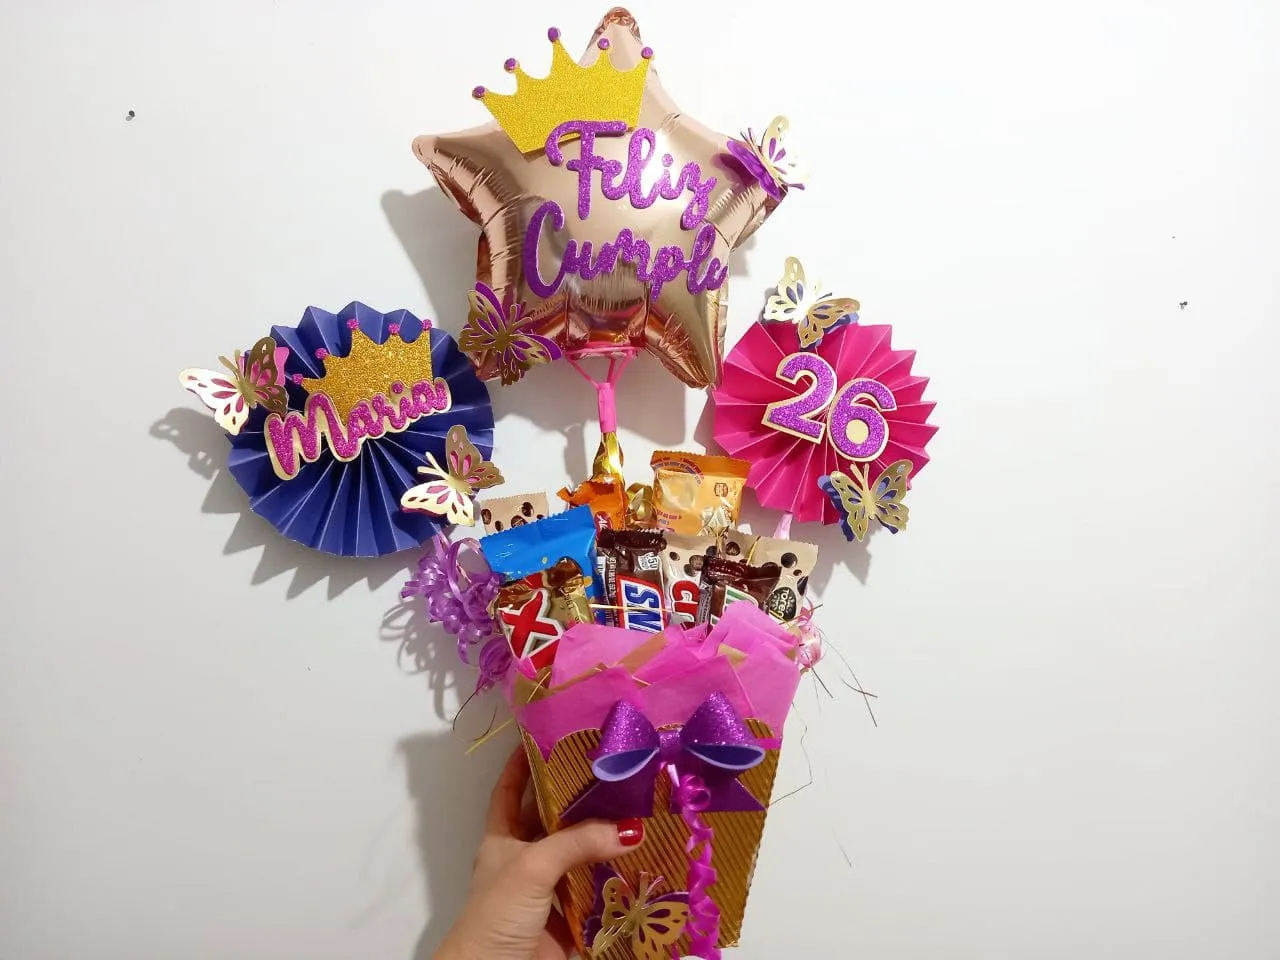
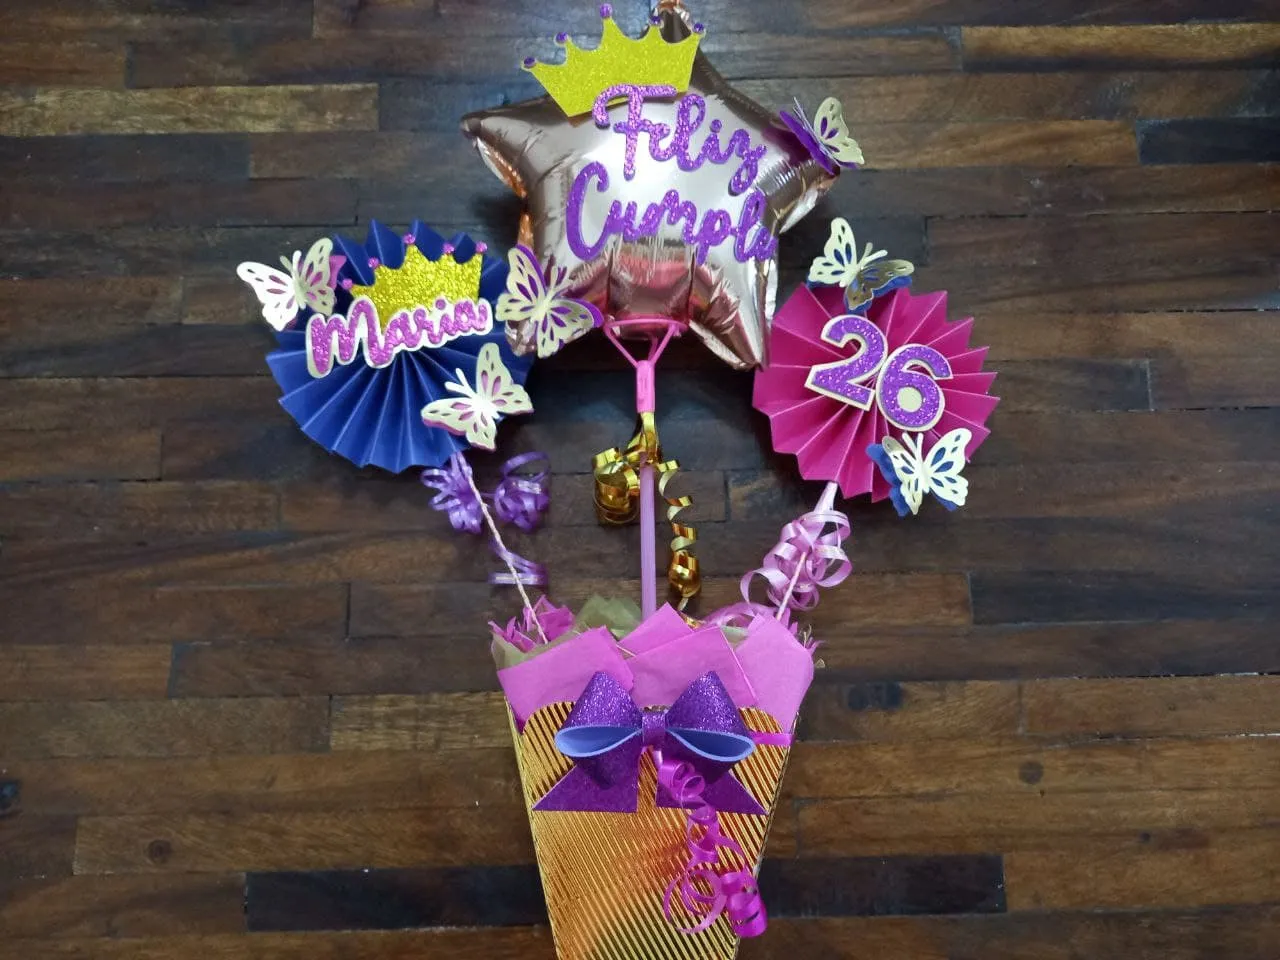
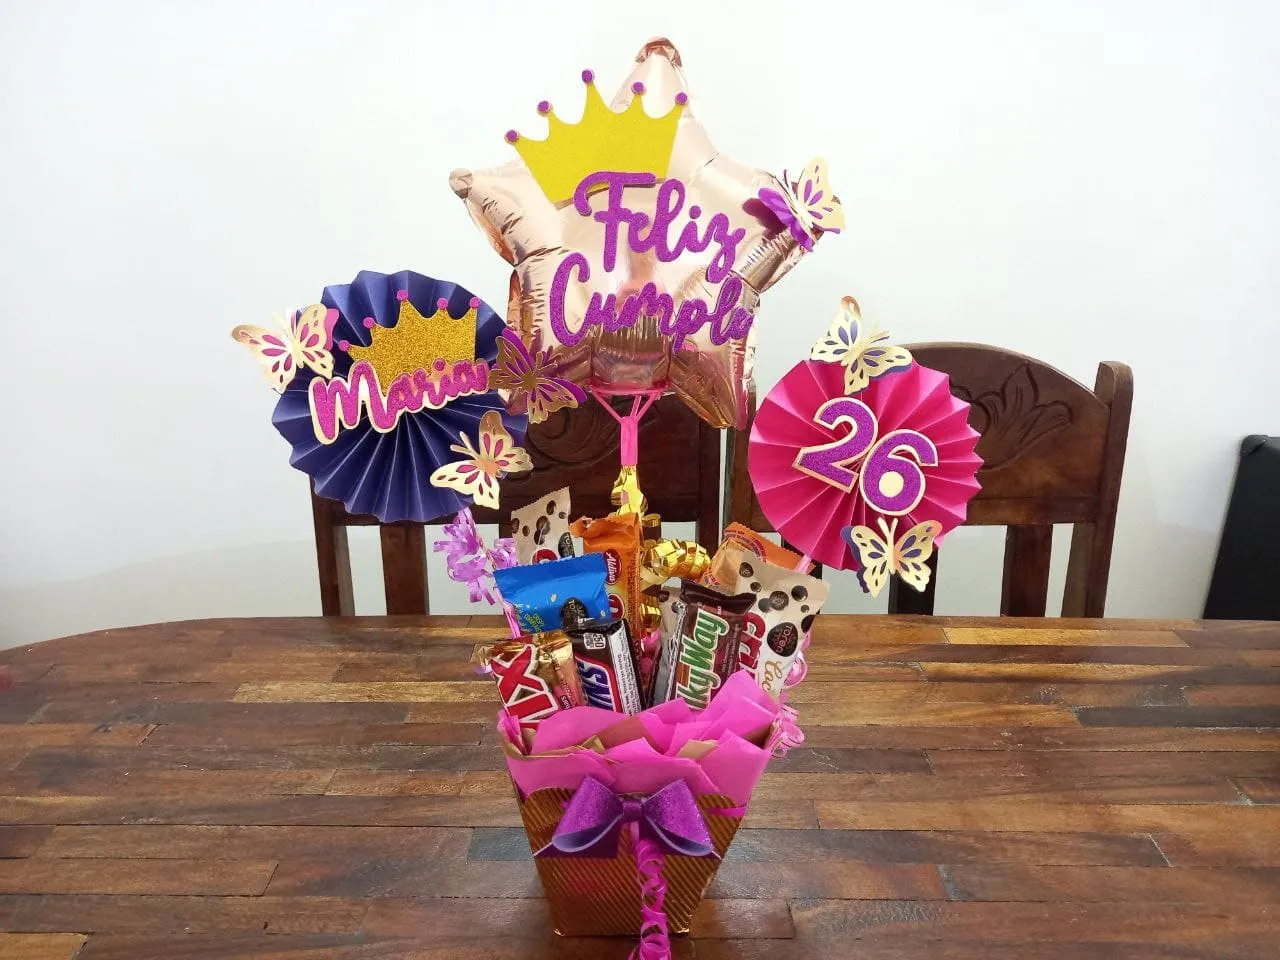
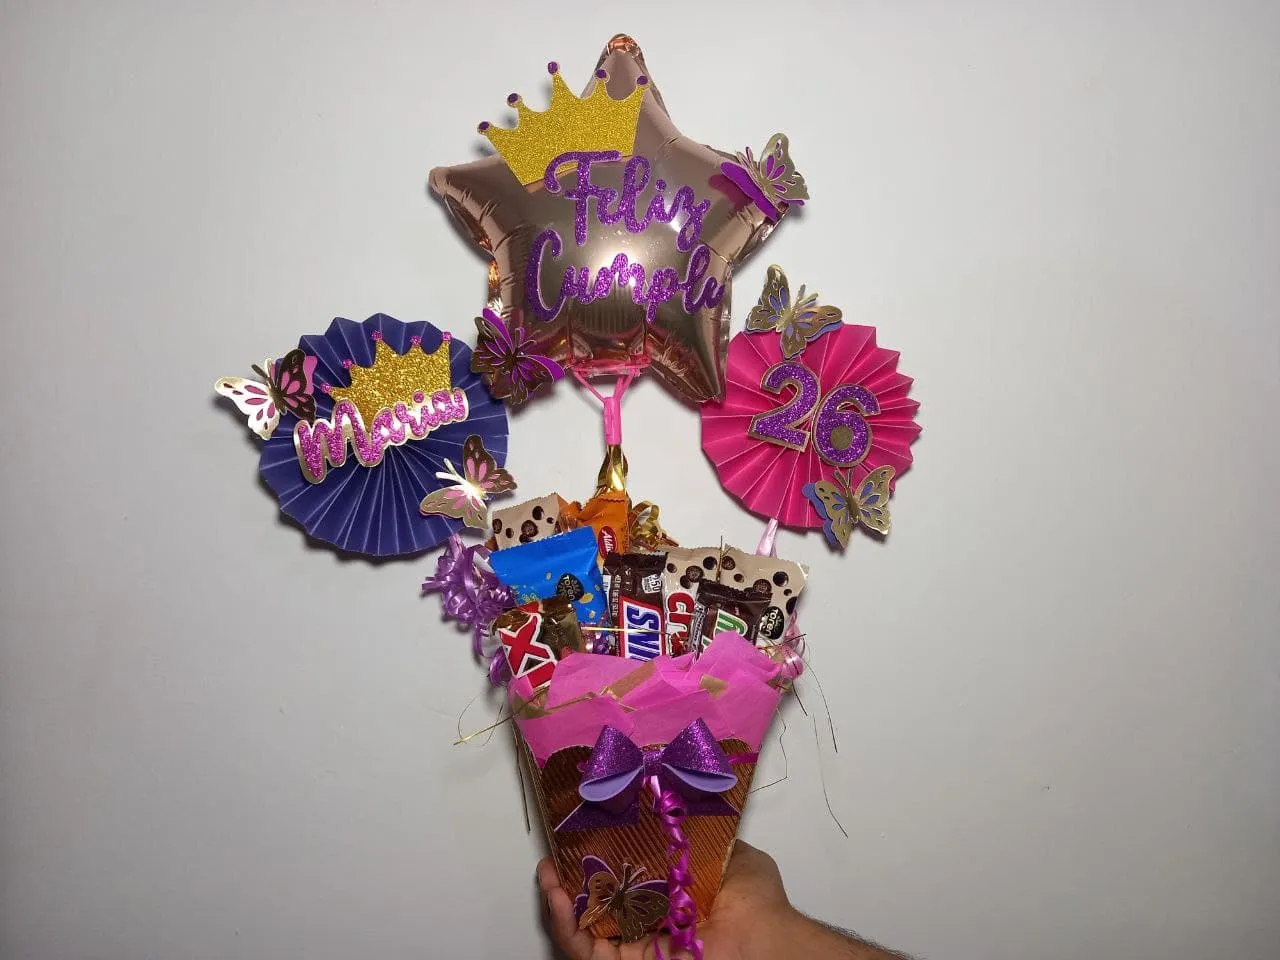
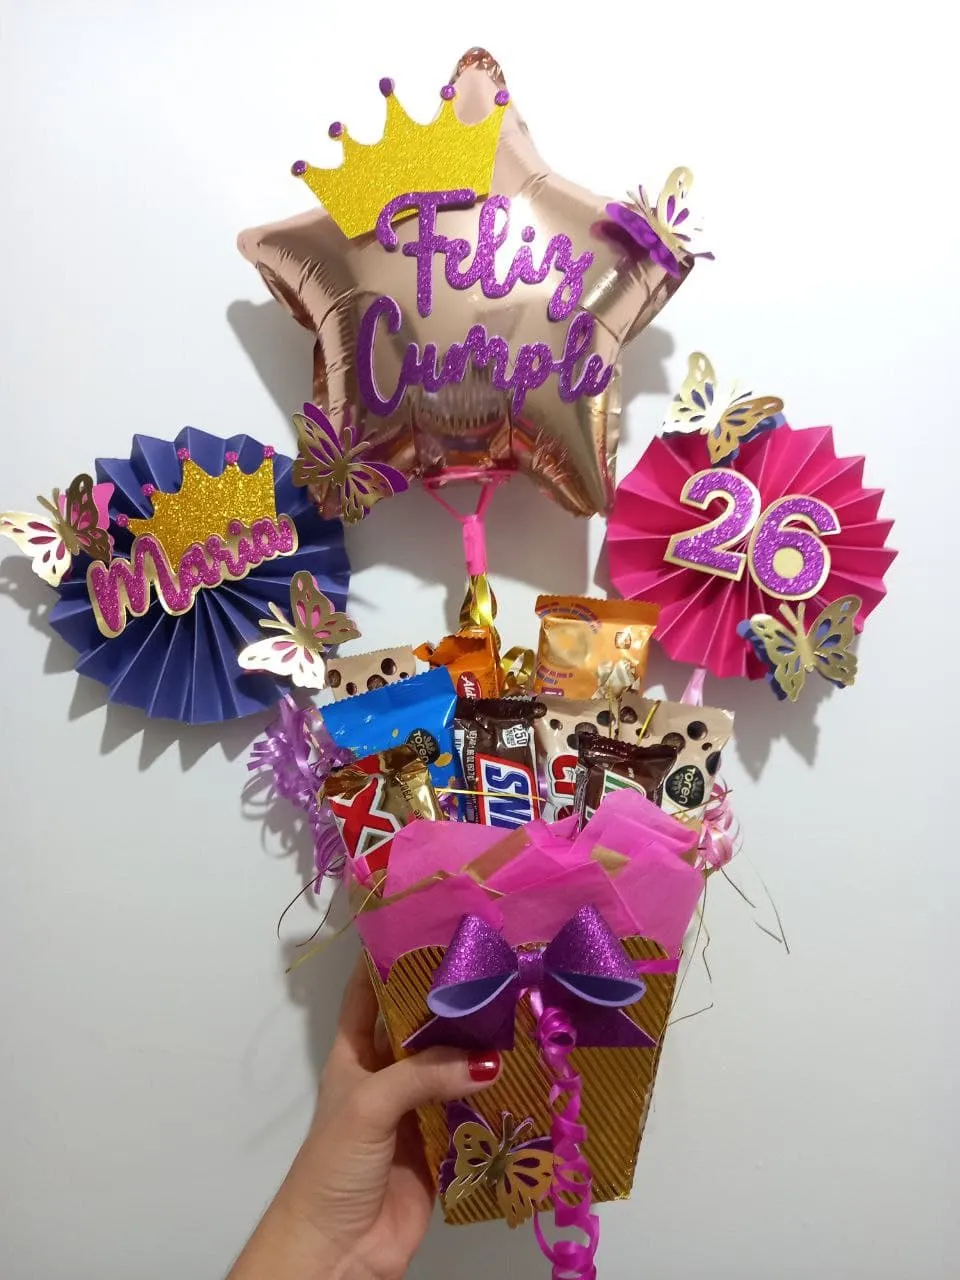
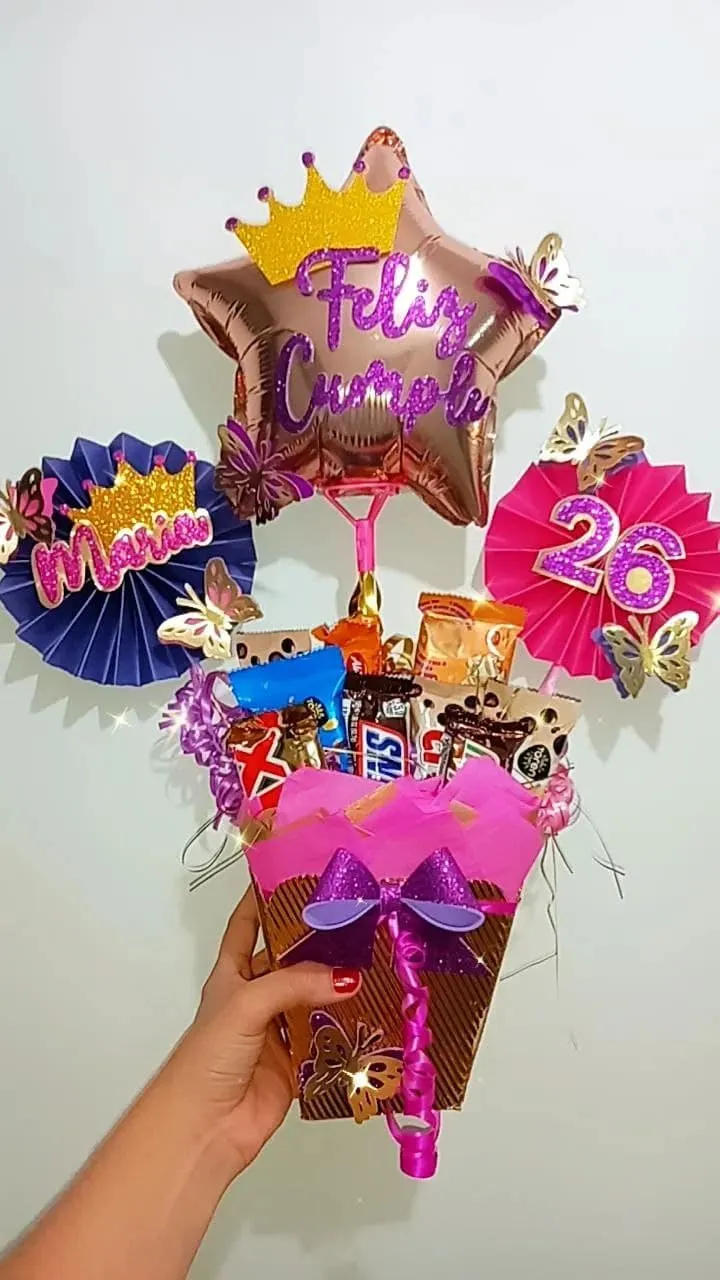
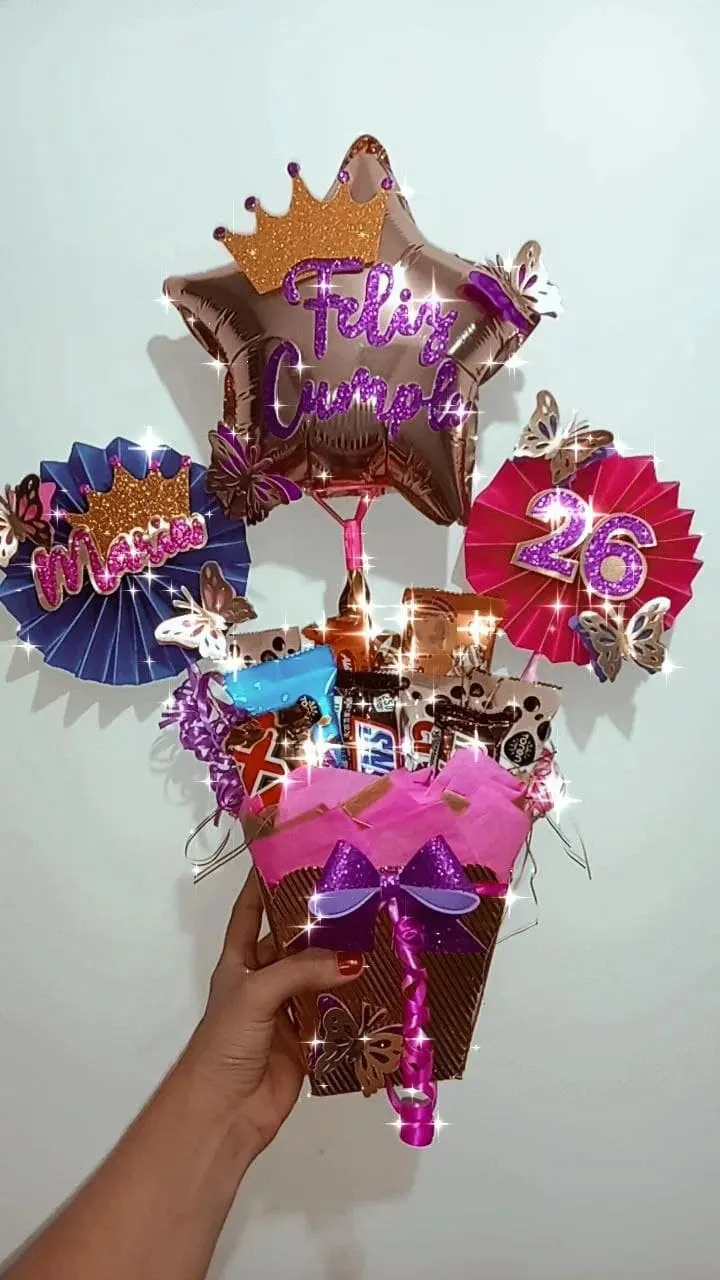
¡Y listo! De esta sencilla forma tenemos un hermoso arreglo de dulces para cumpleaños o cualquier ocasión especial, el obsequio perfecto para esa persona especial, como habrán notado a lo largo del post les he dejado mis tutoriales para elaborar cada detalle que lleva este arreglo, es muy fácil de hacer y realmente queda hermoso, podemos hacerlo de los colores y temática que más nos guste, en mi caso yo enloquecí con las mariposas y los tonos rosado, morado y dorado, este es mi primer arreglo de dulces y estoy muy feliz por el resultado, es mi auto regalo perfecto y que mejor manera de celebrar mi día con esta linda creación llena de lo que más me gusta, chocolates ❤
¡And ready! In this simple way we have a beautiful arrangement of sweets for birthdays or any special occasion, the perfect gift for that special person, as you may have noticed throughout the post I have left you my tutorials to elaborate every detail that this arrangement has, it is very easy to do and it really looks beautiful, we can do it with the colors and themes that we like the most, in my case I went crazy with the butterflies and the pink, purple and gold tones, this is my first candy arrangement and I am very happy with the result , it is my perfect self-gift and what better way to celebrate my day with this beautiful creation full of what I like the most, chocolates ❤
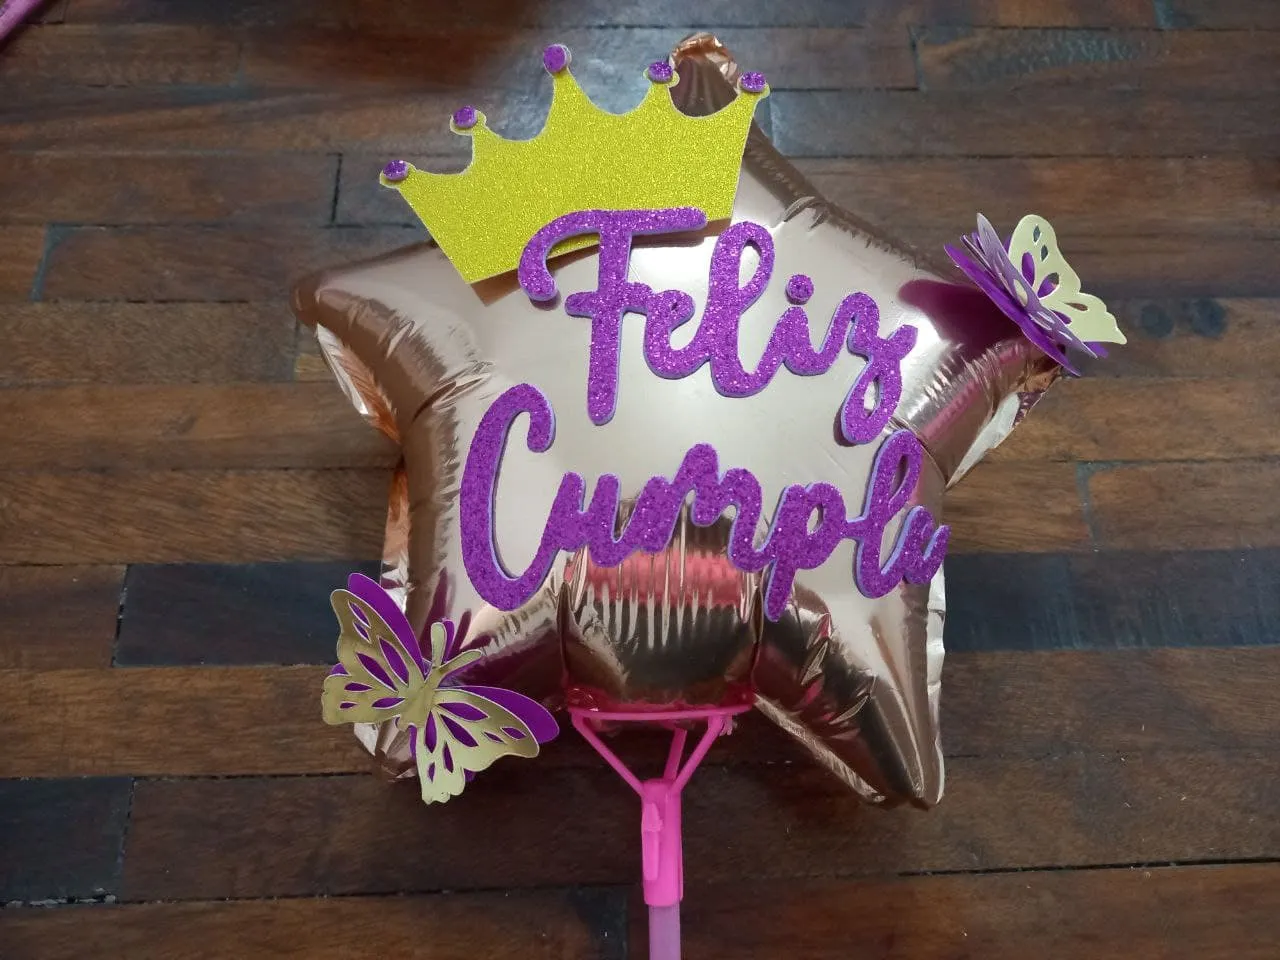
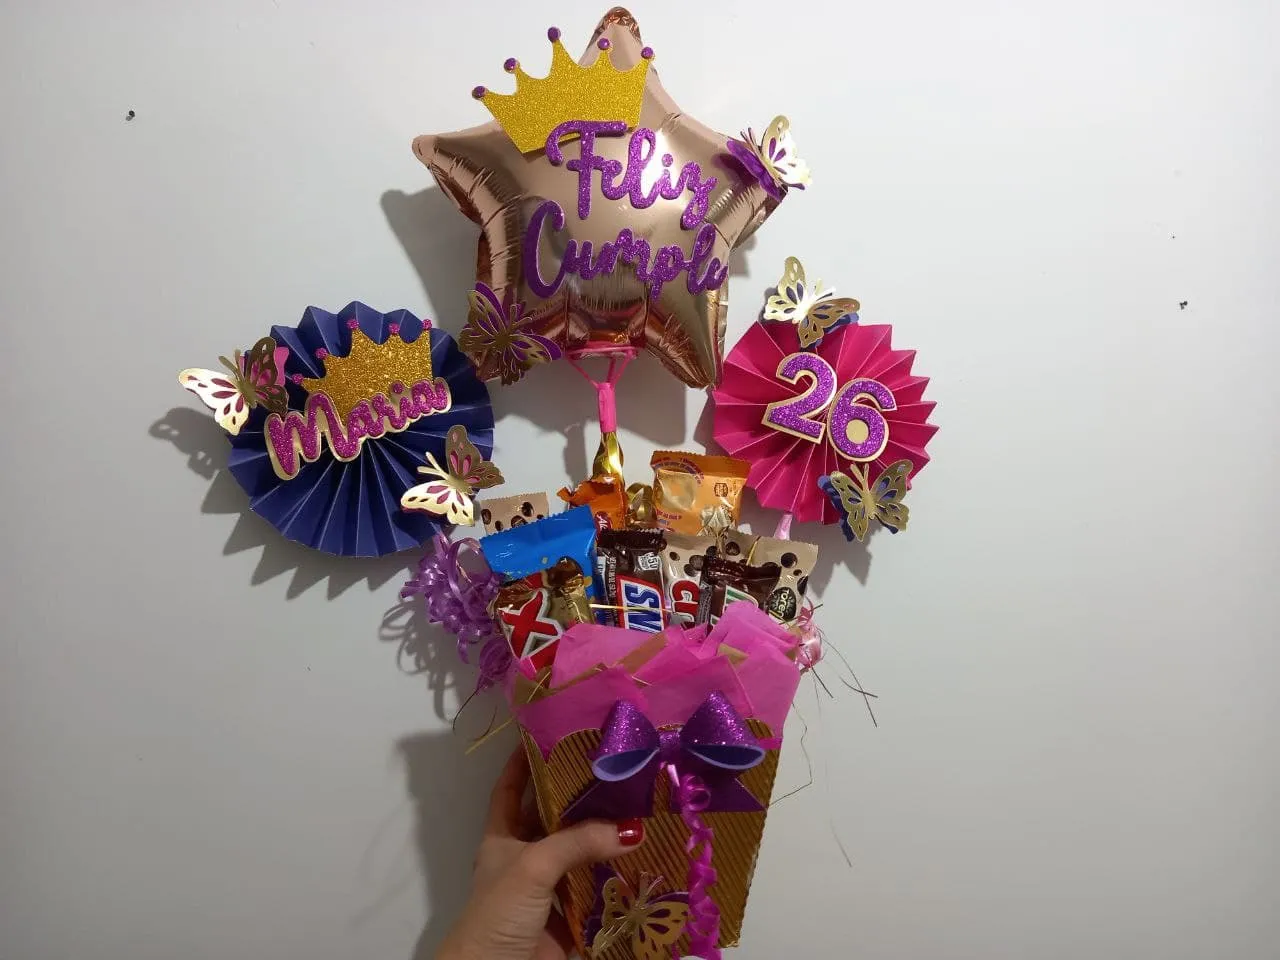
Resultado 🍫🎈 | Result 🍫🎈
Todas las fotografías son de mi propiedad.
Fotografías capturadas con mi Samsung Galaxy A12
Nos vemos en mi próxima publicación.
¡Tengan un feliz día!
All photographs are my property.
Photos captured with my Samsung Galaxy A12
See you in my next post.
¡Have a happy day!