Hola amigos, espero que estén muy bien. Yo, de maravilla. Estoy nuevamente por aquí para participar en el más reciente concurso ofrecido por la comunidad. El Patchwork es una técnica muy conocida, quizá el nombre no tanto. En casa de mis padres pude observar muchos objetos decorativos realizados con esta técnica ya que mi mamá siempre ha sido amante de la costura. A pesar de que no lo ha estudiado, ella cose de todo y le queda muy bonito. Especialmente los cojines, fundas, tapetes y alfombras que hace para sacar provecho de todas las telas que va reciclando. Al ver el concurso me entusiasmé de inmediato, mi proyecto es sencillo ya que no cuento con cantidades de retazos, pero lo que hice me es muy útil. Acá te muestro los detalles y cómo lo hice 👇

En mi mesita de noche siempre coloco pañitos o tapetes tejidos. Hace unos días realicé uno al que le tejí unas puntillas preciosas. En esta oportunidad hice para estrenar y dejar mi entrada en este reto un nuevo TAPETE empleando la técnica del Patchwork. Esta técnica consiste en elaborar con retazos de telas, generalmente de diferentes texturas, formas y colores diseños o modelos muy bonitos. Los he visto más que todo en cojines y fundas.
Al abrir la bolsa donde tengo guardados los retazos de telas me di cuenta que solo habían pequeñas tiras deformes a las que solo podía sacarles cuadrados o rectángulos muy pequeños, entonces me decidí por seleccionar los más grandecitos (muy pocos) y con ellos realizar un tapete que me quedara justo en el espacio de mi mesita de noche.
El resultado me encantó. Ahora tengo un nuevo TAPETE que hice "rapidito" reciclando y tan solo cosiendo.
- Retazos de telas de diferentes texturas y colores.
- Cinta métrica.
- Tijeras.
- Hilo de coser.
- Aguja de coser.
- Alfileres.
- Trozo de tela blanca.
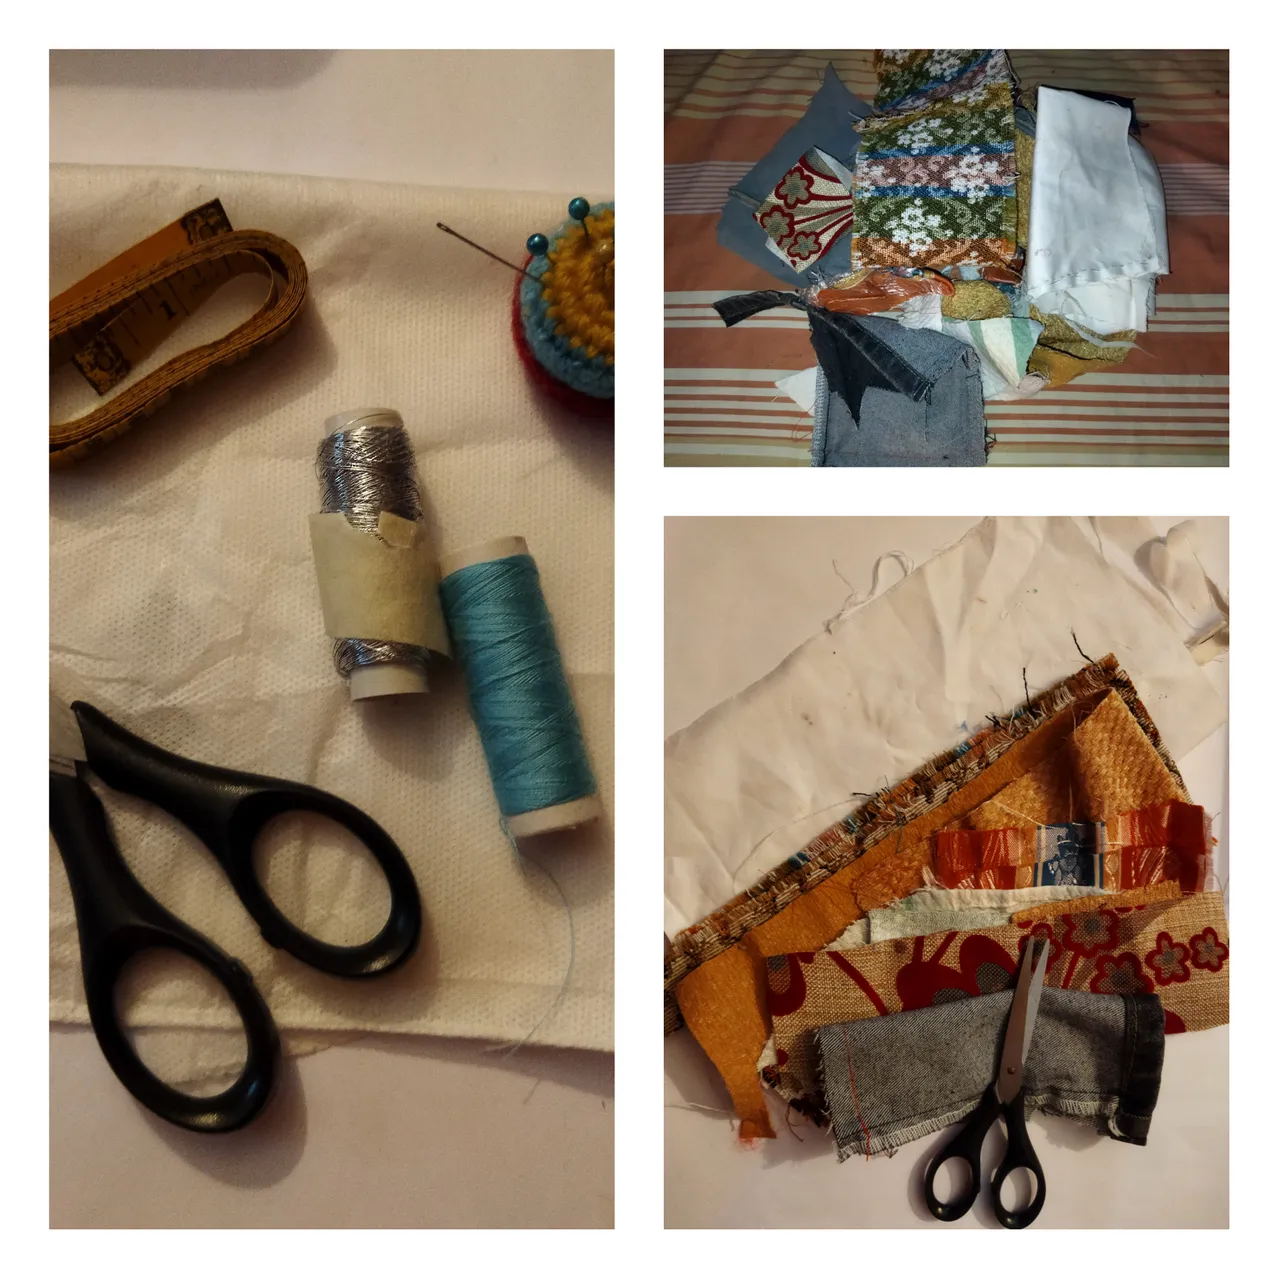
- Empecé por seleccionar las telas. Como les mencioné anteriormente, no tenía muchas para elegir. Escogí las más grandecitas tratando de combinarlas.
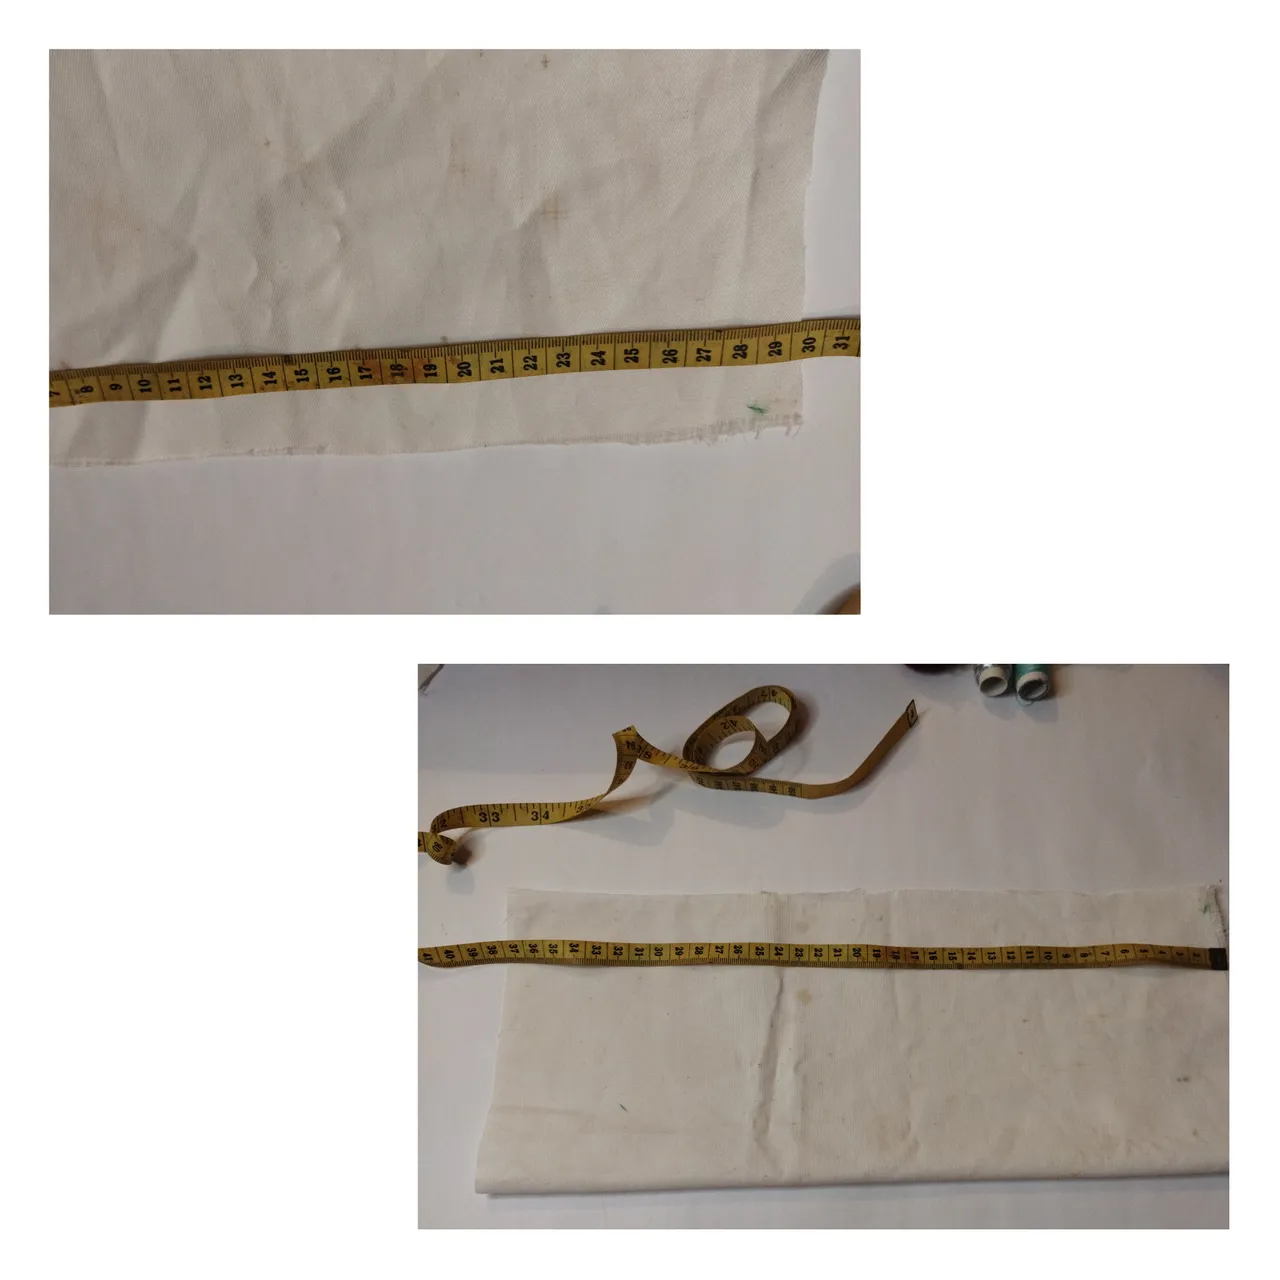
- El trozo de tela blanca lo reservé para coser de base a mi diseño Patchwork, primero medí para tener la idea del tamaño que haría el tapete. Esta tela midió 37 cm por 30 cm. Está un poco machada, espero que con varias lavadas se desmanche.

- Corté en cuadrados y rectángulos cada retazo de tela, sin ninguna medida en específico.
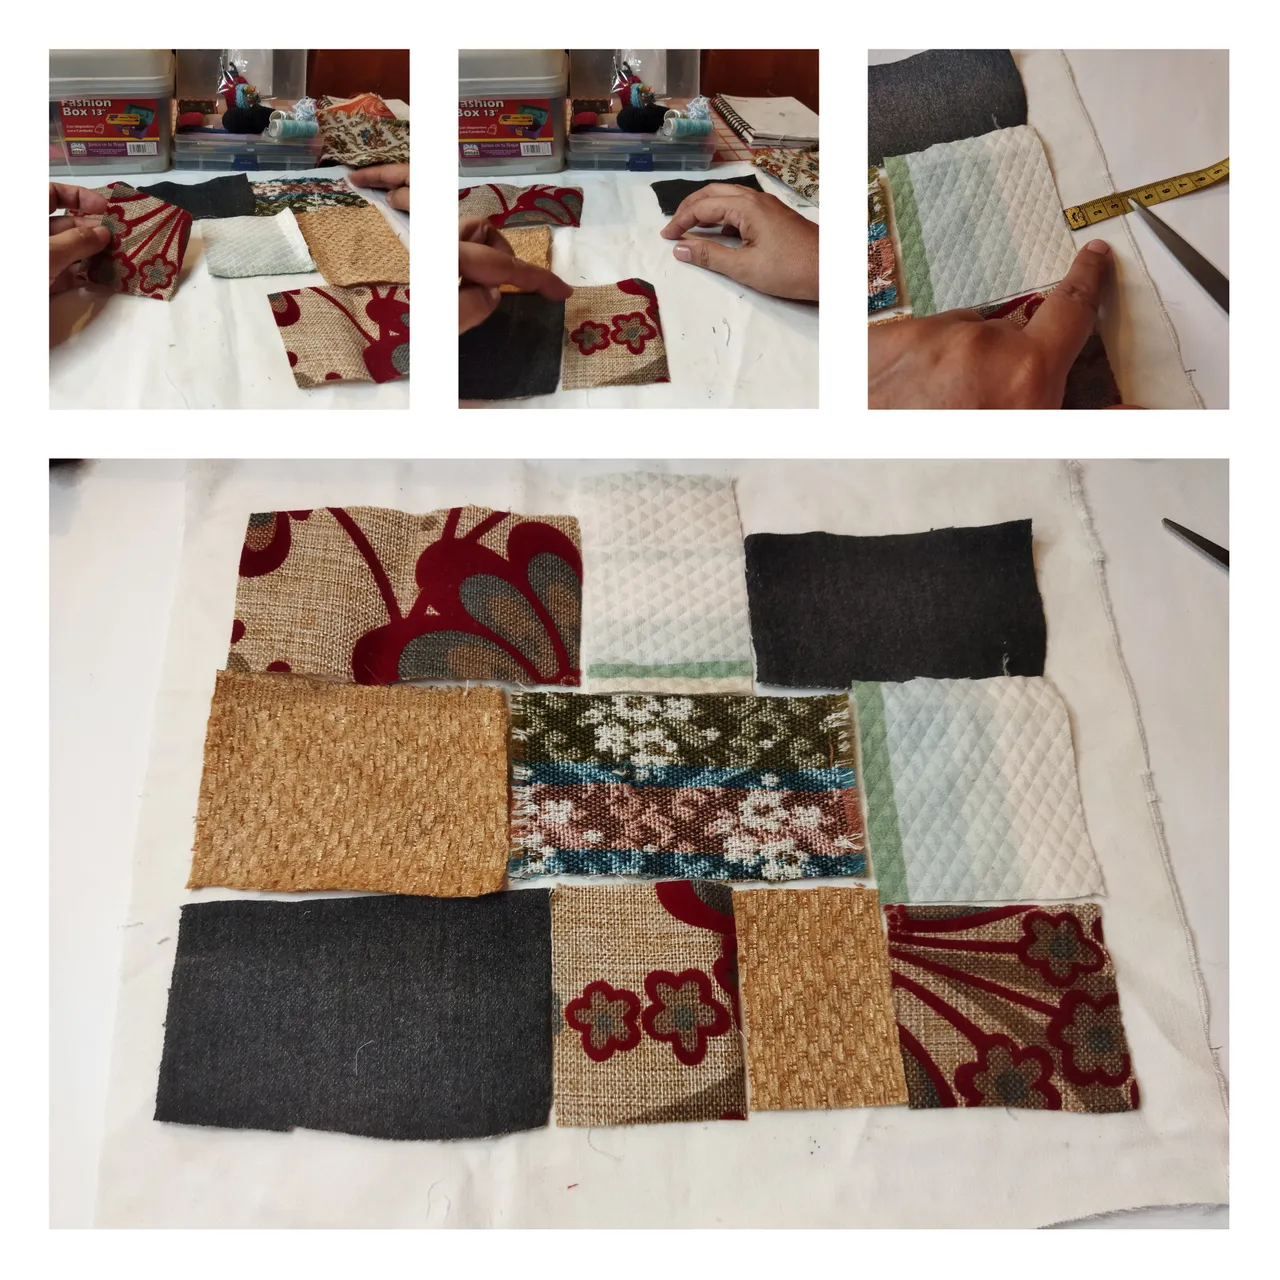
- Monté sobre la tela blanca cada cuadrado que corté para ir presentando mi diseño procurando alcanzar todas la medida de la tela.
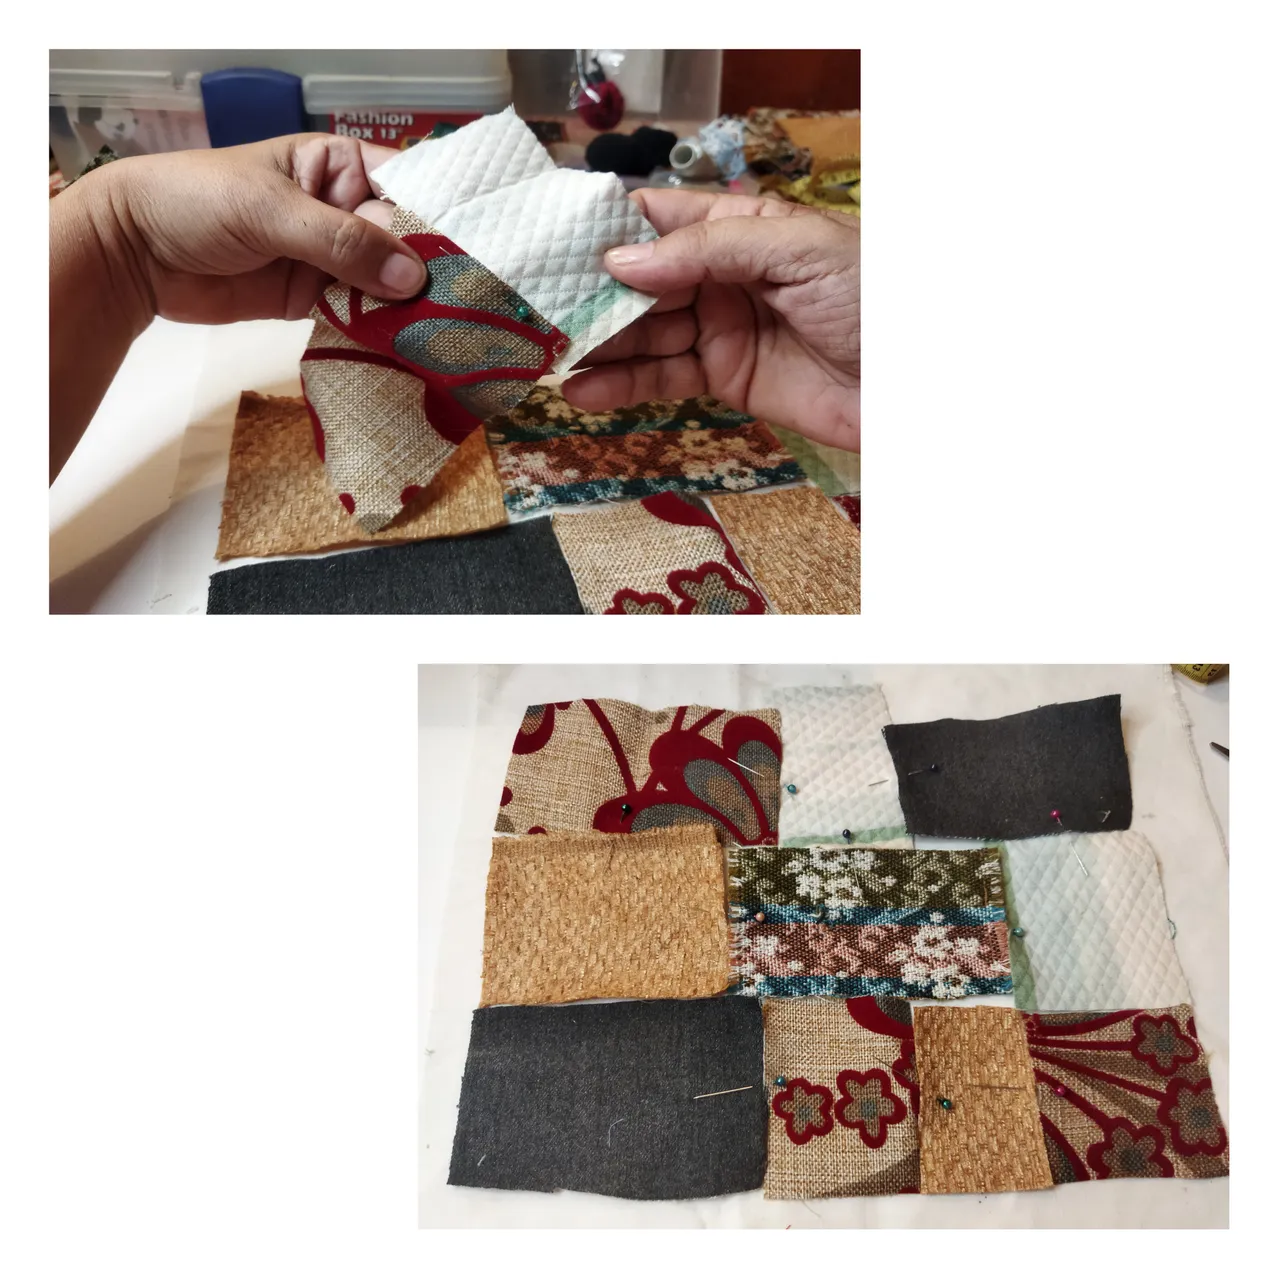
- Después sujeté con alfileres para conservar el diseño.

- Inicié la costura por el reverso de cada retacito. Haciendo listones o tiras.

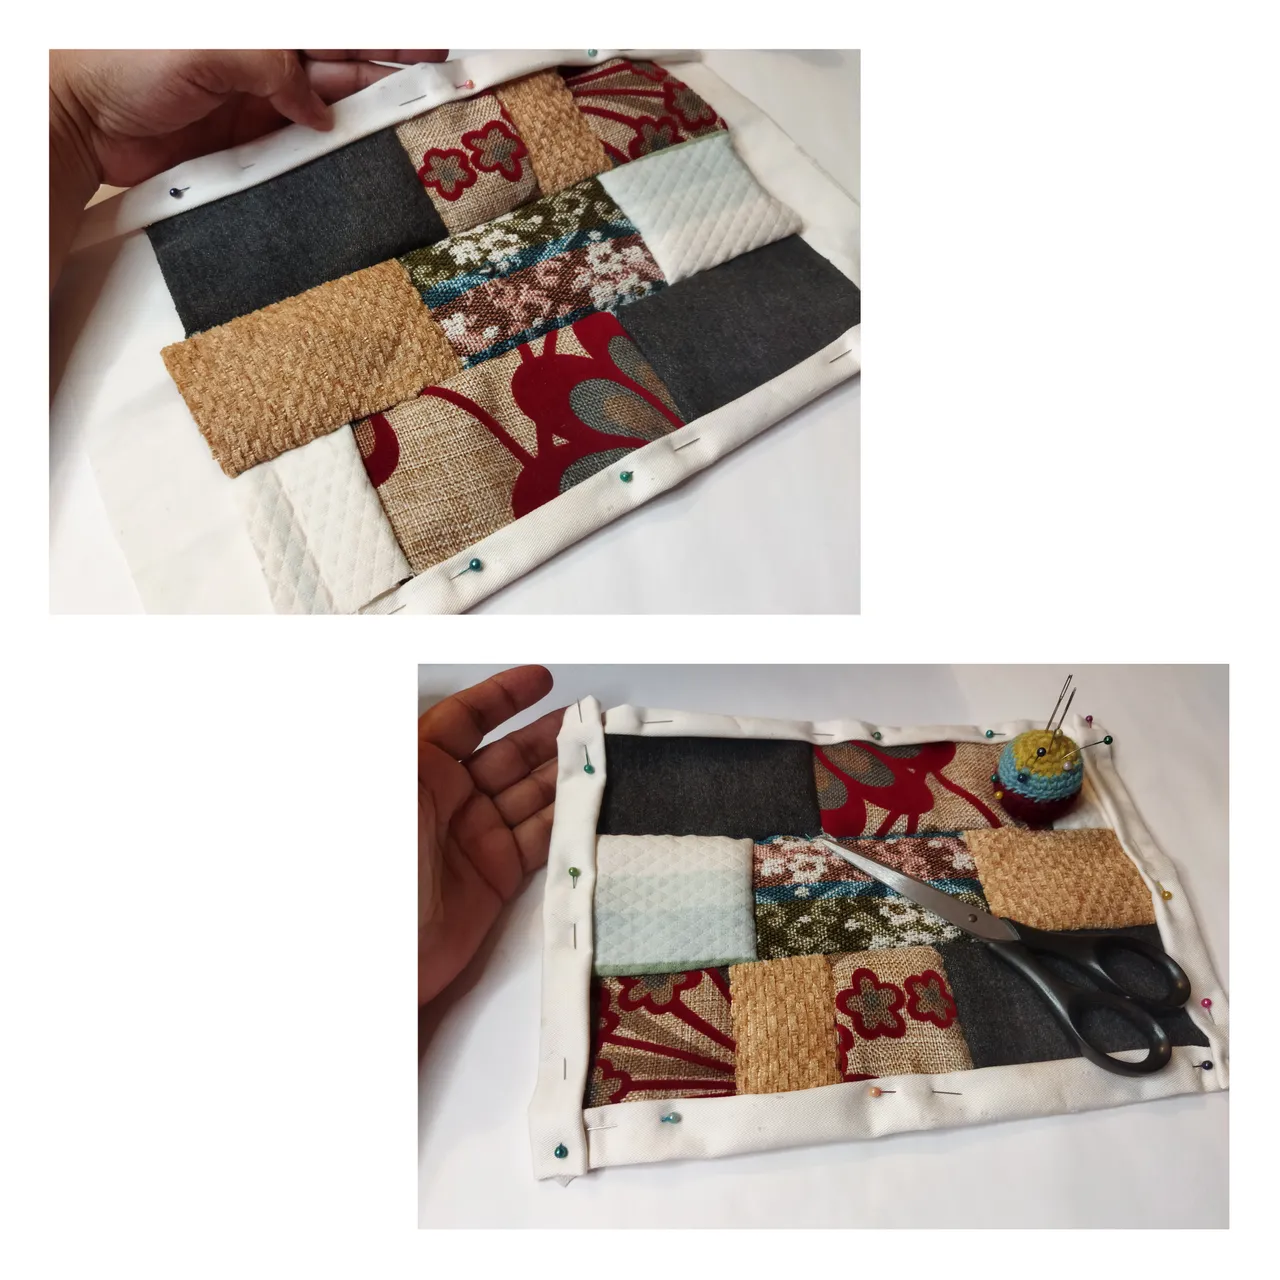
- Al tener todas las tiras las cosí todas. Ubiqué sobre la tela blanca y me fijé de dejar unos cm a los lados de la tela blanca para hacer un dobladillo.
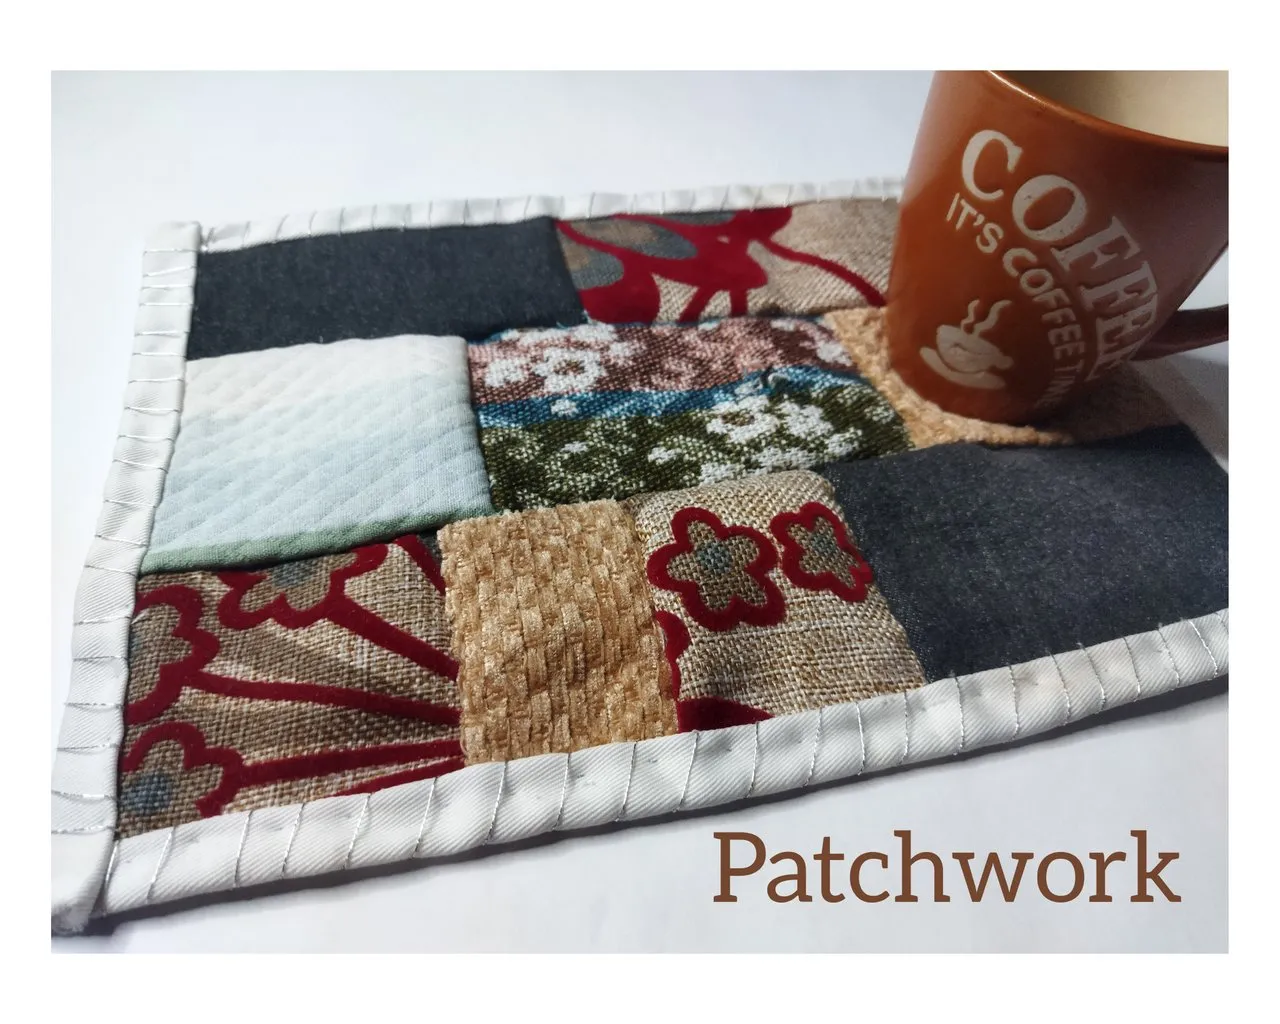
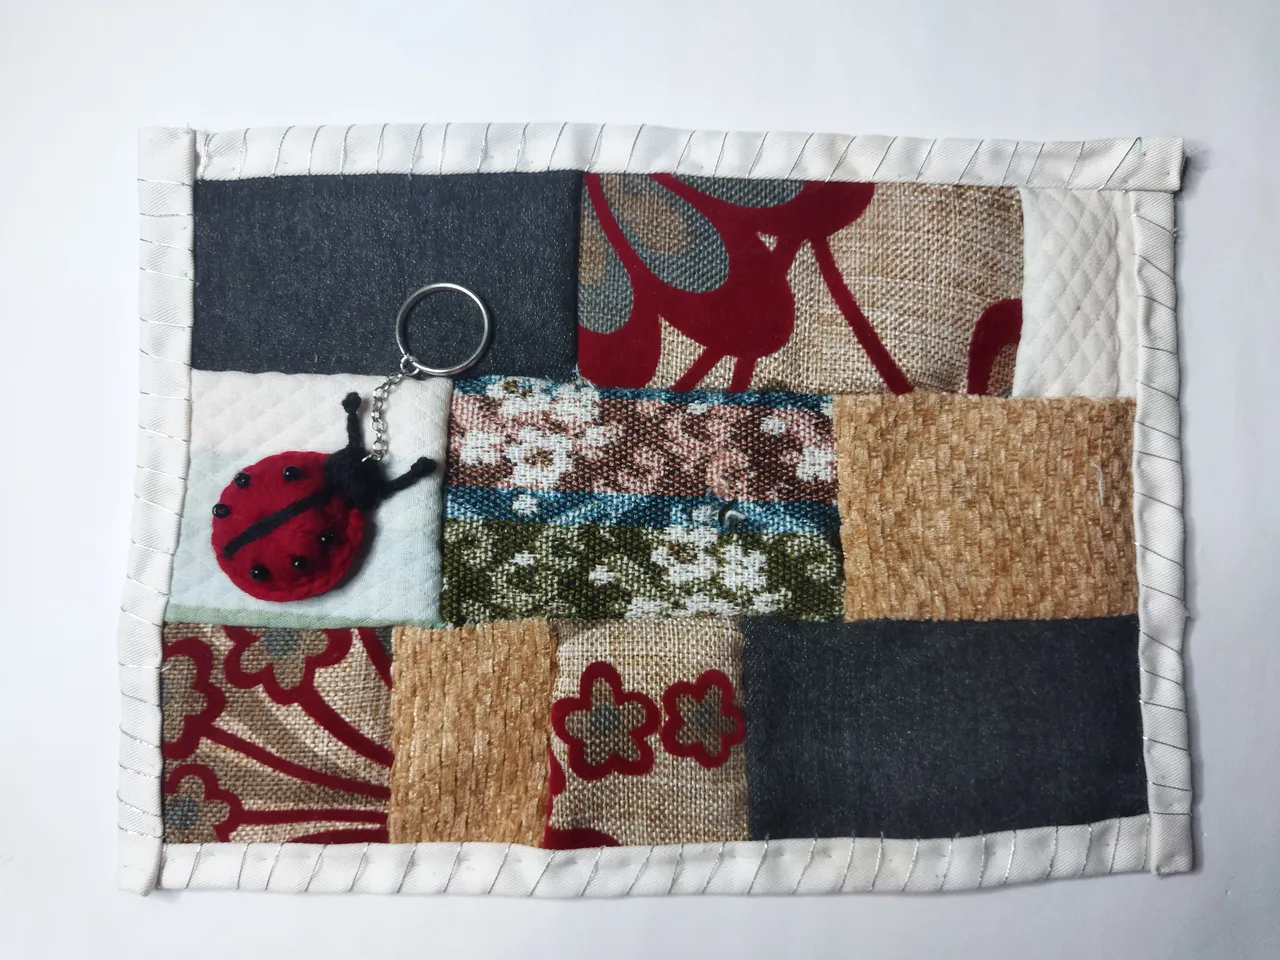
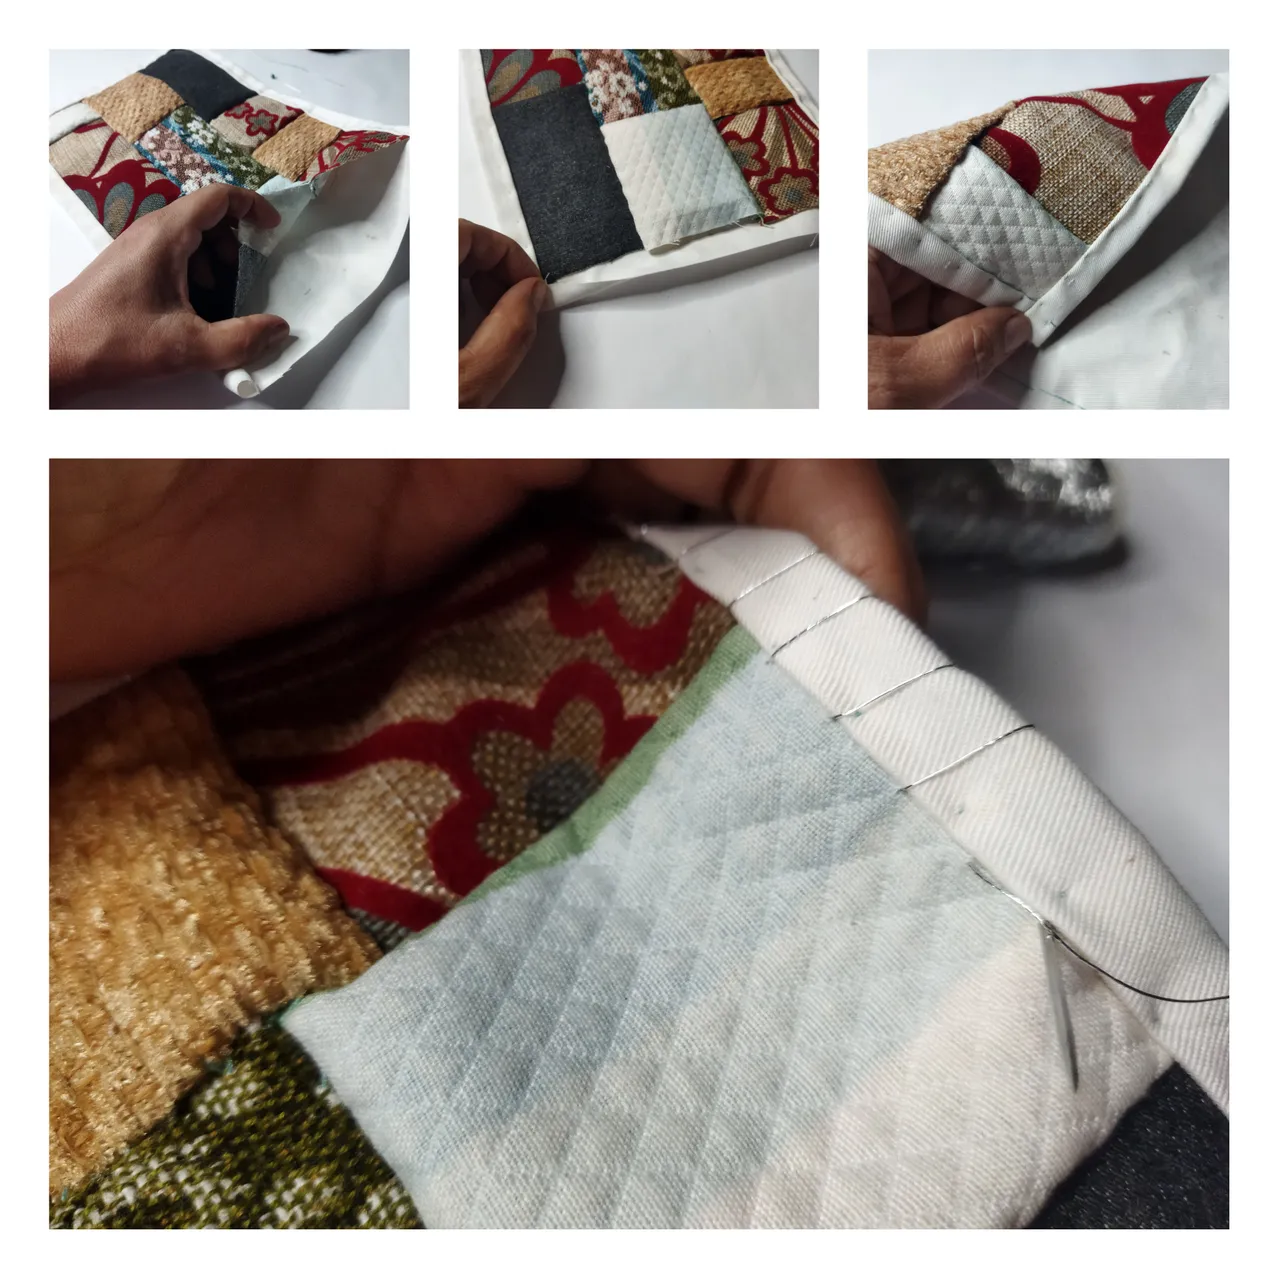
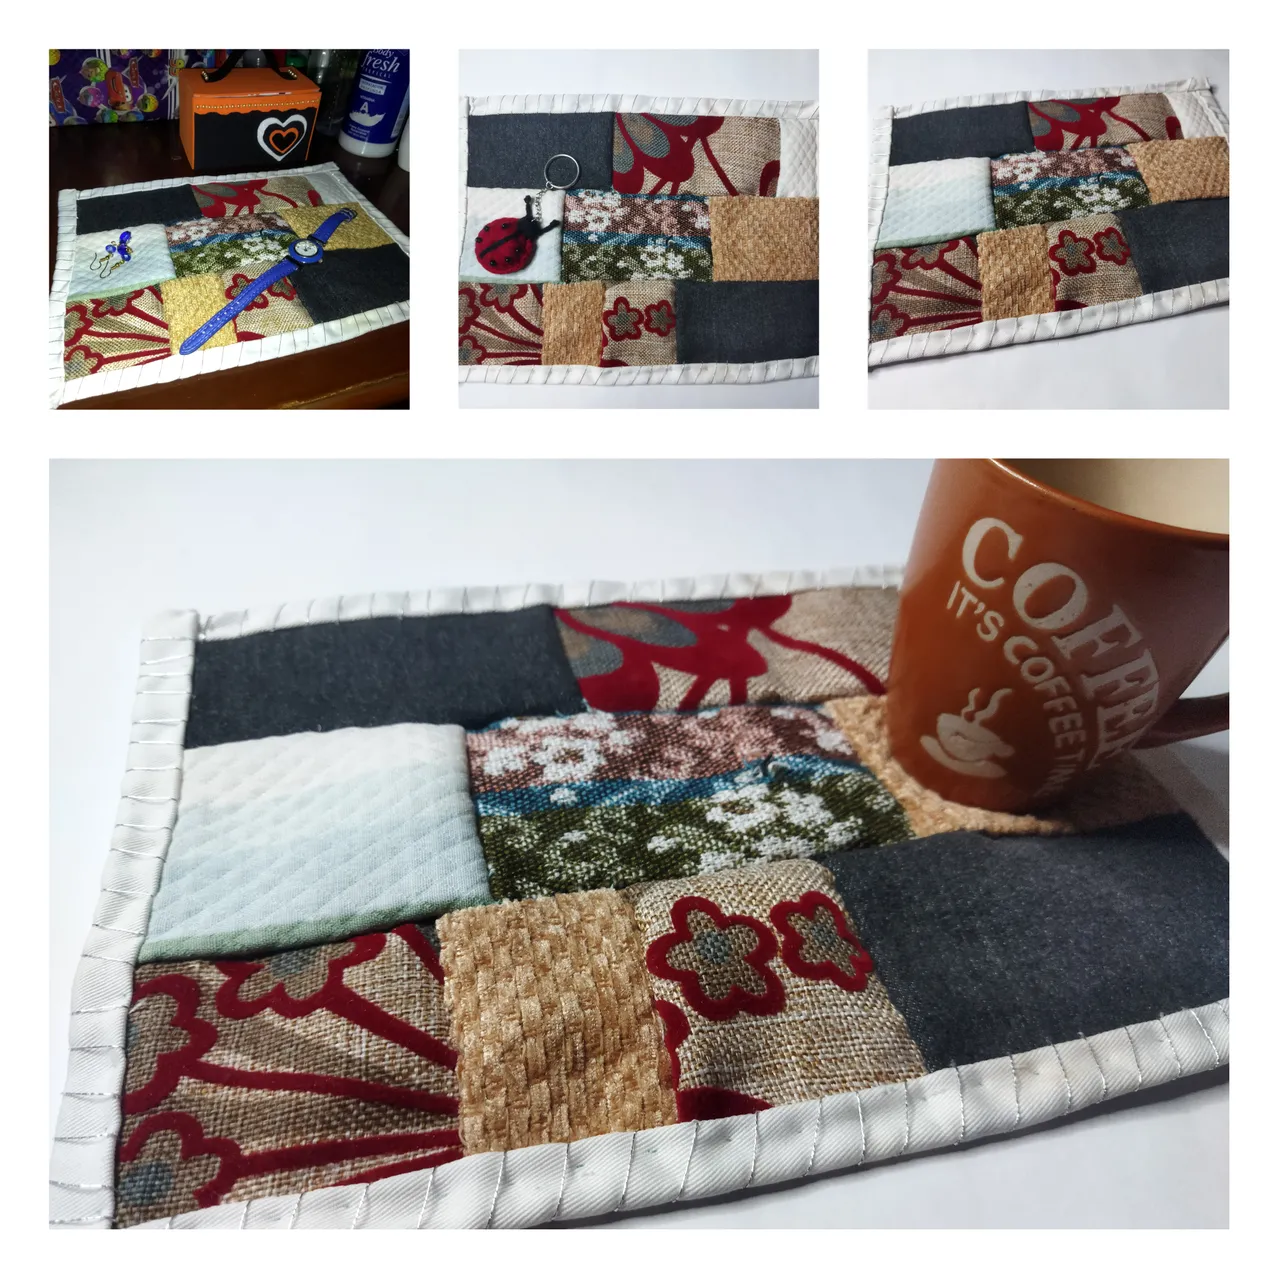
- Finalmente cosí el dobladillo para unirlo al diseño Patchwork terminado. Cómo detalle decorativo realicé una costura con hilo plateado por cada una de las costuras internas del tapete.
Así se ve mi nuevo tapete. ¡Me gusta! Me alegro por haber participado ya que ahora tengo un nuevo TAPETE para mi mesita.
Muchísimas gracias por pasar por mi blog. Todas las fotos son de mi propiedad. Edité con Polish. Usé el traductor de DeepL.

English.
Hello friends, I hope you are very well. Me, great. I'm around again to participate in the latest contest offered by the community. Patchwork is a well known technique, maybe the name not so much. At my parents' house I could observe many decorative objects made with this technique since my mom has always been a lover of sewing. Although she has not studied it, she sews everything and it looks very nice. Especially the cushions, pillows, covers, rugs and carpets that she makes to take advantage of all the fabrics that she recycles. When I saw the contest I was immediately excited, my project is simple since I don't have a lot of scraps, but what I made is very useful. Here I show you the details and how I did it 👇
On my bedside table I always place little woven rugs. A few days ago I made one that I knitted some beautiful lace. This time I made a new TAPESTRY using the Patchwork technique to debut and leave my entry in this challenge. This technique consists of making with scraps of fabrics, usually of different textures, shapes and colors very nice designs or patterns. I have seen them mostly in cushions and pillowcases.
When I opened the bag where I have stored the fabric scraps I realized that there were only small deformed strips from which I could only get very small squares or rectangles, then I decided to select the largest (very few) and with them to make a rug that would fit right in the space of my bedside table.
I loved the result. Now I have a new TAPEST that I made "quickly" by recycling and just sewing.
- Fabric scraps of different textures and colors.
- Measuring tape.
- Scissors.
- Sewing thread.
- Sewing needle.
- Pins.
- Piece of white fabric.
- I started by selecting the fabrics. As I mentioned before, I didn't have many to choose from. I chose the biggest ones trying to combine them.
- The piece of white fabric I reserved to sew as a base for my Patchwork design, I first measured to get an idea of the size I would make the mat. This fabric measured 37 cm by 30 cm. It is a little stained, I hope that with several washes it will be stain free.
- I cut each piece of fabric into squares and rectangles, without any specific size.
- I mounted on the white fabric each square I cut to present my design, trying to reach all the size of the fabric.
- Then I pinned to keep the design.
- I started sewing on the back of each small piece of fabric. Making ribbons or strips.
- Once I had all the strips, I sewed them all together. I placed them on the white fabric and made sure to leave a few cm on the sides of the white fabric to make a hem.
- Finally I sewed the hem to join it to the finished Patchwork design. As a decorative detail, I sewed a seam with silver thread along each of the inner seams of the mat.
This is what my new mat looks like, I like it! I'm glad I participated as I now have a new RUG for my coffee table.
Thank you so much for stopping by my blog. All photos are my property. I edited with Polish. I used the translator of DeepL.