This was one of my distraction projects back when I was in school. I believe it was physics III, Thomas something or other did the double slit experiment, proving the particle/wave duality of light energy.
The things I create often tend to take on characteristics and hues of the other things I’m learning or going through. Thus, the double-edged sword was to be named Doubleslit.
The Sword
The blade came already blanked, I just added a shank and made a handle. The shank was made from a 3/8” bolt. The handle was made using walnut, ebony and olive woods with brass accents.
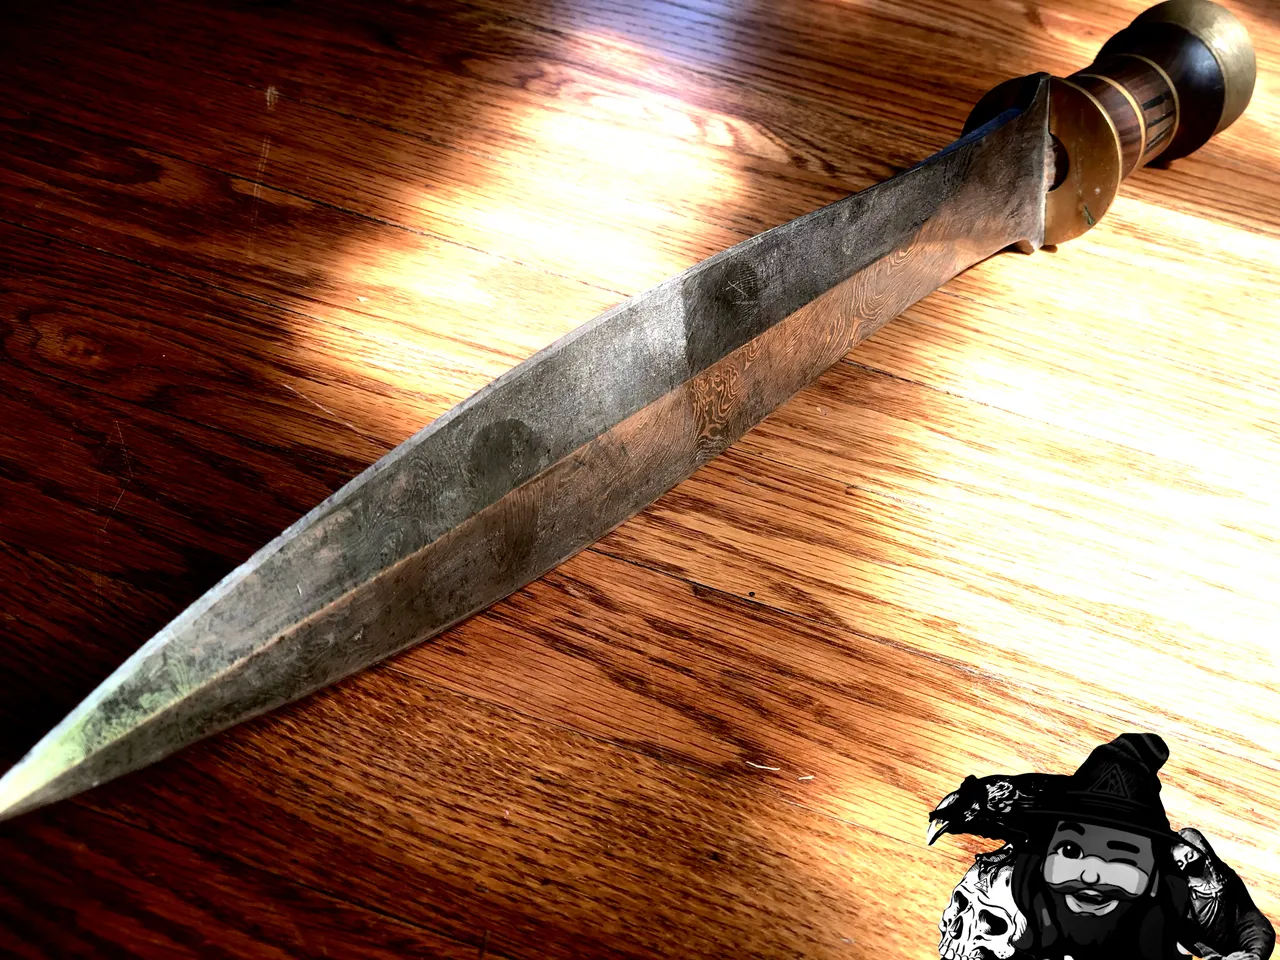
The blade was procured through eBay, it’s not the highest quality, but it serves my purposes well. I got the blade for some ridiculous discount because the shank was broken off - so the first thing I did was cut the head off of a 3/8” bolt, put a 3/16” slot in the cut end, slide the blade into the slot, and weld into position.
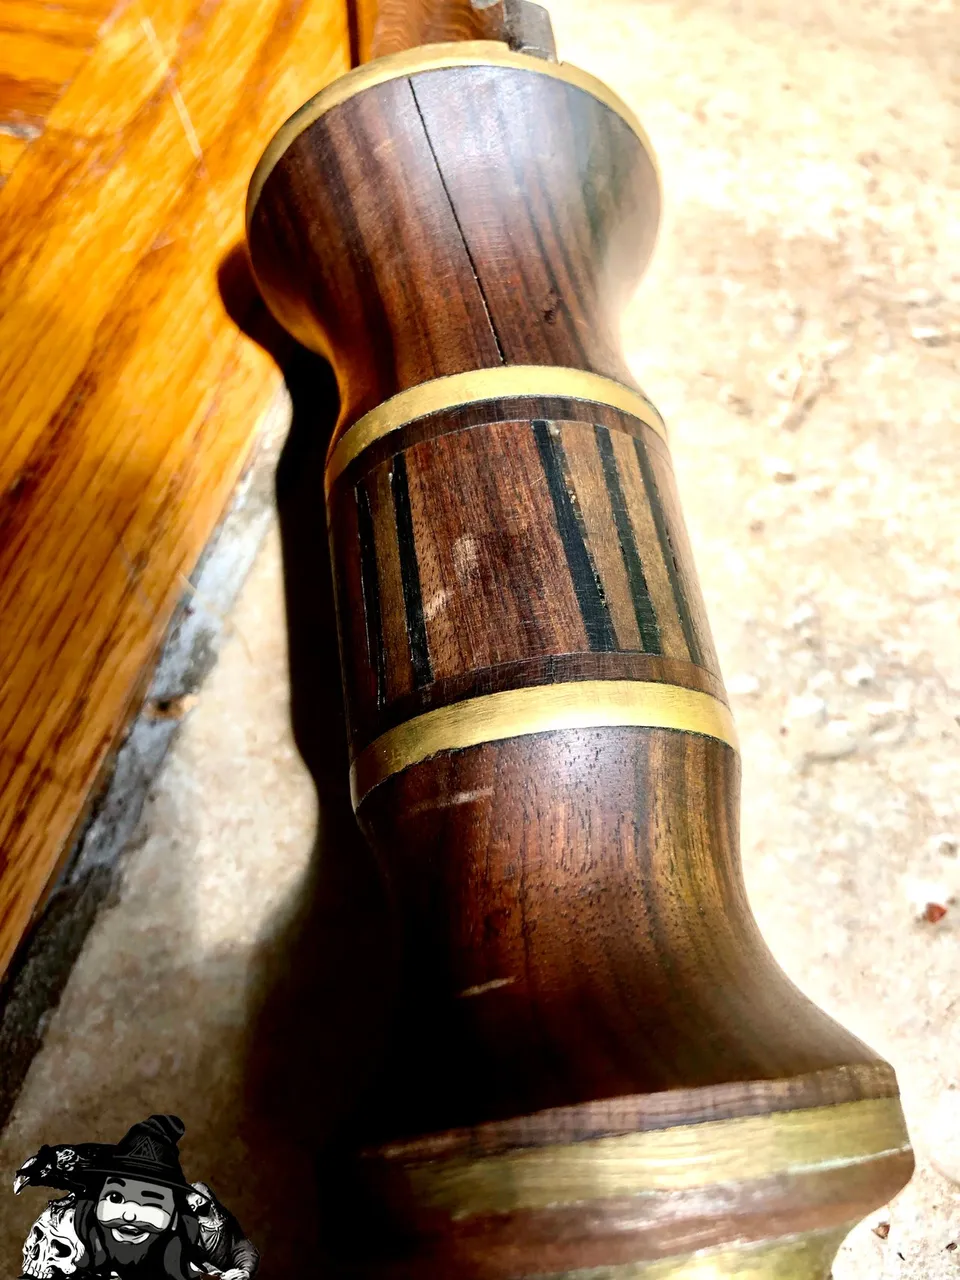
I machined a flat spot and tapped a 3/8” thread into the large brass block. Once the handle was assembled I would sand it into a ball.
Then I drilled through walnut blocks and brass plates so the bolt could pass through. The middle section, with ebony and olive woods, was a little more complicated. I drew out a circle of the same diameter as my handle and divided it into even triangles before attempting to cut small triangles from blocks (of the same height) on a band saw.
Once the pieces were cut, I brushed them all down with wood glue and assembled them in between brass plates. I threaded the brass ball onto the 3/8” bolt shank, tightening it down until wood glue could be seen seeping out of the handle’s center. I left this to dry.
Finally, I just shaped it. I put a belt sander in a vice and locked the trigger in the on position, and sanded for hours. Eventually, I got it to the shape you see now, and there is where I left it.
The Sheath
I cut two boards to the approximate length I would need, and separately cut out two thin strips, about as thick as the blade. I glued the two boards together, sandwiching the thin strips in between to create the opening for the blade.
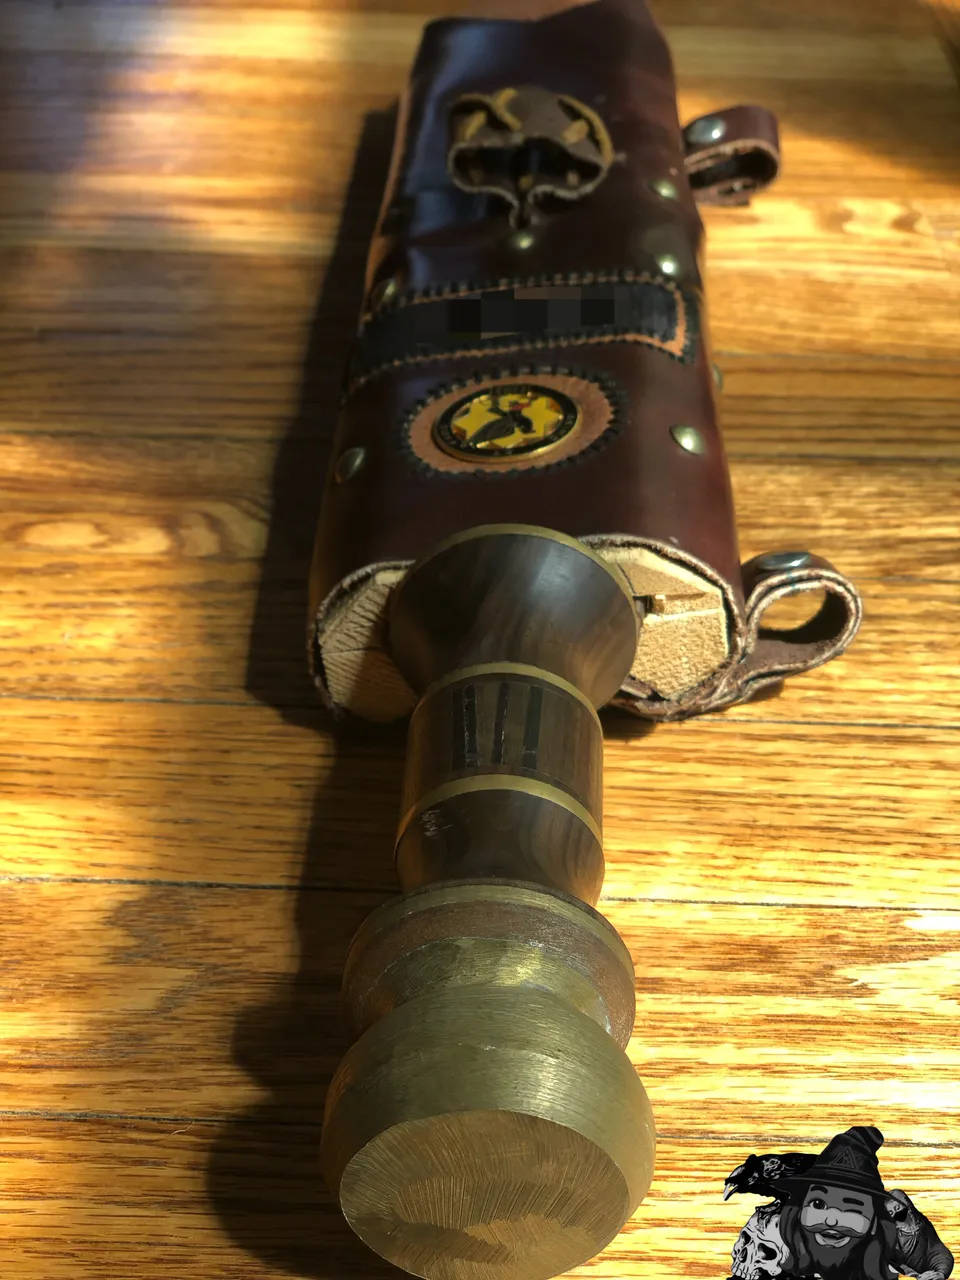
I wrapped the wood with leather, using adhesive on the underside and brass tacks at the seams. I used different colored cuts of leather to create depth around the ornamentation, which consisted of the name tape from my army uniform and the unit crest from my beret. I colored the name tape black with a permanent marker to give the text a subdued effect, and then closed it out by adding straps to mount it to my quiver and a loop on the front for a small pick axe.

I’ll have to dig out the quiver at som point and perhaps show the two assembled together. For now though, that’s I have to say about that!
Thanks for checking out some more of my work! As always, I hope you enjoyed witnessing as much as I enjoyed creating!
© Photos and words by @albuslucimus, except where otherwise indicated.

If you enjoy my content, check out the Albus Index!
Here you’ll find links to various post-groupings, so you can find all posts related to a specific topic quickly. Topics include lists of brewing recipes, different flutes, rucking posts and an index of all acoustic covers. The lists are updated as new content is added, so they can always be used to quickly navigate my content.

- - : GO TO THE ALBUS INDEX : - -
Use my Coinbase referral link to get started with Coinbase! I’ll get $10 in Bitcoin but, more importantly, you will get $10 in Bitcoin too!
Here is a post I did recently about using Coinbase with HiveWallet to get Hive in the US. If you’re wanting to buy Hive and are having difficulties, this may be helpful for you!

shortcut
| thumbnail | link |
|---|---|
 | Me |
 | My Flutes |
- - : GO TO THE ALBUS INDEX : - -